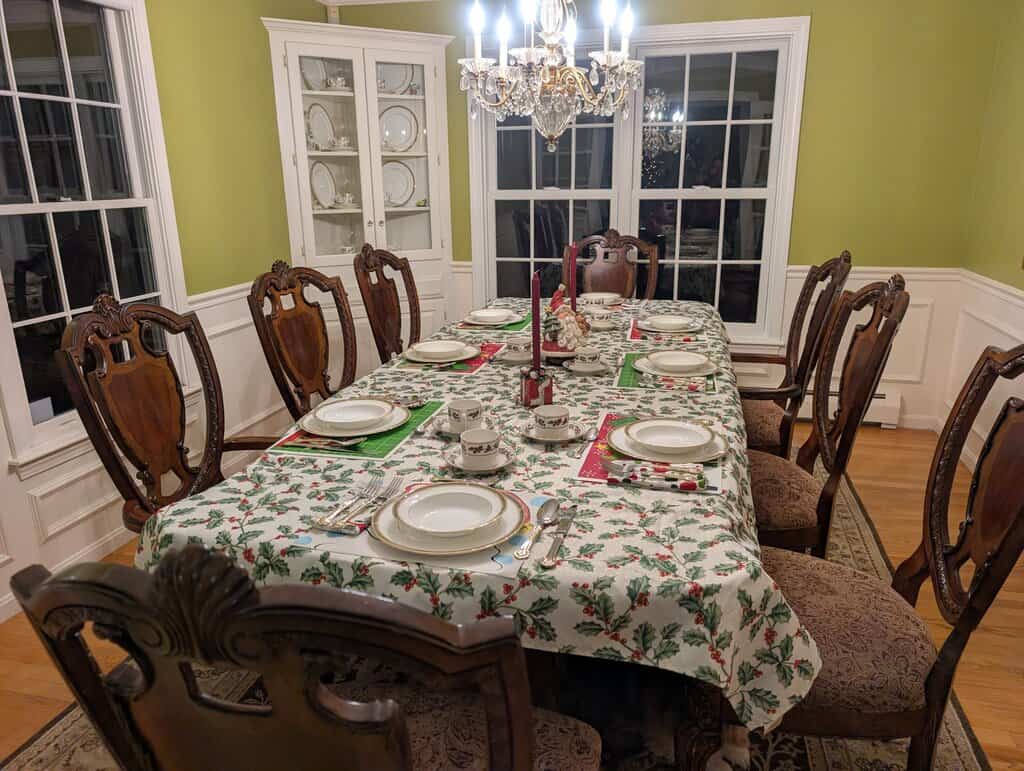
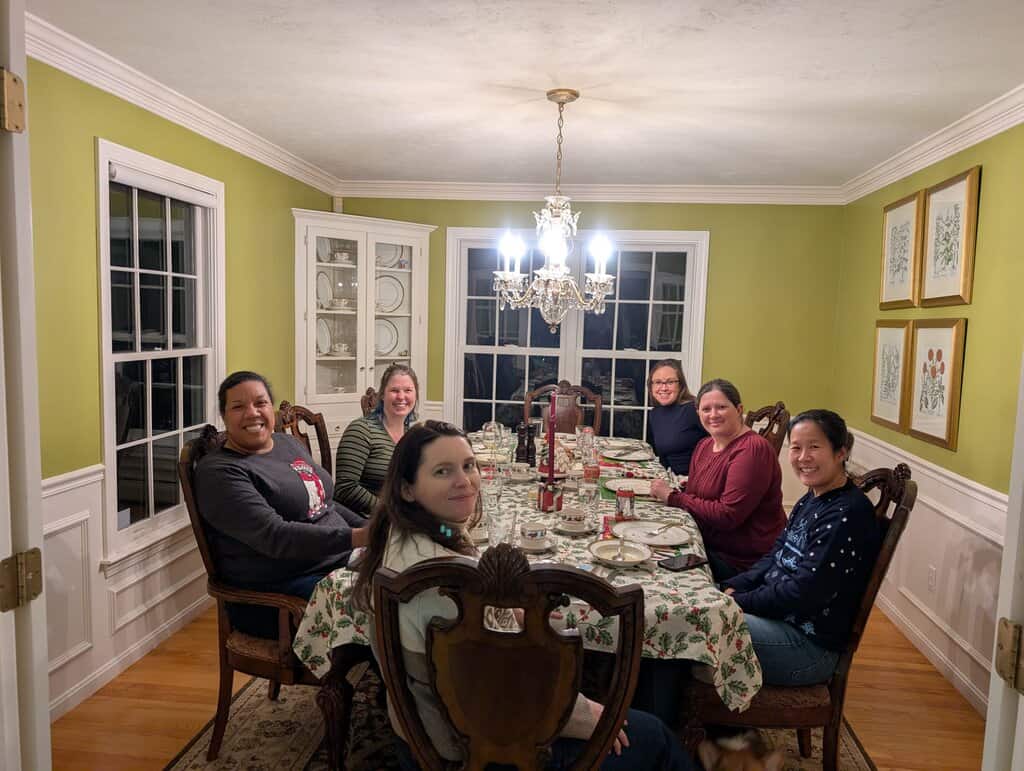
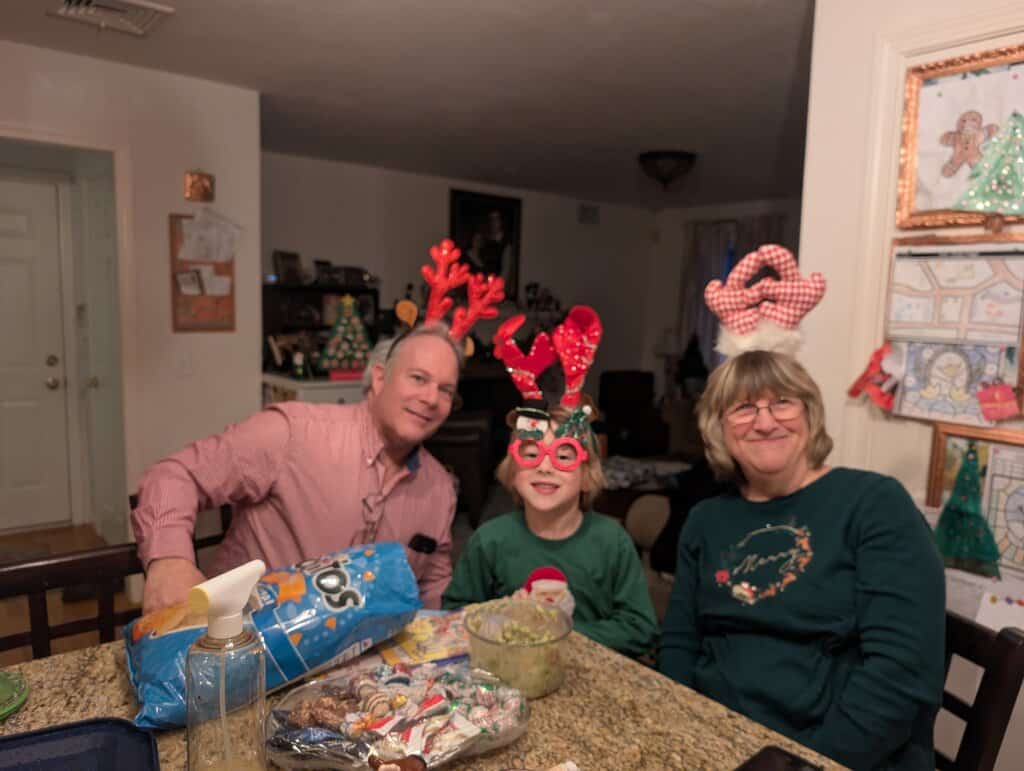
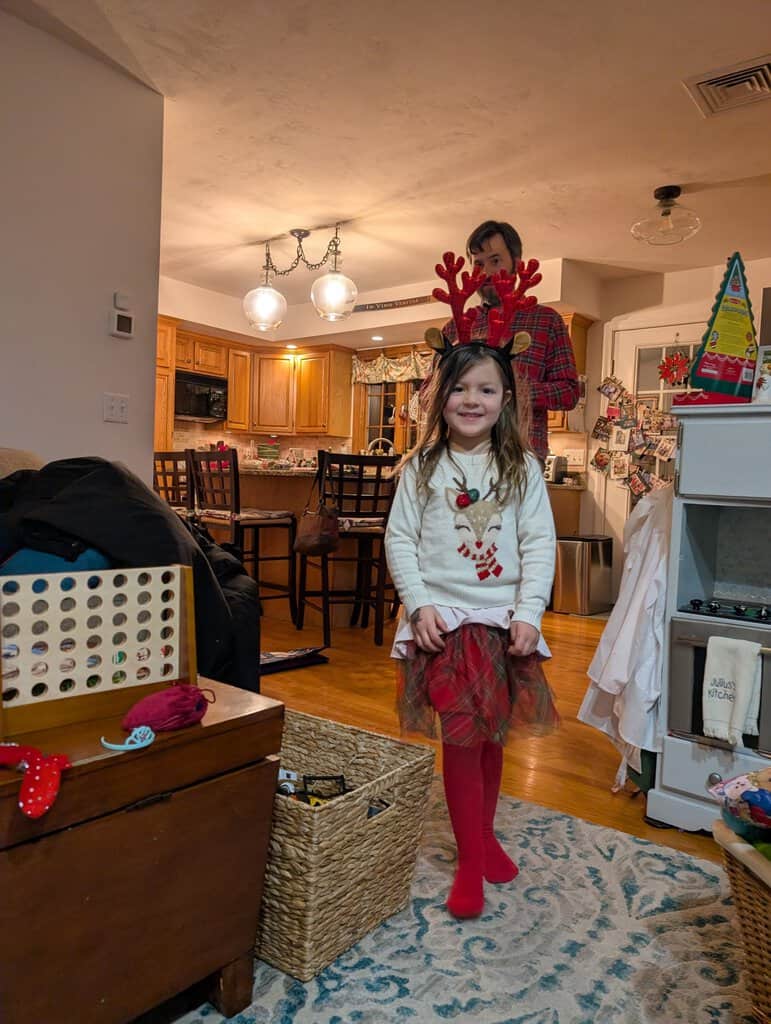
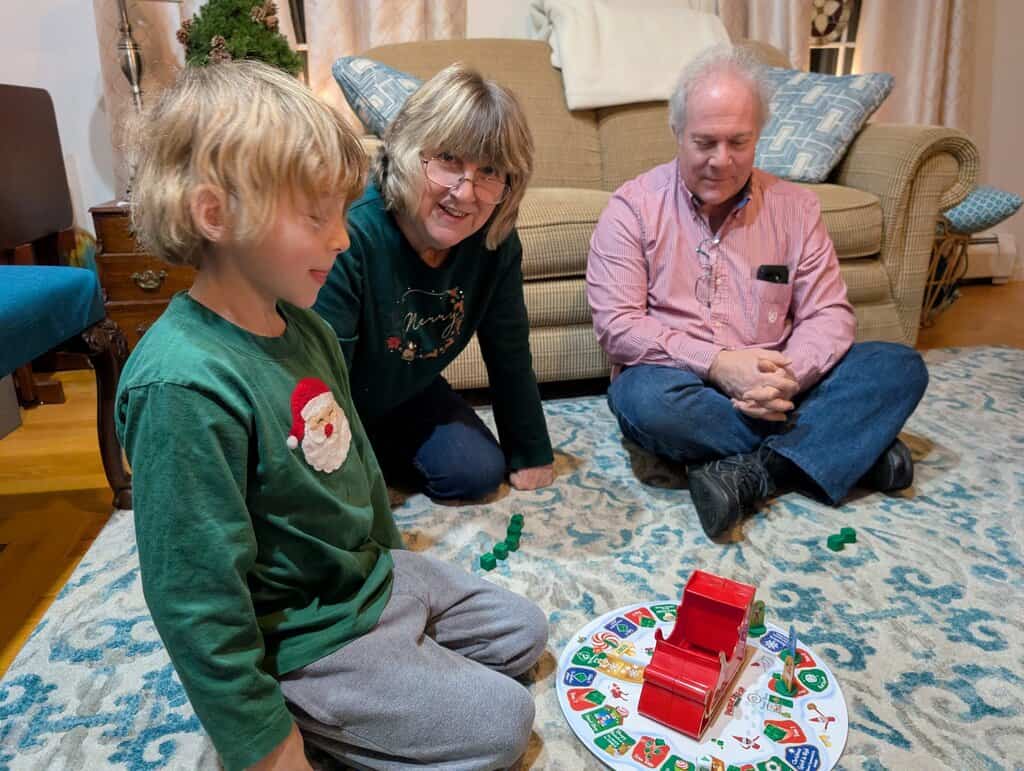
Happy New Year everyone! We had quite the holiday season! We started Christmas Eve off with my parents joining us for dinner… And Patricia had a really high fever! She tucked herself into bed before my parents arrived and slept thru dinner. She did eventually wake up and we played some games, put cookies out for Santa and sent the kids off to bed.
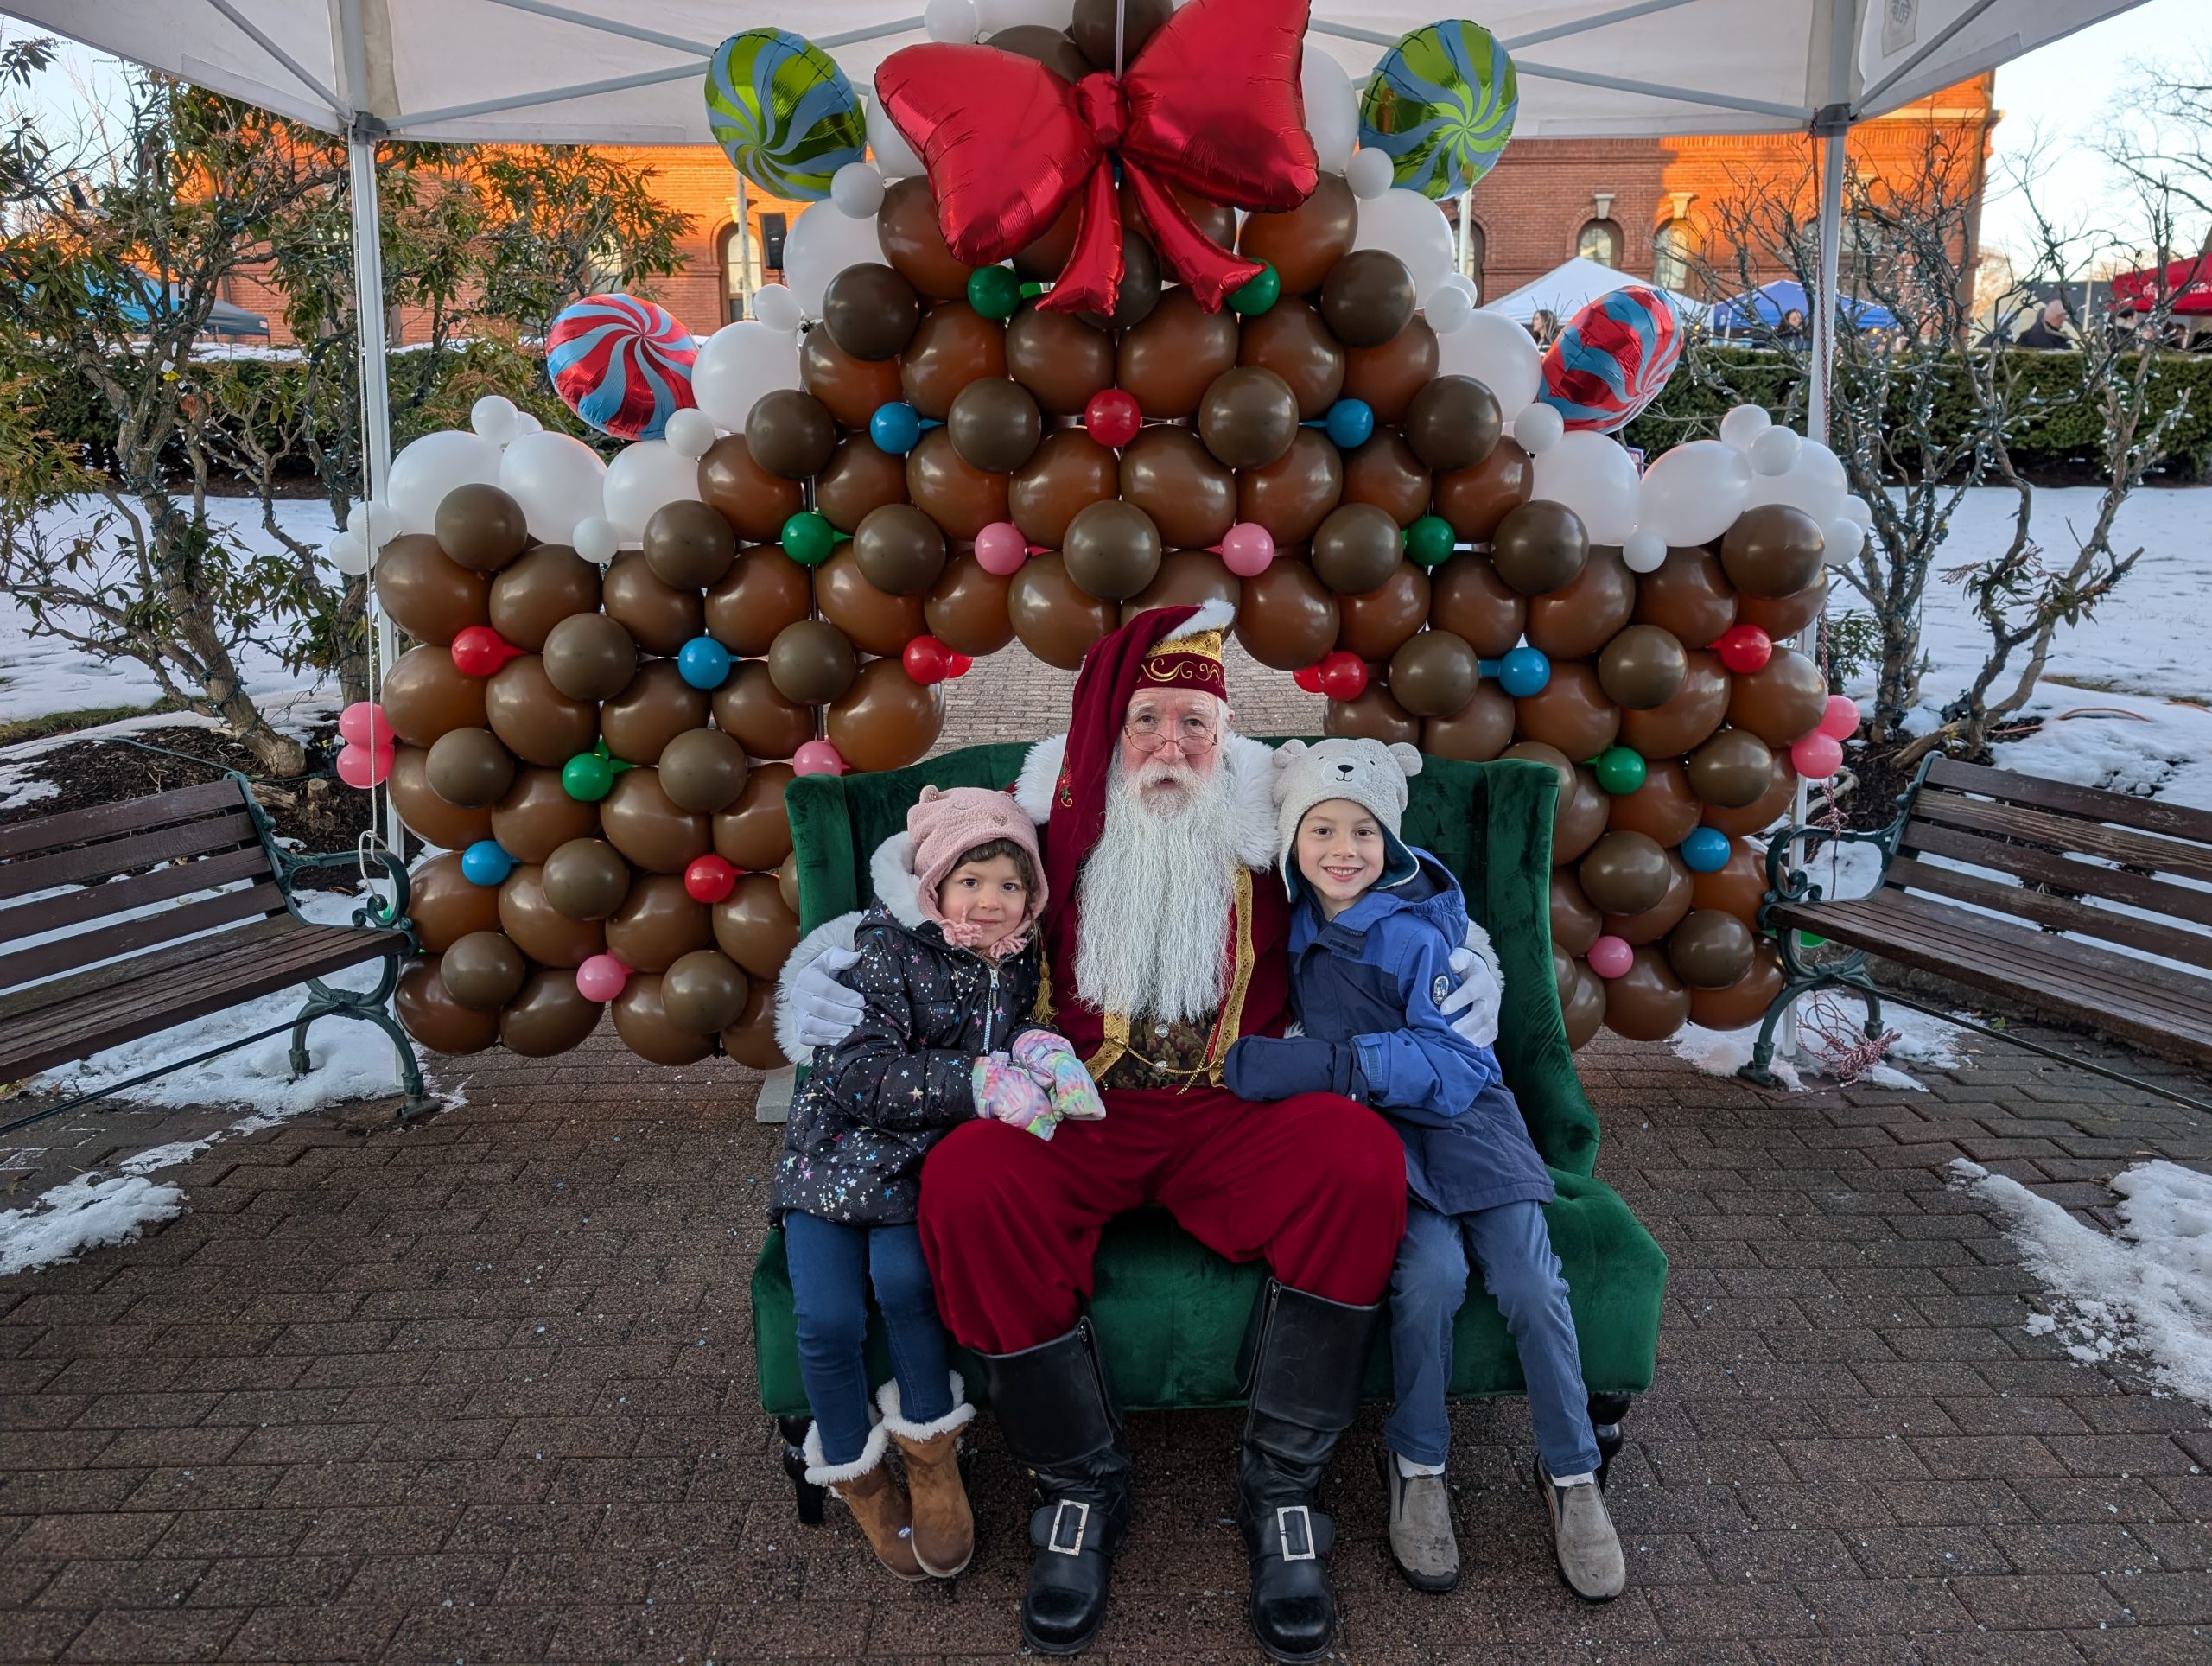
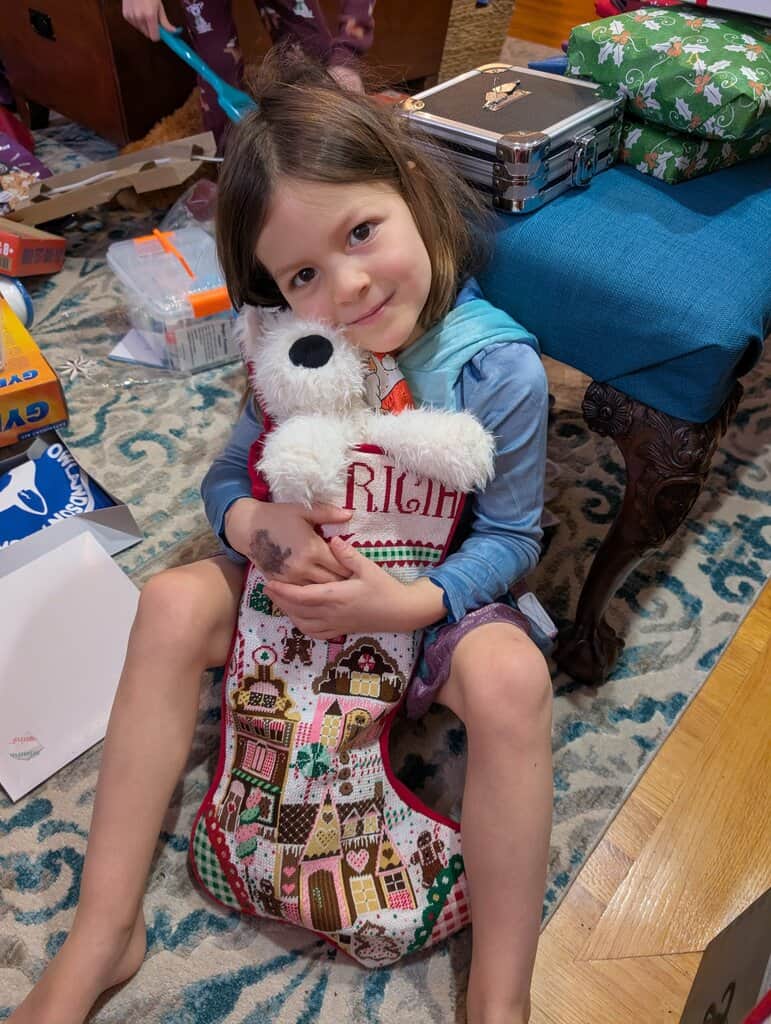
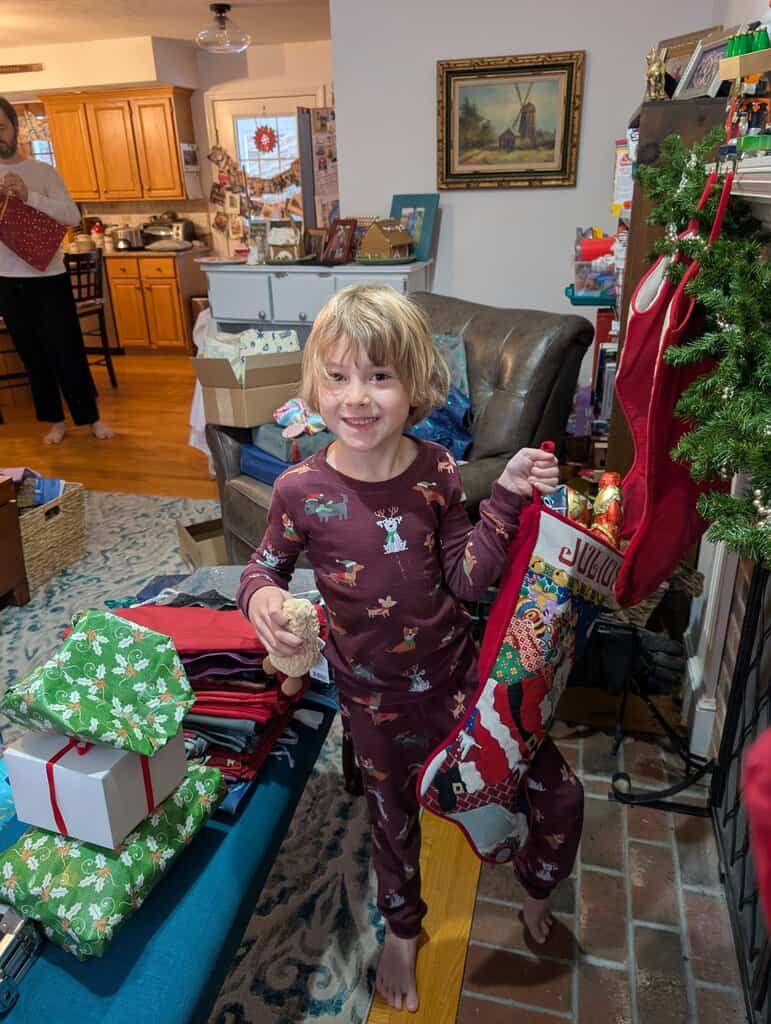
That night Santa came! I was a bit worried he might pass us by because Will and I ended up staying up way too late… The kids this year wrote Santa a note and left out their autograph books which Santa signed! They must have been very good kiddos because they got way too many toys this Christmas. I have no idea where we are going to put everything. I nearly forgot to mention that Julius woke up at 5am Christmas morning with a high fever! So we gave him some Tylenol and sent him back to bed and luckily he felt well enough to open presents at 8am. Then he immediately tucked himself into bed for a nap… My parents came over later in the afternoon with MORE presents before they headed out. Julius seemed to like the easy bake oven the most… and Patricia loved this weighted stuffed cow she got from aunt Mary Elizabeth (fun fact, we got stopped both there and back for the cow. They had to test every seam for explosives…)
We were supposed to leave early on the 26th to fly to Nashville but the family requested we stay home until our kids were 24 hours fever free. We were able to move our flight (for exorbitant prices) to the 27th. Then we woke up on the 26th to find both kids were fever free (yay!) and our flight on the 27th had been cancelled and there were no available flights out on JetBlue for 5 days (boo!). We then scrambled to rebook flights on a different airline for even more exorbitant prices while I waited on hold with JetBlue for over 3 hours before they hung up on me. I was not happy. We had gotten reasonable prices in April and we ended up paying triple the cost for these last minute flights. Luckily we were able to stay for longer because it was the “cheapest” option. I’m grateful that we have enough means to do this (even if it really pisses me off) but I can’t imagine what happened to those folks whose flights were cancelled who don’t have the means to rebook. I hope they were able to have happy holidays wherever they got stuck.
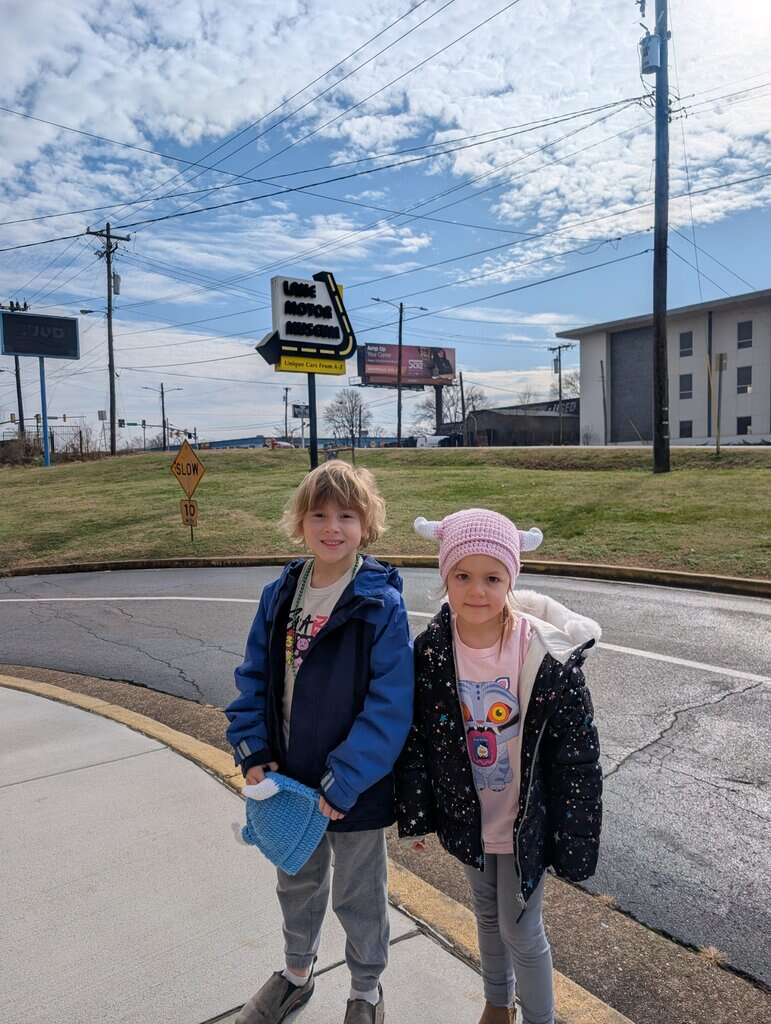
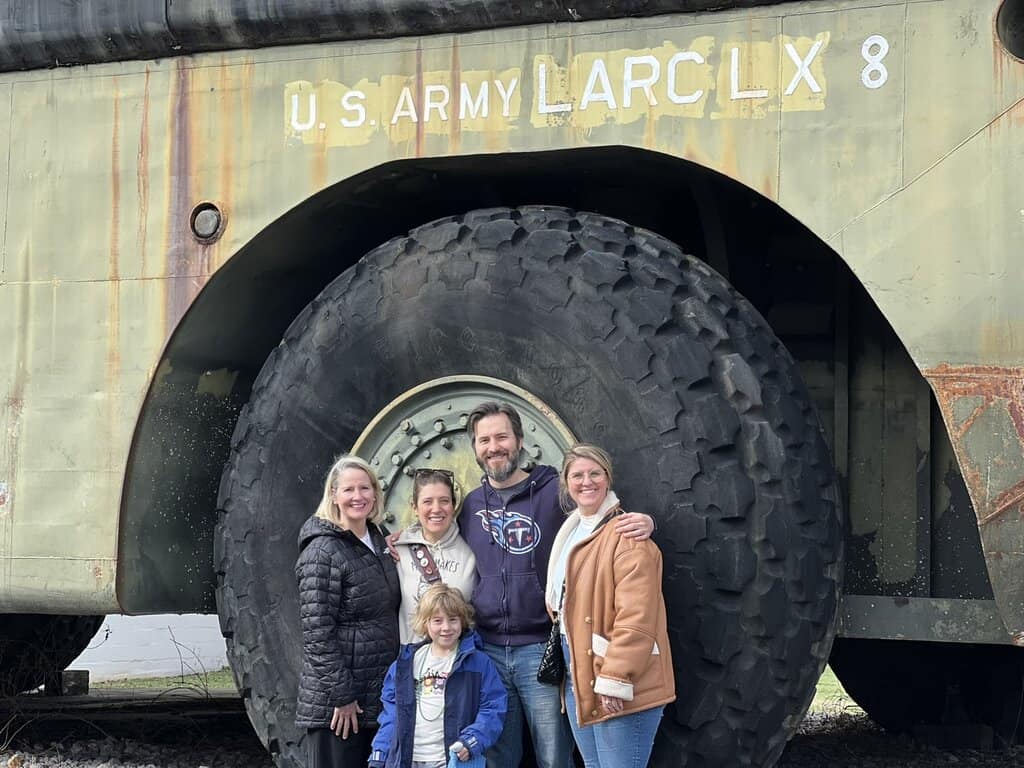
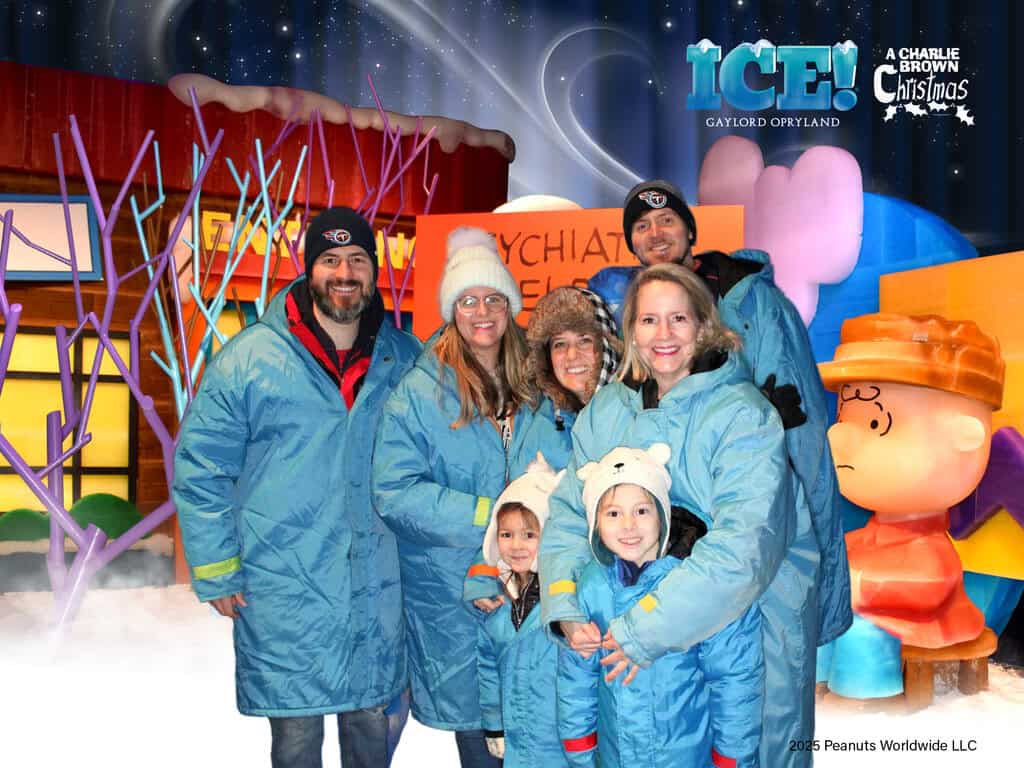
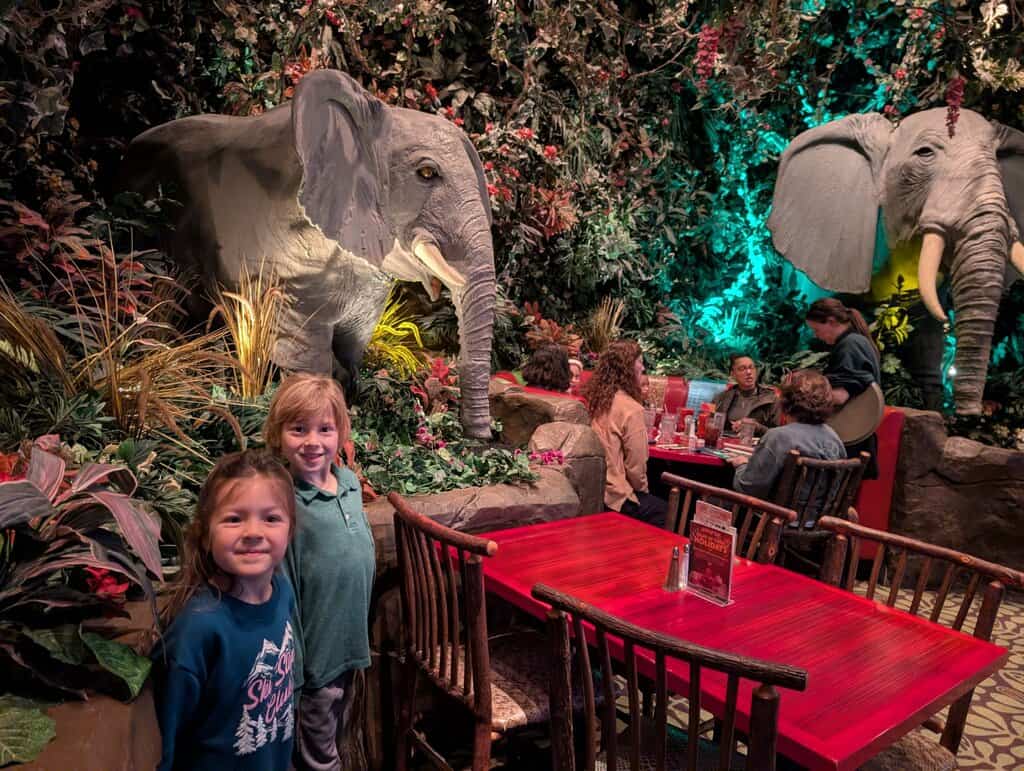
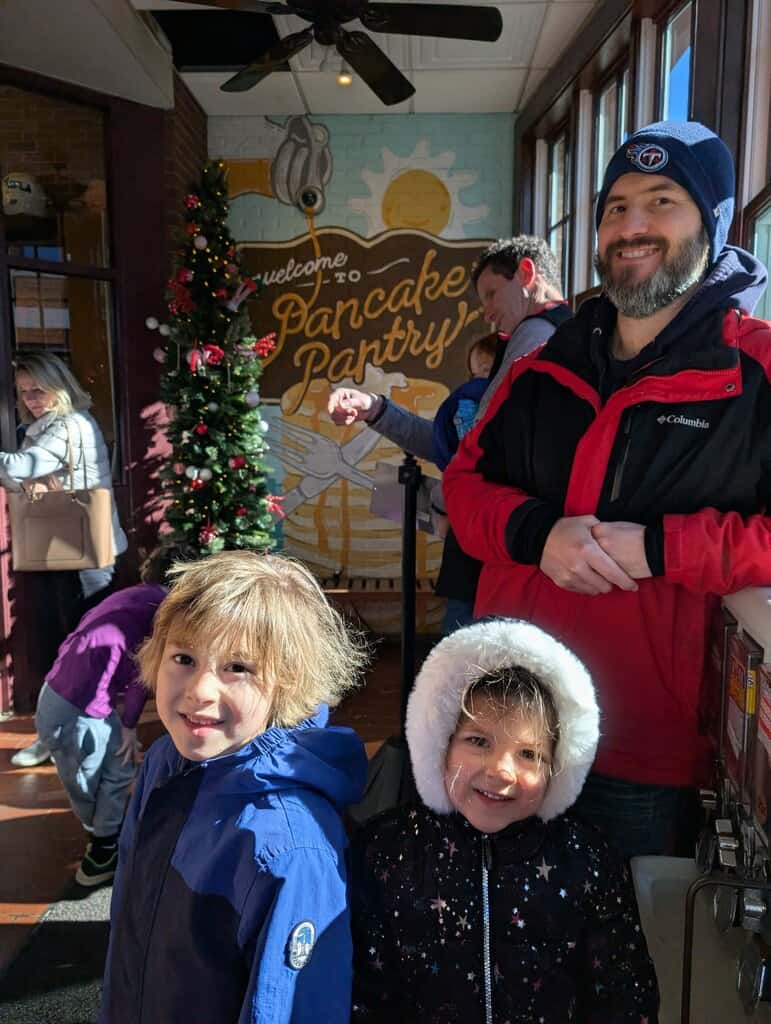
Once we made it to Nashville we had a blast with the Coltons celebrating Xmas part 2, seeing friends and family, going to lots of outings like ice sculptures, the car museum, the pancake pantry, several favorite restaurants and of course playing lots of board games! It was fun to see the whole family and we were lucky that we only had to work one day while we were there!
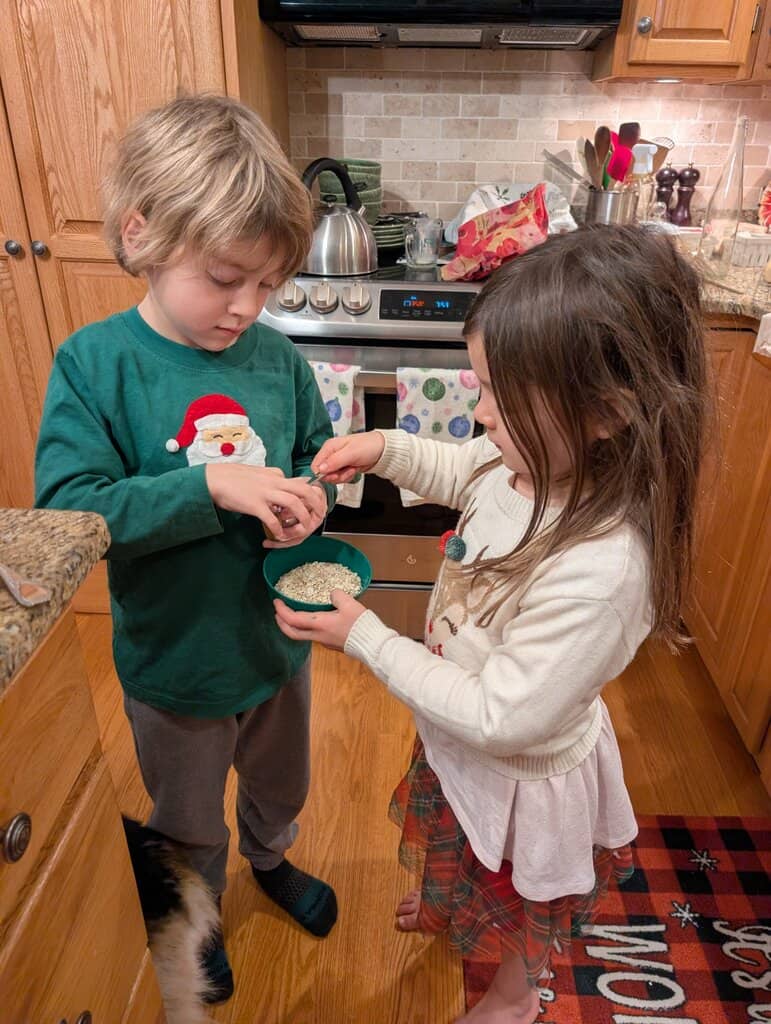
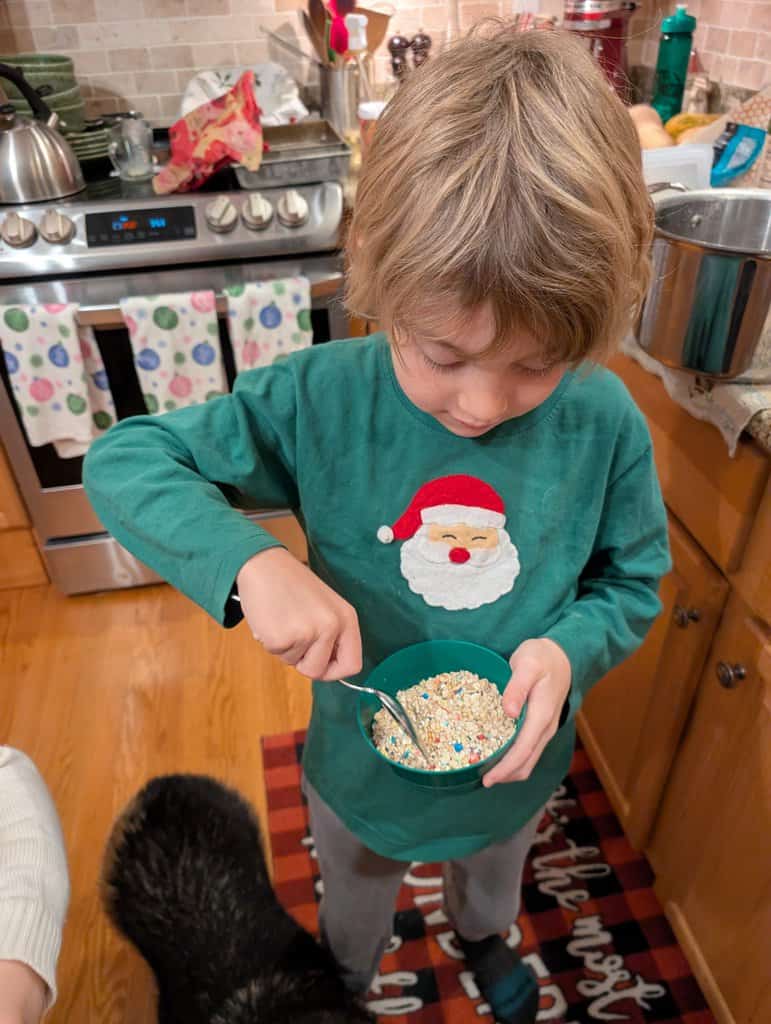
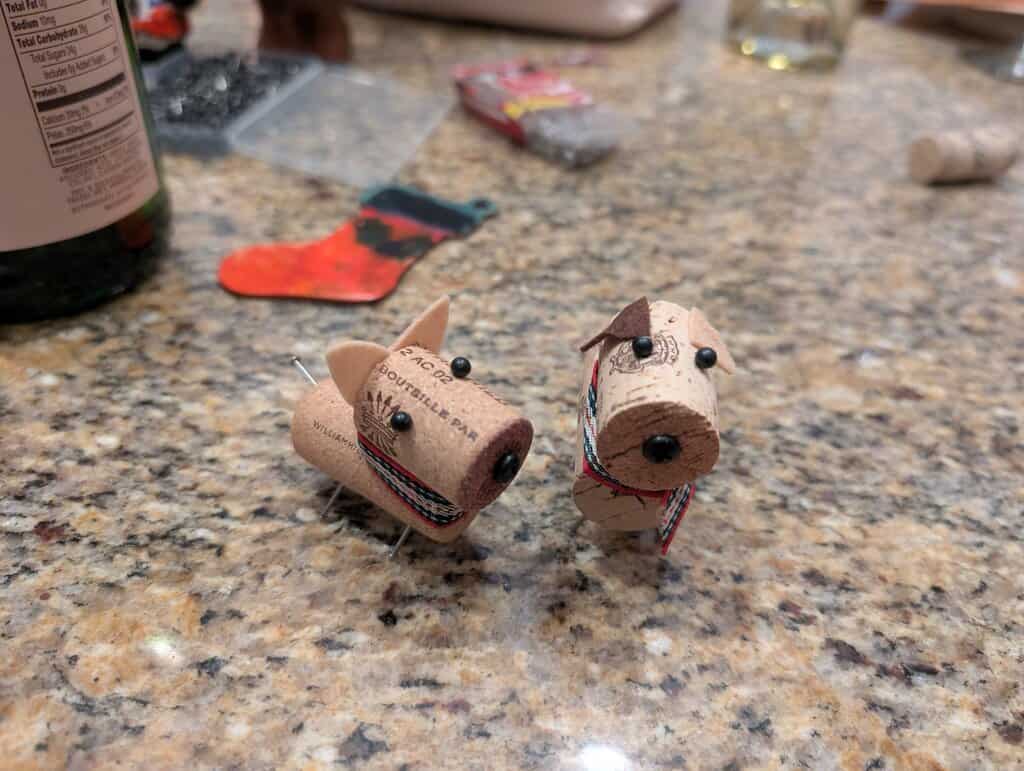
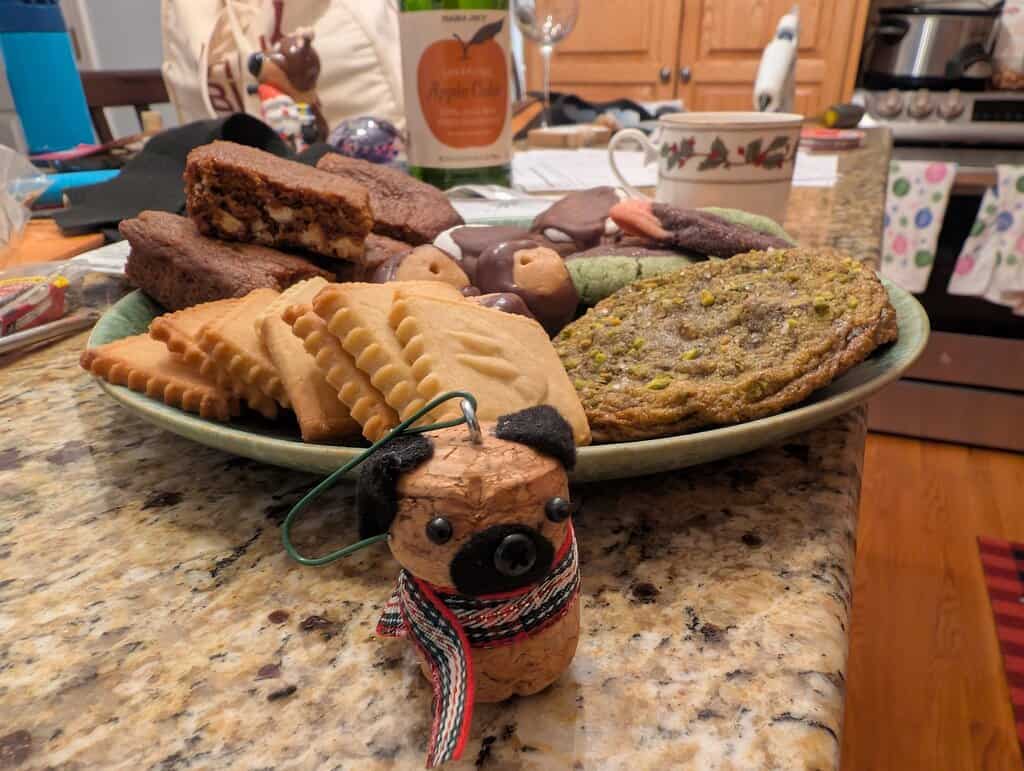
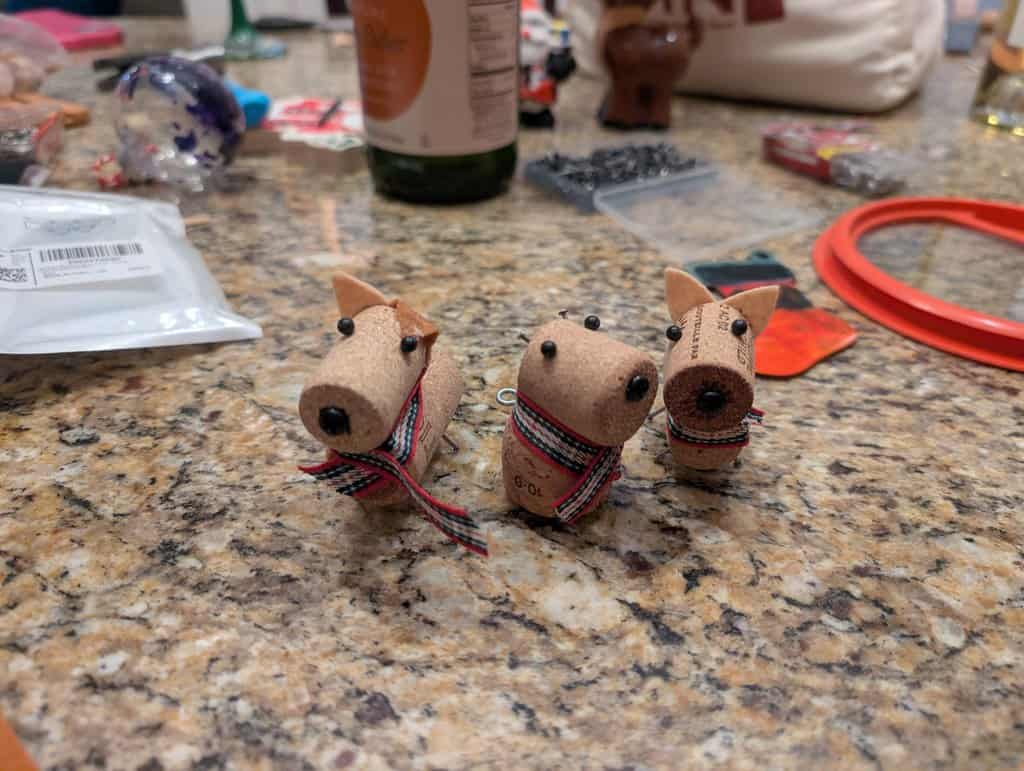
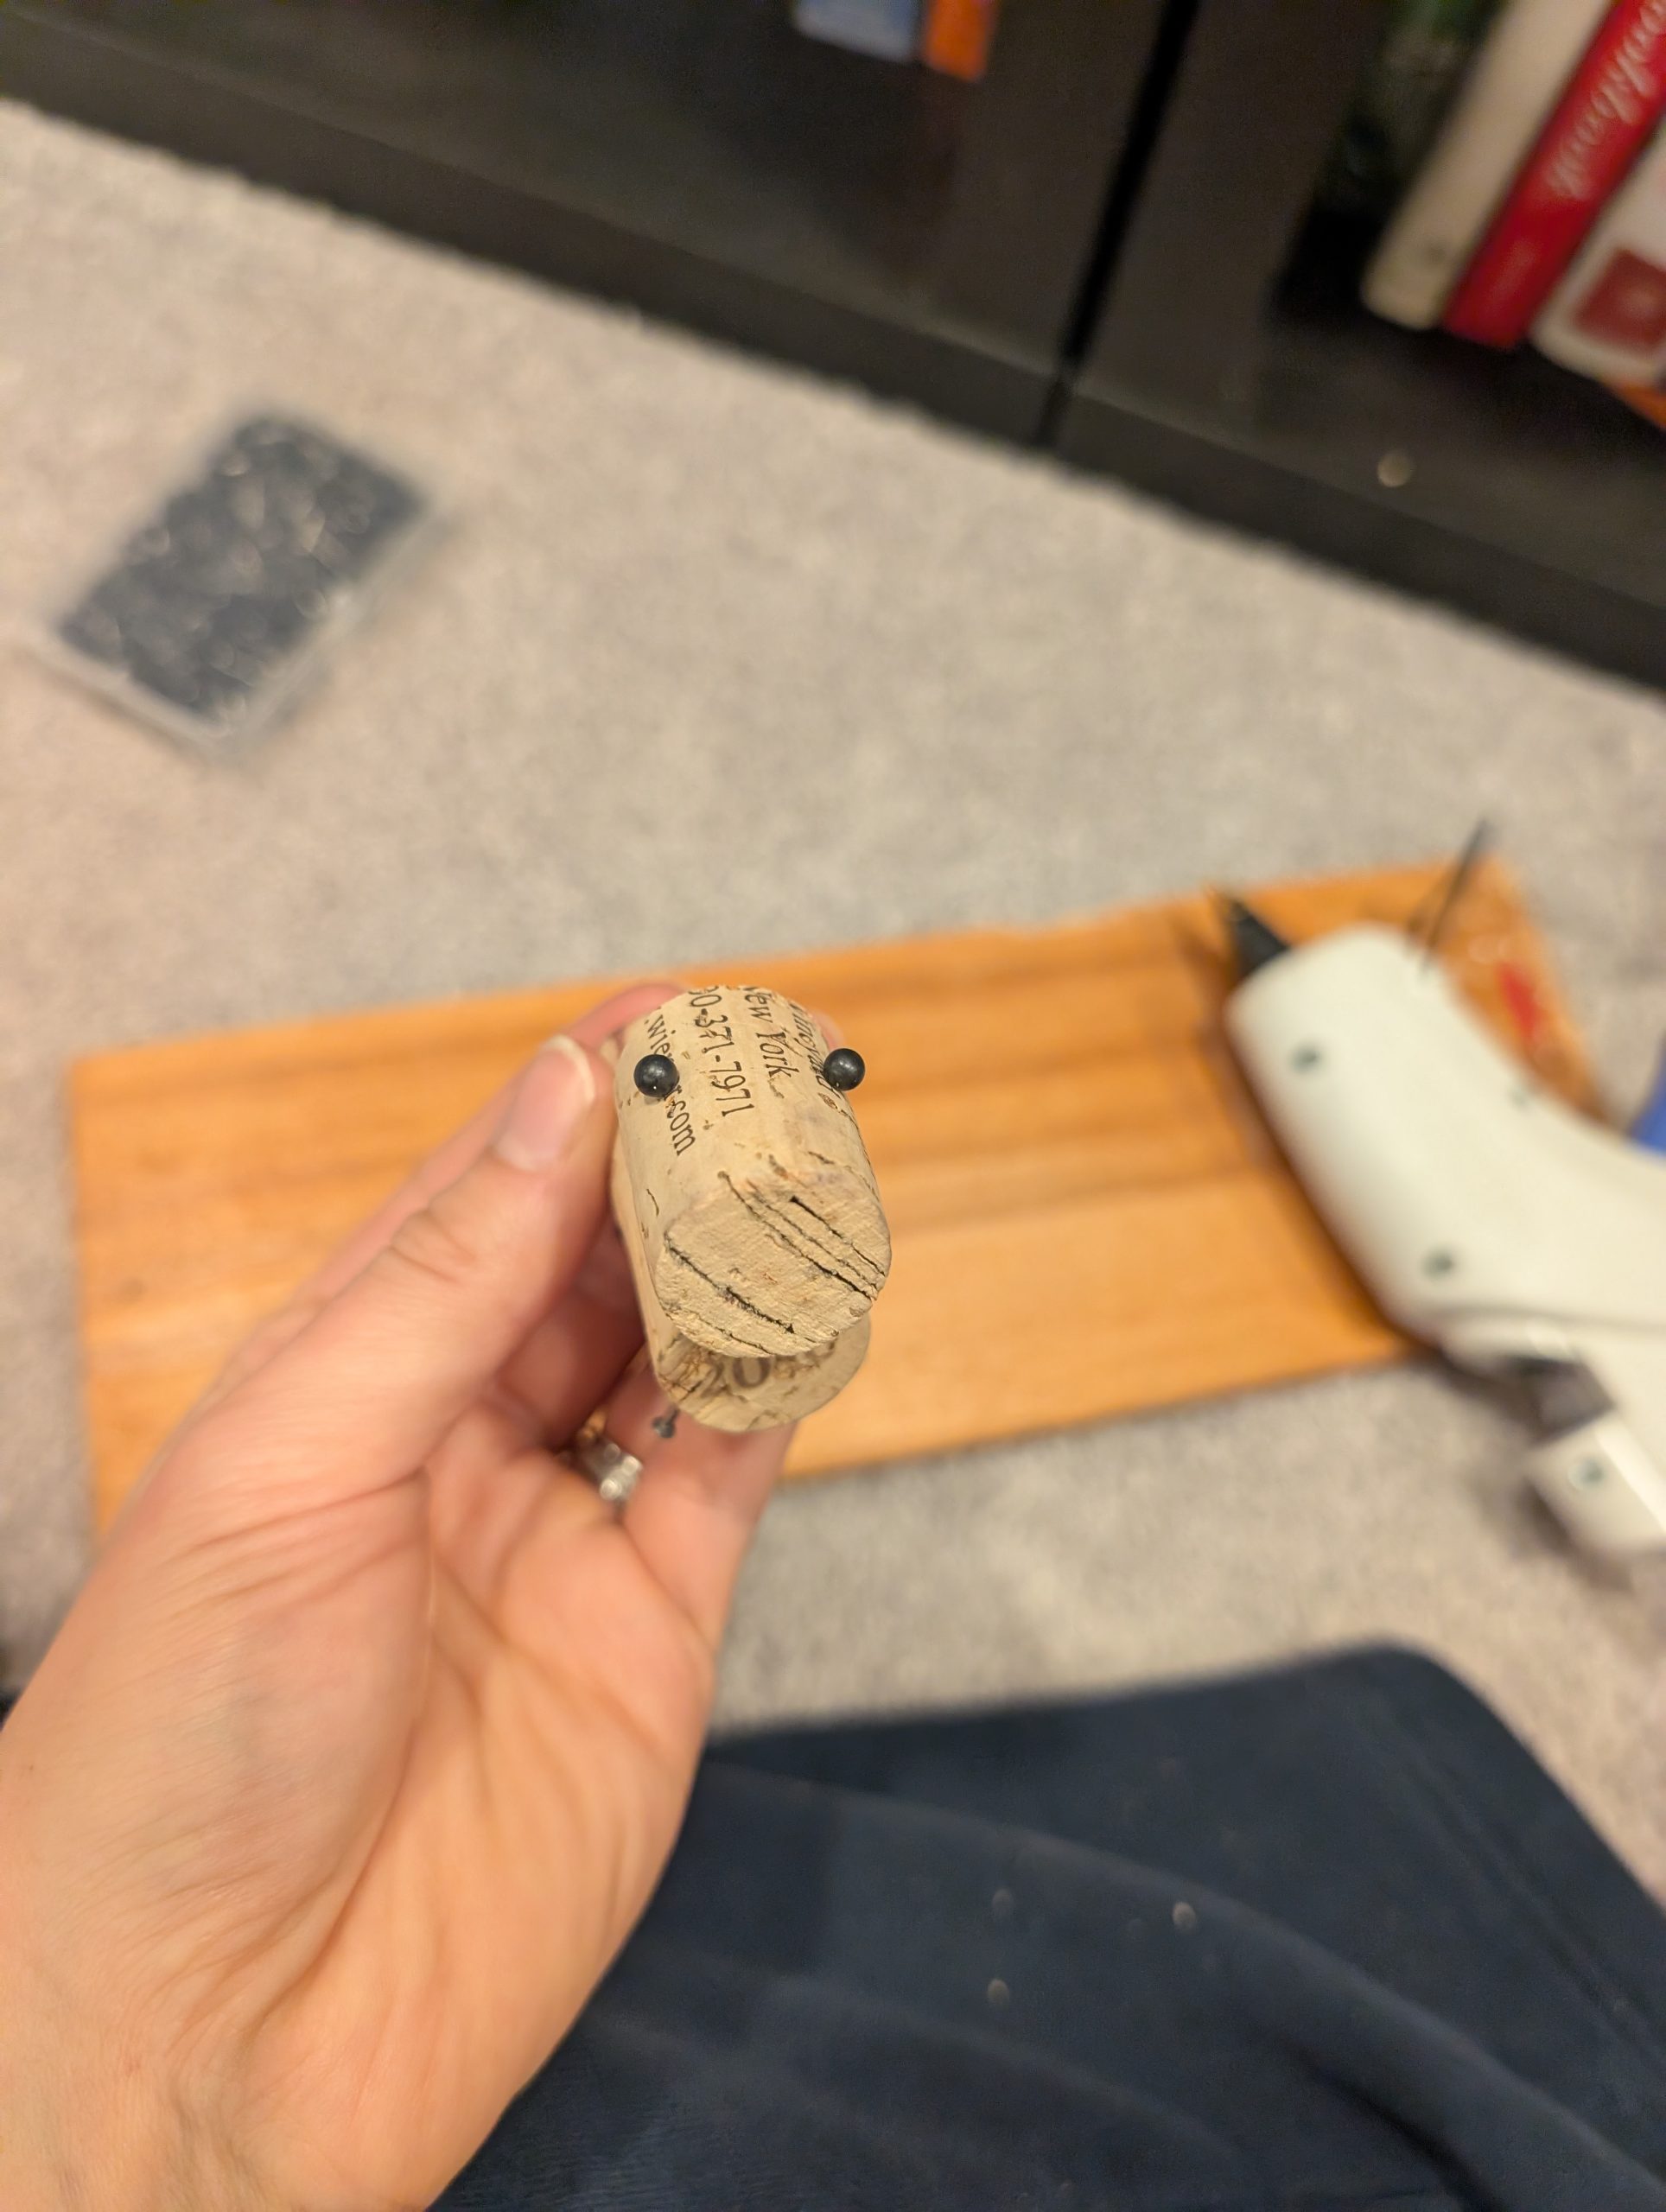
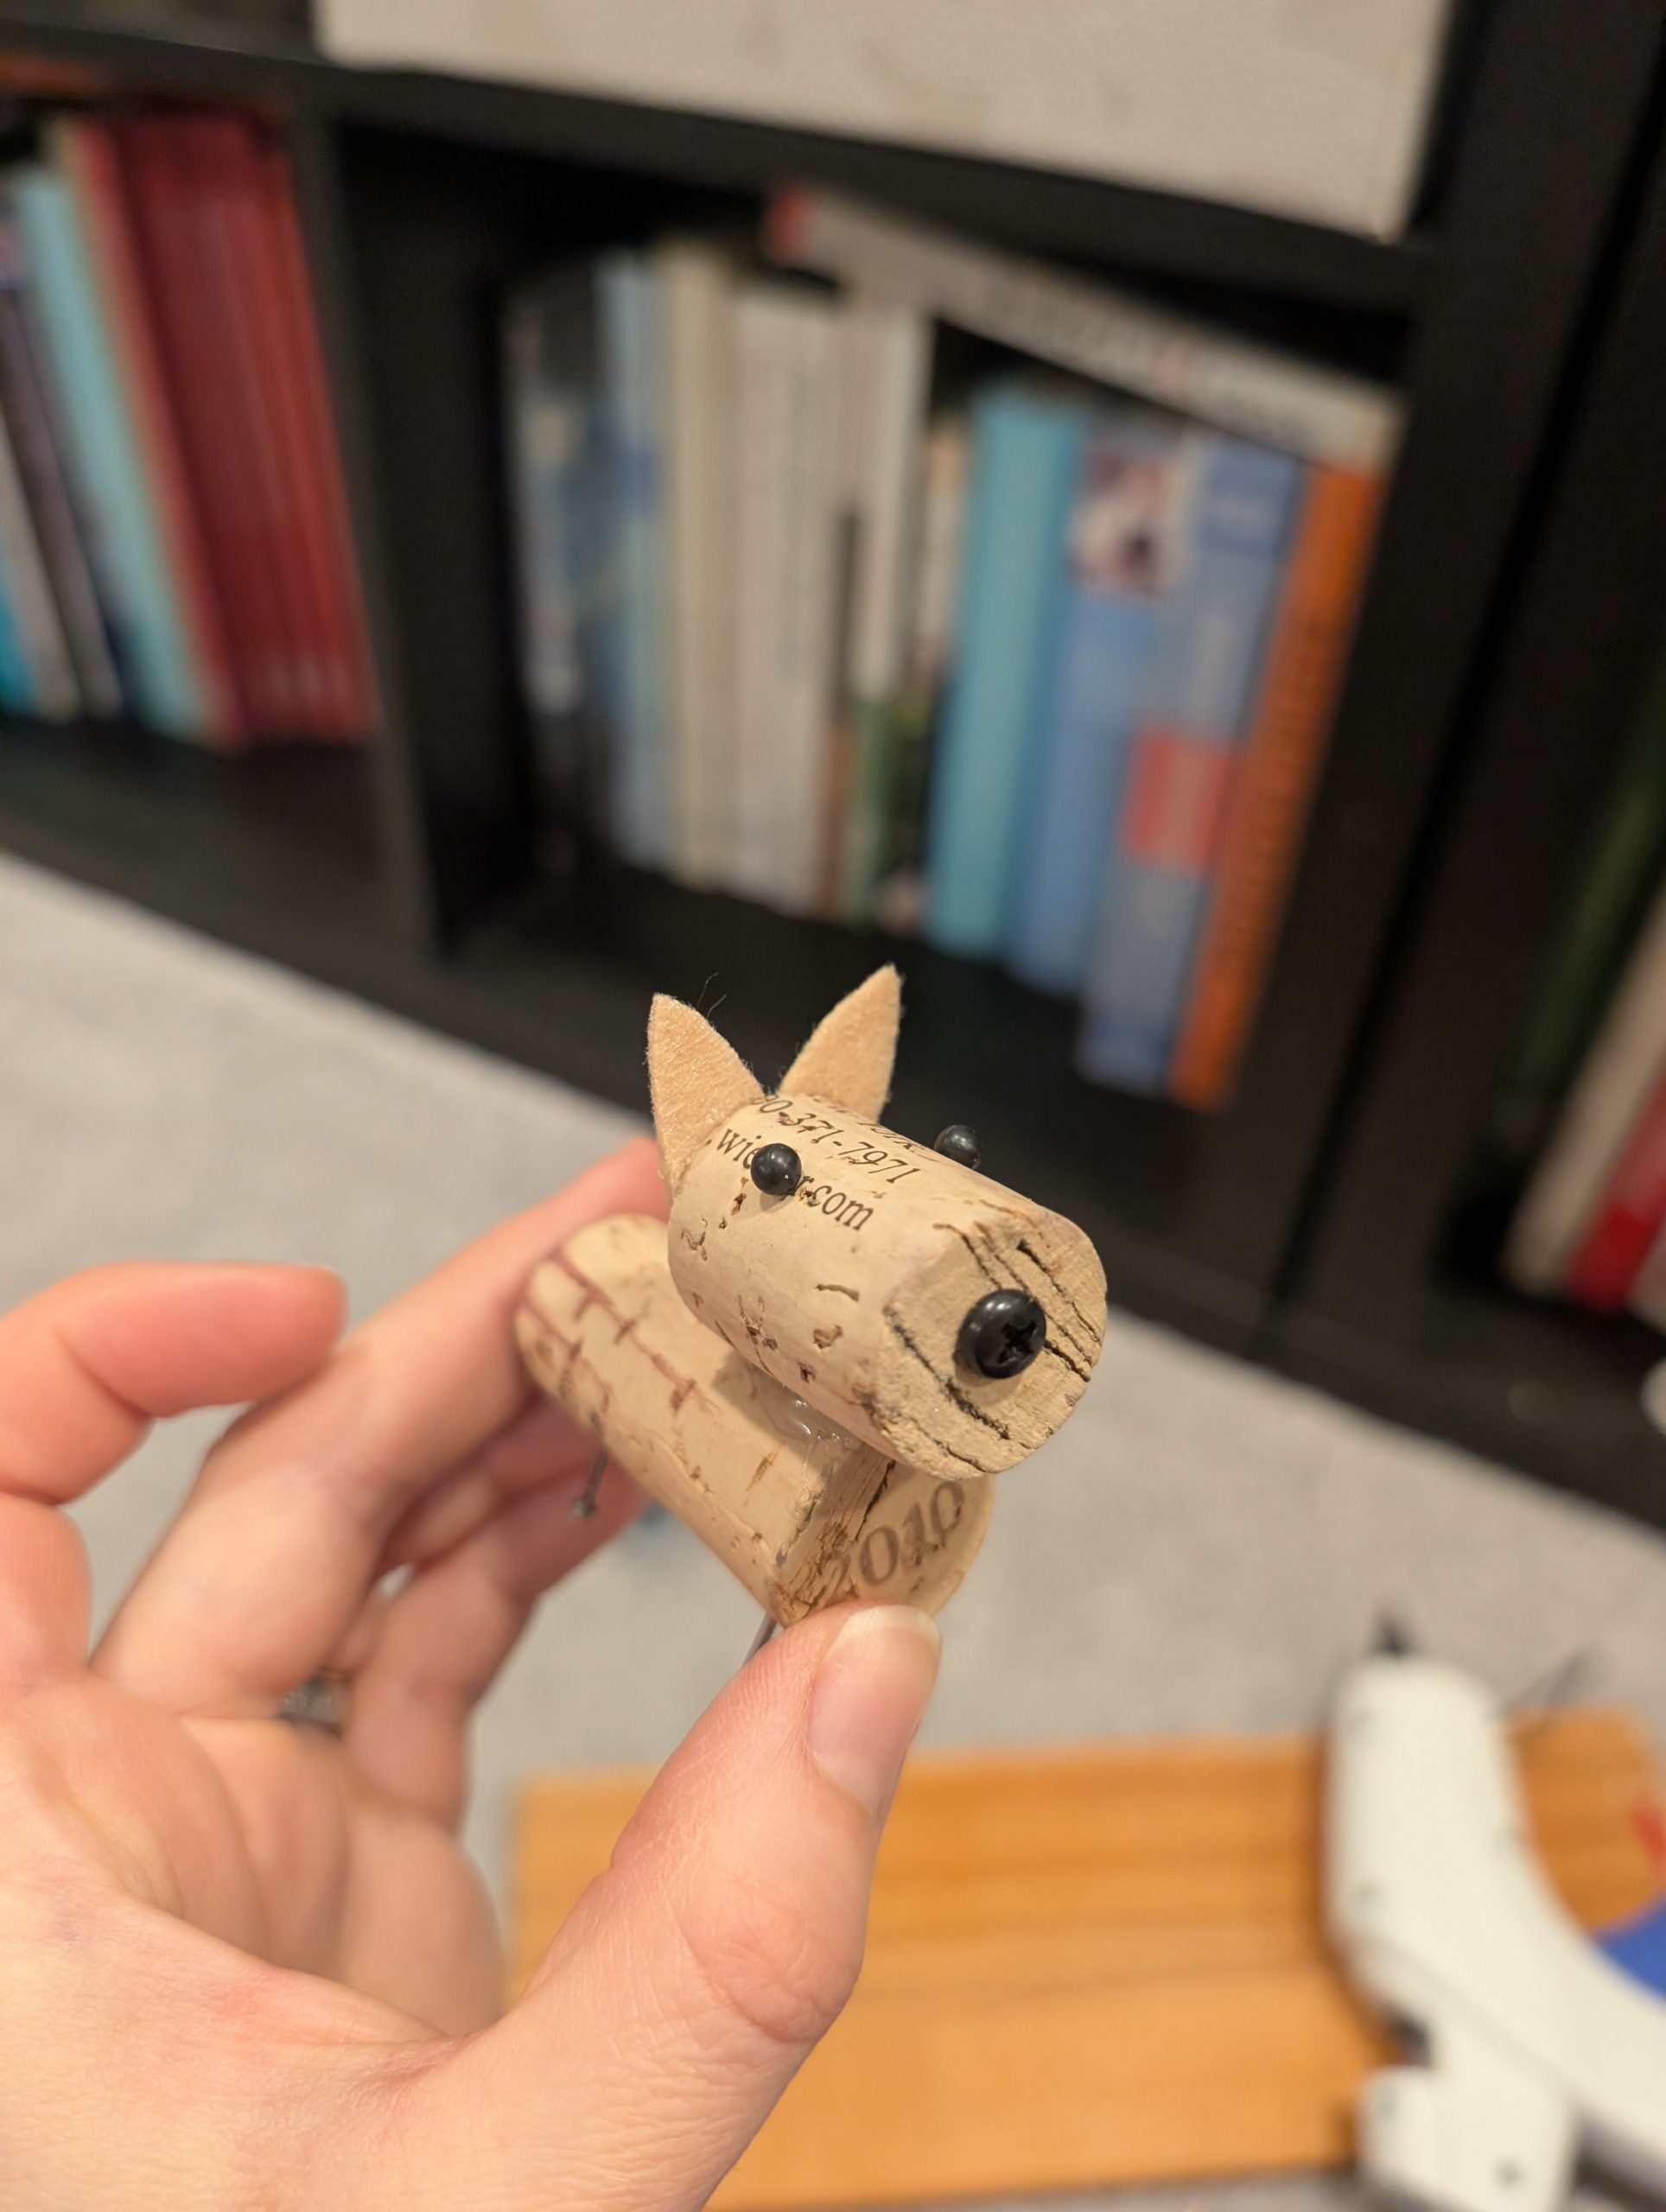
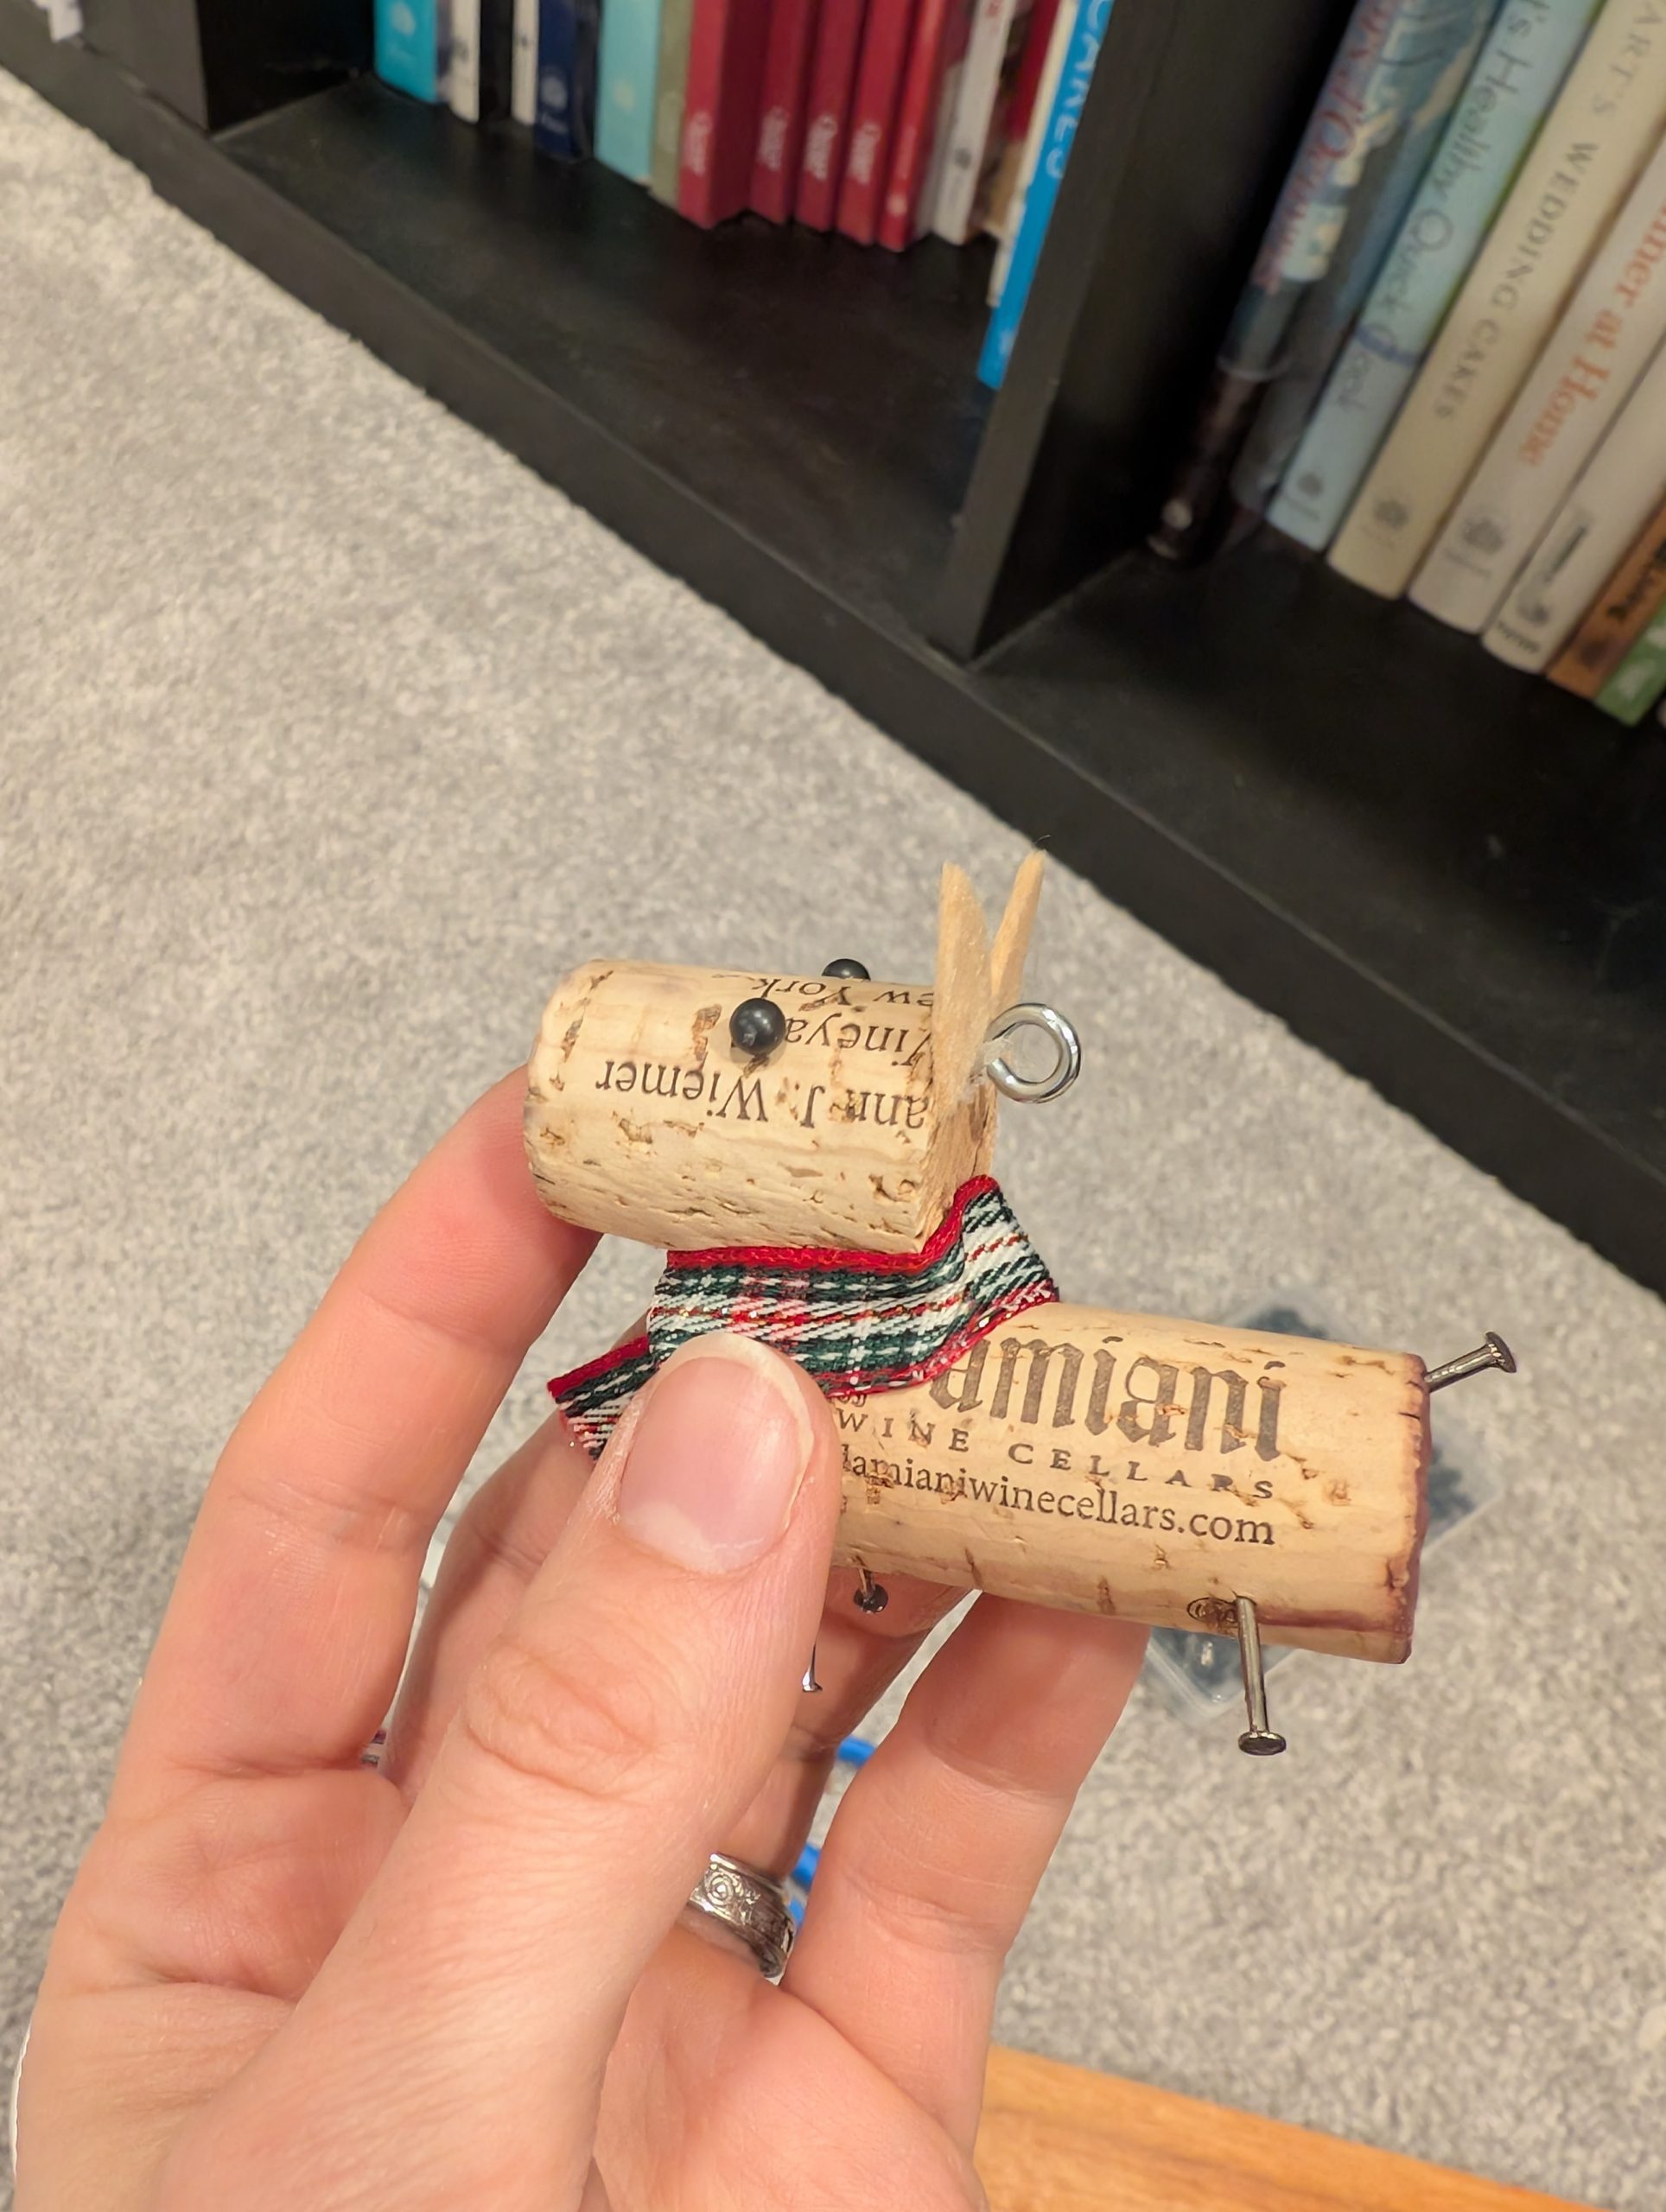
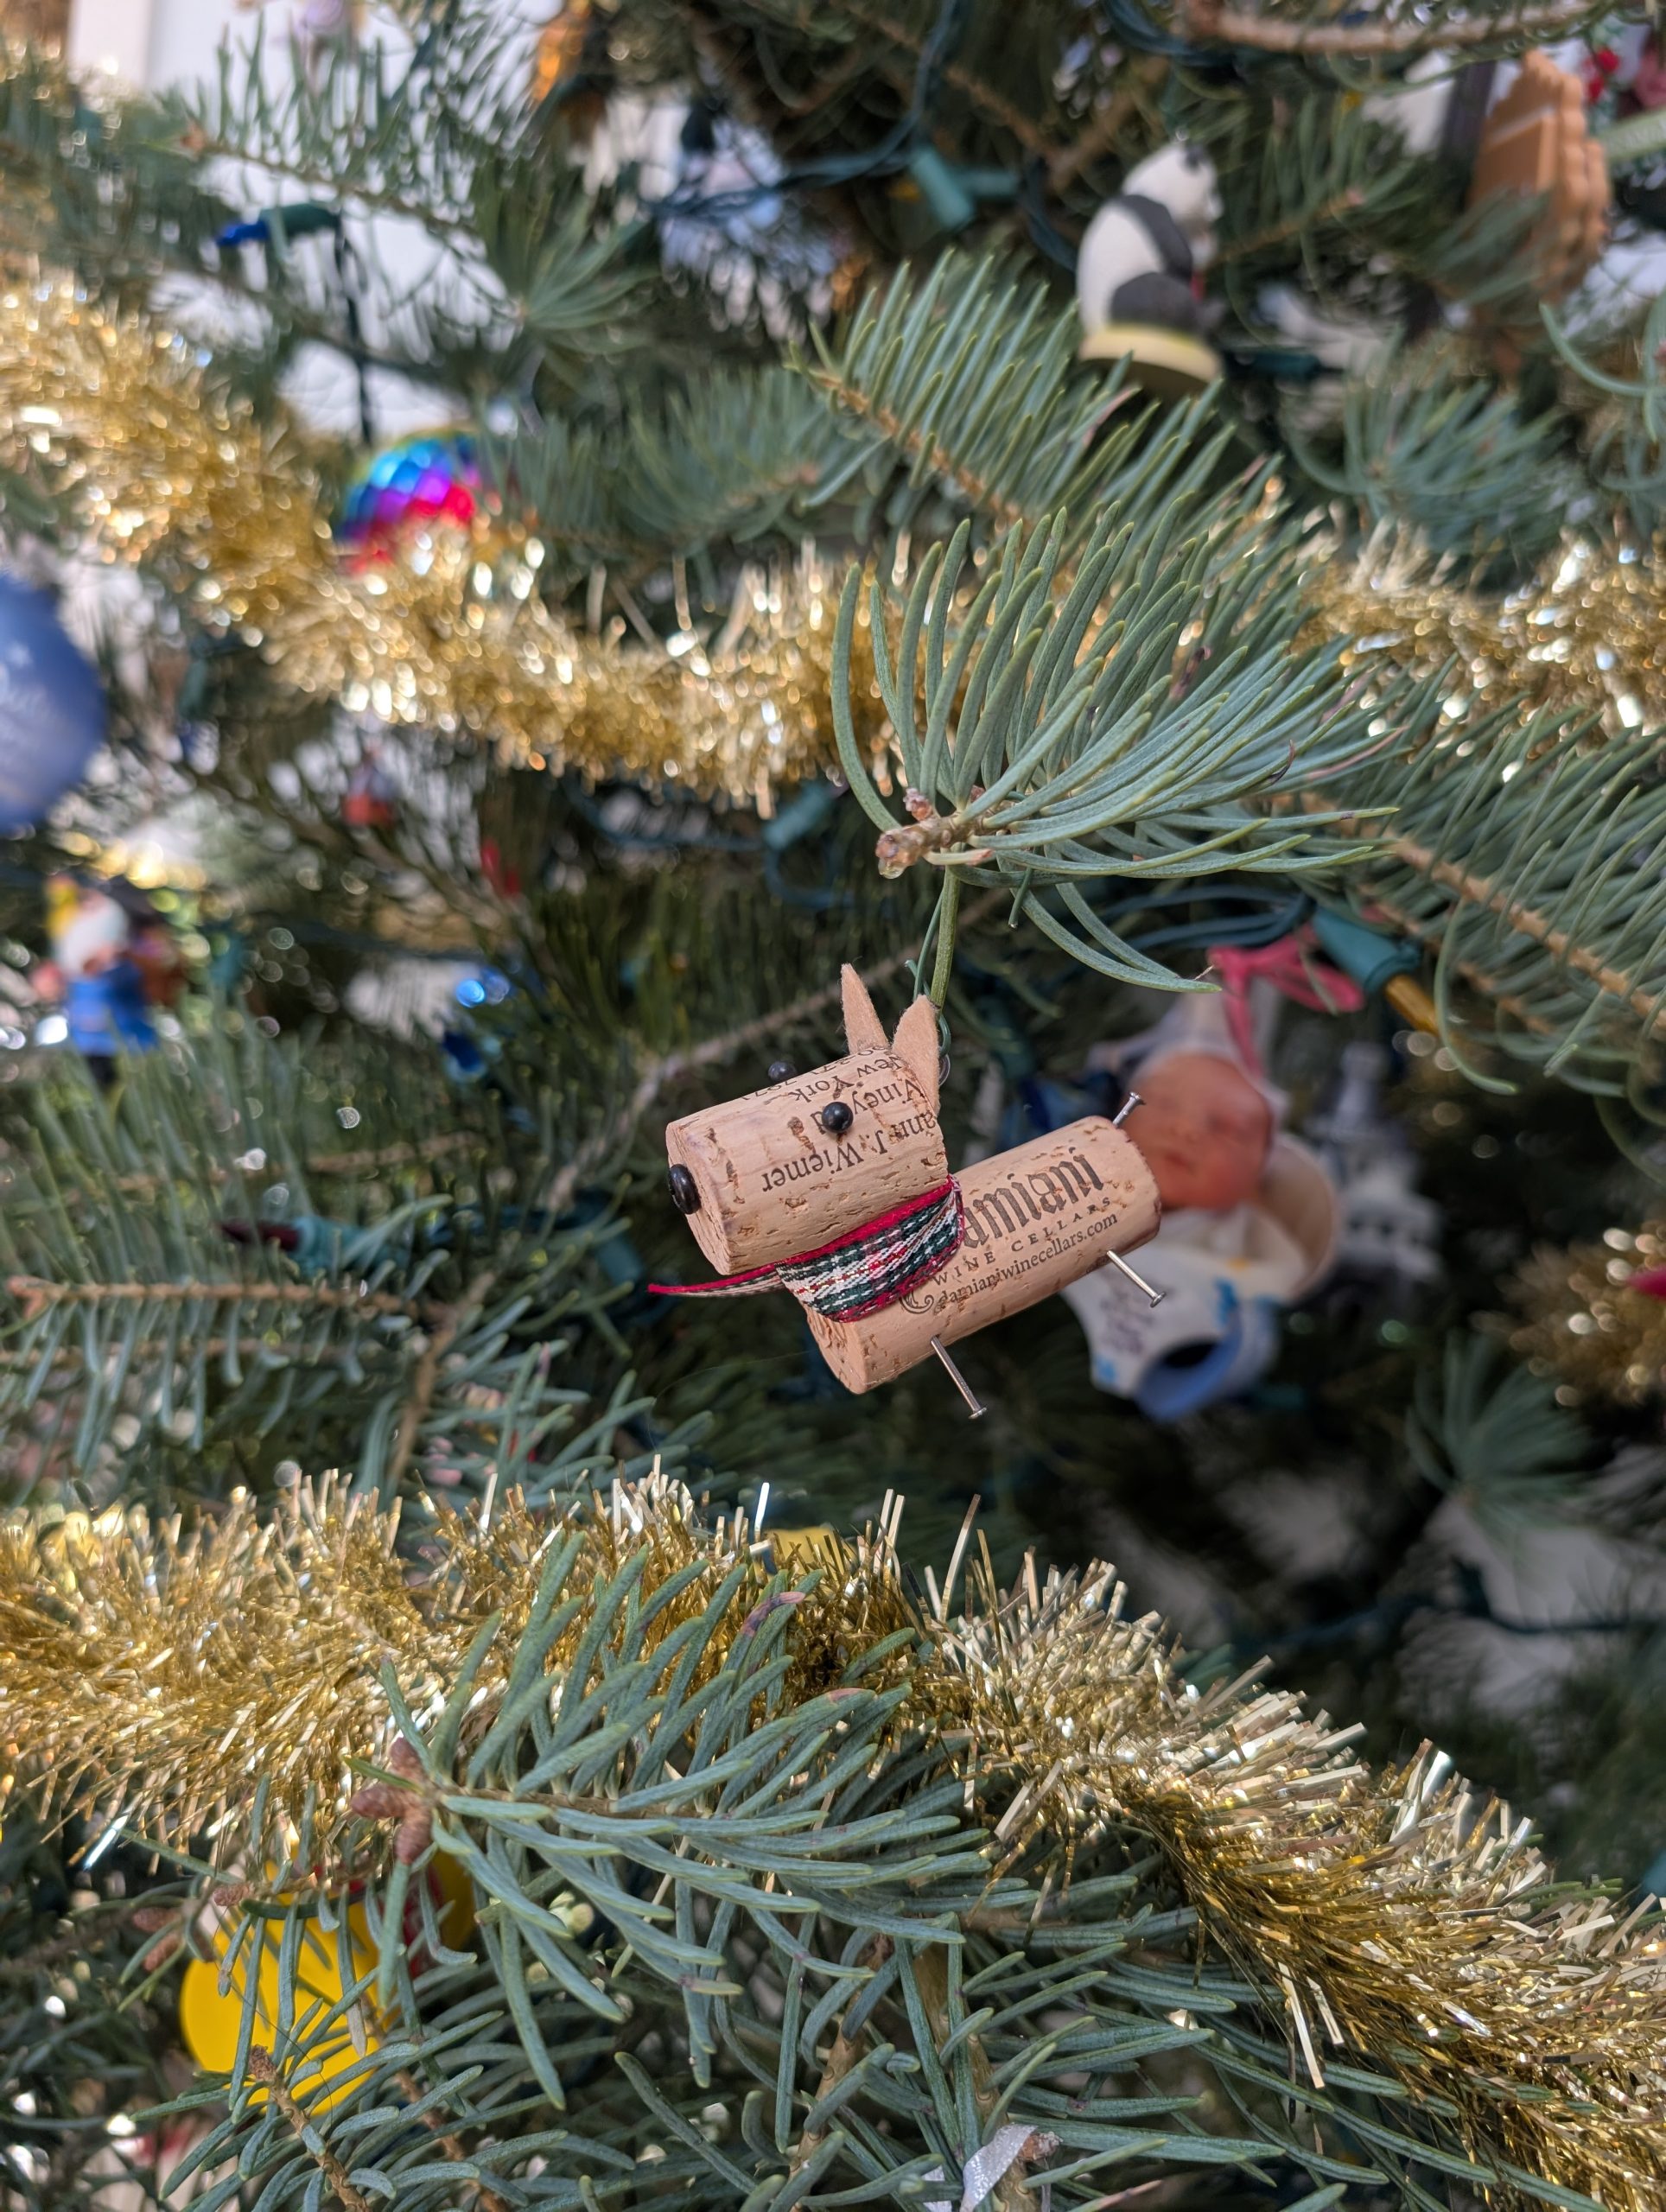
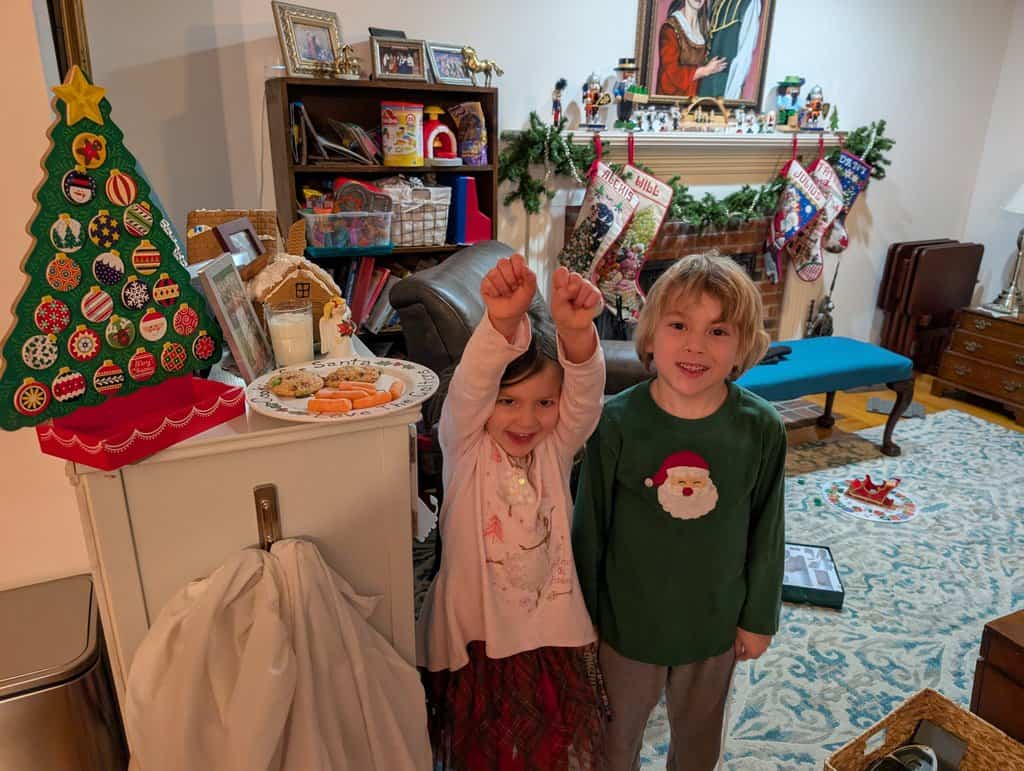
I have a couple things to show you that a made as presents for Christmas this year, but this week I wanted to show you something silly the kids and I did. Patricia came home before Christmas with reindeer food that she was supposed to sprinkle on the lawn to attract Santa’s reindeer to make sure they didn’t miss our house. They were really excited about it but to me it looked like oats mixed with silver glitter… and I’m going to guess the glitter would not be ideal for animals to eat (though I guess we all have a plastic spoon work of microplastics in our brain already… but I want to avoid contributing…) I told the kids that I was worried about the glitter being made of plastic and that we could definitely make our own. Julius was pretty convinced that it wouldn’t work without the glitter because it was reflective to attract the reindeer. Luckily I have a stash of sprinkles (read this as: I have a whole cabinet of sprinkles because I’m a crazy person.) We were able to find a suitable substitute! We used the Sweetapolita Flight of the Unicorn sprinkles with silver edible glitter stars and small silver dragees. (Yes I know these are no longer considered edible by the FDA but Canada still thinks they are and under this regime I’d trust Canada more with my life than the US. Just don’t eat a bucketful!)
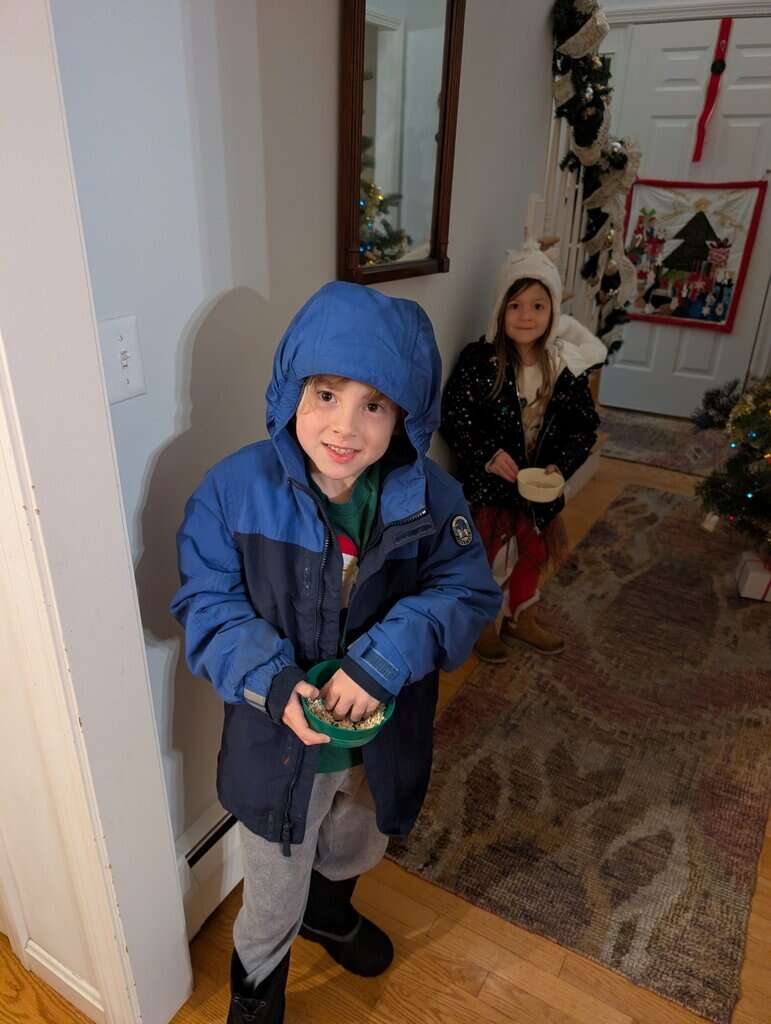
We can confirm it works! The kids sprinkled it all over the lawn and woke up to presents and our cookies and carrots gone!