Oh my gosh. It is APRIL. This is atrocious! I apologize for leaving you hanging for TWO MONTHS. Life has just gotten SO BUSY and my motivation is completely in the tubes (though I may have turned that around!) I also decided to run for School Committee which is, apparently, a legit elected position. Luckily I’m running unopposed, but still, vote for me on May 11th! Some of my friends in town were joking they were going to write in Will on the ballot and see how that played out since most people don’t bother filling in the unopposed boxes… I know he’d love to wake up to find out he was on school committee /s.
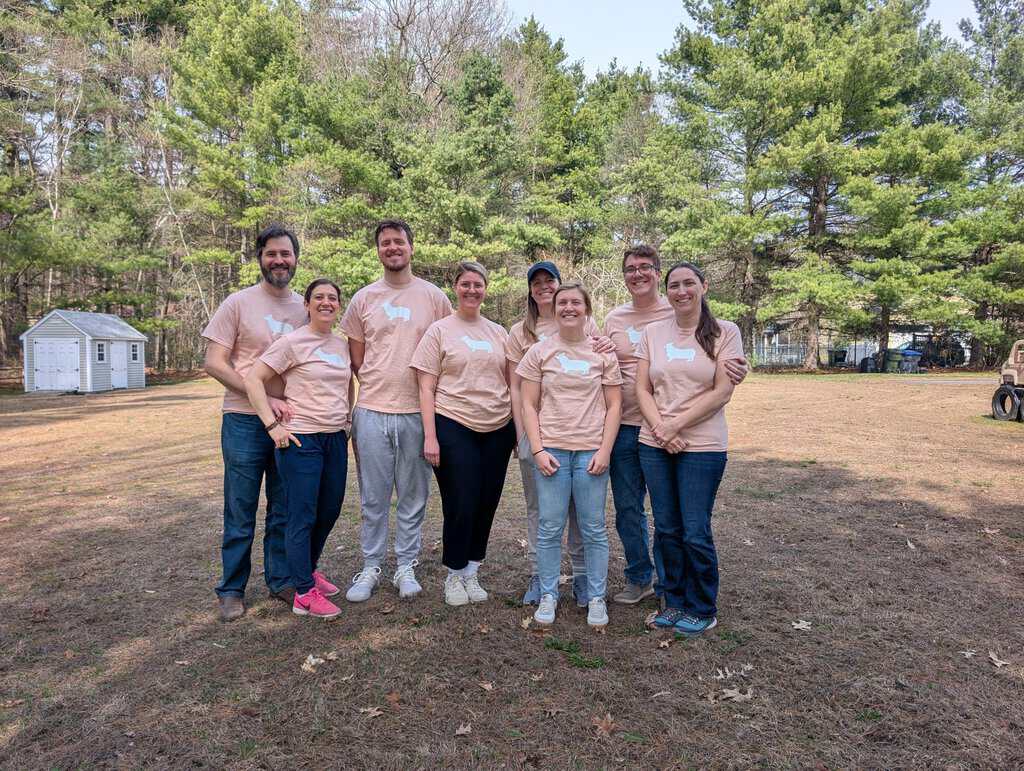
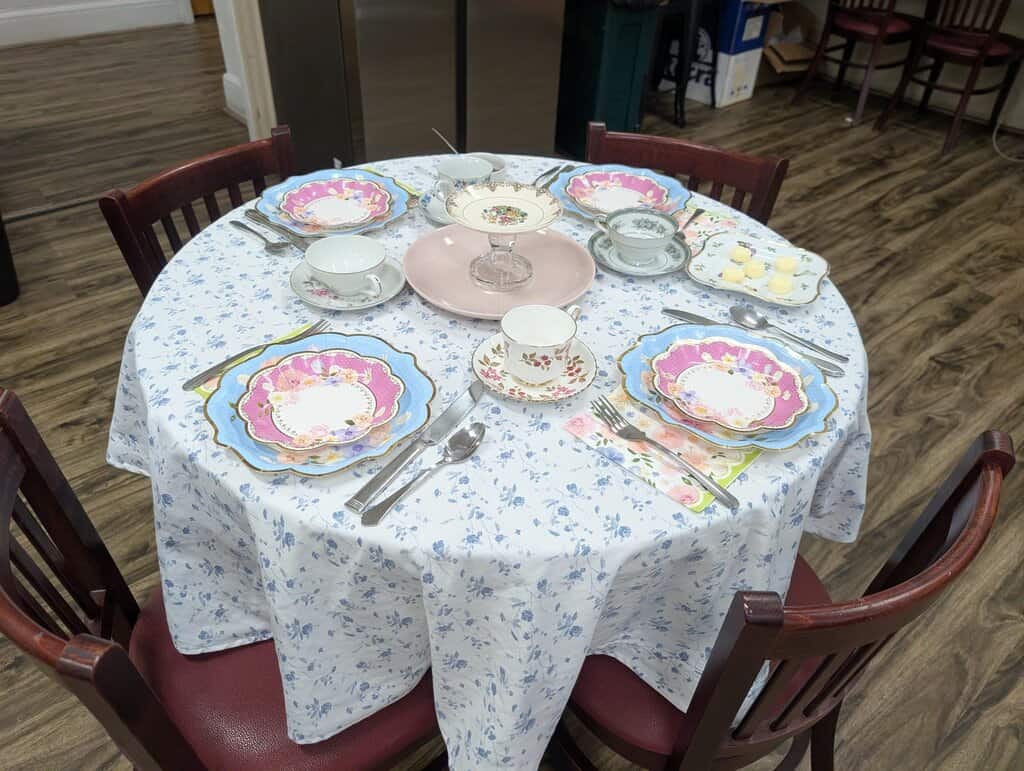
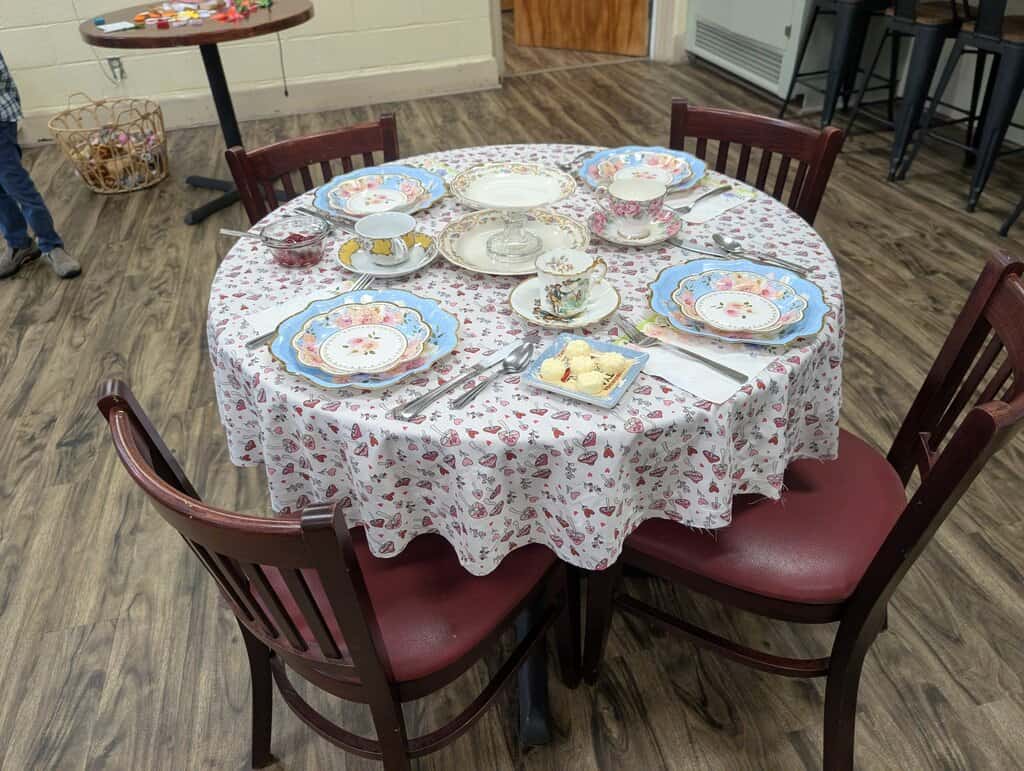
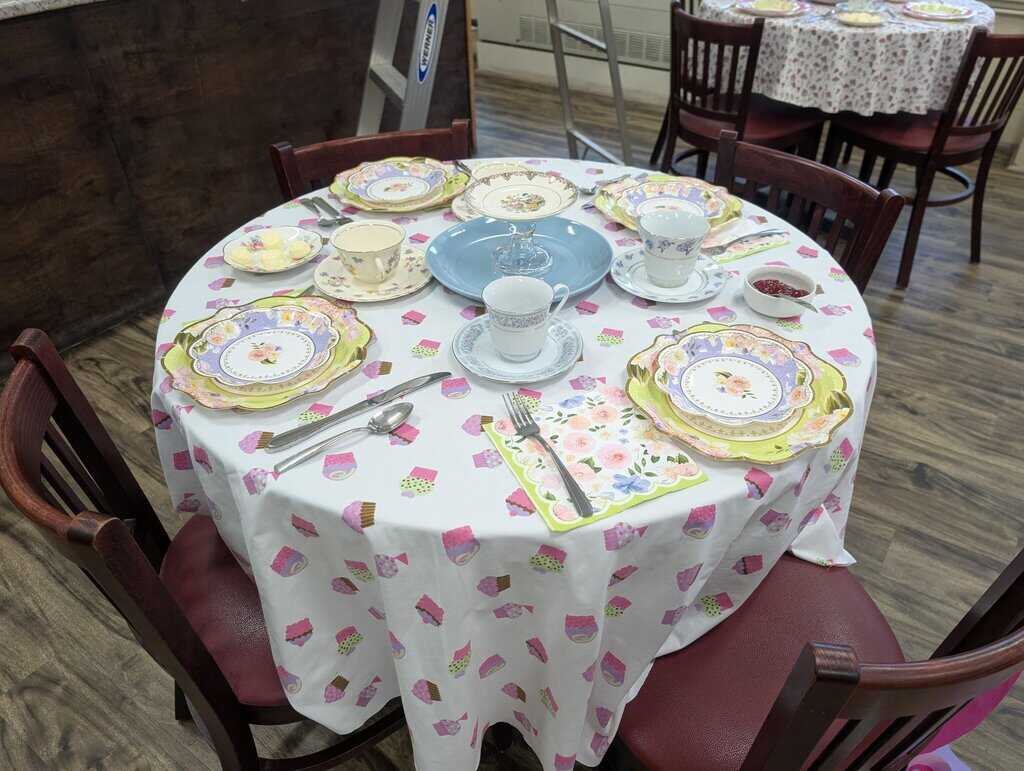
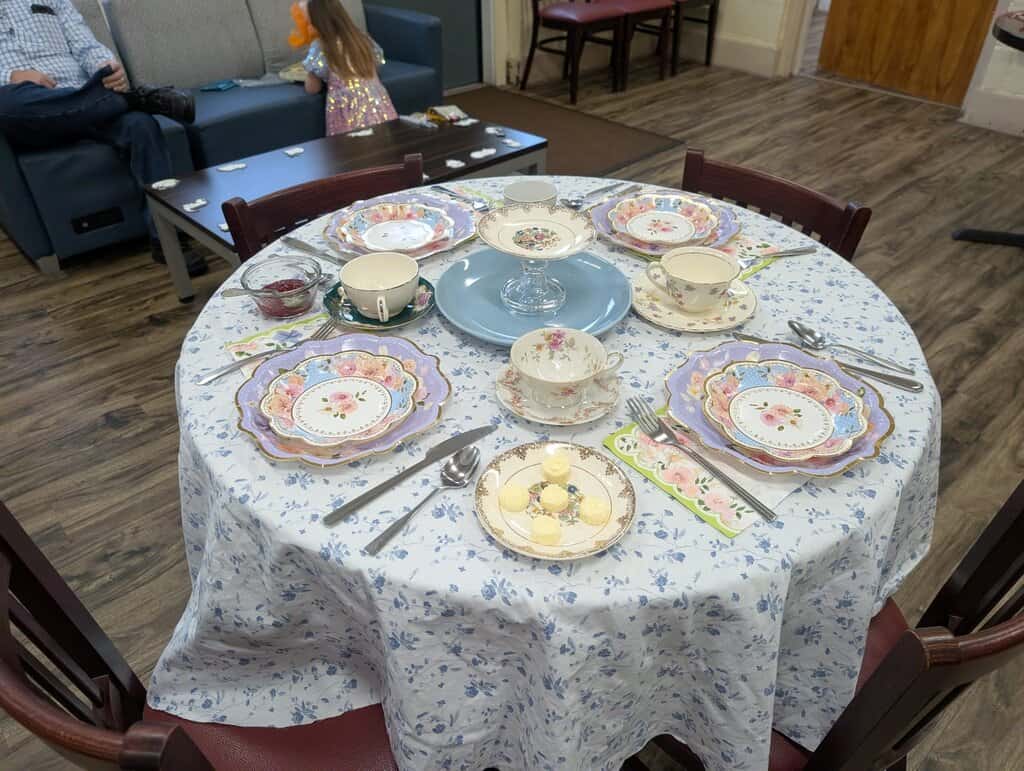
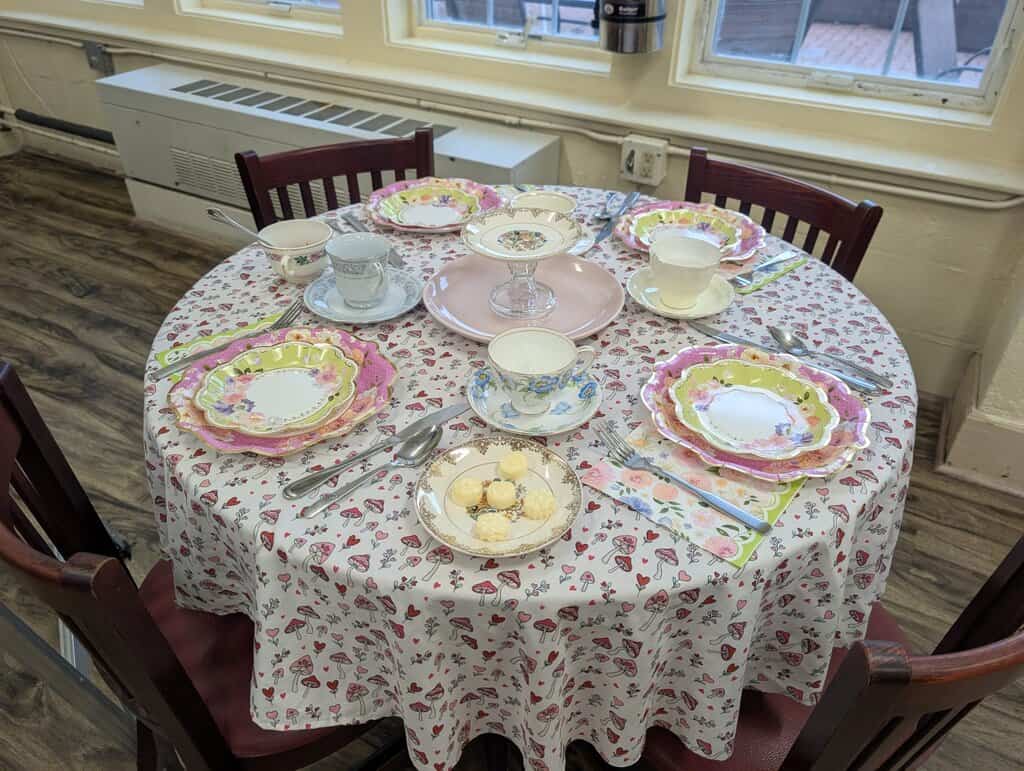
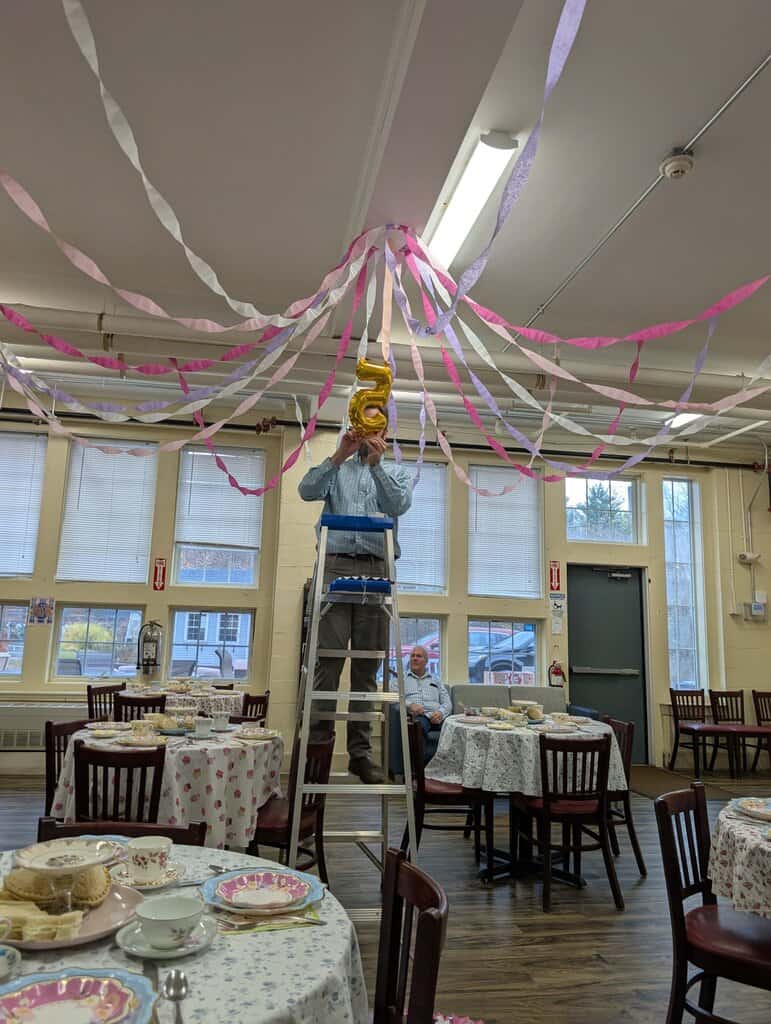
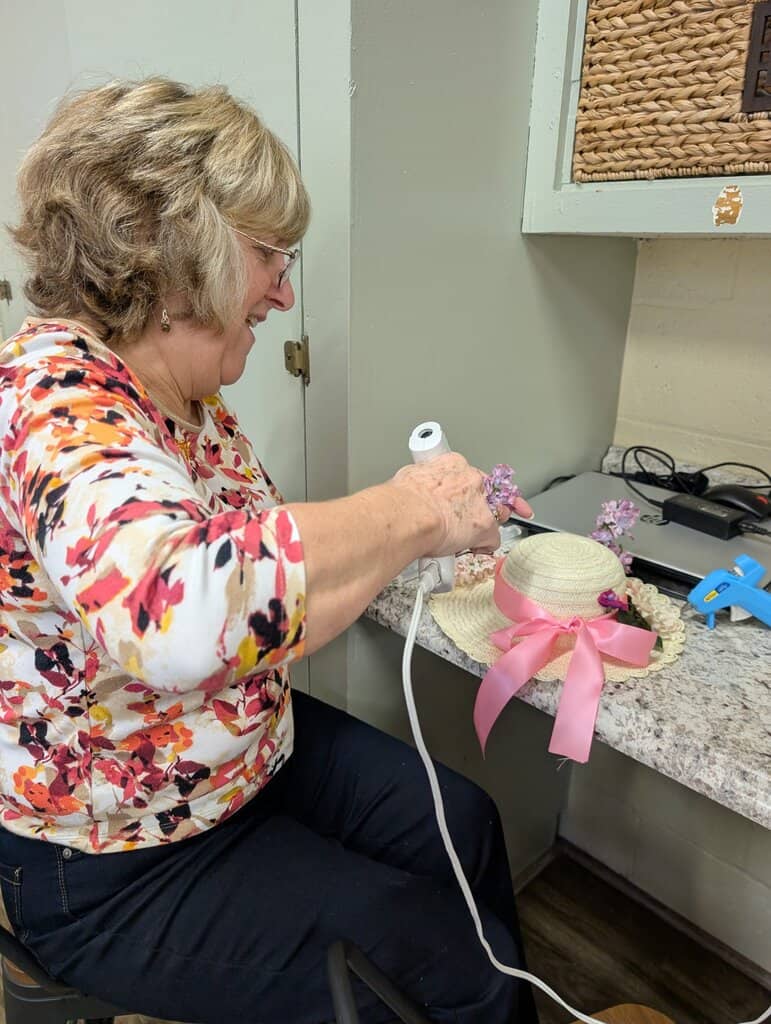
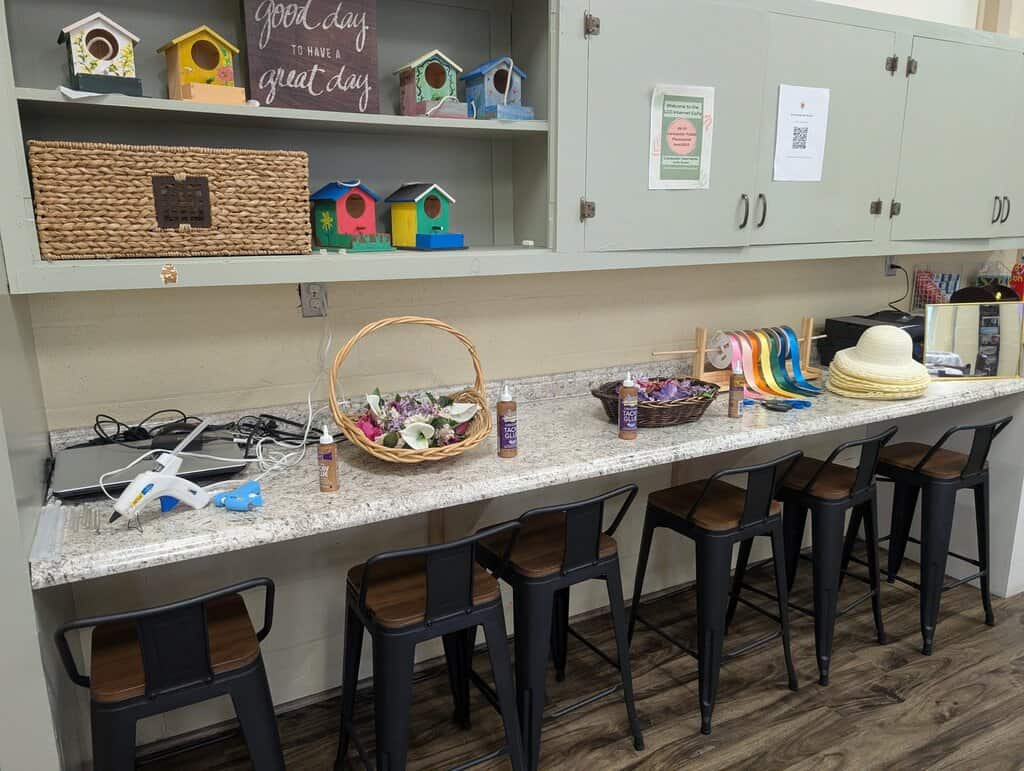
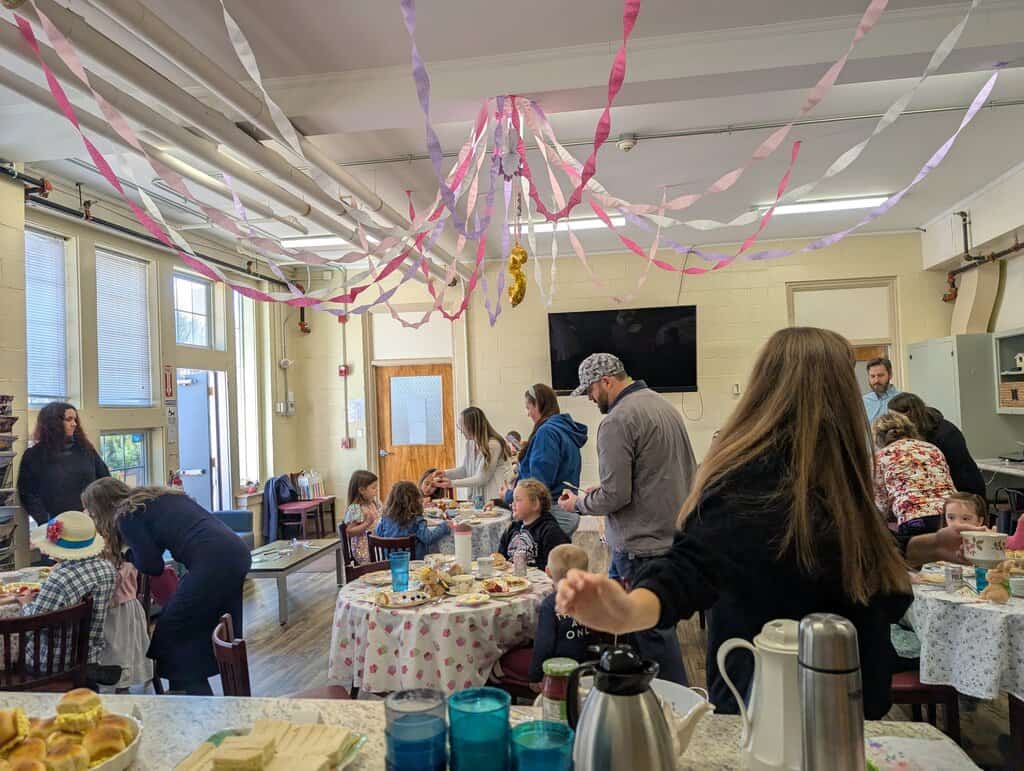
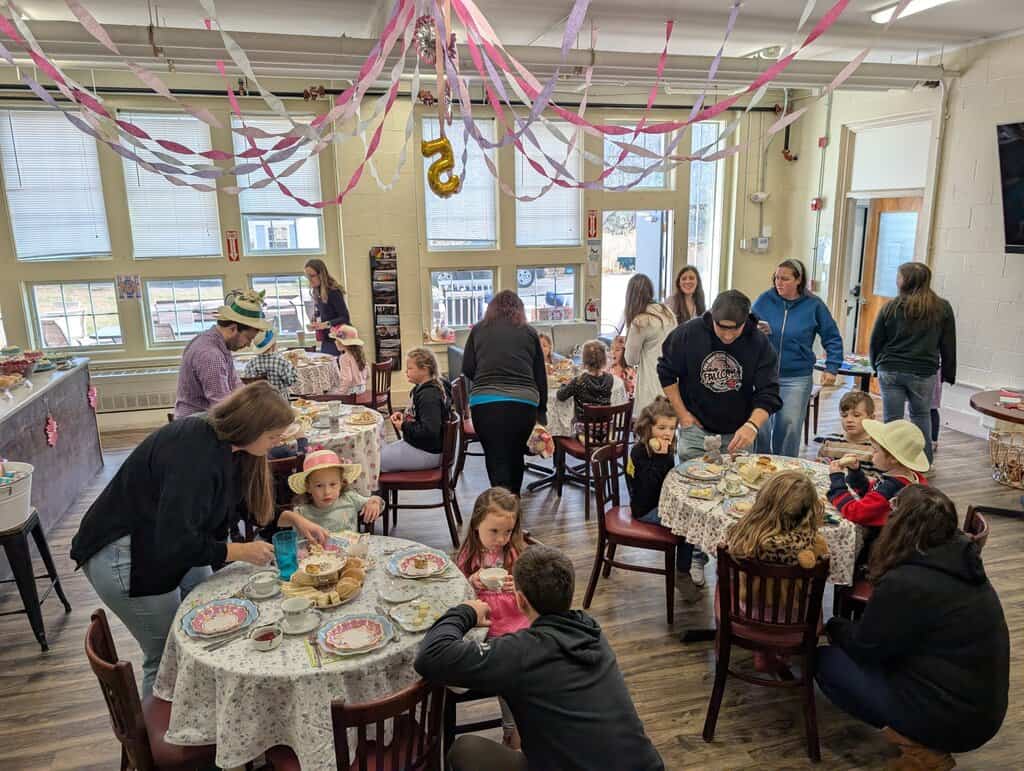
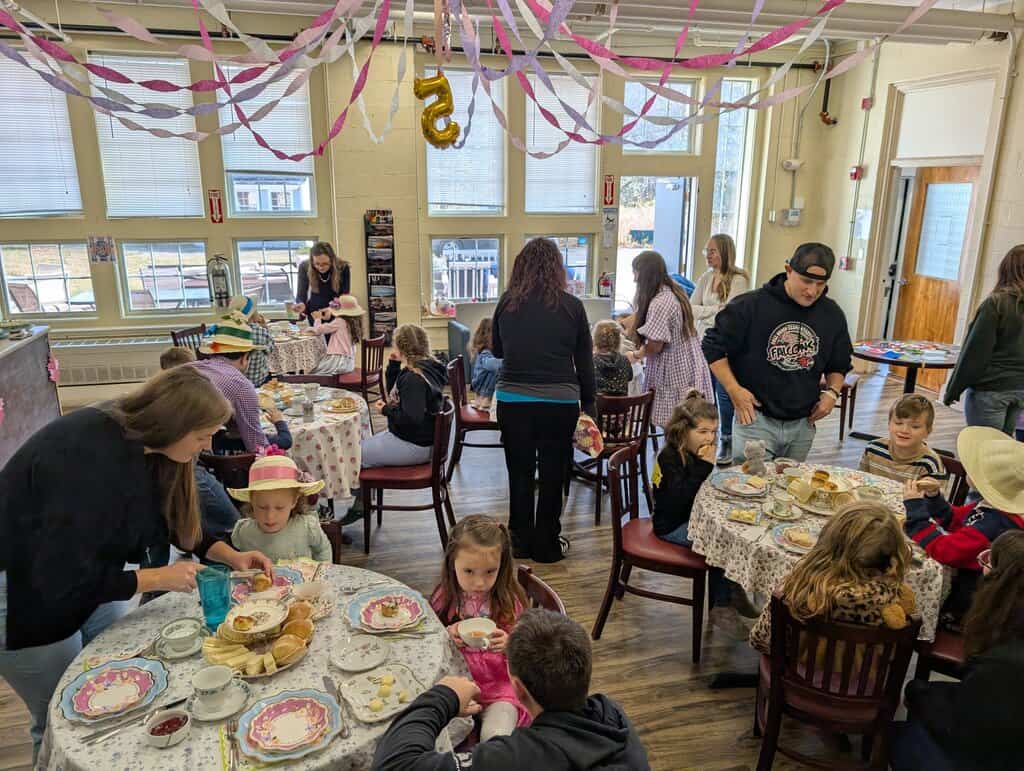
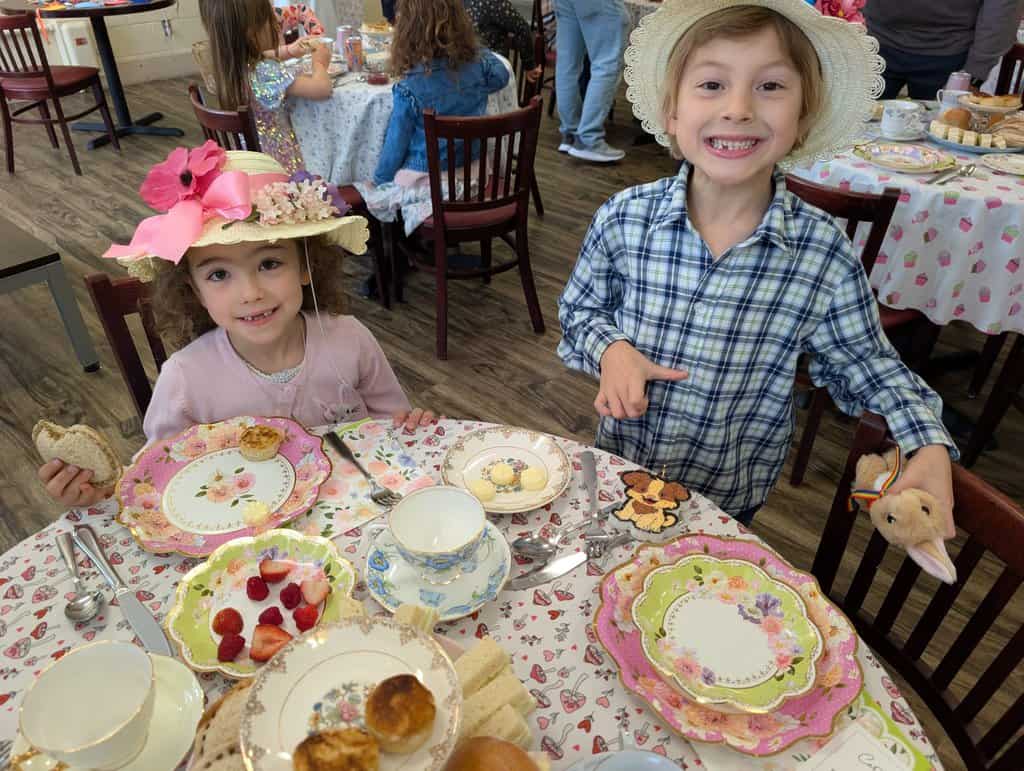
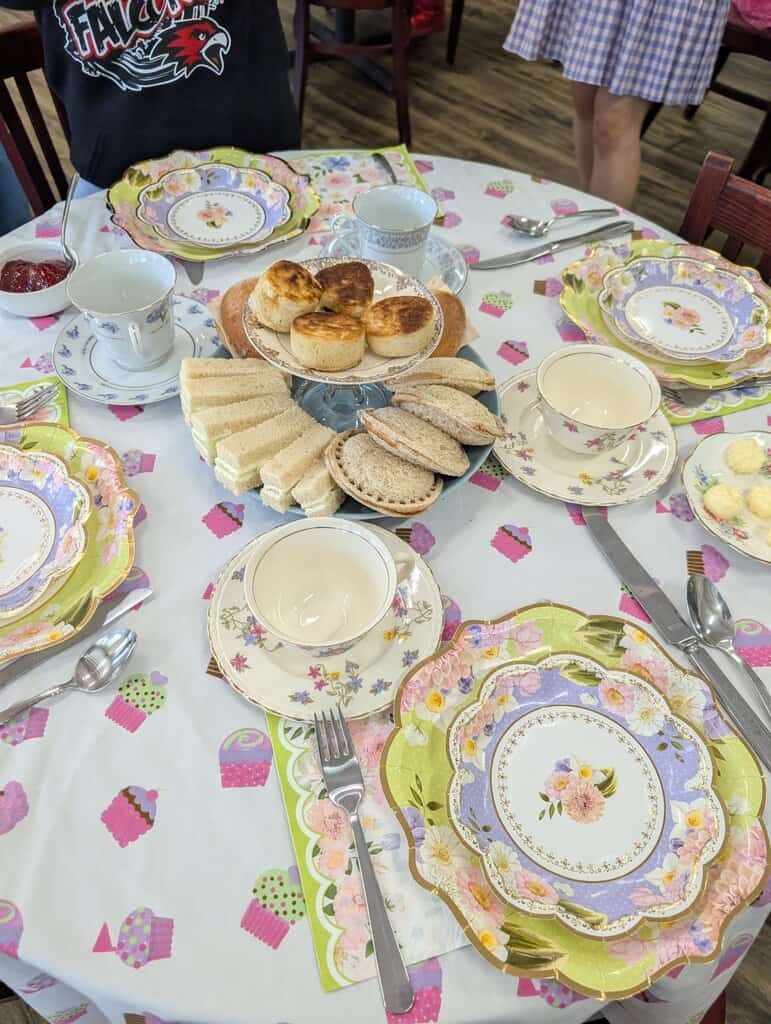
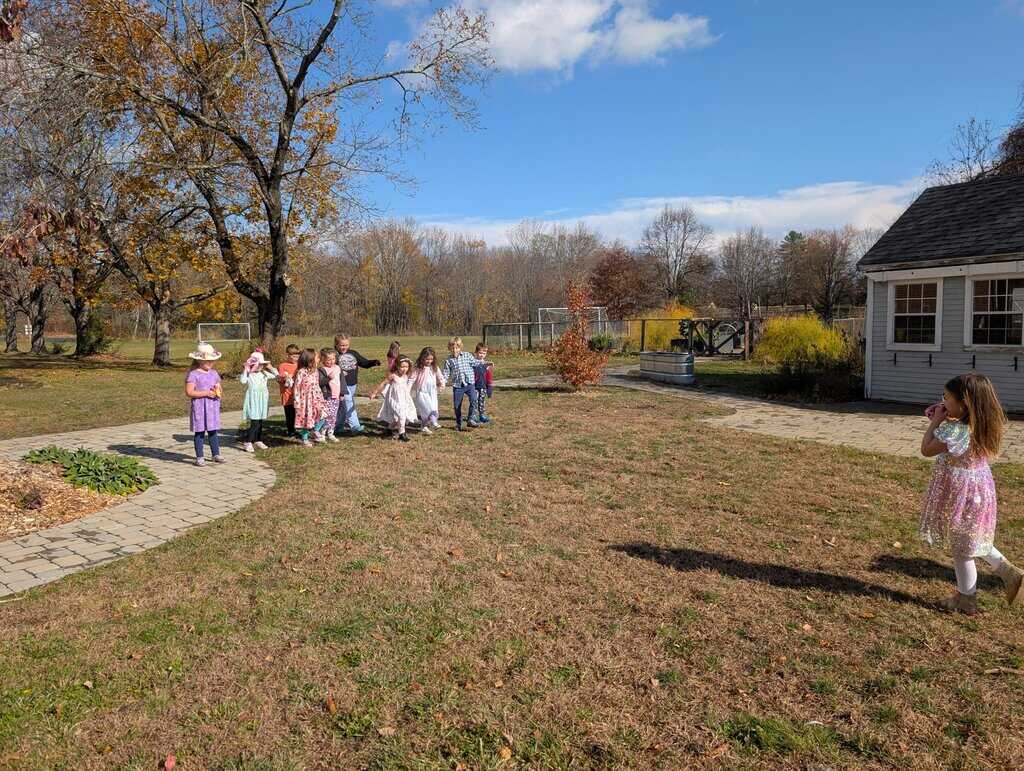
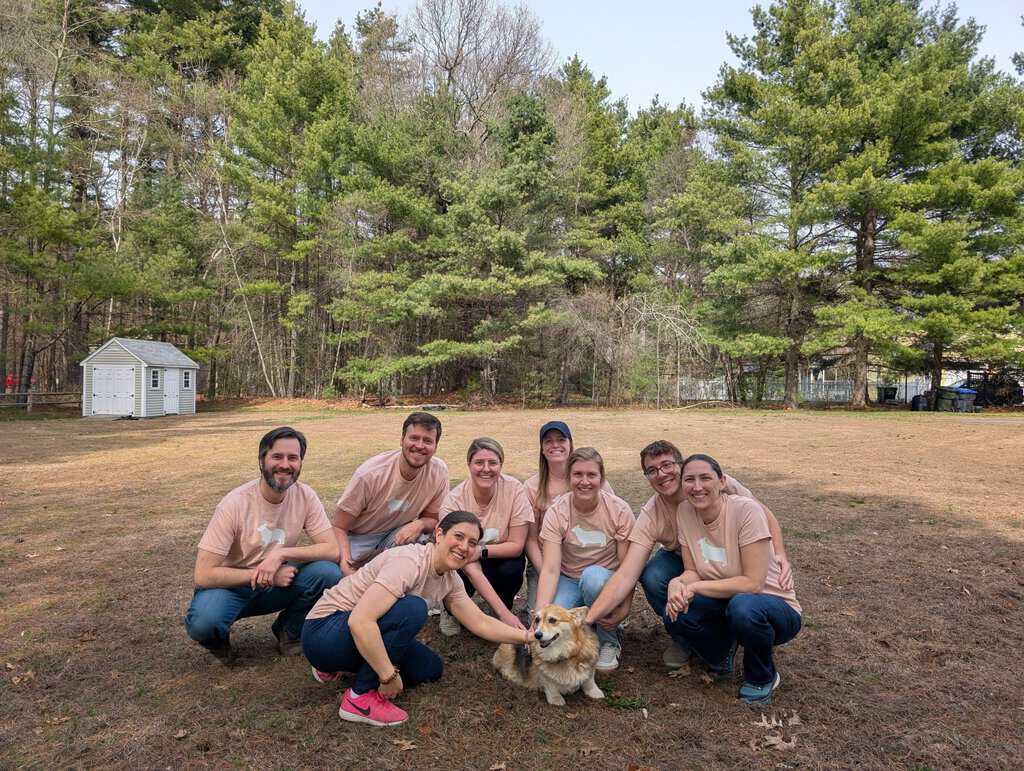
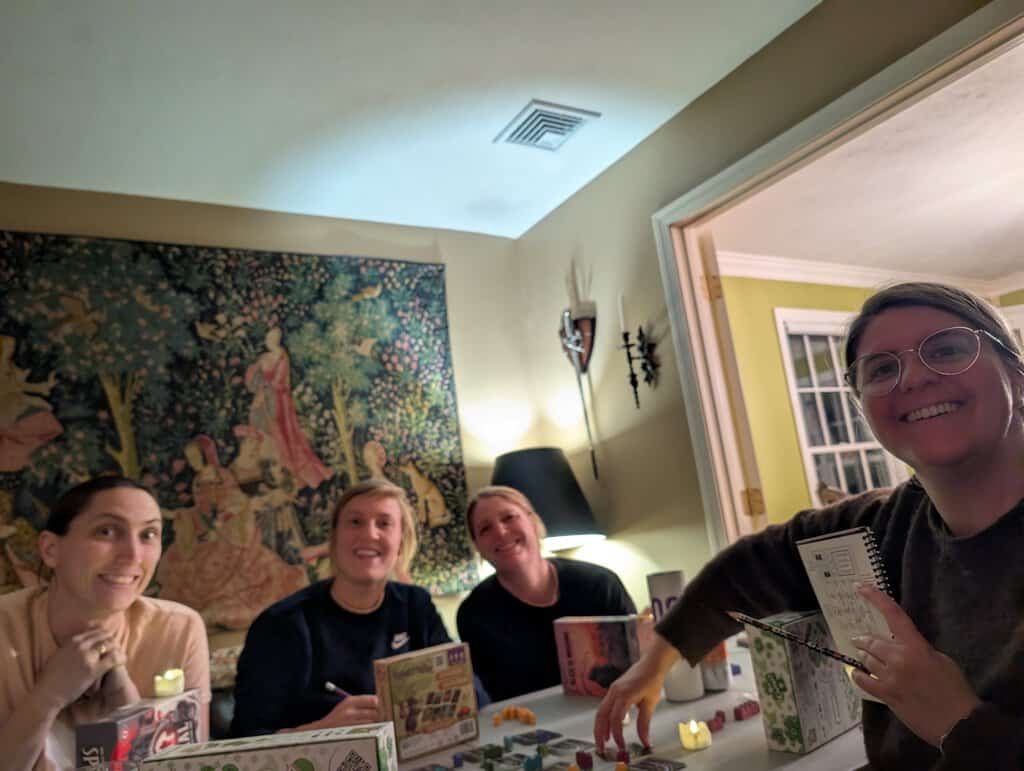
Gosh what to even tell you from the last couple months?! Well, I guess I’ll start recent. Last week was Danycon! We somehow missed Danycon last year due to pushing the last one back a bit and then no one being able to make it! Instead Erin and Mark had KatieCon with Will because everyone else was too absorbed in their own lives (read: busy with work and wallowing in existential dread – okay wait that was just me). But we DID have Danycon this year and it was a blast! Erin had a conflict with a mother-daughter tea party with Ari but even she was able to get in in the wee hours of Sunday for a full day of Danycon. Everyone (except Erin) flew in Friday and then flew out Monday afternoon so we had a SOLID TWO DAYS to play games. IT WAS A BLAST.
Theme
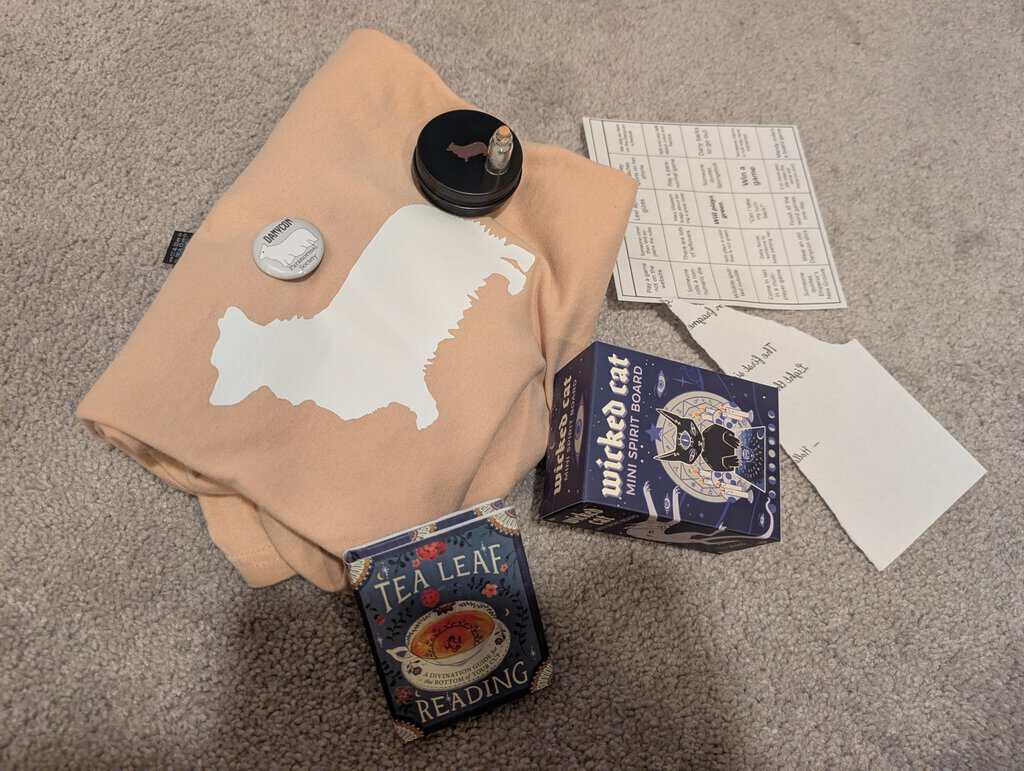
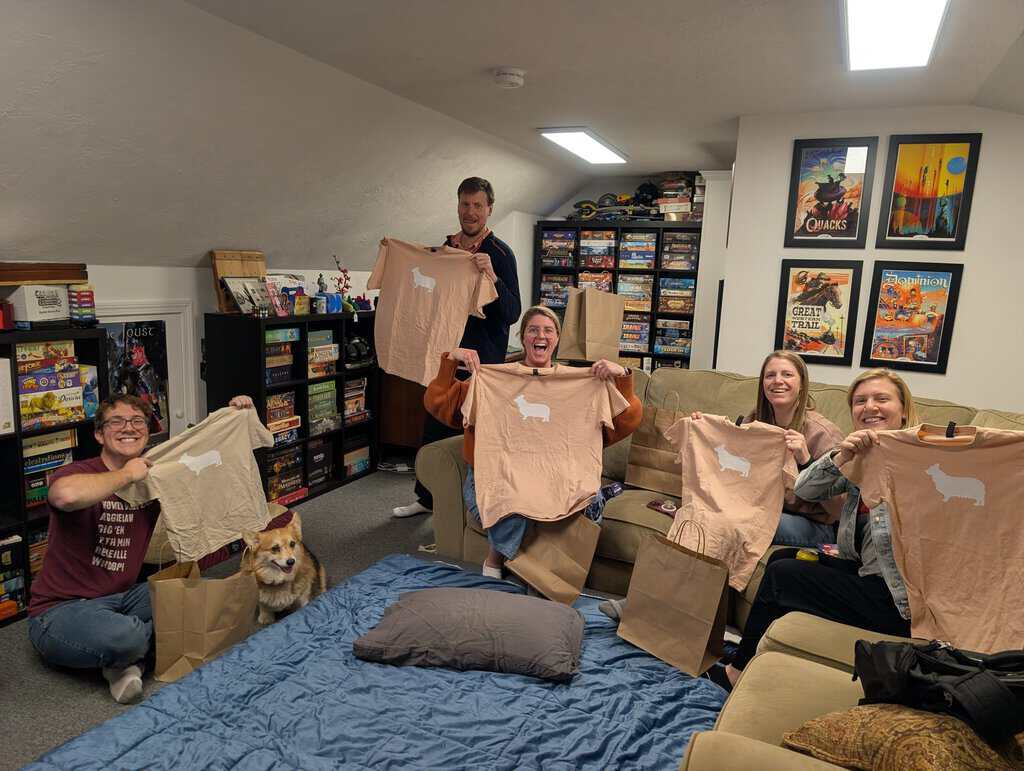
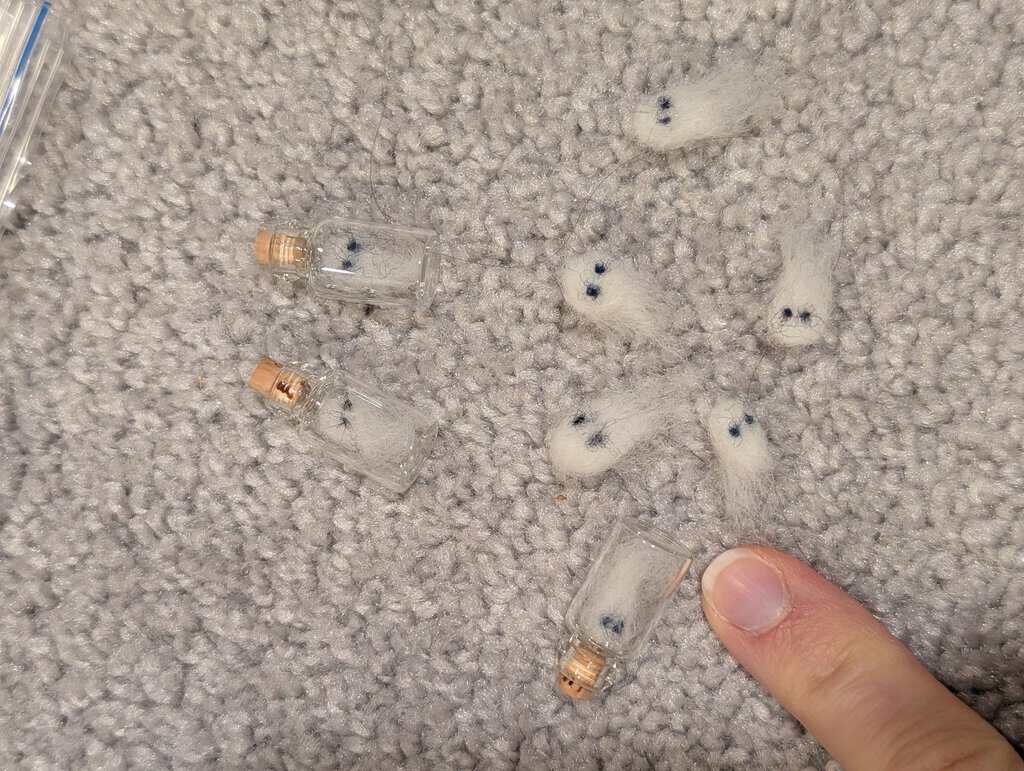
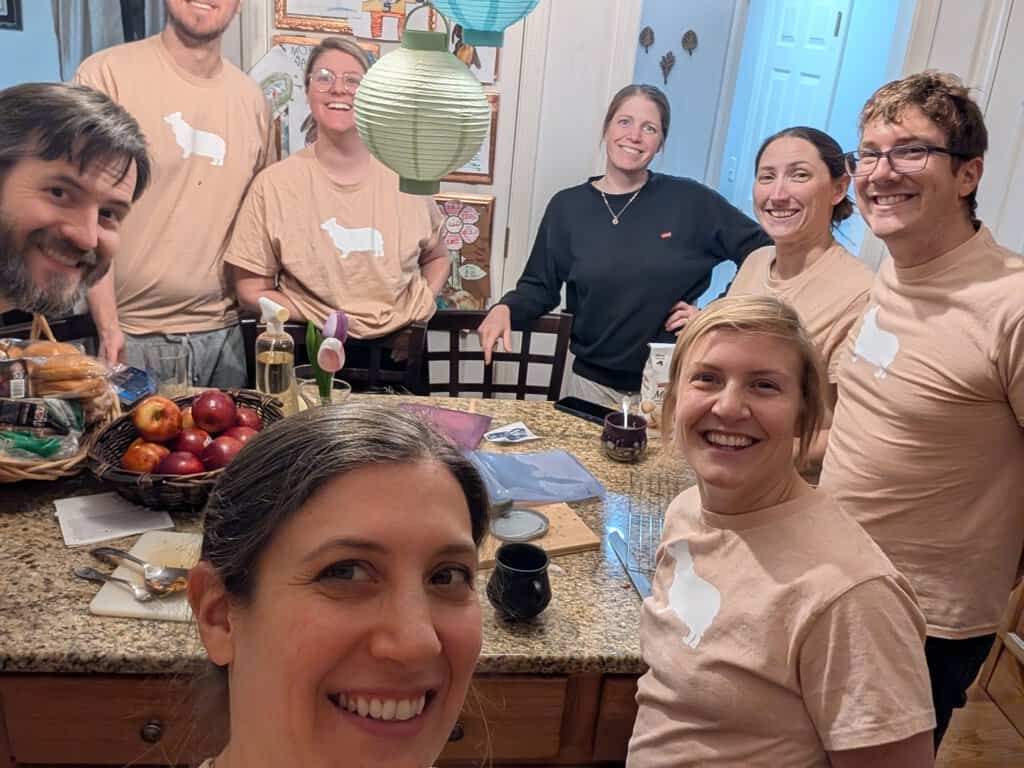
The theme this year was paranormal. Unfortunately we recently got rid of a bunch of our paranormal games… so our paranormal games were somewhat slim pickings. We still managed to play quite a few. And we kept with the theme for our goodie bags which contained mini ouiji boards, tea reading books with loose leaf tea, a ghost in a jar, danycon paranormal society pins and danycon shirts with a fun surprise.
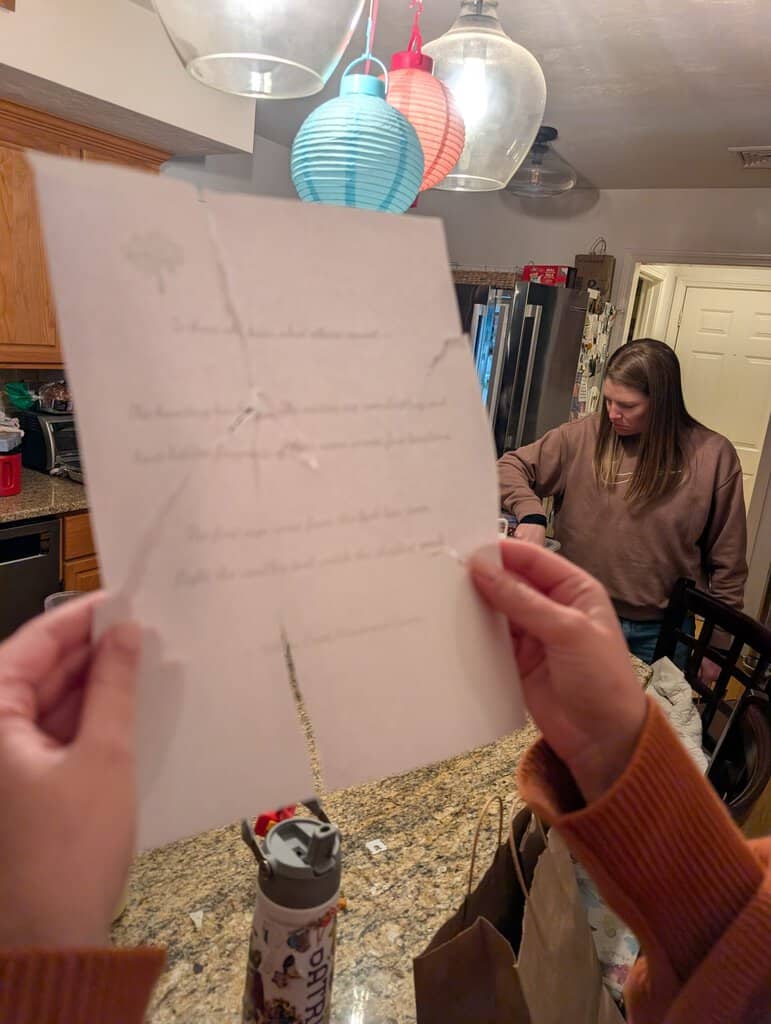
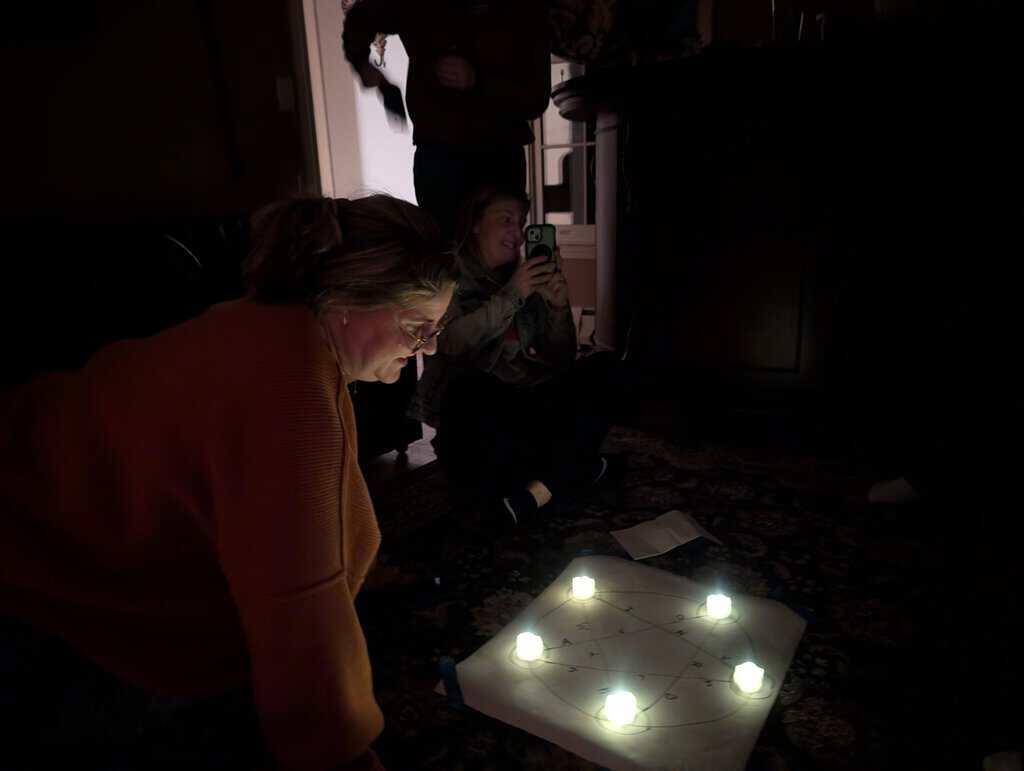
Will made an epic paranormal themed scavenger hunt this year that I really wanted to help with. Unfortunately I ran out of time making shirts and other stuff for the goodie bags so Will made the whole thing SOLO. I was incredibly impressed. I basically only imparted a few ideas. Claude also helped…

We had a very cranky participant last year for DnD that honestly ruined the entire experience for me so Will and I decided to take a year off. It’s just no fun to DM someone who is actively disinterested. Surprisingly everyone else was deeply saddened by this and said they look forward to it every year! So we will be doing it again next year! We just will let people decide in advance if they want to opt out. We also didn’t have a murder mystery dinner because we weren’t sure if Erin was going to make it and didn’t want to risk 7 players when we needed 8. Next year we’ll have another one. Instead we did this new RPG Alice is Missing that Will and I played at PAX. It’s silent, done all over text messages and after setup it is 90 minutes total. I think everyone enjoyed it but Mark went to pick Erin up from the airport so neither of them got to play it (I’ve got a session set up with them tomorrow instead!)
As usual Will made his online board game itinerary. Erin and Mark made fun sporkle challenges for us to play every morning which were a blast! Including what year is the Danycon shirt from which everyone but me were stumped about. We also played Bingo again and Mary Elizabeth won! No one was able to get full card bingo…
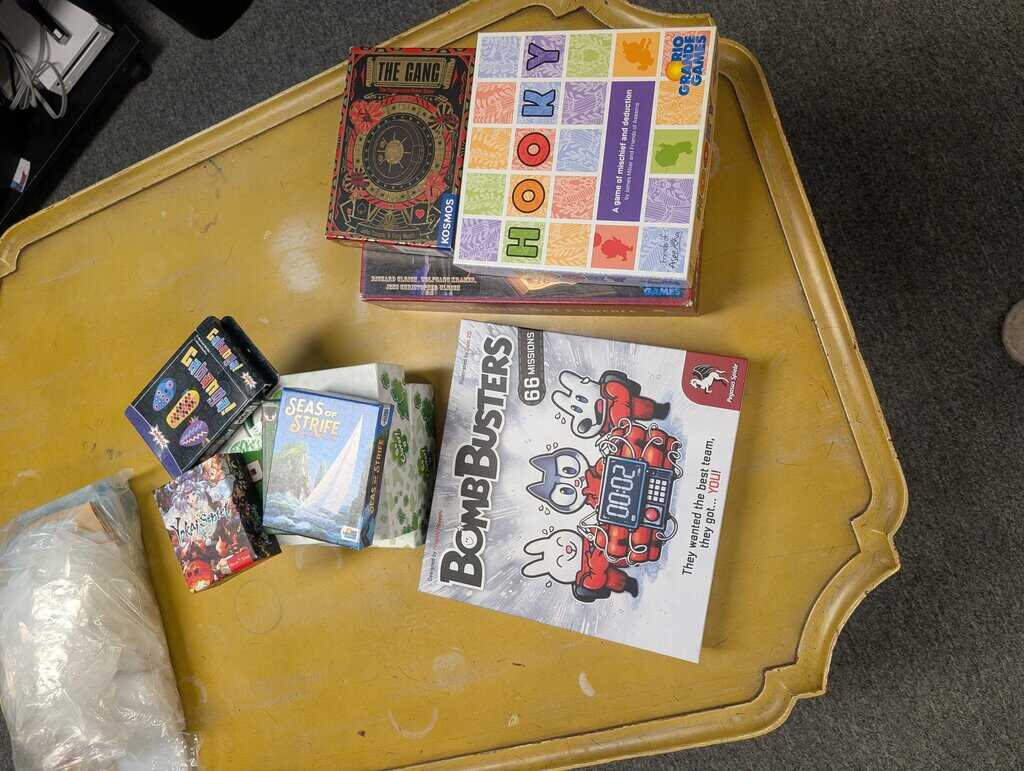
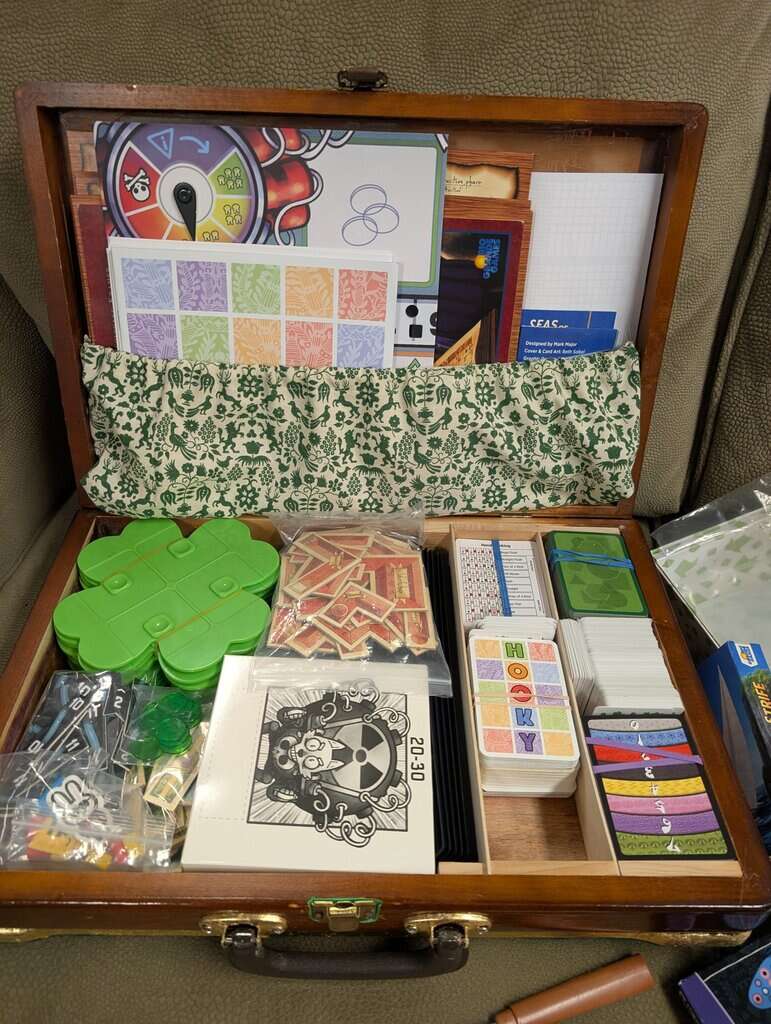
As for games we played a bunch! I think the only paranormal games we played were Spectral and Mysterium… though I could be mistaken.
Food
Dinners
For food we ordered from our favorite local Mediterranean place on Friday which was amazing as usual AND they whipped together a huge order for us in only 40 minutes. We had tons of leftovers.
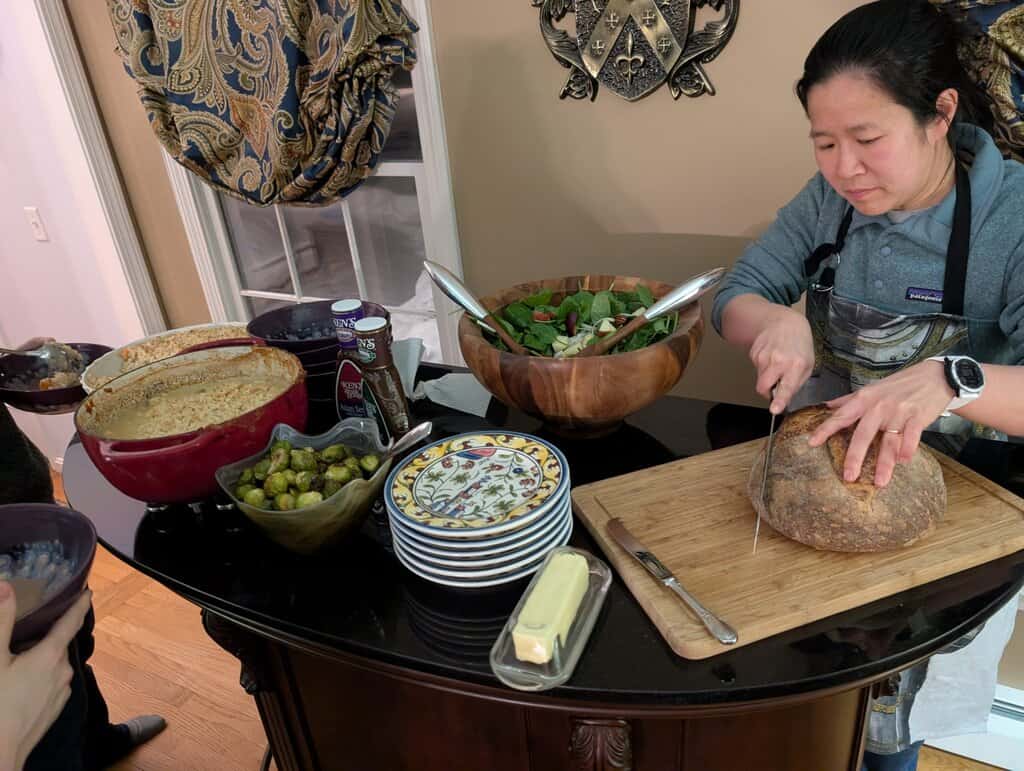
The next day I made a pasta bake with beyond sausage served with a salad. We also had way too many leftovers that night… which meant Sunday’s dinner was either Mediterranean or pasta bake… (I planned to make Shepherd’s pie with impossible meat…)
Lunches
We bought tons of sandwich ingredients for lunches along with wraps and rolls and served them with apples, clementines and chips.
Breakfast
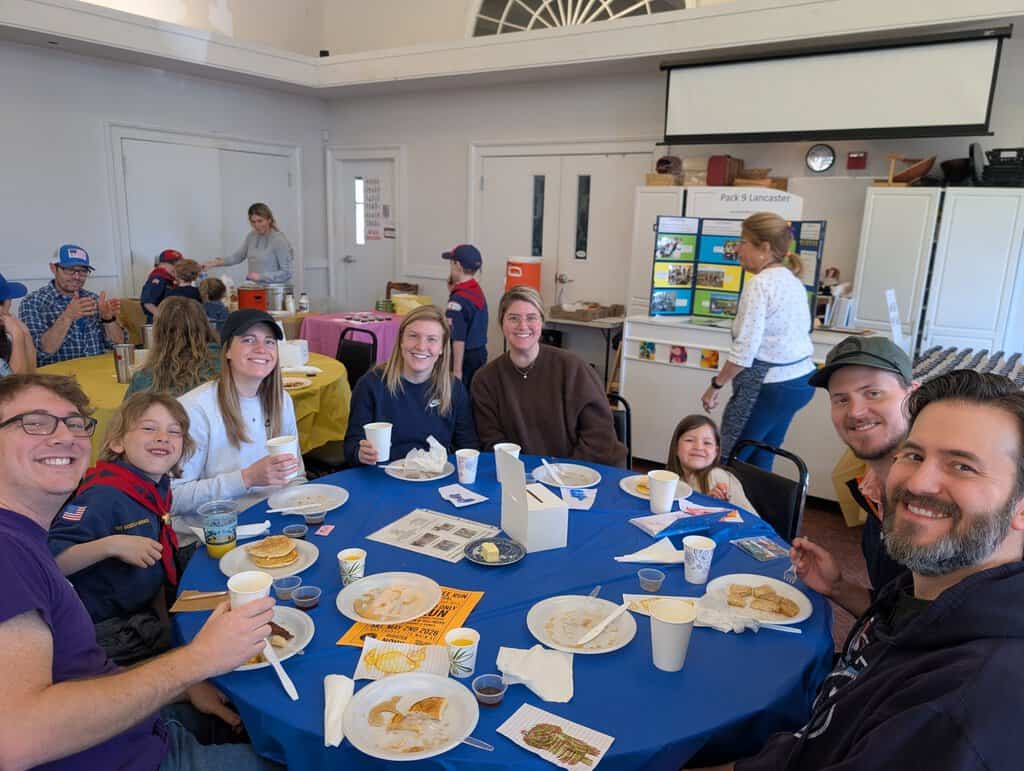
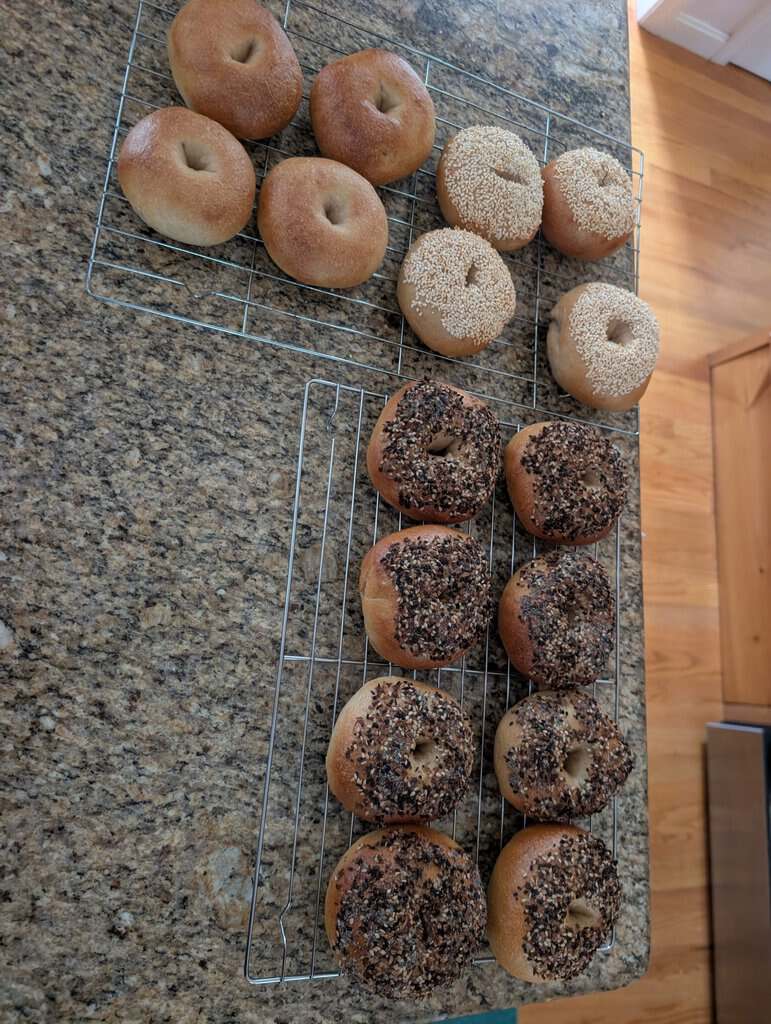
We went to the cub scout pancake breakfast on Saturday! Convenient! So I didn’t have to make breakfast and I got to show off my family to the pack and vice versa. Sunday I made sourdough bagels for breakfast (though everyone ate them for lunch)…