Wow. I’m late. Again. I haven’t started making any gifts for my children or Will despite the list of ideas I have again. I did finish multiple sets of cousin calendars I make (with the help of my brother and SILs) and almost finished addressing holiday cards so I consider myself ahead of the curve! And oh boy just wait for this year’s holiday cards…
So as I was thinking about what to write for this incredibly long in the making project I was trying to actually remember WHEN I started it. It couldn’t have actually been 10 years ago… we only had just adopted Dany. My guess is it was 8 years ago. (So close it was 9 years ago.) I’m pretty sure I started it before Whimsical Brims. Because that was several laptops and pre Google photos I probably don’t have some pictures from the beginning of the project. On top of that I switched to an easier method because I got lazy after realizing the original plan was going to take me the rest of my life (I’m not exaggerating). Honestly it seemed a sisyphean task every year when I’d take out the box, work on it a bit and then put it back. That was until last year when I realized that I actually might be getting close to done. Then this year I was able to buckle down and in the course of just two half days I finished it!
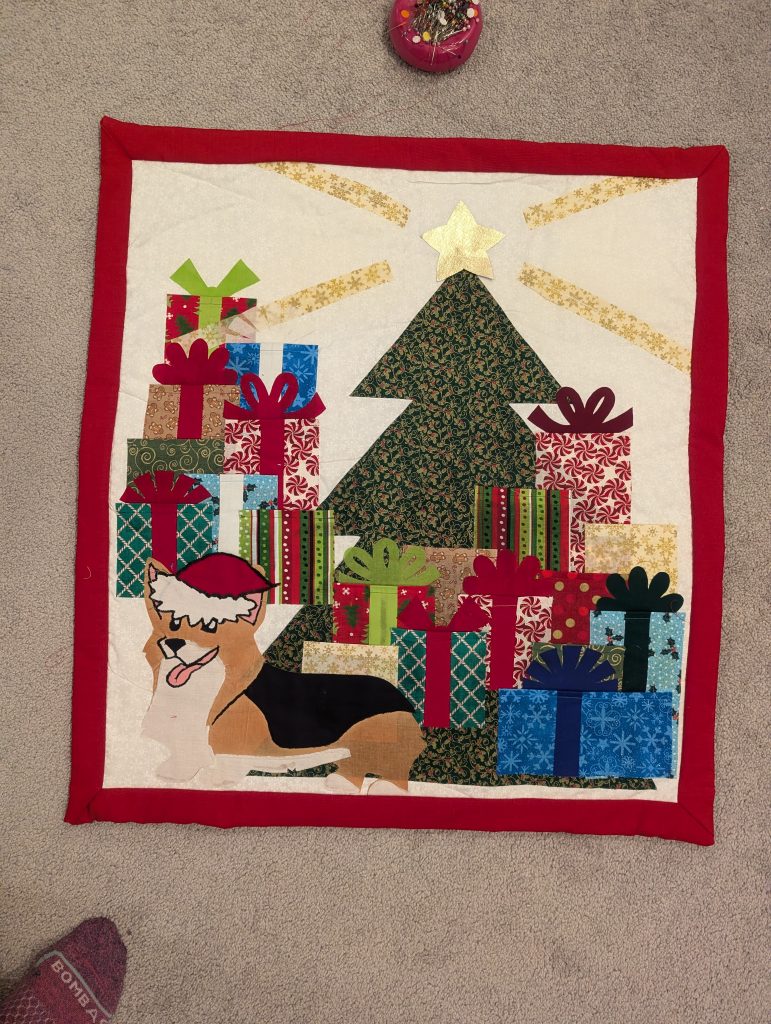
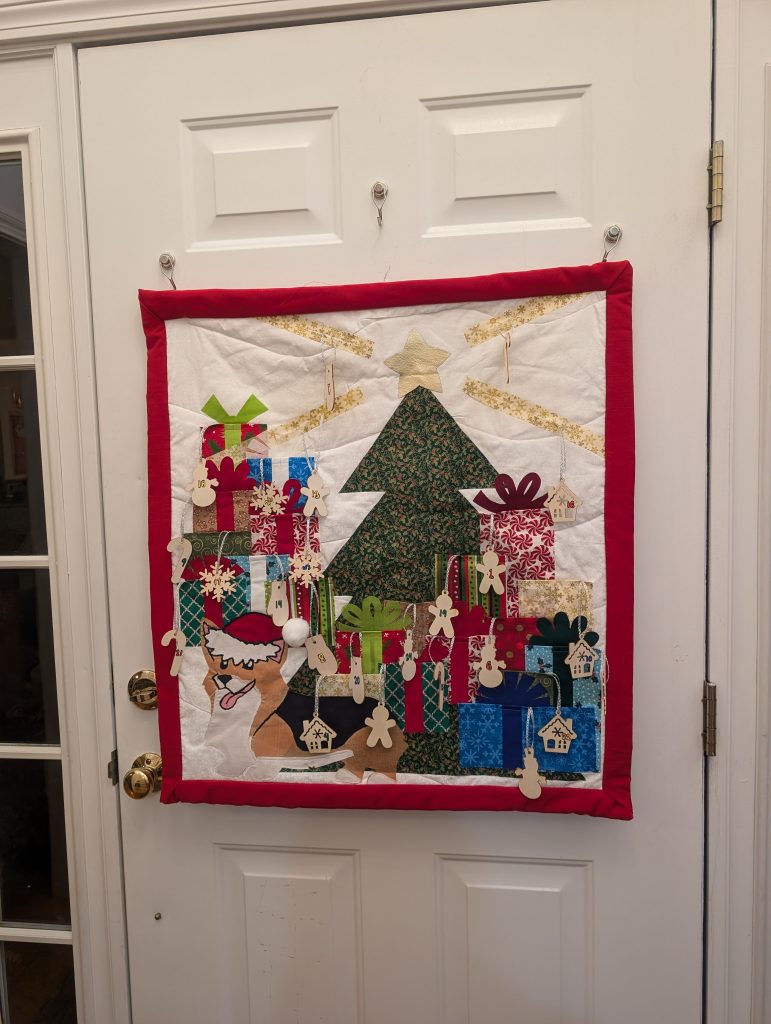
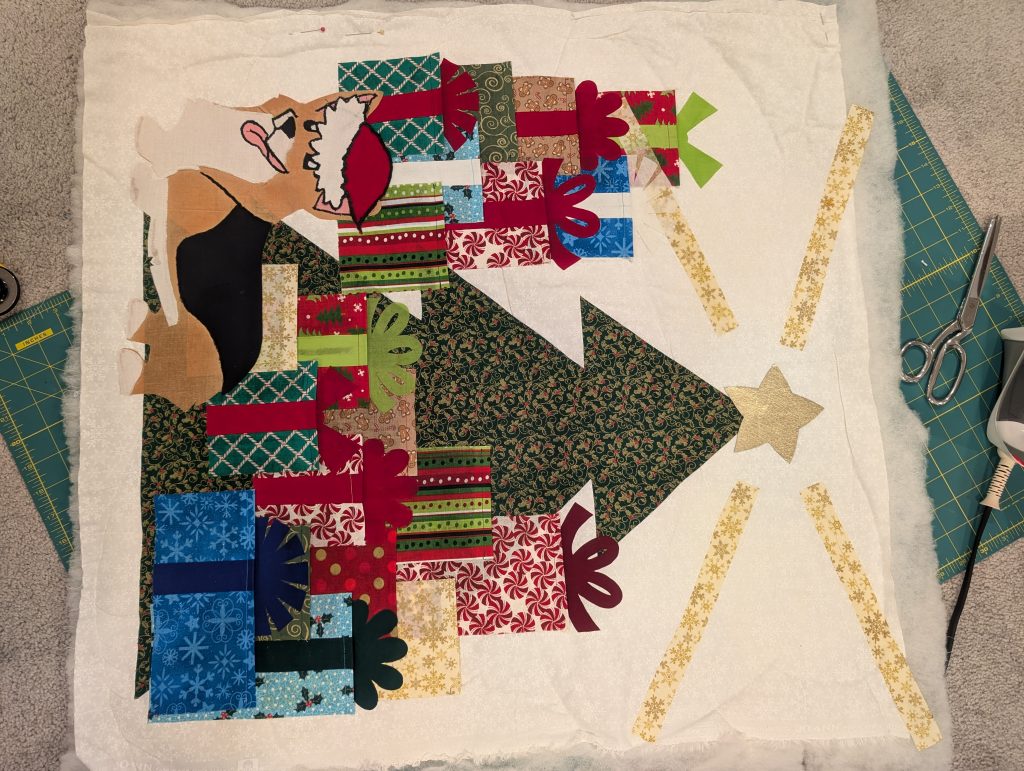
“What is this epic project you keep waxing on about?!” you ask. Well it is a somewhat quilted looking advent calendar. The idea was to quilt an advent calendar with pockets. I feel the need to add like 7 more caveats. When I first started this project I had just gotten an embroidery machine and had no idea how to do applique. I also had no idea what quilting was. I also really didn’t know how to hoop stuff properly. I also hadn’t thought about the fact that quilting or embroidering on top of things would mean any pockets installed at the beginning would get sewn over. I also didn’t realize how LONG it would take me to embroider over 48 shapes. So instead I changed the project to use fusible fabric bond (heat n’ bond ultra). I surprisingly only used one package of this for the myriad of shapes I put on there.
Year 1 (2016):
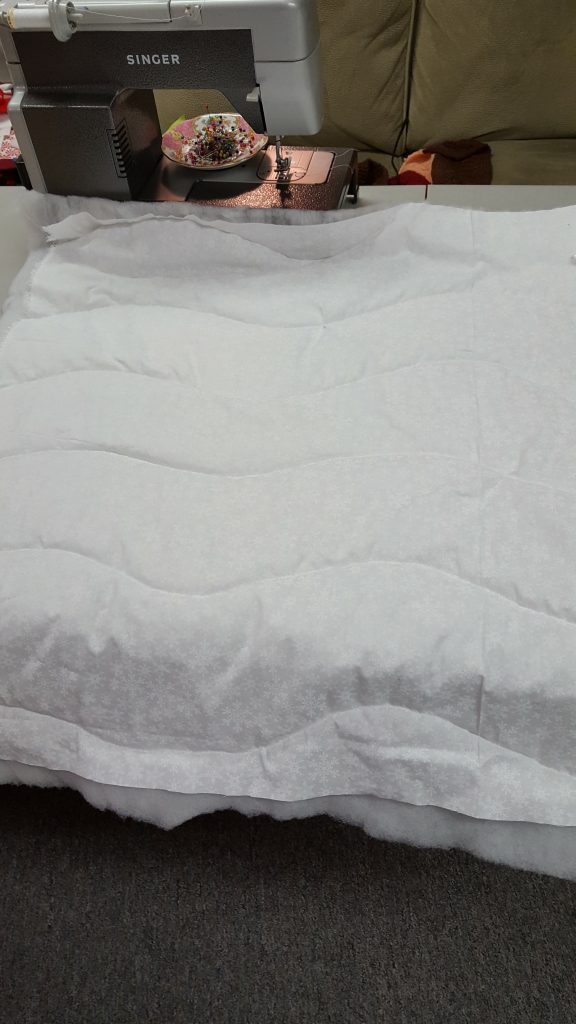
Cut out a 4’x4′ piece of quilted backing, cotton fabric for the front and cotton backing for the back. Using a walking foot stitch through entire 3 pieces in a wavy pattern and realize you really have no idea how quilting works.
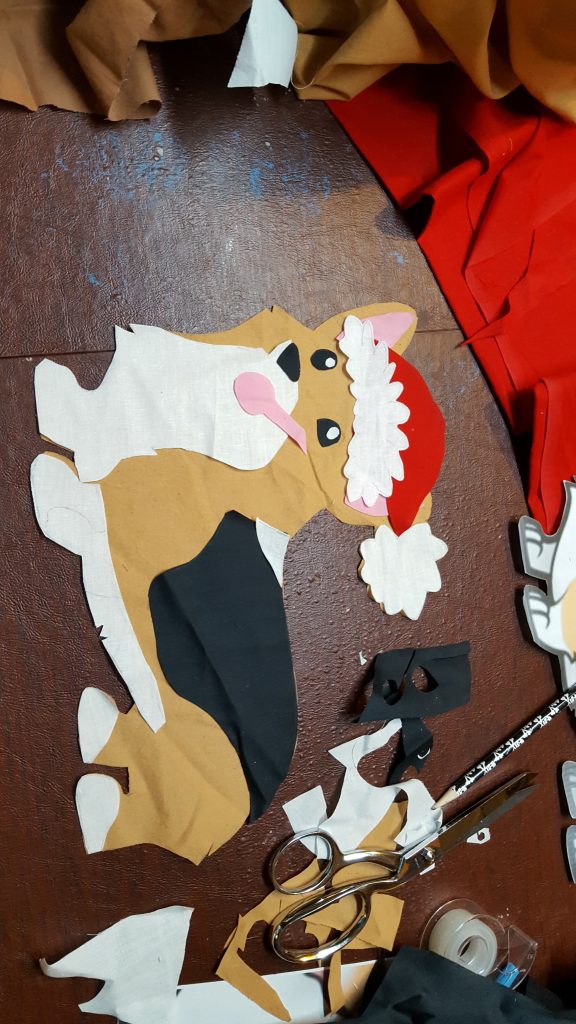
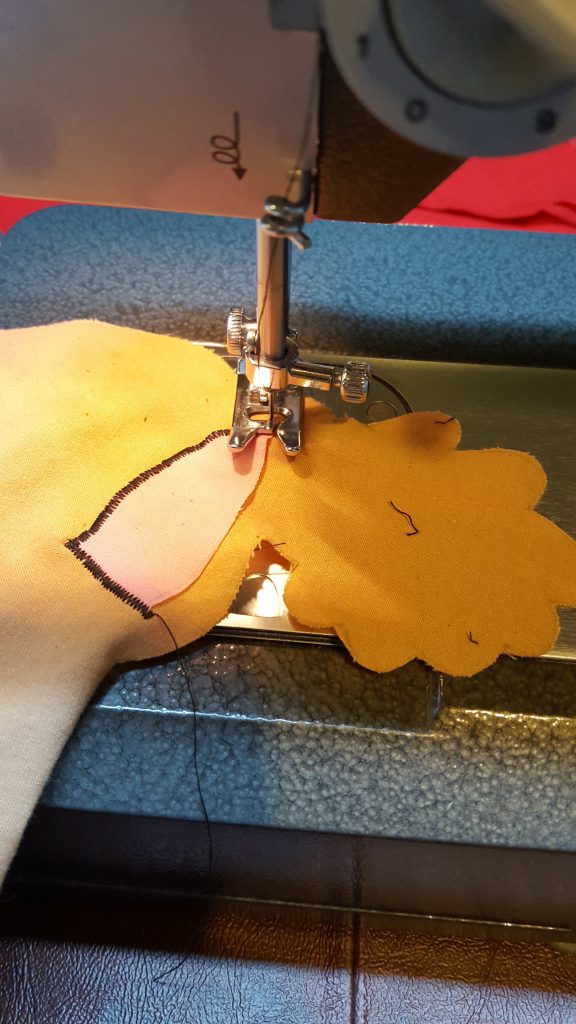
Cut out your Dany cartoon corgi with Santa hat. Attempt to attach it together by using the sewing machine to embroider. Decide you don’t like the look and give up for now.
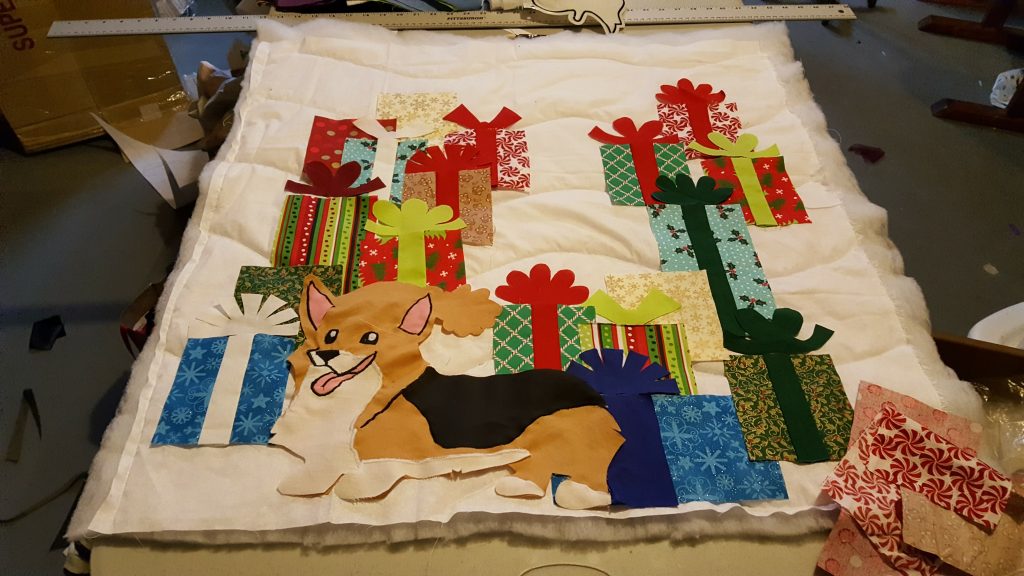
Design and cut out Christmas boxes and bows.
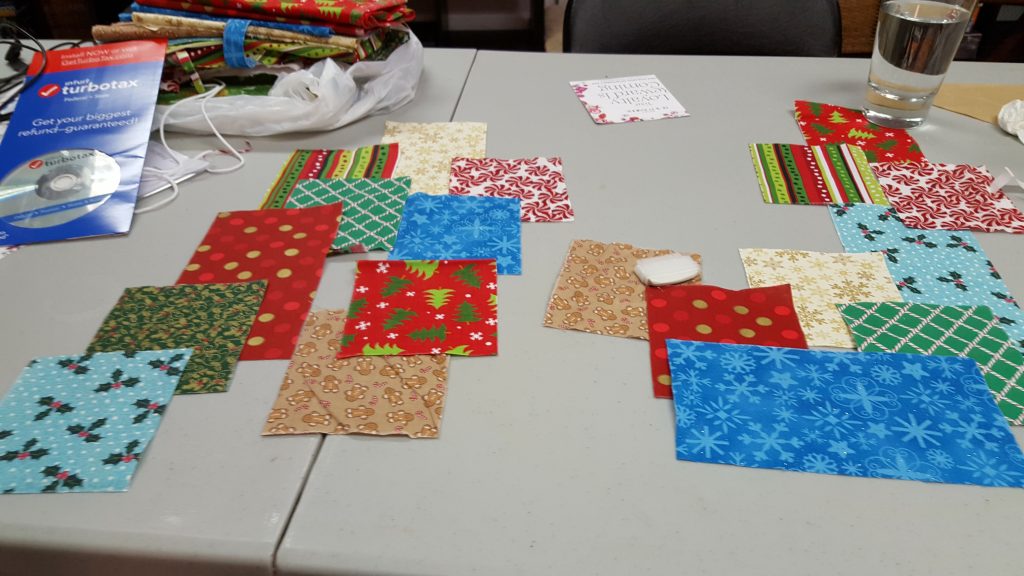
Most of my boxes are 4×5. Some are longer. Also cut out strips for “ribbons” mine were the length of my boxes x 2″ wide.
Add “ribbons” to boxes by cutting boxes in half then stitching “ribbons” using .5″ seam allowance. Press boxes flat.
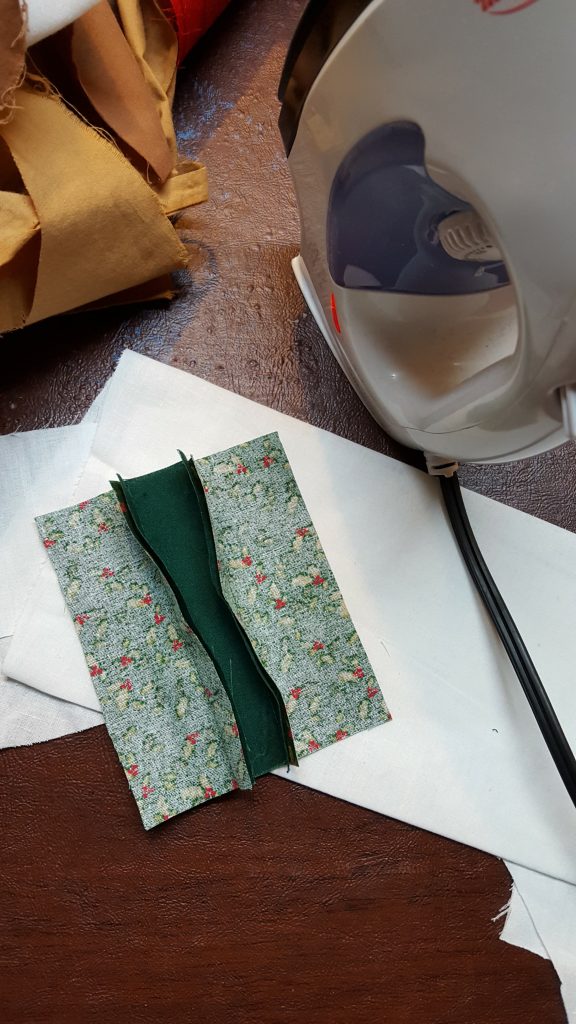
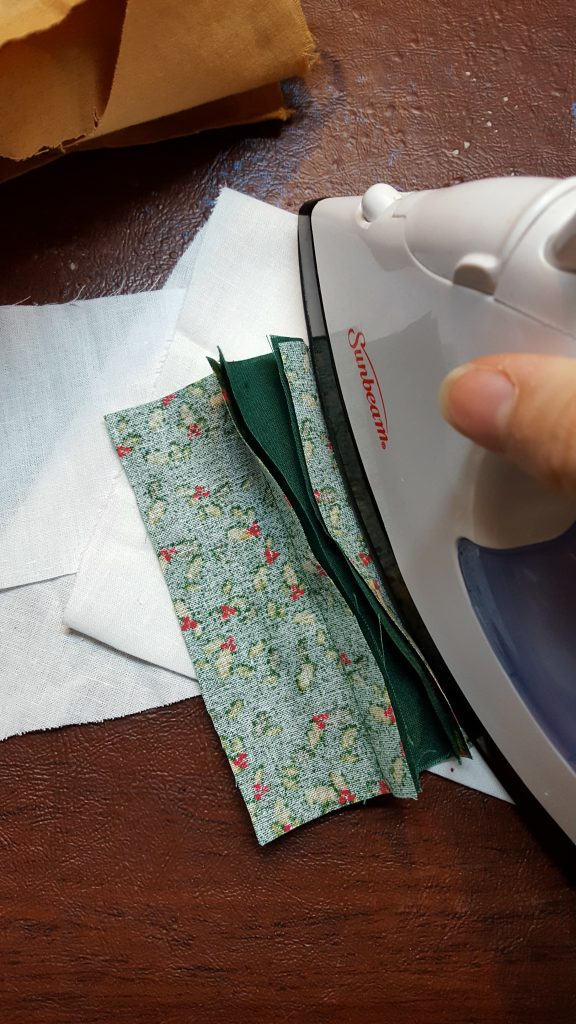
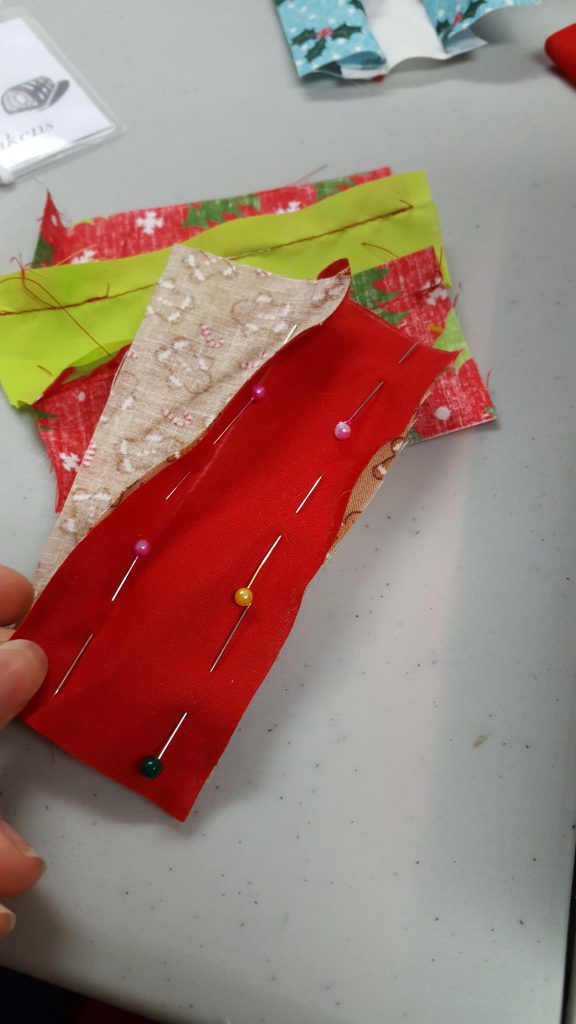
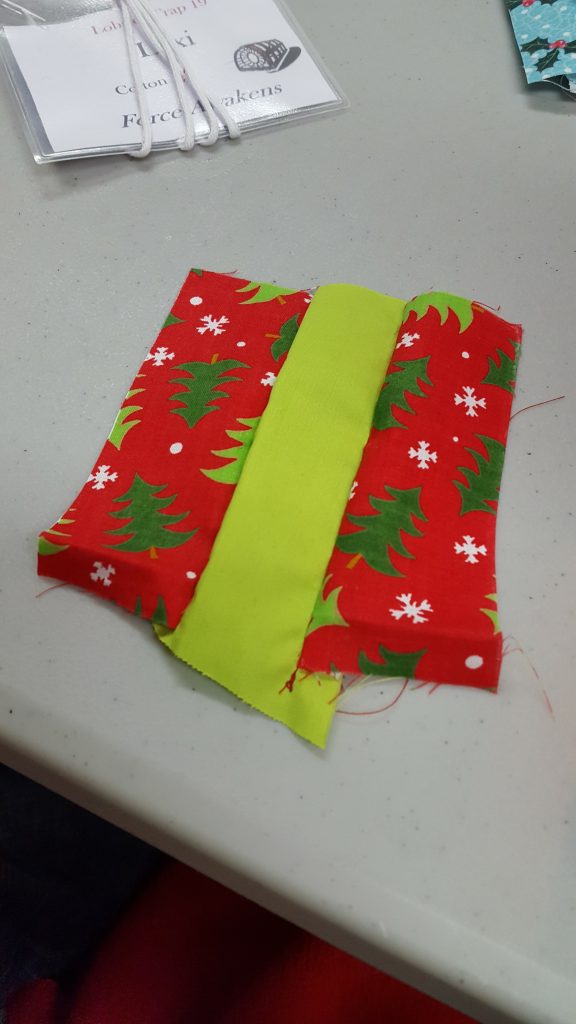
Fold under 1/2″ at the top of the box and stitch.
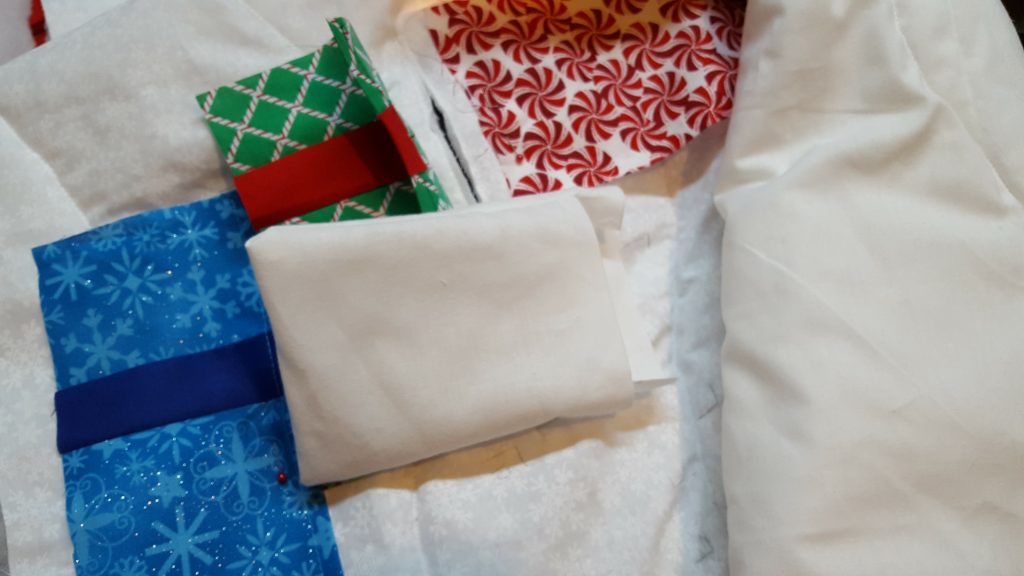
Sew a bunch of pockets. (You’ll need 24 total) I made these pockets 4×4 with an extra inch at the top on one side. (You’ll see why).
Lay out to see how it looks then give up for next year.
Year 2 (2017):
Have a baby, don’t do anything except make baby stuff.
Year 3 (2018):
Screw it, don’t do anything this year either.
Year 4 (2019):
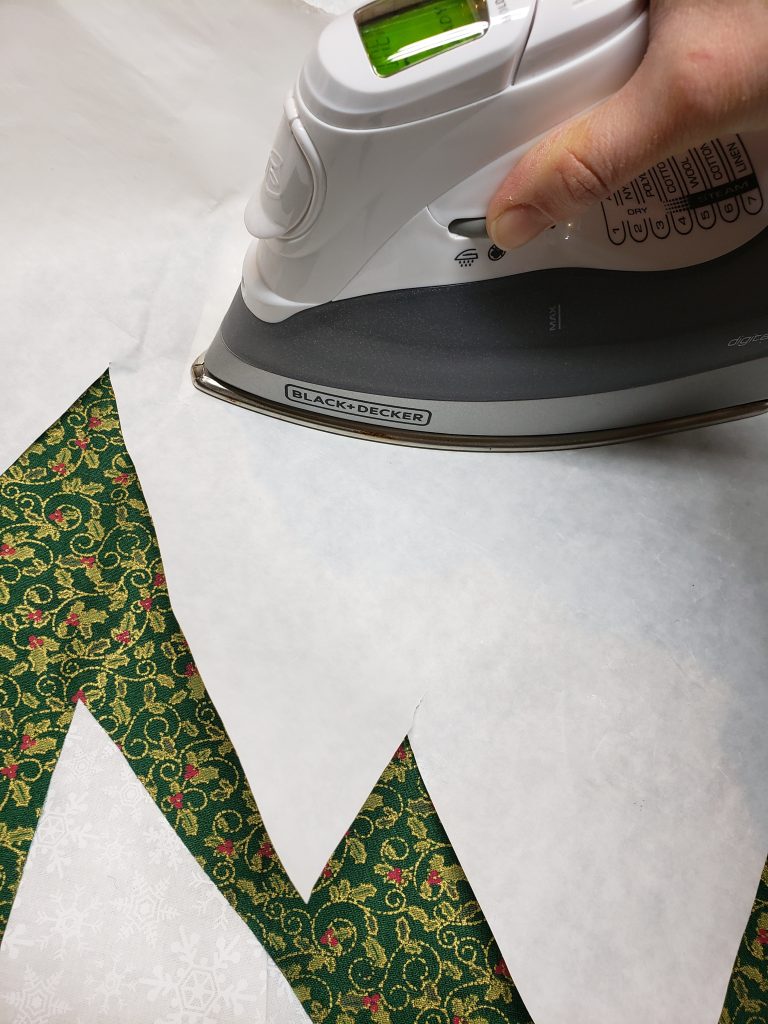
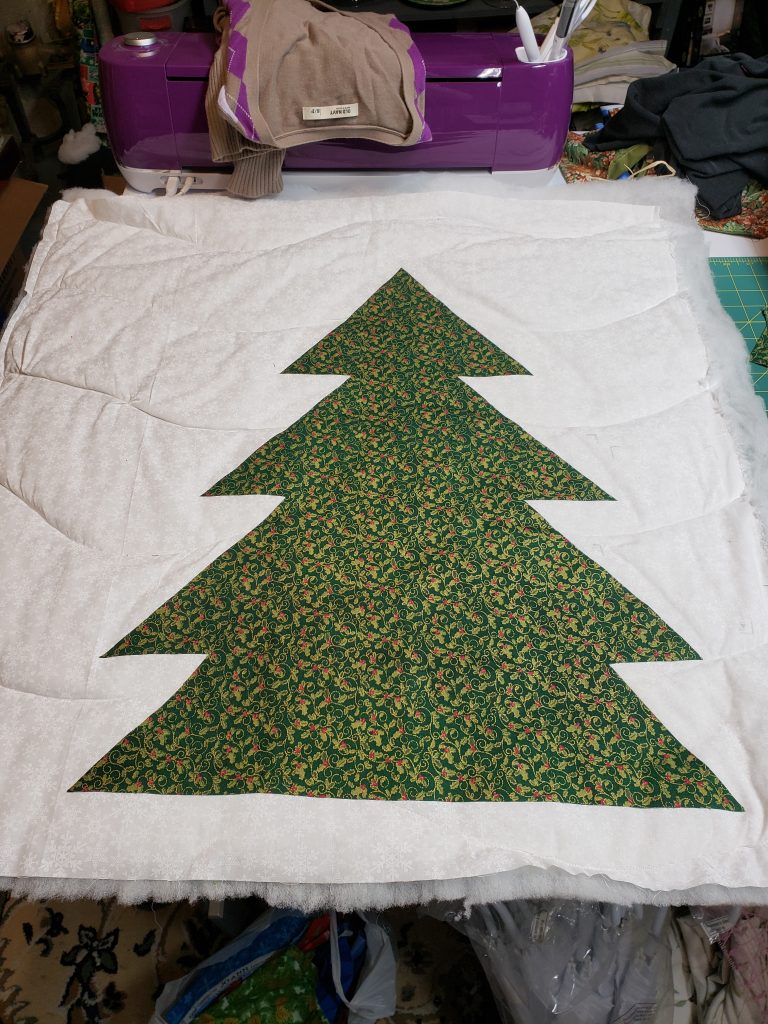
Second wind! Give up on embroidering everything! Buy heat n’ bond ultra. Decide these boxes don’t take up enough room, cut out a giant Christmas tree then using heat n’ bond attach it to the quilt.
Start attaching boxes to the quilt. First cut a 3.5″ slit just below the lip of where the box will go. Then using one of the pockets you created 3 years ago stitch just above the slit into the extra 1″ of fabric you left above the pocket. Hand sew the other side of the pocket to the unfinished part below the pocket.
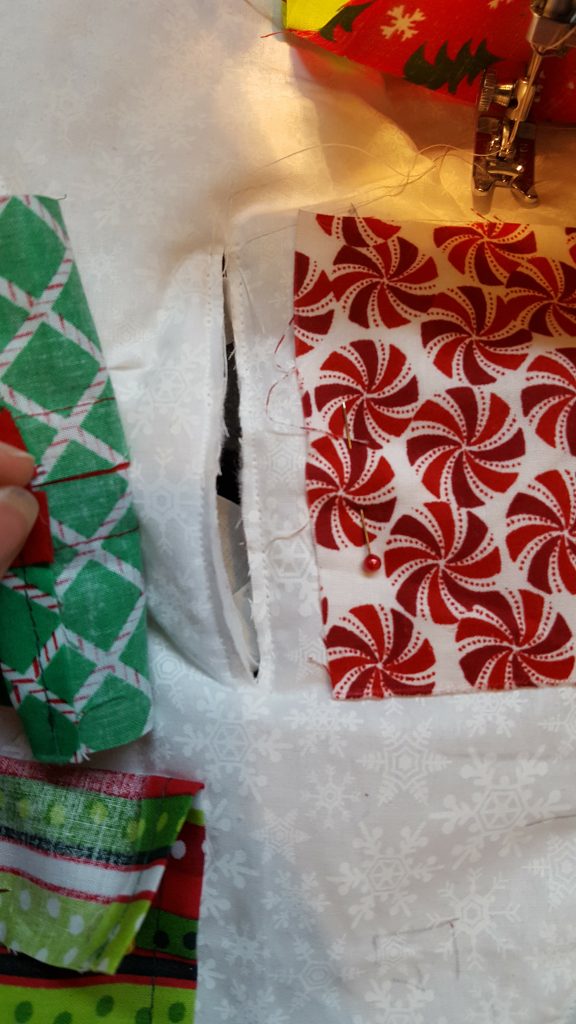
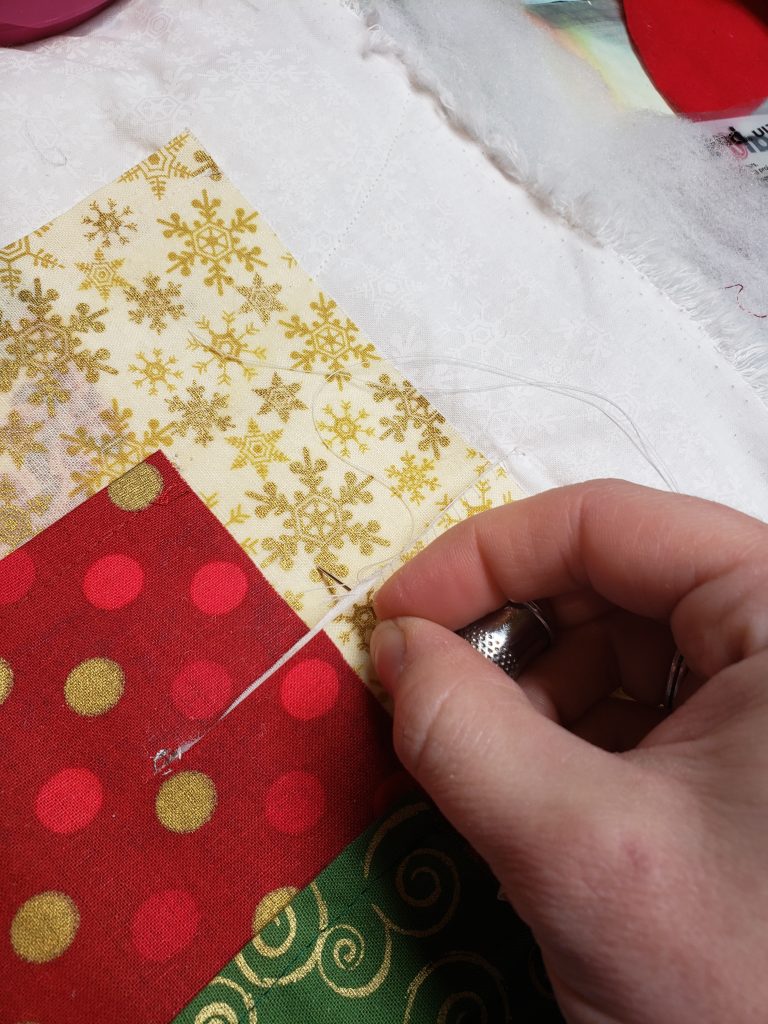
Using heat and bond, attach to pocket, making sure to leave a .5″ overhang that has no heat and bond above the slit you made to conceal the pocket.
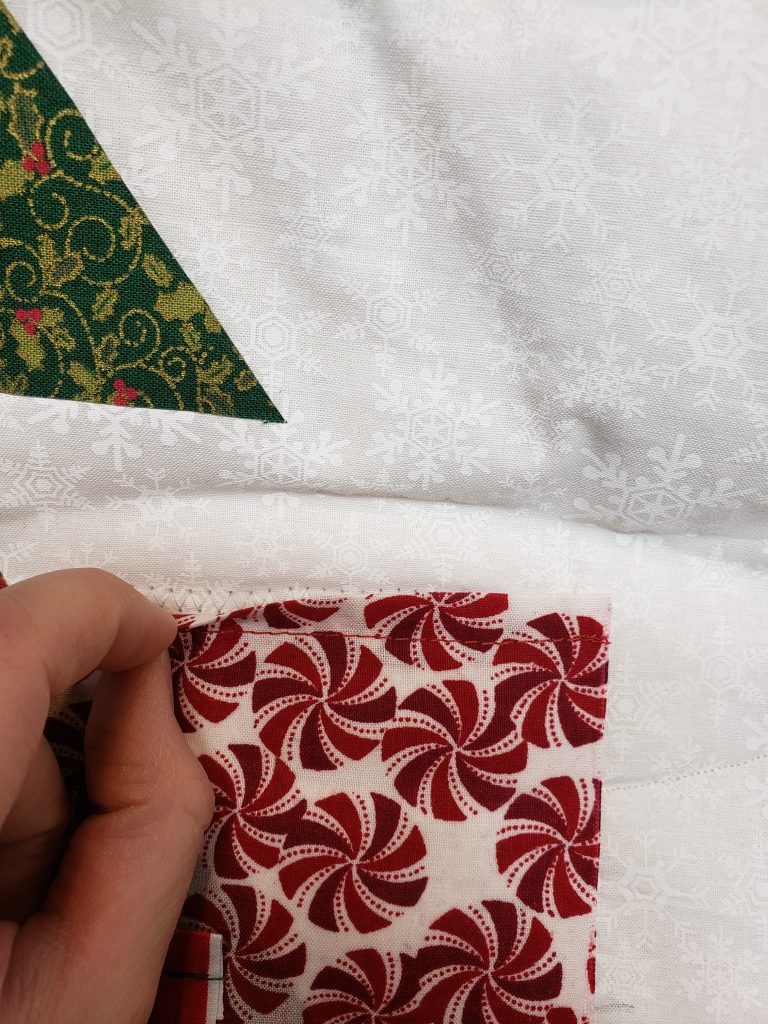
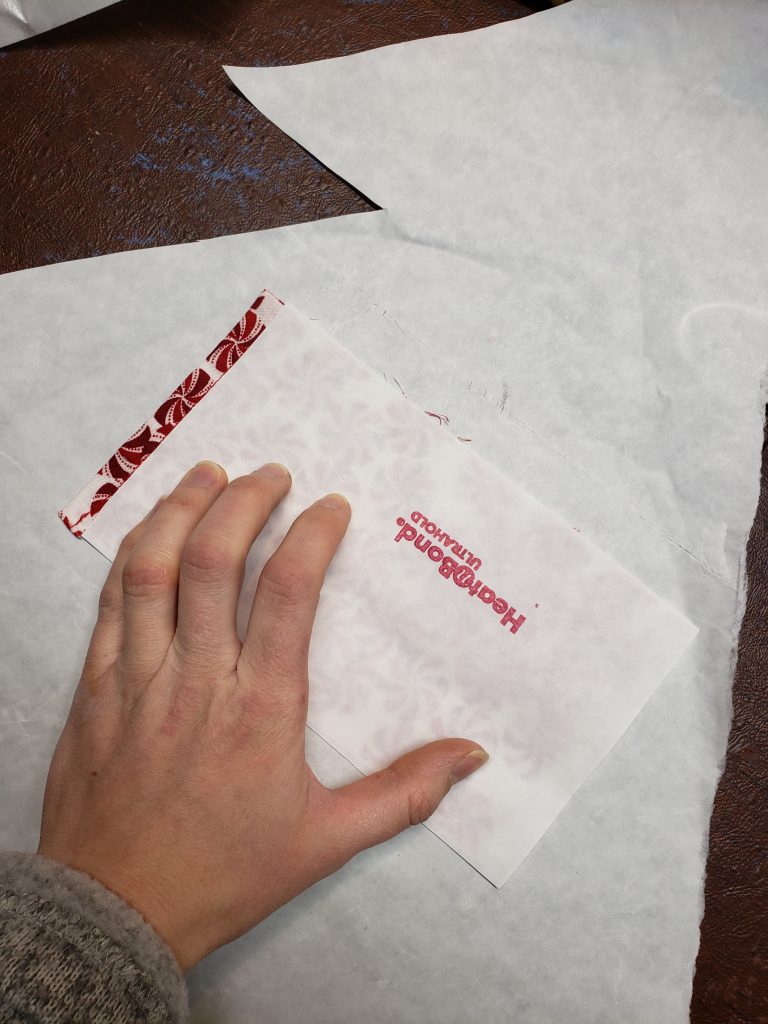
Do the box/pocket thing until you get bored.
Year 5 (2020):
Have another baby. Think about the project but only in terms of “oh crap am I going to need to make 2 of these by the end?”
Year 6 (2021):
Don’t even think about this stupid project. Do 10,000 other projects and continue to increase anxiety about my kids still not being old enough for the covid vaccine.
Year 7 (2022):
Nah
Year 8 (2023):
Really? No wonder it took me 9 years.
Year 9 (2024):
Continue attaching boxes. Make sure not to sew or cut through any of the ones you added prior.
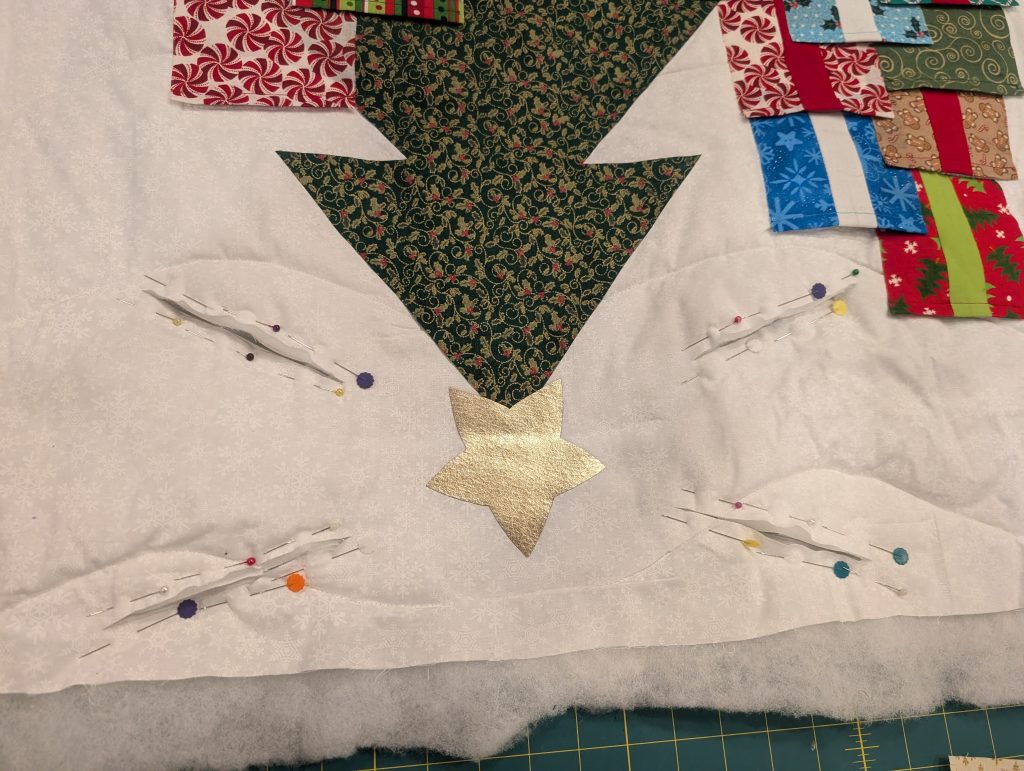
Add a star to the top of the tree and “rays” coming off the star. Add 4 extra pockets to the rays when you realize you don’t have enough boxes. Make more pockets because you don’t have enough. To attach the pockets to the rays, cut a slit directly thru the ray and the quilt (before the ray is attached). Then attach the pocket to the slit as before and heat n’ bond the ray on top, lining up the slit in the ray with the slit in the quilt.
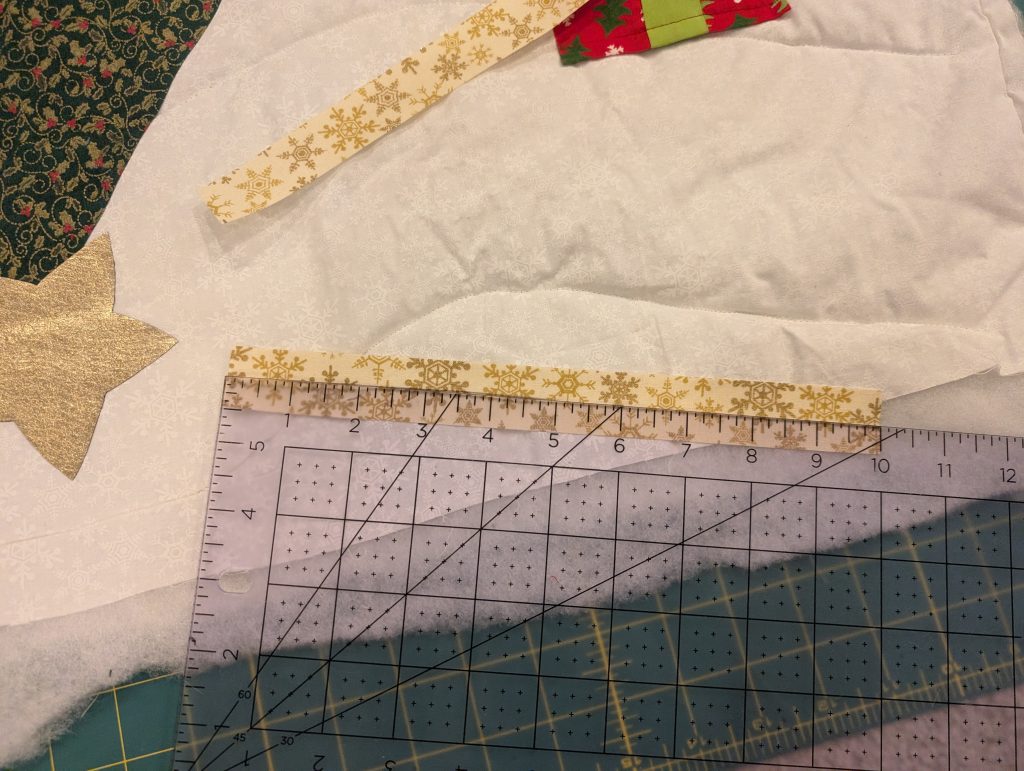
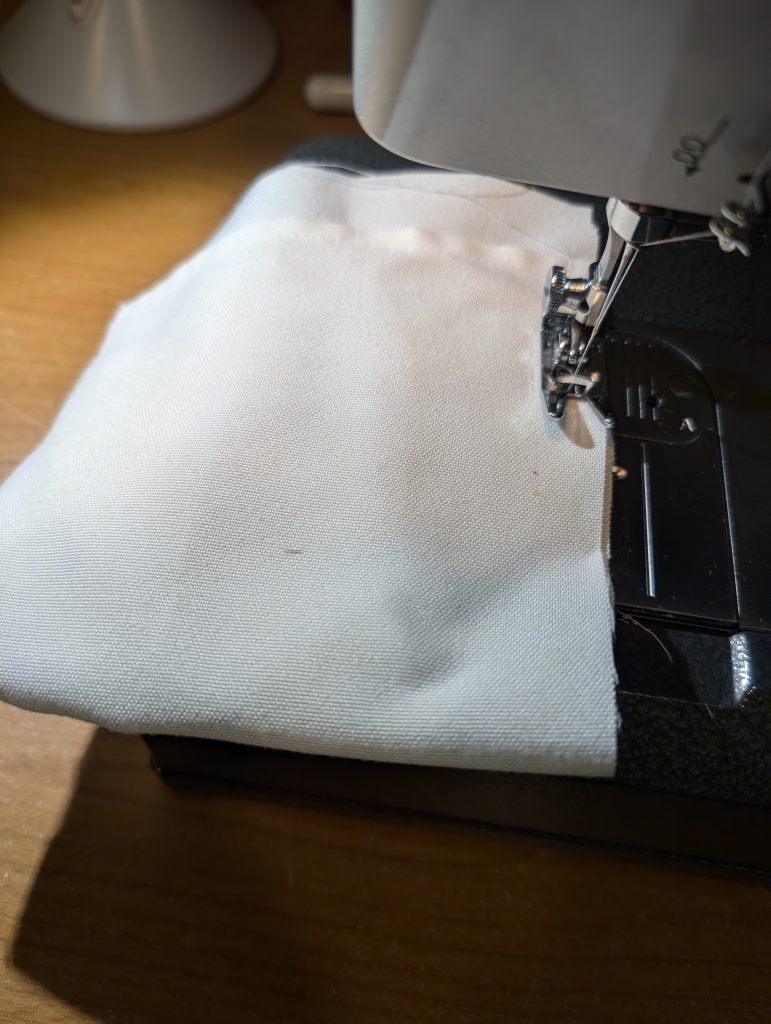
Finish the corgi. Still hate how it looks but decide this is the home stretch now. Add a bit more outlining but overall just glue it together with heat n’ bond.
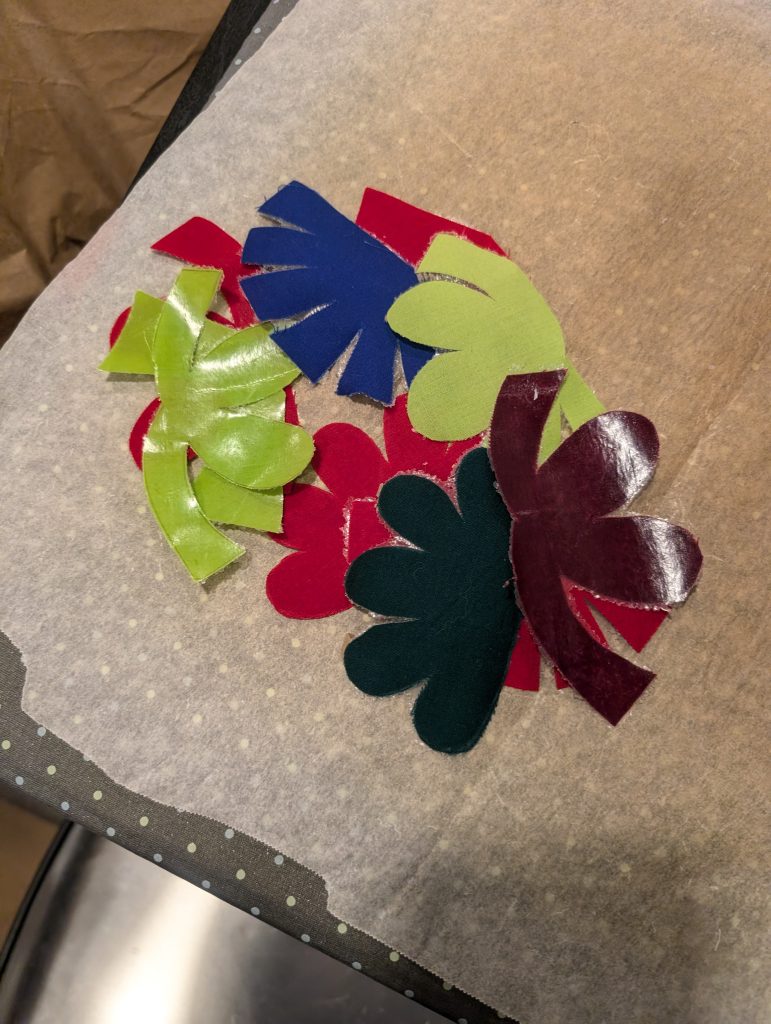
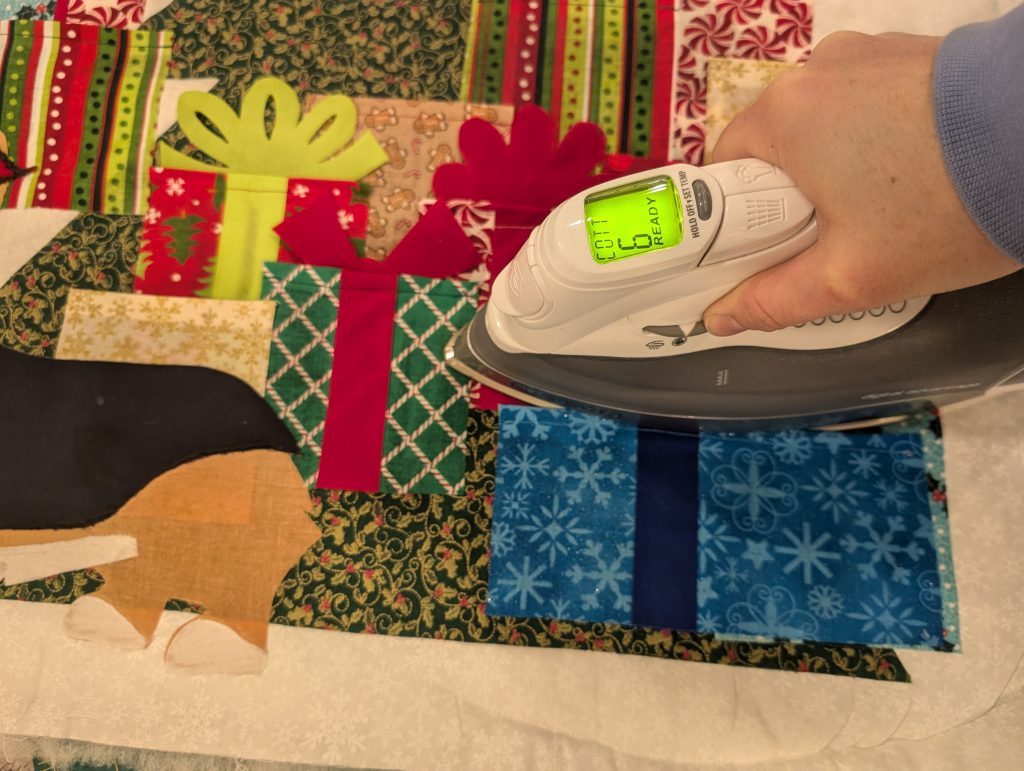
Attach the bows with heat and bond.
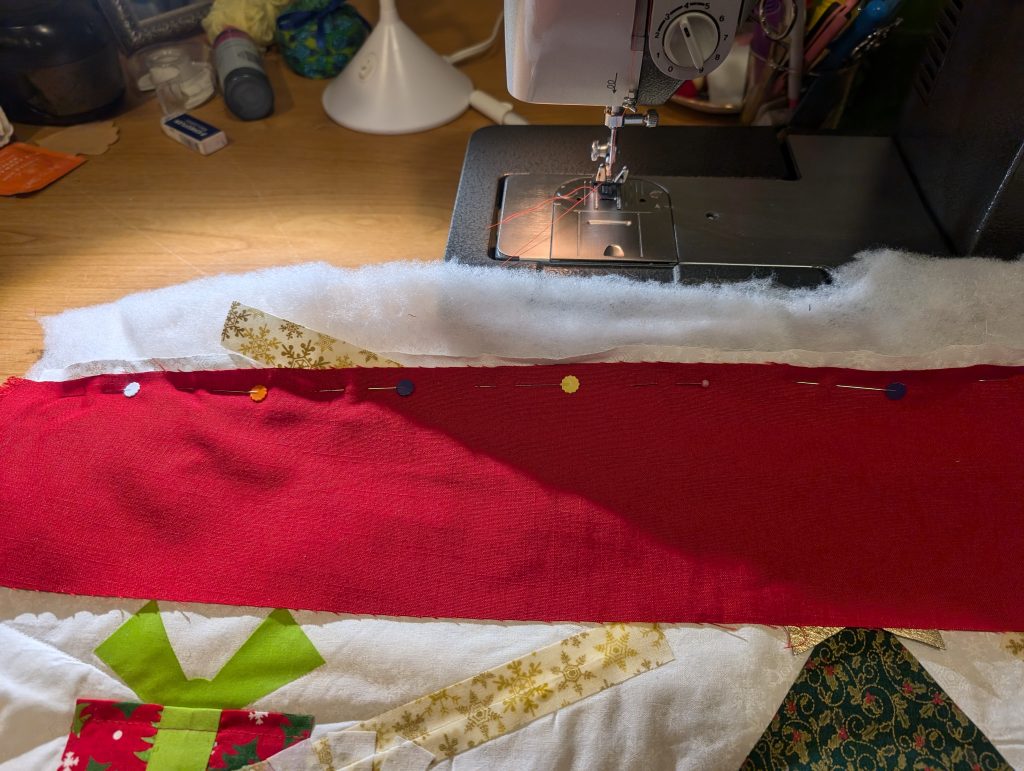
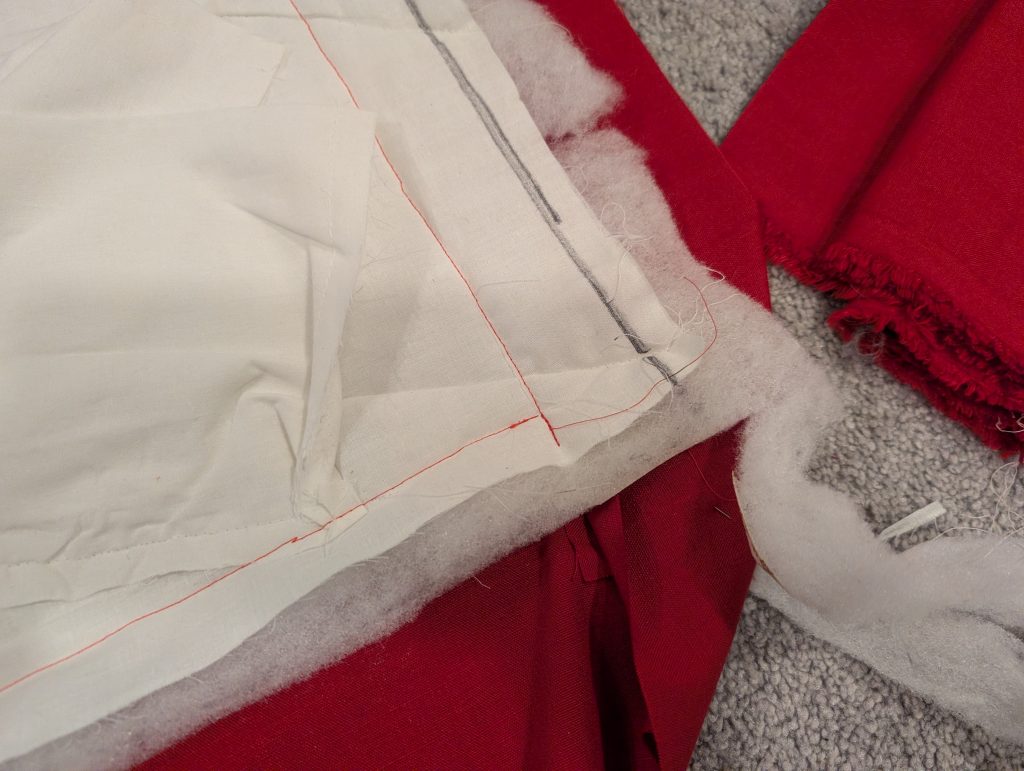
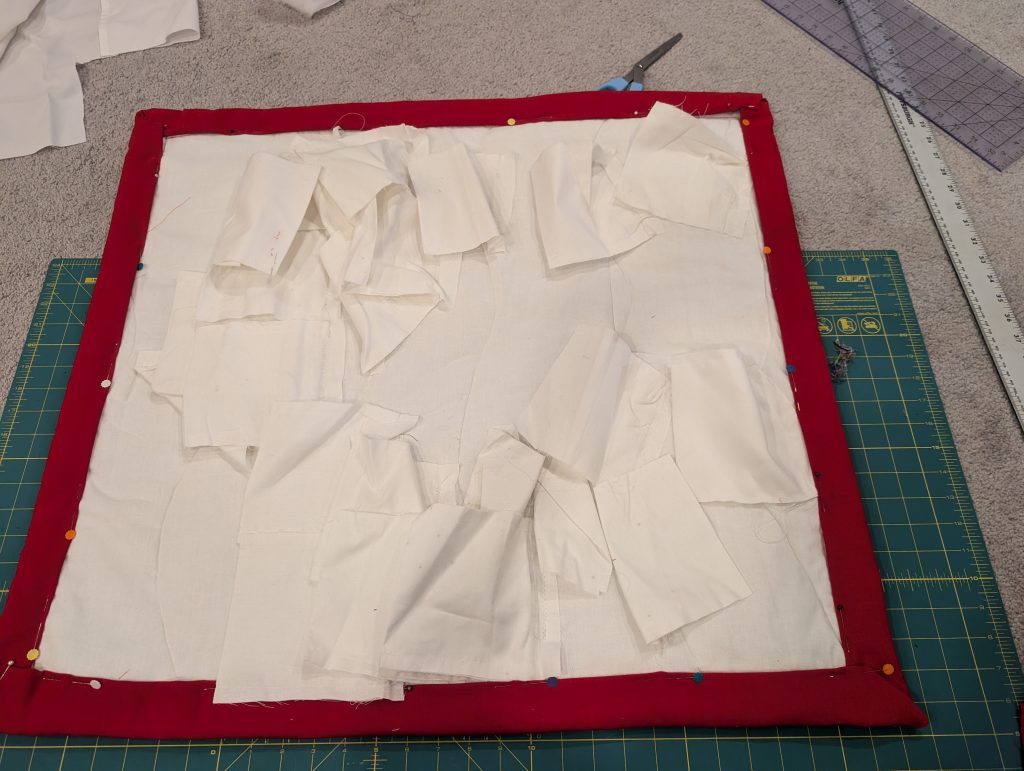
Add a border around the edge of the “quilt” (not sure we can call it that anymore). Add some little loops to the back for hanging.
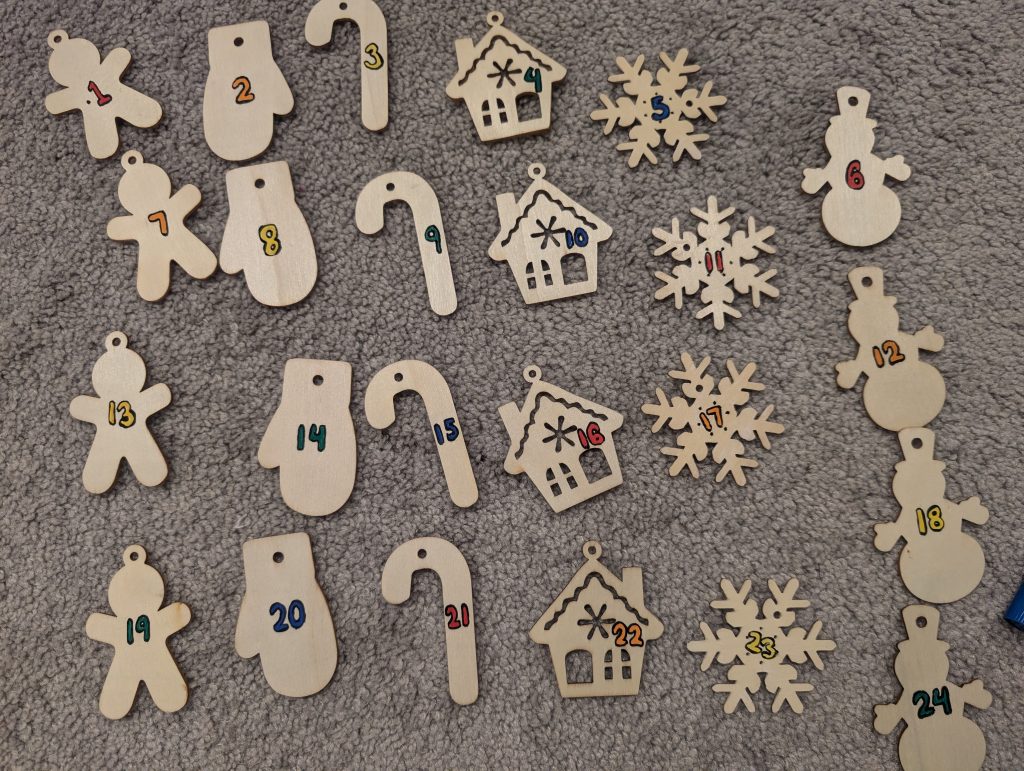
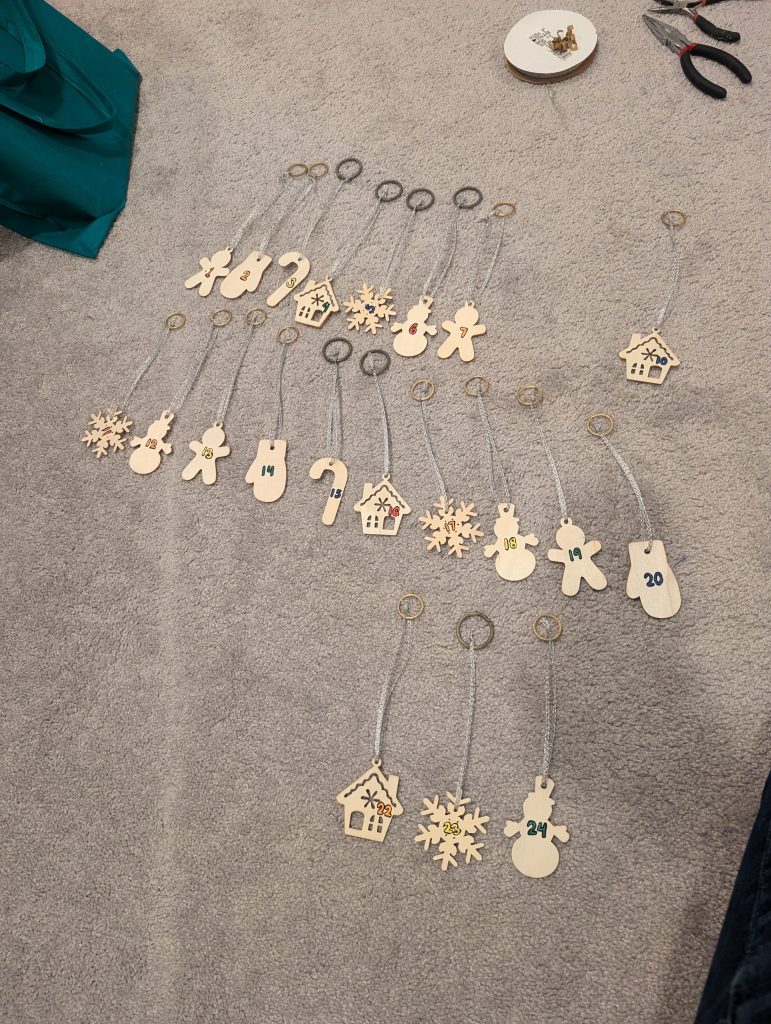
Make 24 little tags out of some wooden xmas tags you got on sale who knows how many years ago. Paint numbers on each then attach to ribbon and the other end to a metal ring that is heavy enough to hold it in the pocket.
Marvel at how not-completely-horrible it looks but also not at all what you envisioned. Voila!


A masterpiece worthy of its 8 year development time!
You’re too kind babe!
Hahaha loved this post!
Hahaha thanks Amy. It was amusing to write…