Happy Monday Tuesday dear friends! It’s only January and I’m once again thinking there are just not enough hours in the day! I’ve been trying to finish up a couple projects that have been sitting in my back room for AGES and I’m making some progress! I hope to finish both this weekend because now they are not just taking up my back room but also taking up the main area of my basement! One of my new year’s resolutions should be to clean out and organize the back room. It sort of unofficially is… You remember the advent calendar that took me a decade to finish? That was one of the items in the back room! One box – cleared! Unfortunately right after I cleared that box off the shelf I inherited 2 more boxes from the cub scouts and I have literally no idea where to store them. I already can’t fit my own stuff!
Speaking of fitting stuff…(I just re-read this and still decided not to cut it) from Julius’ birthday alone I added another box of “science equipment” to my shelves. The good news is he wants a cooking birthday next year (at least he says that now) so most of the stuff I bought was actually measuring cups and spoons which I can use again next year! Bonus!
I am shocked that I haven’t finished all the birthday posts yet. I’ll add this one about the unicorn headbands I made and then I just have one more I think. Maybe two. I will be honest, the unicorn bands came out adorable! But they fell apart! I almost never use hot glue if I can avoid it, and this is the exact reason. It never holds things on properly. Next time I would completely cover the headband with fabric like I did for the disney ears. I think even if I still used hot glue it would be a better base for the horn to stick to. Despite that they looked cute for the party so that’s half the battle.
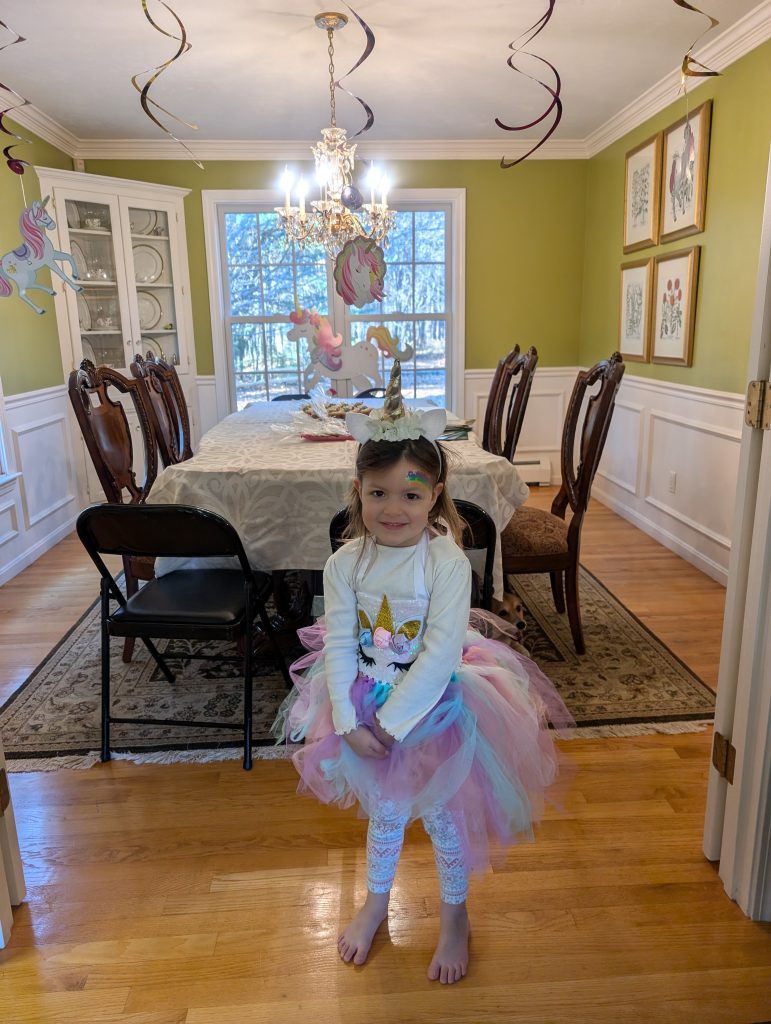
Unicorn Headbands
What you’ll need:
- blank headbands (I would recommend ones pre-covered in fabric)
- gold fabric
- recycled polyfil stuffing
- silver elastic band
- White felt
- assorted plastic flowers
- Pattern for horn and ears here
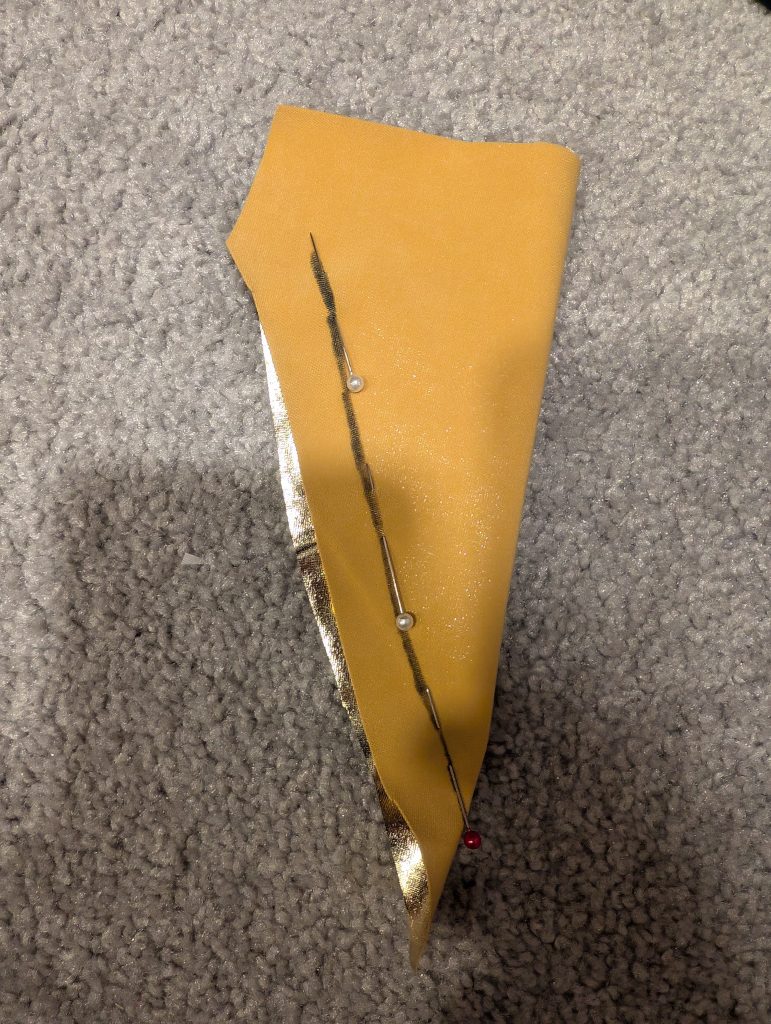
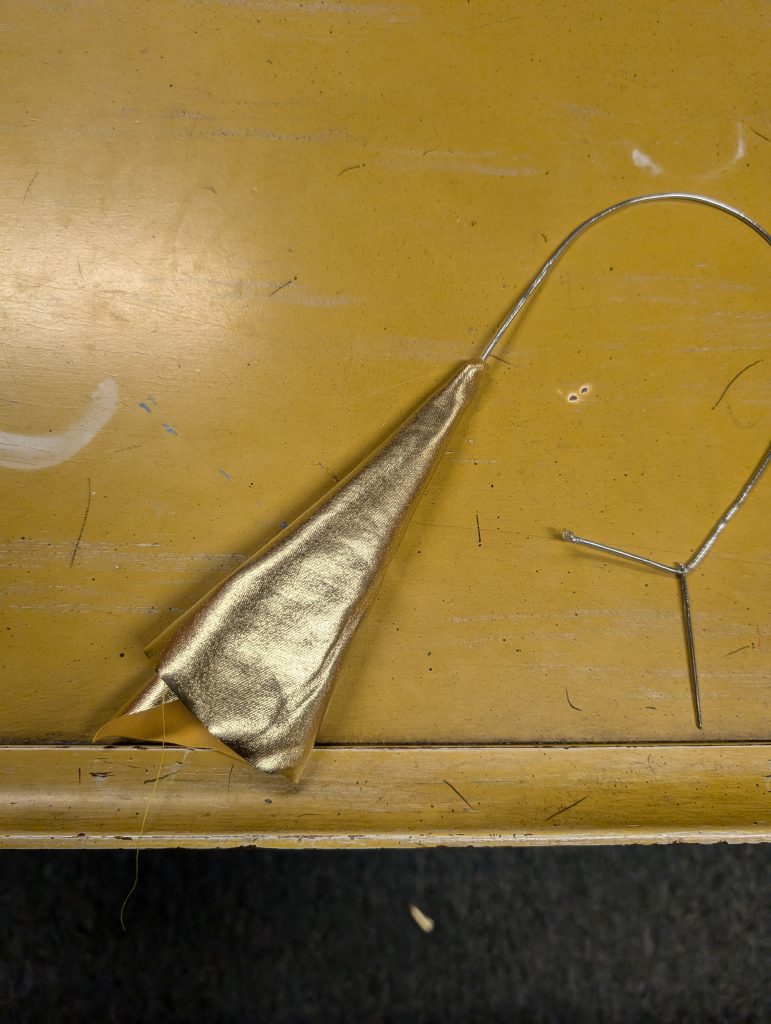
1. Start by cutting out your gold fabric, folding in half and sewing along the unfinished edge to form a cone.
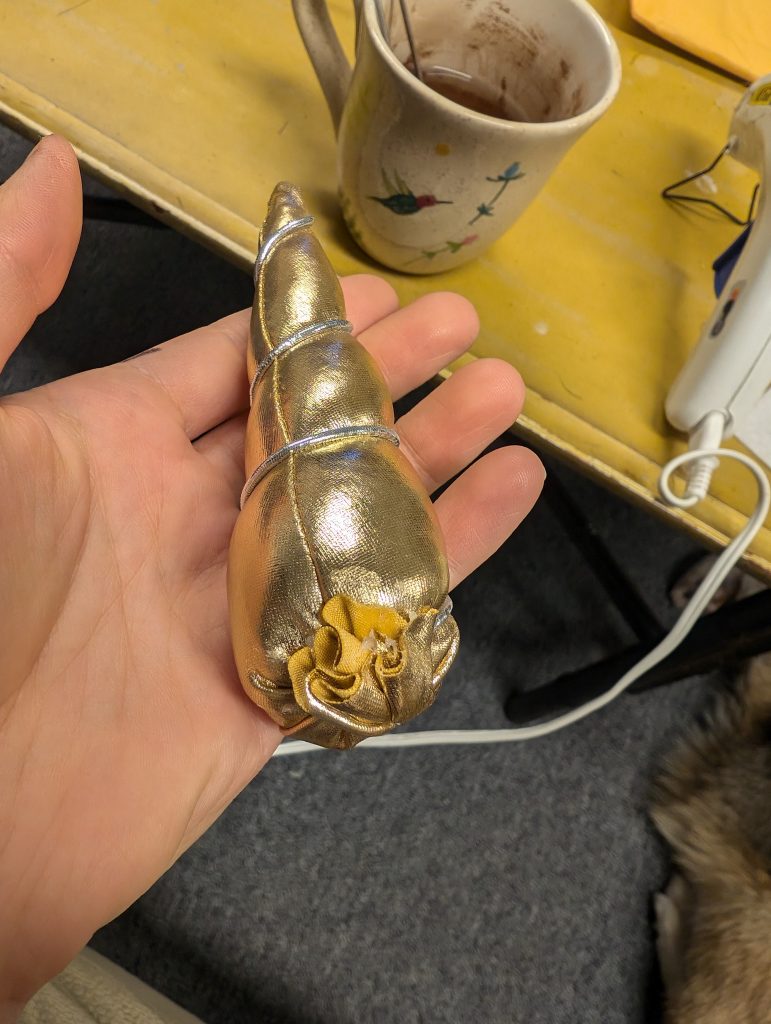
2. Turn right side out then take a 14″ piece of silver elastic and knot one end. Insert inside the horn and pull thru the top.
3. Stuff the horn with stuffing and then take the silver elastic and wind it around the horn. (You should strategically glue it in spots down the way.) Tie it at the base of the horn.
4. Glue the horn right onto the center of the headband.
5. Cut out 2 unicorn ears from template. Glue ears on either side of the horn about 1-1.5″ inches to either side. Do this by putting a stripe of glue in the center of the ear, attaching it to the headband, folding the ears up then gluing them together.
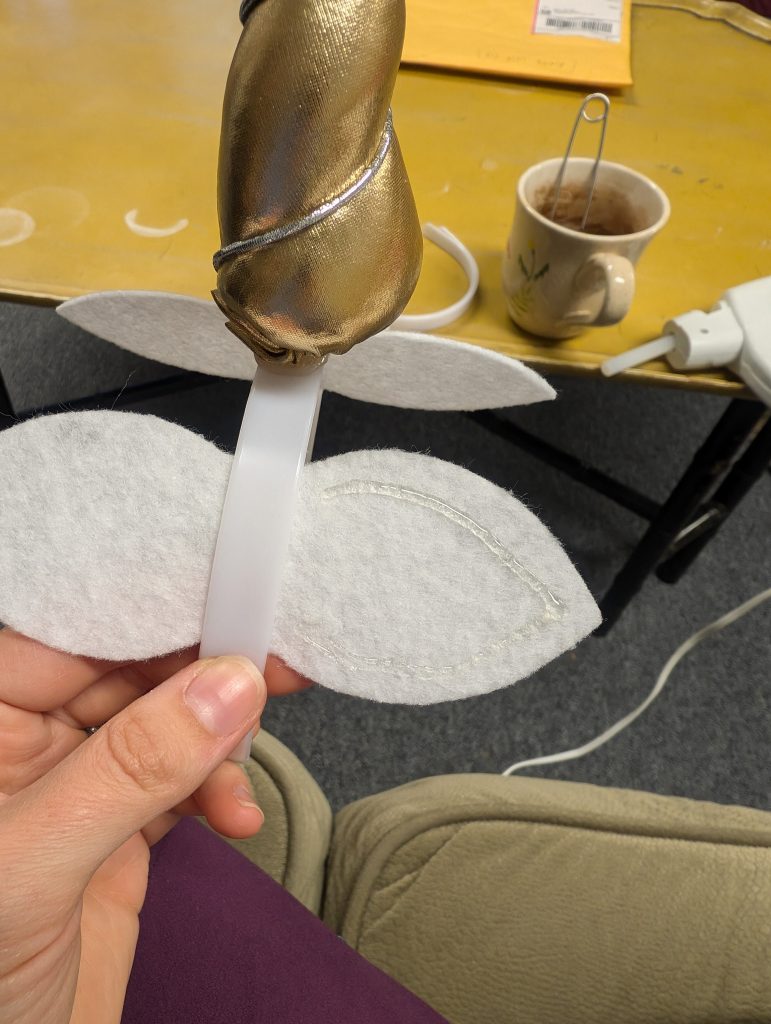
6. Glue flowers around the horn in a cluster, covering up the ugly glued on part of the horn.
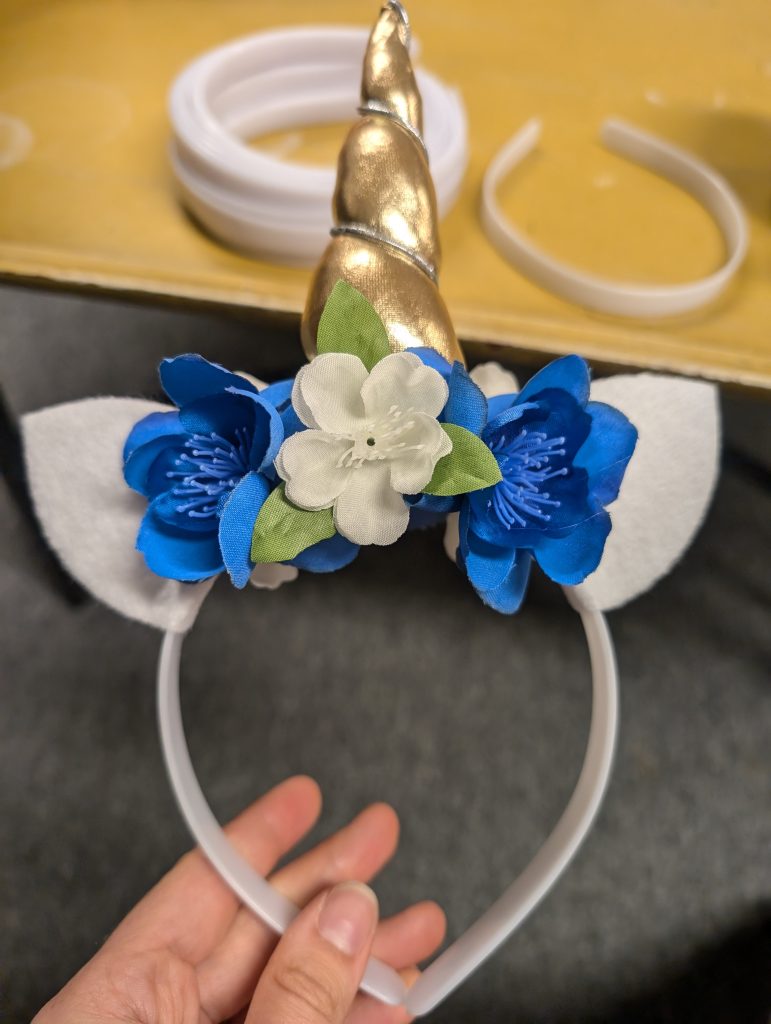
That’s it! Wear your horn with pride!

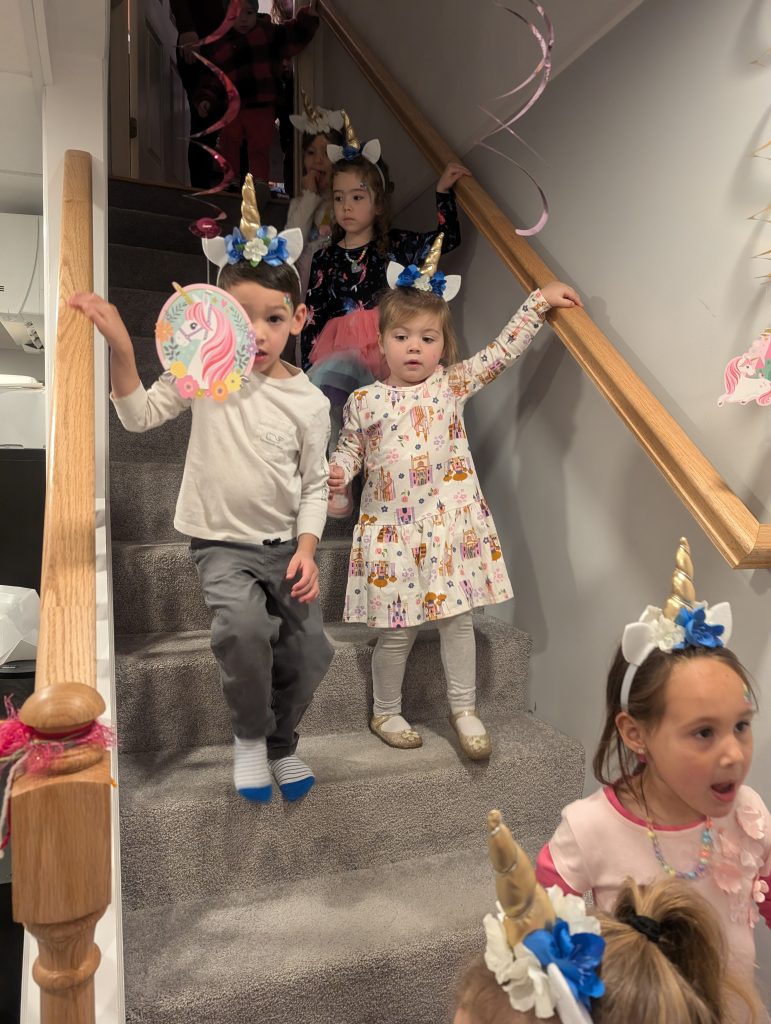

The unicorn headbands look amazing.
Thanks Amy, you’ve got a couple coming your way then ;)