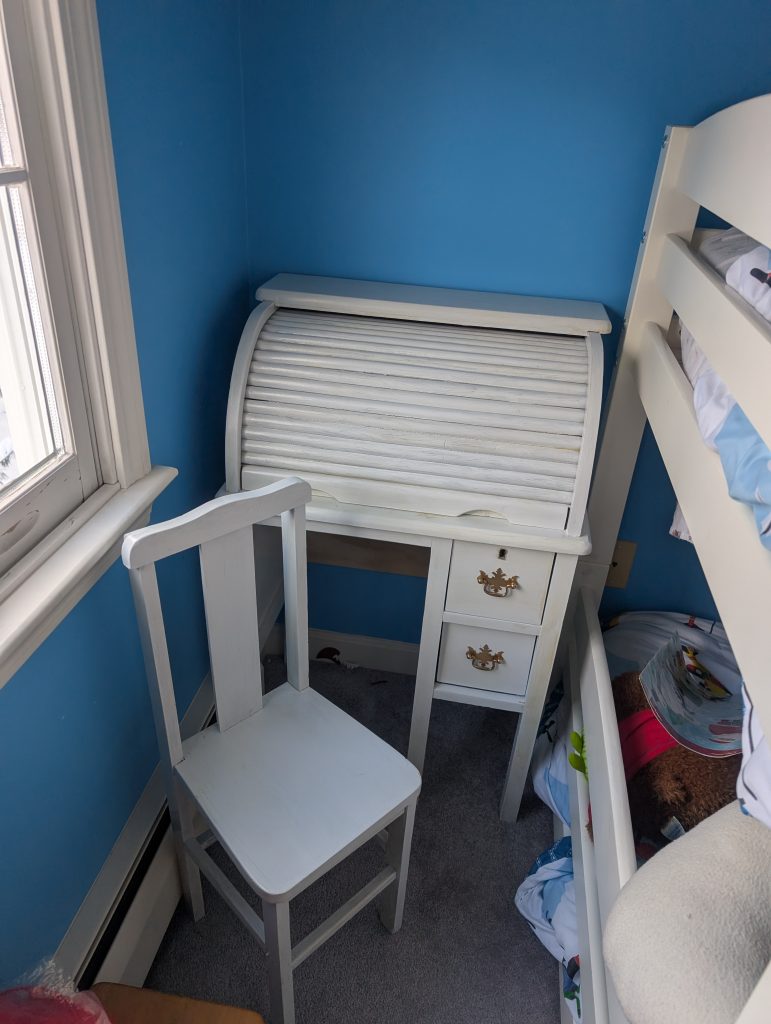
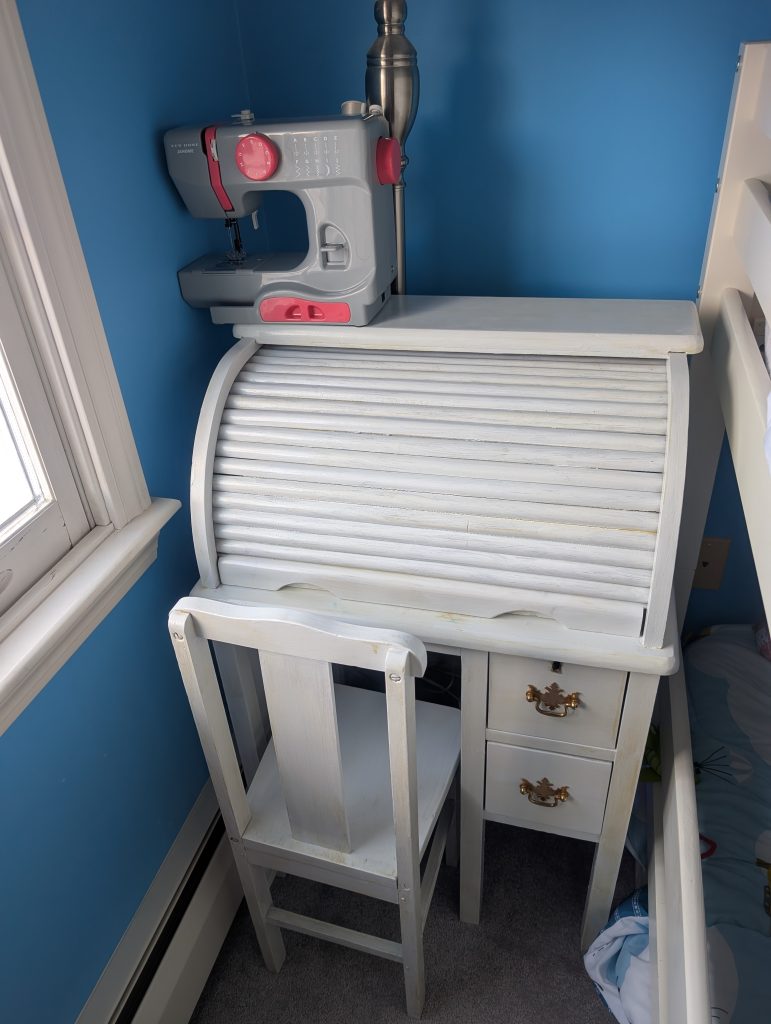
I finally finished two projects that have been cluttering my back room for over a year. The first project is this little roll top desk that Julius has been asking me for ages to fix. I don’t know where it came from but the bottom of the drawers said “Ralph”. My grandpa’s name was Rolf but some people called him Ralph so maybe it was his? Or maybe it’s just from a yard sale! Nobody knows. It was in okay shape but the roll top part was awful. You could not roll it back. One day a few months ago I finally got annoyed enough to take the thing apart. The roll top part had been repaired but very poorly with this awful pleather material that was falling apart, was very bulky and was not very smooth to slide. I started ripping the thing apart slat by slat… And that’s when I realized I couldn’t go back… It was time to actually fix it.
First though I painted it. I asked Julius if he wanted it white or to leave it the color it was. He wanted it white. I have been dying to try milk paint for a while so I started covering it up with that but it all flaked off after drying. My mistake, I was really hoping it hadn’t been sealed. I sanded it all off then changed over to latex paint but the only white latex paint I had in the house was flat paint. So after I had it beautifully white I painted over it with a water based polyurethane…. And completely ruined it. The wood stain from below started leaking through! I decided to leave it because I was just fed up. Not my best work (honestly I think it looks worse than the original, but I really blame that on the paint) though the roll top is at least finally totally functional! If nothing else, it’s in Julius’ room and out of my basement…
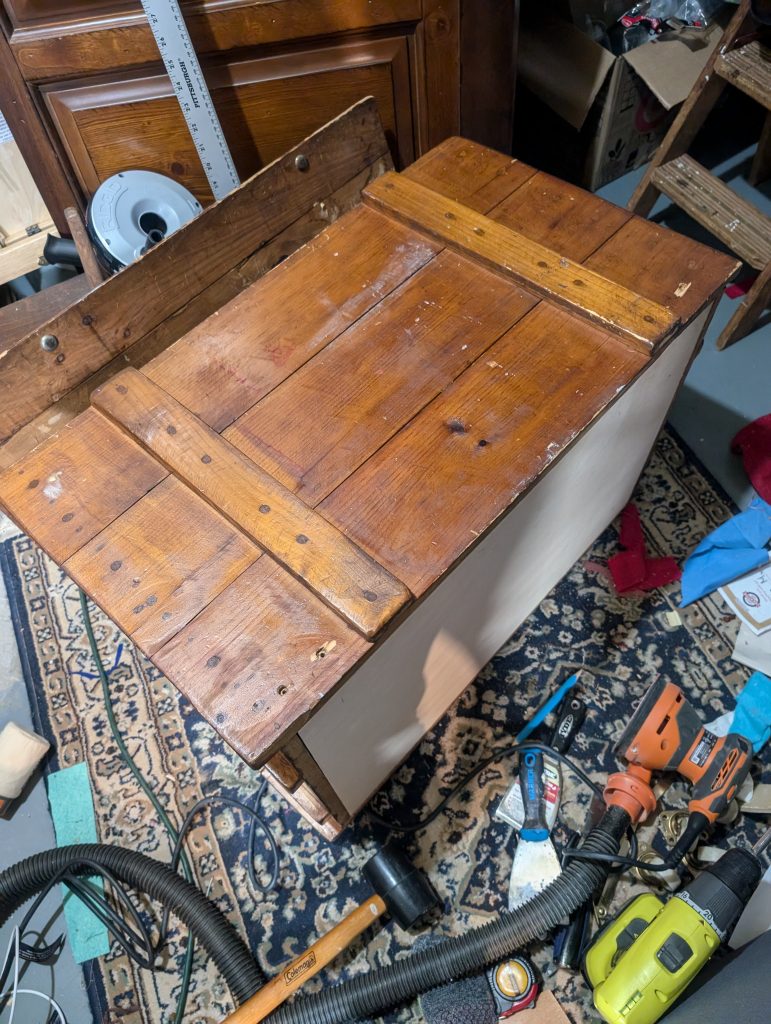
But this other project is the one I’m itching to tell you about. I got this box off the free site and let me tell you the original box looks really cute in pictures but it was a MESS. I was the 10th person to say I was interested and I guess I should have been suspicious when it made it all the way to me. The box is huge! The hardware was hideous (and they’d carved out chunks from the top of the box to fit the ugly hinges). It was also covered in wax and something sticky on the top that I could never really get off. The wood was really dinged up, the bottom particle board was warping from dampness and the bottom was held up by these gross 2x4s which were wasting 3 inches of box depth. It was also on casters which I didn’t put back on but could have.
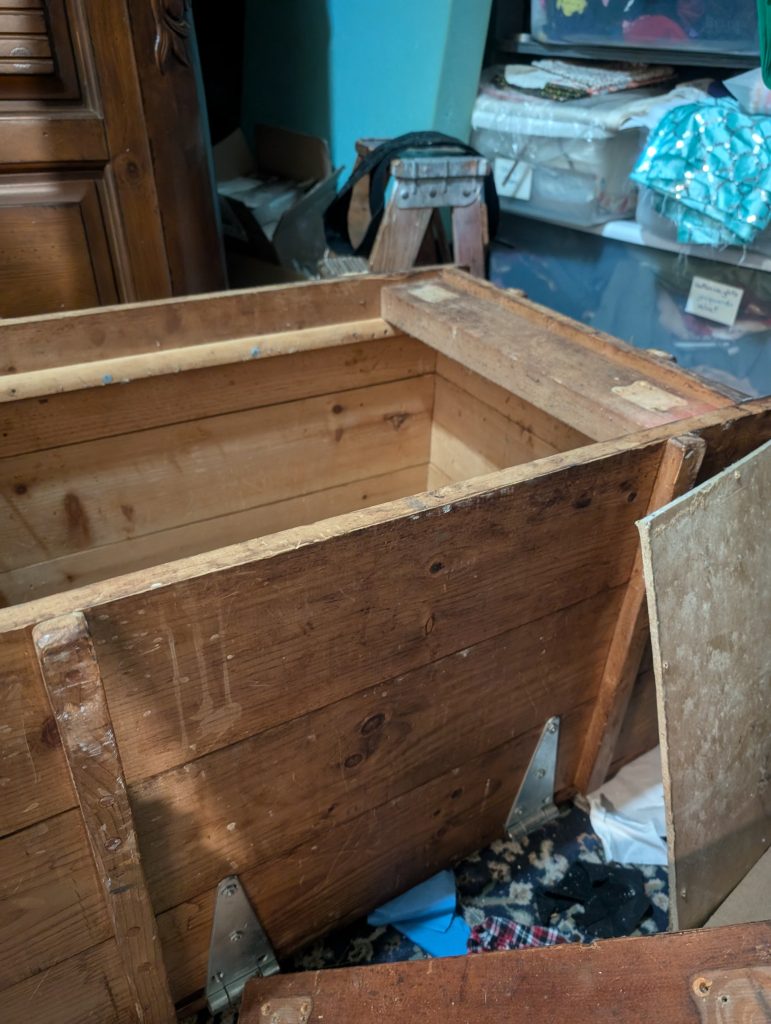
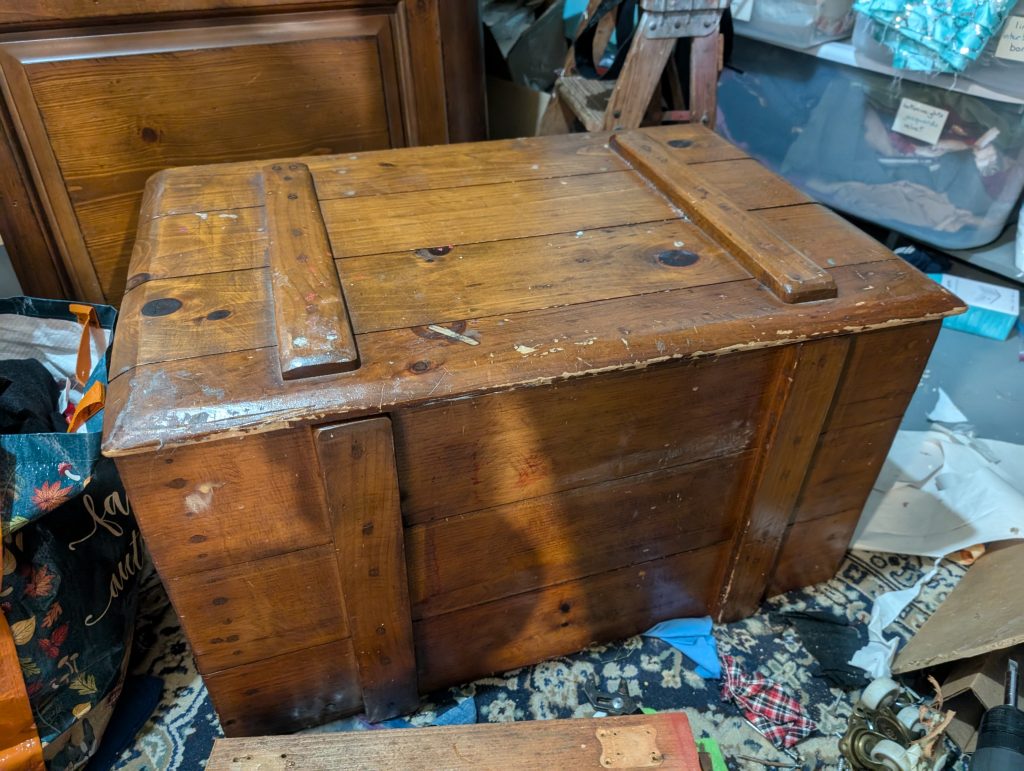
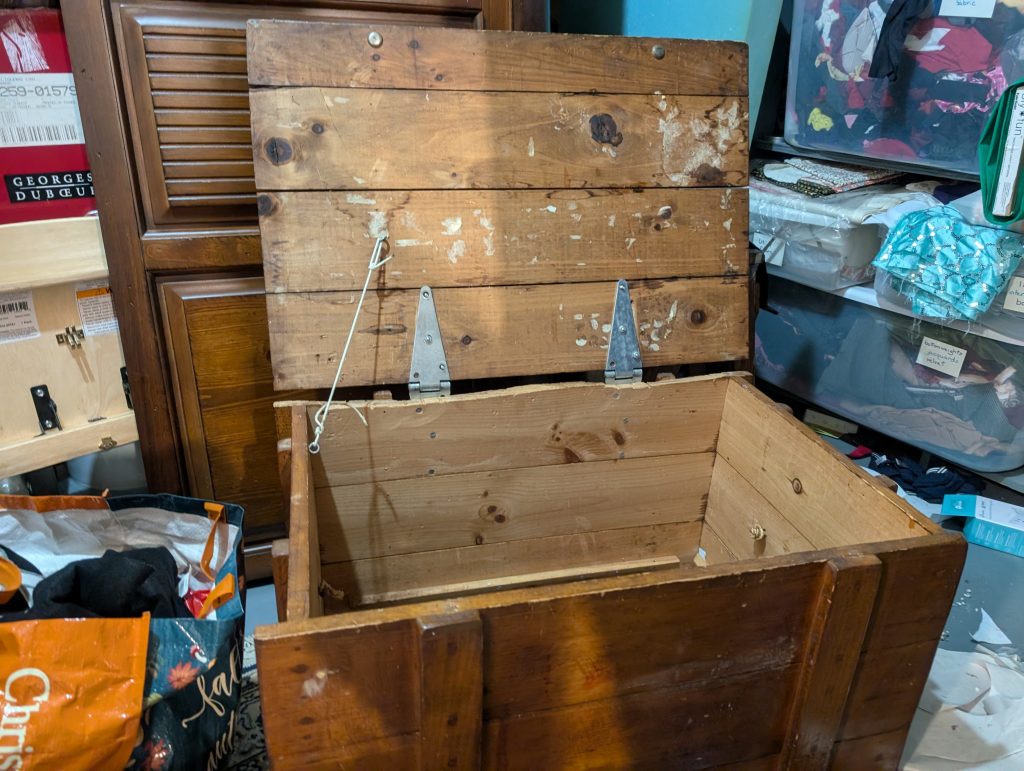
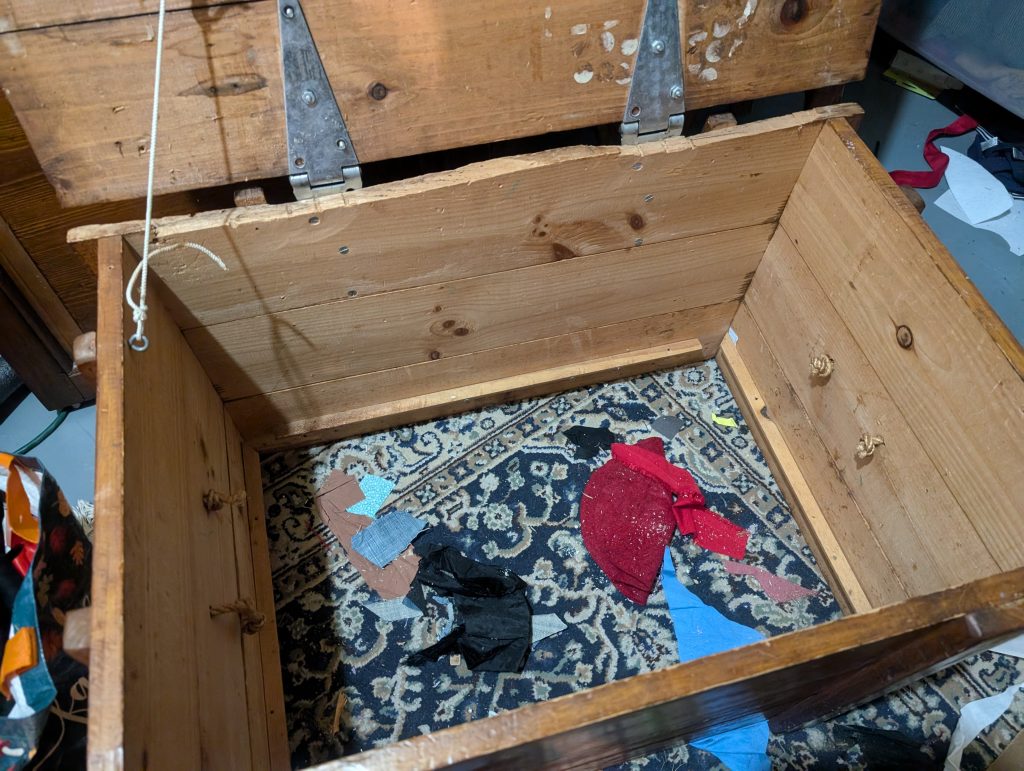
I first tried to clean it and succeeded somewhat but that lead me to notice all the random gouge marks and paint splatters covering the surface (especially on the lid). So then I removed the bottom of the box and refitted it with a new bottom (made with some 3/4” plywood leftover from the pull out cabinets I made a few years back).
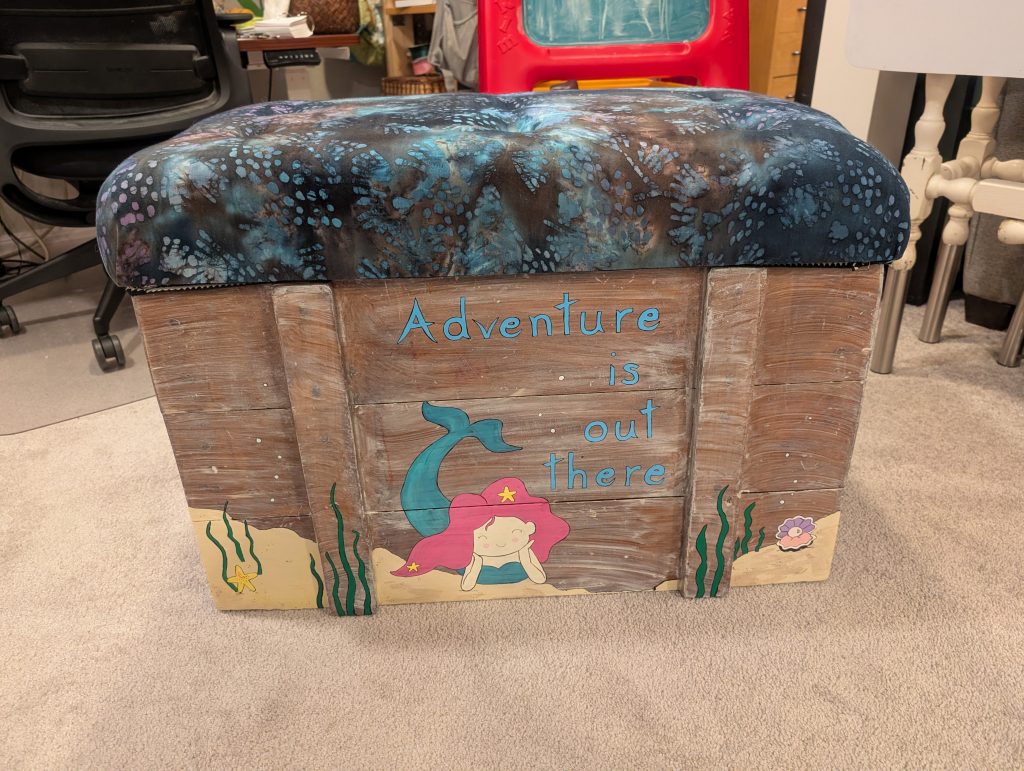
Then I decided to whitewash it because I wanted it to match the costume chest I made for the kids a couple xmases ago. This time I sanded it all down lightly and used the milk paint to do the whitewashing. The box took the milk paint better than the desk but I wish I’d done a second coat. When I finished white washing everything I realized how horrible the top looked white washed because of all the blemishes I mentioned previously. I started brainstorming another solution.
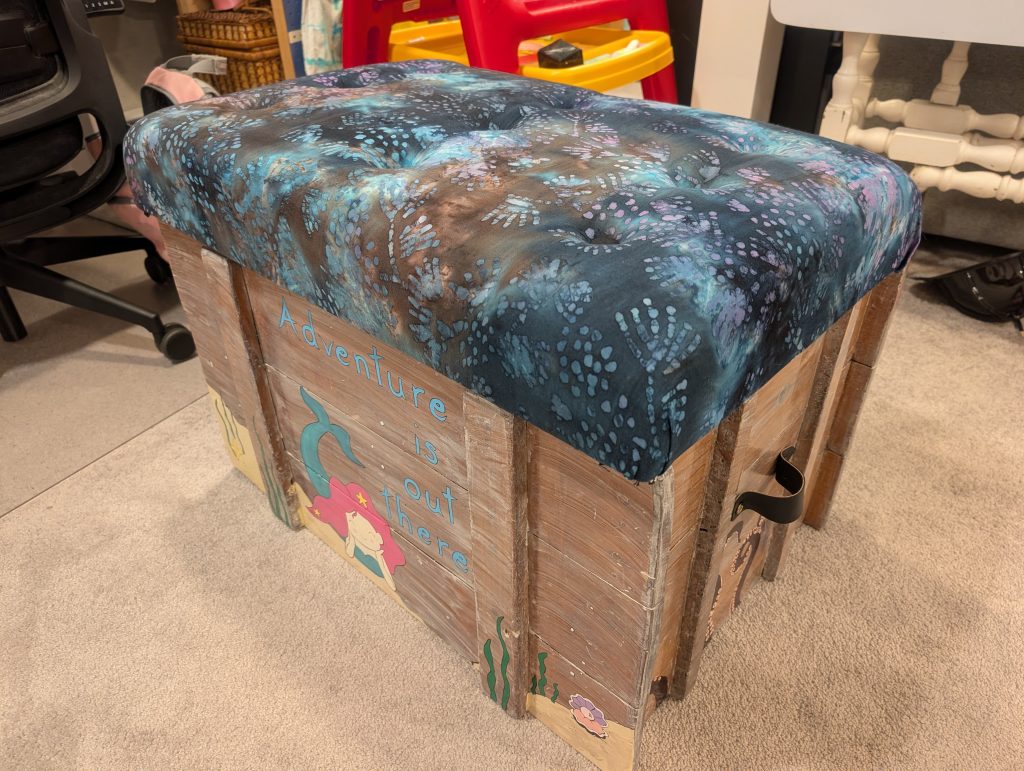
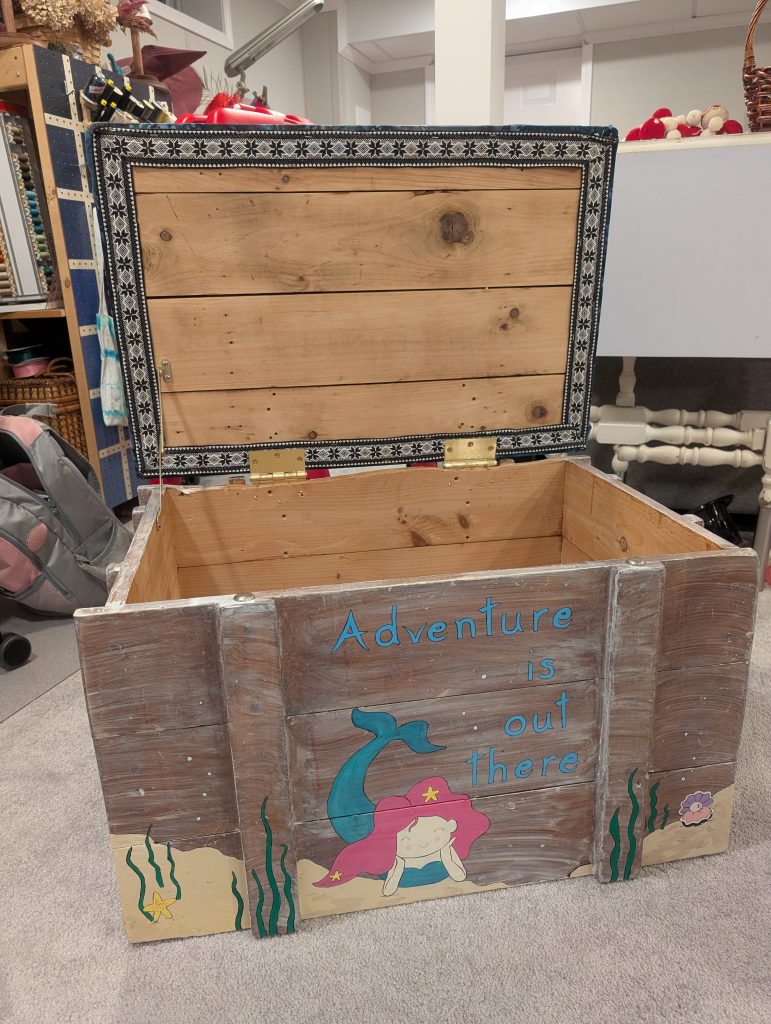
That’s when I saw the foam that’s been sitting in my basement for years from the climbing wall I put up in the garage ages ago. I’ve been itching to do a button tufted something so this seemed the a good opportunity. The problem was my foam is a little bit… Tall. So I didn’t want to put any additional batting in top for extra loft. It still worked but I think it would have looked better if I just went for it and added the batting to make it look less square. The button tufting wasn’t too hard! It makes me want to do way more! After sending the inside of the box lid, I cut my foam to size using an old broken serrated cake knife. Then I cut out 1” deep strips of the foam where the slats were on top. Then I cut a rectangle of fabric to fit over the top of the container. I then marked my button locations and used a large tapestry needle to stitch both ends of a piece of kitchen twine thru my fabric and the foam cushion in the place marked. I threaded the other end thru another button, pulled it very tight then tied it off.
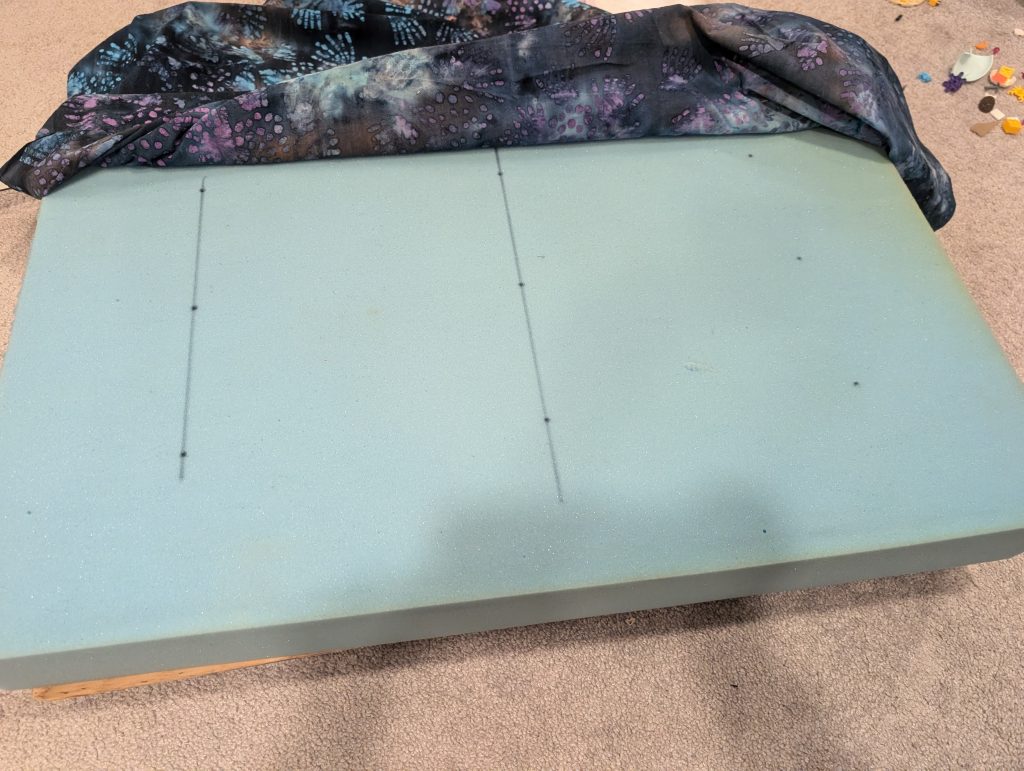
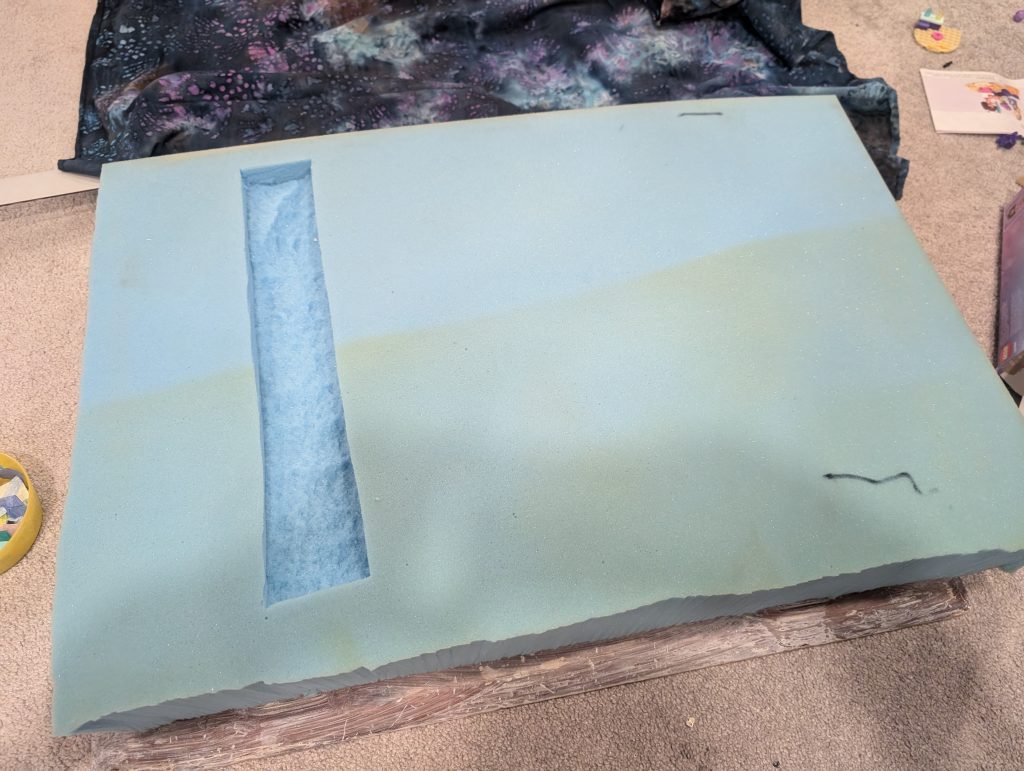
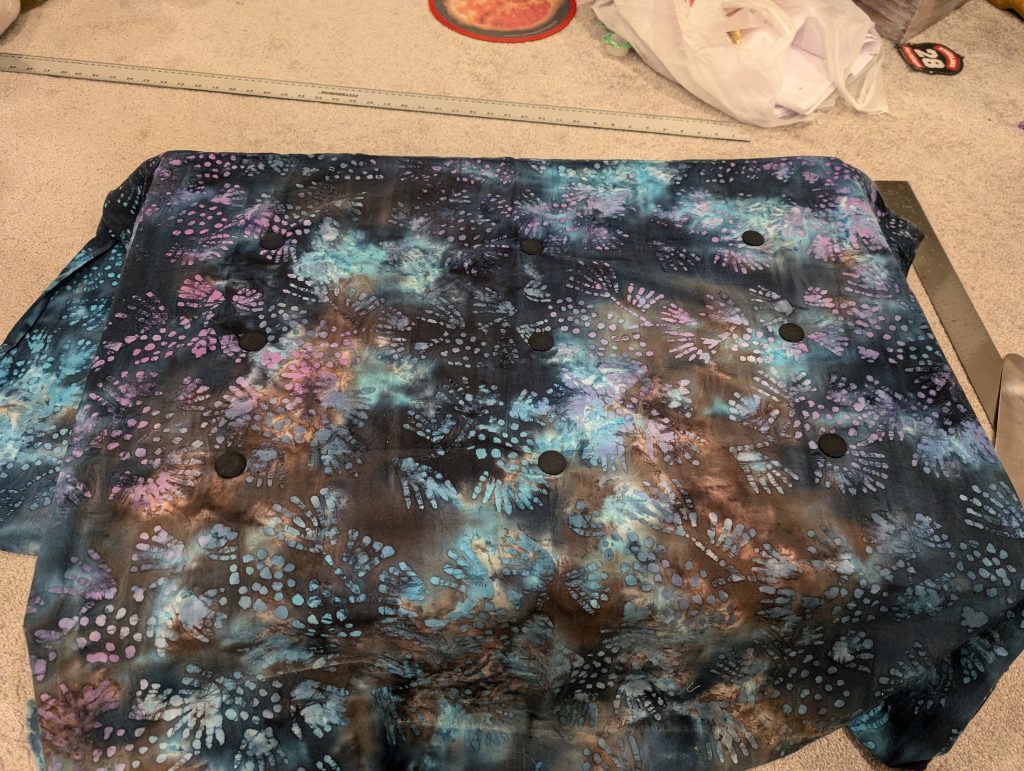
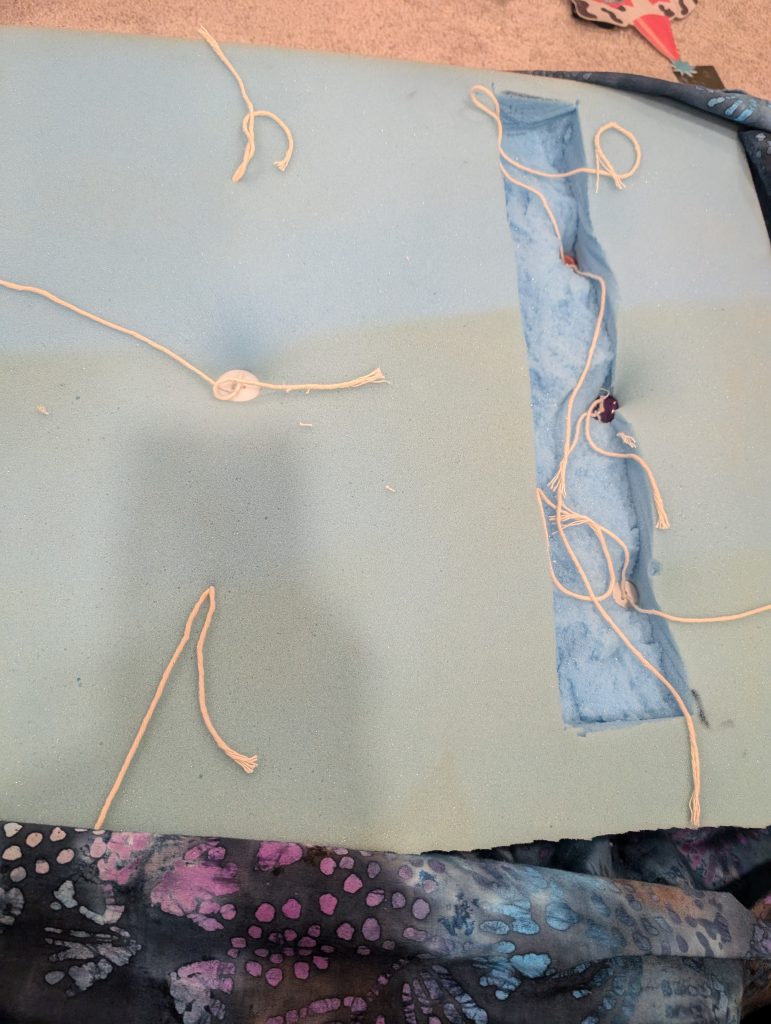
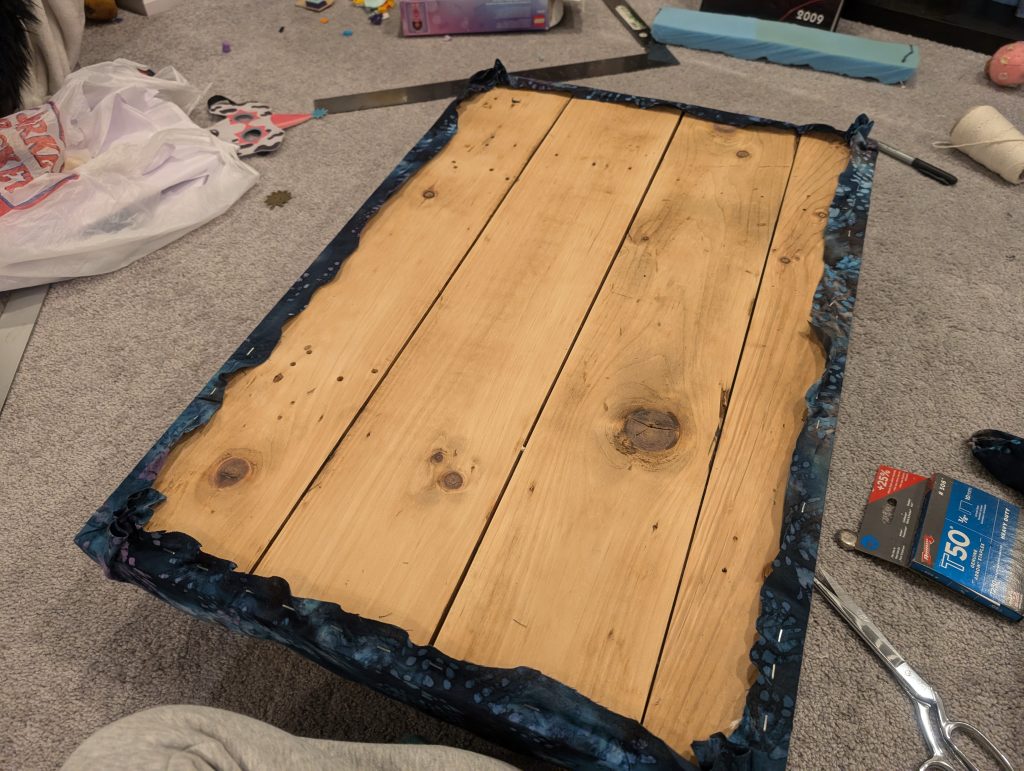
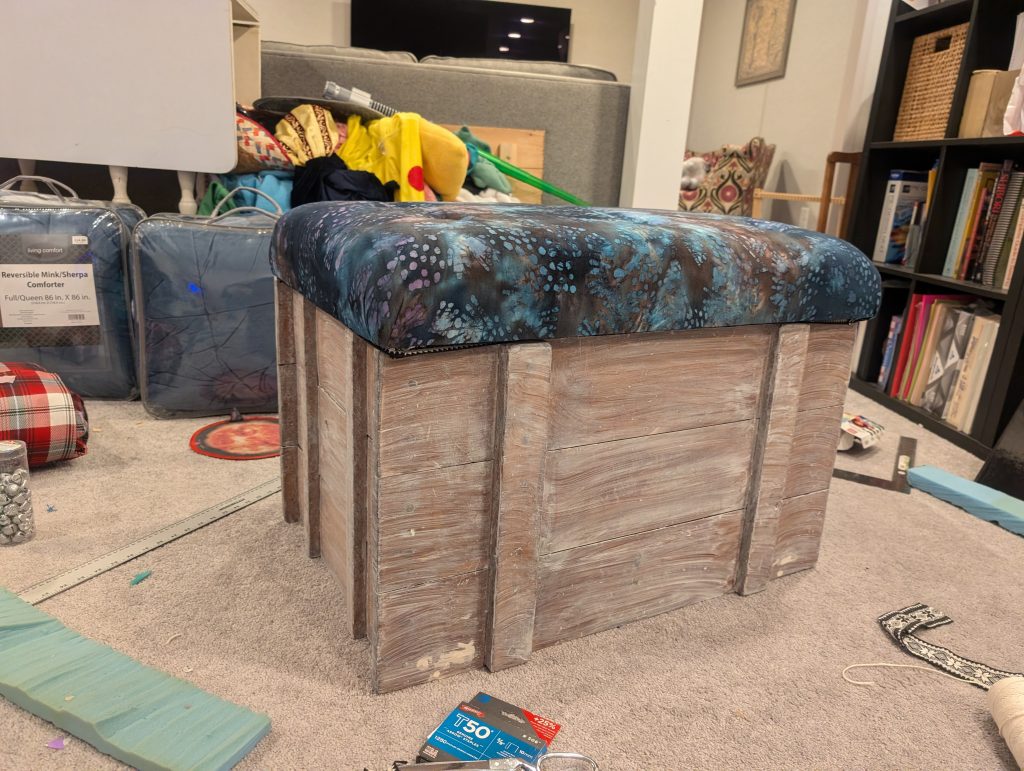
When all the buttons were complete, I stapled the fabric onto the underside of the lid. To cover up the ugly staples and unfinished fabric I more discretely stapled woven trim on top of the unfinished fabric along the border.
Next I changed out the hinges and added a mechanism for holding the box opened (the previous owner was horrified I was going to use it as a kid’s toy chest as they got lots of bruises from the lid hitting them in the head… Apparently the lid holder is called a lid stay. The hinges I used were 3″ door hinges.
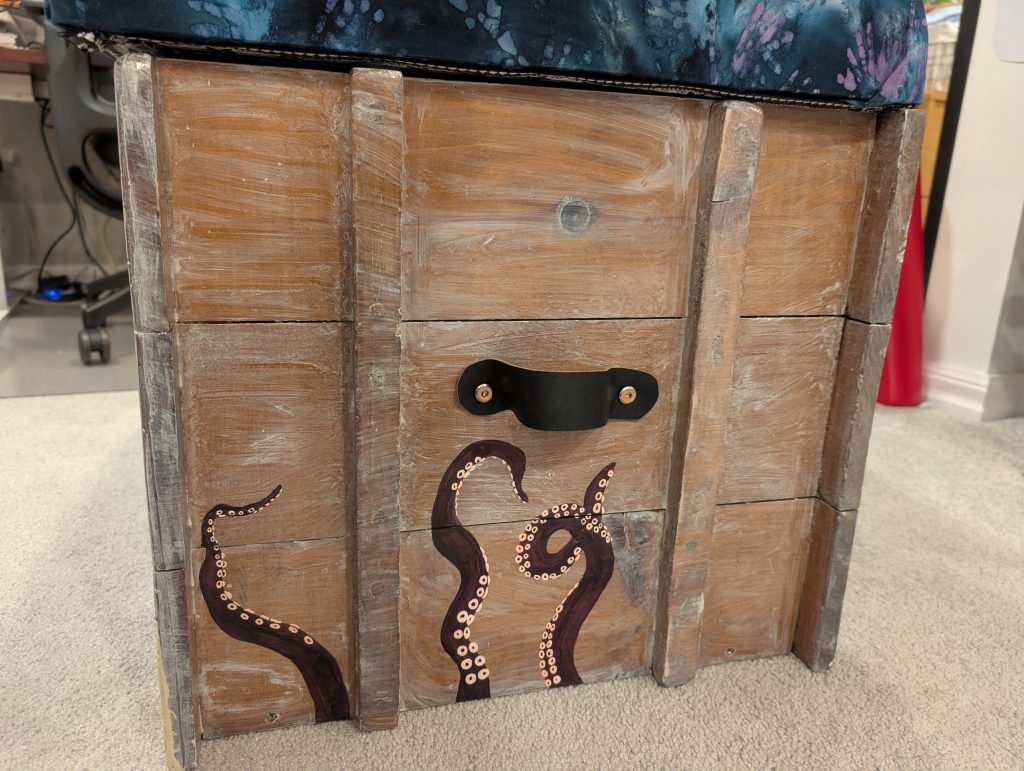
Then I took all the hardware off and painted the box. This part took me by far the longest. I found some cute images on the internet as inspiration (here, here, and here) and then hand sketched my own versions of each. Then I traced my hand sketchings onto the box. Finally I painted them. It took forever, but I kind of love it.
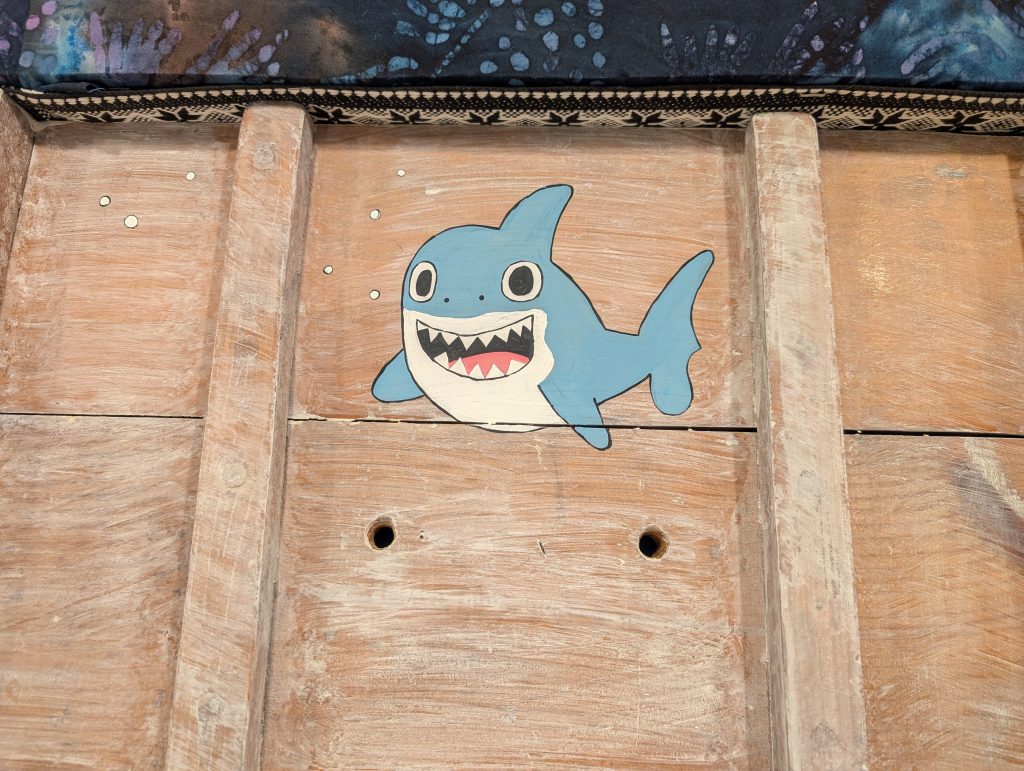
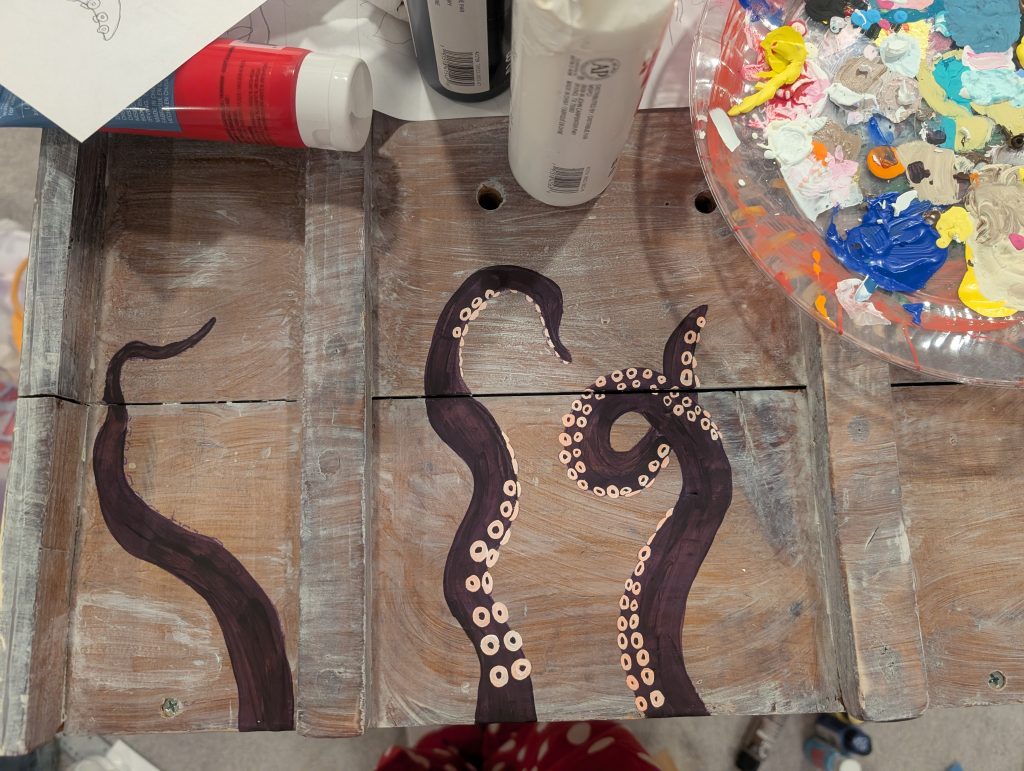
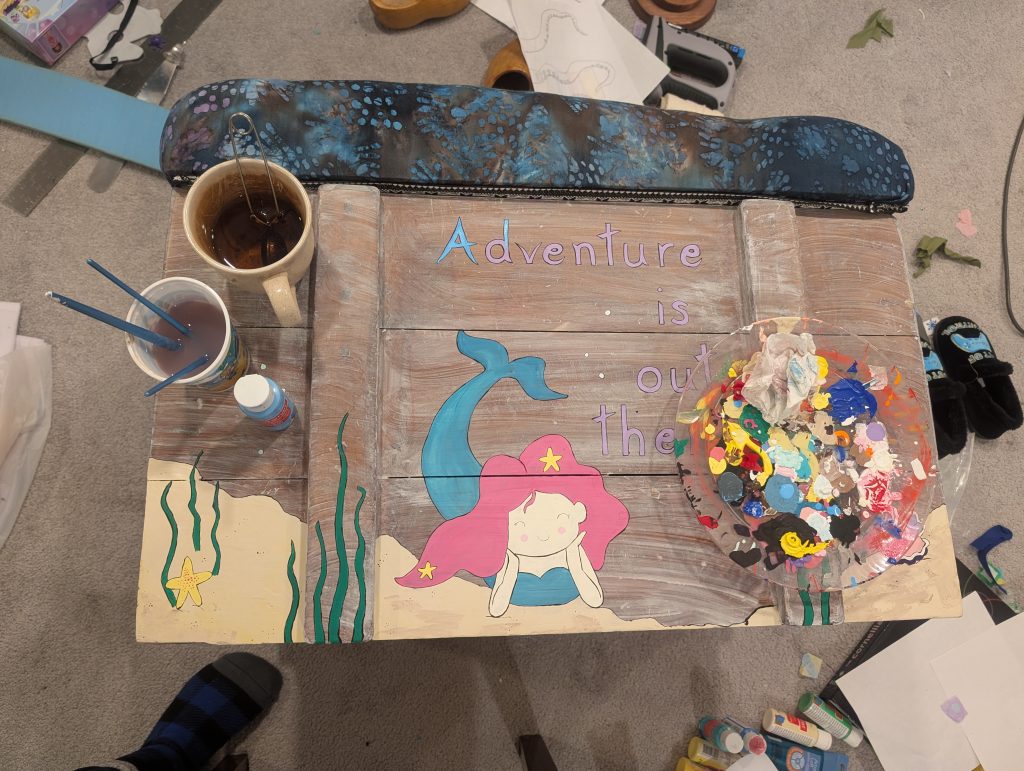
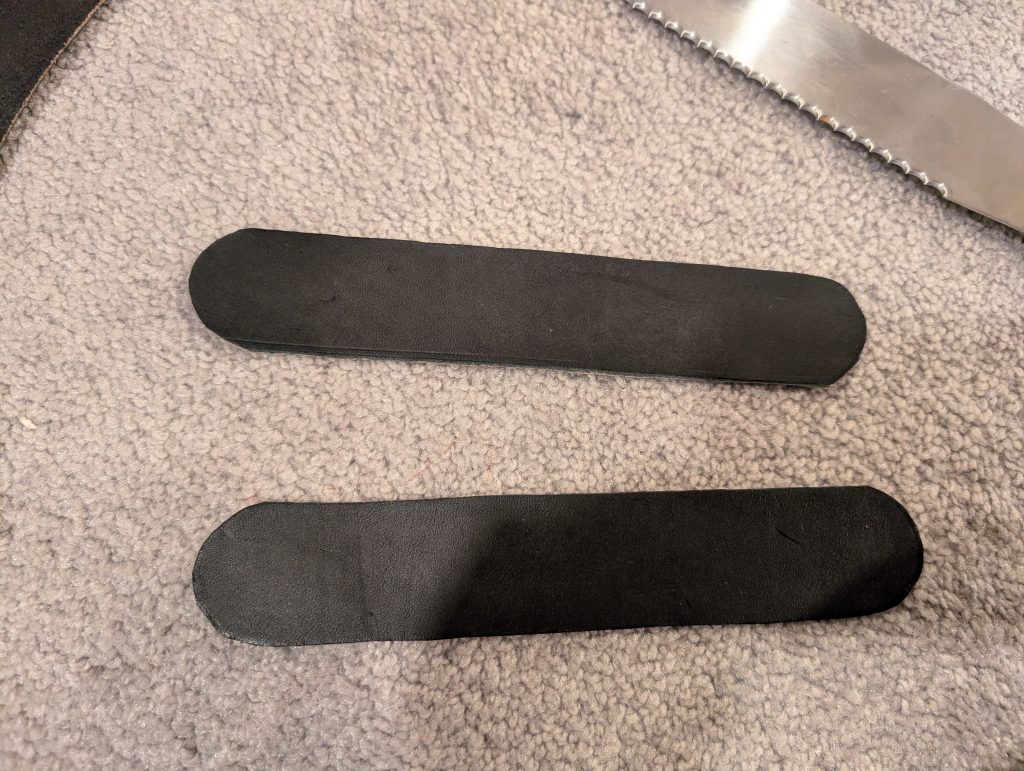
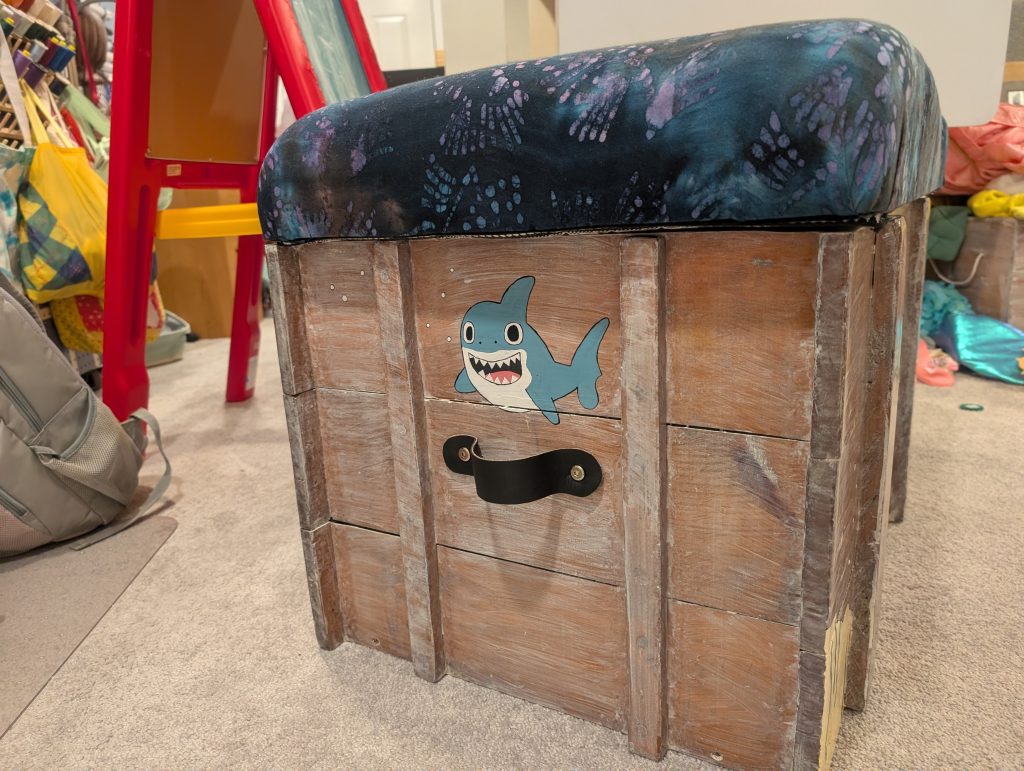
Finally I coated it in 3 coats of water based poly, re-fastened the hinges and lid stays and then had to decide on the handles. The previous owners had these really ugly ropes for handles and they’d cut these huge holes in the side of the box that were both different distances apart from each other. I wanted to cover the holes up so I made some leather straps from some scrap leather I had, and some old bolts I had lying around. This is my least favorite part of the box. I’ll probably change them out eventually, but for now it works.
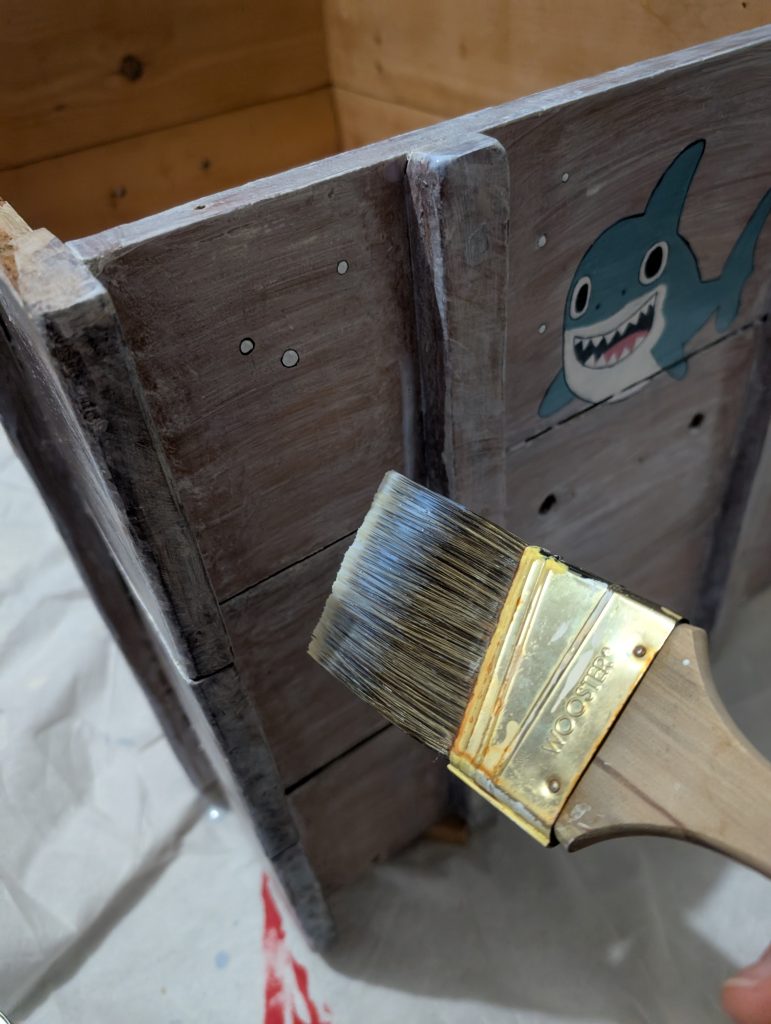
Overall I’m pretty happy with it, and even more happy it’s out of my back room and holding the kids’ costumes! I had all the things in my stash (yeah I know I am a horder) except the hinges. Which cost me about $6. If you consider that as the cost, I think it’s pretty good!


An excellent result!
Thanks babe!
The desk looks good!
Thanks Amy!
Great work!!
Thanks Matt!