A few months back I held another ladies’ night. I confess I stole the idea for this one from my sister in law! After I gave out the hand stamped tea towels for her shower, she had the great idea to hold a party where guests would decorate their own! My twist on it? Instead of using fabric paint, I wanted to use fiber reactive dye paint, a medium I’d used in college and have been wanting to try again since.
First step was to make 7 tea towels in linen (or any plant based material or silk). As I mentioned in previous posts I love the medium weight linen from fabric-store.com. The bleached is perfect for dyeing. I have instructions below on how to make your own tea towels. They are really quite simple. If you don’t feel like making your own, you can instead purchase 100% cotton plain white tea towels. Walmart has some, but they aren’t quite as nice as the handmade linen ones.
After I’d made the tea towels, my lady friends came over for wine and appetizers. Then we tried to tackle the towels. I provided some pre-made stamps and brushes. For those who were more adventurous I also provided a linoleum cutter set and giant rubber erasers from the dollar store. A couple of us used these to create our own stamps. I’ll write about how to make your own stamps in another post because it actually worked rather well.
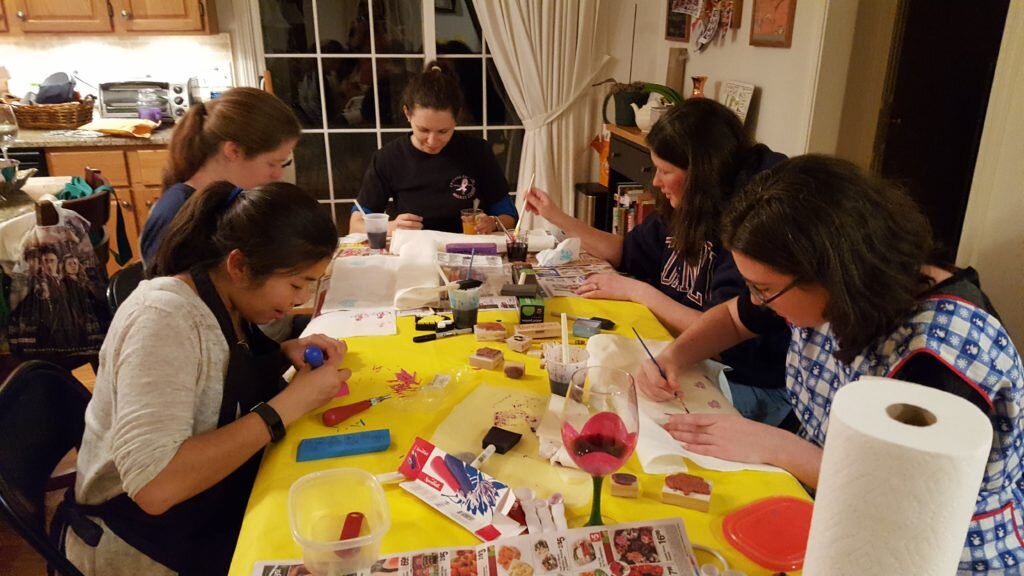
Ladies night dye table set up in my kitchen.
Next I mixed up several colors of dye paint using fiber reactive dyes with sodium alginate as the thickener. Then we attempted to stamp or paint the towels. The biggest problem with stamping was that the rubber stamps did not hold enough dye. Had I been thinking more about this I would have remembered my dye book recommends a procedure for “flocking the block” for block printing which is almost definitely what would cause more dye to adhere to your print block. To set dye paints without heat (I don’t have a steamer) you must let the dye permeate the fabric for 24 hours, which means it has to remain wet during this period. The stamps put so little dye on the fabric that I’m certain they didn’t stay wet for 24 hours. Stenciling and painting did work rather well with this technique since it really saturated the fabric. In the future I’d recommend sticking to fabric paint for stamping, and dye paints for painting and stenciling. Here’s a couple examples of finished designs!
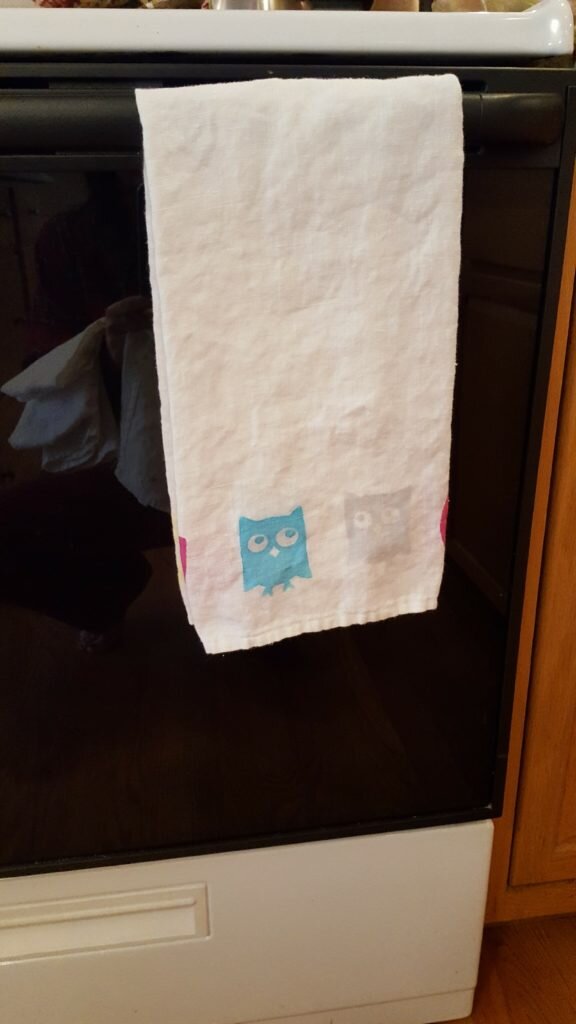
Stenciled owls.
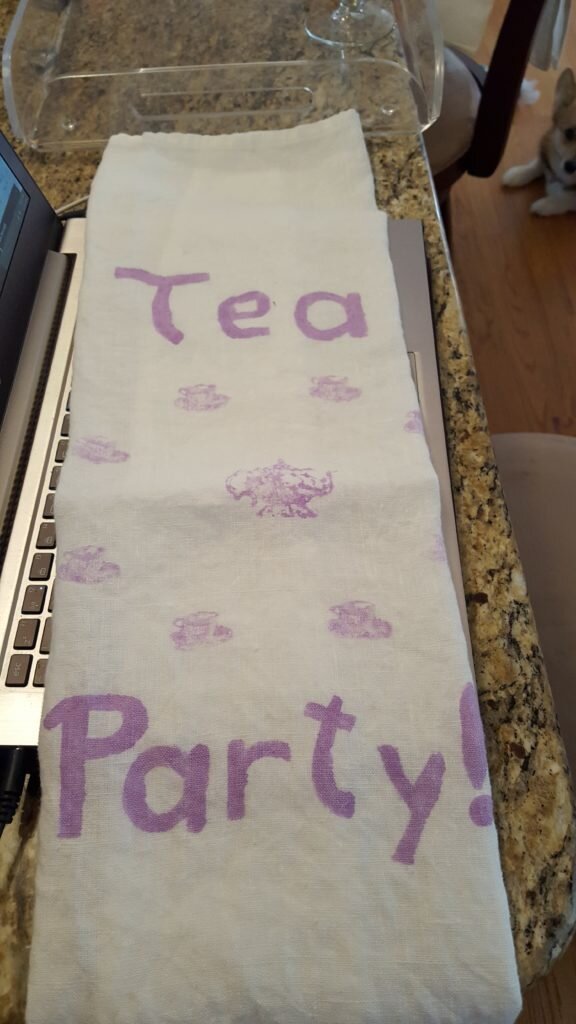
Handpainted “Tea Party” with stamped teapot and teacups.
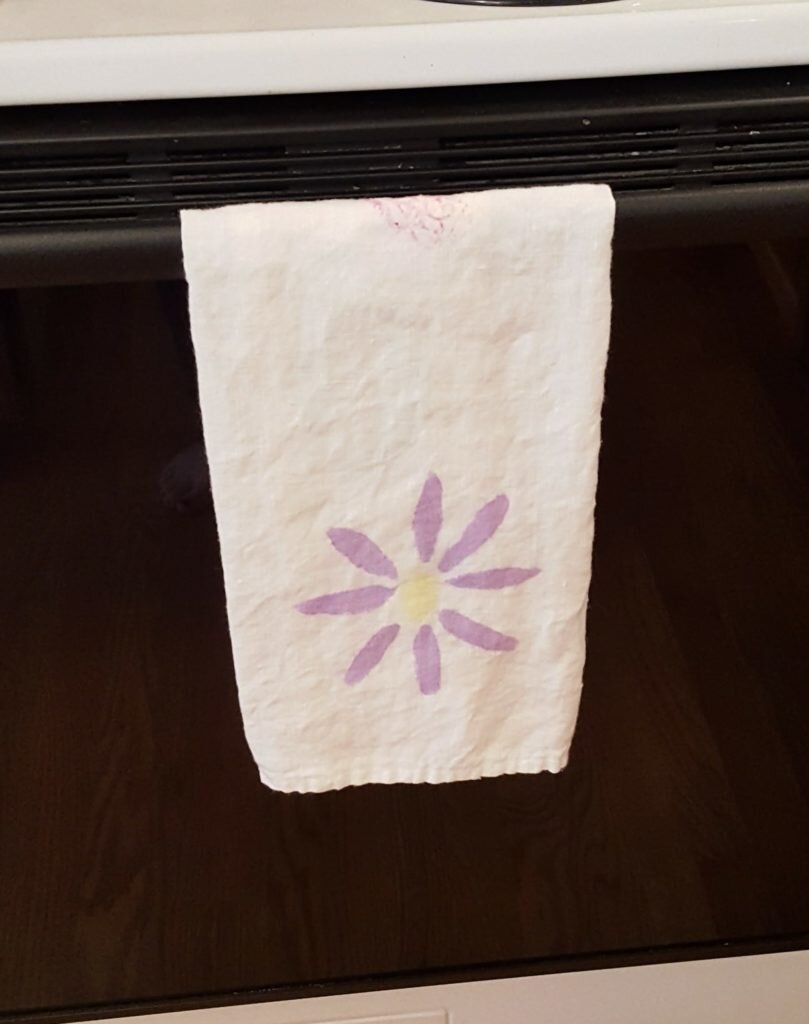
Handpainted flowers
DIY Linen Tea Towels
You will need:
- 1 yard of 60″ linen (this will make 3 towels)
- Prewash and dry your fabric. This is very important with any natural fibers as they will shrink in the dryer.
- Cut linen into 3 20″x30″ rectangles (or whatever size you prefer).
- Press 1/4″ under on each edge.
- Press another 1/4″ on each edge to form a rolled seam.
- Open out the corners. To make a mitered corner follow the below steps.
- Fold corner inward where the most inward set of folds meet. Press gently.
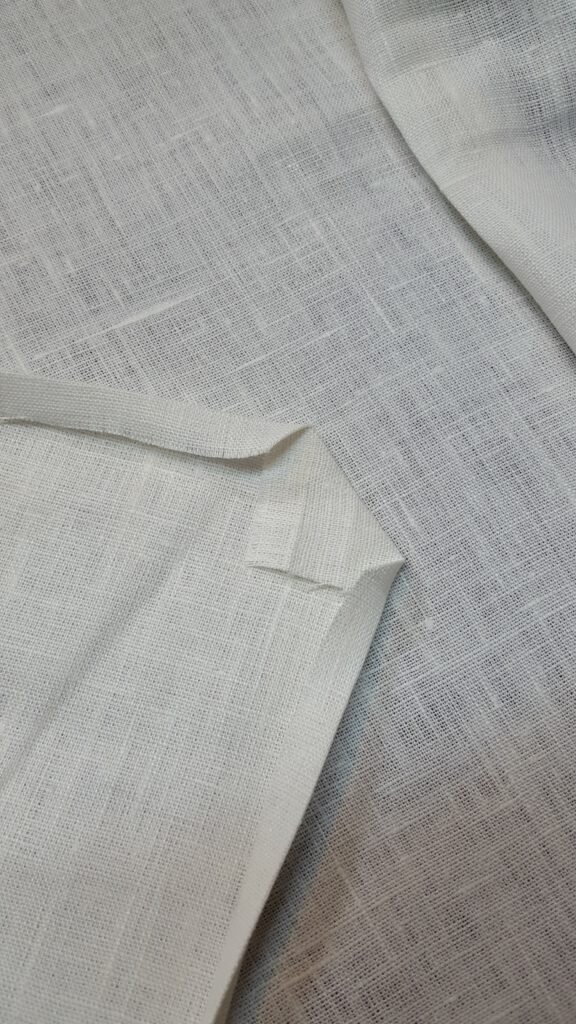
Open out fabric and press along the corner at the innermost point where the lines from your hem intersect.
- Turn corner inside out (right sides together)and pin along the line you just created when pressing in 6.
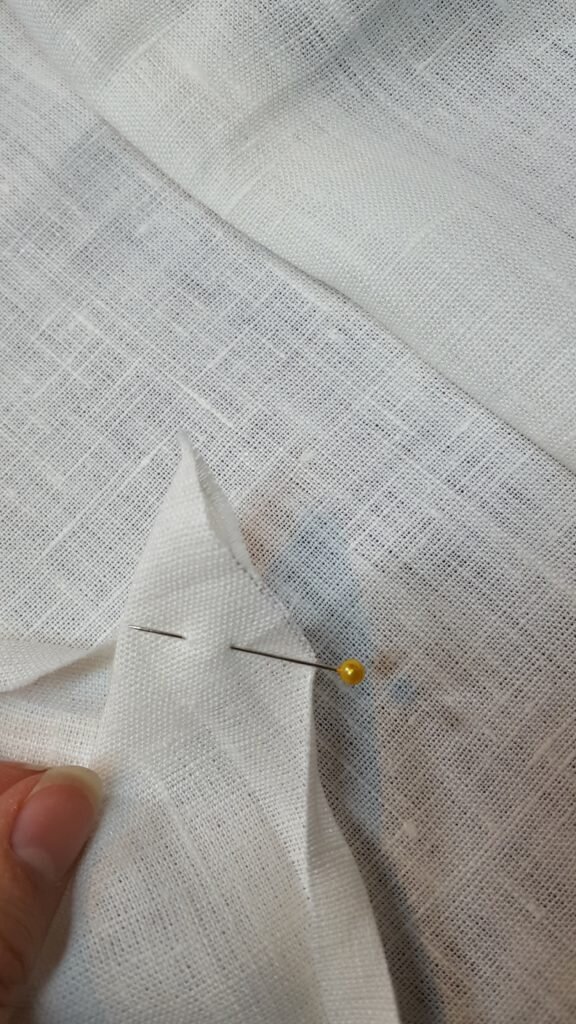
Turn corner inside out and pin along fold you created.
- Stitch on the diagonal along the pressed line you created. You want to leave the edge unstitched so you can fold it under so stitch only from where the outermost set of lines intersect to the fold OR you can leave the first fold intact, and stitch right over this.
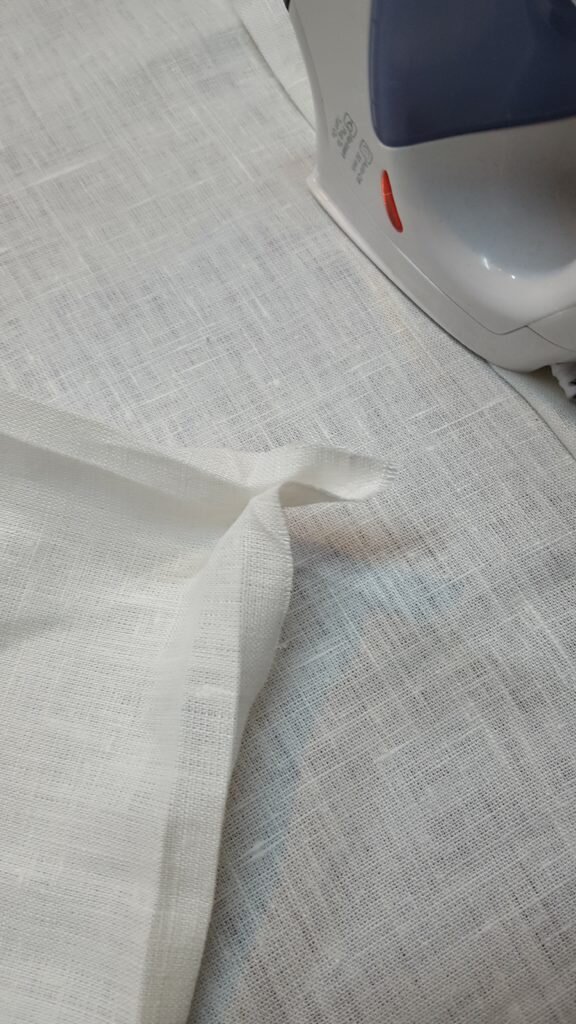
Stitch along pressed line you created, omitting the first fold in your seam.
- Trim corner so 1/8″ remains.
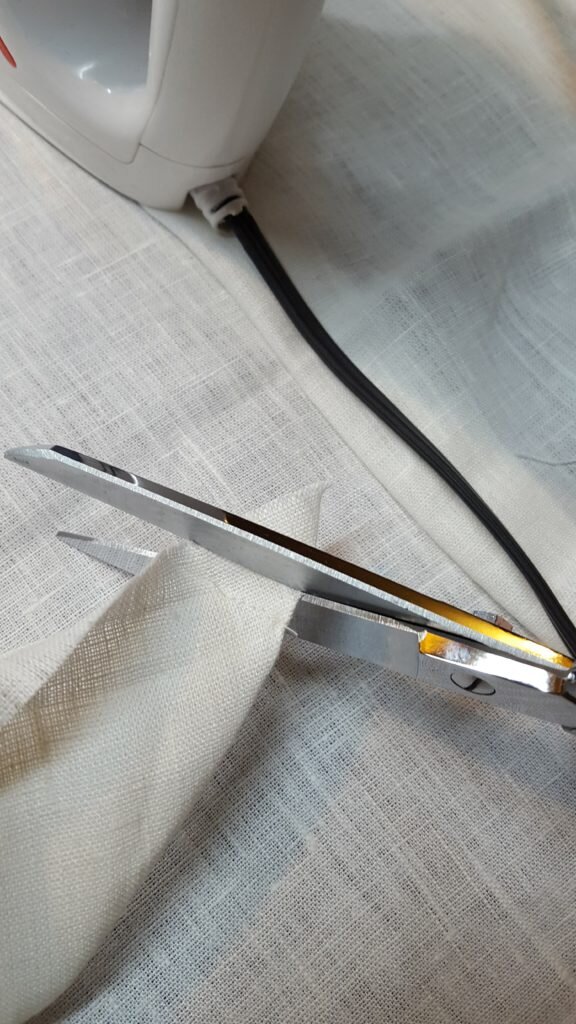
Trim corner.
- Turn right side out and fold under the 1/4″ rolled seam if you left it in 8 (like I did). Repeat with other 3 corners.
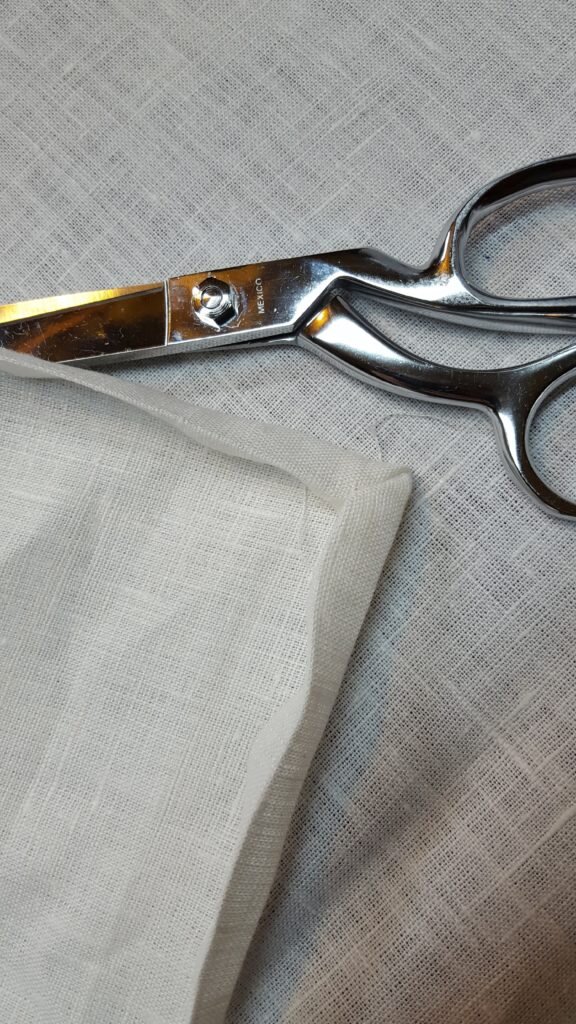
Open out and fold under the rolled seam.
- Stitch along all edges close to the 1/4″ rolled seam.
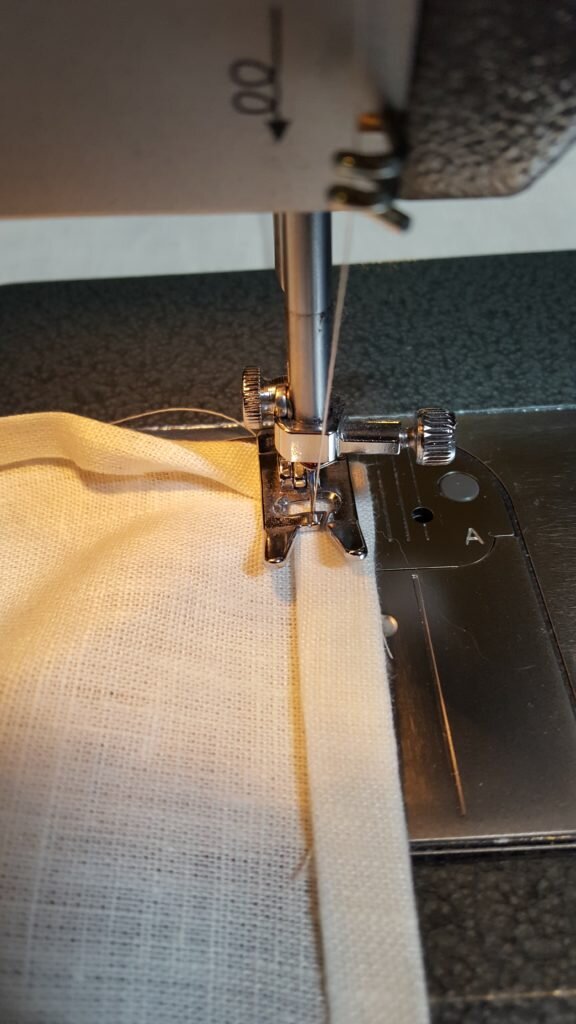
Topstitch along all edges, close to the rolled seam.
If my instructions for mitered hems are confusing, just watch this great youtube video instead!

