This past weekend Will and I went to our friend Joe’s 30th birthday party. His lovely girlfriend held the party at F1 Boston Indoor Go Kart racing and made the theme Mario Kart after Joe’s favorite game. Guests were encouraged to dress up as characters from Mario Kart. Since Joe was going as his favorite character Luigi (who is also Will’s favorite character) Will decided to go as Waluigi – Luigi’s evil nemesis.
His costume was pretty easy – just a pair of navy blue overalls, a purple shirt and a fake mustache. Plus I decided to make Waluigi’s hat. (I really can’t justify buying hats anymore, I’d lose my street cred at mad hatter.) The hat was incredibly easy to make – hour start to finish including the pattern. And as an added bonus it only cost me about $2 in materials. The hat below is tailored to Will’s head size. If you want to scale up or down, I have some tips for what I did below. As a bonus, someone else who went as Waluigi with a purchased hat was remarking how similar the two hats were (I don’t think he knew I made Will’s). I always consider that a bonus.
Oh and see if you can guess who I went as…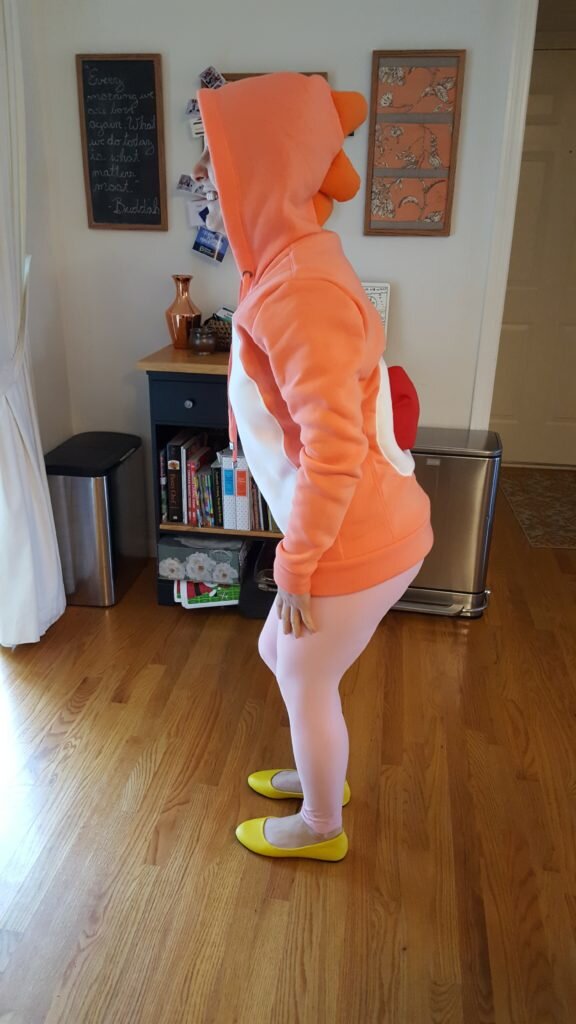
Tutorial pictures to be posted tomorrow…

Waluigi/Luigi/Mario/Wario Hat
What you’ll need:
- 1 yard cotton material
- 1.5″ strip of lightweight fusible interfacing
- a small 1’x1′ square of heavyweight interfacing – pellon 70 peltex
- brim pattern here
All specific dimensions in the instructions are for my husband’s head size of 24.25″.
- Measure head – add .75″ to the circumference for wiggle room. For Will this meant 25″.
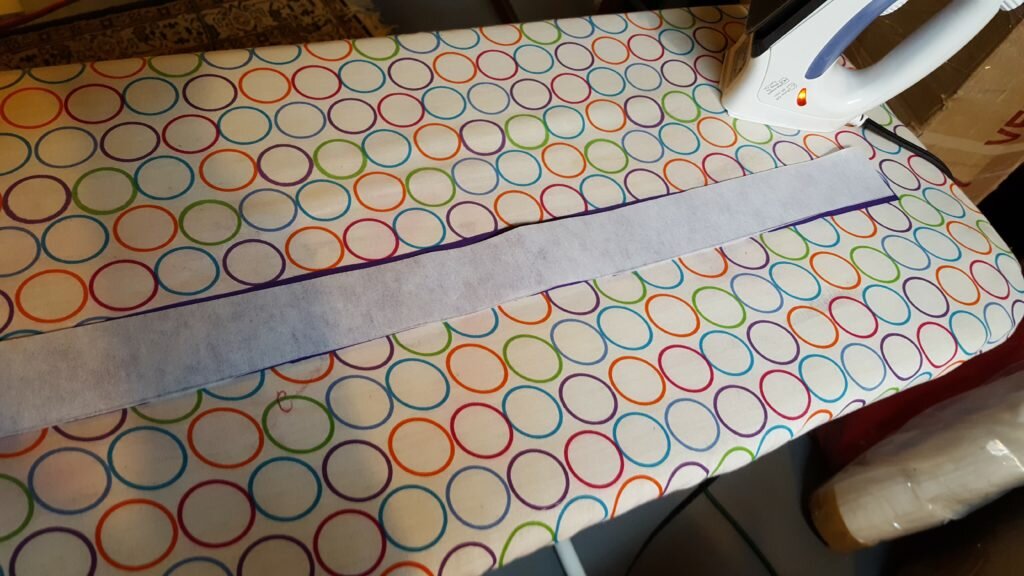
- Add an inch to your measurement in 1 and cut out a strip of lightweight fusible interfacing and cotton with that length x 1.5″ wide. This will be your hat band.
- Following the instructions on the interfacing fuse the interfacing strip to the hat band strip.
- Divide the width in 1 by pi (3.14). For Will this was 8″. Use this length as the radius of the circle for your hat dome. Using a protractor trace a circle of that radius onto your cotton material. Cut.
- Using the brim pattern above, cut out the brim from a piece of heavyweight interfacing.
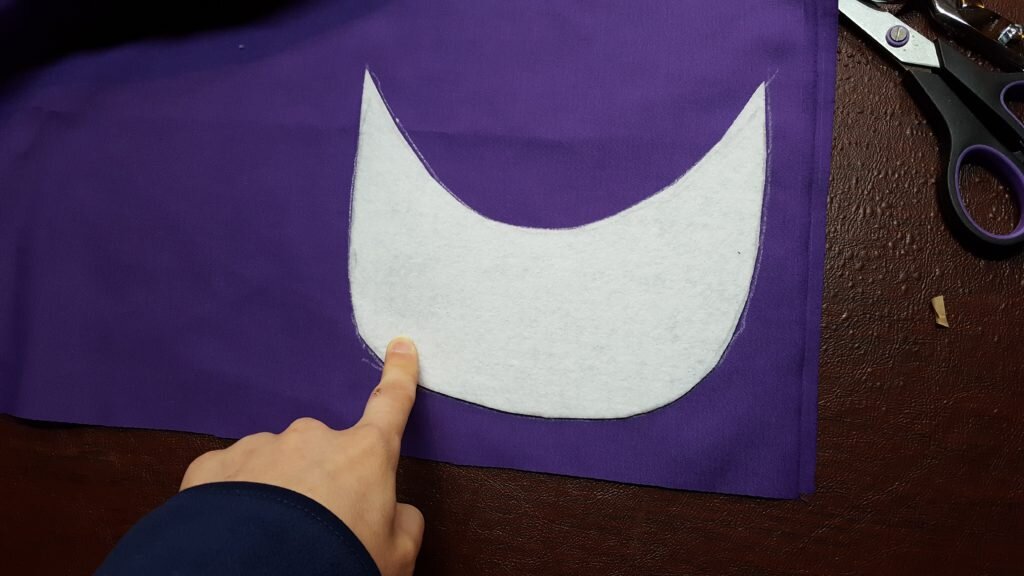
- Trace the brim onto the cotton material and cut 2 brims, 1/2″ wider than the width you traced, and an inch wider than where the brim connects to the hat.
- Stitch the two pieces of cotton brim material together with 1/2″ seam allowance.
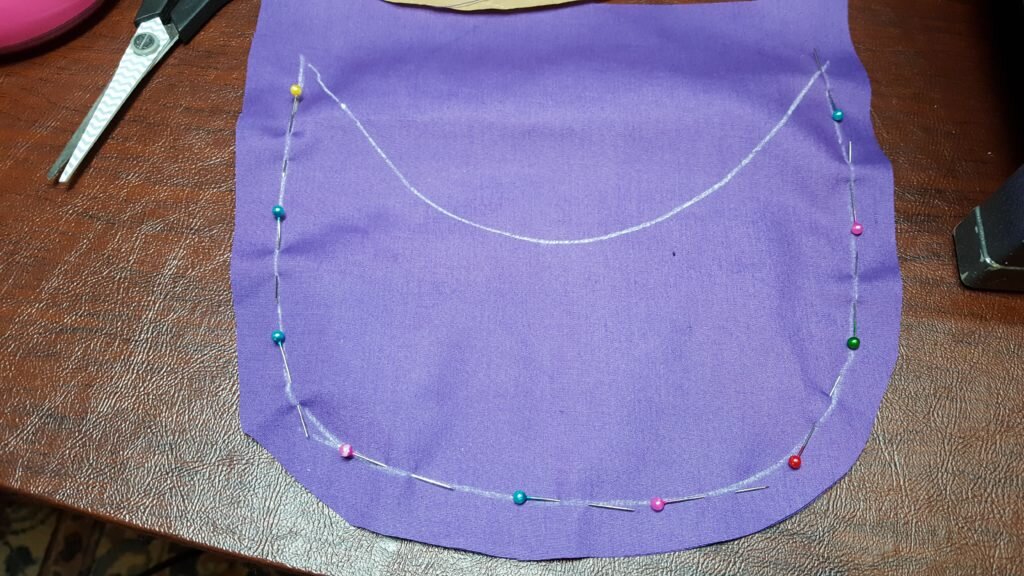
- Trim seam to 1/4″.
- Flip brim material right side out and insert the heavyweight interfacing into the pocket.
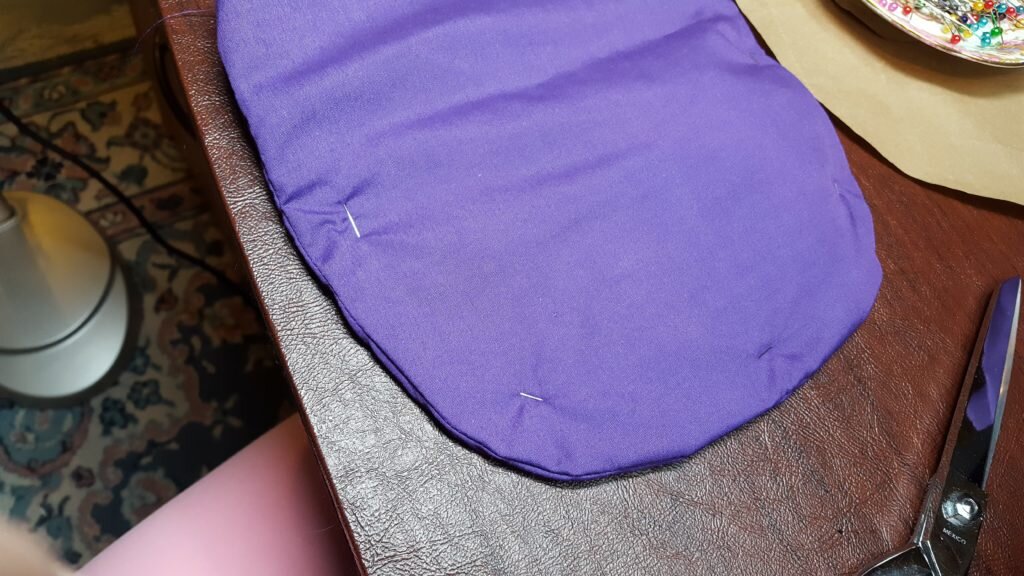
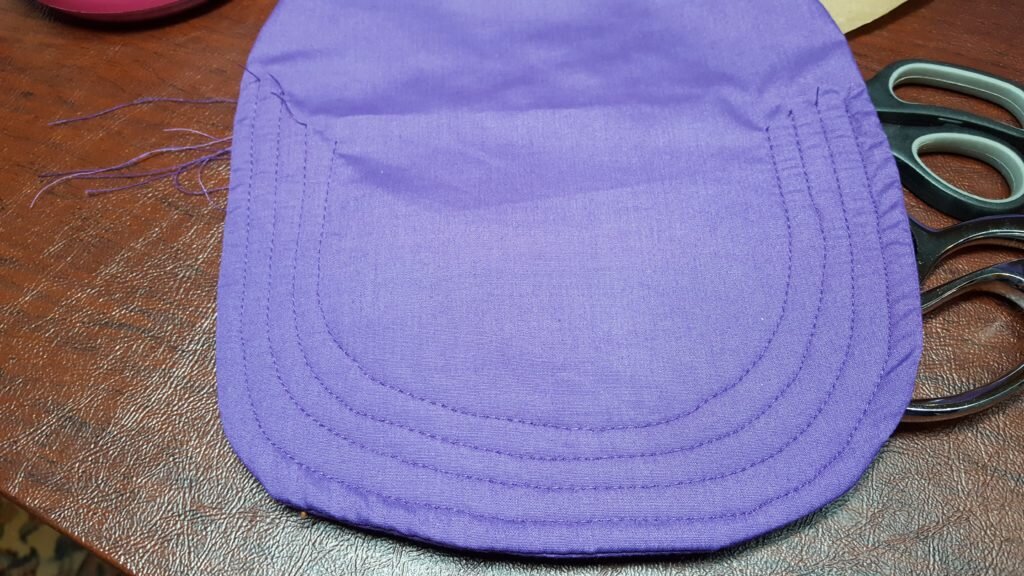
- Starting at the seam, stitch 1/4″ from the seam along the entire rim of the brim.
- Repeat 1/4″ from the previous seam 5 times (or until you get bored).
- Fold the hat band in half, right sides together and stitch 1/2″ from the edge.
- Fold the circle in step 4 into quarters. Mark the quarters. Fold the band in quarters, mark the quarters.
- Pin the band to the dome at quarter marks.
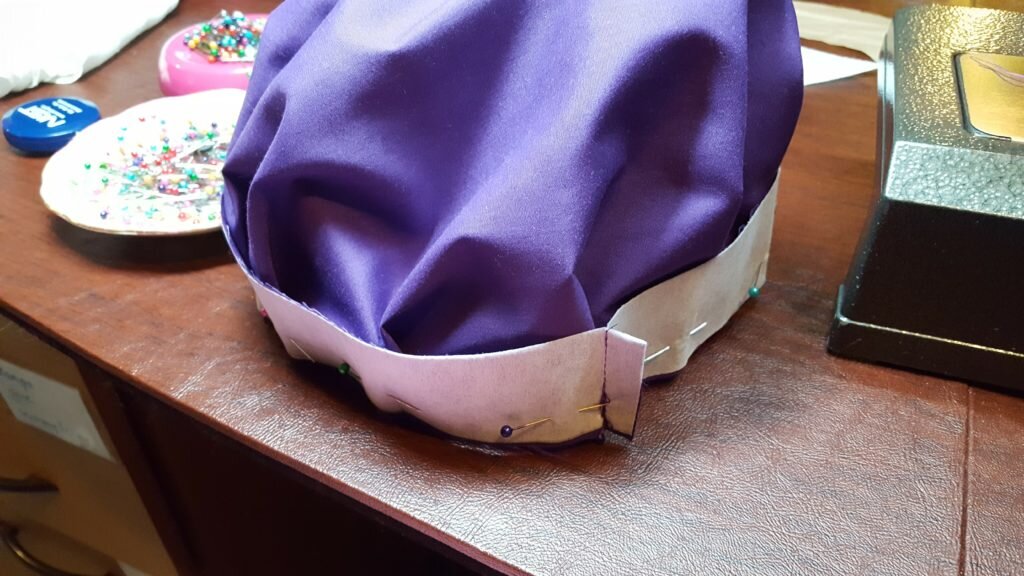
- Pleat at each pin 3/4-1″. Pin.
- Pleat 2 pleats equally dispersed between each quarter mark. Pin to band.
- Take brim and insert in the center of the hat in between the band and the dome fabric. This is a bit tricky. You’ll need to curve the brim to contour to the band. You want the edge of the band to be 1/2″ above the edge of the interfacing.
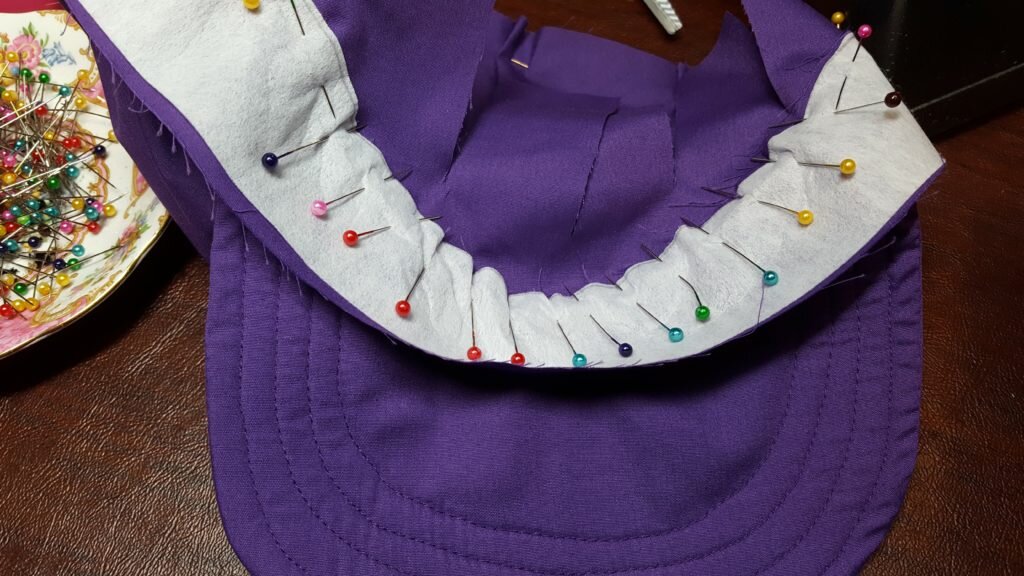
- Stitch along the entire band.
- Fold the large portion of the band up to meet the 1/2″ piece of hatband. Stitch these together. This will make the band sit right inside the hat.

- Finally you can add an applique. I chose to do this by taking a piece of scrap white fabric and fusing it to a piece of interfacing. I then used a tight zigzag stitch to make an inverse L and finally did a running stitch around the L.
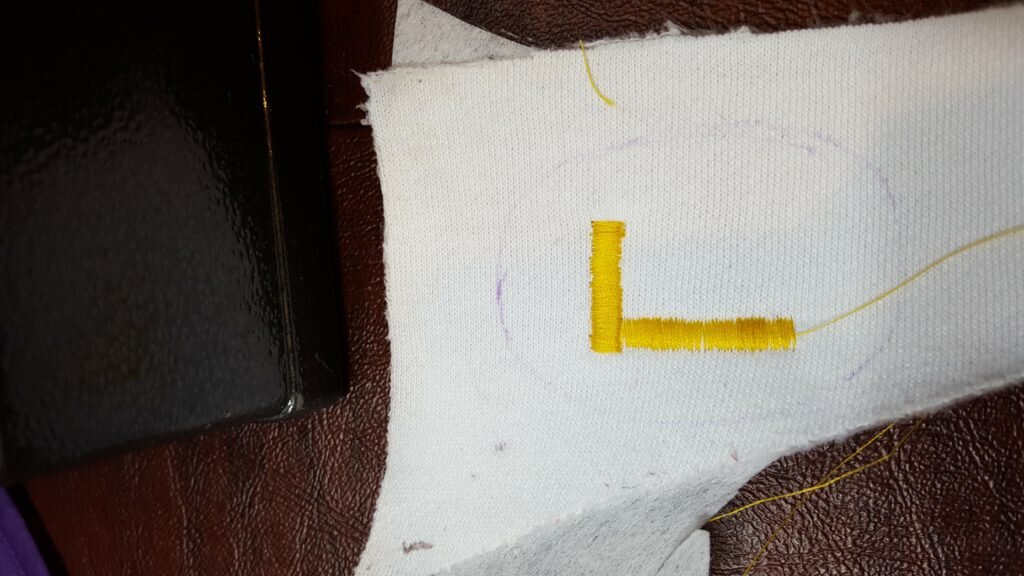
- Stitch applique to hat using a simple running stitch.

Will’s hamming it up…

