Well I’m happy to report that I’m feeling much better and my motivation has now gone up quite a bit! I got a few things on my long list accomplished including a couple craft projects. Also, by now many of my co-workers have noticed that I have a belly so I’m getting weird stares from people who have presumably not found out directly that I am pregnant. It’s gotten to the point where I’ve forgotten who I have and haven’t told. Several people have come up to me in the last week and in a low voice muttered that they have an embarrassing question for me. I have spared them and exclaimed, “I’m pregnant!” before they can ask. Hopefully no one was trying to ask me an actual embarrassing question to which I so rudely interrupted “I’m pregnant!”
Thank you to those of you who responded with your favorite blog projects! I greatly appreciate it! Anyone else who wants to chime in, feel free! I have another week until the Maker Faire and I started getting things together to bring. I hope to unveil a few new projects at the faire itself – we’ll see how far I actually get.
One of the random things I wanted to make the last couple weeks was a little mini make up holder to put in my purse. I can never find my lip gloss or lip stick when I need it and I end up rummaging around for several minutes before giving up. This is why I never wear lip stick!
- 1/2 sq foot of scrap material for outer shell
- 1/2 sq foot of scrap material for inner lining
- 1/2 sq foot scrap Peltex 70 thick interfacing
- 1/2 sq foot scrap fusible interfacing
- 12″ zipper
- 2″x3″ small mirror
- Pattern here
- Cut out all pattern pieces as specified on the pattern.
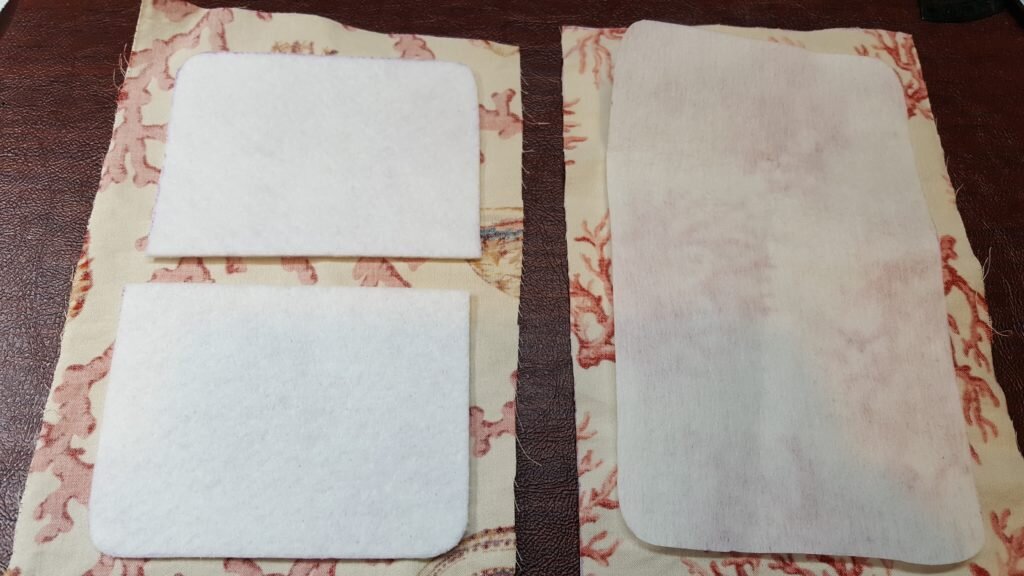
Cut out all pattern pieces
- Position thick interfacing on wrong side of outer shell material, leaving a 5/8″ gap between the two pieces. Machine baste to hold in place.
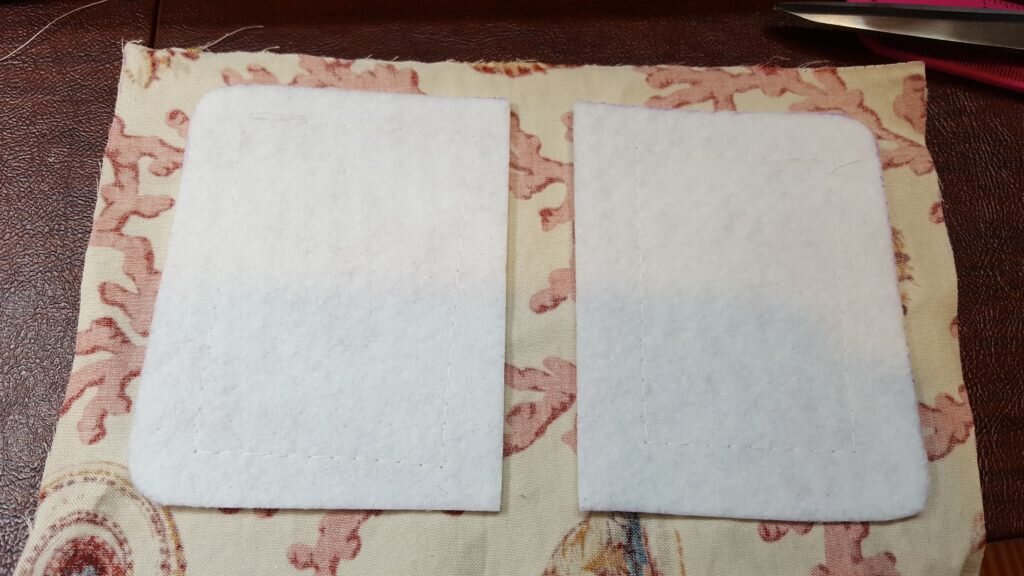
Baste interfacing to outer fabric.
- Turn up seam allowance and clamp as shown. Machine baste.
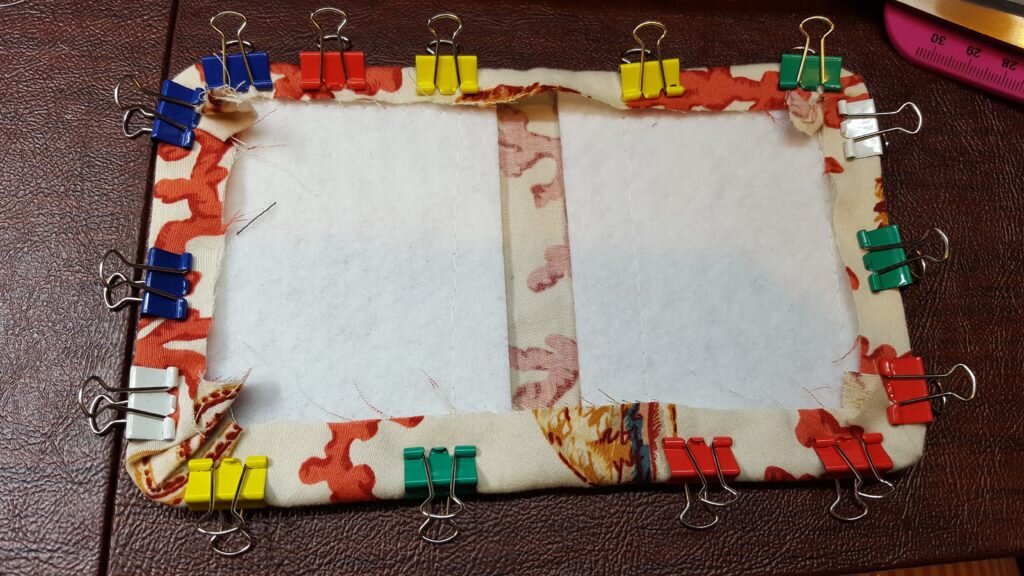
Clamp and machine baste seam allowance.
- Switch to your zipper foot. Baste one side of zipper to one side of make up holder, placing 1″ along the edge of the inner part of the interfacing. (See picture.)
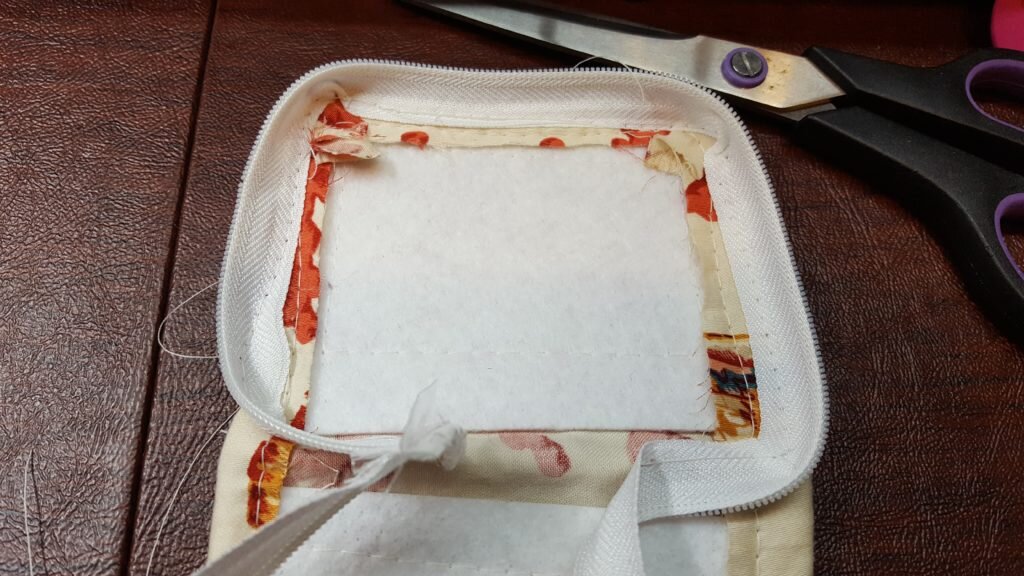
Baste one side of zipper to one side of bag.
- Repeat step 4 for the other half of the zipper.
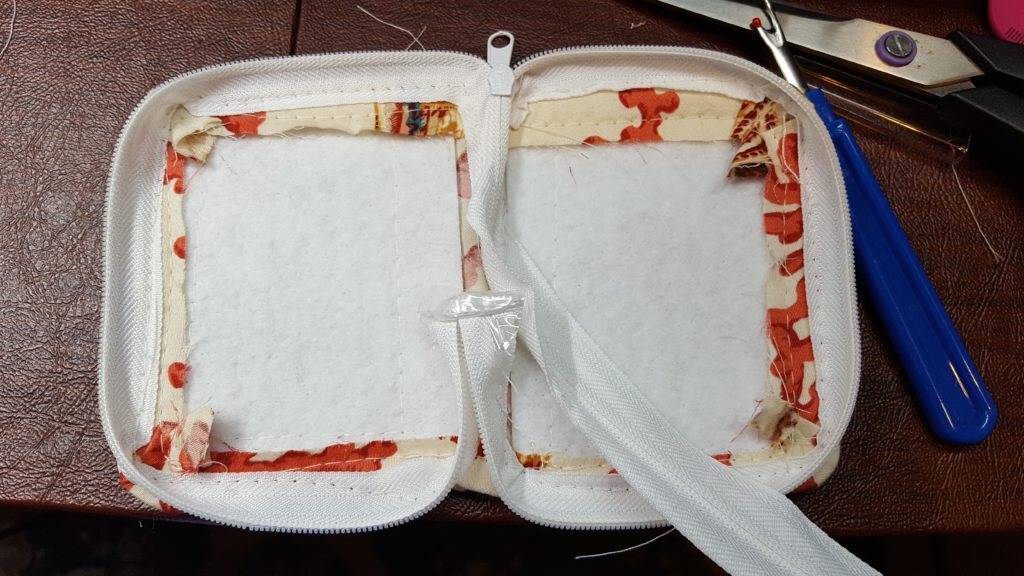
Baste other half of zipper.
- Fuse fusible interfacing to wrong side of inner lining following manufacturers instructions.
- Mark a 1 1/2″ x 2 1/2″ rectangle onto your lining fabric. Cut an ‘x’ diagonally from corner to corner.
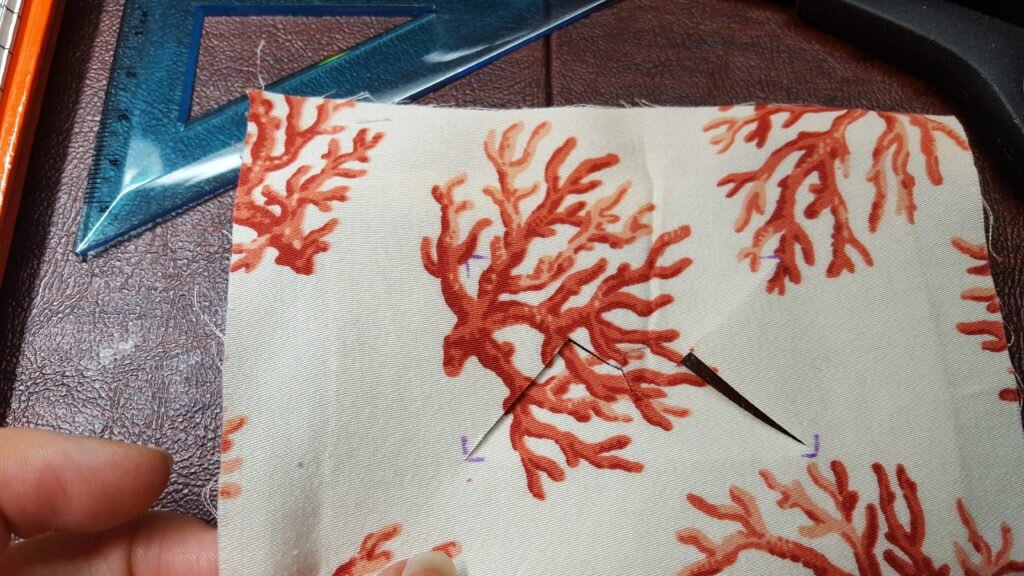
Mark rectangle for your mirror. Cut from diagonal to diagonal.
- Fold back each triangle to form a frame.
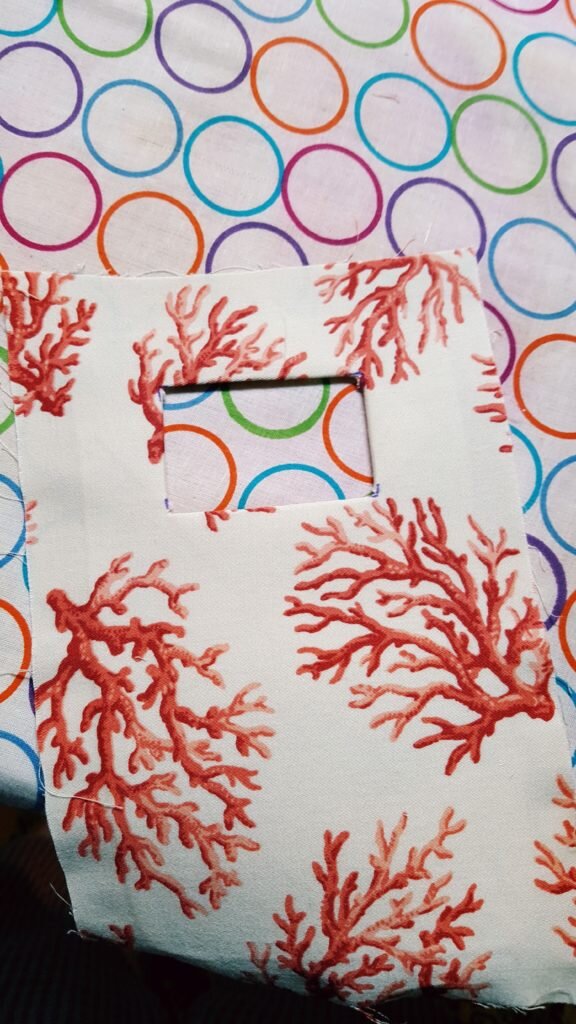
Fold under triangles to form a frame.
- Position mirror behind the frame you formed in 8. Trace around mirror with water soluble fabric ink, marking the edges of the mirror.
- Place a piece of scrap material slightly larger than the mirror behind the mirror. Using the zipper foot stitch the mirror backing to the frame right up against the mirror. Be extremely careful not to hit the mirror with your needle while you sew as this could break the needle.
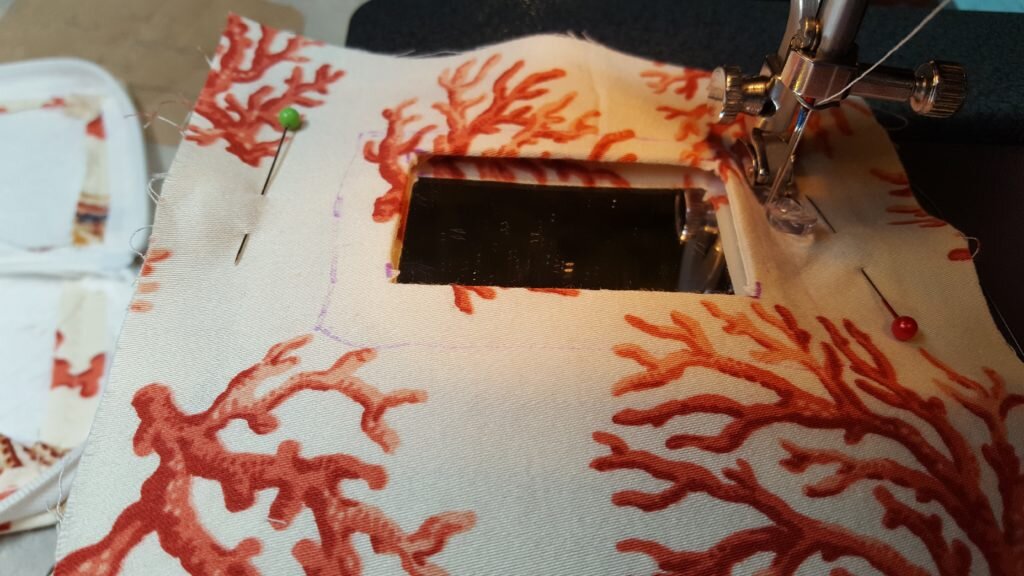
Stitch around edges of the mirror outside the water soluble ink.
- Using an iron press the edges of the lining seam allowance up around the interfacing.
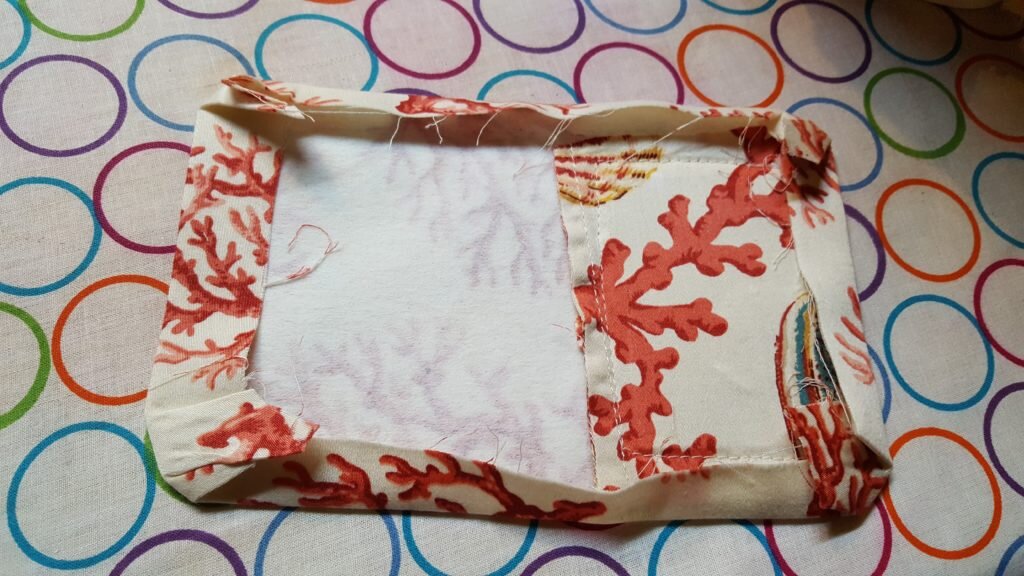
Press under lining seam allowance.
- Line up the lining on the inside of the basted zipper, covering the zipper start and endpoint. Stitch along edge of zipper close to the edge on one side of the bag. Be sure to sew through inner lining, zipper and outer material.
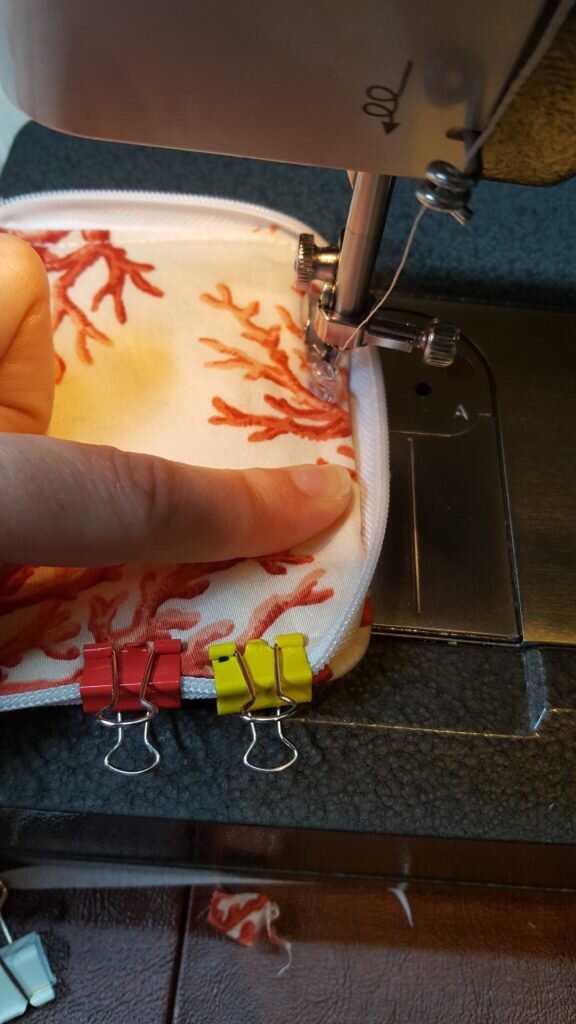
Stitch along edge of the bag attaching lining to zipper to outside.
- Stitch in a straight line along where the thick interfacing ends at the center of the bag.
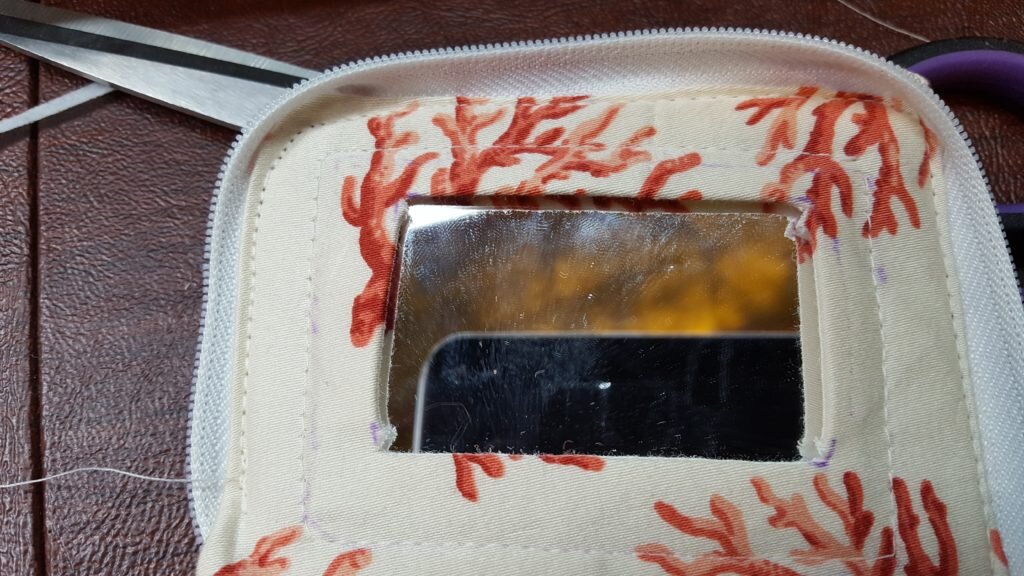
Stitch along the middle of the bag where the interfacing ends.
- Repeat steps 12 and 13 for other side of bag.
- Remove basting stitches.
- Show off!
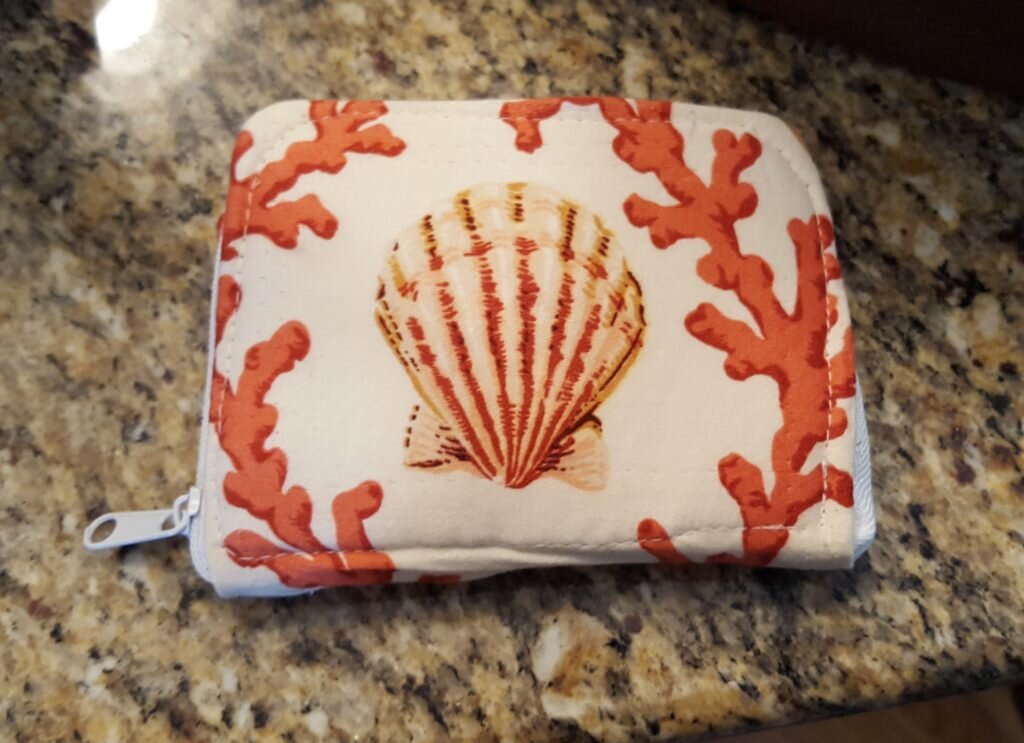
Closed mini cosmetic case
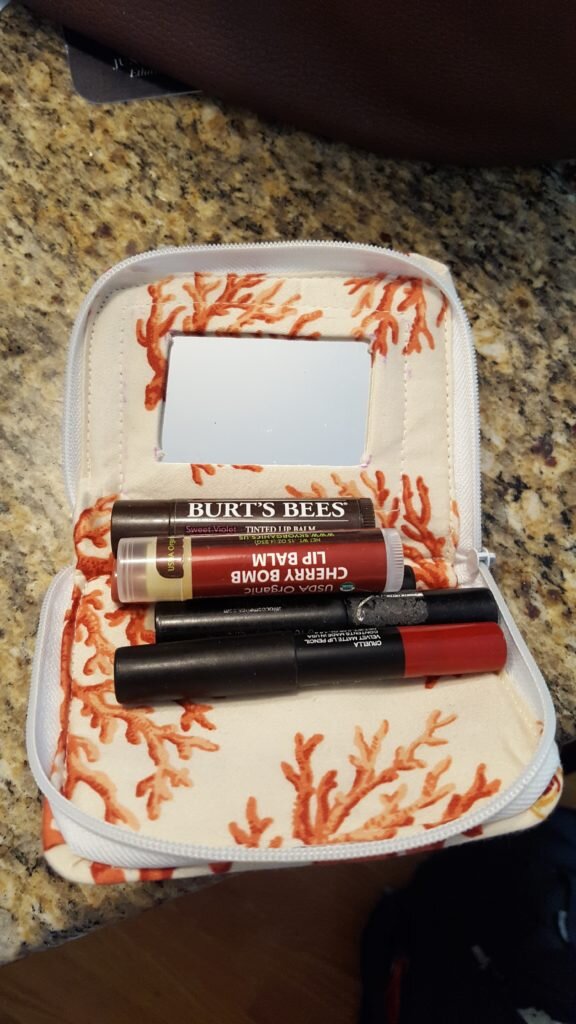
The perfect size for lipsticks!

