I really didn’t realize how sad my last blog post sounded until several of you commented! Thank you for keeping an eye on me, it makes me feel loved! This past weekend was Danycon 2.0 which I will write about in a future post! It was the first time Will and I met our nephew Finnegan! He is an adorable little fellow and we can’t wait for him and Julius to be best buddy cousins! So far Julius has tried to grab Finn’s toes, but there has been minimal interaction otherwise. (Finn is still a squish right now, and though it seems it happened so quickly, Julius is a fairly sturdy, busy baby. )
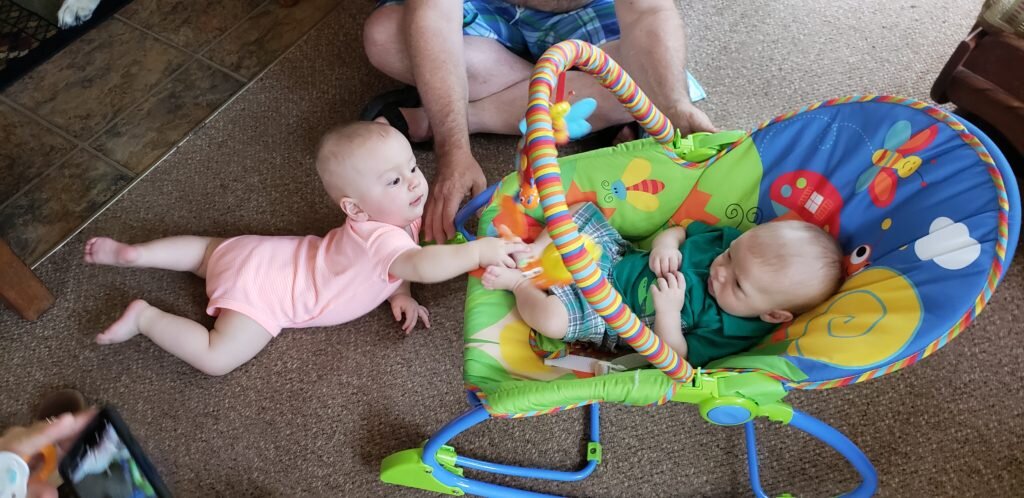
Julius is playing with Finn! Or maybe he’s just stealing his toys. Hard to say.
After my last blog post, Julius seemed to get over the funk I mentioned. In fact, several days later he even gave me baby kisses again! This age is definitely the most fun so far. Every day it seems like he is learning more and more. You can almost see the gears turning. Most people warned us that it is a pain when babies are mobile, but right now we just find it fun. Julius likes to explore, but he is equally happy to sit and play. The cutest thing he does is scoots over to where you are standing and tries to climb up your legs until you pick him up and give him a hug. After that he’ll let you hug him until you put him down again whence he goes on his merry way. I am loving every minute!
One thing Julius finds fascinating now is drinking glasses. He always wants to drink out of my glass when I’m holding one. I’ve started letting him drink out of them, and though he doesn’t have the technique down, he has gotten better. Well for this Danycon I decided to make Danycon pint glassses. They were a hit and as an added bonus cut down on waste from cups. I used folk art multisurface paints that I had from my paint night ladies’ night, but you can use any paint suitable for painting on glass.
DIY Stenciled Pint Glasses
What you’ll need:
- glass paints (I used folk art multisurface)
- spouncer
- pint glass (I got mine from the Dollar Tree)
- contact paper
- X-acto knife
- On a piece of paper print or sketch your desired design. Designs with solid shapes work best. Those with negative space in the center are difficult to create.
- Place your piece of paper on top of the contact paper and on a cutting surface. Cut around the design using the Xacto knife, pressing hard enough so it transfers through to the contact paper.
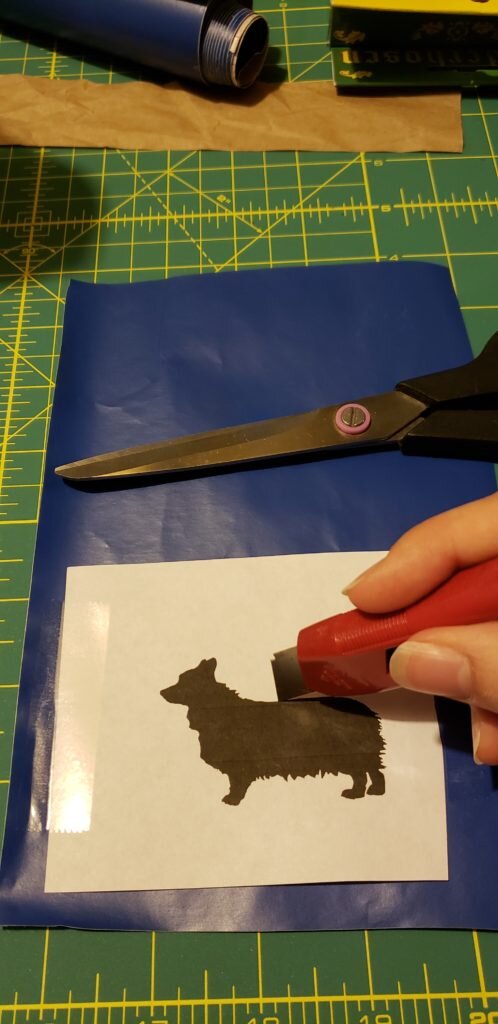
- Remove the backing from the contact paper and stick it to glass in your desired location.
- Using the spouncer, dab paint on the stencil on the cup.
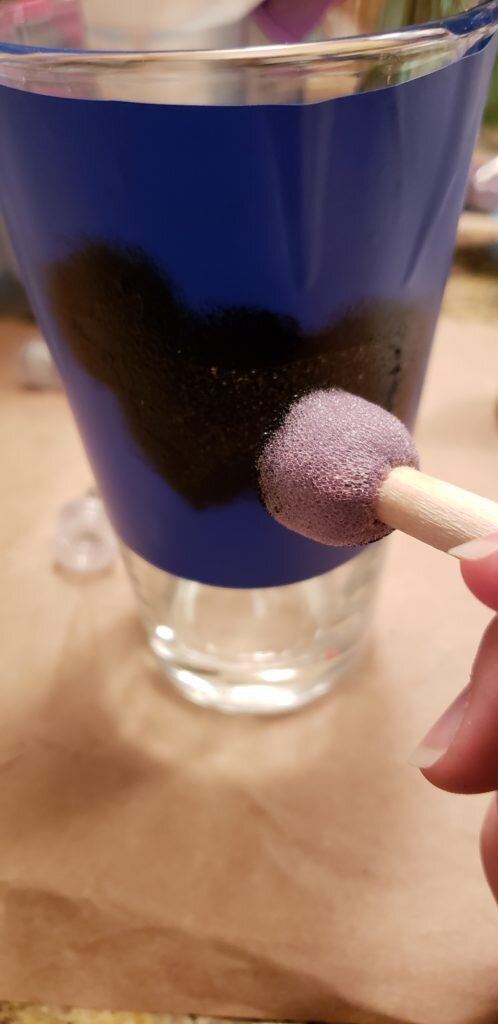
- Remove the stencil immediately.
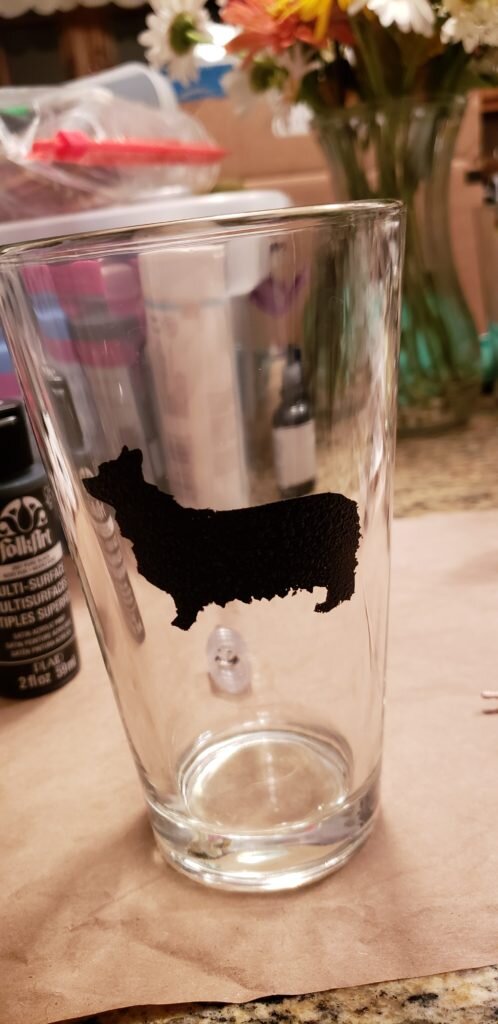
- Let the paint dry 24 hours then place glass in a cold oven. Bring the oven to 350 degrees F then cook for 30 minutes. When finished, turn off the oven and let the oven cool completely. Glasses will be top rack dishwasher safe.
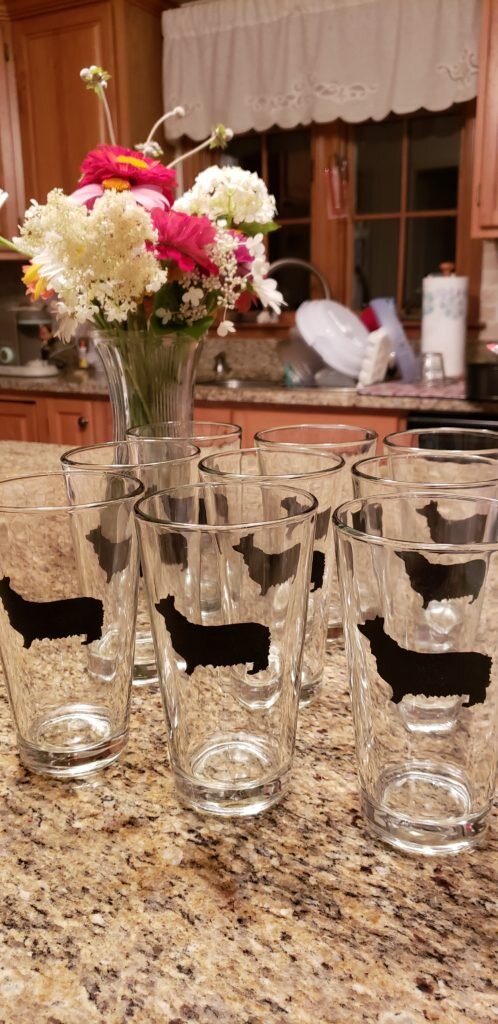


Those came out great, I love that Dany’s image is so detailed! Also, that is a great picture of FInn and Julius, you’re right those two are going to have fun together.
Thanks Maren! Yes… we will have to see what sorts of adventures they get into…