We spent the long holiday weekend in RI hanging out by the lake. Julius LOVES the water, to the point where he would cry if we told him it was time to get out. Needless to say he spent many hours bobbing around in the lake over the last few days, watching the boats go by. He calls boats “row” thanks to “row, row, row your boat”, much like he calls school buses “all through the town”. We’re not sure why, but he calls airplanes “ahmi”, so if anyone can figure that one out we’d be indebted to you.
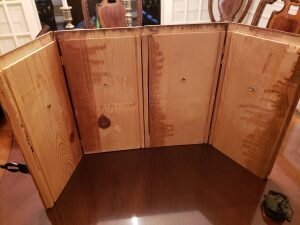
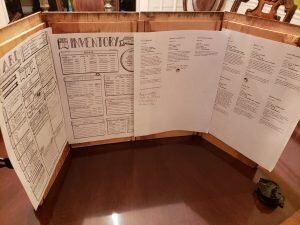
For mother’s day Will created a solo DnD adventure for me, so for Will’s birthday I made him a dungeon master screen. I saw online a really cute one that someone made on Etsy that looked like a medieval door, so I did something similar. I used wood from the drawers I had left over from my kitchen bookcase project. All the silly ironwork accoutrements I had to get online and were a bit pricey. The screens I liked sell on Etsy for $200+ and I understand why. The materials alone cost me $60. If you go with cheaper faux-ironwork elements, it would be way less expensive (those were 5/6ths of the price). Will is probably going to balk at that price, so I just want to say that it was way less than half the cost of my favorite screen AND I recycled those old drawers that have been sitting in our basement – that should count for something!
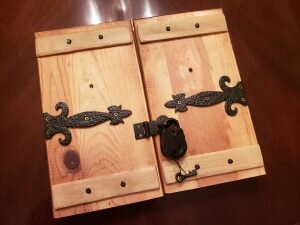 DIY Dungeon Master Screen
What You’ll Need:
- 2 drawer faces (Mine were 7.5″x27″. You could also use similarly sized boards.)
- 2 – .25″x1.5″x4′ board (common size .25″x2″x4′)
- 4 – 6″ dummy strap hinges with screws
- 4 – 3/4″ hinges with screws
- 8 8mm magnets
- 8mm dowel
- 18-20 small clavos nails (I used these)
- Closure of your choice (I used a hasp and lock set, but you could also use a simple latch)
- Wood glue
- Wood stain
- Remove hardware from drawer faces and sand so stain looks as desired. (I left it a sort of rustic color.)
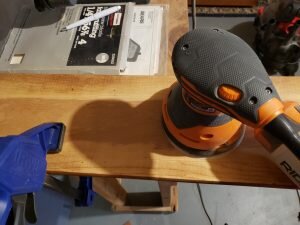
- Cut each drawer face in half to form 4 total 7.5″x13.5″ pieces.
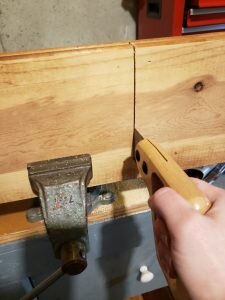
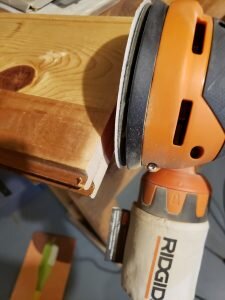
- Sand cut edges of drawer face.
- Using a thin strip of scrap wood to mend the seam, wood glue two of the drawer faces together. Clamp and let dry as instructed on glue.
- Cut .25″x1.5″ boards into 4 strips 7.5″ long, and 2 strips 15″ long.
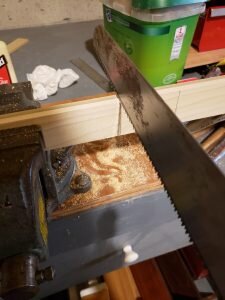
- Sand the faces of the boards, edges and corners.

- Stain boards as desired.
- After the glue has dried completely in step 4, apply glue to the bottom of each of the strips of wood you sanded, and apply strips of wood along the top and bottom of each of the (now) three pieces of the screen. Clamp and let dry as instructed on glue.
- Attach dummy straps to the center of each board, between the wood strips. I used 3/4″ screws for this. Make sure to match up dummy straps between panels using the bottom of the boards to align.
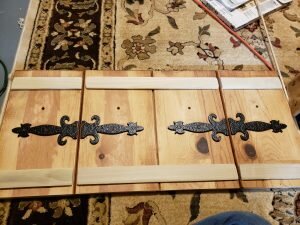
- Hammer clavos nails into wood strips (when dry) at 2.5″ intervals.
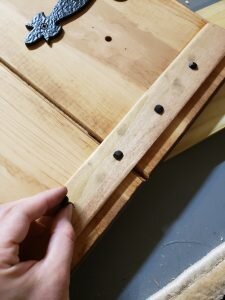
- To attach magnets for DM notes/rules sheets I used the holes from the drawer hardware to attach my magnets. Simply drill partway into the hole with a bit the size of your magnet. Insert magnet in the hole, followed by wood glue and a slice of dowel the same size as your hole. Let dry, then sand down until smooth.
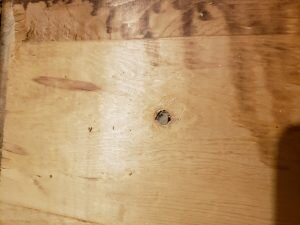
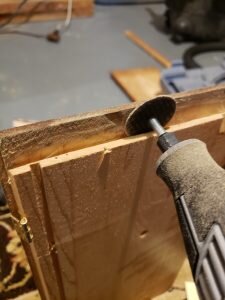
- To create a groove for initiative/combat order cards, use a dremel fitted with a fiberglass cut off wheel and drill a 1/4″ deep groove in the top of each board.
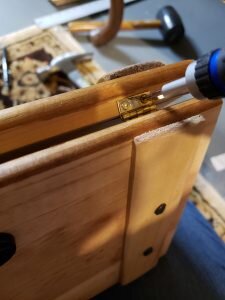
- Attach hinges to the sides of the drawers at the top and bottom, so the two smaller panels will fold flat onto the large panel. I used an awl to provide a guide hole for me to hand drill the tiny screws.
- With hinges and screen completely closed, mark the location for your hasp/lock mechanism. Attach using 3/4″ screws.
- Roll for initiative!

