Well I’m going to keep this one short and sweet because Mandar is in town! We have got to pack in the in-person board games while we can! It’s nice to play >2 player board games in person, so that’s what we’ll be doing later.
This month is Pride Month so we’ve been celebrating with some great books. Our library has a great selection of books and my brother and sister-in-law’s library in Dallas has been doing some great virtual events, including Drag Queen Storytime. Julius has been enjoying everything of course. Of all the books we’ve read my favorites have been “Prince and Knight” and “What Riley Wore”. Julius has brought up “Julian is a Mermaid” the most because his name is so close to that of the protagonist. He then proceeds to be a mermaid.
Speaking of cute things Julius has said, I was really proud when I overheard Julius’ playtime the other day. He was down at my office desk playing with my princess Leia action figures. One of them has a removable skirt and cape. I overheard Julius creating the following dialogue “yes, you can put on the skirt because girls wear dresses and sometimes boys”.
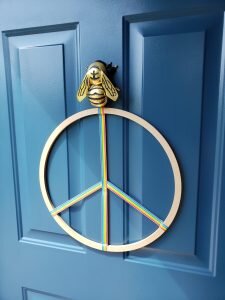
For Pride this year I wanted an actual decoration for my door to spread the love. Since I don’t have a flagpole, that was out. I must confess that when I bought some of the supplies for the previous couple crafts I had Pride in mind. I bought an extra roll of rainbow ribbon for my St. Patty’s Day banner, and an extra wreath form for the mobile. This is super simple to whip together, the hardest part is getting the wreath form to fit under your sewing machine foot!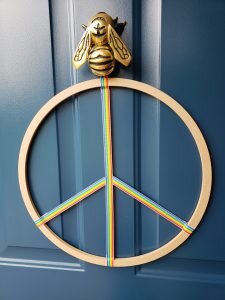
Rainbow Peace Sign
What you’ll need:
- 2 yards of 1″ rainbow grossgrain ribbon
- 16″ wooden wreath ring
- needle and embroidery thread
- Take your gross grain ribbon and fold an inch of ribbon over the wreath ring, wrapping the wooden wreath form inside the ribbon. Pin.
- Remove the presser foot on your sewing machine and pass the wreath under the foot. Fit a zipper foot to the machine and stitch through the ribbon as close as possible to the wreath.
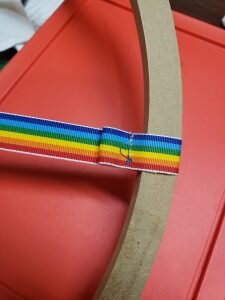
- Remove the wreath from the machine by again removing the presser foot and slipping the wreath ring out from under it.
- Stretch the ribbon out to the opposite end of the wreath, so the ribbon bisects the circle forming two hemispheres. Fold the ribbon over the wreath ring as you did in step 1. Trim so that the wrapped ribbon is only 1″ beyond the ring. Temporarily pin.
- Find the center of the bisecting ribbon and pin a second piece of ribbon at this point on the underside of the bisecting ribbon. Pull the ribbon out towards the edge of the wreath form, so it forms one side of a peace sign. Again wrap the ribbon over the wreath ring as you did in step 1. Trim so it is only 1″ overlap and pin. Adjust the pin in the center of the peace sign as necessary.
- Repeat step 5 for the other side of the peace sign.
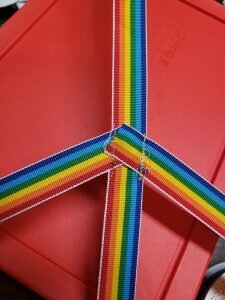
- Remove the 3 pins on the bottom of the wreath form so that you are able to slide the pinned center of the ribbons under the sewing machine. Stitch.
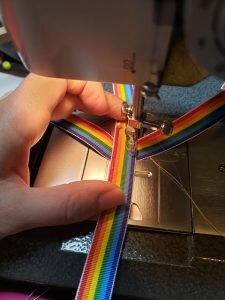
- Repin the 3 pins on the wreath form to form your peace sign again as in step 4,5,6. Make sure everything in taunt.
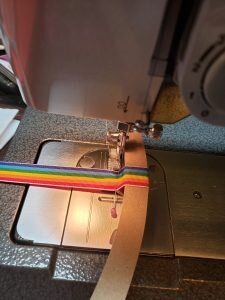
- Remove the presser foot on your sewing machine and pass the wreath under the foot. Fit a zipper foot to the machine and stitch through each ribbon as close as possible to the wreath.
- Pass a piece of thread through the top most loop. Tie and knot to form a hanger.
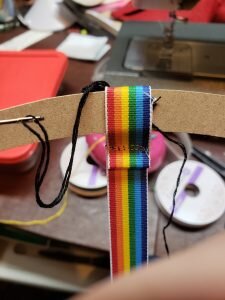
- Hang with pride!

