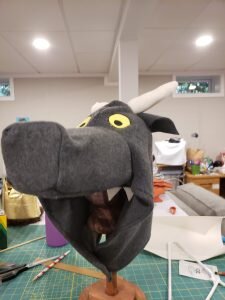
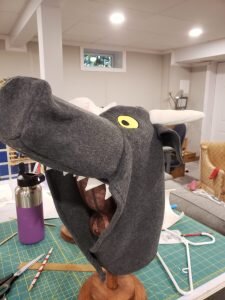
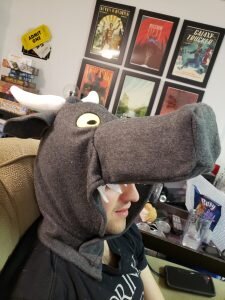
We are having a fabulous time on VACATION! Fun to see family, even though the pandemic has made it a bit harder to imagine this is an ordinary Christmas year. Let’s hope for a return to pre-pandemic normalcy in 2022.
Because the house was supposed to be packed with people we are staying in the same room as Patricia and Julius. Julius is very excited by this and is so sweet when he goes into bed. Not only is he very quiet when he enters the room, but he tells Patricia “goodnight I love you Patricia” when he snuggles into bed. It is my favorite thing. Today he was running around in the cozy coupe and Patricia desperately wanted to participate. He swapped between pushing Patricia around in the cozy coupe and (me holding) Patricia in the back of the coupe while he drove. He did not even have to be told Patricia needed a turn, he readily switched off at appropriate intervals. I am so proud of him.
You know what else I’m proud of? Finishing up with Halloween craft blogging in December! This is the last entry in our extensive family Halloween costume tutorial! Last but not least is Will’s wild thing costume. I am a bit sore about this one. It is basically a bull that stands upright and has big giant men’s feet. I bought Will a onesie with zip off feet, but for our photos he zipped them off and left his loafers on… I guess our wild thing has been civilized.
Hairy Man-Footed Bull-Looking Wild Thing Costume
What you’ll need:
- scrap fleece dark grey fabric
- scrap white fleece for teeth
- stuffing
- scrap yellow fabric
- Peltex interfacing
- black embroidery thread
- 1 15mm snap set
- embroidery pattern here
- hood pattern here*
- hot glue gun
- spray adhesive
*My husband has a men’s large size head, so you may need to size up or down the pattern. Do not forget to add 1/2″ seam allowance when NSA (No seam allowance) is indicated.
- Cut hood pattern pieces and nose pattern pieces from grey fabric as indicated.
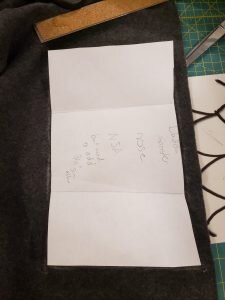
- Match hood pieces, right sides together, and stitch along the back.
- Fold unfinished edges under 1/2″. Pin.
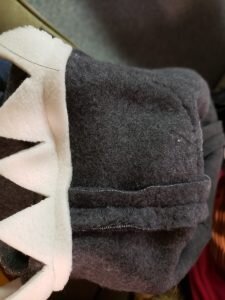
- Cut out teeth from white fleece, by cutting roughly 1″ triangles into a 2″ wide strip of fabric 8″ long. Pin to the inside of the hood in the center and stitch seam of the hood attaching the teeth in the process.
- Cut interfacing as indicated.
- Fold interfacing where indicated.
- Hot glue interfacing nose front to folded interfacing for nose as indicated.
- Stitch nose bottom to nose top, right sides together.
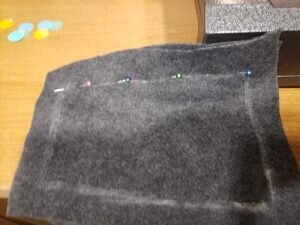
- Stitch nose front to assembled nose piece, right sides together. DO NOT TRIM SEAM ALLOWANCE.
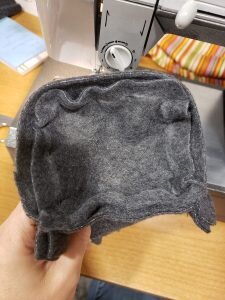
- Turn inside out.
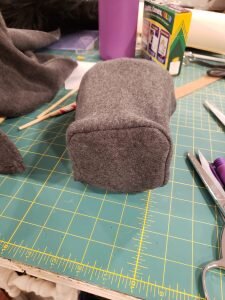
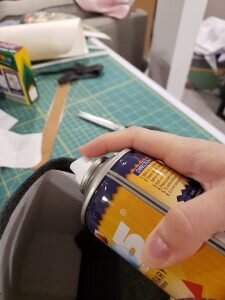
- Spray outside of nose interfacing with spray adhesive and insert into nose fleece.
- Fill nose with stuffing.
- Place nose on bottom of hood and mark where it will go.
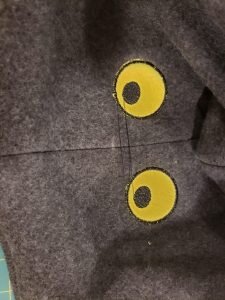
- Use the embroidery pattern above to applique eyes onto the hood just above the nose marking in step 13. Center a 5″x7″ hoop on the seam and a line parallel to and 1″ above where the top of the nose will be. Stitch guide lines, spray yellow fabric and attach over guide lines. Stitch tack down stitches. Clip as close as you can to the tack down stitches leaving yellow circles. Stitch final stitching.
- Hand stitch nose to bottom center of hood as marked in step 13.
- Fold ears in half and pin them to right and left top portion of hood. Then stitch. (Note: If you want to make this work better, cut 4 pieces of ears leaving 1/2″ seam allowance. Place two together, stitch and turn inside out. Then fold ears in half and pin and stitch. Repeat for second ear.)
- Cut out 4 pieces for horns.
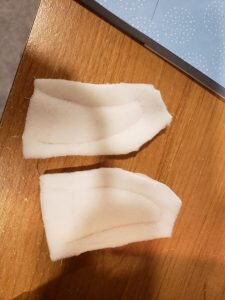
- Place two pieces together and stitch along all edges but the bottom.
- Trim.
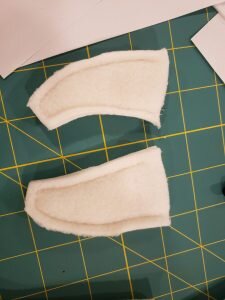
- Turn inside out and stuff.
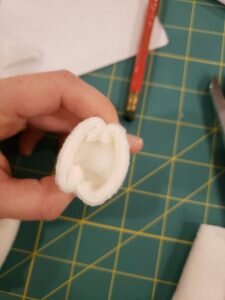
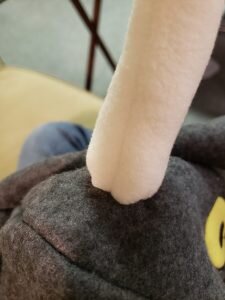
- Hand stitch the horns onto either side of the head, just inside where the ears are.
- Attach the snaps to the bottom points of the hood as directed.
- Pair with a grey onesie and you’re ready for the rumpus!
