So it is sheer luck that I am writing this blog post instead of devouring another book of the “Court of Thorns and Roses” series. You see, I finished book 2 this morning before work, and spent the rest of day trying to do work and not daydream about the characters. I was about to download the third one but Will reminded me today was blog night. I might have a problem.
This weekend I was sitting on the couch and Patricia came up to me and said “byebye” I asked where she was going and she said “I’m going shopping”. I nearly died laughing. She was holding a pretend cell phone and bag. Where did she even get that from!? I hardly ever leave the house these days!
Dada is Patricia’s favorite. He is always her first pick to put her to bed. The other day though we asked Patricia who should take her to bed and she said Julius. So Julius left what he was doing and with a very solemn face took her hand and lead her upstairs. I was curious to see where the rest went but I intervened shortly afterwards. Patricia did request to sit on Julius’ lap and read books though. (I tried desperately to get a picture but failed.)
Julius keeps talking about how he is going to live on Block Island when he grows up! That would certainly be interesting. I guess it’s safe to say that he liked the trip! I kept some of the quahog shells that we caught because they were beautiful. While I was listening to my latest series I painted one of them to use as a Christmas ornament. What do you think?
Quahog Ornament
What you’ll need:
- 1 Quahog shell
- paint
- gold leaf paint
- gloss mod podge
- a dremel with tiny boring bit, fine sanding bit and polishing cloth
- 1 flat head pin (jewelry supply)
- a small bit of ribbon
- I first sanded off any rough bits from where the shell had been cleaved in two.
- Then I throughly washed and dried the shell and polished the shell with my dremel.
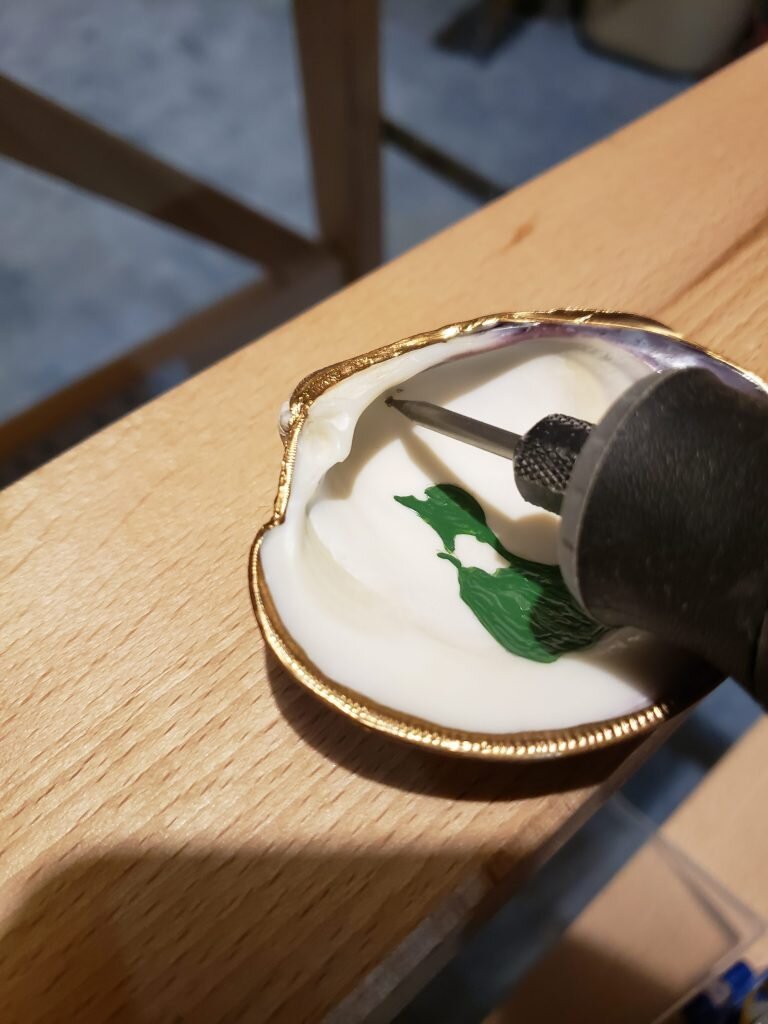
- Then I drilled a hole through the top of the shell using a tiny boring bit. This is where the hanger would go. (Okay I did this step next to last but I recommend doing them in this order.)
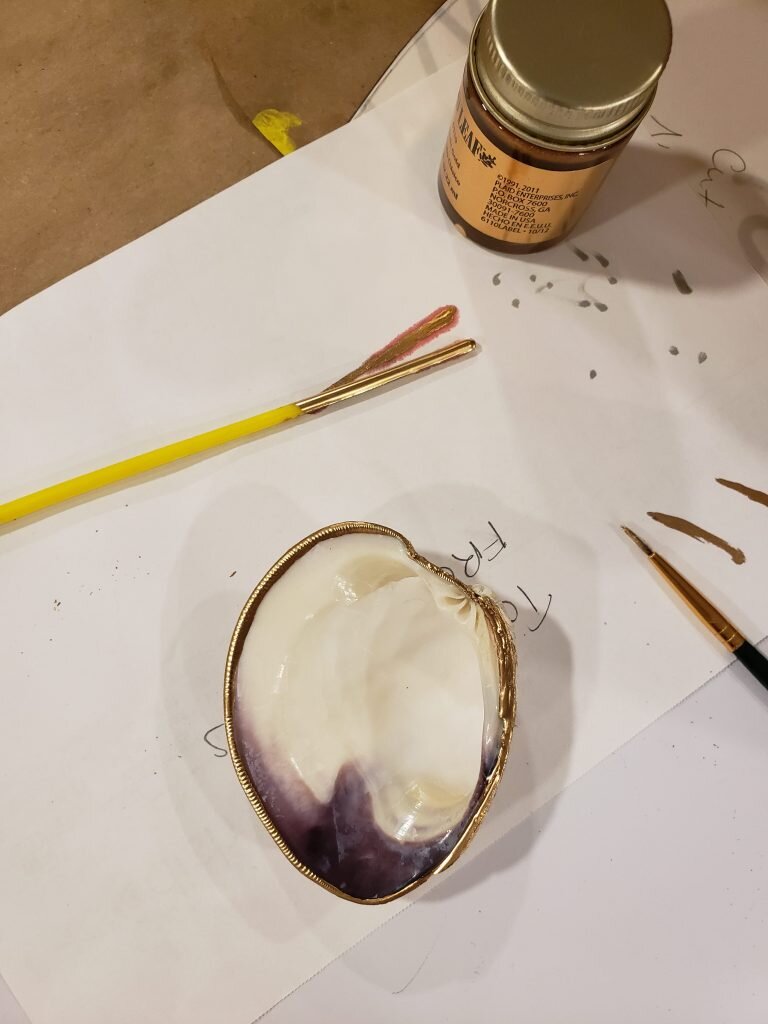
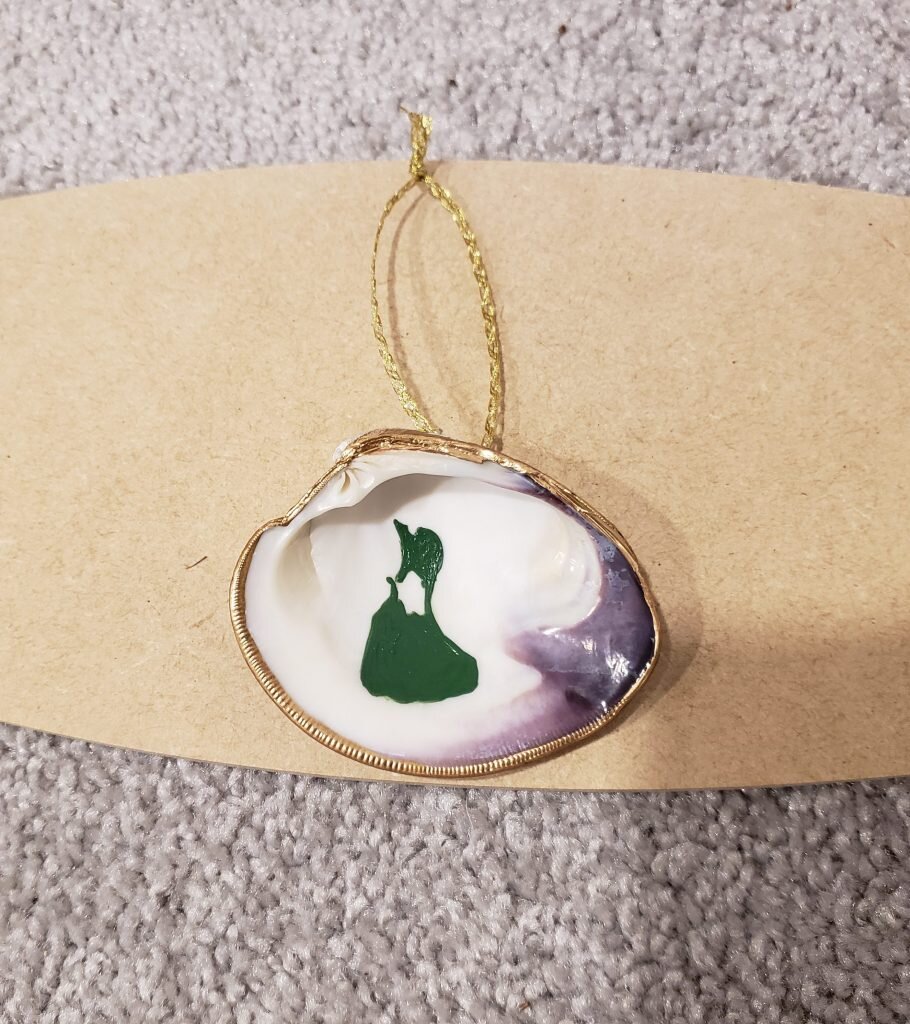
- Using the gold leaf paint a fine layer of gold along the edge of the quahog all the way around.
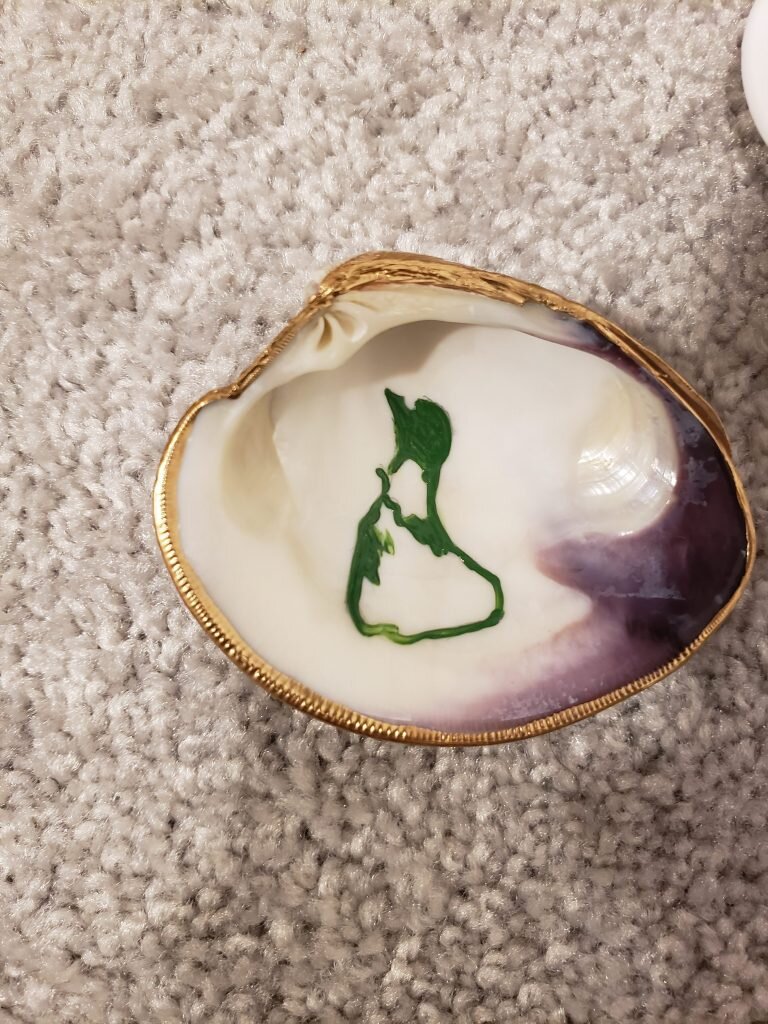
- Next I painted a picture on the inside surface.
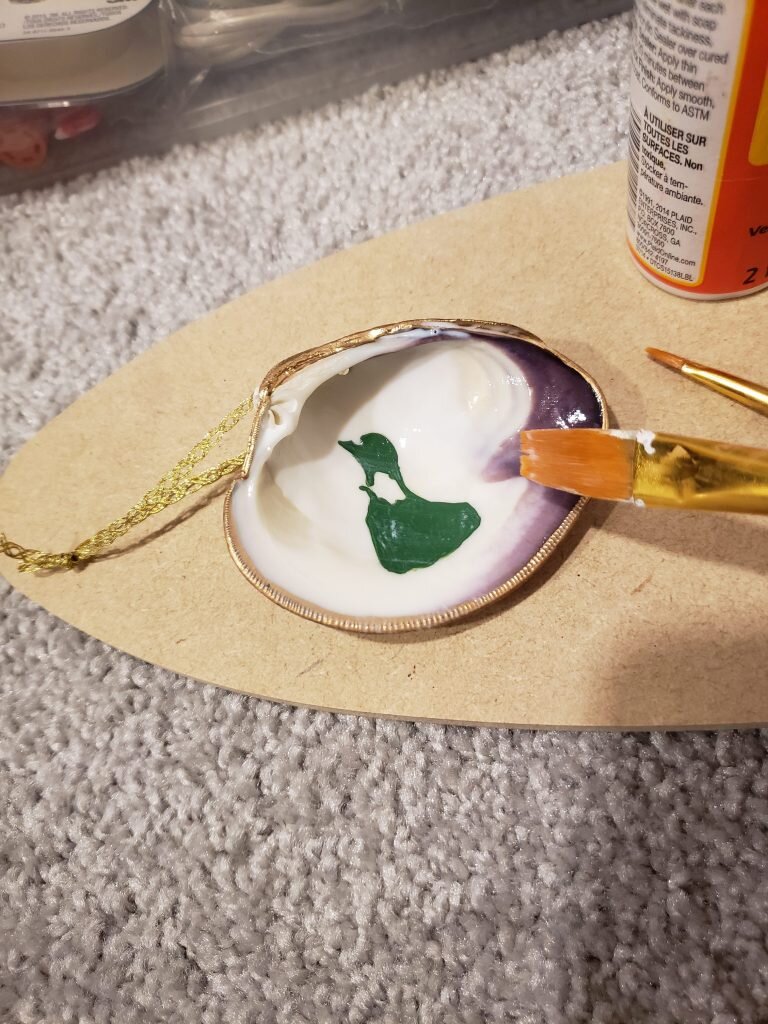
- I then painted a coat of mod podge on the inside of the shell.
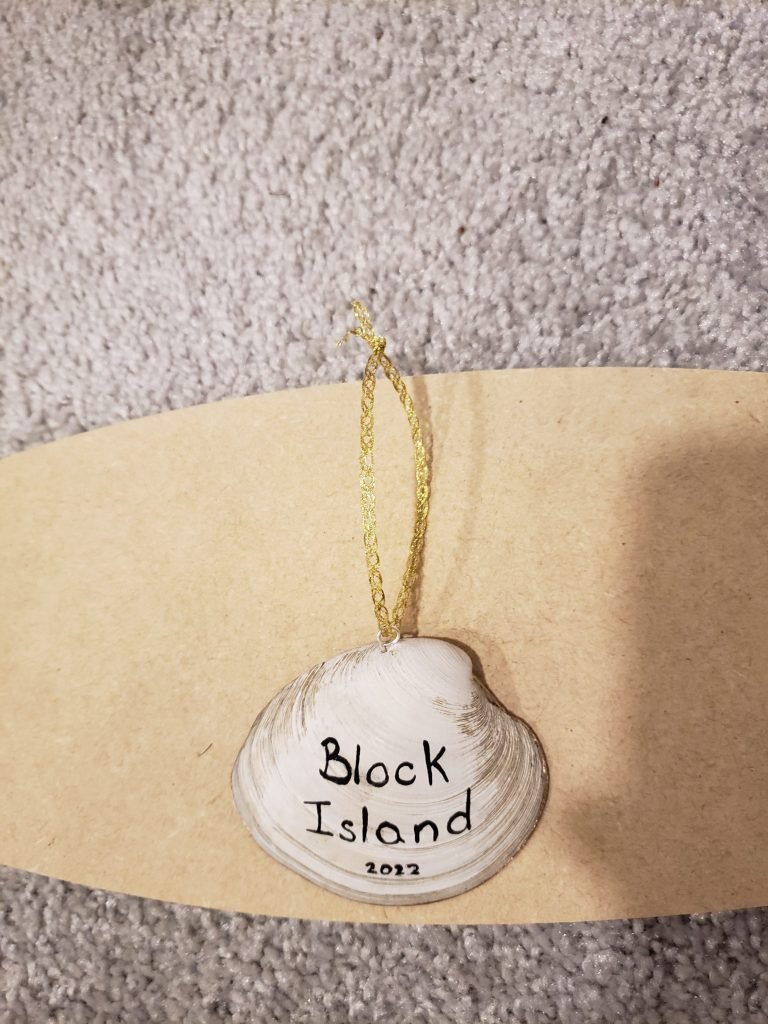
- On the back of the shell I painted the words “Block Island” and the date.
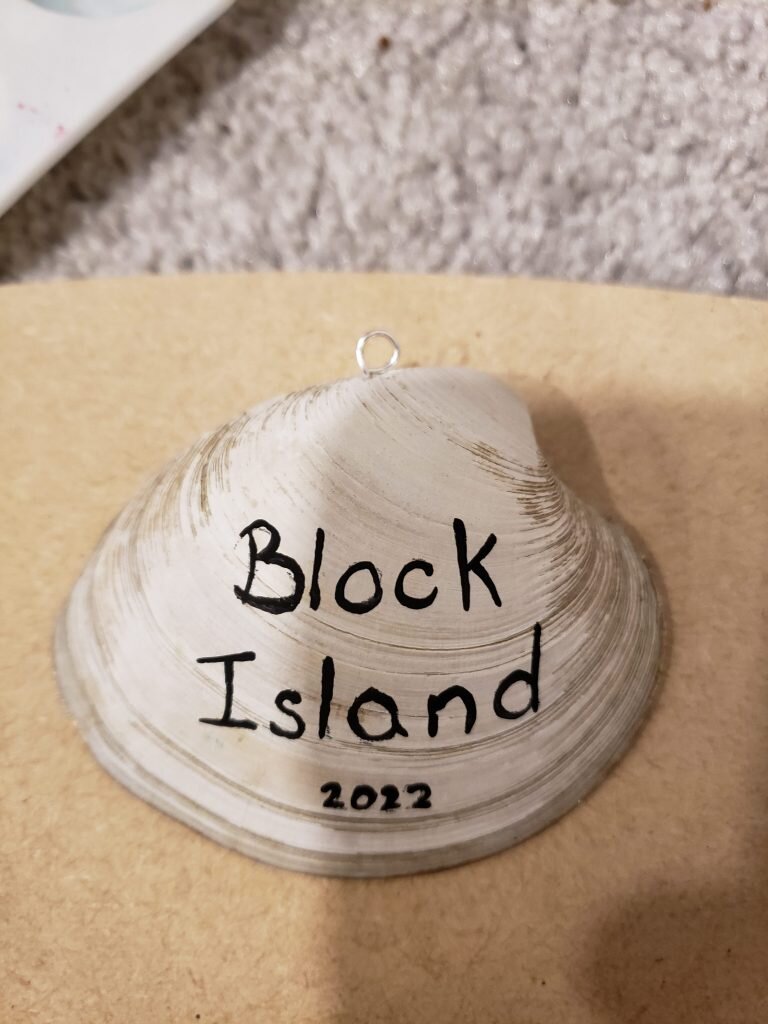
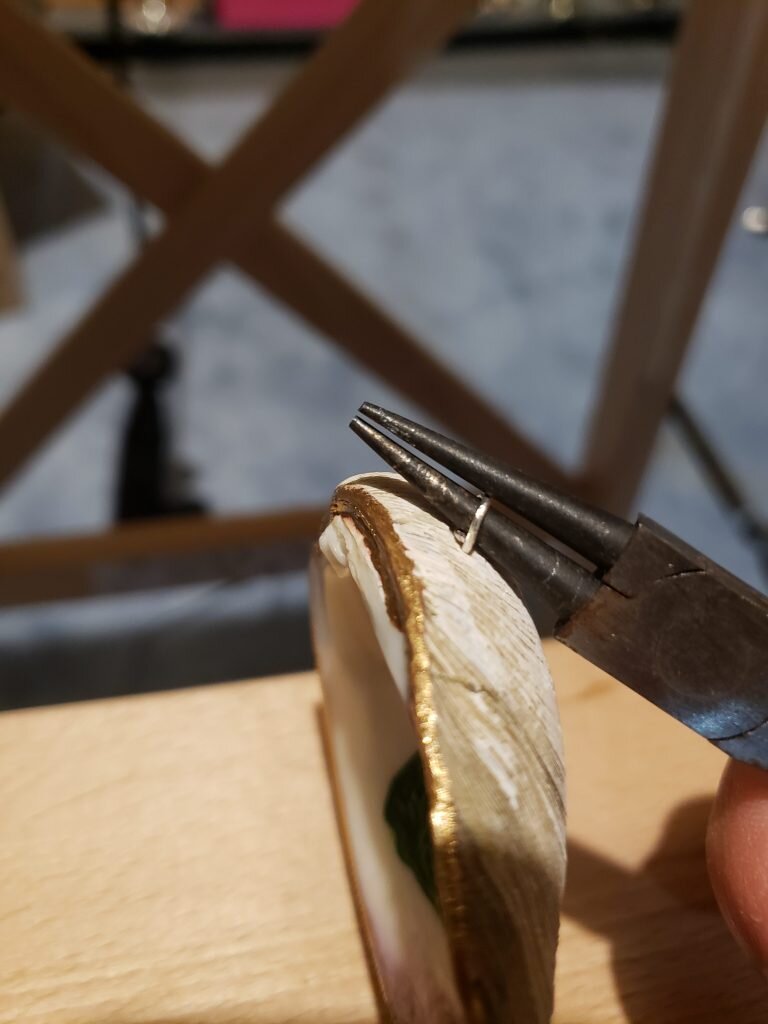
- Finally I threaded the flat head pin through the hole I’d drilled in the shell, and using a pair of pliers and turned the top of the pin into a round circle to hold a hook.
- I then threaded a piece of ribbon through the hook and knotted it.


Such a cute idea!
So glad you like that series! It’s addictive!