I finished the closet! I’m finally ready to show you the closet in all it’s glory. Stupidly I didn’t take pictures of the closet before I started redoing it, but here are a couple candid pictures to show you how bad it was beforehand.
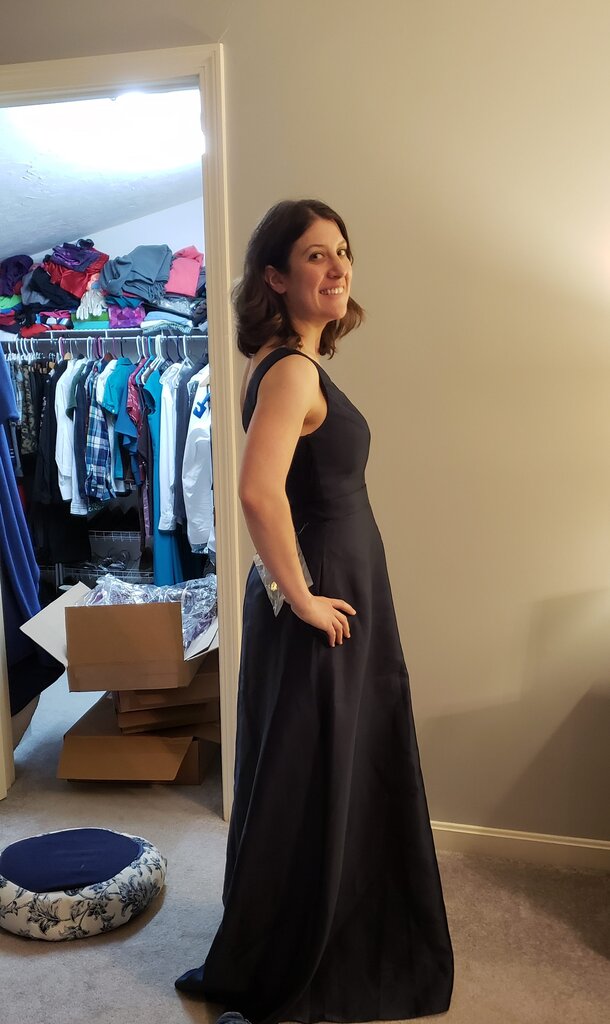
Trying on dresses for Andrew and Lauren’s wedding. Yes that is a pile of boxes of dresses I ordered. Note the uneven piles of clothing on the shelves in the background.

Behind the child with the ear thermometer you will notice some of my maxi dresses forced to puddle on the floor.
And here’s some photos to show you how it looked halfway through (if the top of the closet looks neater it’s because I had already started organizing it after installing the shelves).
What I hated about the old closet is first and foremost that those stupid wire shelves were so slippery that things would fall through the cracks. Second – we didn’t have any space for folded clothes, that’s why we had mountains of seasonal folding clothes on top of the racks. Which brings me to problem three – the closet was a HORRIBLE use of vertical space. As an engineer I wanted to maximize my storage area, so stacking things 5 feet high was the only way to do that. Five foot stacks though are impossible to retrieve items from and prone to falling over (so now we have an efficiency problem). Going back to the vertical space problem, since every hanger was at the same height all the way around the closet, there wasn’t a single space for me to put a long dress (problem four). I had to confiscate one of the other closets in the house to store my long dresses and gowns in, or else let them puddle on the floor. Which brings me to problem five – that I had absolutely no where to put my shoes except under our clothing.
What I changed… Mostly I added shelves, and adjusted the heights of the racks. I concocted a weird scheme that worked out perfectly to maximize space and fit everything we had in our closet all ready and much more. I originally planned to build everything myself, but eventually decided to go with an Elfa storage solution. I designed the entire thing myself though instead of talking to the people at the container store. A word of warning, the Elfa stuff is frustratingly complicated to design with. There is lots of fine print on what you need to install a single shelf, and very little information on how much clearance you need built into everything. I actually had to put in a second order to install one set of shelves because the shelves did not come with these tiny clear tabs that are required to mount them. They cost me $8 to order all of the plastic tabs for all 8 of my shelves, and $13 for shipping. I was furious since I’d already waited 10 weeks for my shelving order to come in (and seriously… talk about nickle-ing and dime-ing people). The upside to Elfa? I could do my crazy quirky customization with a little bit of math, even on a closet that has 4 different wall heights and widths.
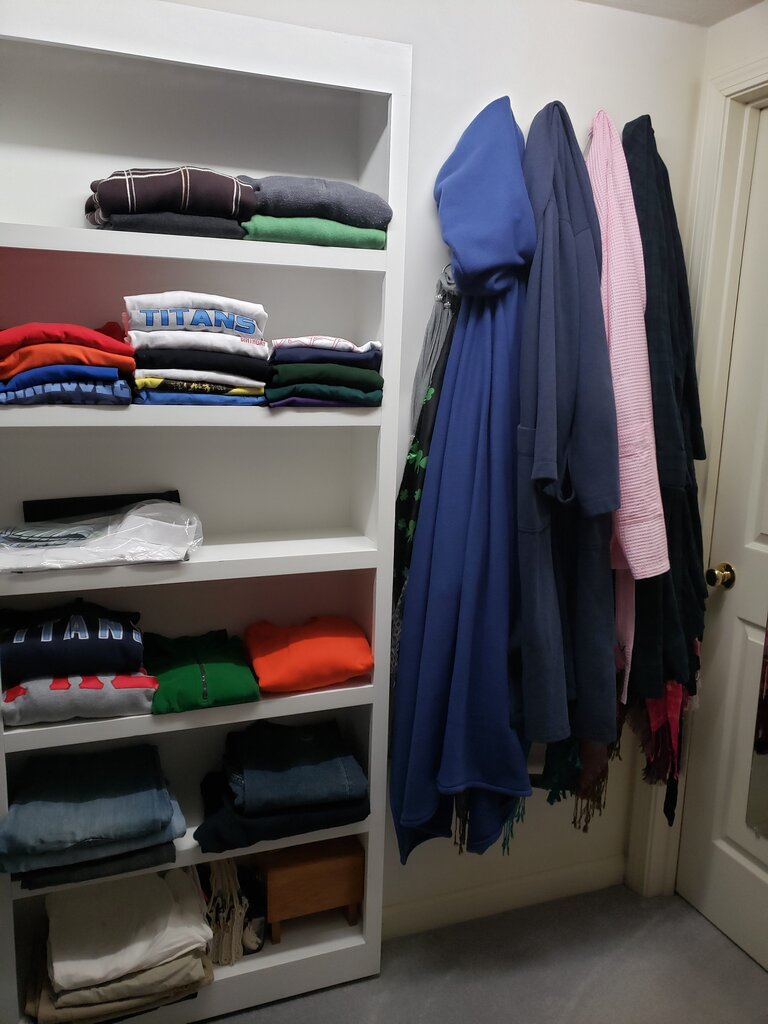
Shelves for folding clothes from floor to ceiling. I also migrated my robes (and scarves hiding underneath) from the adjacent wall, to this spot where an ironing board holder stood.
On the first wall I took out the main rack holding Will’s clothes on the first wall and we had built in shelves installed. This allowed us no problem getting into the room, and increased our folding clothes storage dramatically. I also moved the hangers that were taking up an entire wall in the old closet over in front of the shelves where an ironing board rack had been (which never had an iron or ironing board on it the entire time we’ve lived here).
The second wall I divided into two sections. The first was a high/low section for Will’s clothing, which fit all the hanging clothes from the clothing rack we removed. Next to that I placed a normal-height rack for additional clothing. Above that section I added two rows of shelves to house my purses. Doesn’t that just make your engineering brain happy? It is a way better use of vertical space.
On the third wall, tucked behind my clothing rack, shoe racks and purses, I installed a small bar for tall hanging dresses. This space was basically useless last time because it was where two rods intersected. The rest of that wall I kept at the same height as last time. I even left a single shoe rack under there.
On the fourth wall (formerly where we hung almost-never-used robes) I put in a floor-to-ceiling shoe rack, which is really just narrow shelving spaced close together.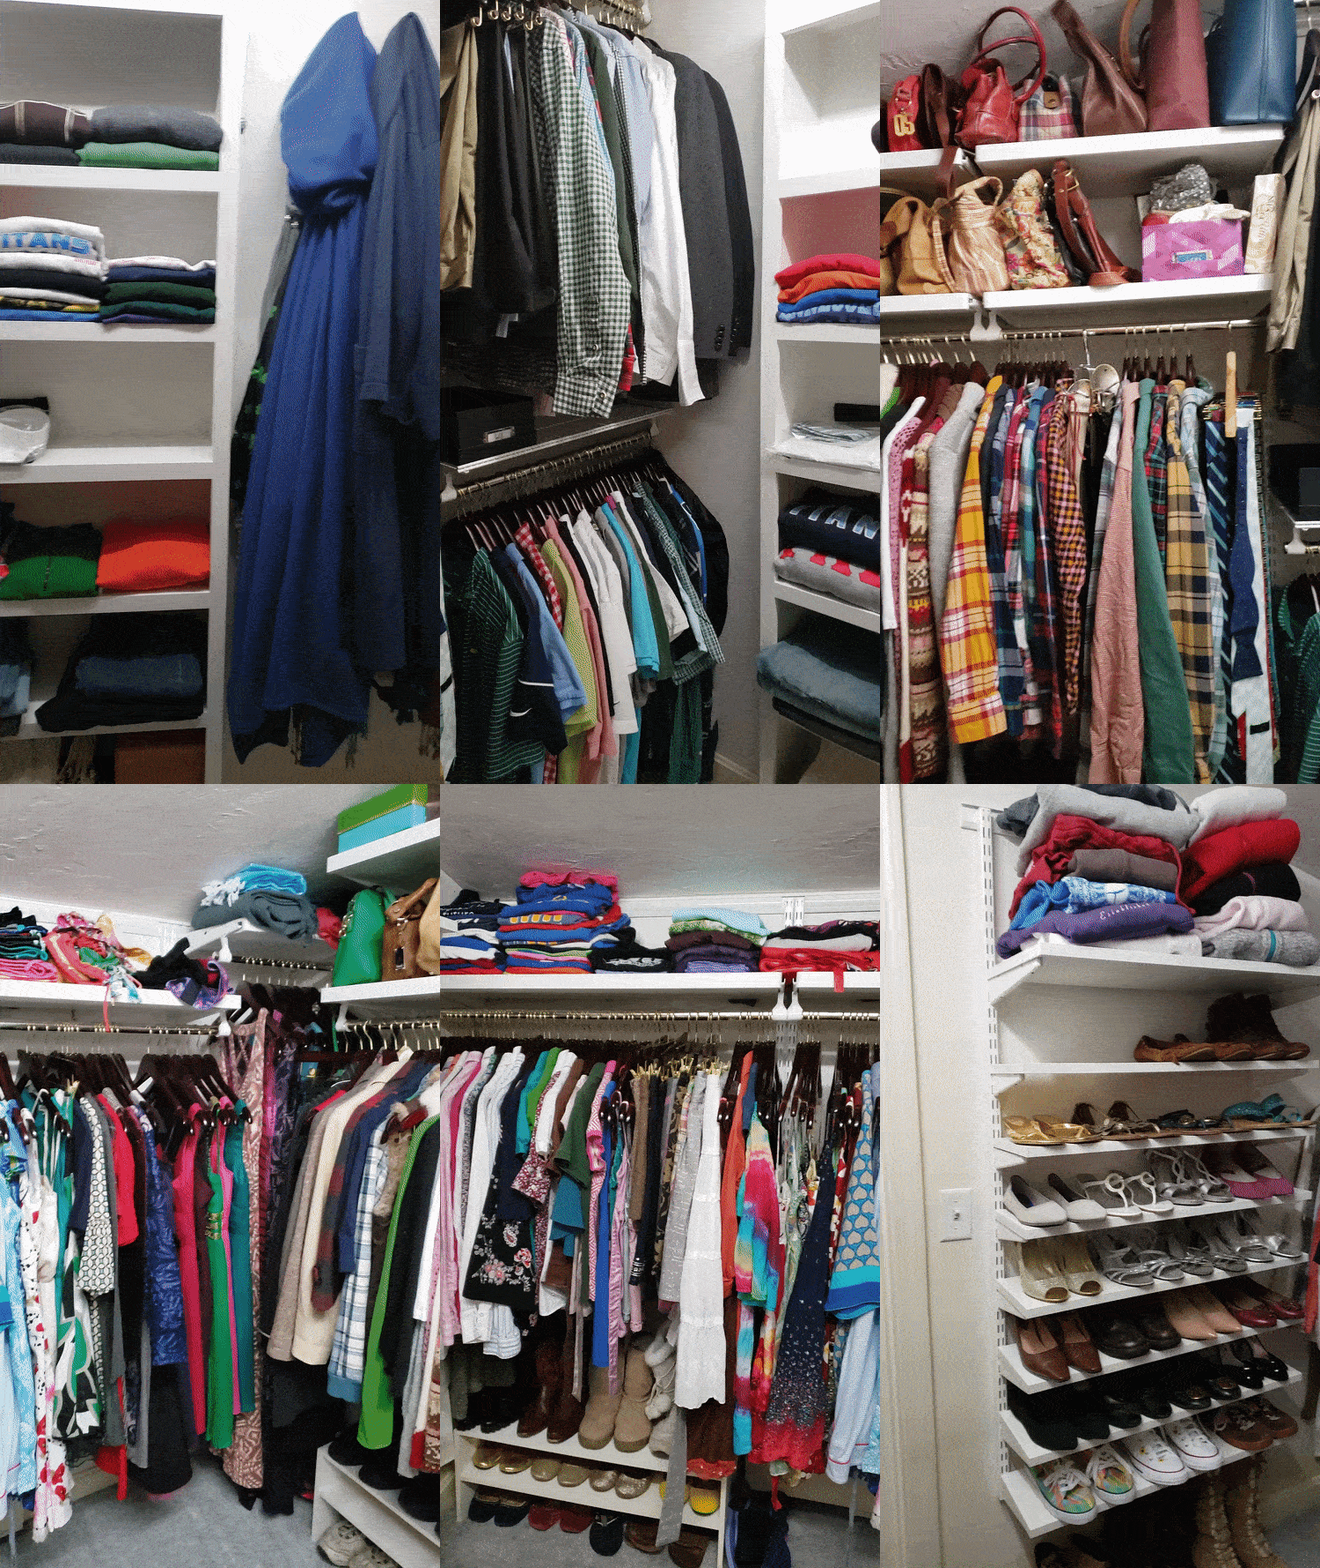
What do you think? Does it look like a mad engineer’s project? All I know is every time I walk into my new closet I smile.

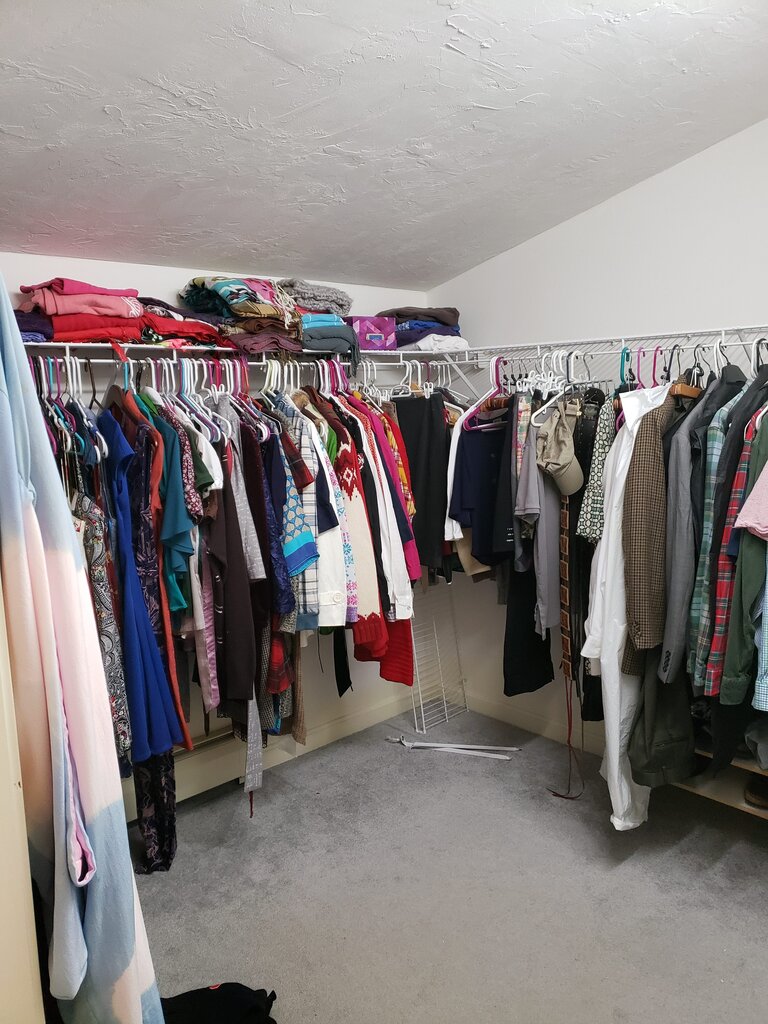
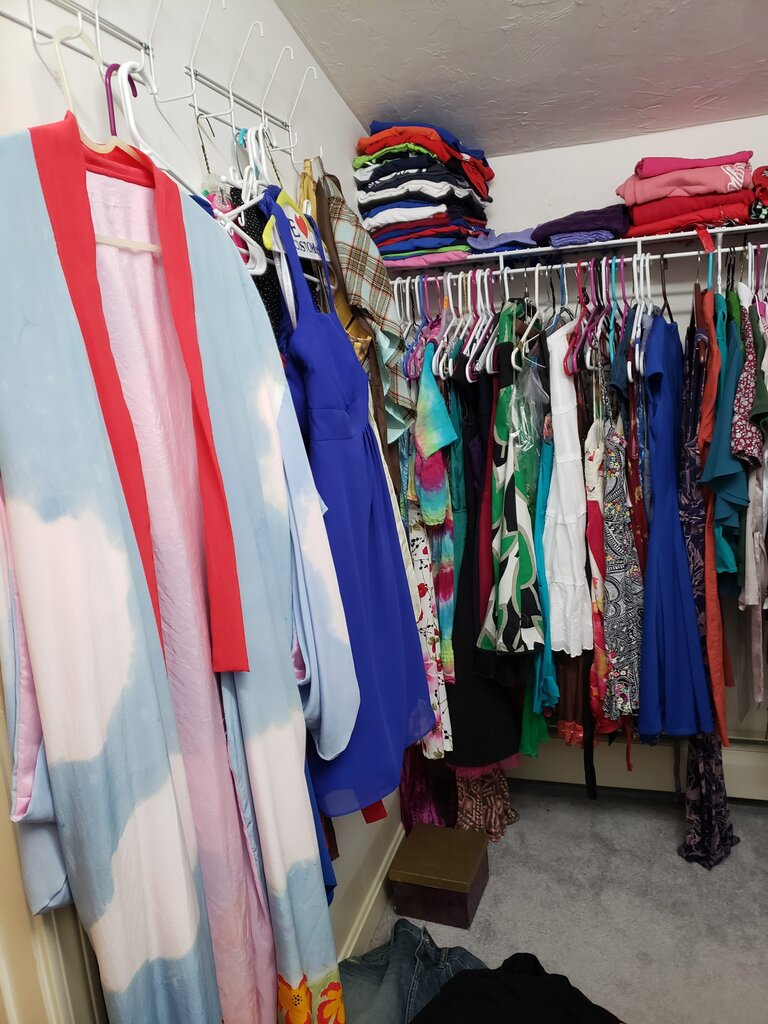
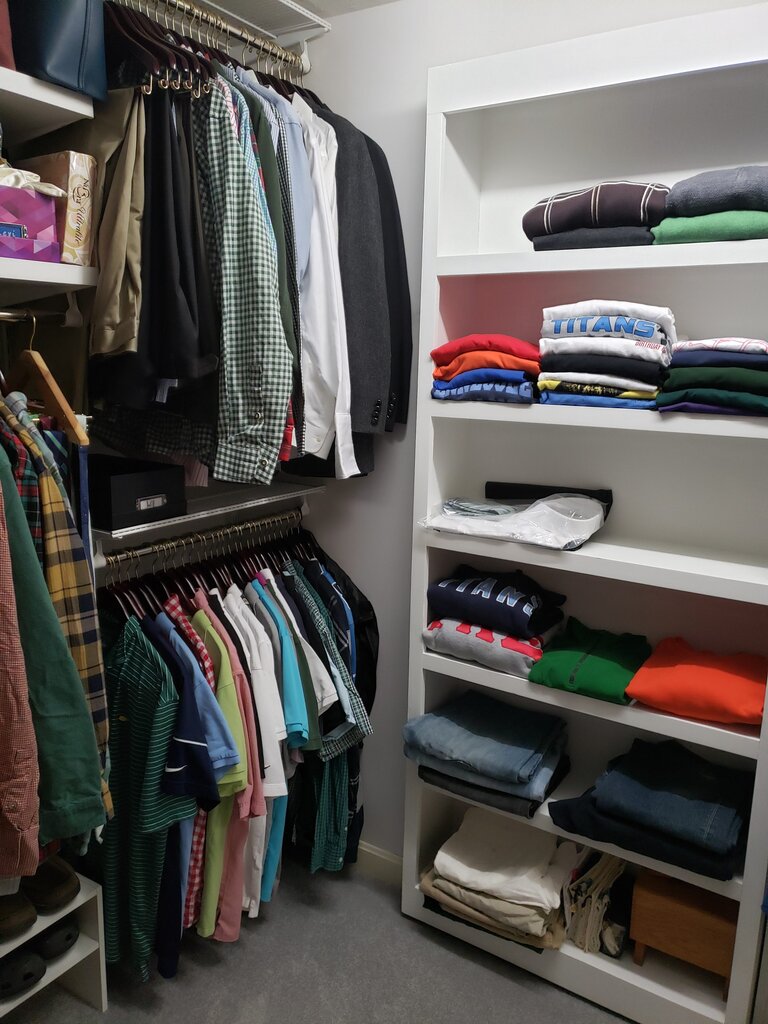
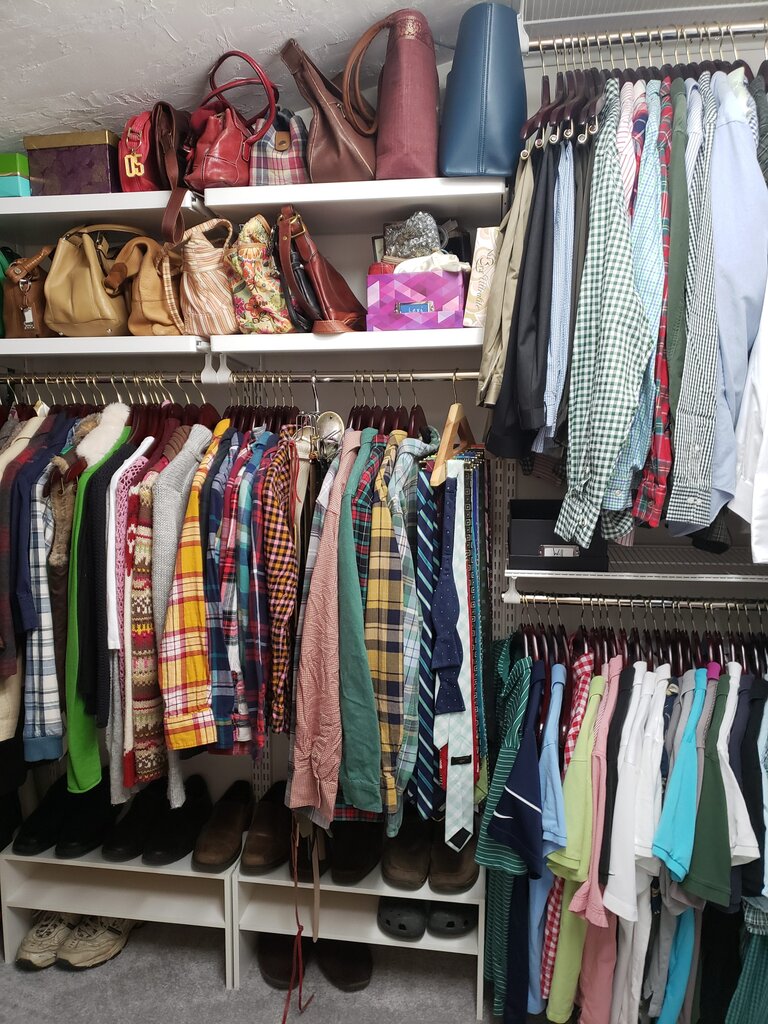
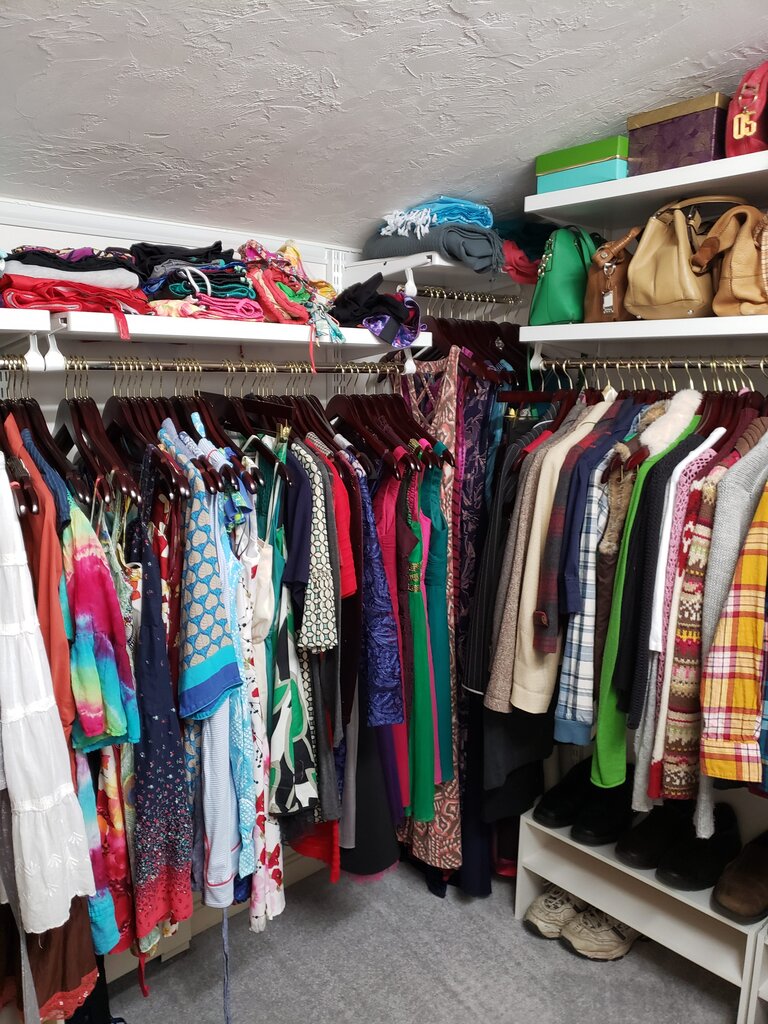
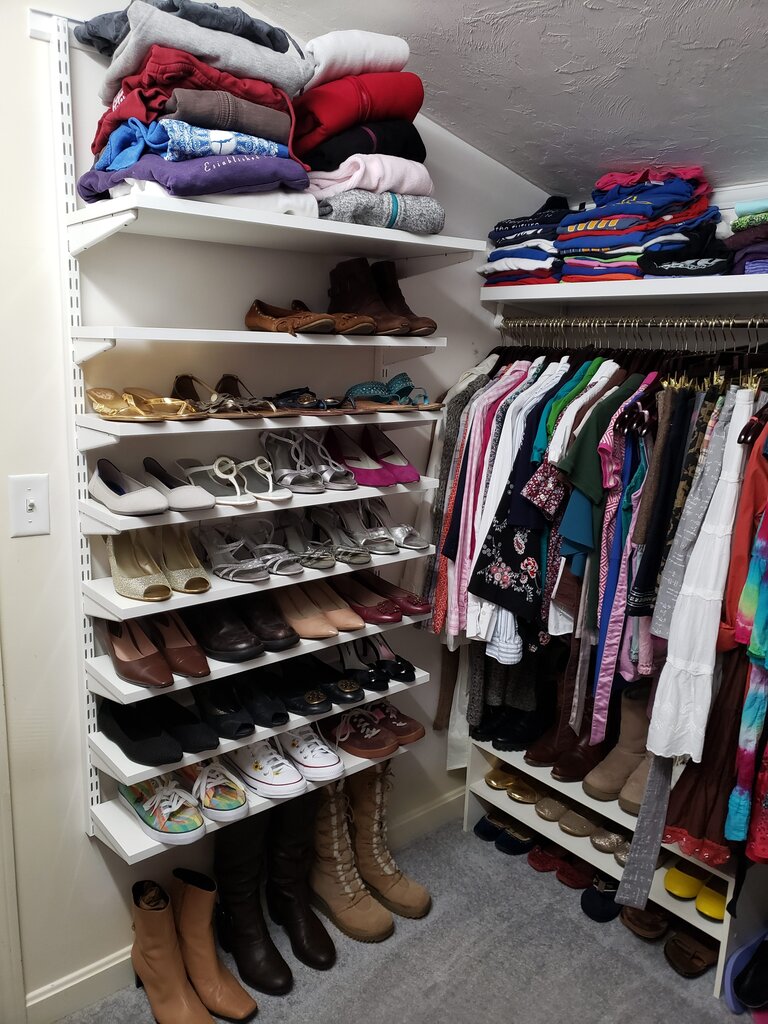

It is a HUGE improvement. That first photo cannot fully capture the horror of the old closet. I had stacks on stacks on stacks of jeans and sweatshirts and stuff that I barely wore because they were such a pain to get in and out of there.
Racks on Stacks. No but seriously, it is suspicious I didn’t have a picture of your side of the closet – the stacks were were at least 4 feet high.
This looks GREAT! Awesome work! :)
Thanks Ka!!! It is definitely more functional if nothing else.
The closet looks AMAZING!!! I covet all your ingenious engineering for maximum space. There is NOTHING happier than plenty of neat, organized closet space. Well done!!
Thanks Amy!!! It is nothing compared to your fabulous closet but it feels so much more organized!!