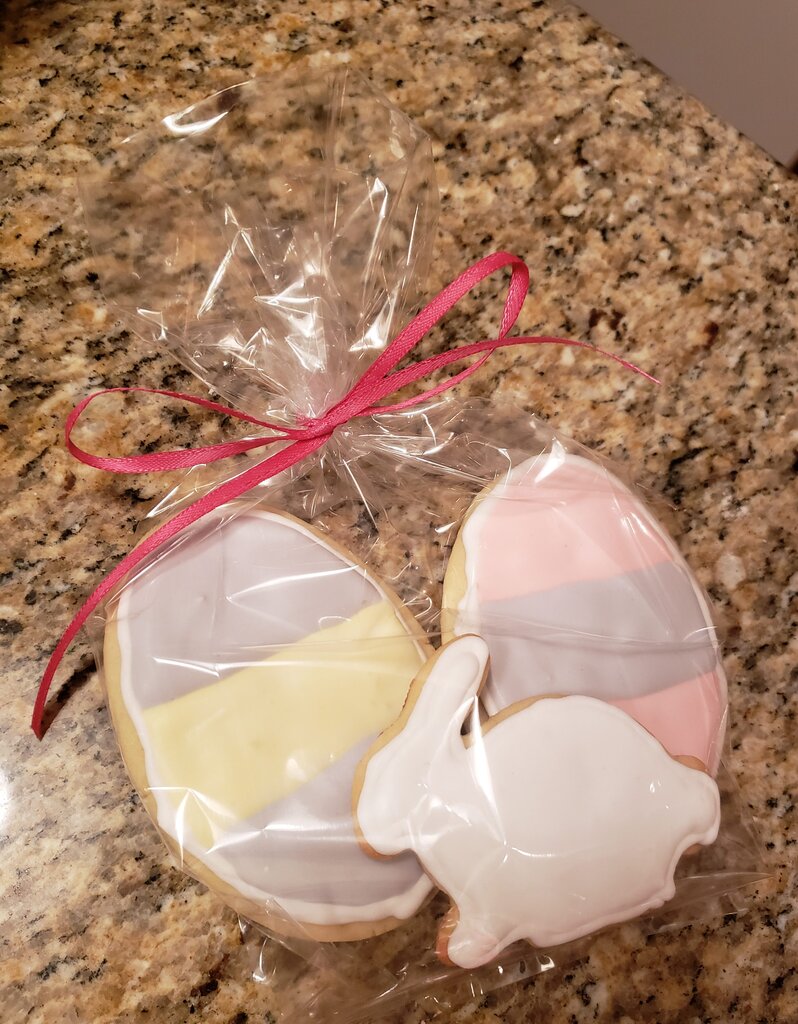
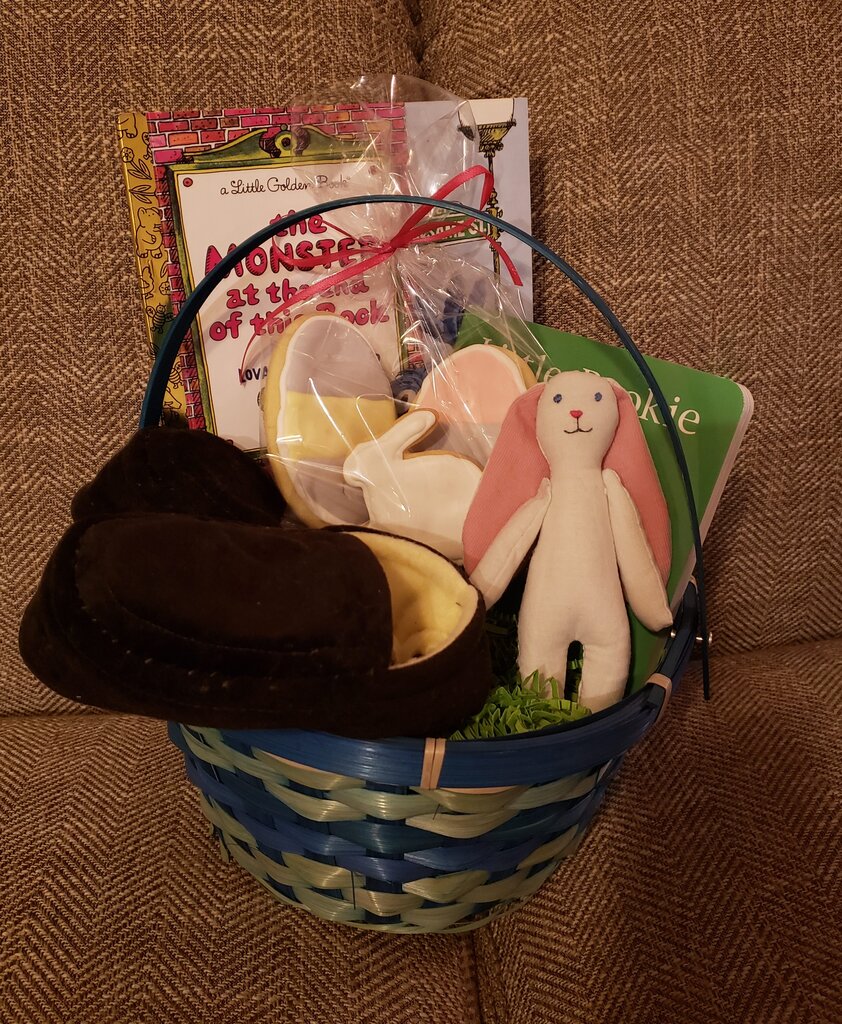
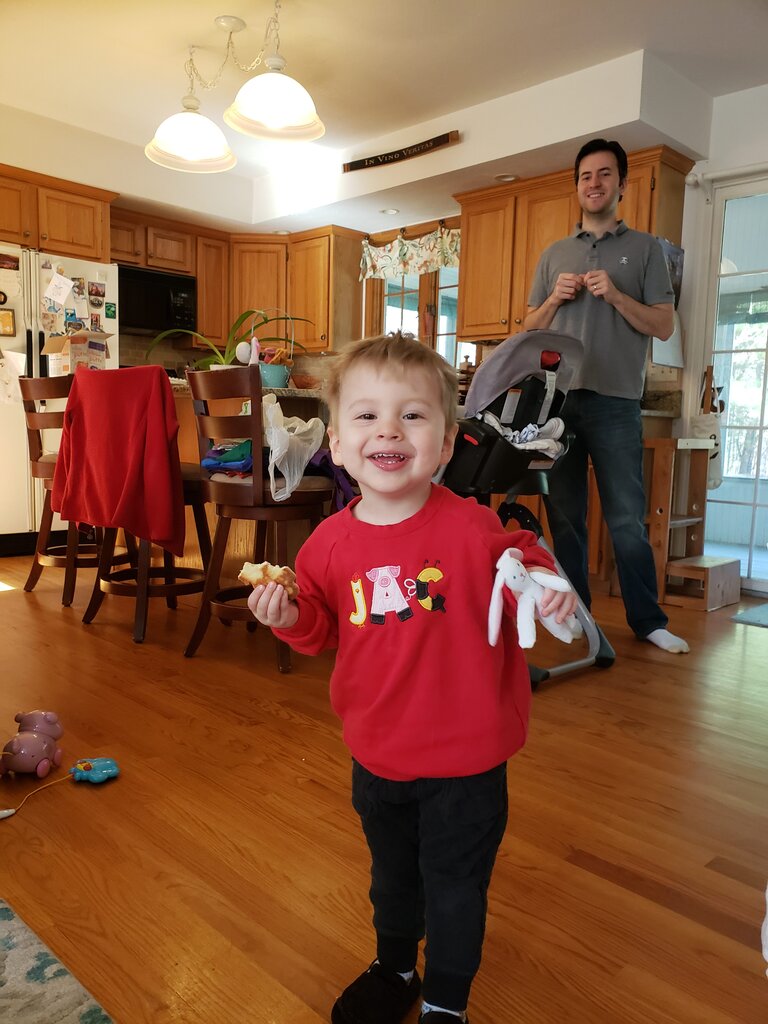
I hope you all had a wonderful Easter or are having a wonderful Passover to those of you who celebrate. I know you were expecting more cute dog photos, but you’ll have to wait for those next week. Instead let me tell you about our Easter weekend while it’s still fresh! We had a great weekend prepping a bountiful feast and fun activities for Julius. And of course watching your kids have fun is the main return on investment for parenting.
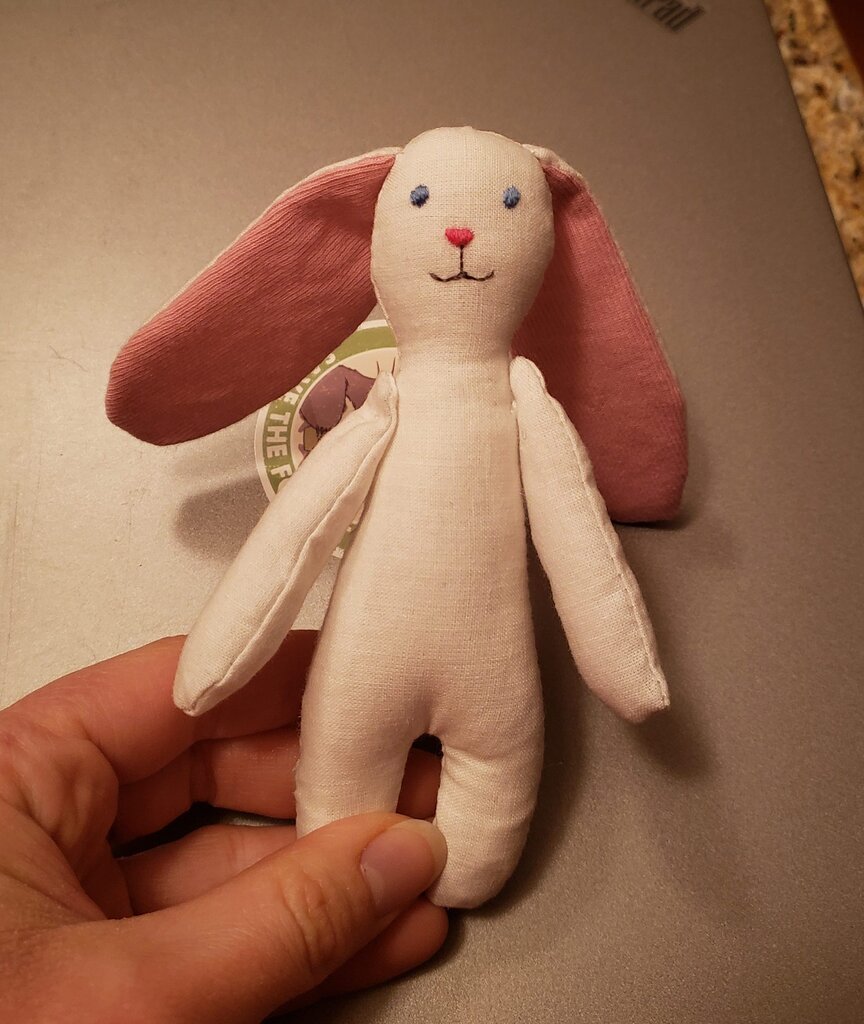
While I’m fully committed to being trapped at home, I’m trying to avoid doing a lot of online shopping. I did cave and buy Julius a boatload of books since he has been wanting to read about 20 books a day, plus I knew the books I was buying weren’t available in stores anyway. Two of these ended up in his basket, and the rest of his Easter basket consisted of handmade items. Julius kept asking for slippers that were his size, so I decided to tell him “maybe the Easter bunny will bring you some”. After that anytime the Easter bunny was mentioned, Julius brought up “maybe the bunny will bring my slippers”. So slippers was one of the items I made for Julius. The other ones were Easter sugar cookies and a little stuffed bunny. (Now known as the Easter bunny bunny.) I had big plans to make a quiet book style house to go with the little stuffed bunny, but as usual time ran short.
Julius loved everything. It really made my month. There is nothing like having your toddler love and appreciate the things you’ve created for them! He even brought his Easter bunny bunny to the bunny parade! (Where you sit in your car while the Easter bunny drives by on a fire truck.) Julius loves fire trucks, but when I asked him if he wants to get out of his car seat and stand up to see better he vehemently said “no! I scared!” Poor guy, the sirens on all the vehicles were very loud. Good news though, when he saw the Easter bunny drive by waving on top of the truck Julius actually giggled.
Easter Bunny Bunny
What you’ll need:
- scrap amounts of white cotton or linen fabric
- scrap amounts of pink cotton fabric
- a small white pom pom
- a tiny amount of stuffing
- blue, pink and black embroidery thread
- pattern here
- Cut out all pattern pieces as indicated. Be sure to add seam allowance.
- Place two body pieces together and pin. Stitch all around body, leaving 1″ gap in one side to turn inside out.
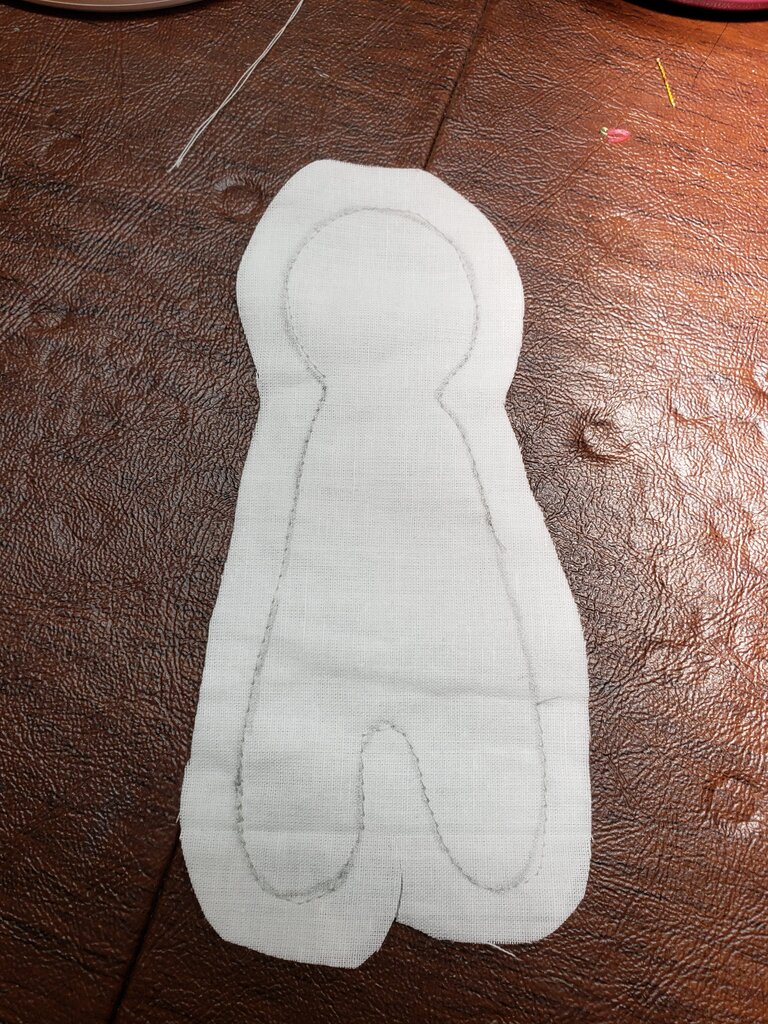
- Clip curves, especially around the legs and neck. Turn right side out.
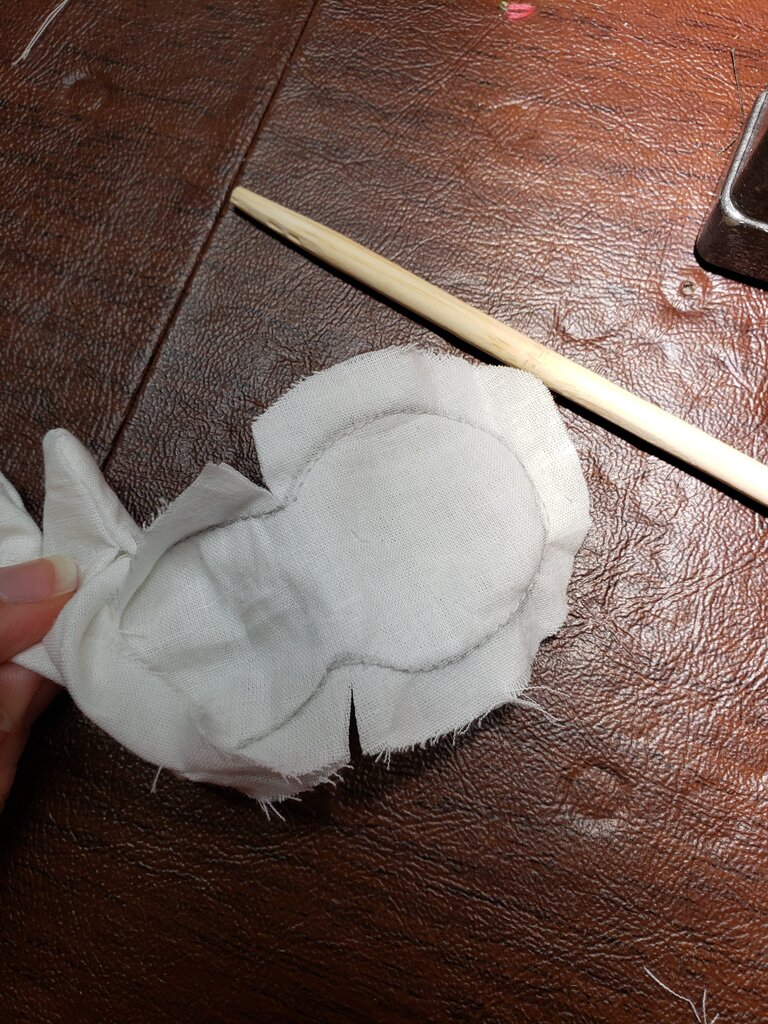
- Stuff.
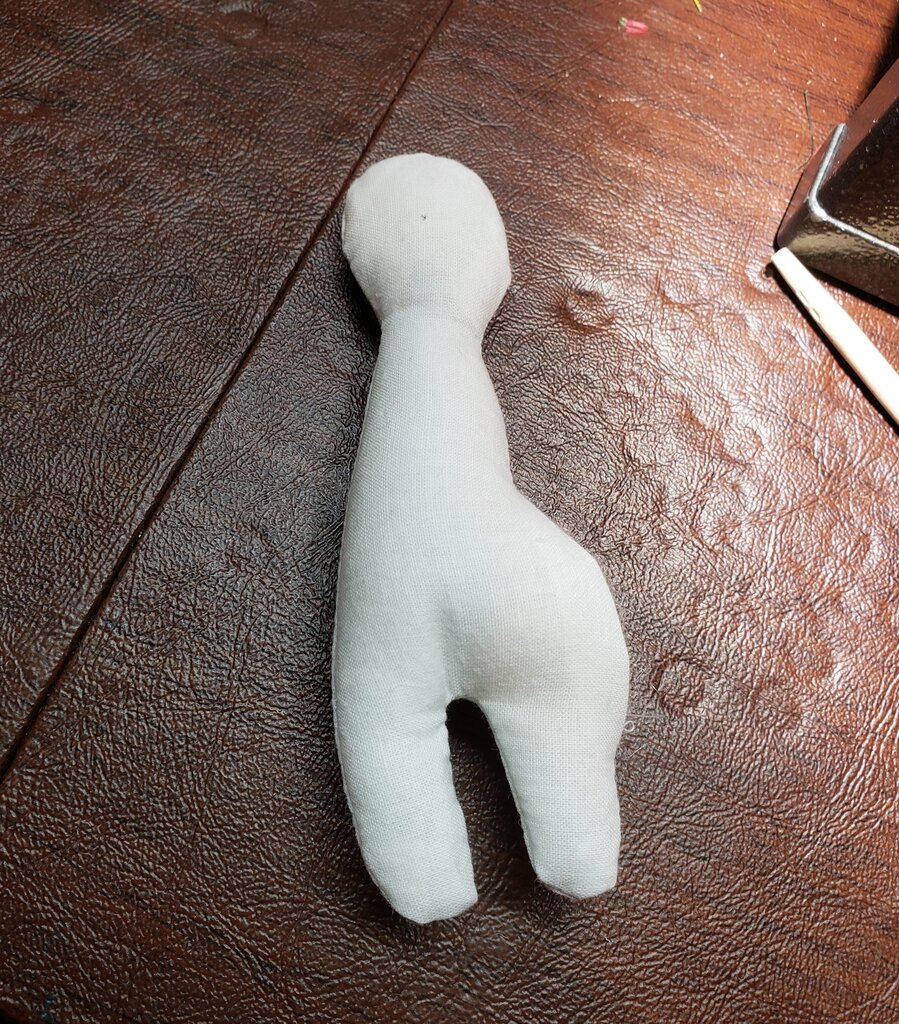
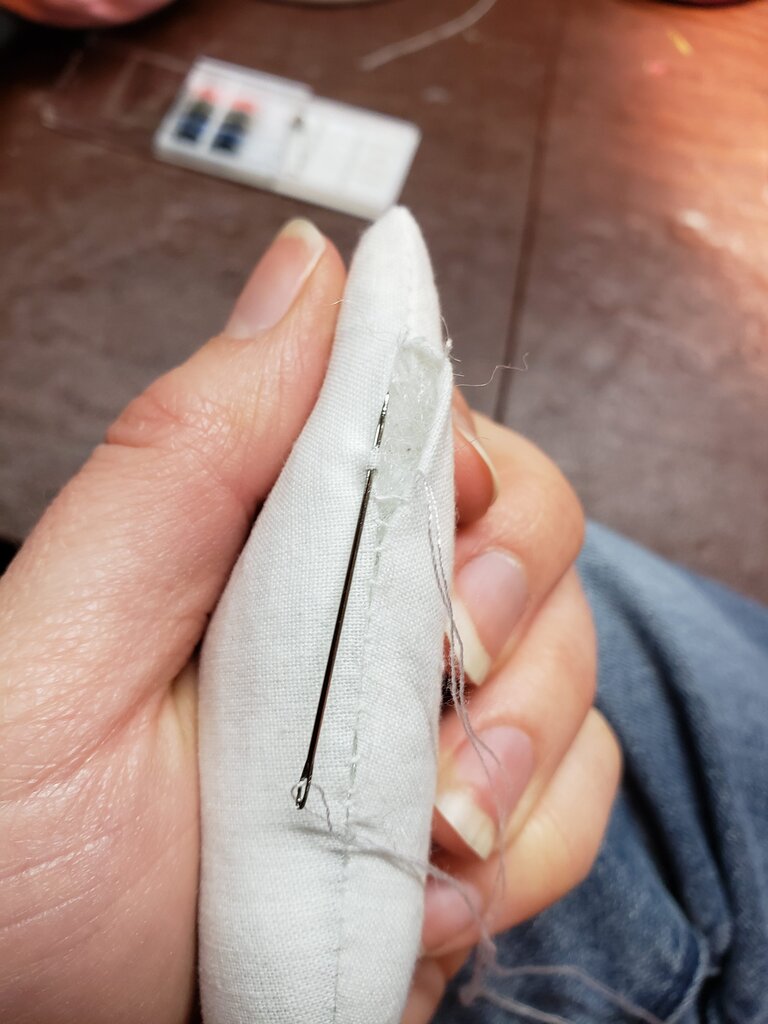
- Hand stitch the opening closed using a ladder stitch/invisible stitch.
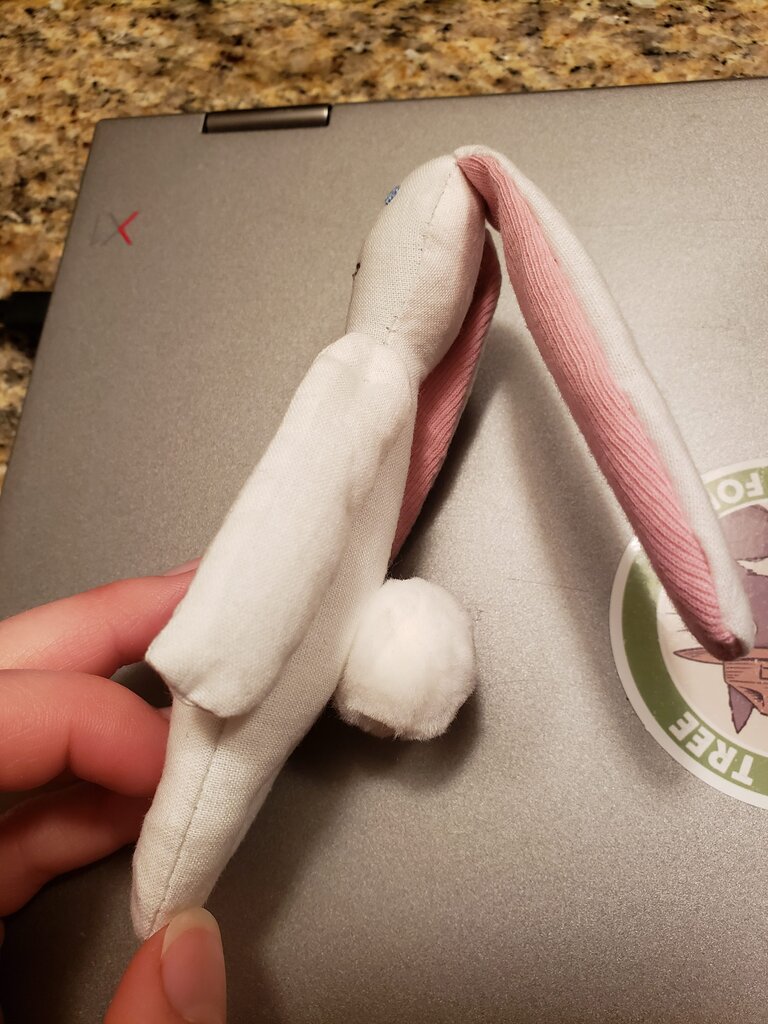
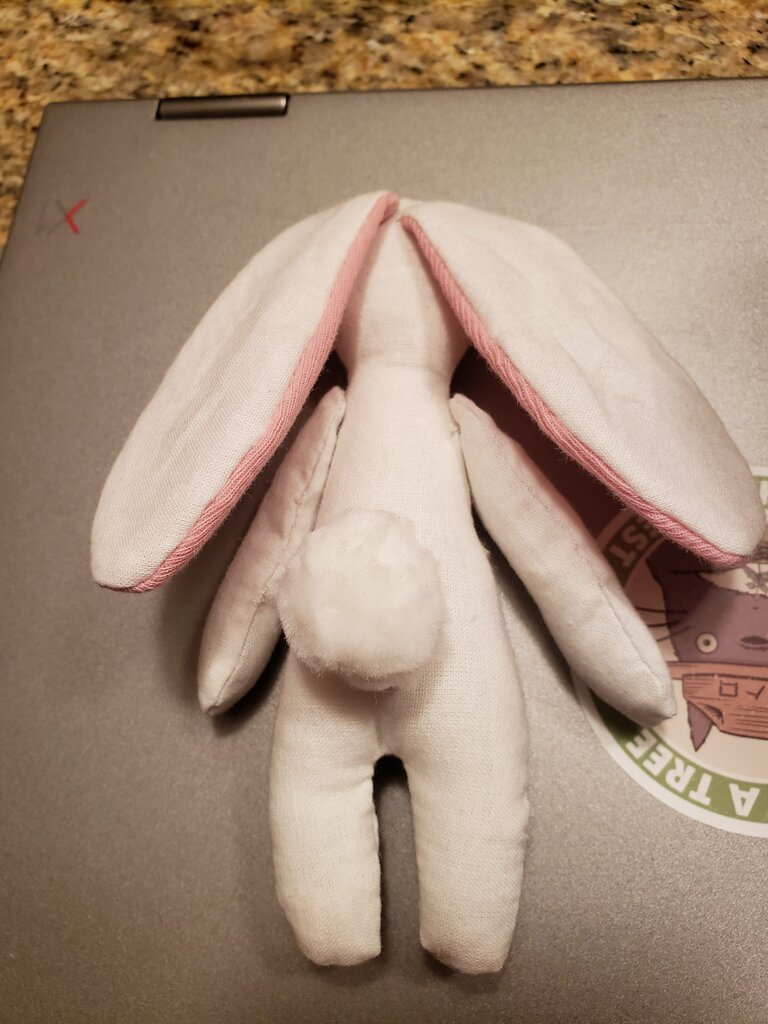
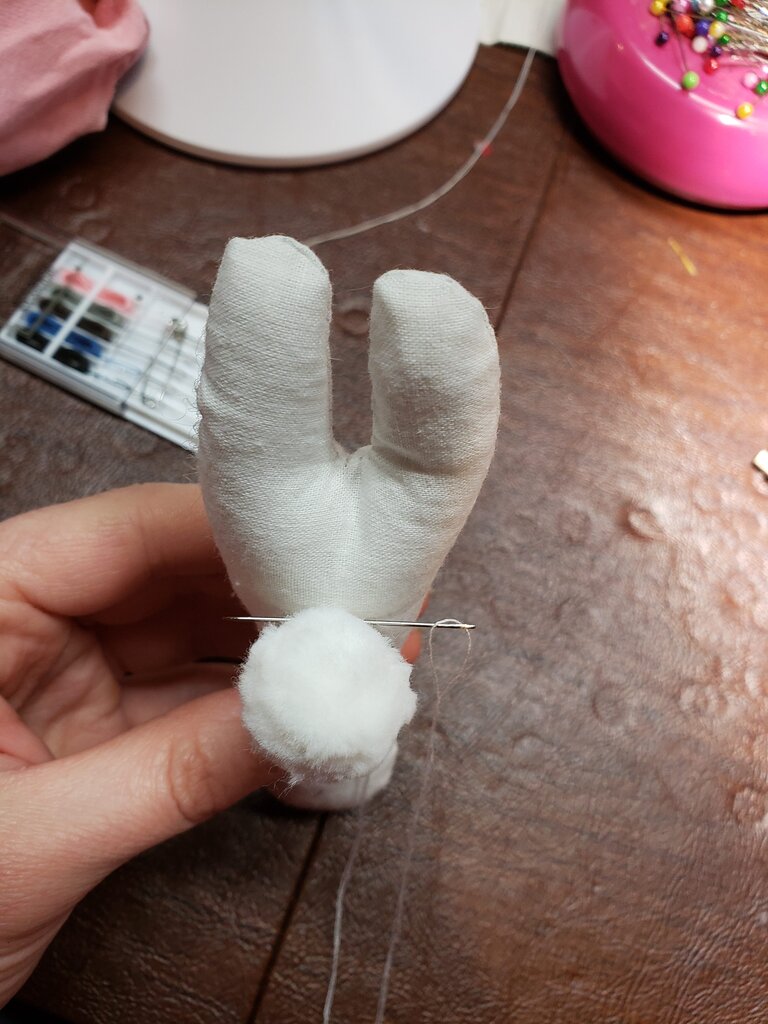
- Choose the least attractive side of the bunny. Stitch pom pom tail onto bunny on less attractive side.
- Create two arms following steps 2,3,4 and 5 but stuffing the arms a little less full.
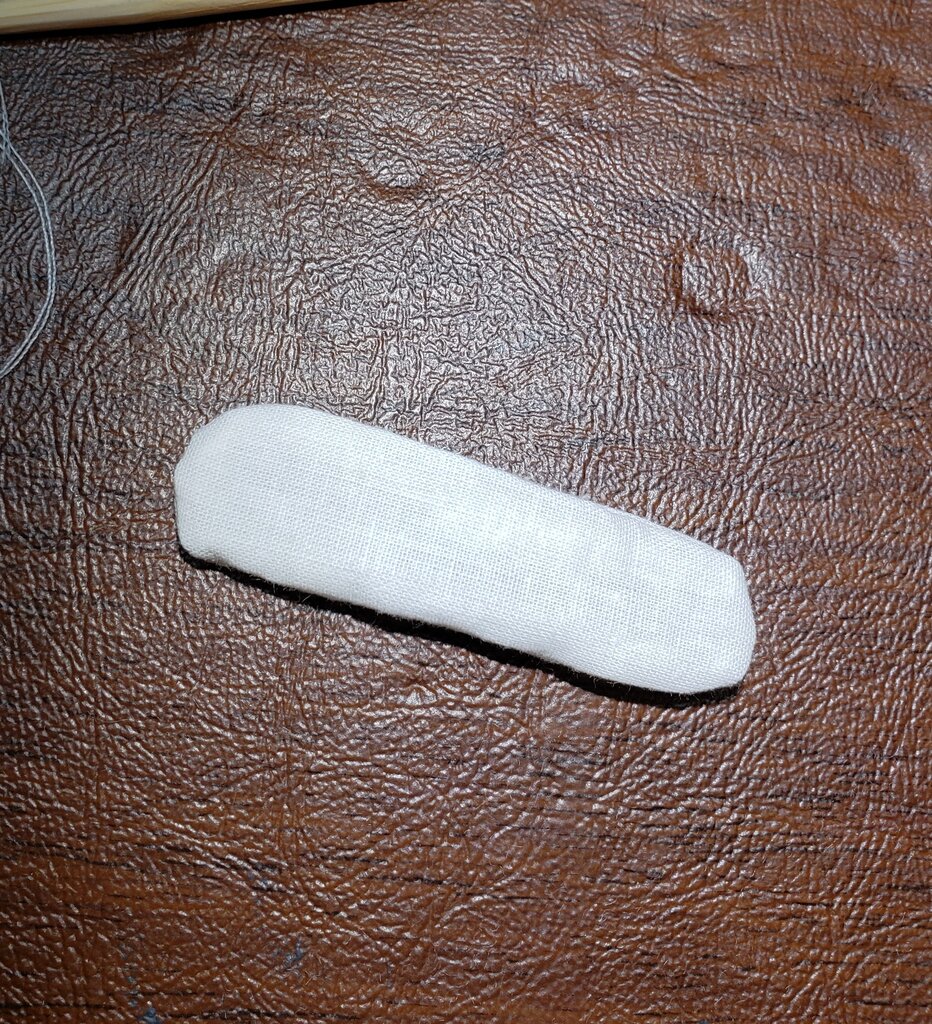
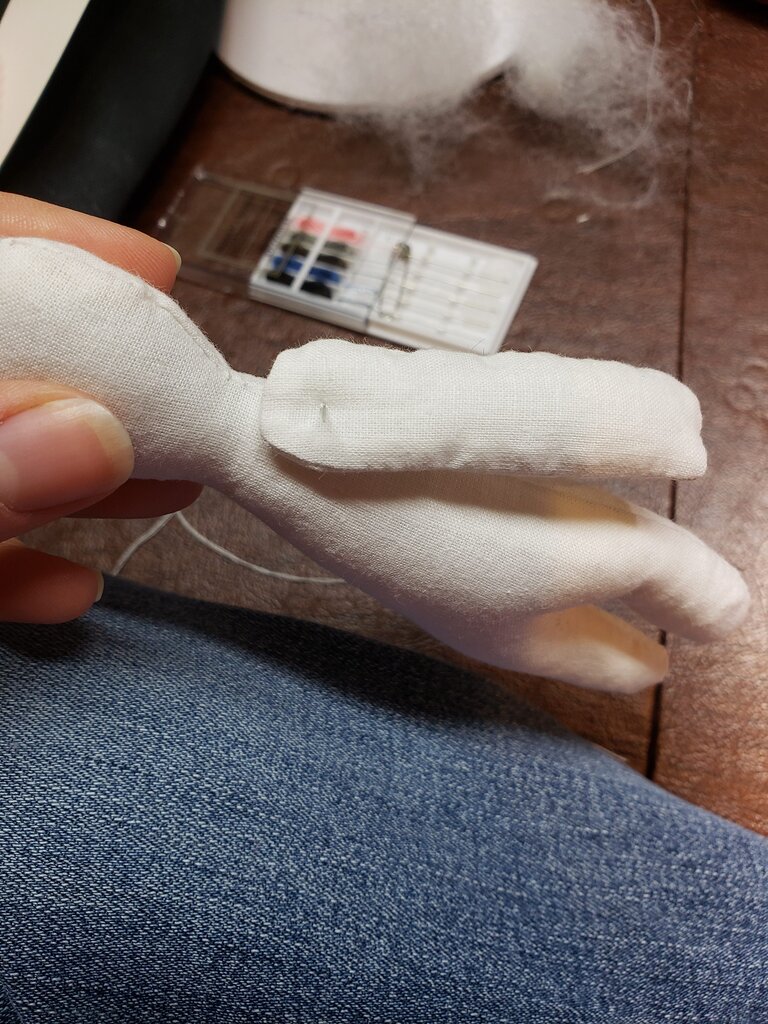
- Position top of arm just below neck of bunny. Stitch through each arm about 1/4″ from the top directly into the torso and back out the same hole, so it forms a movable limb. (I do this several times to make it secure.) (Here is a site with examples – I basically did #3.)
- Assemble the ears. For each ear, sandwich pink fabric between 2 white fabric pieces.
- Stitch around ear, leaving the bottom opened. Trim excess fabric.
- Turn right side out.
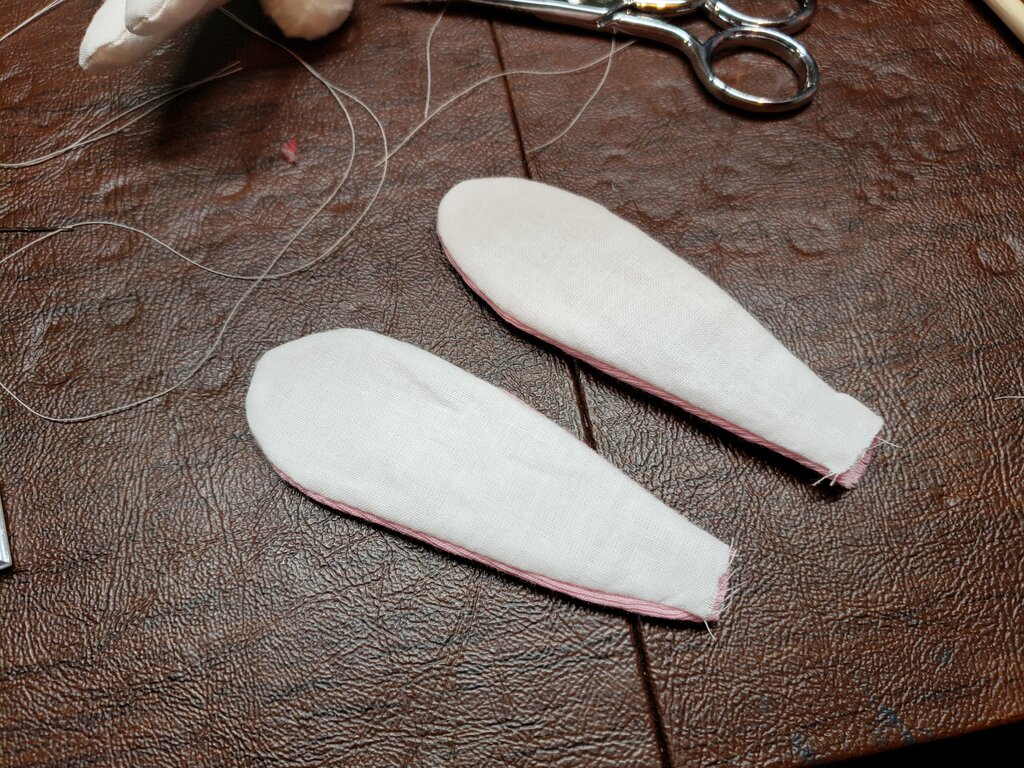
- Turn the unfinished edge of each ear inside and invisible stitch closed.
- Pin ears to head at a slight angle so pinks of ears are visible.
- Invisible stitch ears to head.
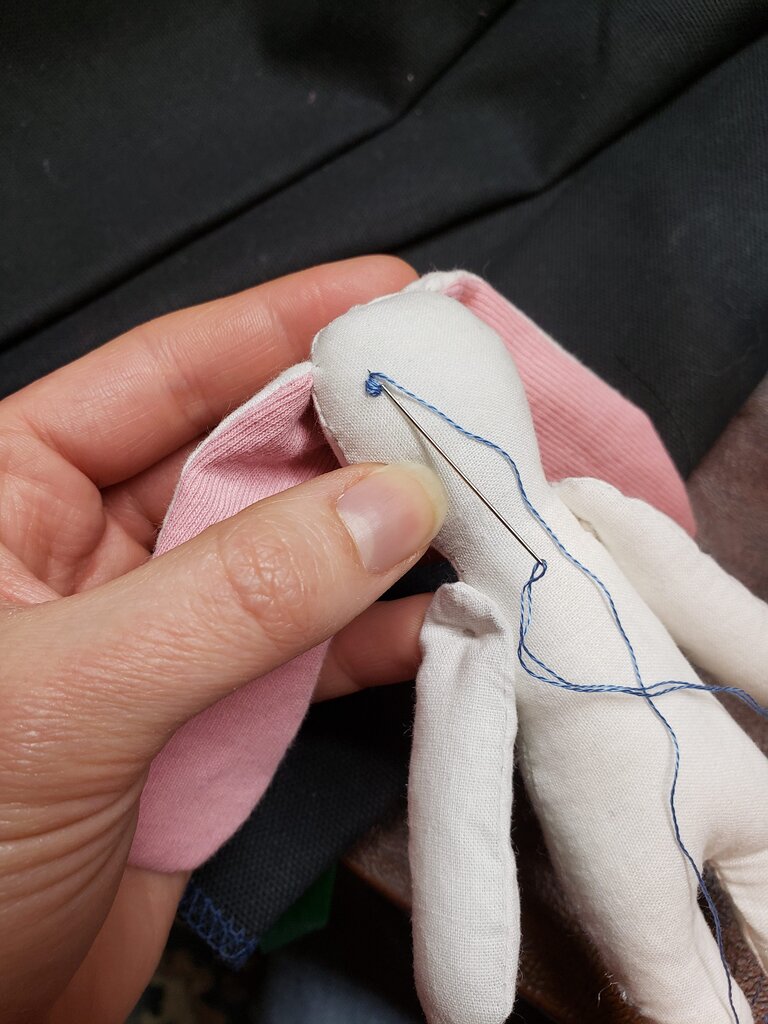
- Transfer face pattern onto bunny. Embroider eyes in blue, mouth in black and finally nose in pink.
