This past fall, Will’s & my best friend, Ryan, got married to his perfect match – a fabulous woman from Pittsburgh. Naturally the wedding was in Pittsburgh and my friend, knowing I love to help with anything wedding related, asked me to create a wedding map insert for their welcome bags. I had made one of these for our own wedding but I’ll admit I was not really that happy with it. (See below.) It has a lot of empty space and is just black and white. IMO Ryan and Lydia’s map came out WAY BETTER than the one I had done for ours. I figured out a new way to do things that I’m going to share with you.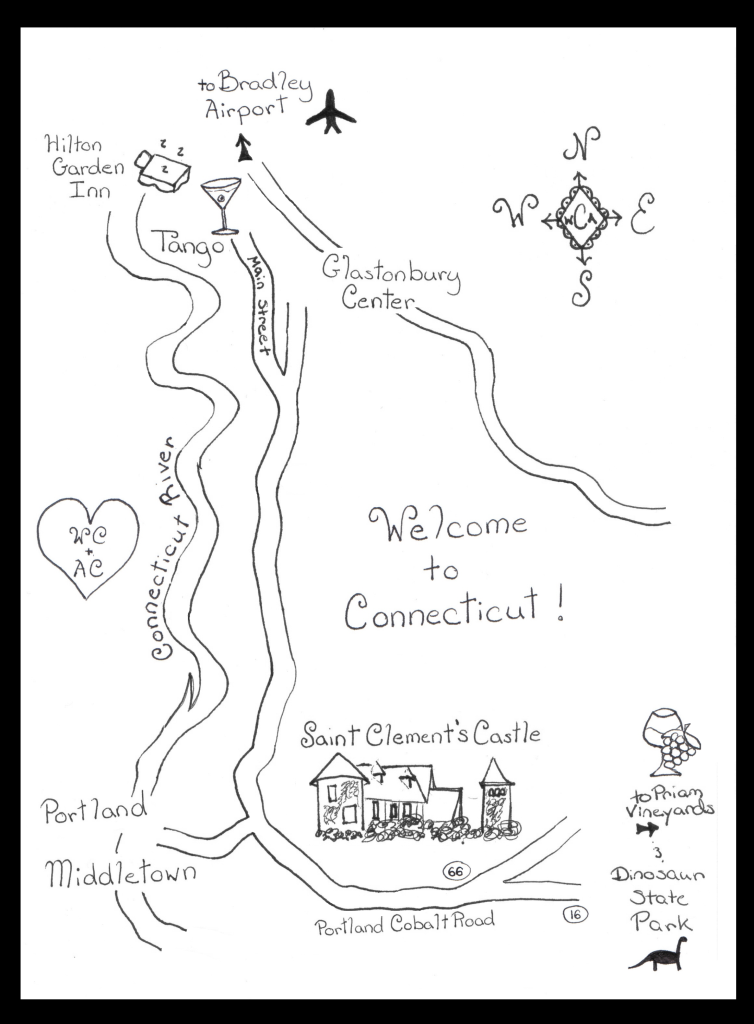
With some basic tracing and drawing skills, plus some basic photo editing skills you too can create your own wedding map. Or, since you know how much I love weddings and helping people prep and plan, just ask me to!
Make your own wedding map
You will need:
- A pencil and really good eraser
- A fine point sharpie
- 8.5×11 paper
- Access to a scanner (via library or otherwise)
- Access to the internet (and potentially a printer depending on your drawing skills)
(optional depending on your drawing skills)
1. Make a Google map of your wedding sites. My friend had a full weekend of events planned and wanted the following pointed out on the map:
- Wedding Hotels
- Wedding Location
- Friday Welcome Picnic Location
- Rehearsal Dinner Location
- Friday Night Rooftop Drinks
2. Add in several touristy sites surrounding and intertwined with the locations for the wedding events. You can use artistic license to move things around later. Also add to the map any famous landmarks. My friends wanted to include the rivers and three of the famous bridges in Pittsburgh, but things like rivers, lakes and mountains make great borders as well.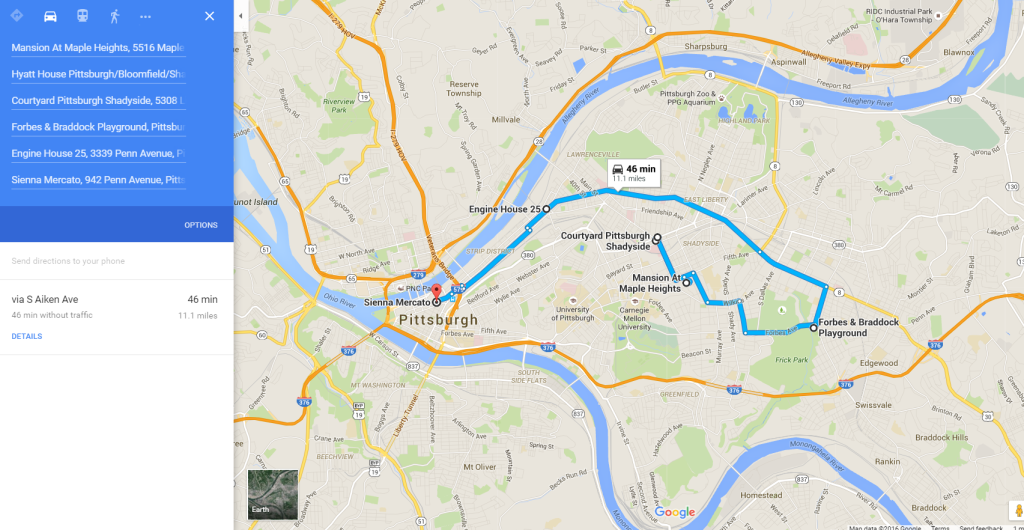
3. Sketch out on 8 1/2 x 11″ paper the main landmarks in the area – for Pittsburgh this was easy – the 3 main rivers, but you can use anything like mountain ranges, or main highways to divide up the map. This is where you will use a bit of artistic license. I found it easiest to look at the Google maps page and freehand draw some lines indicating the rivers, but you could probably put in more accurate borders using the tracing technique in 6 below.
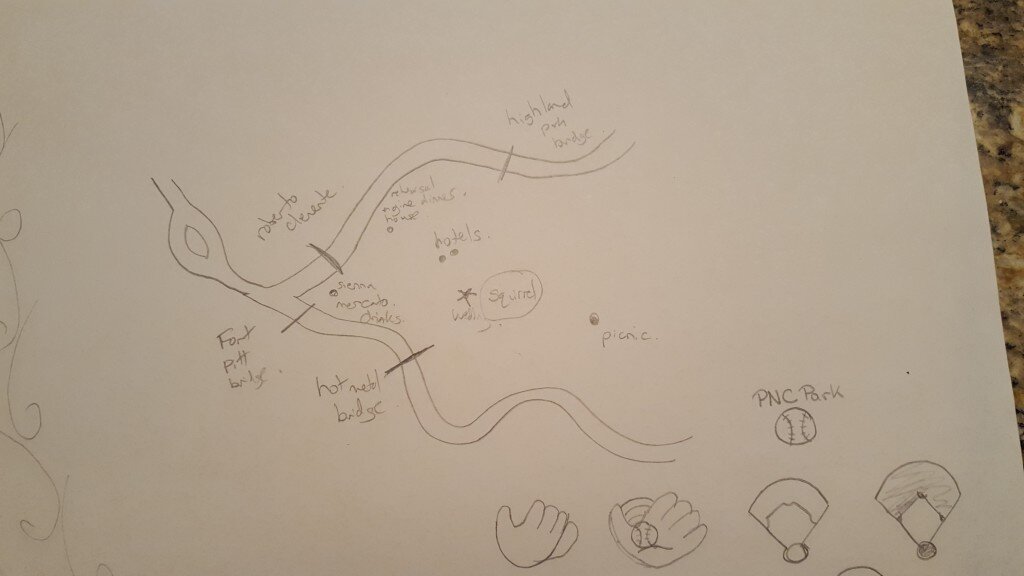
Rough sketch the areas of interest with the topographical boundaries
4. Use Google maps to determine the main roads in each area and mock sketch them on your map in relation to one another. Some maps need to display hour drives from church to venue on them, so these maps end up being far from accurate. I think the most important thing here is to give a semi-accurate picture of where each point of interest is using some cross streets. Do the best you can with the space you have but be sure to leave enough room to add in pictures and names of the wedding sites. When you’re happy with your positioning of landmarks and roads in 3 & 4 ink everything in sharpie. I found it easiest to do a rough sketch and then copy the map to a final sheet of paper using the technique in step 6.
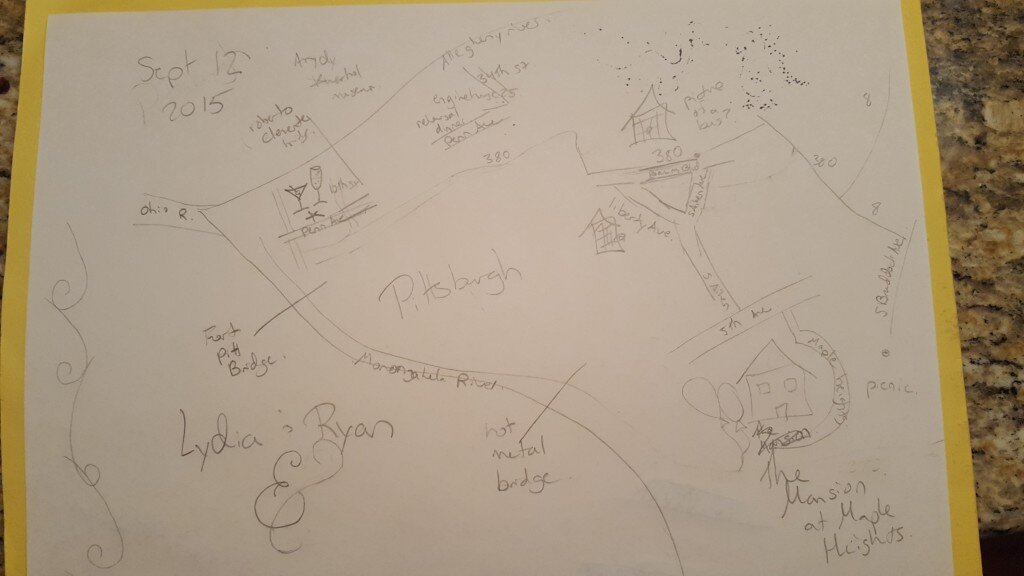
Sketch out the main roadways
5. Find images of the buildings you want to add to the map, or alternatively use cute symbols to represent these landmarks if the buildings are unimpressive. For example you could draw a bed to represent a hotel chain or champagne glasses for the rehearsal dinner. For cute symbols, adding the word “clip art” to your google search will produce images that are very easy to trace. Sketch or trace (after printing) these images onto individual sheets of paper.
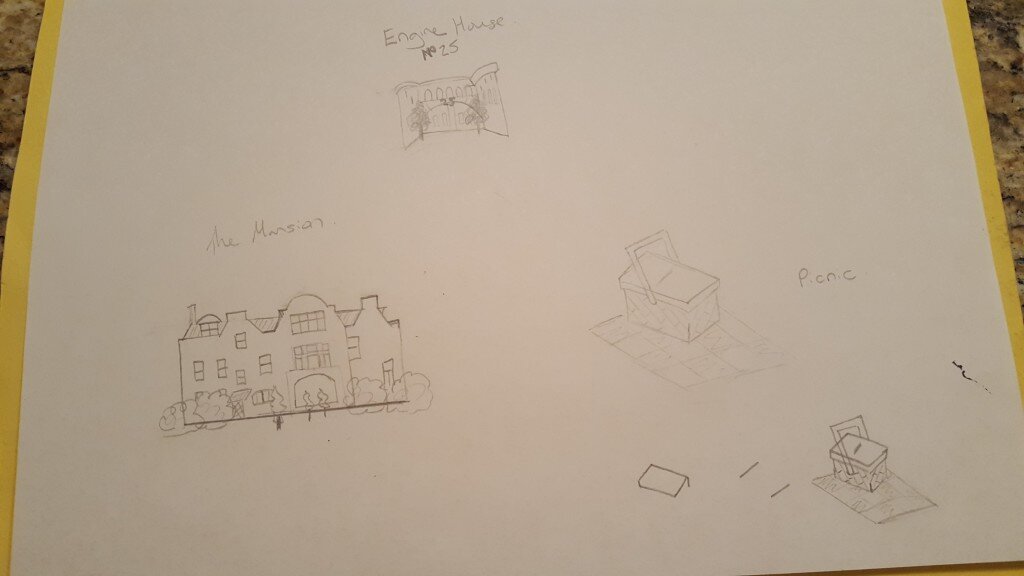
Sketch clip art and pictures of buildings to use to mark the places of interest onto a separate sheet of paper.
6. To trace the images you can create a makeshift tracing station for cheap – I used a plastic bucket (previously used to hold kitty litter), a sheet of clear plexiglass discarded from a cheap frame (actually the frame I used for my dog silhouette painting), and a work lamp – though any small lamp with a low wattage bulb will do (you don’t want the bulb to get too hot in the box – CFL or LED is best). After you trace each symbol add labels as desired. Make sure to outline everything in black sharpie when you’re done.
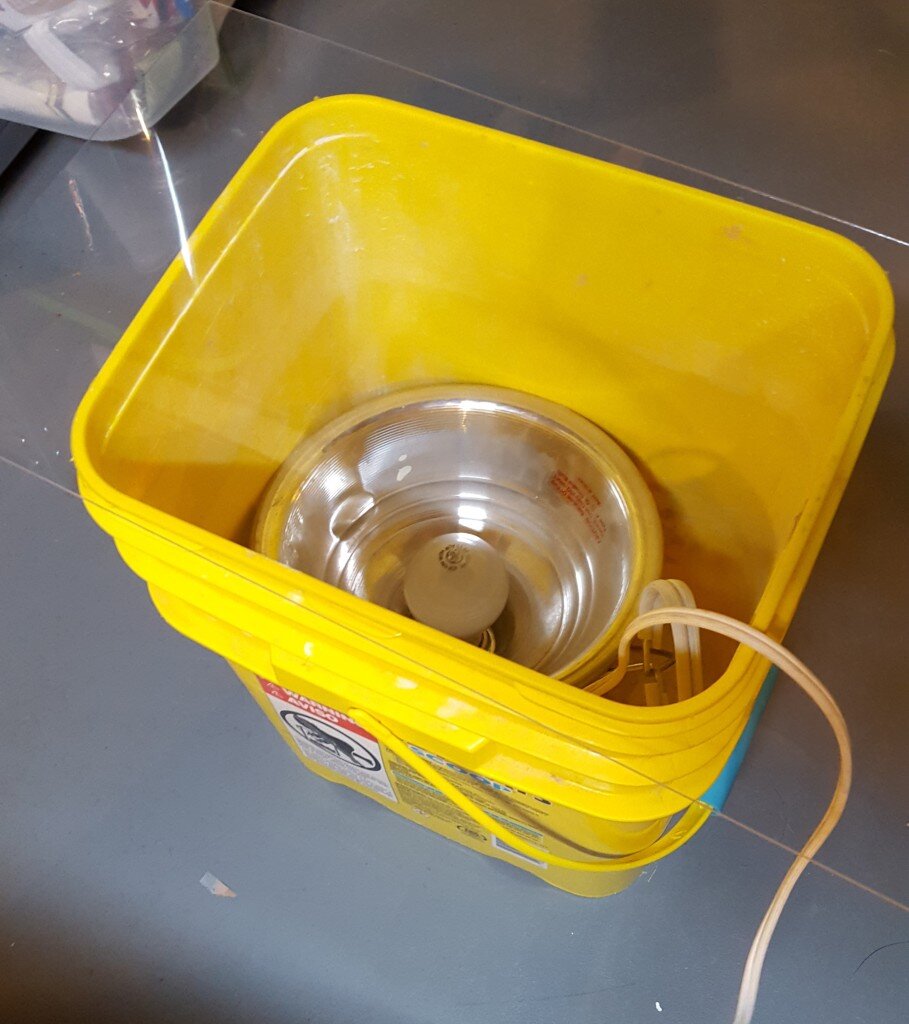
Makeshift tracing box.
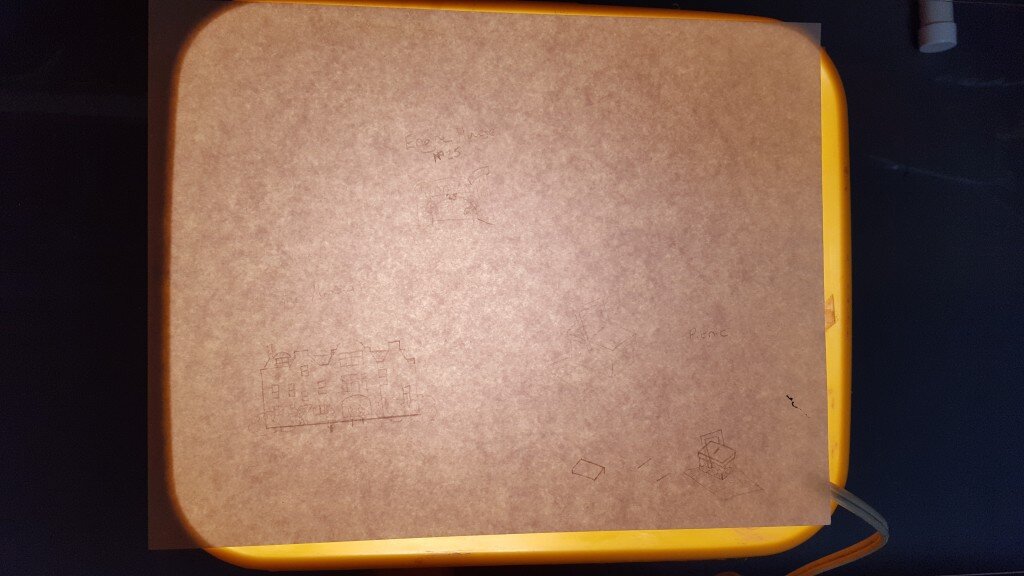
Trace images onto separate piece of paper.
7. Here’s where my explanation diverges from what I actually did*. Scan the 8.5×11″ page with the roads and landmarks as well as all the drawings and symbols of the wedding sites. I scanned mine using the “black and white” setting with the highest resolution. My scanner only outputs PDFs so I then had to convert it to an image in order to open them with my favorite editor. To convert the pdf to an image I followed the instructions here http://www.wikihow.com/Convert-PDF-to-Image-Files to use Google docs to convert to a Word document and then copy the image. Open the images with your favorite editor (I highly recommend paint.net which is free). *[Here I actually drew out the entire wedding map onto one sheet of paper without using the editor THEN I scanned the entire thing in to add minor adjustments and coloring and a border. ]

Scan your drawing onto the computer using black & white settings at the highest resolution
8. Make the roads and landmark page your background layer and then create another layer for the symbols. Start moving each symbol to the appropriate location on the map. You can resize them as necessary. At this point you’ll also want to remove the background color completely. You can do this by highlighting a region of white and deleting it.
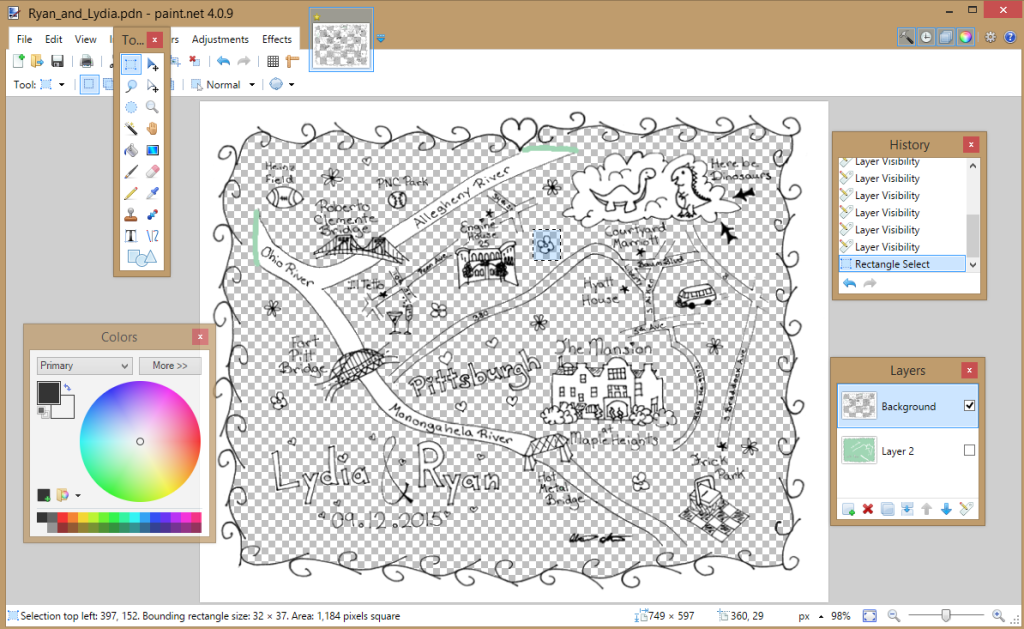
Remove the background color and then move any labels or symbols on the map, making adjustments as necessary.
9. I used an additional layer to add a border and color to the map. The border the drew by hand on 8.5×11 paper similar to step 3 then I scanned and added it to paint.net as in step 7 adding it to a third layer. Then I filled in the area inside the border with a background color. I used the eraser function to remove color from the map where roads and other landmarks were. Since you removed the background color in step 8 the colors you added in this step will show through in the top layer. 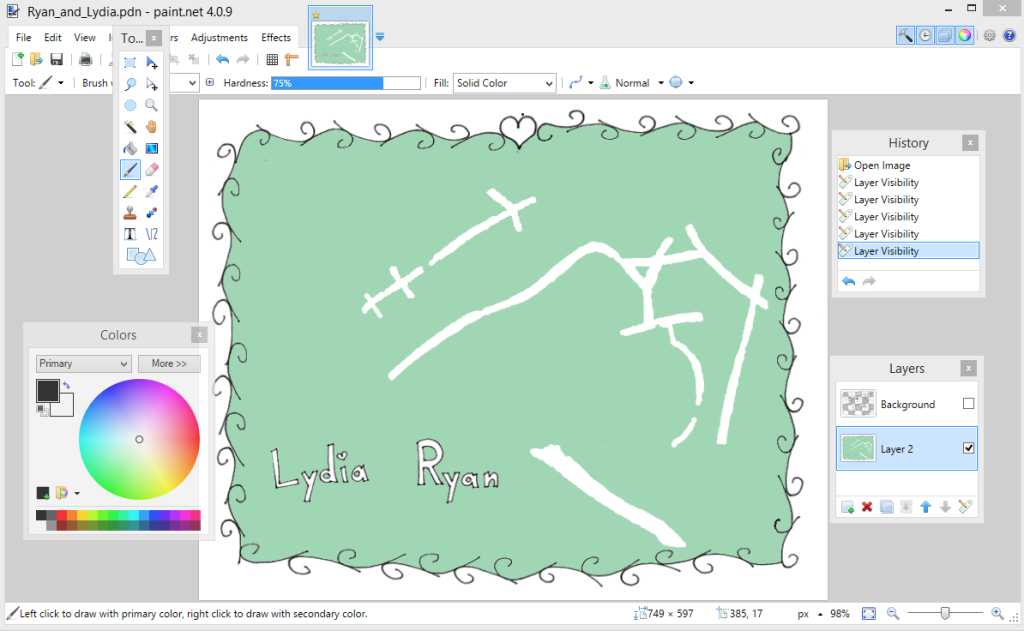
10. I followed the same draw, scan, import steps to add the couple’s name and wedding date and little filler hearts and flowers.
Here’s the copy sans color (I like this one):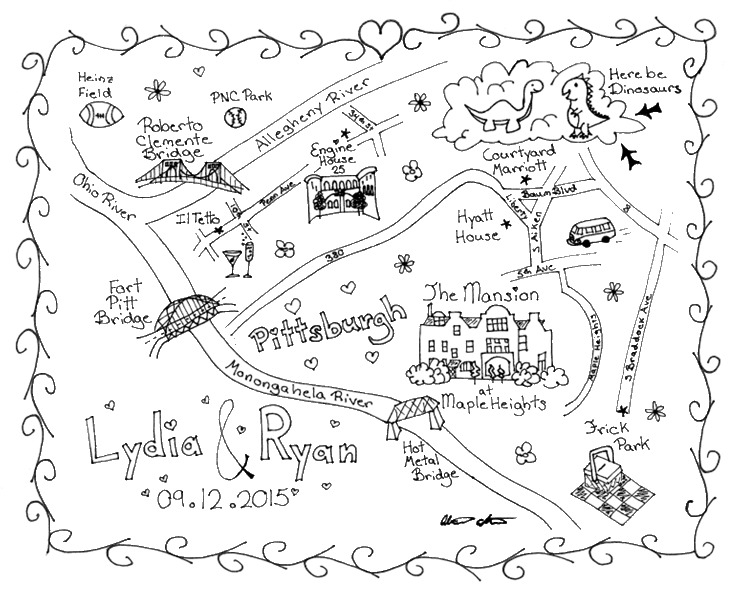
And here’s the final copy they used (with their wedding colors):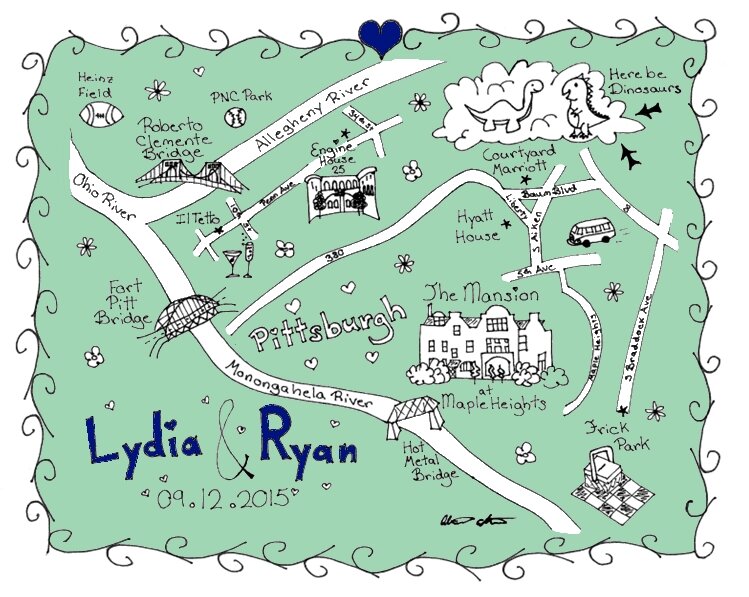
I hope this helps someone else out there! If it does, please let me know by commenting :).


I like this idea a lot and plan on bringing it up to Emma once we start planning things.
EXCELLENT! Glad to hear it!! Let me know if you need any help. :D