Julius was baptized this weekend in his grandparents’ church in Nashville. Of course, we hadn’t realized it was daylight savings time and his second nursing session of the day fell right in the middle of the service. Oops. (Not that his timing is 100% accurate anyway.) Luckily he only cried for a short while during the time he was in the chapel…and once the pastor held him he was a little angel!
Slight non-sequitur, but last week I discovered that there is a renaissance festival in our hometown! What!? They just moved it from its previous home in Connecticut… to 5 minutes from our house. Fortuitous? We’ll see. When I closed the doors of Whimsical Brims, I instructed Will to remind me how tiring it was if I ever said I wanted to do it again. Well, last week I proposed that I sell the rest of my supply of hats at a short running festival, and then I brought up the Faire in Lancaster. Will actually said it was a good idea! So much for convincing me not to do it again!
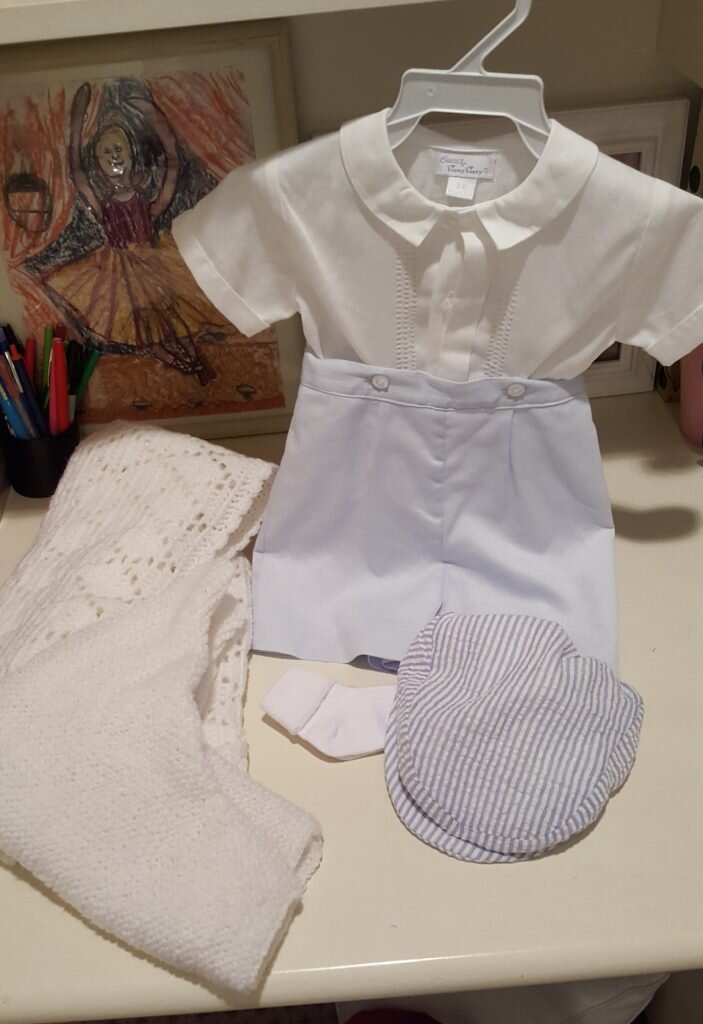
Well I decided that I should at least attempt to satisfy my urge to make more hats in a benign way and with Julius’ Christening I had an excuse! I had seen lots of adorable pictures of these baby boys in dapper little pant suits complete with tiny flat caps. I’ve never made a flat cap before, but they didn’t look too difficult, and the miniscule amount of fabric required made any attempt basically free. I made the hat entirely from material from my enormous scrap bin (including the interfacing). You may recognize the blue seersucker material from my seersucker maternity shirt! (What better fabric choice for a Nashville baptism?!)
The pattern below is for a 3-6 month old. (Julius’ head is 16.5″, but there is elastic to accommodate a larger or smaller head.)
Baby Flat Cap
What You’ll Need
- lining material (~1/4 of a yard)
- outside material (~1/4 of a yard)
- peltex 70 interfacing (a few inches)
- 2.5 inches elastic
- Pattern here
- Cut out all pattern pieces from lining and outside material. Make sure to leave 1/2″ seam allowance on all pieces. Make sure to include darts, center and overhang markings.
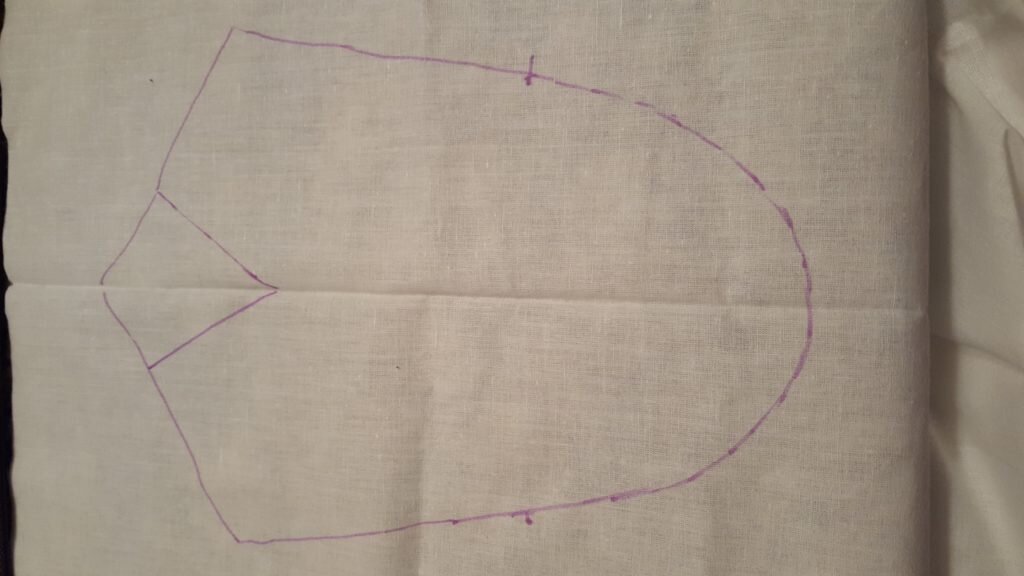
Cut out all pattern pieces. Be sure to transfer markings for brim location.
- Cut out two brims from peltex.
- Pin lining top of hat to lining front of hat along the curved portion of the hat front. Stitch.
- Pin and stitch dart in back of cap in the lining.
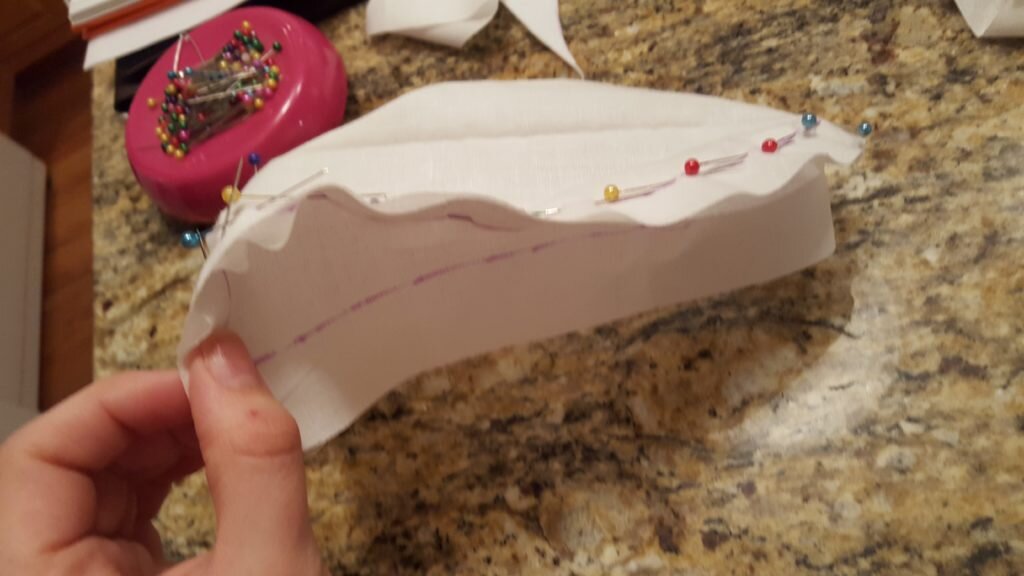
Pin and stitch hat top to hat front.
- Pin the lining brim overhang to the lining front of the hat, lining up centers and markings.
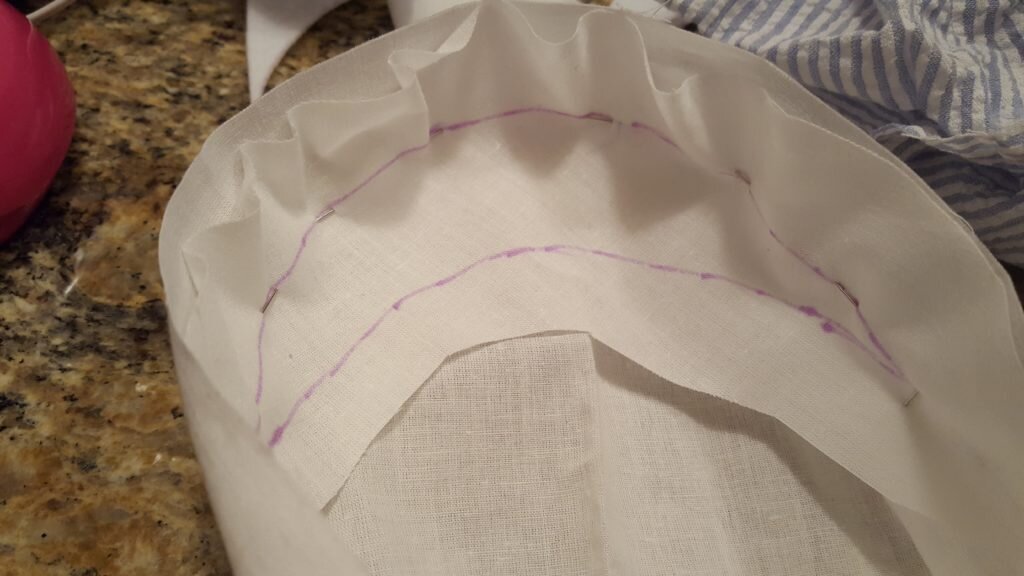
Pin lining brim overhang to the hat front.
- Repeat steps 2 through 5 for the outside material.
- Stitch brim interfacing together.
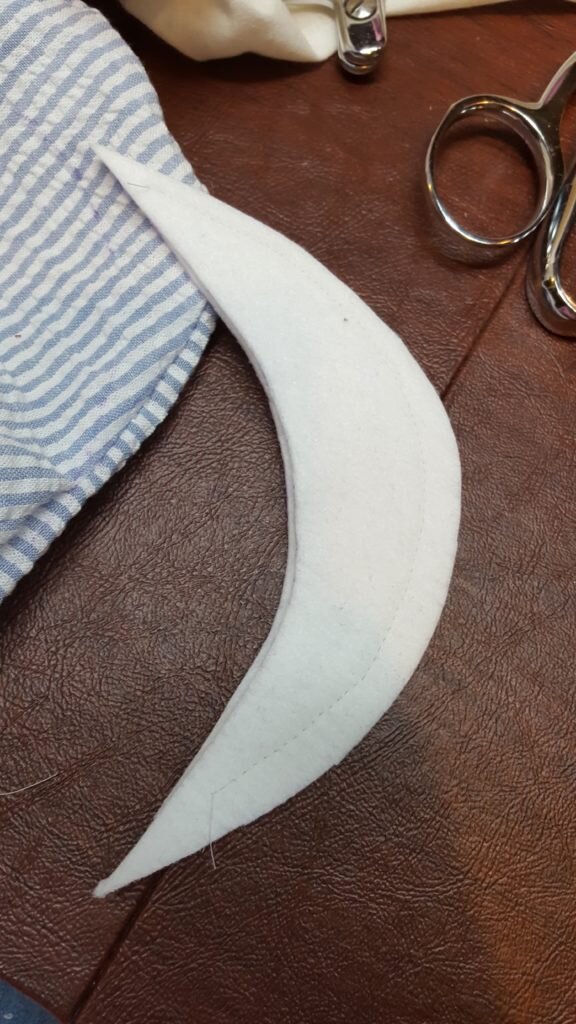
Stitch two piece of brim interfacing together
- Stitch brim pieces (outside material) together along the convex curved portion of the hat.
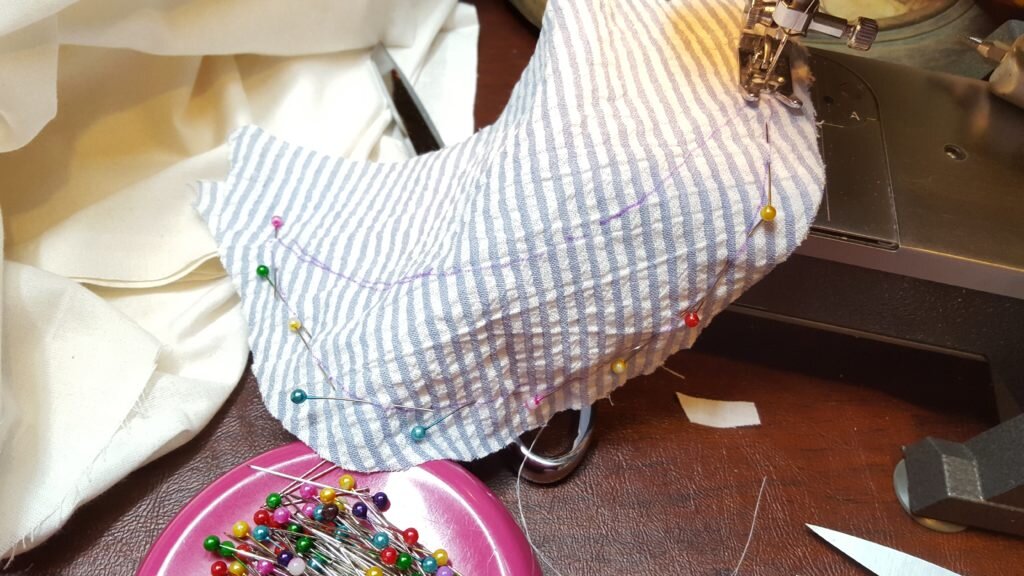
Pin brim covering together and stitch.
- Clip curves, trim seams to 1/8″ and turn right side out. Insert brim interfacing inside.
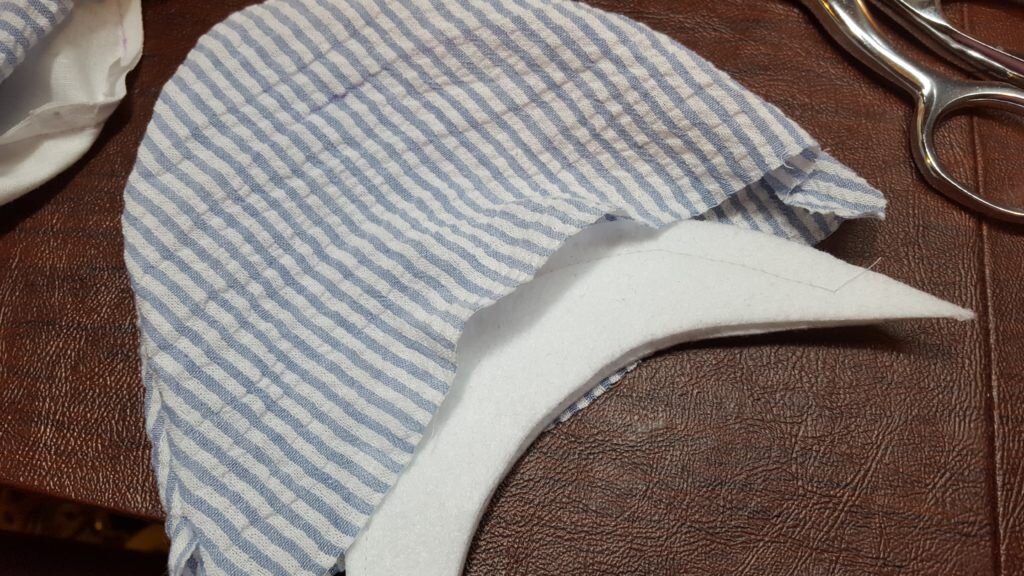
Insert brim interfacing inside
- Baste along the inner (concave) curve close to the interfacing.
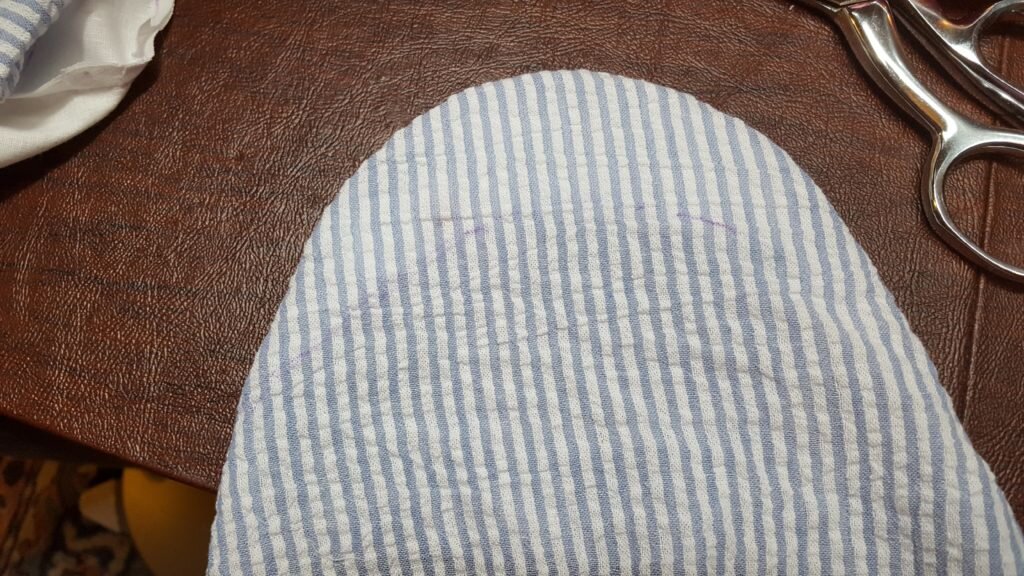
Baste brim close to interfacing
- With hat inside out, place brim into hat, on to of overhang. Line up edges of the brim with edges of the overhang. Brim will curve slightly to fit.
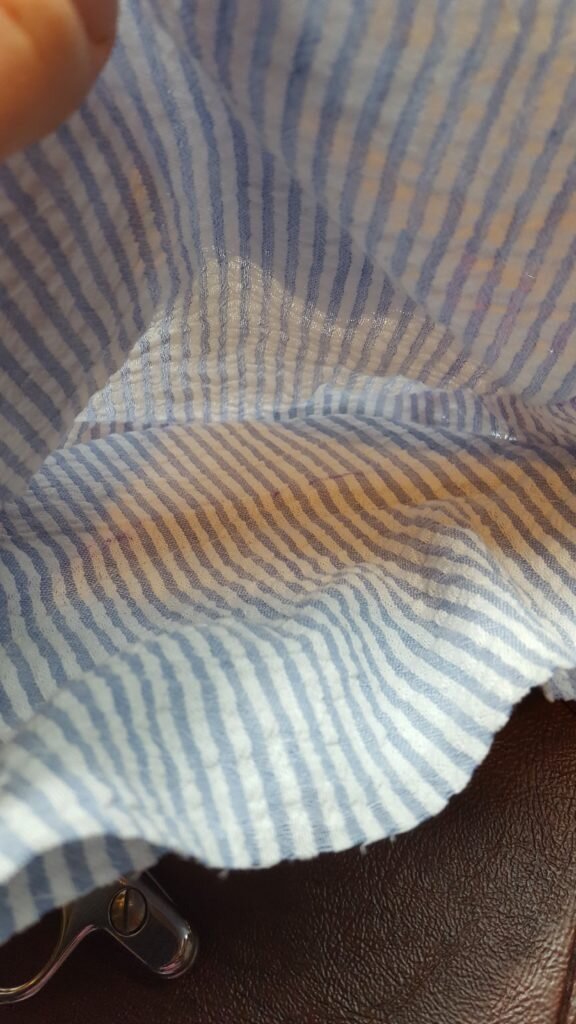
Pin brim to hat, right sides together.
- Baste.
- Right sides together pin lining to outside of hat. Stitch leaving the portion from side seam to side seam opened.
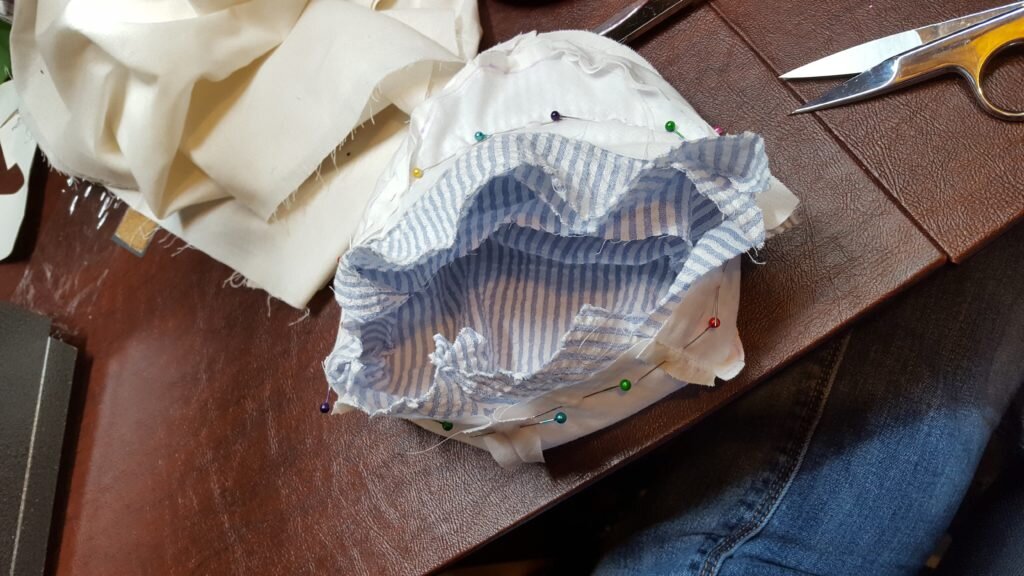
Pin hat lining to outside of hat., right sides together. Brim should be sandwiched between the layers.
- Stitch the end of a piece of elastic to the outer material on each side.
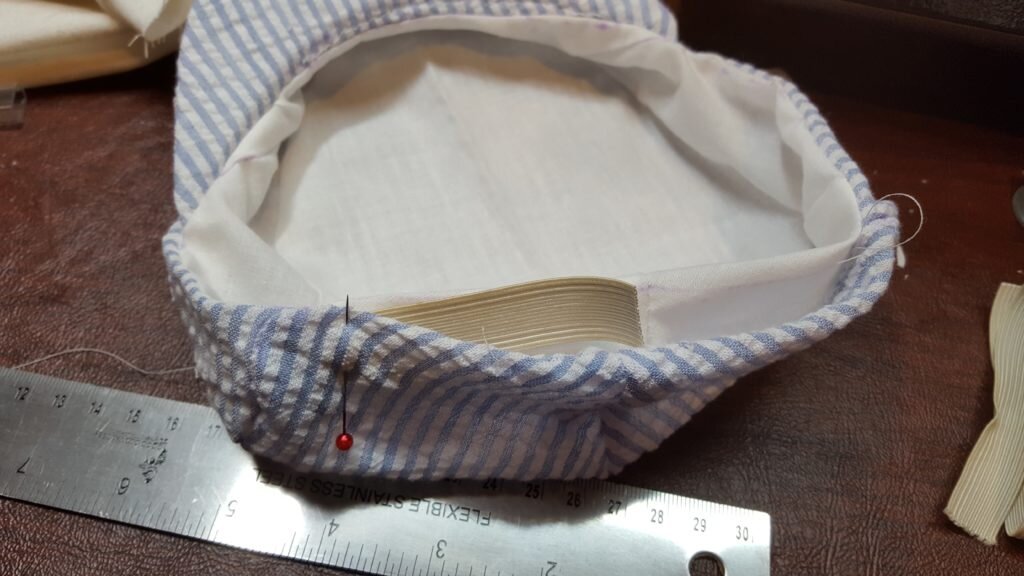
Stitch ends of a piece of elastic inside hat.
- Stitch back of hat close to the seam to close.
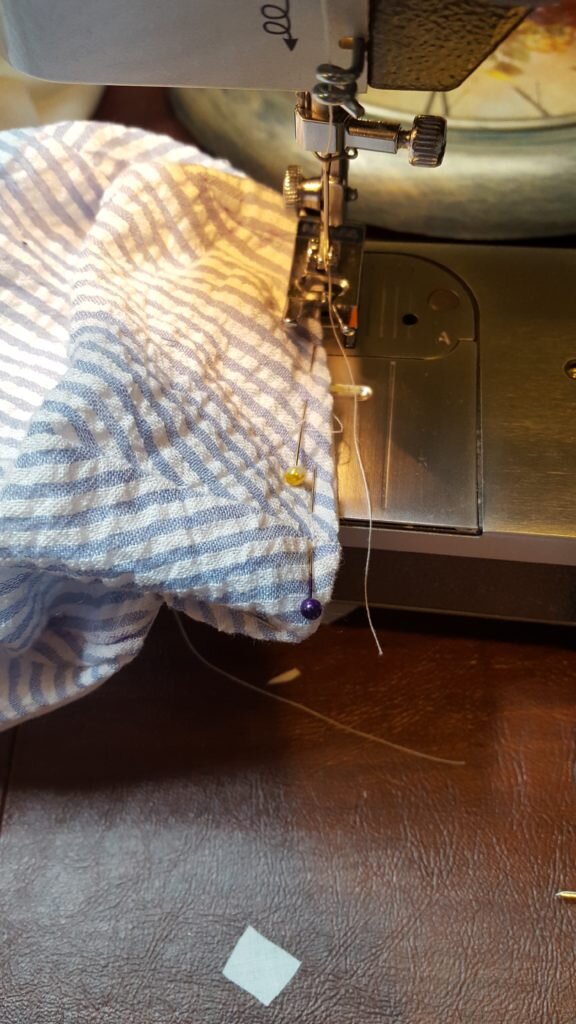
Stitch back of hat close to the edge to close.
- Hand stitch a couple of stitches on the top of the hat to the brim if desired.
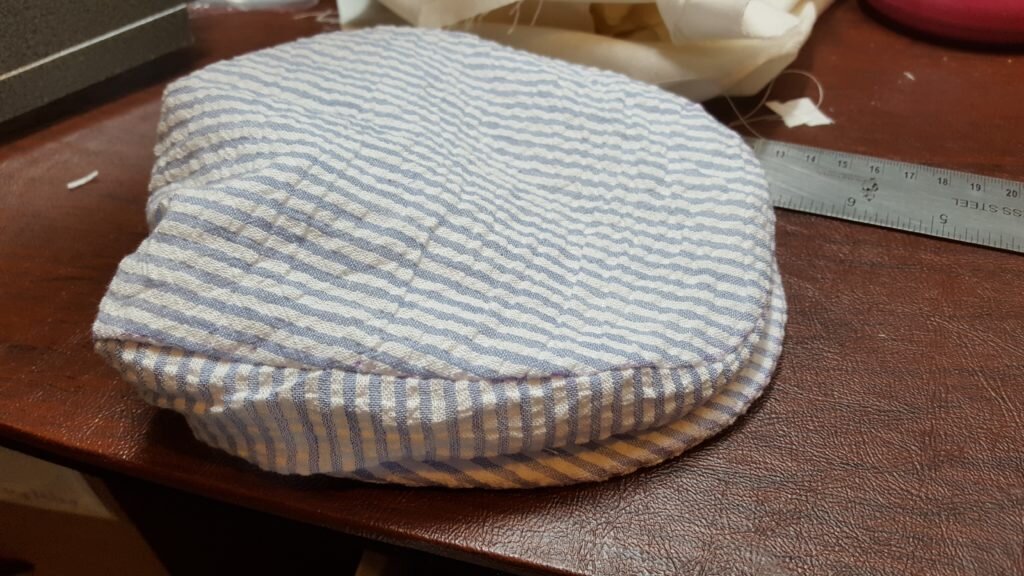
Finished cap.
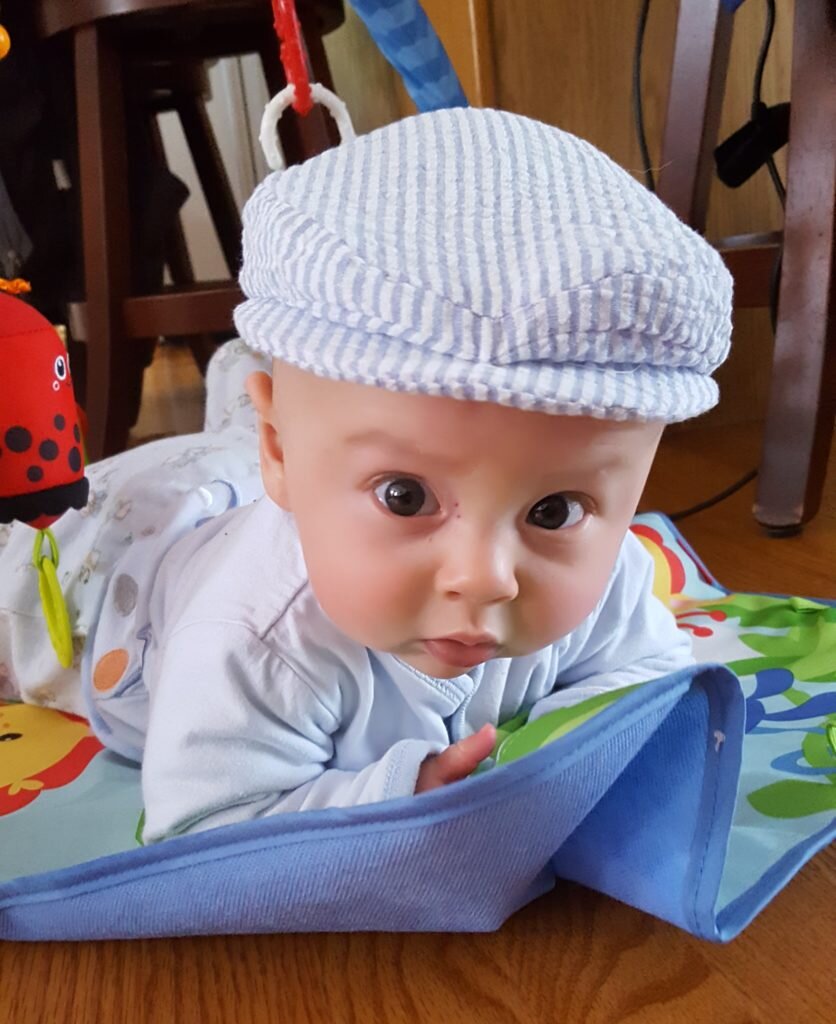
Tummy time champion of the world in his hat.
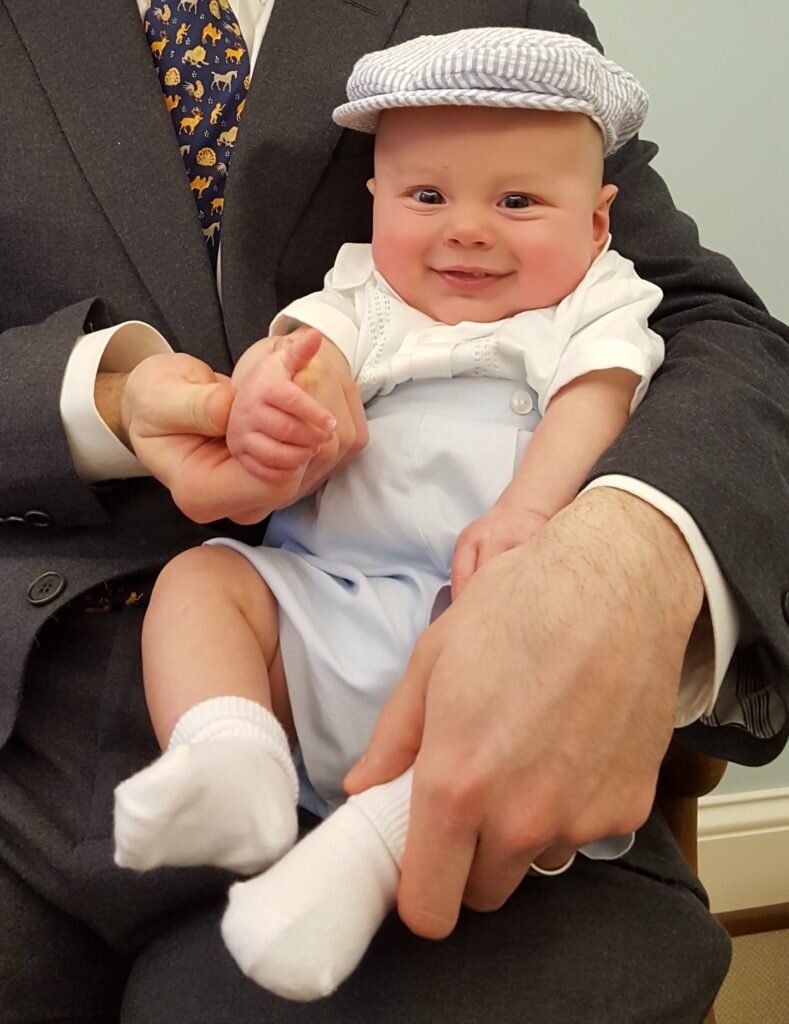
Rockin’ the flat cap.
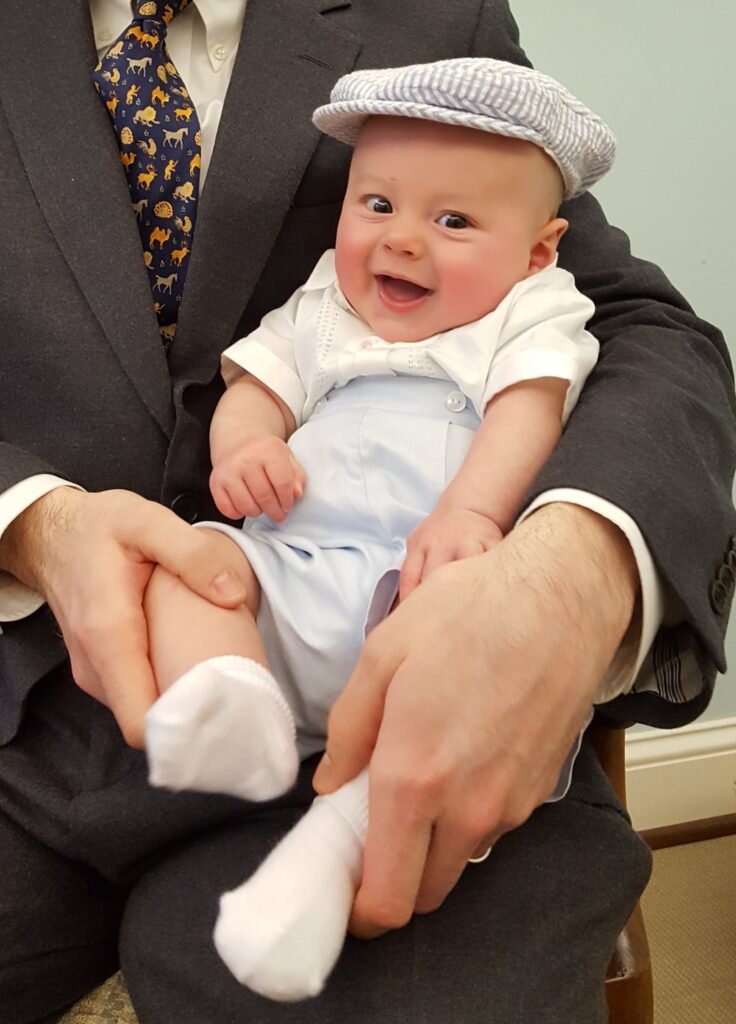
Look at that happy gent!
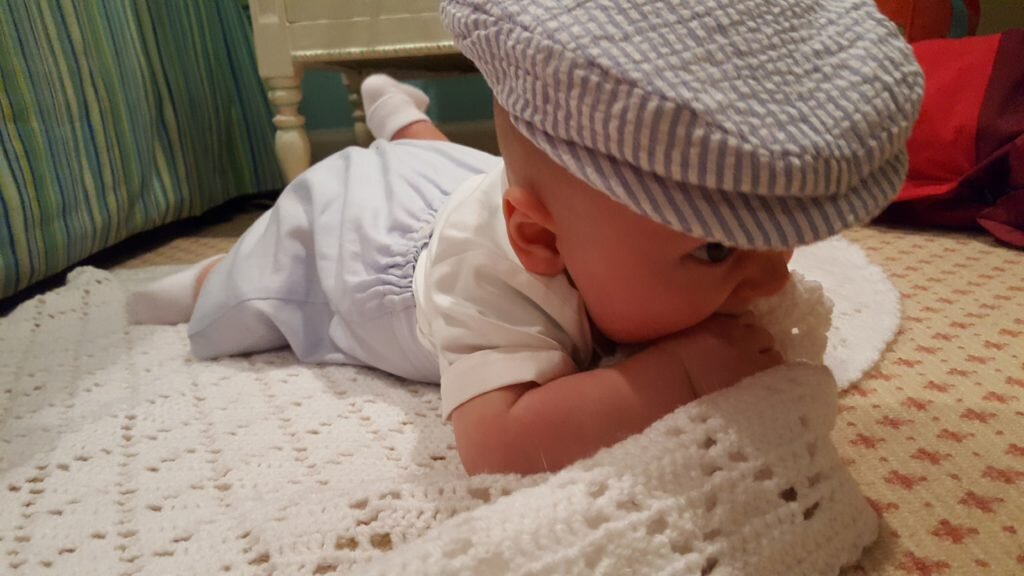
Side view of hat (while Julius eats the blanket)


What and when is this Renaissance festival? We must goooo
http://robinhoodsfaire.com/
It’s in May… so if you feel like getting out of the house at that point we would LOVE you to join us!!! (Did I mention I make baby sized ren hats? ;) ) I think its a more low key one anyway. Plus we can always go back to our house to chill if it ends up being too much for the little ones…