I should rename this blog “Poor Life Choices”. Not entirely, but I have been making some bad decisions regarding sleep. Instead of sleeping, I have a list of a hundred things I want to get done. Plus I’ve become quite the procrastinator. I was always a procrastinator, but you’d think I would stop procrastinating when I have some downtime and get right into the fun stuff. Instead it is the opposite. I dawdle around until I finally decide it is too late to do anything, but is much later than I wanted to stay up, and then I go to sleep. For instance, just now instead of writing this blog entry, I accomplished two tasks I meant to do last week and brushed out Dany’s entire coat. Way to go…
On the bright side, Dany really did need to be groomed. Even the Roomba can’t keep up! And now that Julius is army crawling around the house he’s basically become a giant dust mop. I seriously have to roll him down with the lint roller before he goes to daycare every morning. I should probably actually strap a mop to him – it would help him slide on the floor and would clean my hardwoods. I’ll work on that next. Oh, and yes, Julius is now mobile!
He’s also definitely getting bigger because he finally won’t fit in his sleep sack. Because of more procrastination I was a bit overdue in making a new one. This one though should late him a long time. Plus the fabric was almost free. I got 2 yards of fabric for a dollar at the thrift store. The fabric has monkeys on it, which are a creature I generally find disturbing (uncanny valley) with the exception of kid’s stuff. Hand drawn cartoon monkeys look nothing like the real thing and if you can abstract them away from their poop flinging models they are actually quite adorable. This sleep sack took me 3 after Julius bedtime sessions (but that included creating the pattern). Julius is 8 months old and it is a bit large on him, but he’s a little guy, so it may be even be able to fit someone a bit younger.
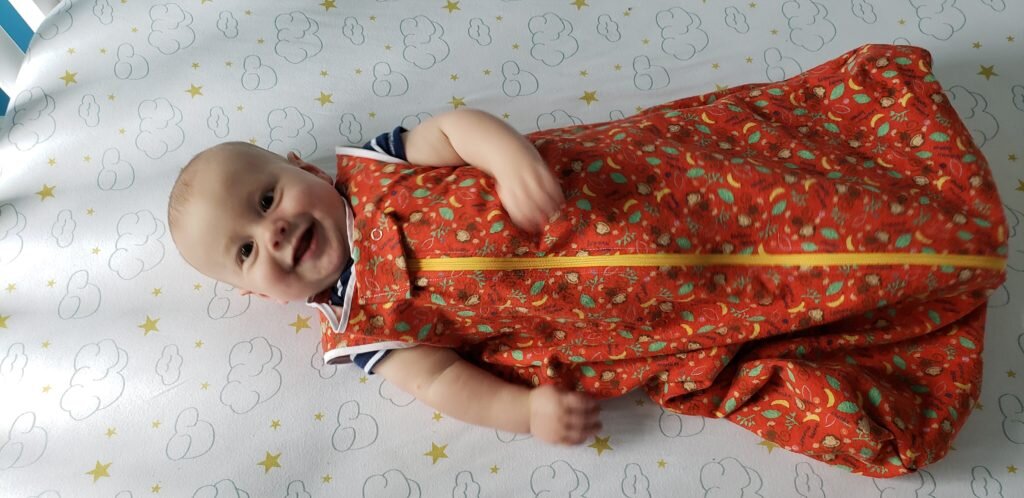
Post nap smiles.
Sleep Sack
What you’ll need:
- Pattern Here
- 1 yard cotton flannel
- 1 package of bias tape (single fold is fine here)
- 1 24″ or 26″ zipper
- Scrap piece of interfacing
- 1 medium weight snap
- Prewash fabric.
- Trace and cut out all pattern pieces in flannel for front, back, zipper cover and zipper liner.
- Pin one side of your zipper along one side of the center front panels, right sides together, starting the zipper tape slightly above the center front neck line. Stitch.
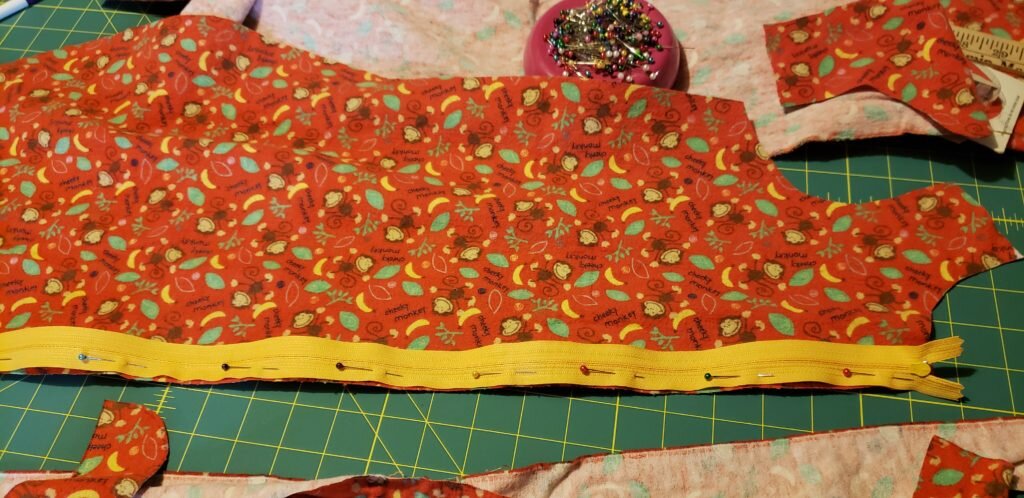
- Fold the material back along the line you stitched so that the zipper teeth are exposed. Flip so the wrong side of the zipper faces upwards. Tuck the zipper panel between the zipper + material you just stitched and the wrong side of the center front panel. Pin.
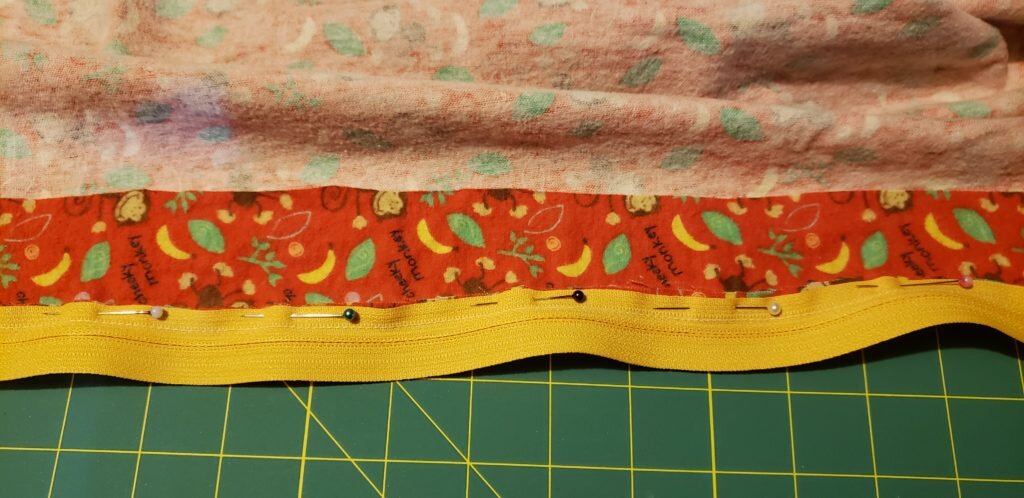
- With the back side of the zipper facing upwards, fold the zipper panel strip over the zipper, with the fold along the edge of the zipper tape. Repin.**
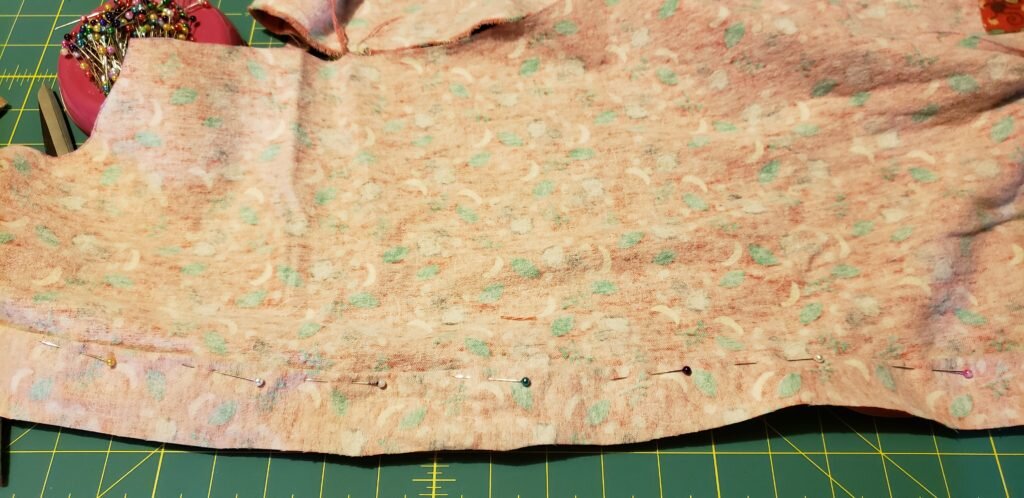
- Stitch on the back side of the zipper panel 3/8″ from the fold.**
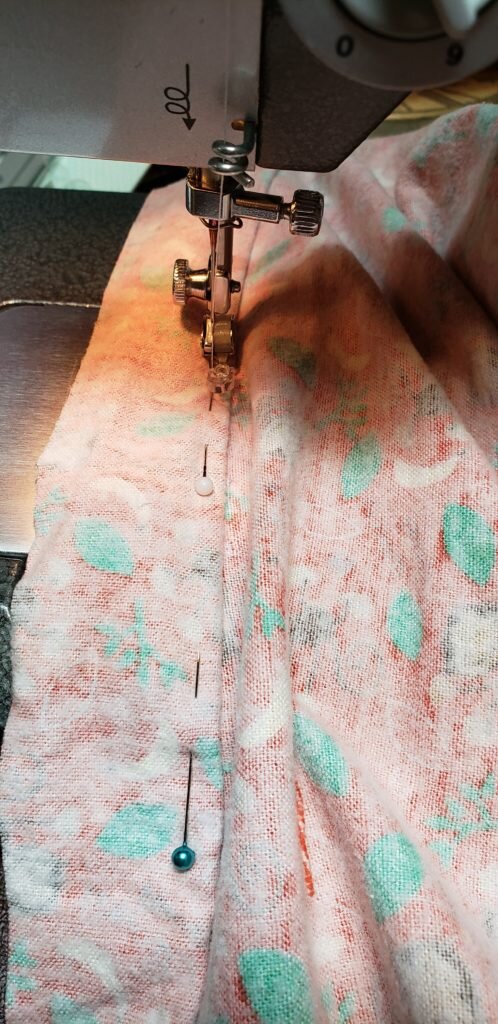
- Pin the other side of your zipper along the other side of the center front panels, an inch in from the center front, right sides together, lining up the two center front pieces so they are even. Stitch**
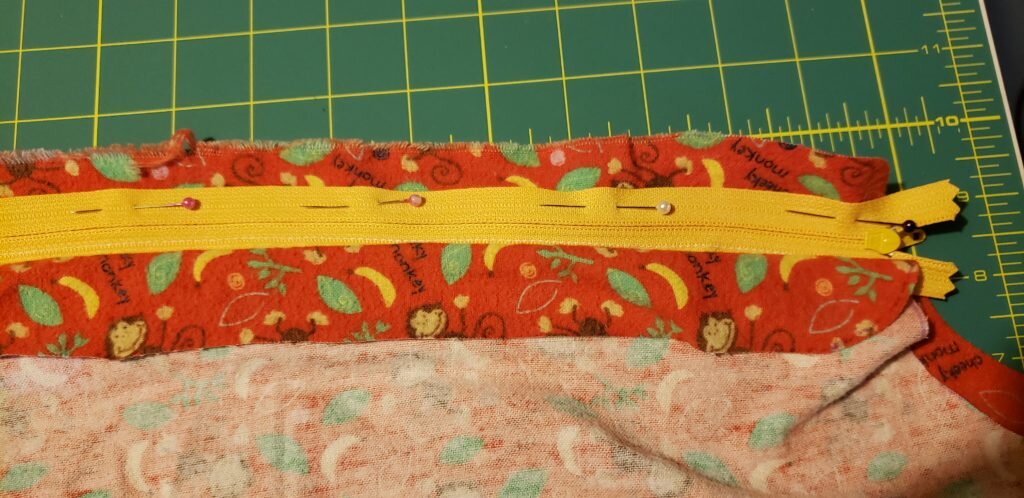
- **When you reach the bottom of the tape, if your zipper isn’t quite long enough, continue as if the zipper extended to the bottom.
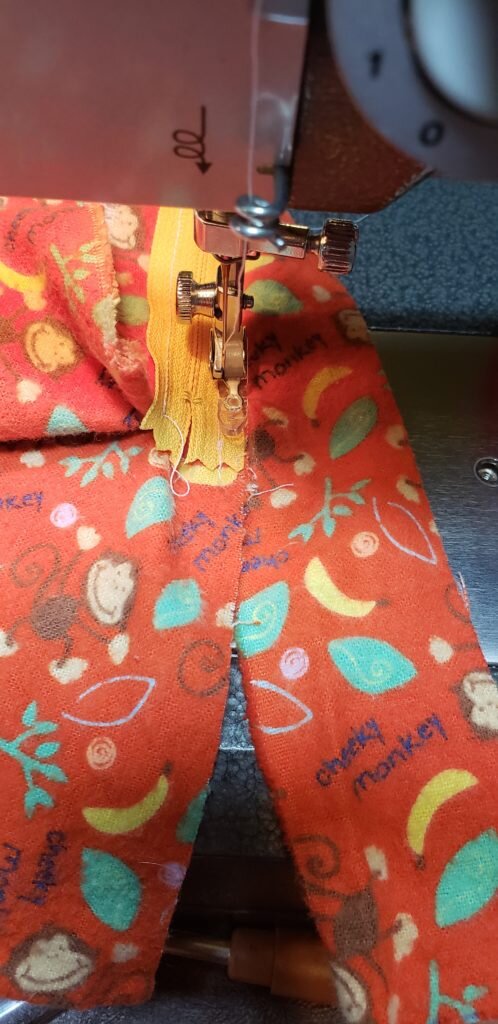
- Then stitch the fabric together along the two folds on either side of the zipper, only from the end of the zipper to the end of the fabric.
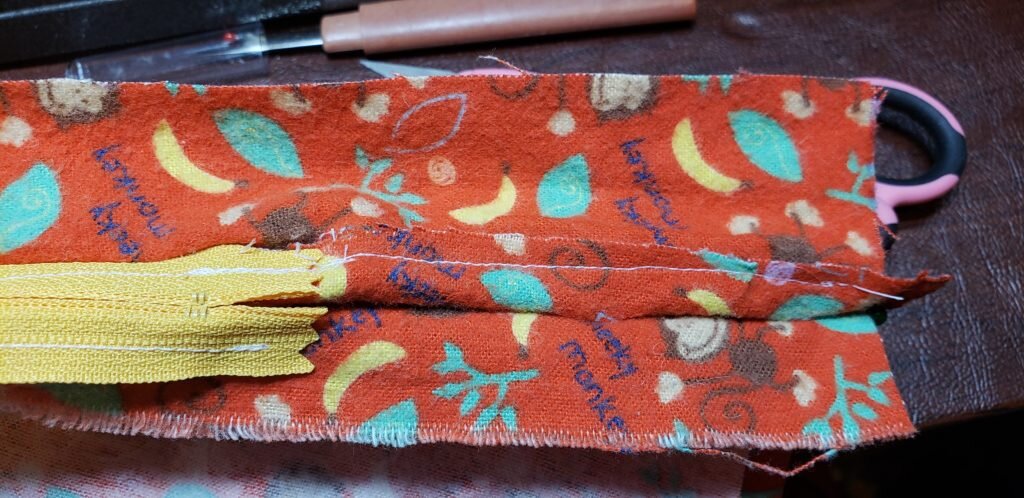
- Place fabric front on fabric back, lining up shoulders. Pin and stitch.
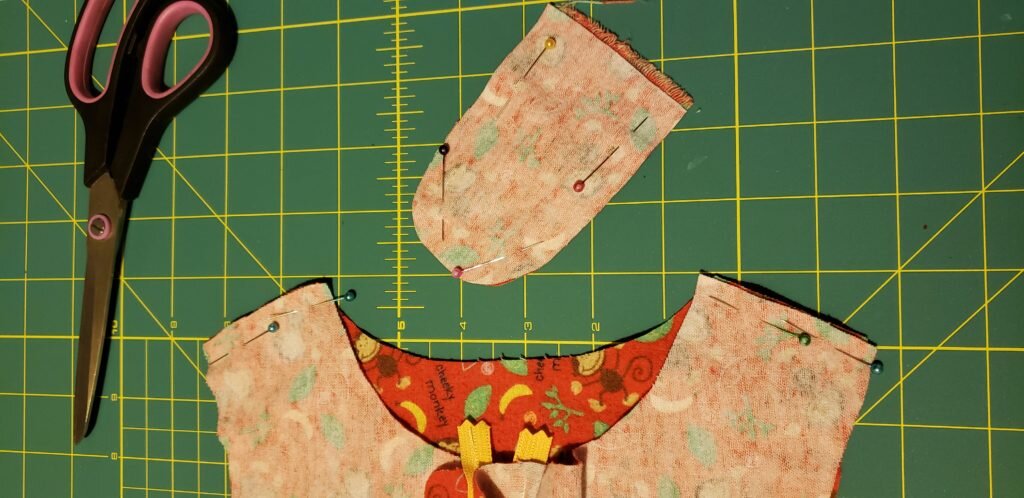
- Pin the bias tape, right sides together, unfinished edges matching, along armscyes. Stitch along the fold.
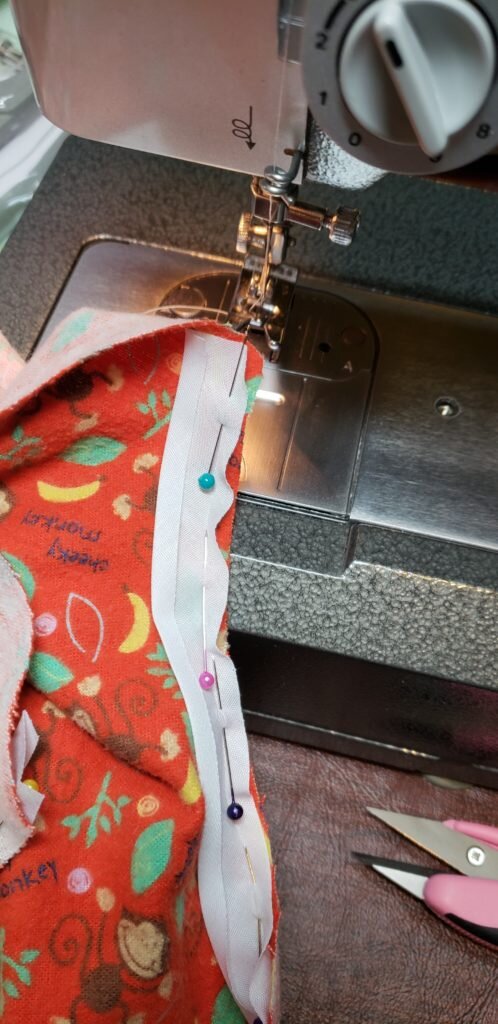
- Turn the bias tape to the inside, fold under, on top of the unfinished edge. Pin and stitch.
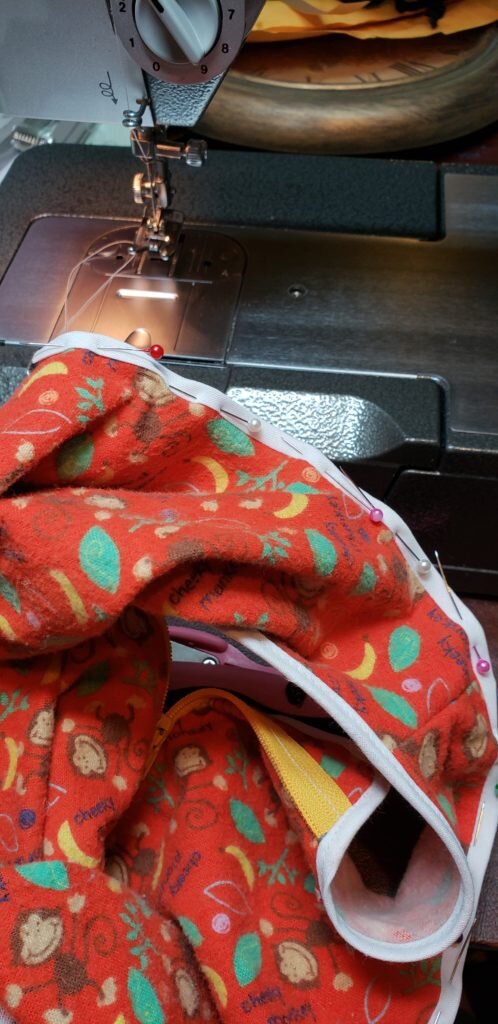
- Repeat steps 11 and 12 for the inside unfinished edges around the zipper. Start at the bottom edge of the sleep sack, continue up the zipper panelon top of the zipper, along the neckline back down the other side of the zipper, again pinning on top of the zipper.
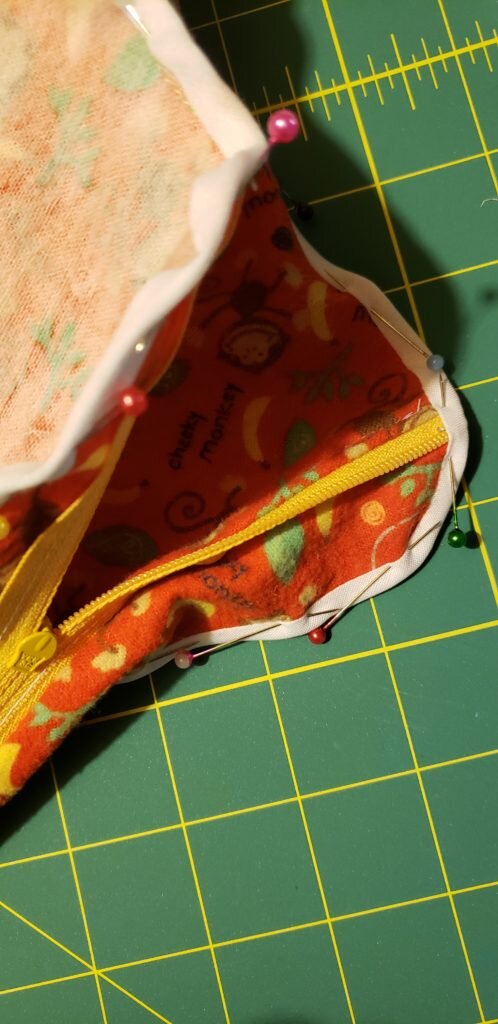
- Pin the back to front, right sides together, along the unfinished edge. Serge.
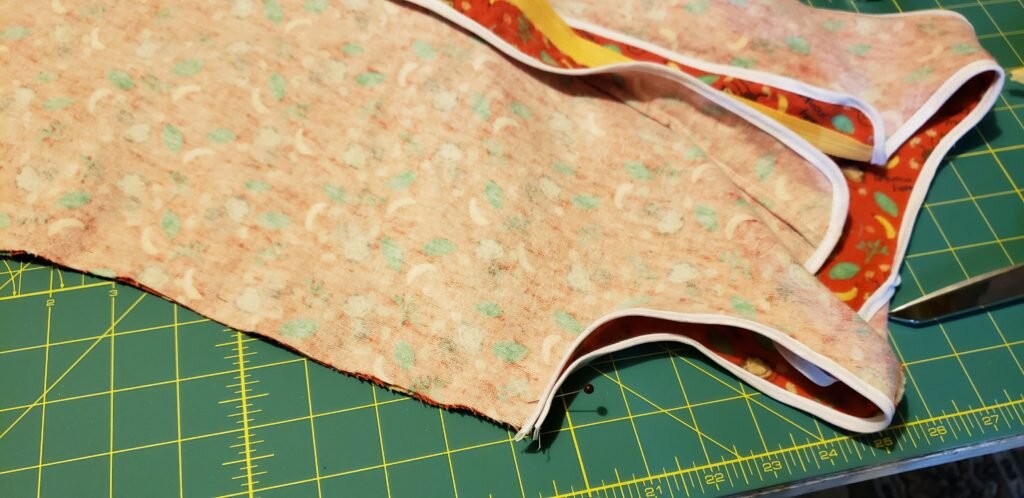
- Pin zipper cover, right sides together. Pin piece of interfacing to the outside. Stitch along all sides but the flat end.
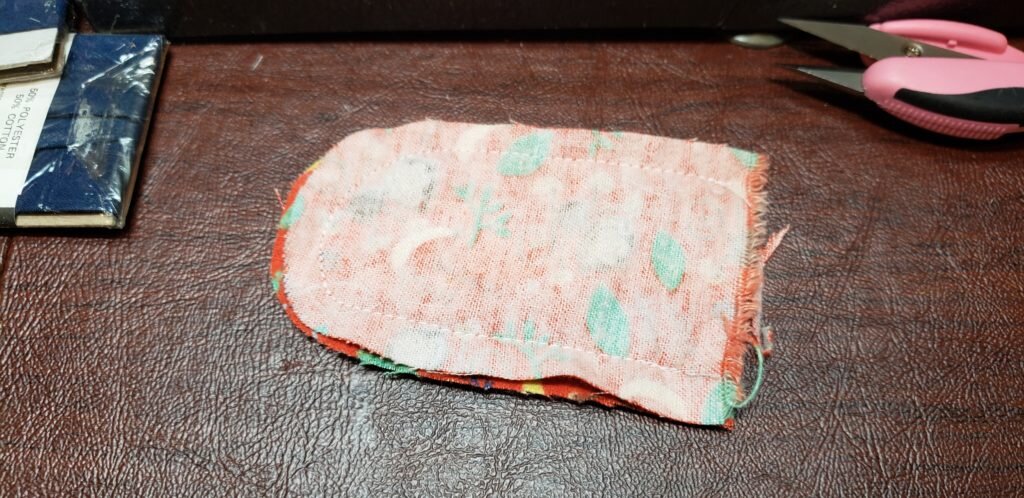
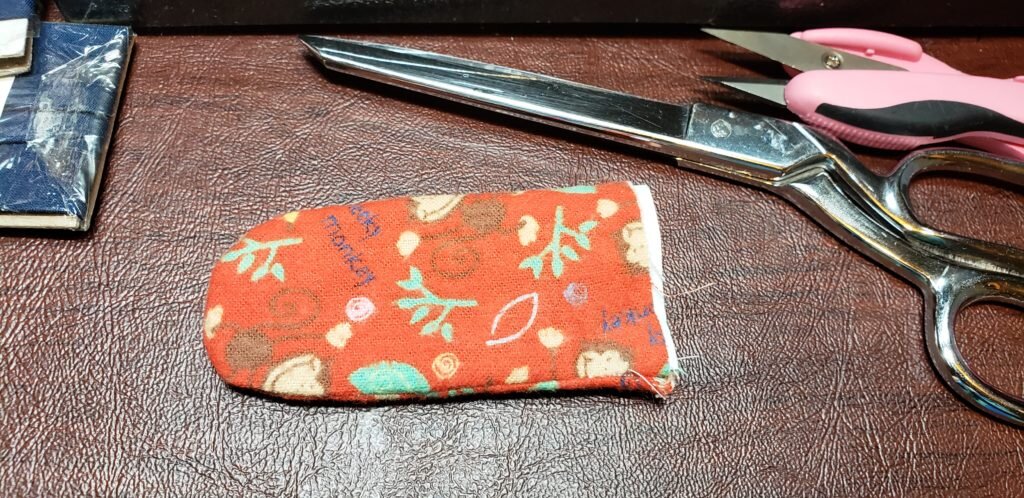
- Clip curves and turn zipper cover inside out.
- Pin the zipper cover directly below the neck interfacing on one side of the zipper, with the curved end pointing to the armpit. Stitch close to the unfinished edge.
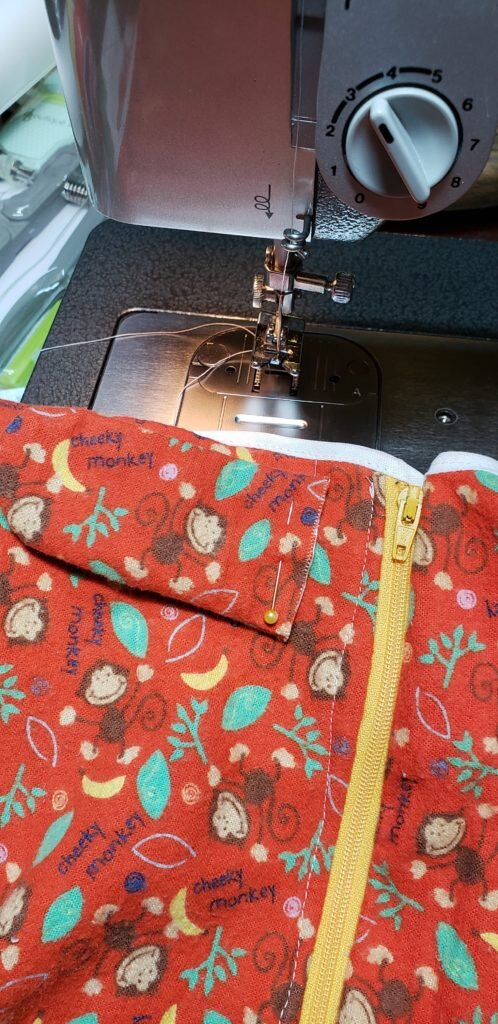
- Fold over the line you just stitched and stitch again on top of the cover, close to the fold.
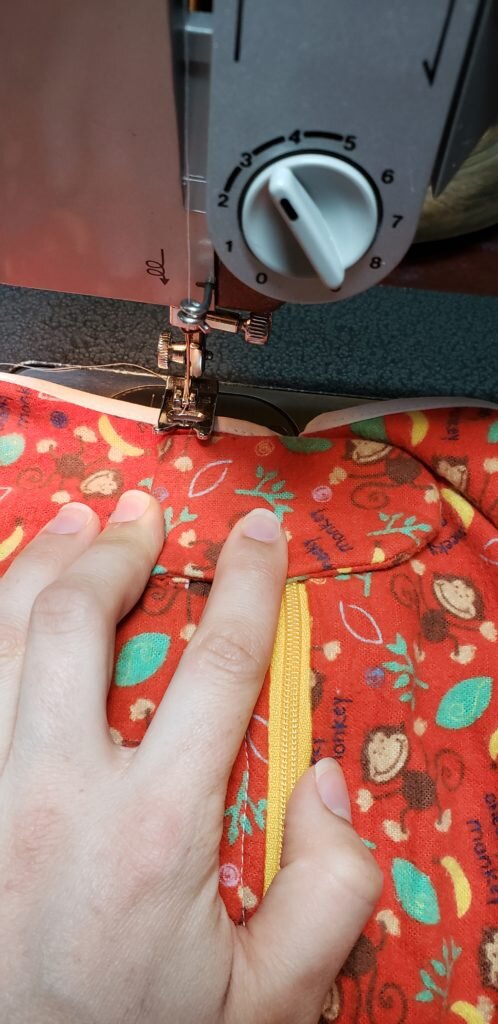
- Add snaps as per manufacturers instructions. Make sure you position the zipper cover so it will cover the zipper head when closed.
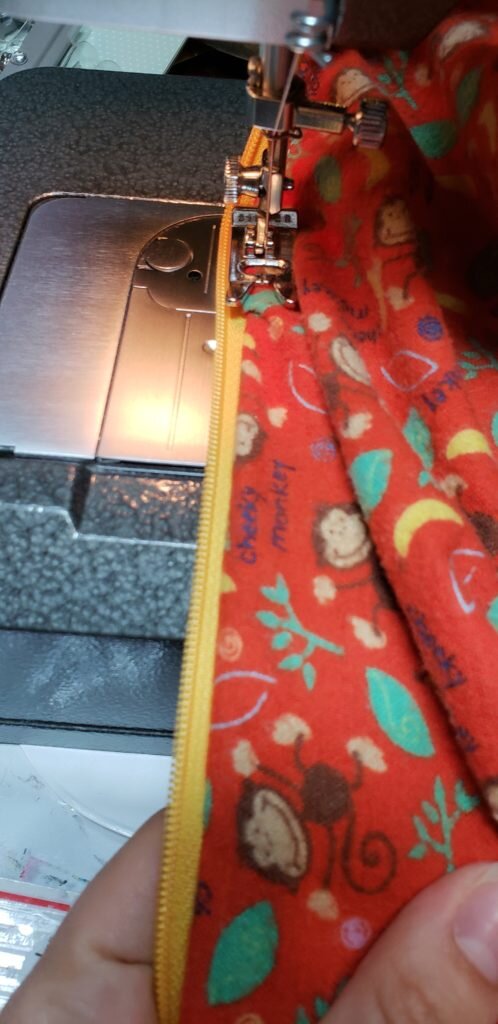
- Finally stitch the last side of the zipper along the right side of the material so the material lays flat.
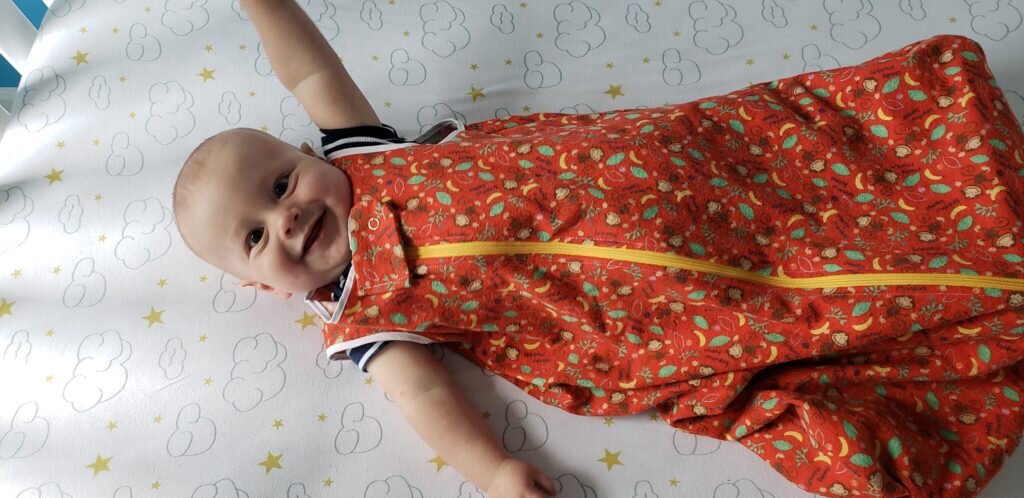
Big stretch after a good nap.

Close up of top
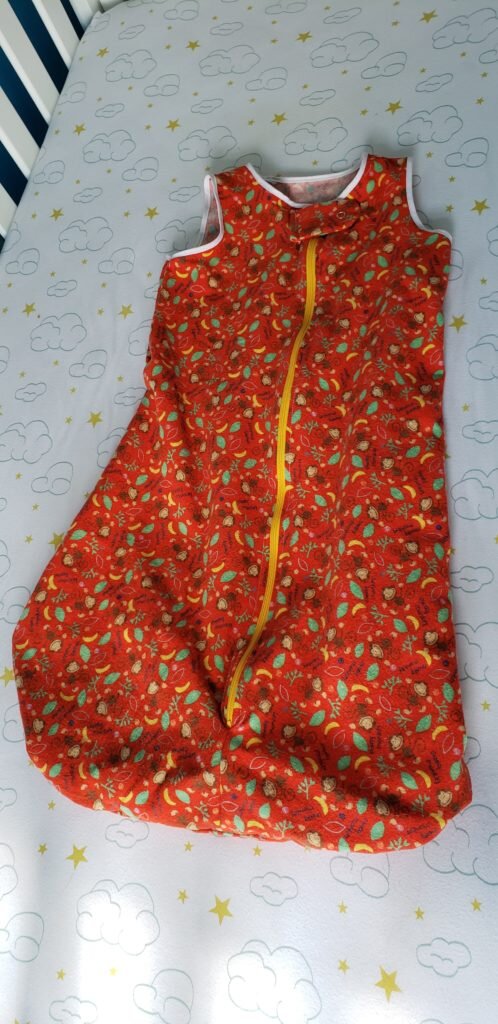
Finished sleep sack

