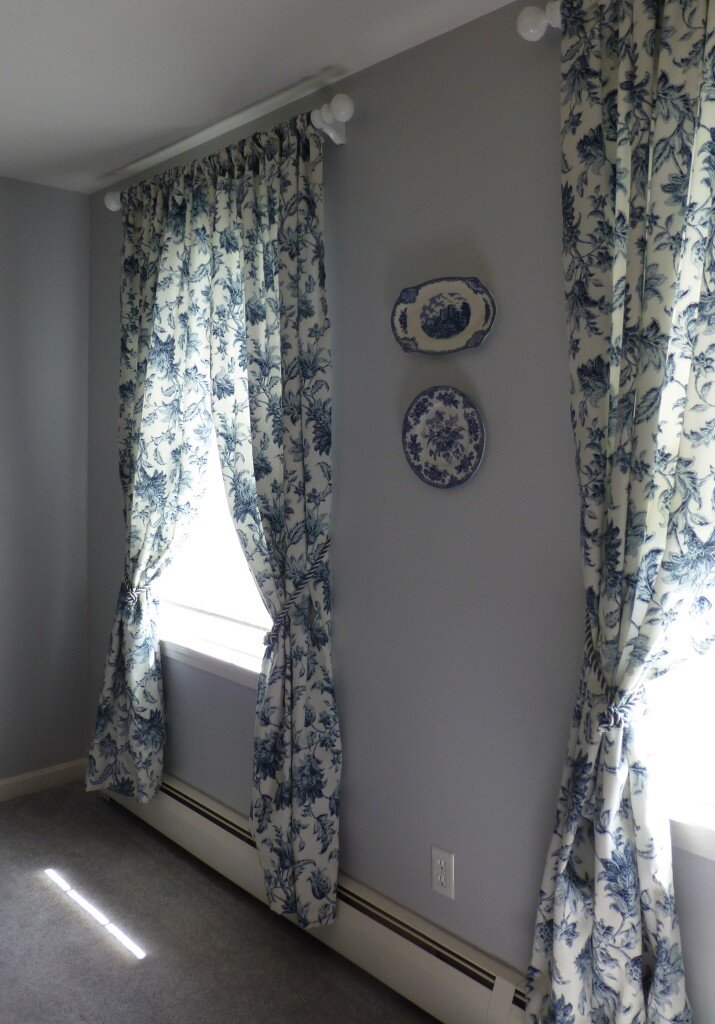
Since I finally revealed the master bedroom I thought I’d post some additional info on how I created the details. First up are my curtains!
I already mentioned how I found the fabric in my last article, but the creation of my curtains was another example of procrastination. Between buying the fabric and beginning the cutting and sewing process, 6 entire months elapsed. This is long enough that by the time you go back to the fabric store, all records of the fabric existing are gone and you’d be hard pressed to even figure out the name of it again (but that’s another story…). Luckily I had bought extra yardage this time so I didn’t have any excuse for the procrastination. And I was planning to make ordinary panel curtains so I didn’t have to work up any courage there. I honestly think that just the mere thought of cutting fabric and lining down to size for 6 panels was exhausting.
It really was exhausting, especially working to ensure perpendicular cuts. Luckily I had purchased a giant right angle ruler from harbor freight (which is conveniently next door to the fabric shop) to make the job much easier. For my last set of panel curtains I didn’t use a pattern, but I had recently acquired a “Window Treatments for Dummies” pattern at the thrift shop for a quarter so I used some of the instructions to make sure I finished the lining as suggested.
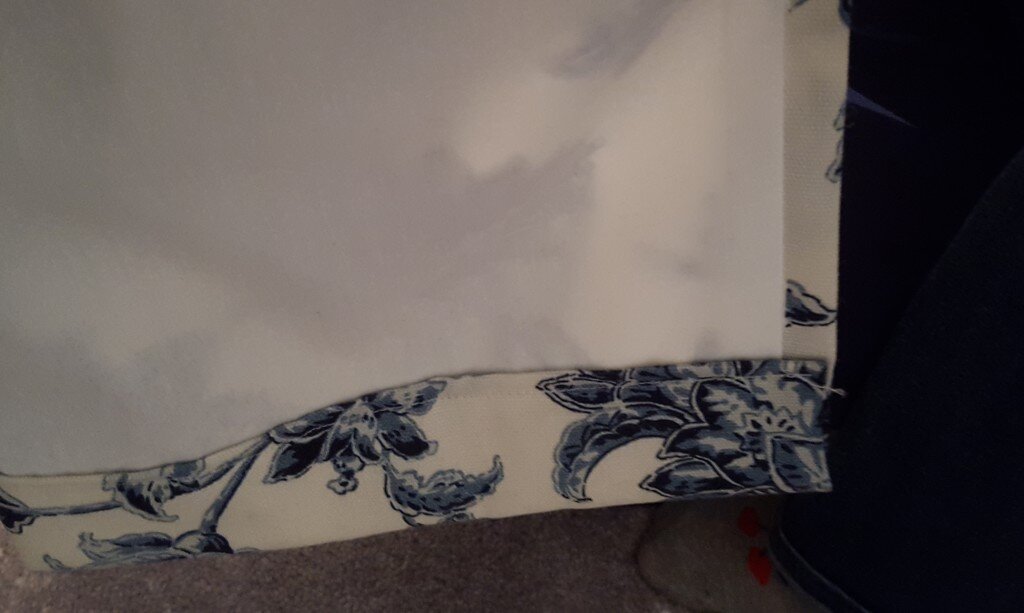
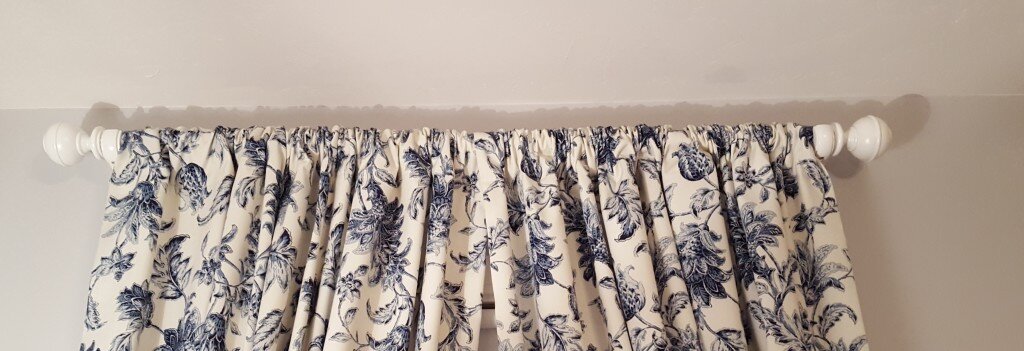
I cut the lining an inch and a half thinner than the width of the main fabric, then stitched the lining to the main fabric right sides together down the length of each panel. I flipped the panel right sides out and pressed the edges so the main fabric had a 3/4 inch border from the lining. I then pressed up 2 inches on the bottom of the fabric and then rolled a half inch under and stitched this to form my bottom hem. For the top I followed the same instructions except I pressed 5 inches up, a half inch under and stitched both along this time and up an inch to from a pocket. Regrettably I didn’t create mitered corners, but I guess who will ever see those anyway? (Oops shouldn’t have shared picture below.)
I intended to make the curtain rods myself using finials and dowels and these great instructions, but when pricing it out at Home Depot they didn’t have any small unfinished finials for curtain rods, and it was actually comparable in price to buy this Martha Stewart version! As you know I can’t turn down a Martha product!
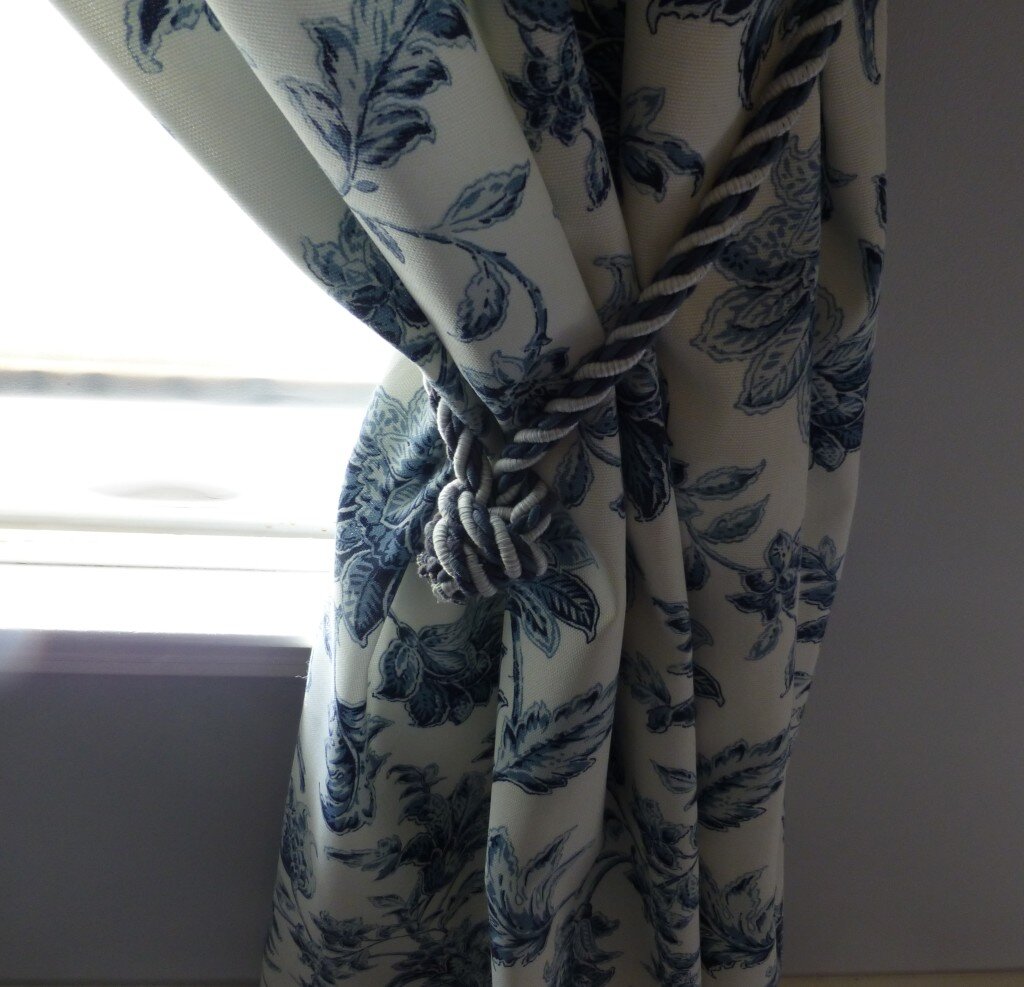
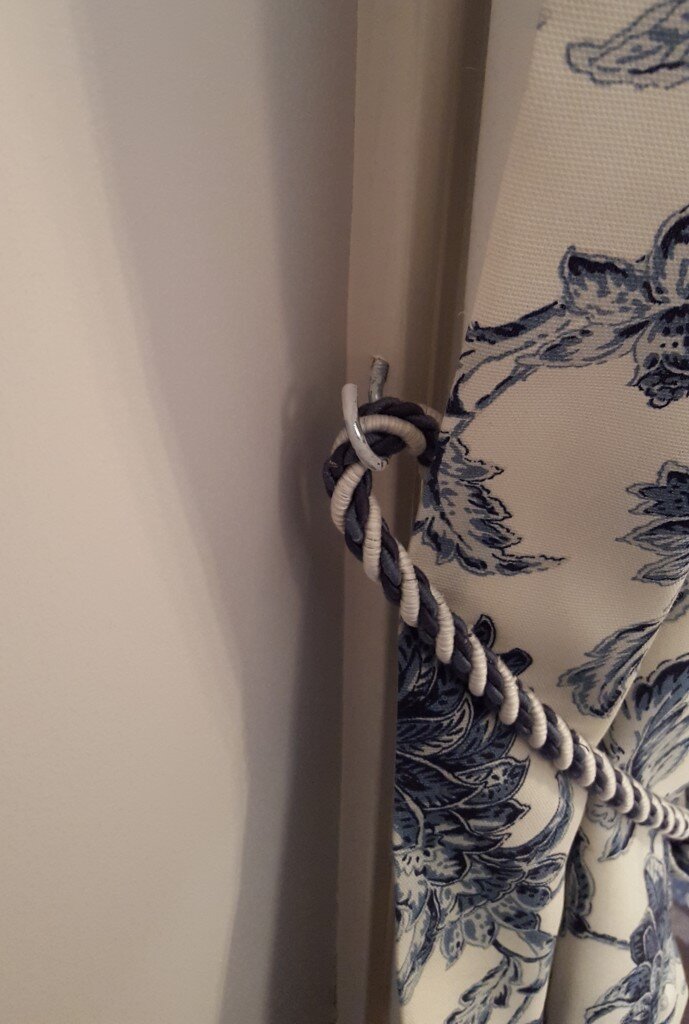
For the tie backs I couldn’t find anything I liked, so I bought some decorative braid and tied an ordinary overhand knot into it. I then added a cup hook into each side of the window to hold the tie back. This was pretty, inexpensive and effective.
Next time join me on my discussion about my bedroom wall decor and next the zen corner!

