
Note I wrote this before the cruise but forgot to autopost it!
We are going on a cruise!! The last one we went on was to Alaska about 8 years ago! That one was super fun but it was pre kids. So we’ll let everyone know how it works with kids. Hopefully it’s great!
The last couple weeks at work have been pretty dark. They offered my entire organization voluntary severance. And I just found out a couple of friends took it. I did not. I still maintain this is the best team I’ve been on in my career and I am just not ready to let that go. They are threatening to make us return to the office 3 days a week but as one coworker said “they can’t put the genie back in that bottle”. I don’t know why executives care. It just seems like a power play especially when they deliver these remarks from their own home offices.
But enough work for the next week it’s all about fun! I won’t even be able to work even if I wanted to (I don’t) because we decided not to pay for wifi on the ship (it is really expensive). So I’m off grid (mostly)! Well I thought I’d show you how I made Patricia’s mermaid cupcakes since we’re about to embark on our own sea voyage. Oh wait before that… Patricia had her last day of preschool Friday!! Here’s her first and last day pictures!
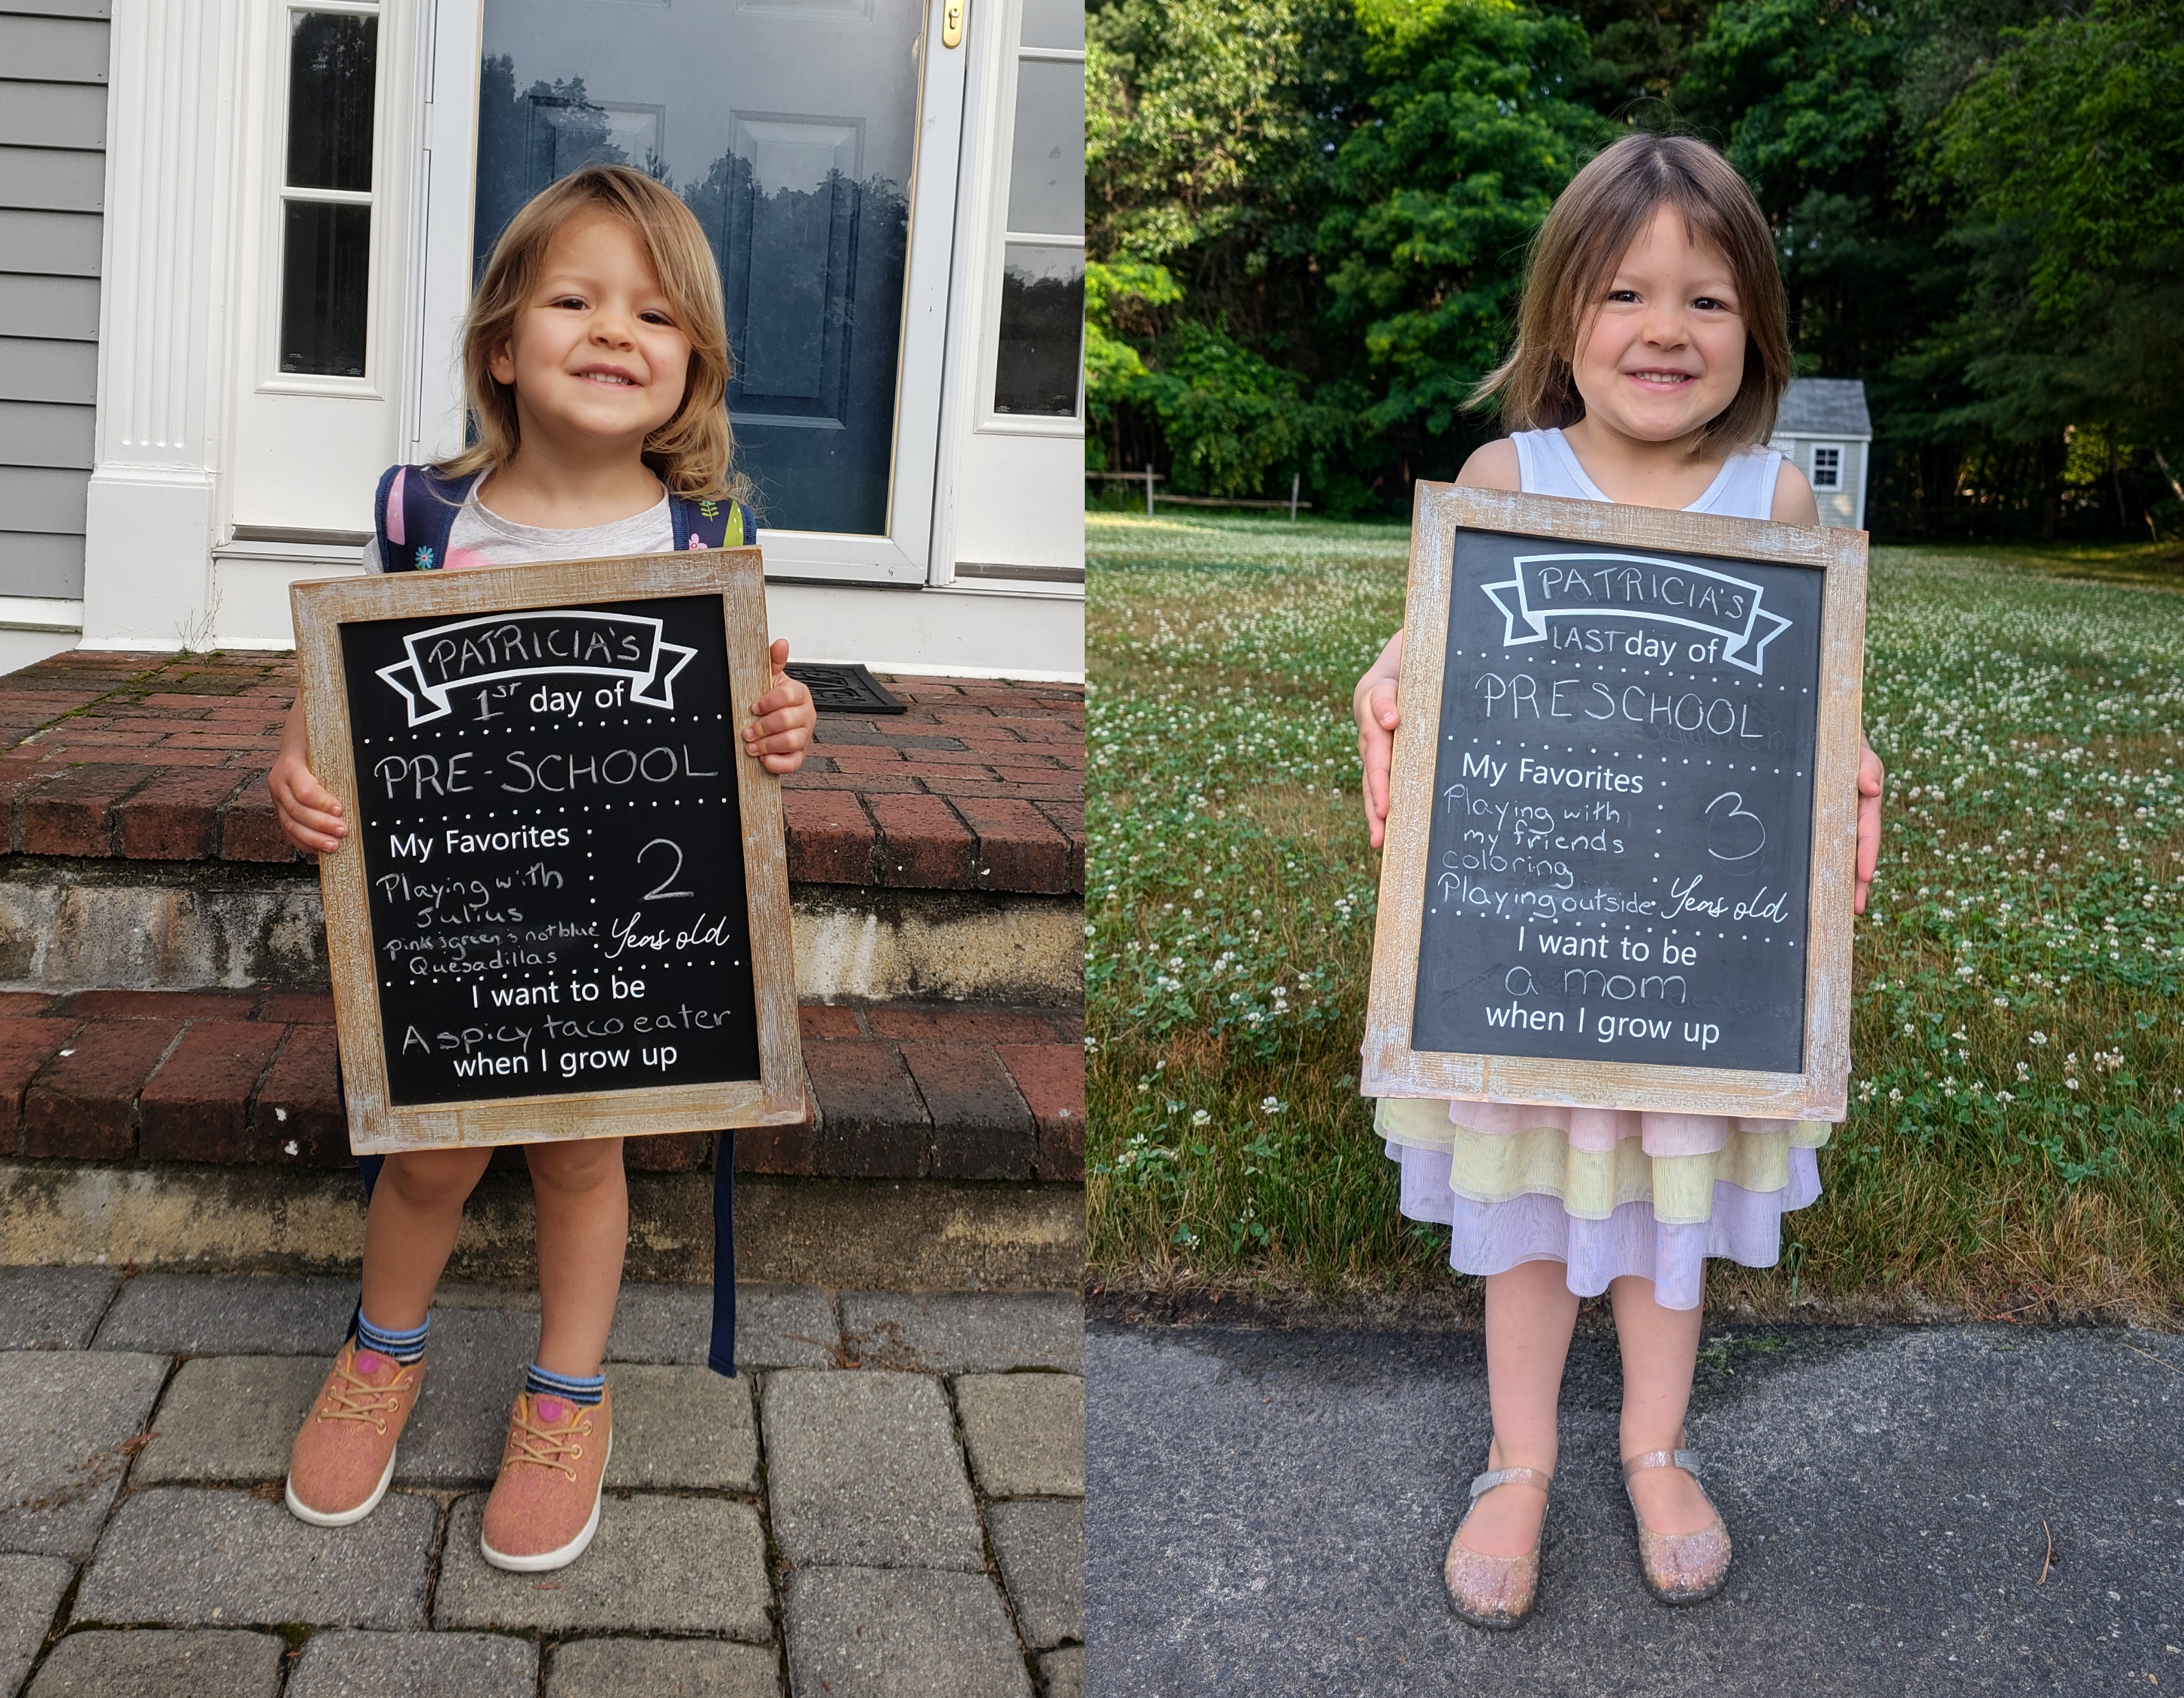
My big girl! Done with preschool! On to PreK (1)
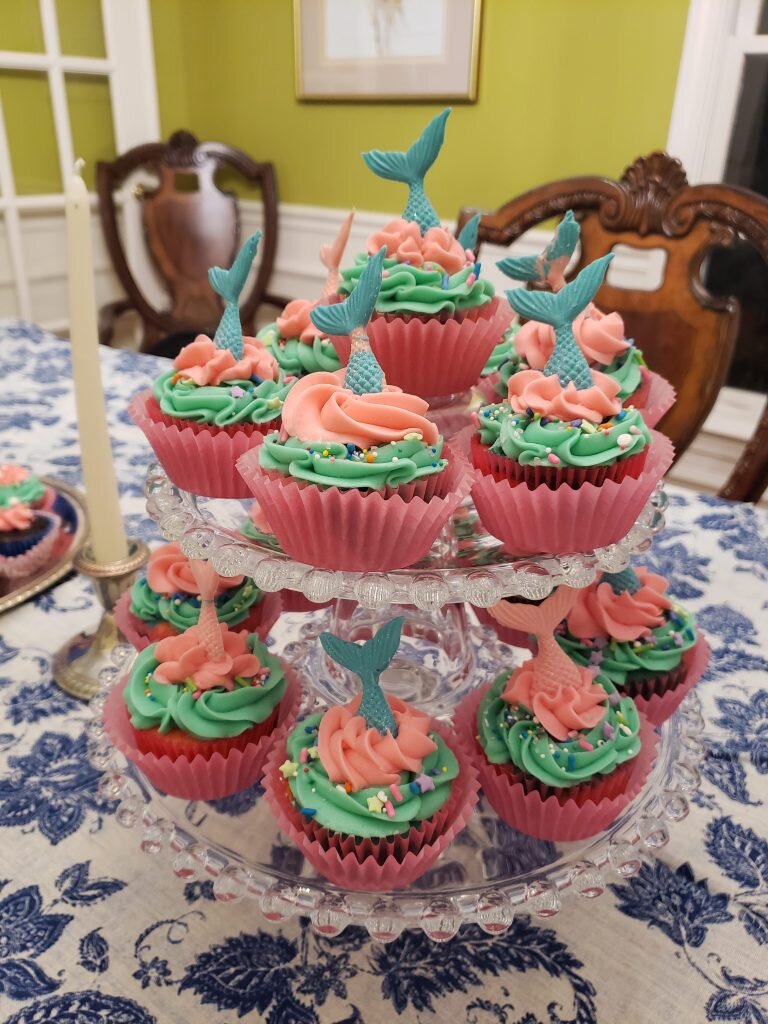 Mermaid Cupcakes

What you’ll need:
- Mermaid tail candy mold
- Candy melts (mine were pink and teal)
- Edible luster dust
- American buttercream recipe
- Food coloring
- Cute sprinkles
- Cupcakes (I used this recipe, though it is not my favorite) and I dyed the batter orange, pink and purple then put a spoonful of each color batter into the muffin cup so they looked sort of tie dyed.
- Melt your chocolate/candy melts according to package directions.
- Place silicone mold on a baking sheet.
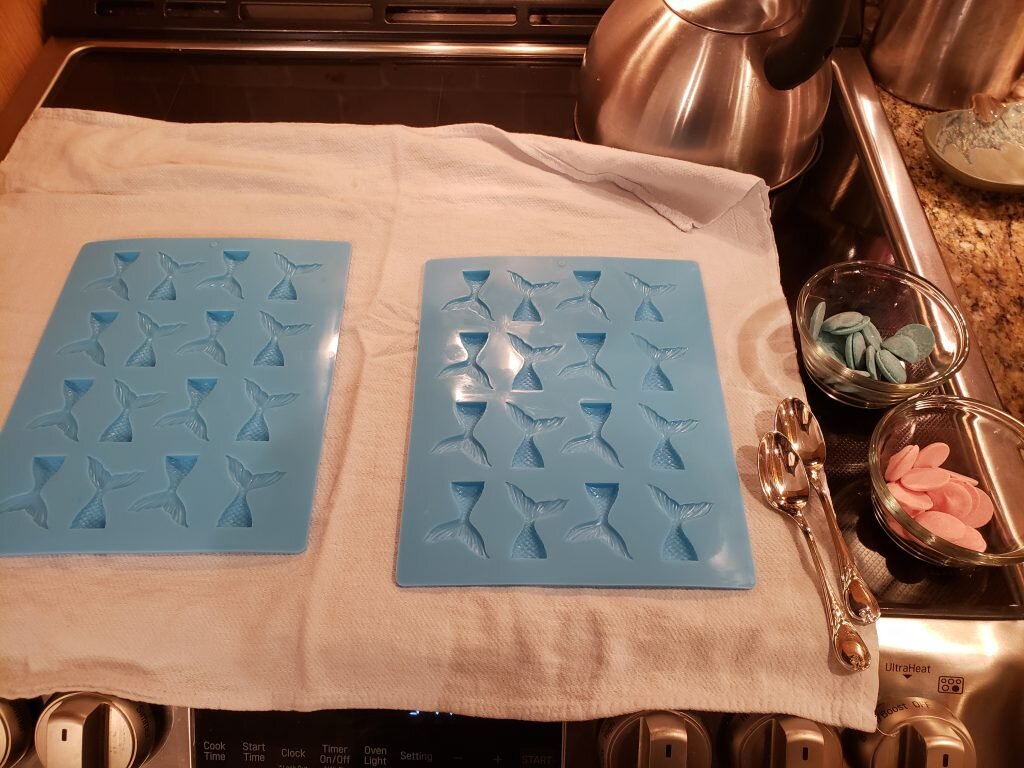
- Spoon melted chocolate into the mermaid tail molds. Use a toothpick to make sure the chocolate reaches into all the crevices and then shake the mold a bit. Using an offset spatula remove the excess chocolate from the top of the mold.
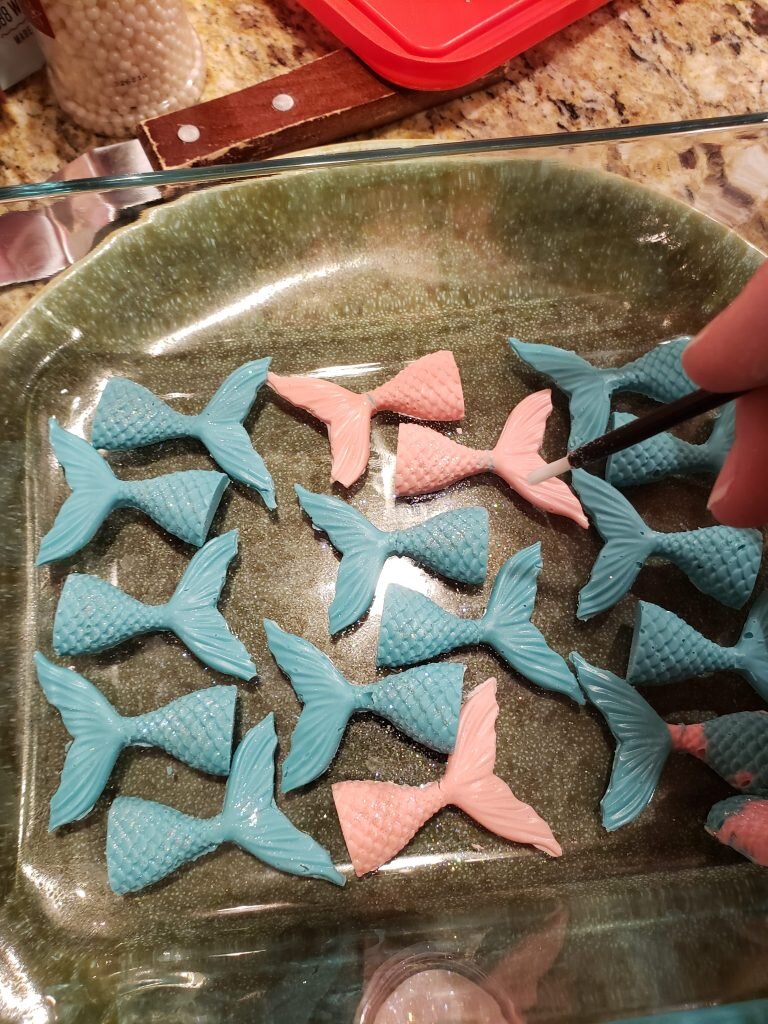
- Let cool then add another thick layer of chocolate where the tail and fins meet. Let cool.
- When mermaid fins are cool and hard gently remove them from the molds. It is really hard to do this without breaking them (even with our extra precaution) so don’t worry if they split between the tail and fins.
- If they split, dip the tip of tails into a teensy bit of melted chocolate (or use a toothpick to place a tiny bit of chocolate on the broken part) then place the fin on top gluing it back together.
- When tails are whole and dry dust with lustre dust.
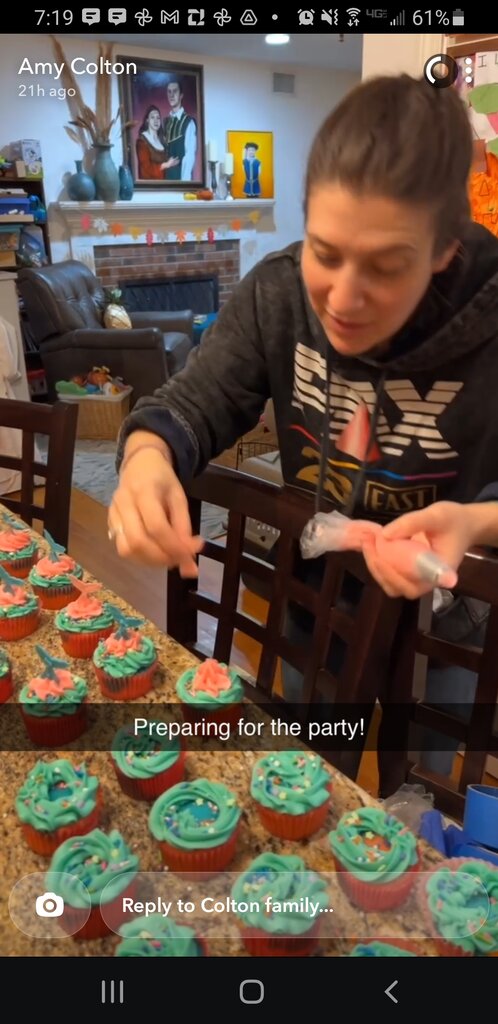
- After making sure your cupcakes are sufficiently cool, make your buttercream, split it in half then dye one half pink and teal.
- Insert a large frosting tip (2D) into piping bag then fill with teal frosting.
- Starting at the center pipe a disc of frosting in teal.
- Sprinkle sprinkles lightly over the outside area of the teal buttercream.
- Repeat 10&11 for all cupcakes.
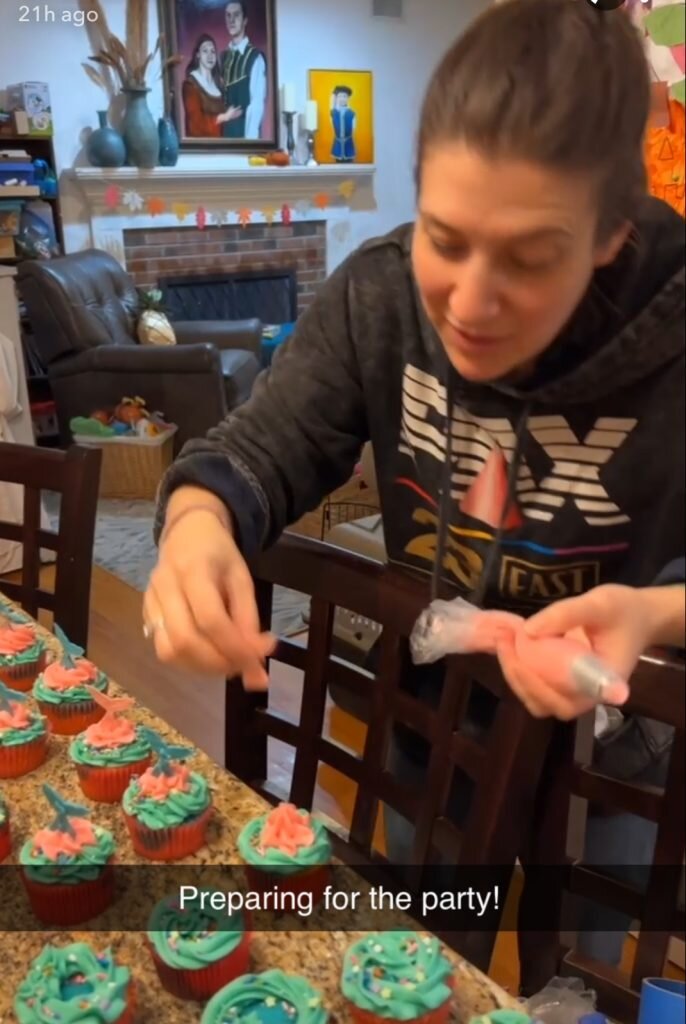
I’m between steps here!
- Clean and replace frosting tip (2D) in a new piping bag. Fill with pink frosting.
- Pipe a single star in the center of each cupcake on top of the teal frosting.
- Place a mermaid tail into the top of the star to look like a mermaid is diving into the water.
- Finally before presenting I placed a second cupcake wrapper on the outside of the first so it looked prettier.
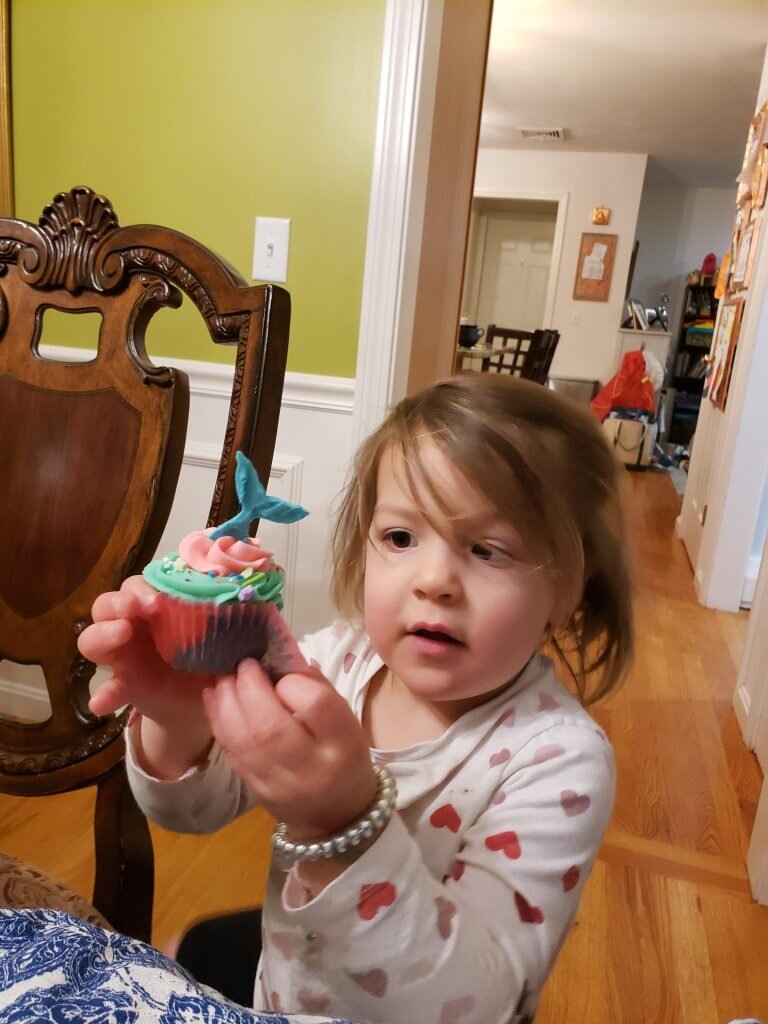
Patricia is showing off the inner wrapper and the tie dye cupcake
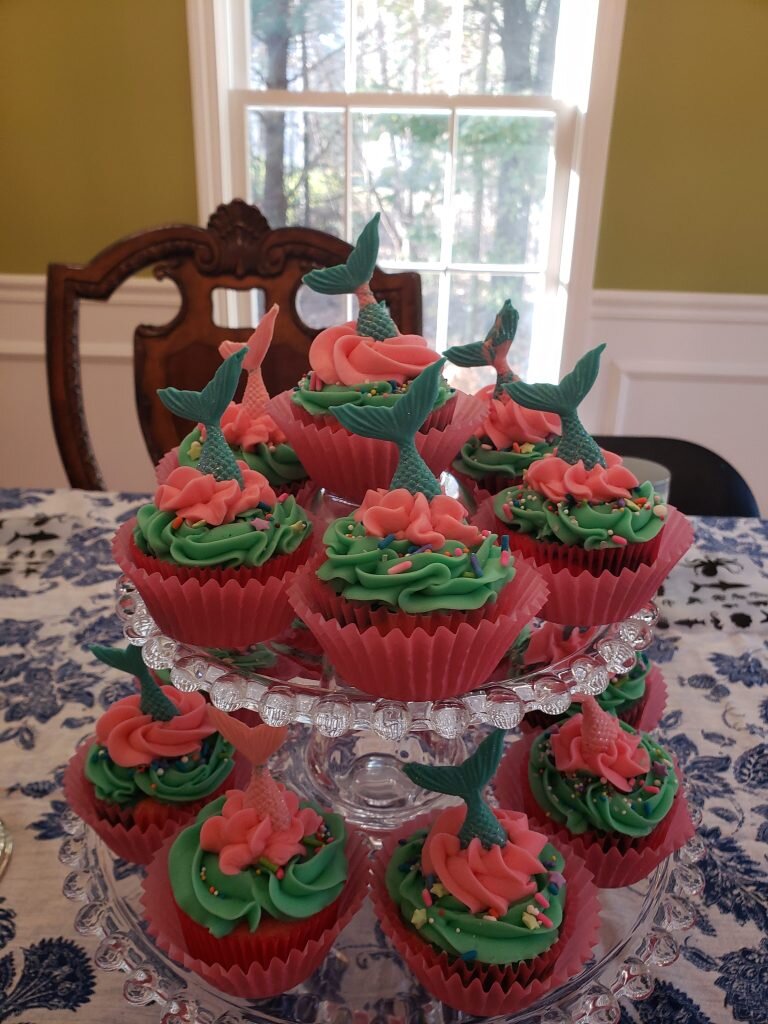
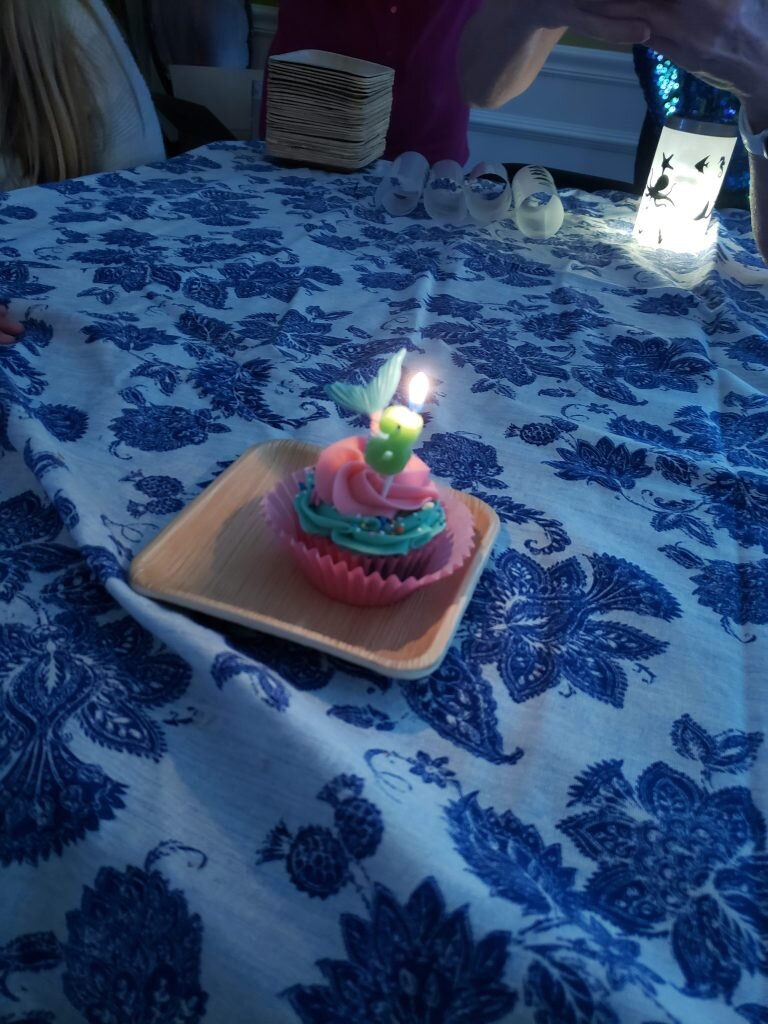
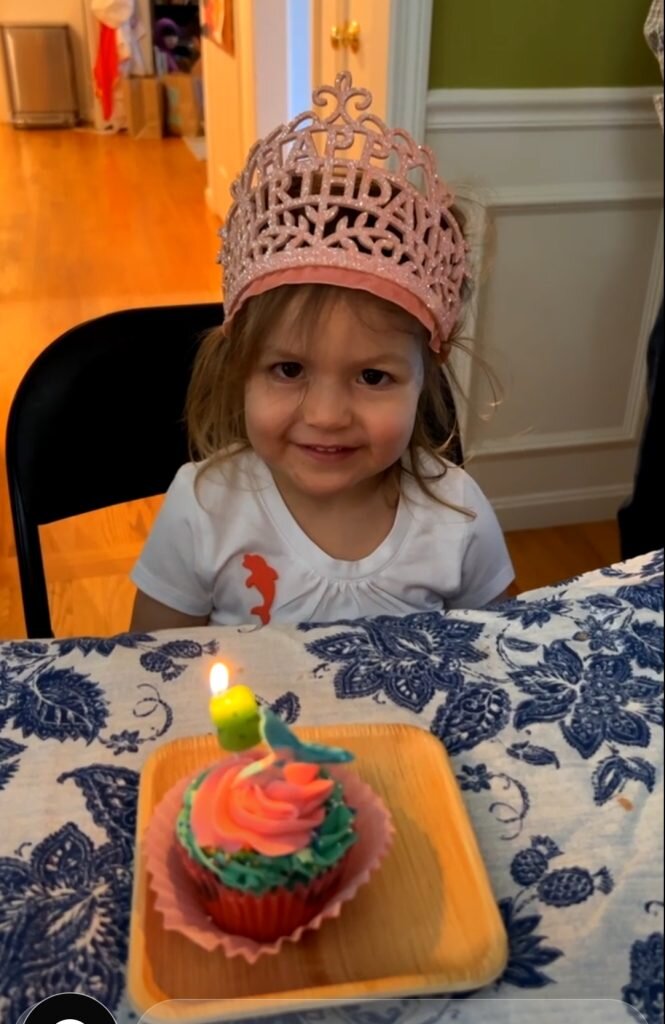


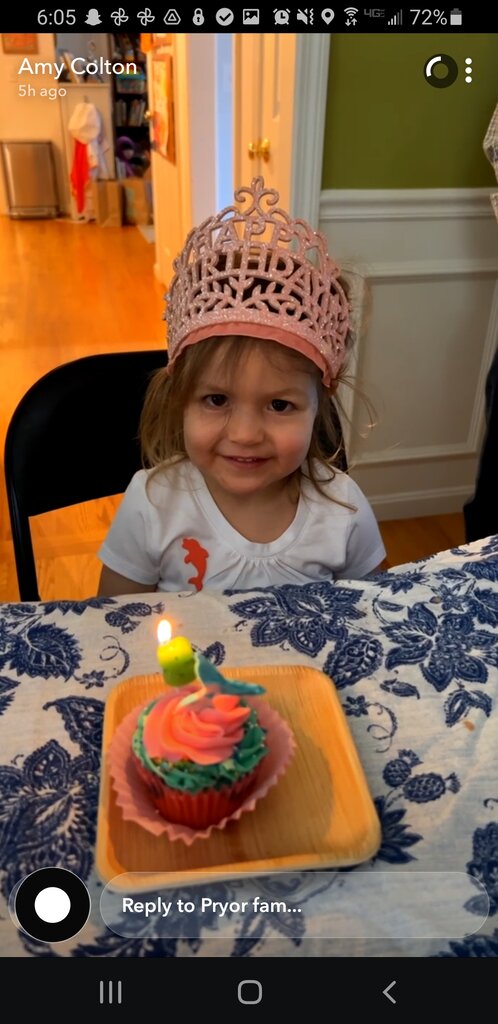
The cupcakes were sooo cute!
Aww thanks Amy!!!