Well I was in charge of the kiddos the past 4 days while will was at a board game convention (I was supposed to go too, but there were several reasons I ended up staying home instead). I had all these great plans to do with the kids, starting with logging off work at an actual reasonable hour on Friday. Those plans didn’t happen and I ended up barely getting home in time to make them dinner while on a work call then putting the kids to bed (late) and working until 1am on Saturday, and much of the day on Saturday. I noticed Patricia does bad things to get my (negative) attention while I am working. For instance she colored on the couch, hit or pinched her brother (out of the blue) and did various other mean things anytime I was on a work call. Normally she only does things like that when she is cranky so that scared me.
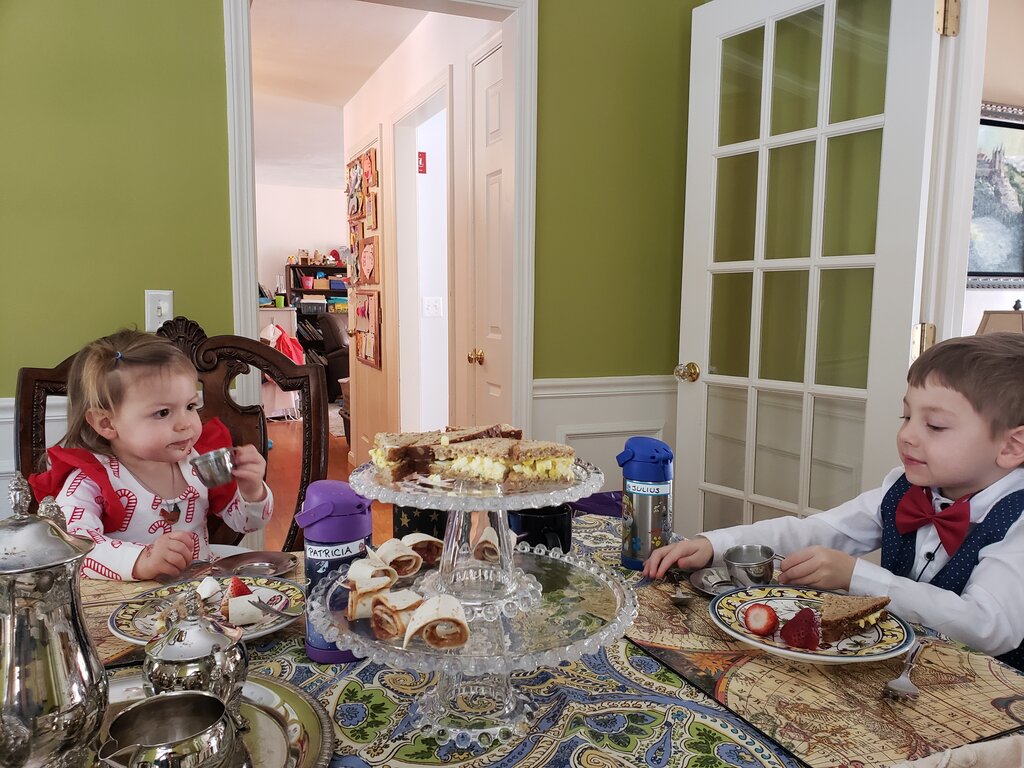
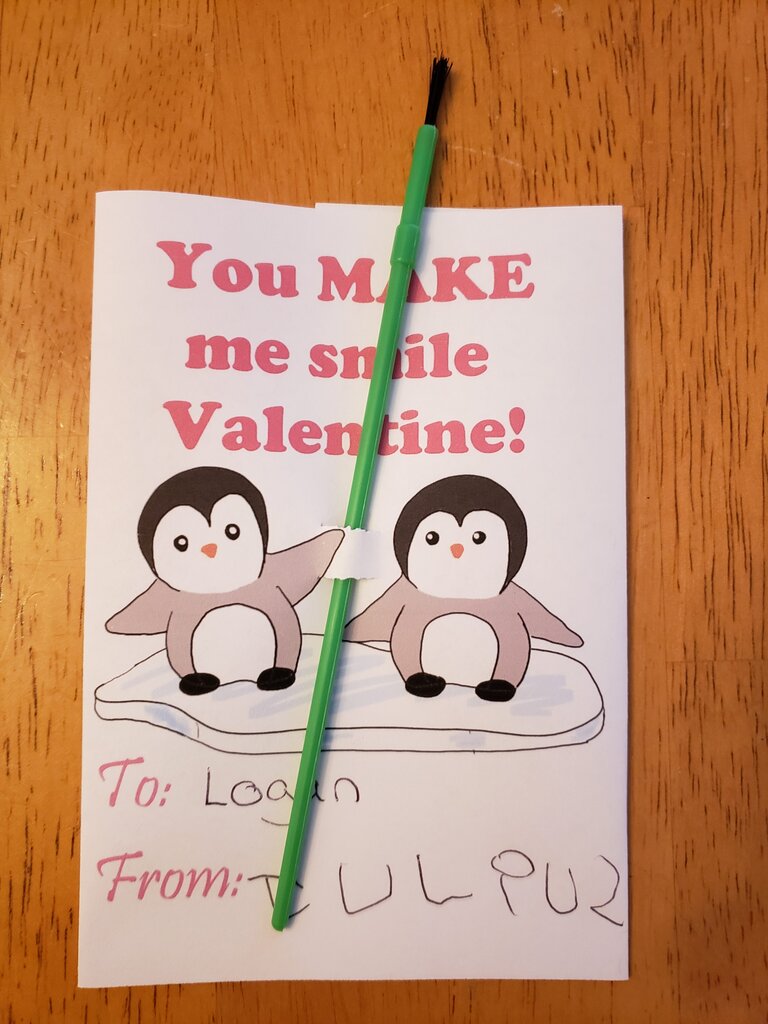
Despite the horrible work schedule I did get the day off on Sunday and decided to take today off to take them to the New England Aquarium. (It’s a state holiday today for the marathon, so Patricia was already out of school.) I figured Julius would love the aquarium because he’s been super into sharks lately and told us he wants to be a marine biologist. And I told Patricia there were penguins, so that convinced her. I don’t know if I’ve ever been to this aquarium, but it was super cool. They have two different species of penguins, sea lions, a tank where you can pet rays and sharks, a humongous coral reef 3 stories high and numerous other tanks on the sides.
Patricia stared at the penguins for at least 20 minutes, and then I had to drag her away from each penguin area anytime we passed by. Julius was extremely excited by the sharks in the shark tank but was slightly disappointed that I made him leave after like 20 minutes of hanging around there. He did work up the courage to touch one of them, so I was proud of him for that. I think he might have been disappointed I didn’t give him longer to work up the courage to touch more… but Patricia was also there and I had to try to keep them both interested which was challenging with just one adult. Overall I considered the day a success!
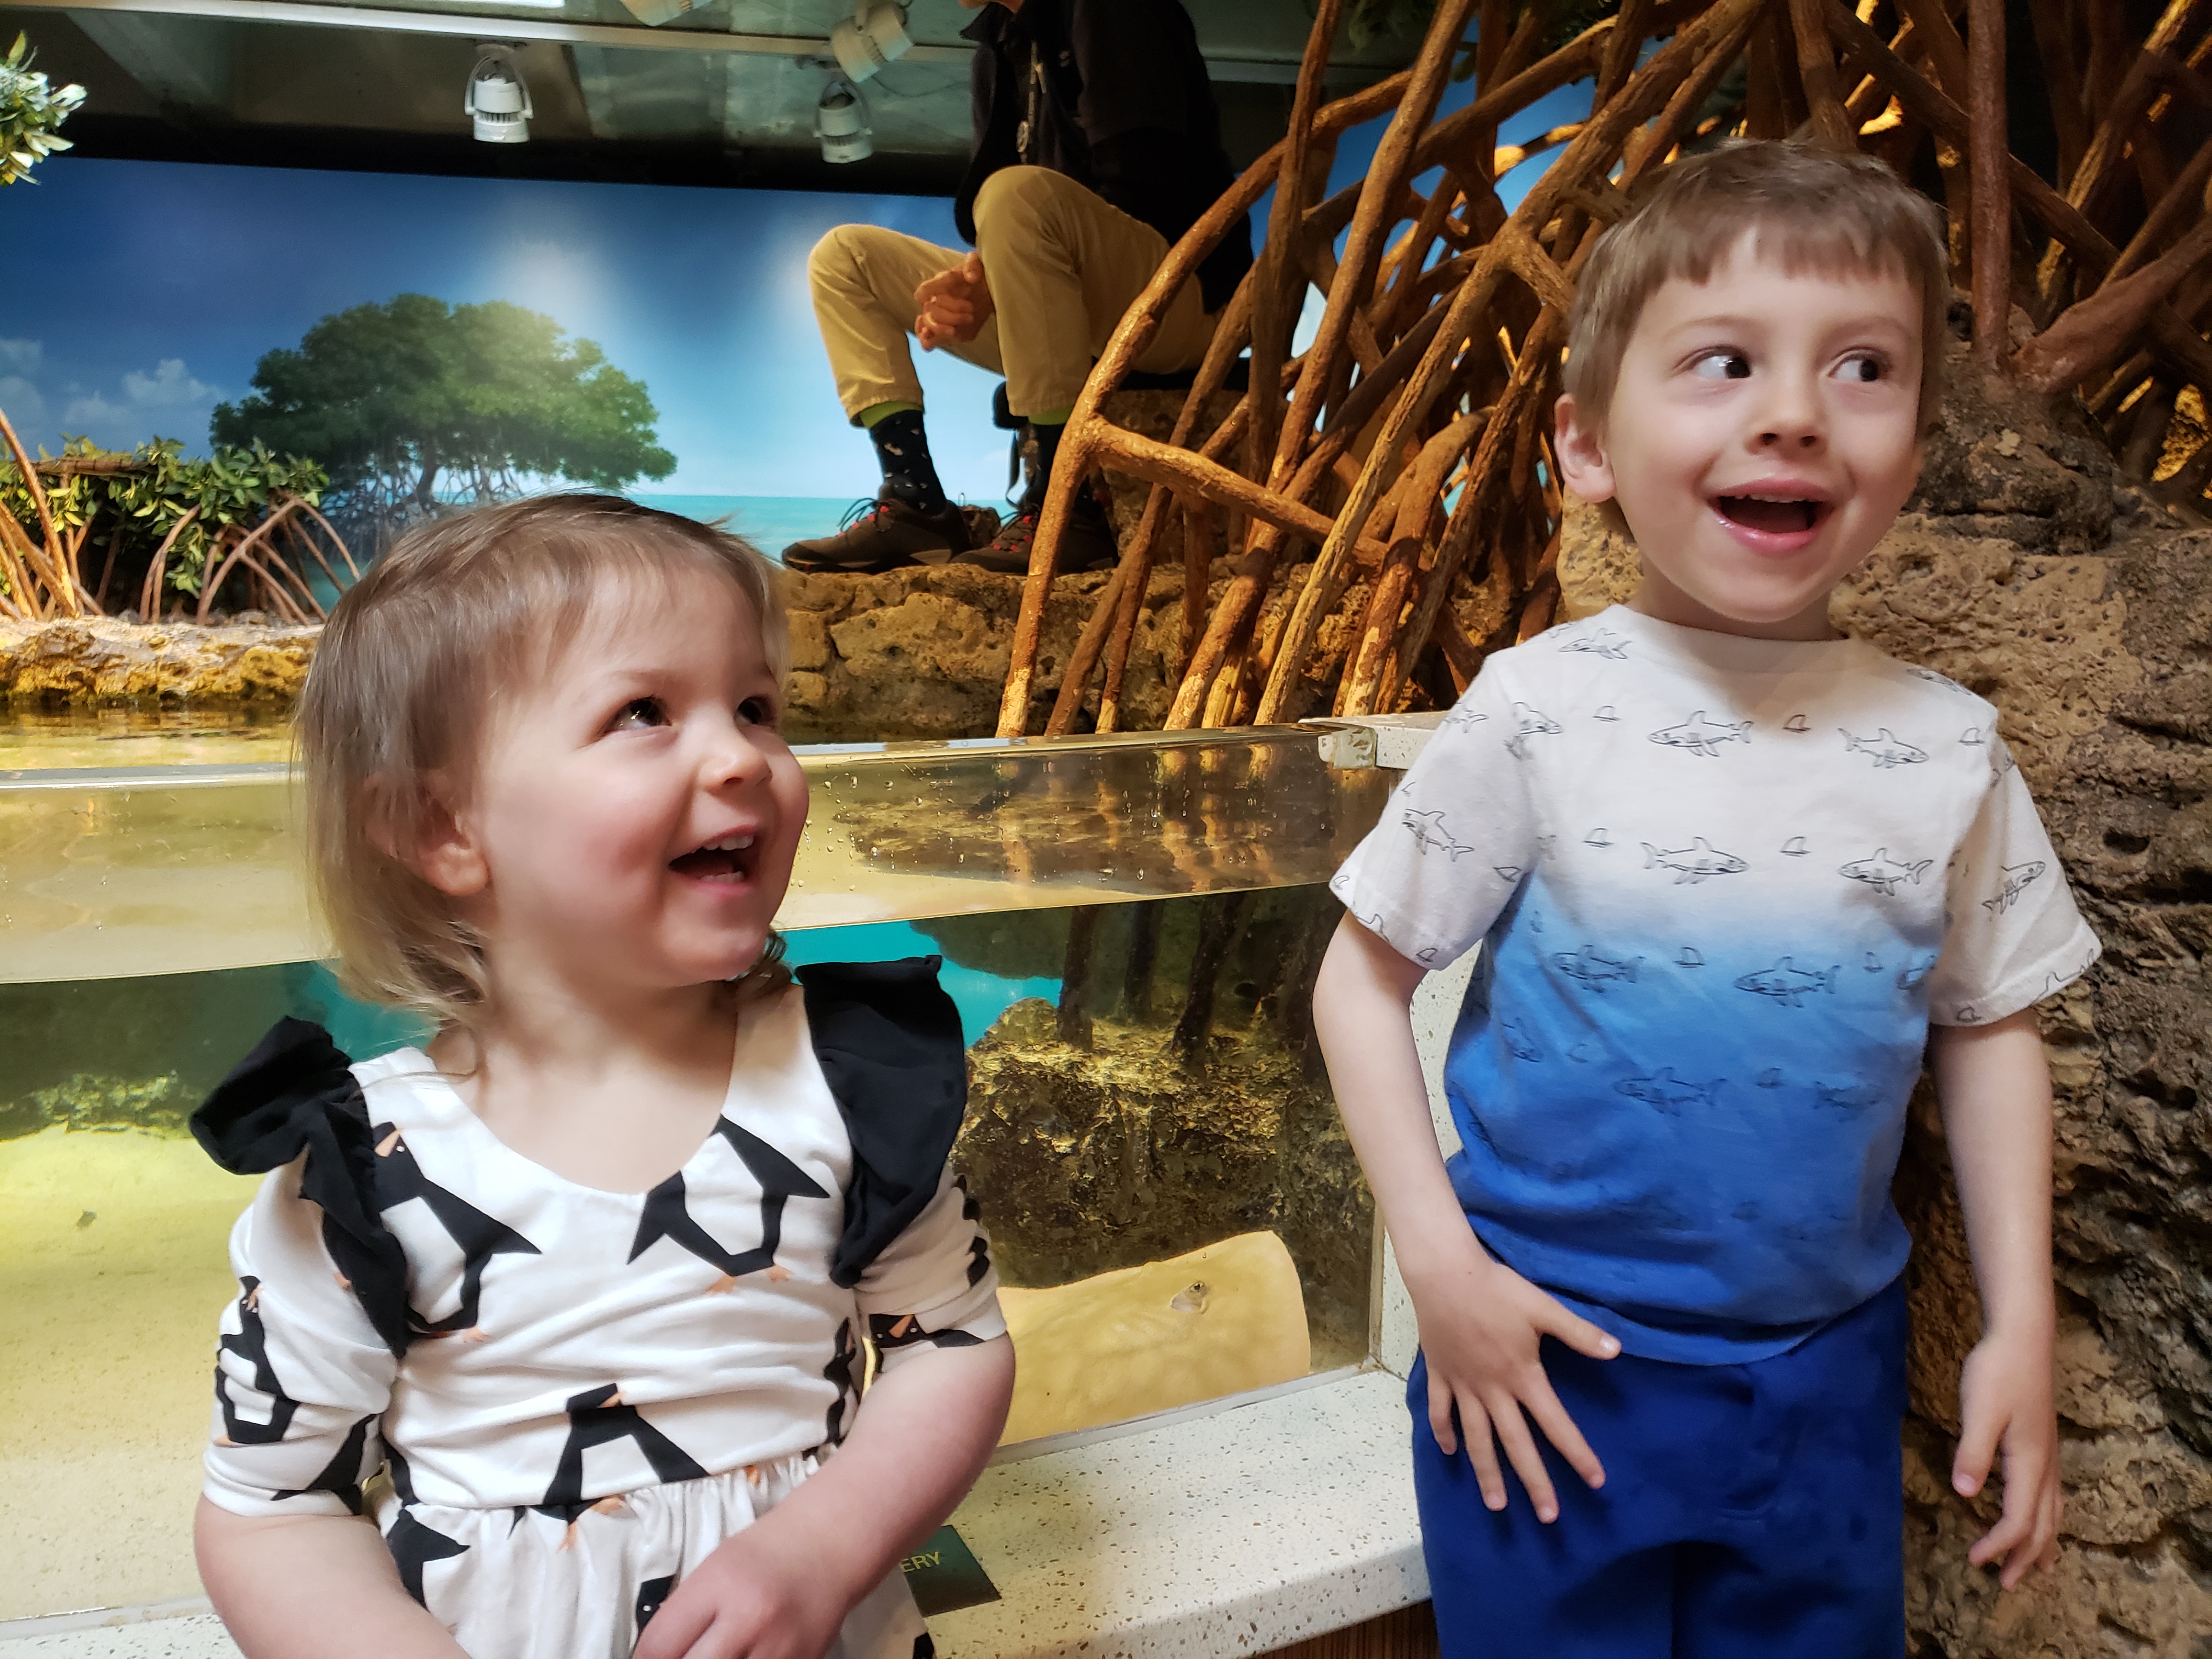
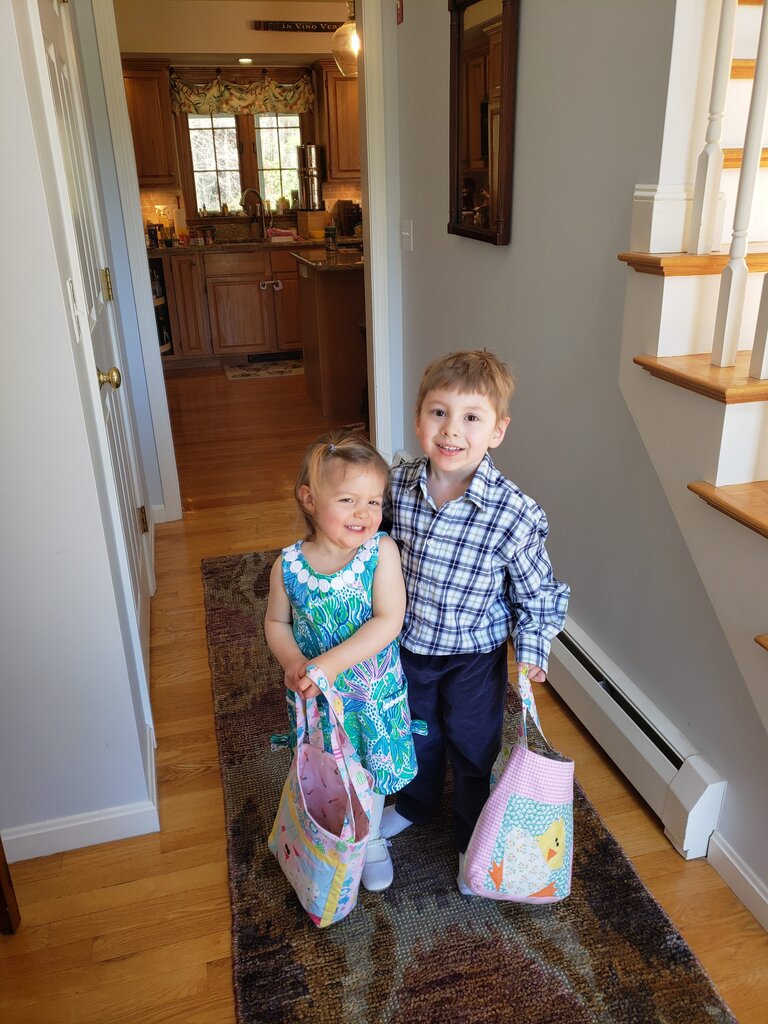
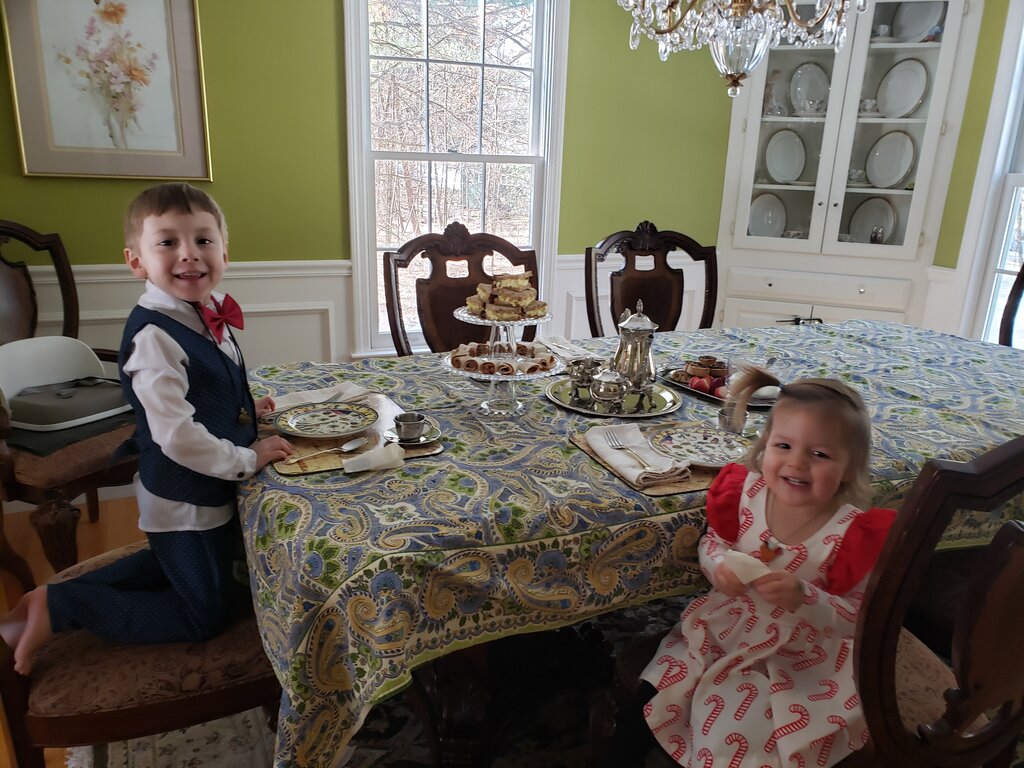
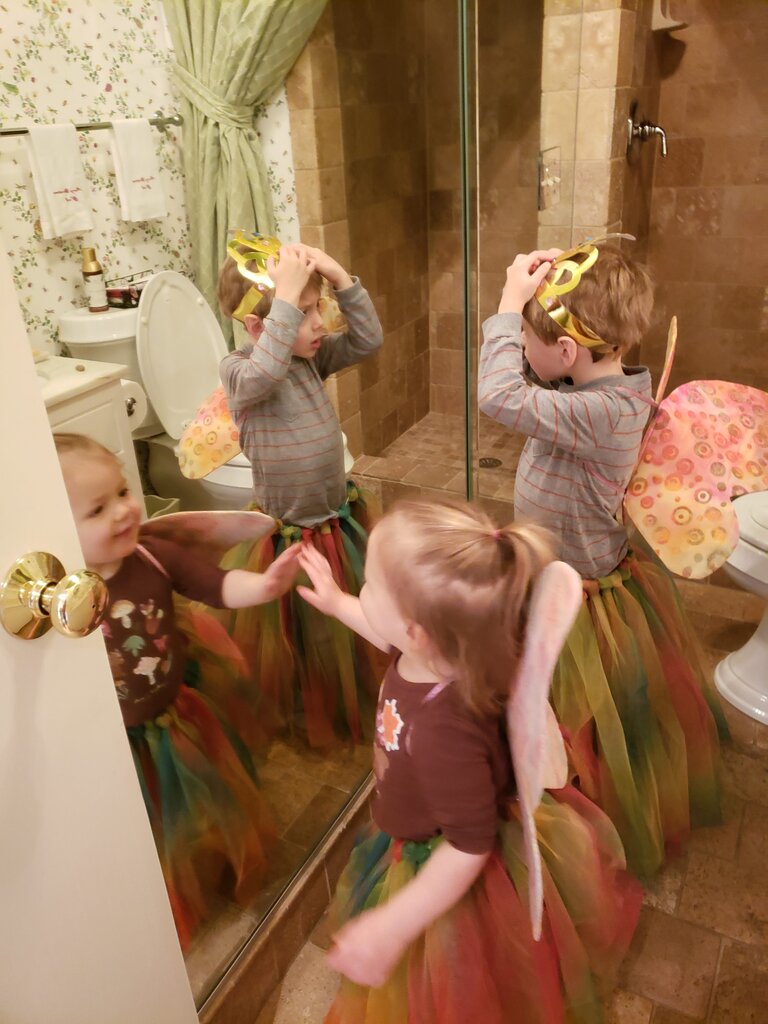
This is as good as it gets, both kids looking the same (wrong) direction.
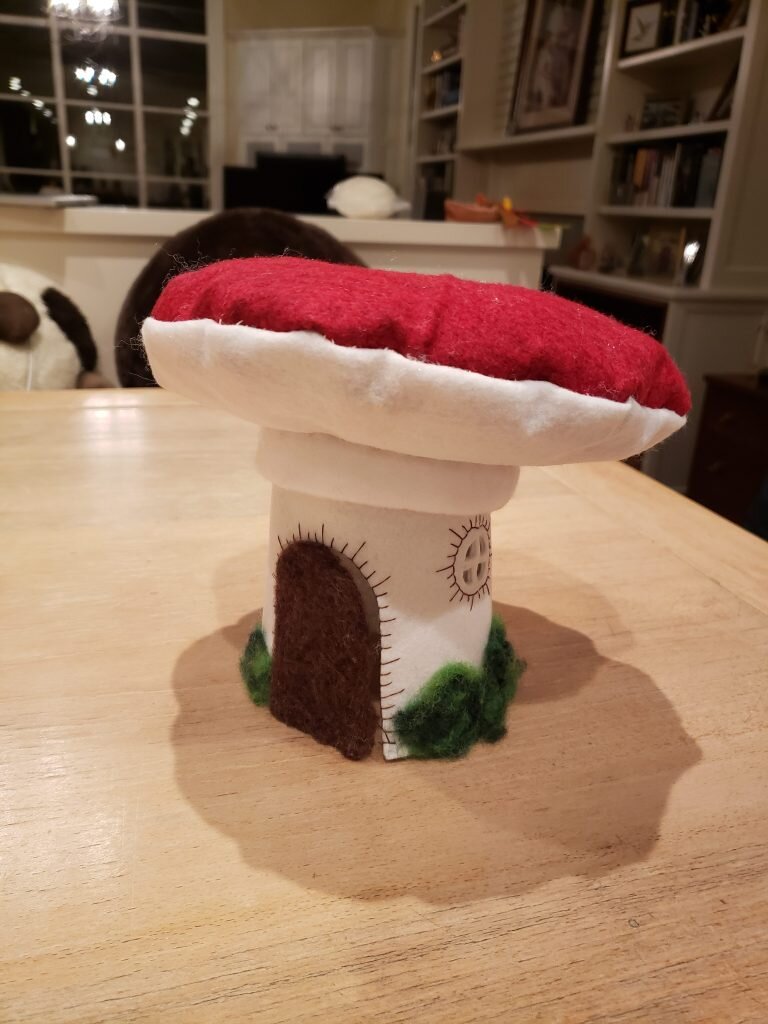
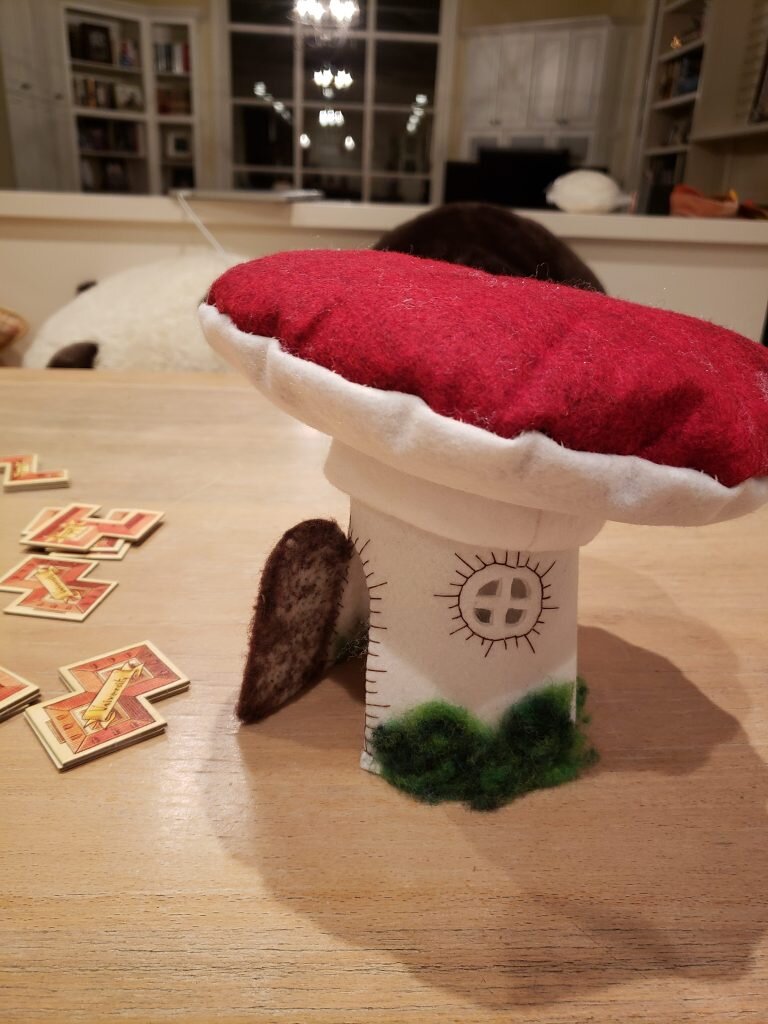
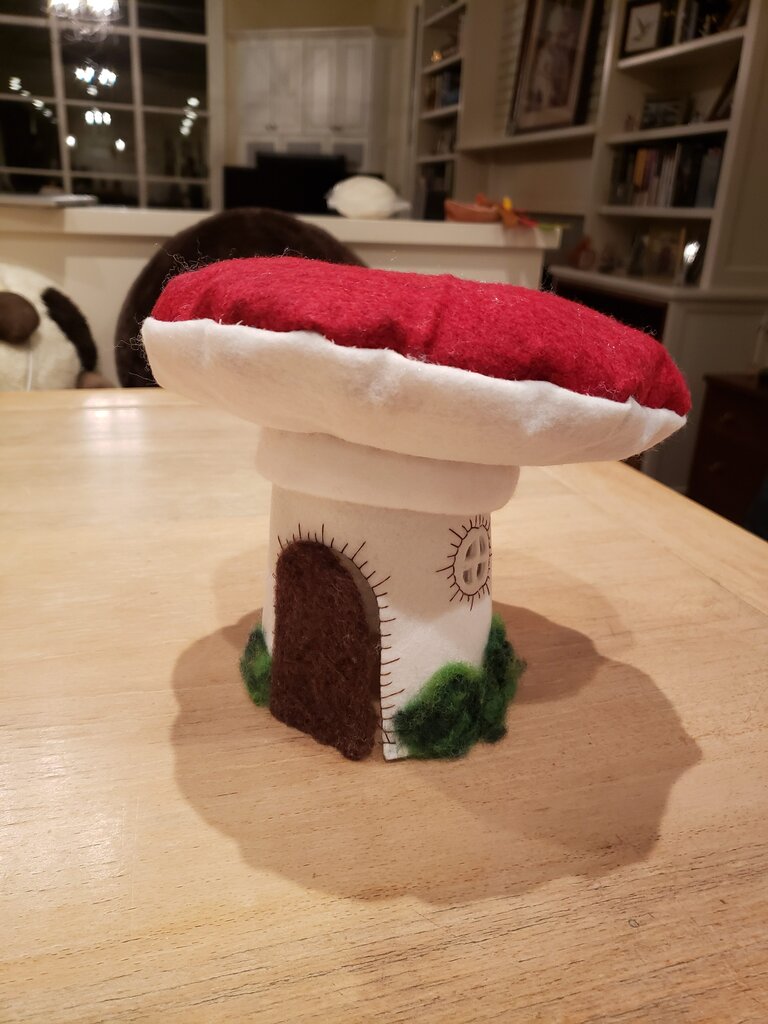
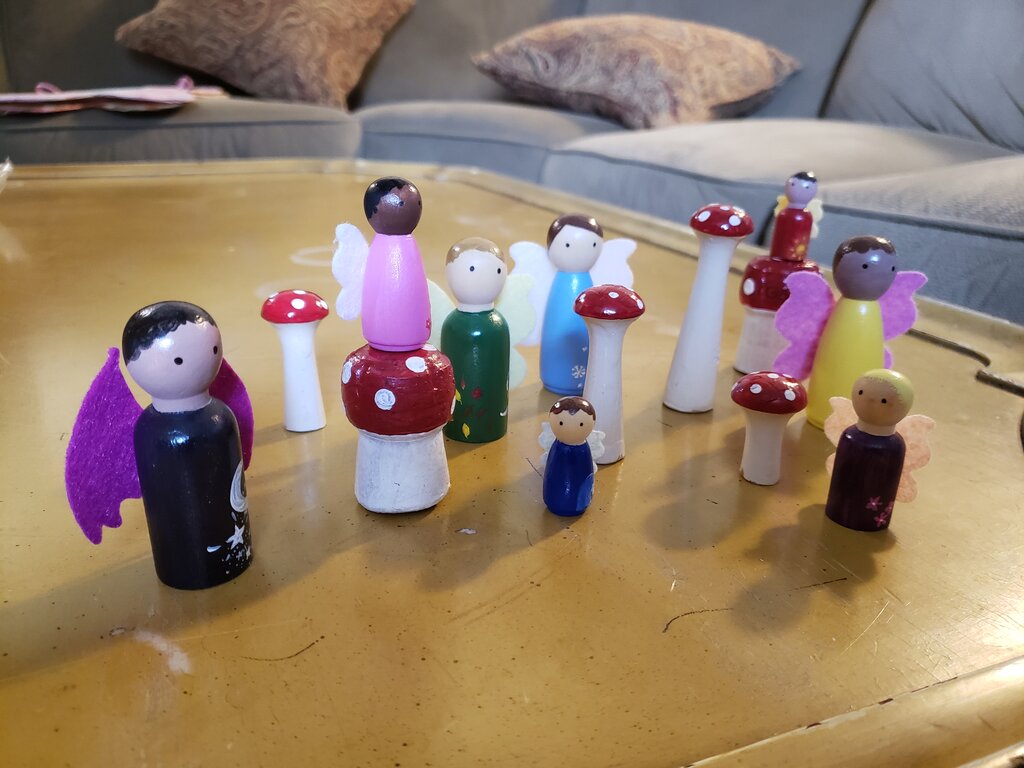
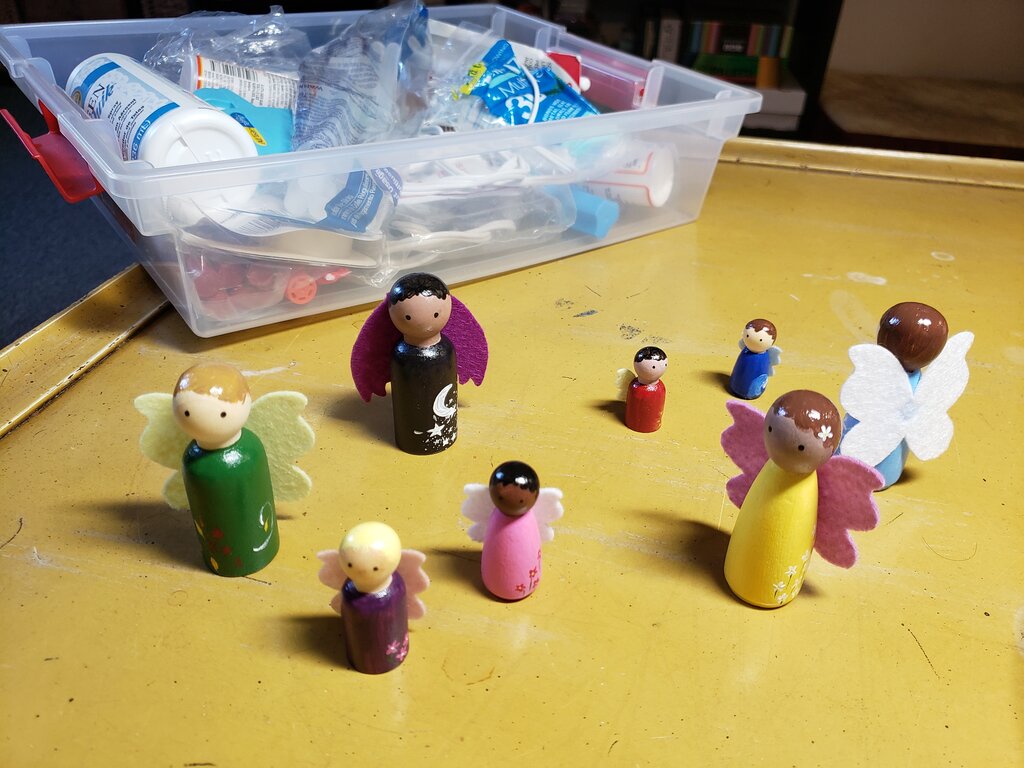
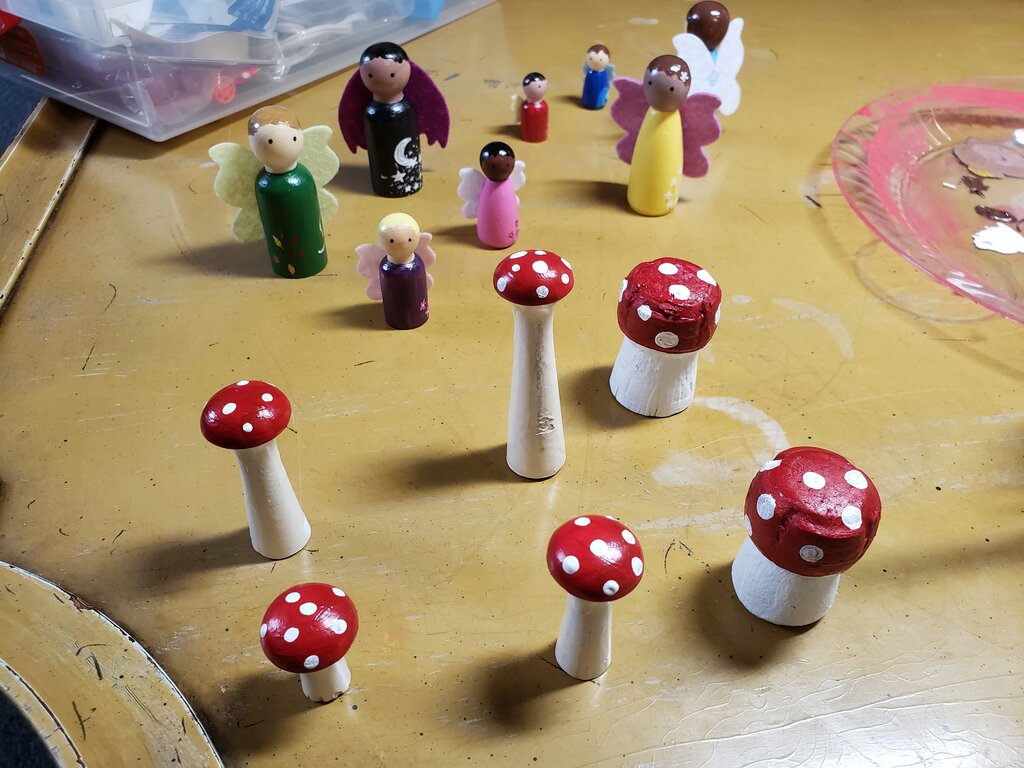
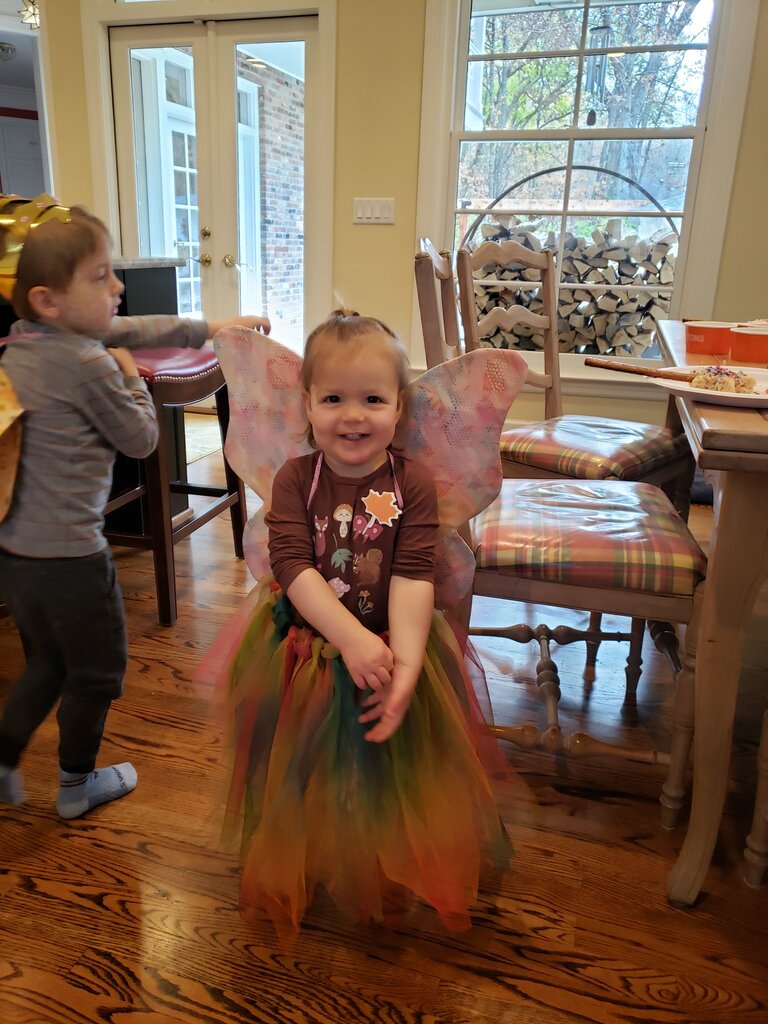
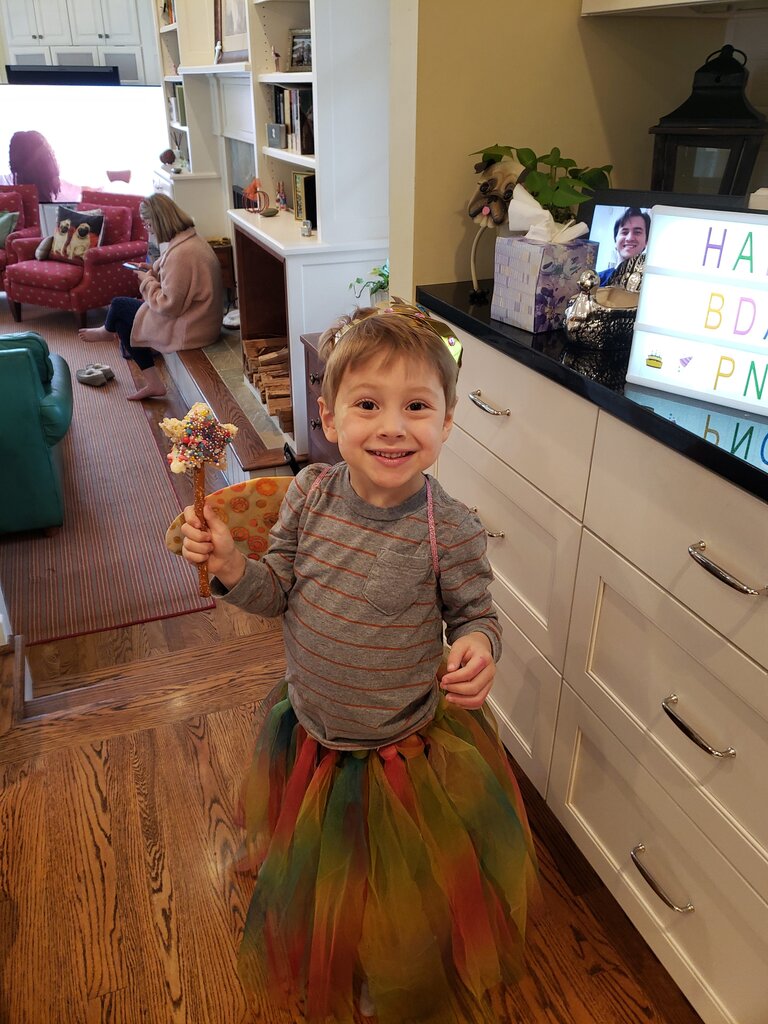
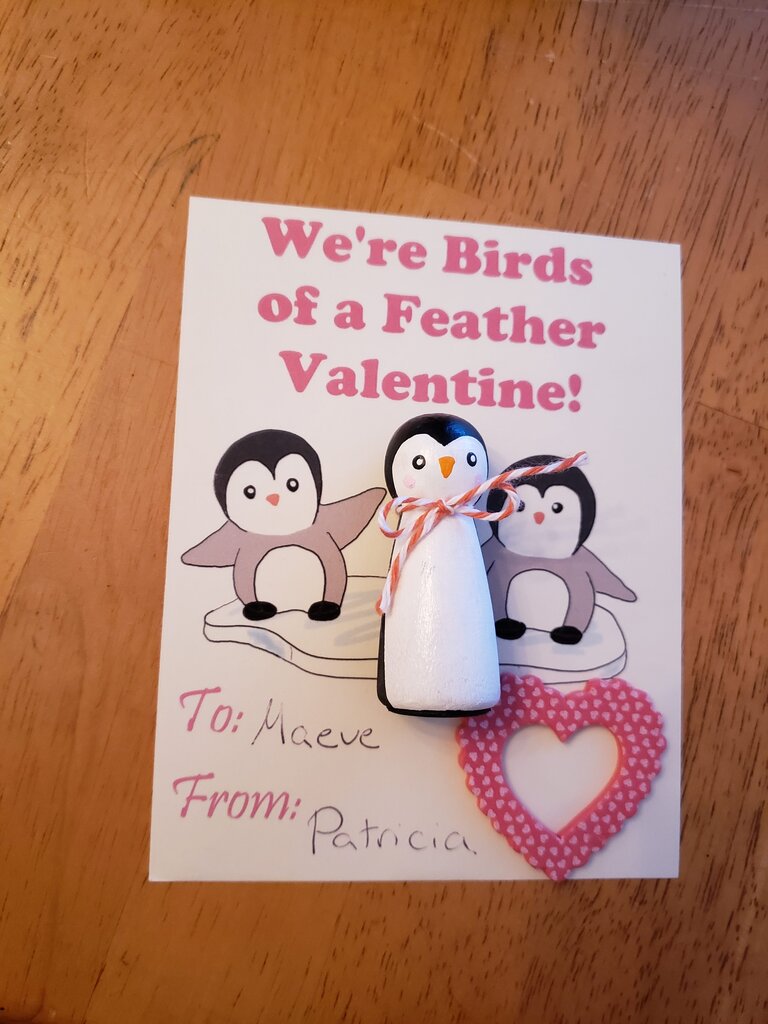
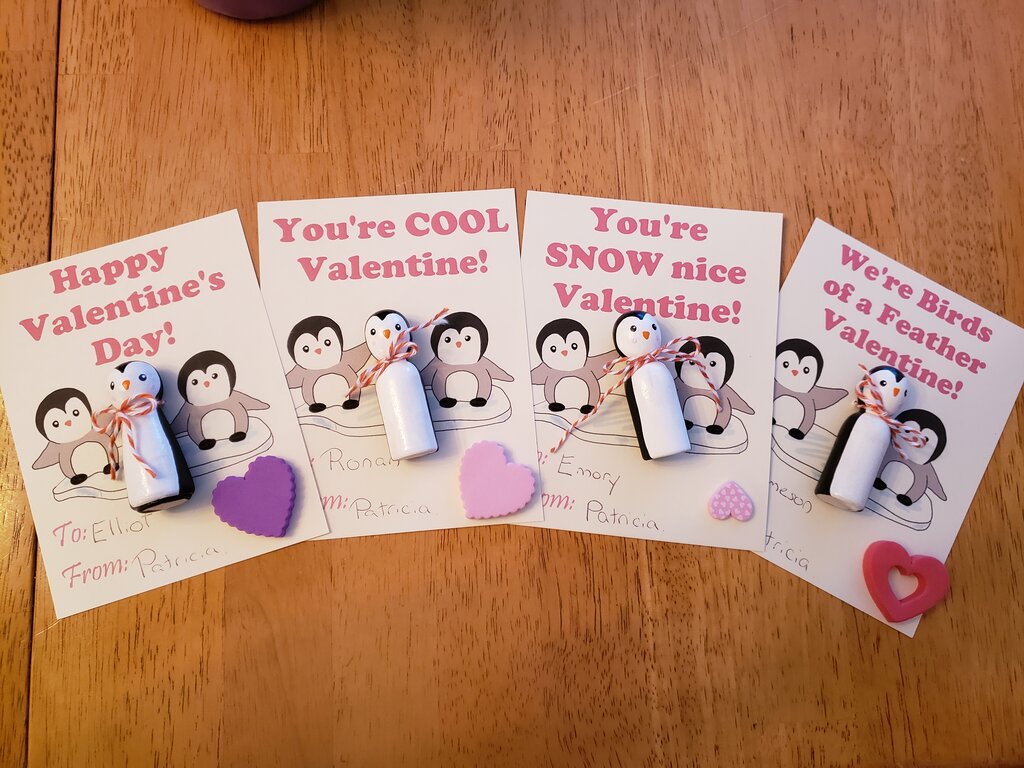
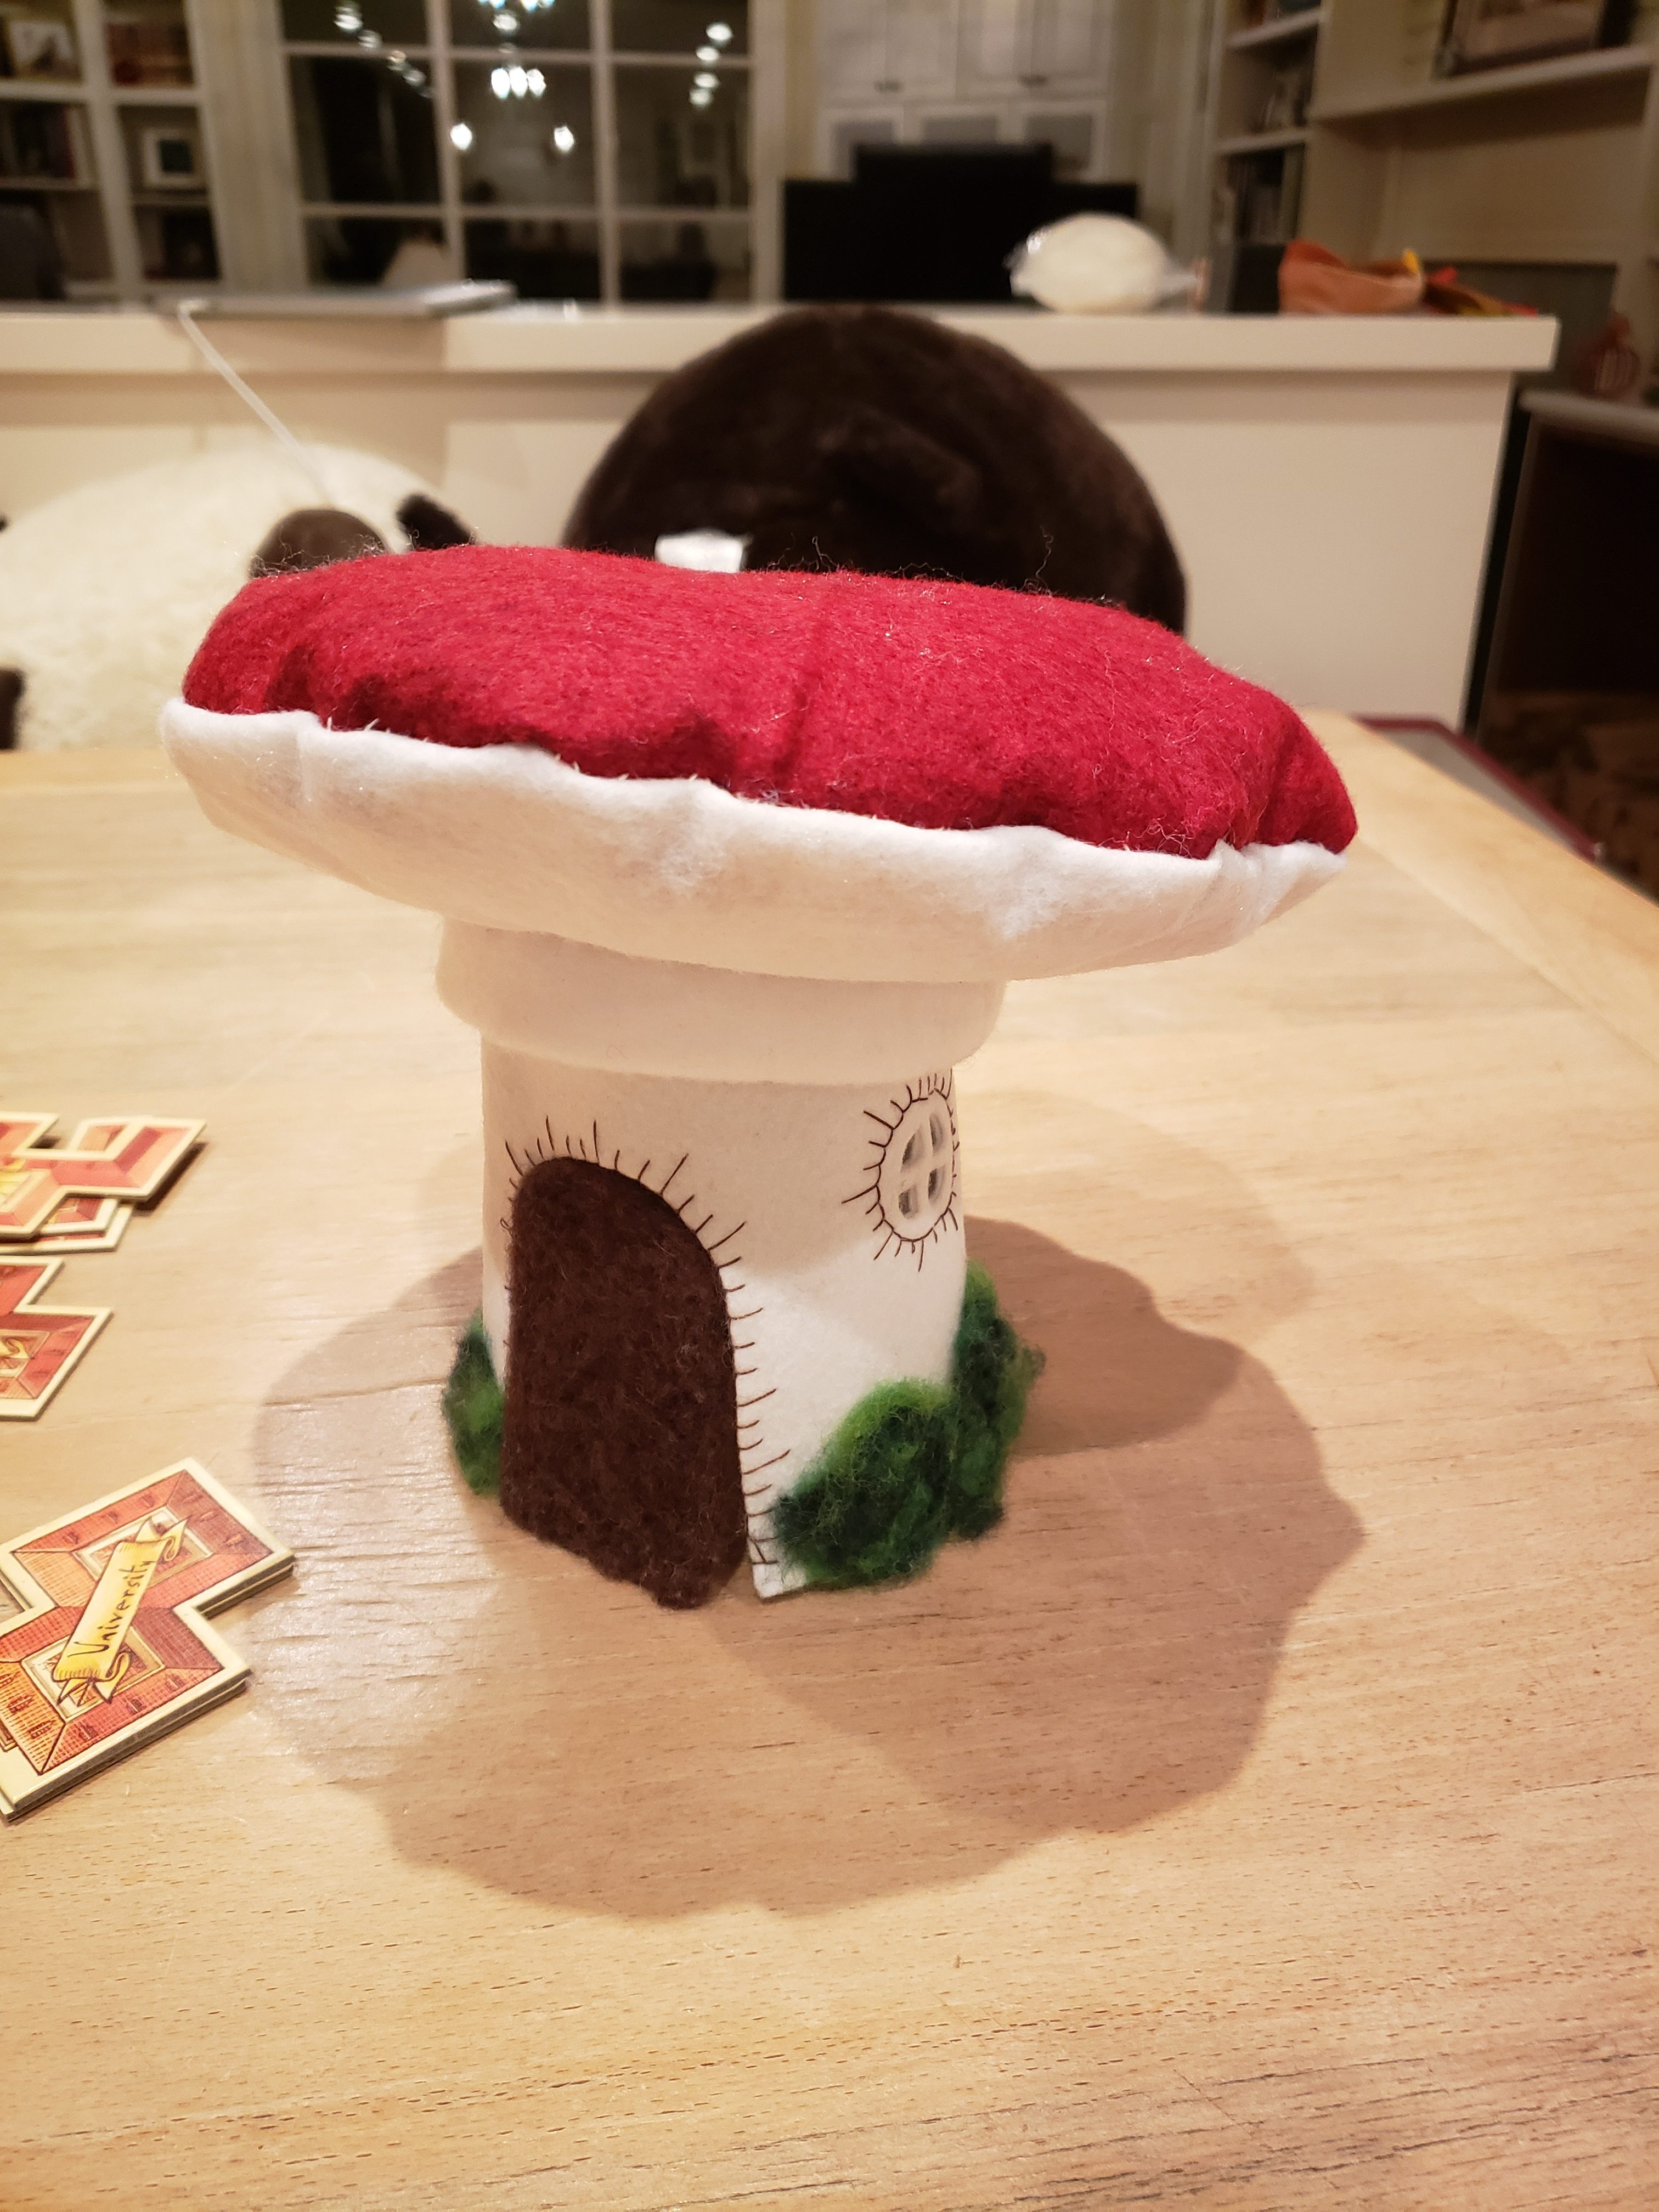
Another success was this little mushroom house I made for the fairy peg dolls at Patricia’s “party”. For this guy I combined felt sheets with felted details. I want to start doing that more often because felting opens up a whole new avenue for realism on felted projects. I only touched on that briefly with the little bushes around the base of the mushroom and the door, but next time I’ll try to up my game. Oh and this tutorial is a bit loosey-goosey. I will provide my measurements as guidelines, but I don’t have a pattern.
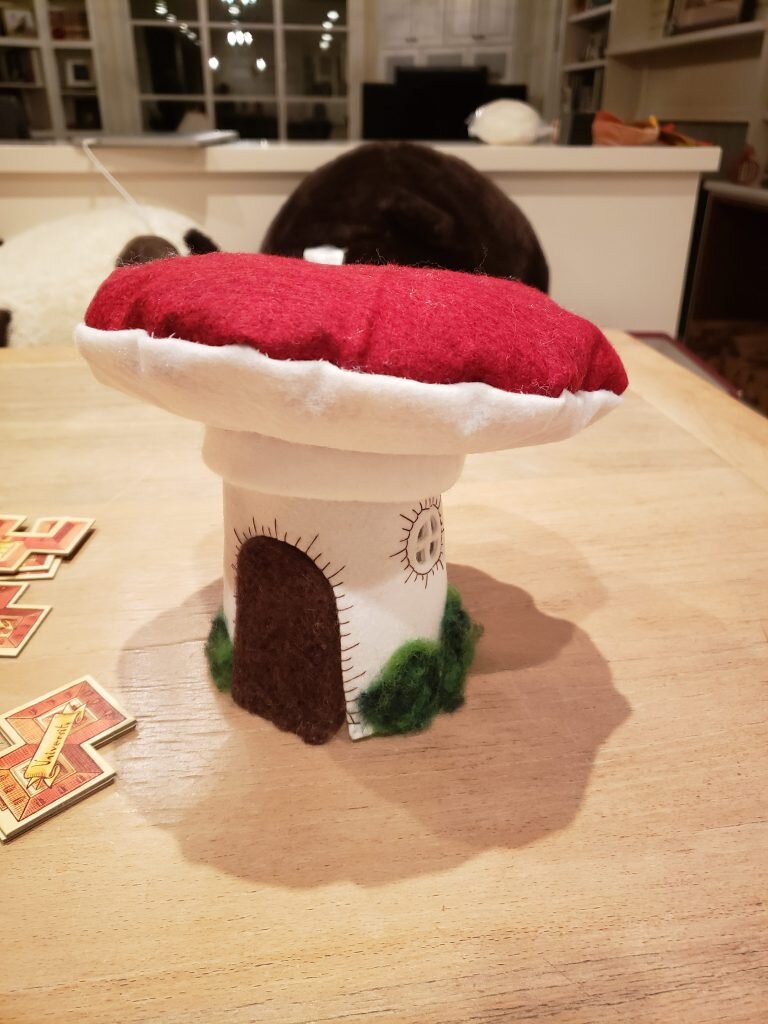 Felt Mushroom House
What you’ll need:
- white felt
- red felt
- stuffing
- roving for decorations (I used shades of brown and green)
- brown embroidery thread for details
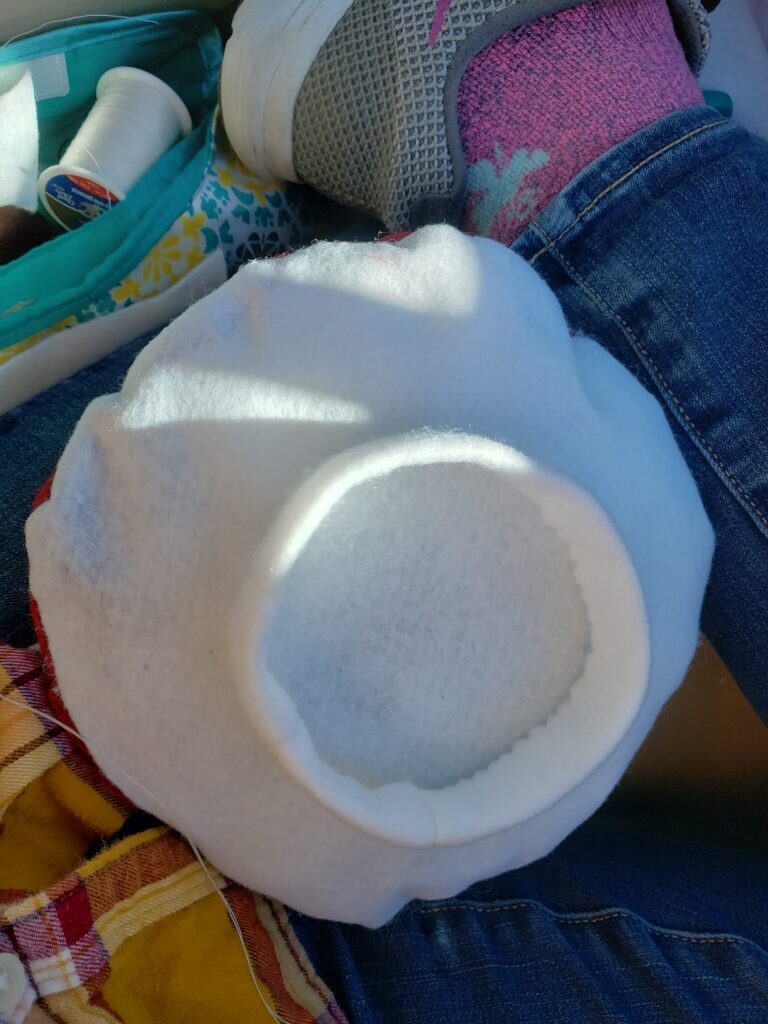
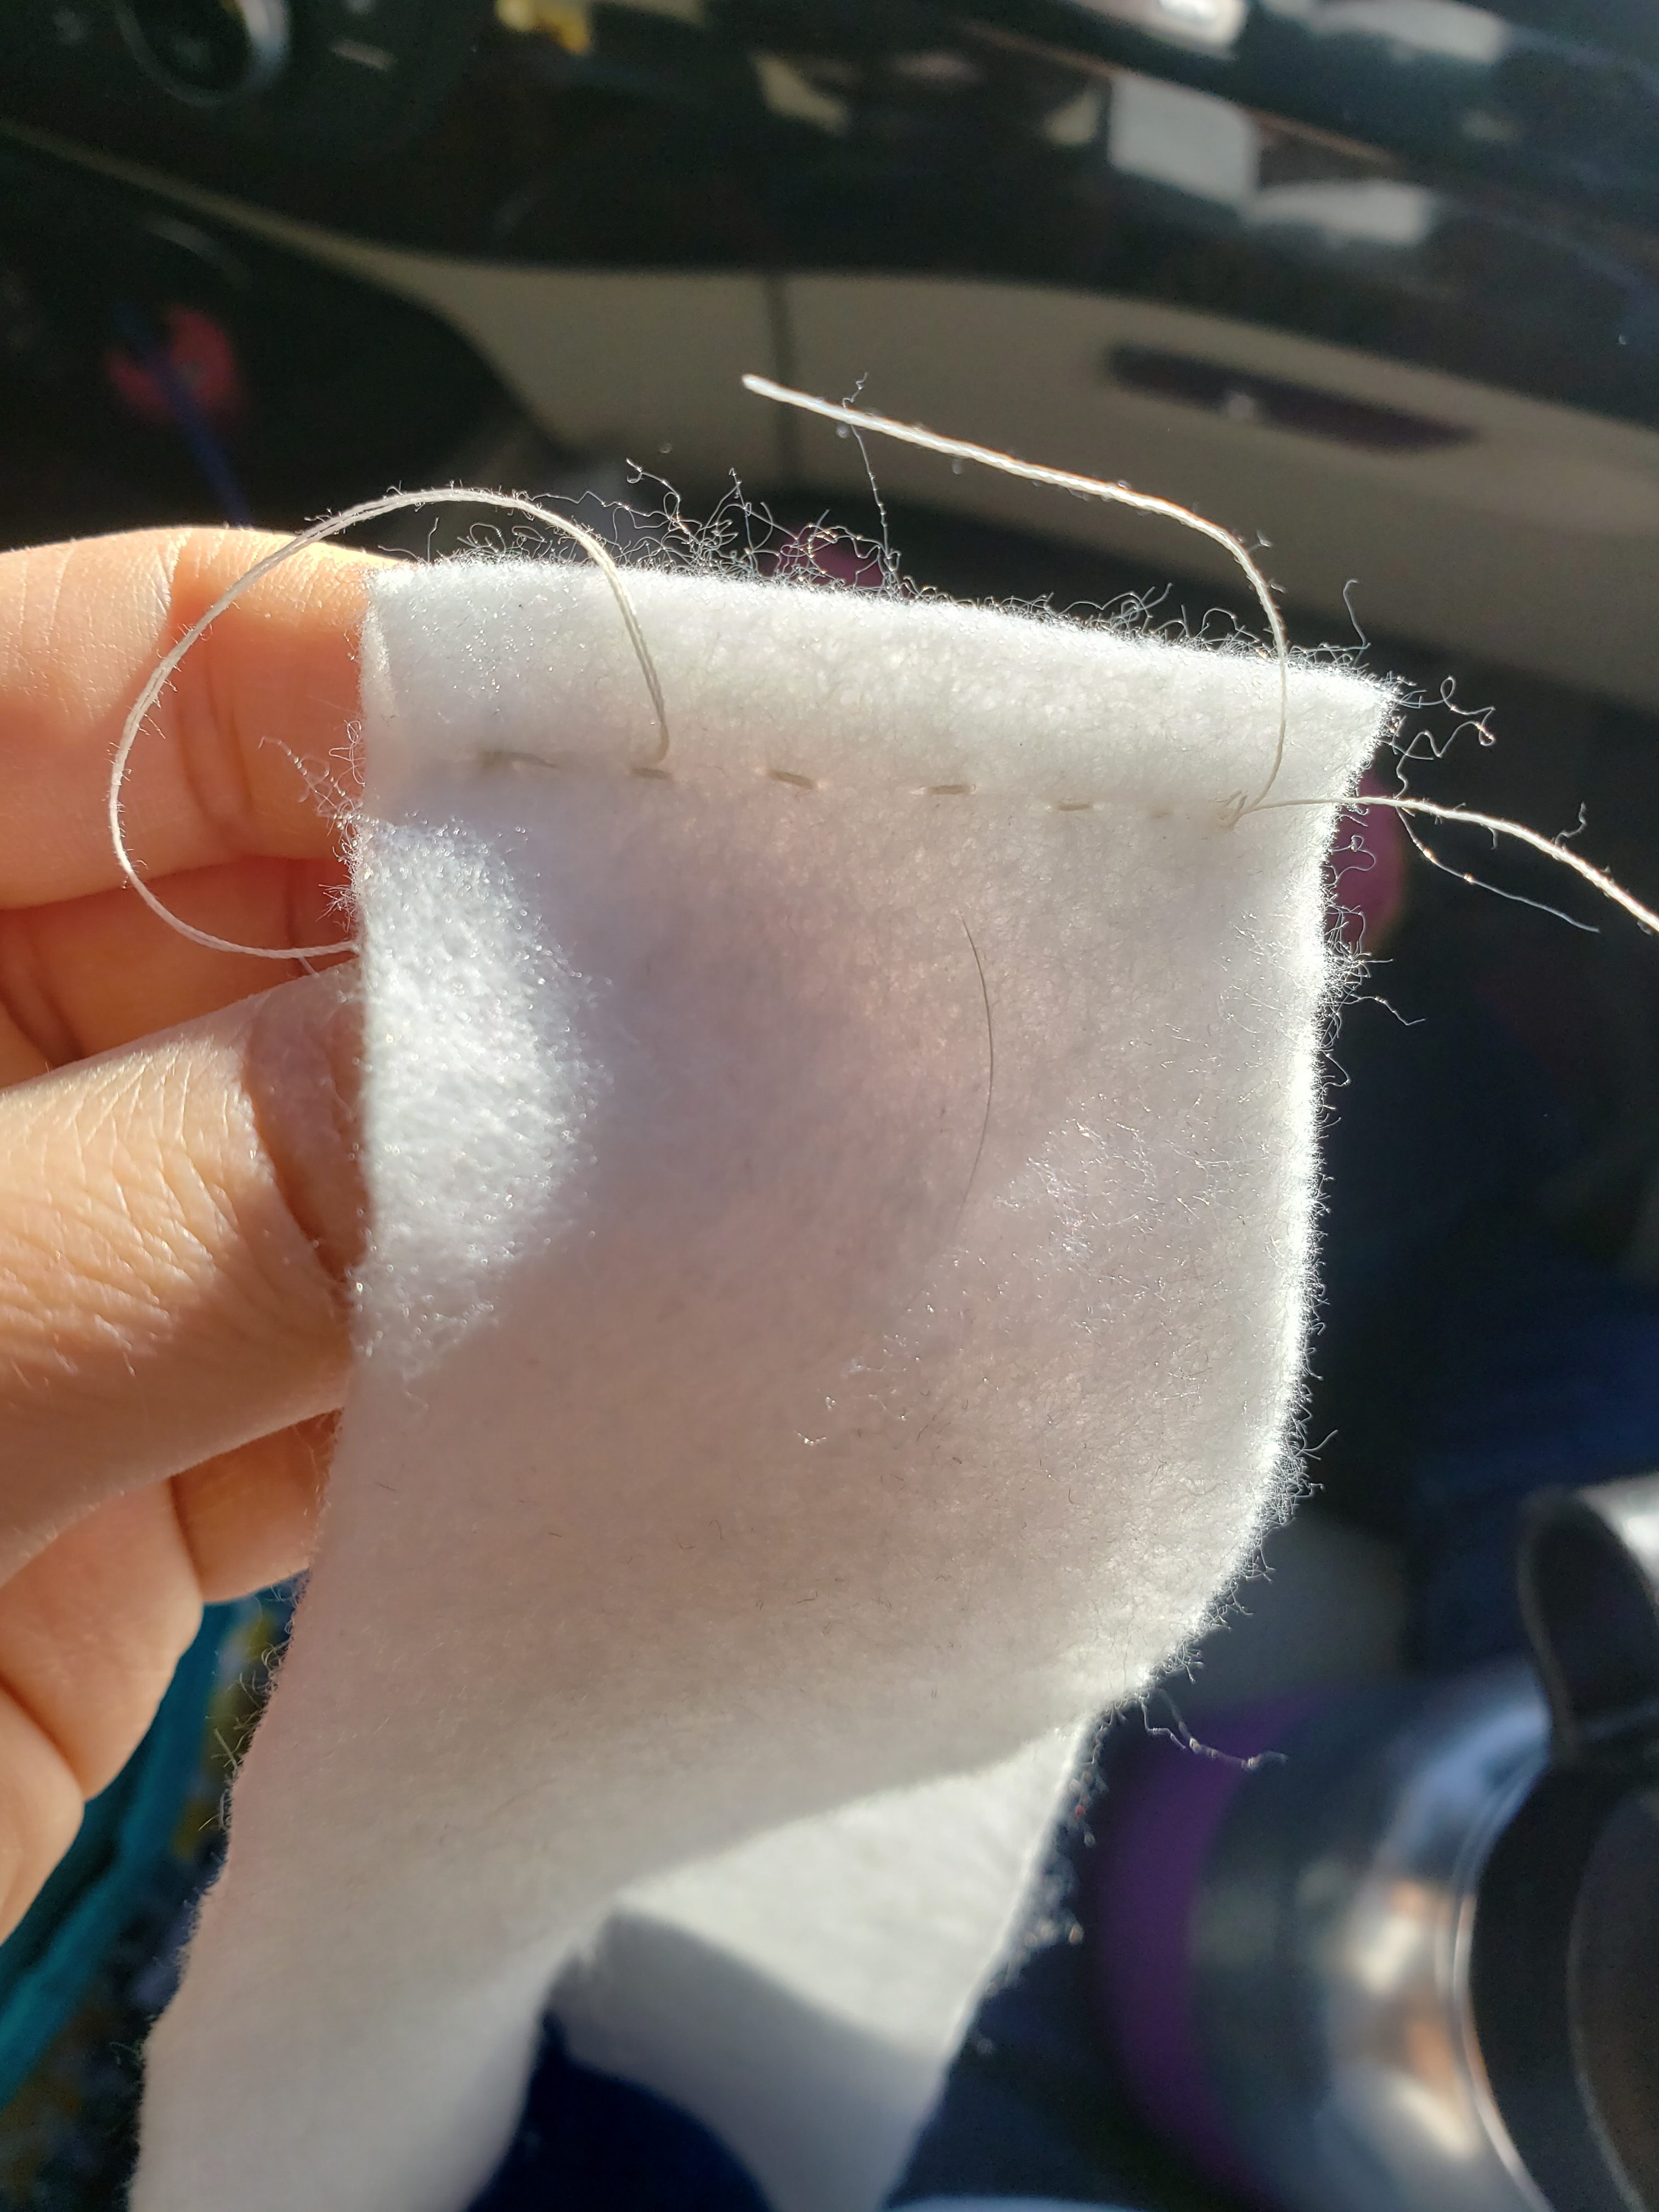
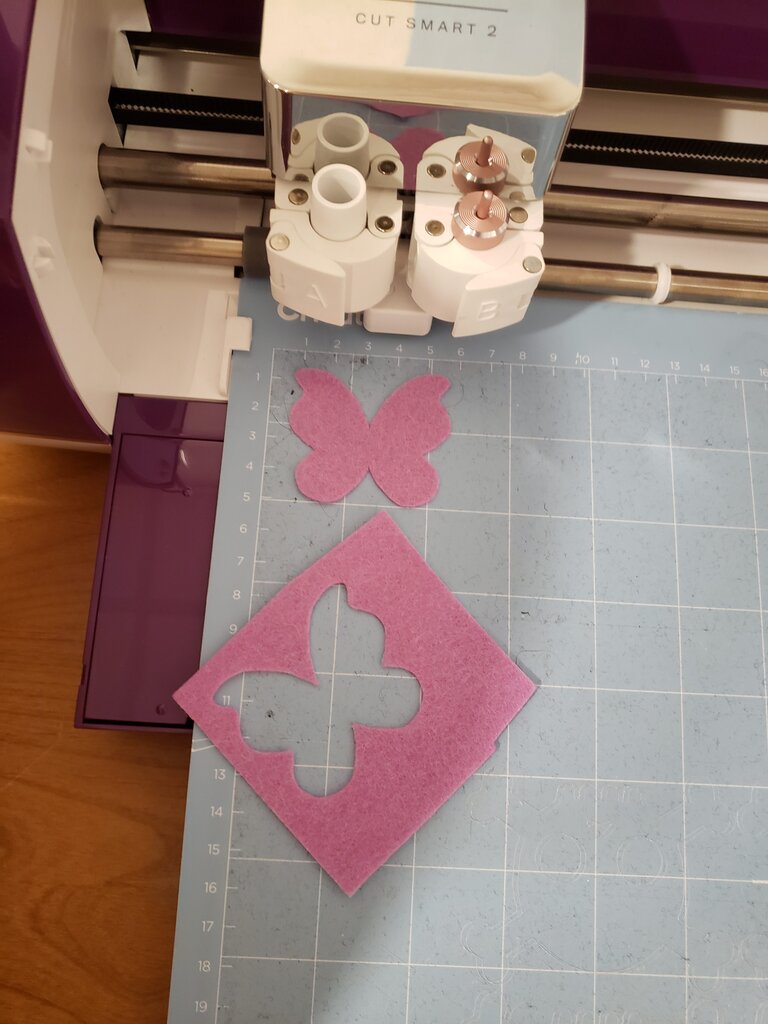
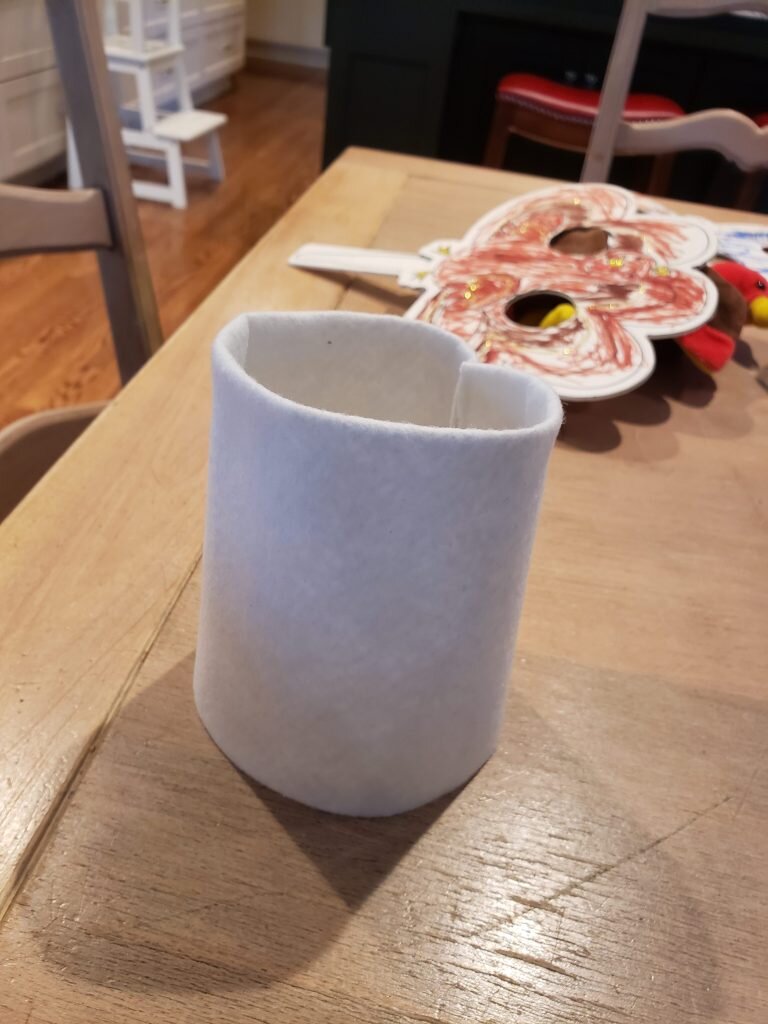
- Cut a 9.5″x 11″ strip of felt for mushroom base. I folded this in half to form a 4.75″x11″ strip of felt, then overlapped the unfinished two ends so the part near the folded side had more overlap than the part near the bottom (causing it to flare out a bit). I then trimmed where they met, and trimmed the bottom (the larger side) so it would sit flat.
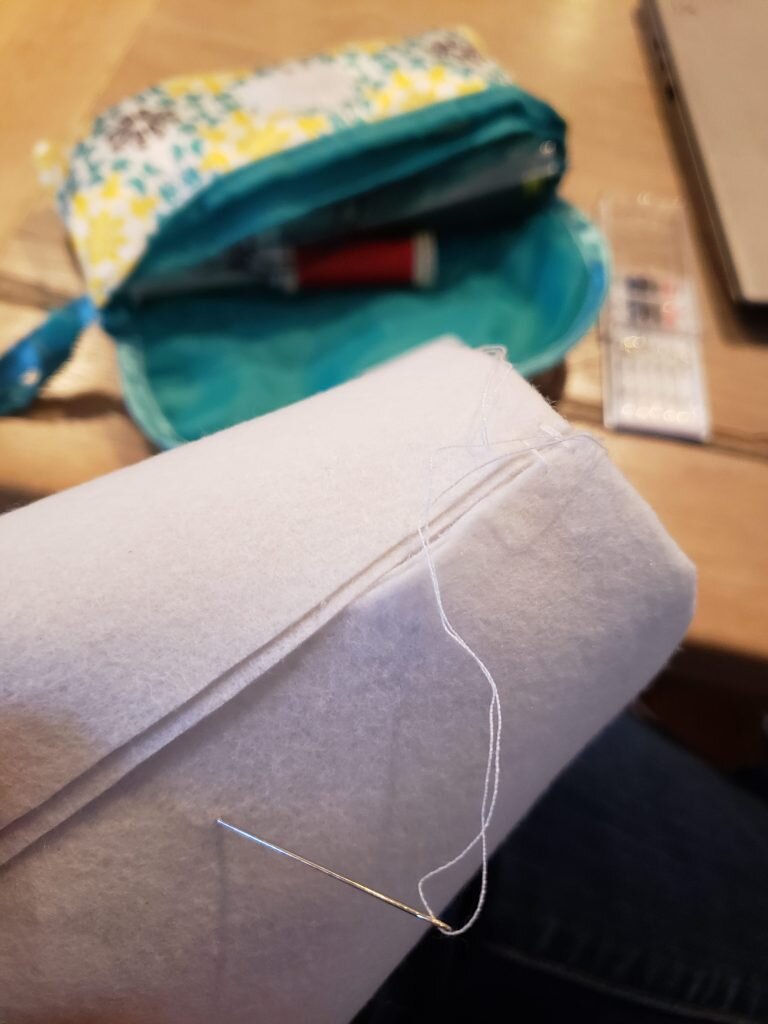
- Finally I stitched together at the unfinished ends.
- Next I drew and cut out an arched door and circular window panes.
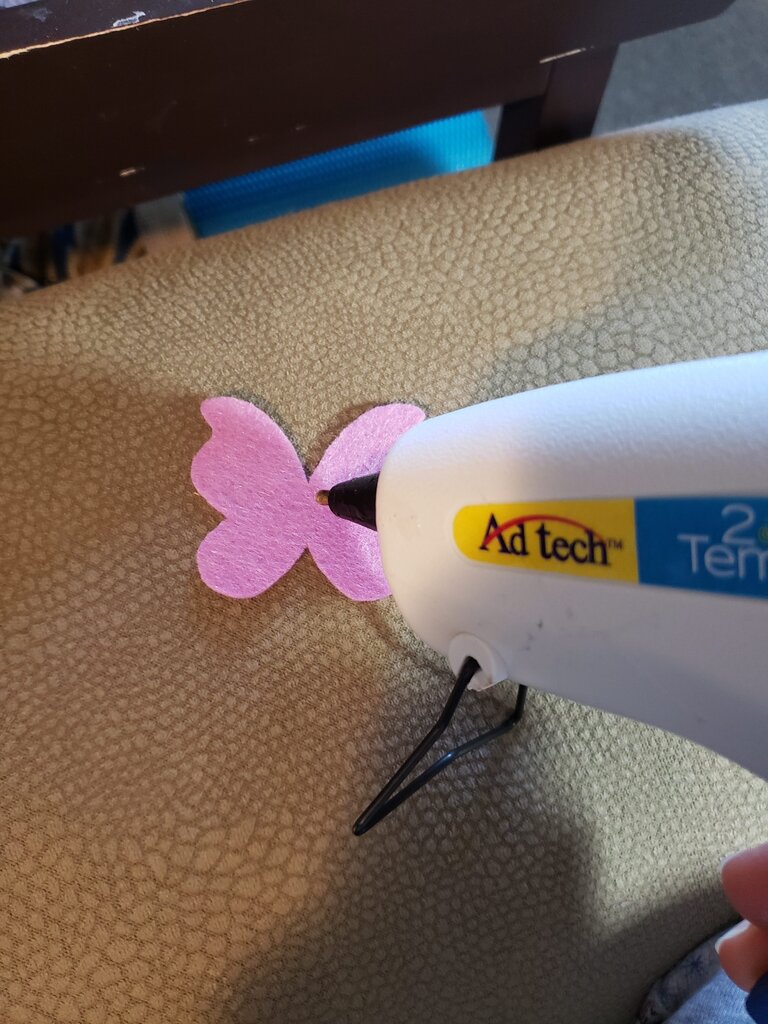
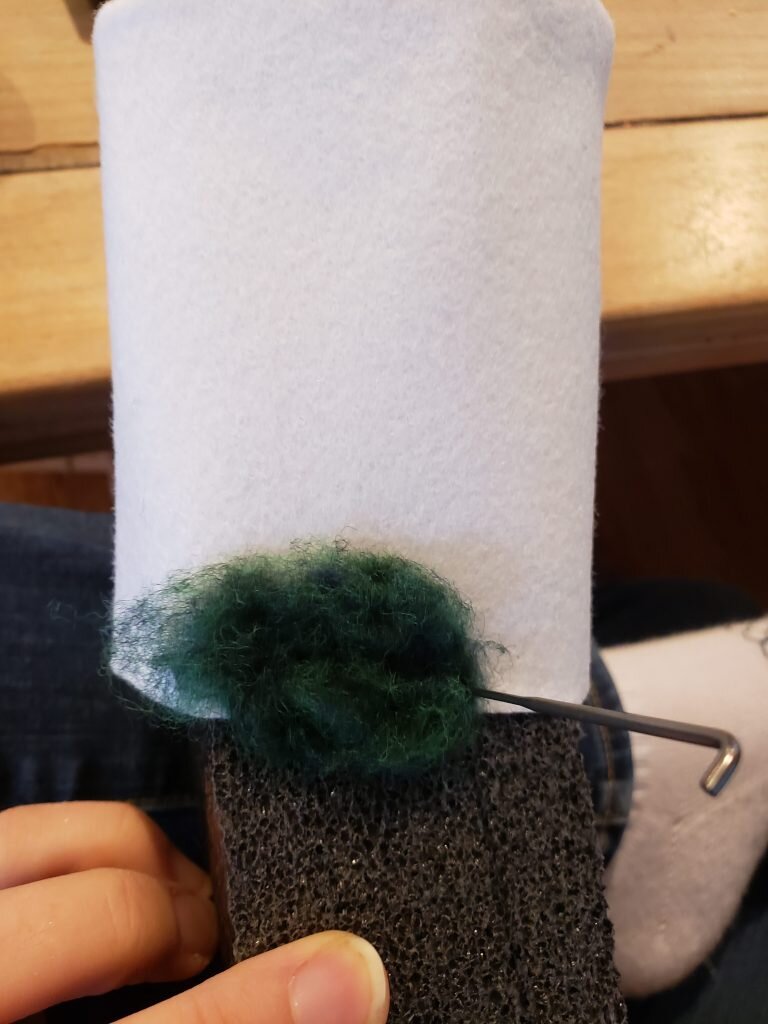
- At this point I felted the door and bushes onto the side of the mushroom house.
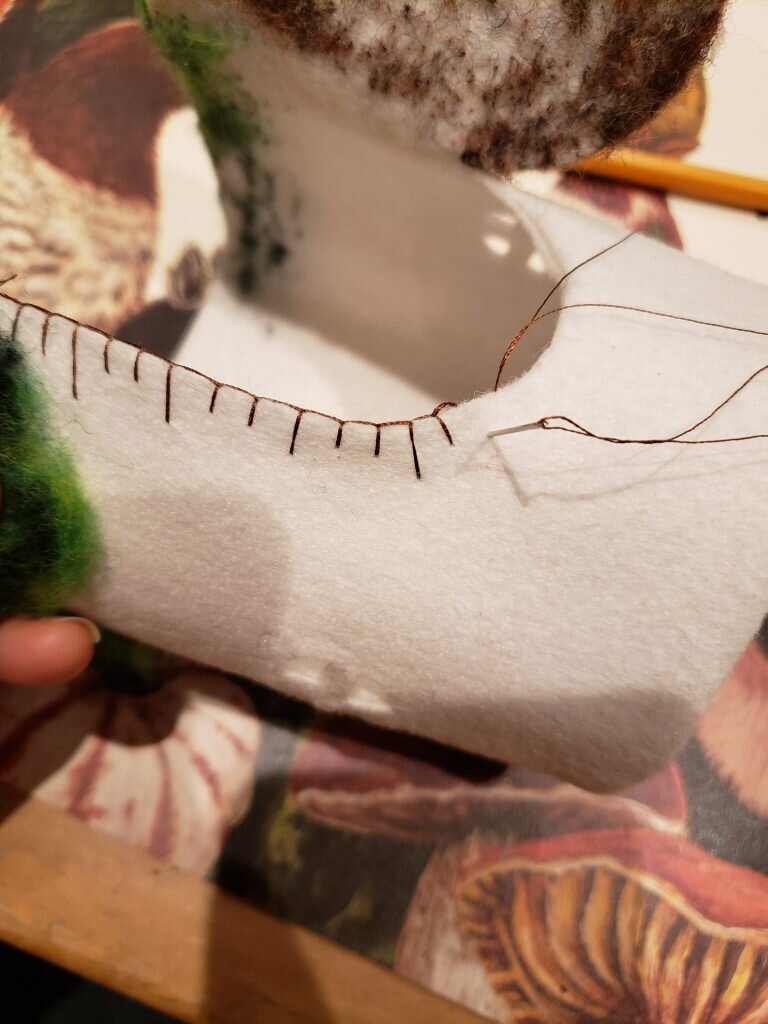
- Then I embroidered the trim around the door and windows.
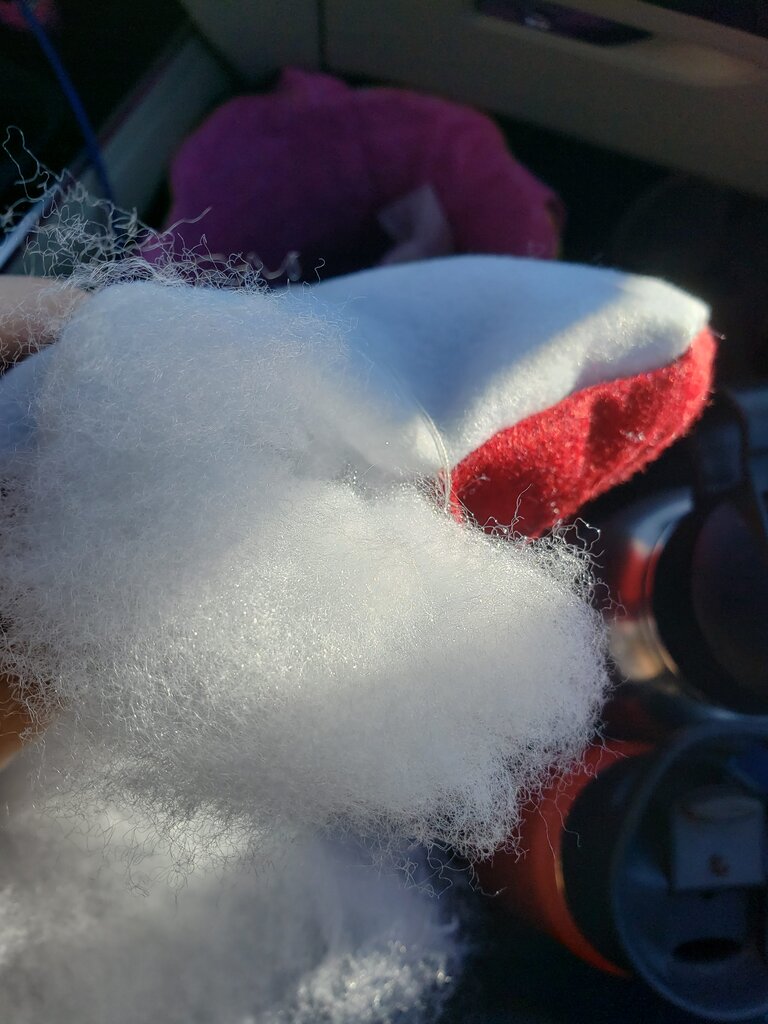
- Next I cut a piece of circle of white felt and a circle of red felt with 9″ diameter.
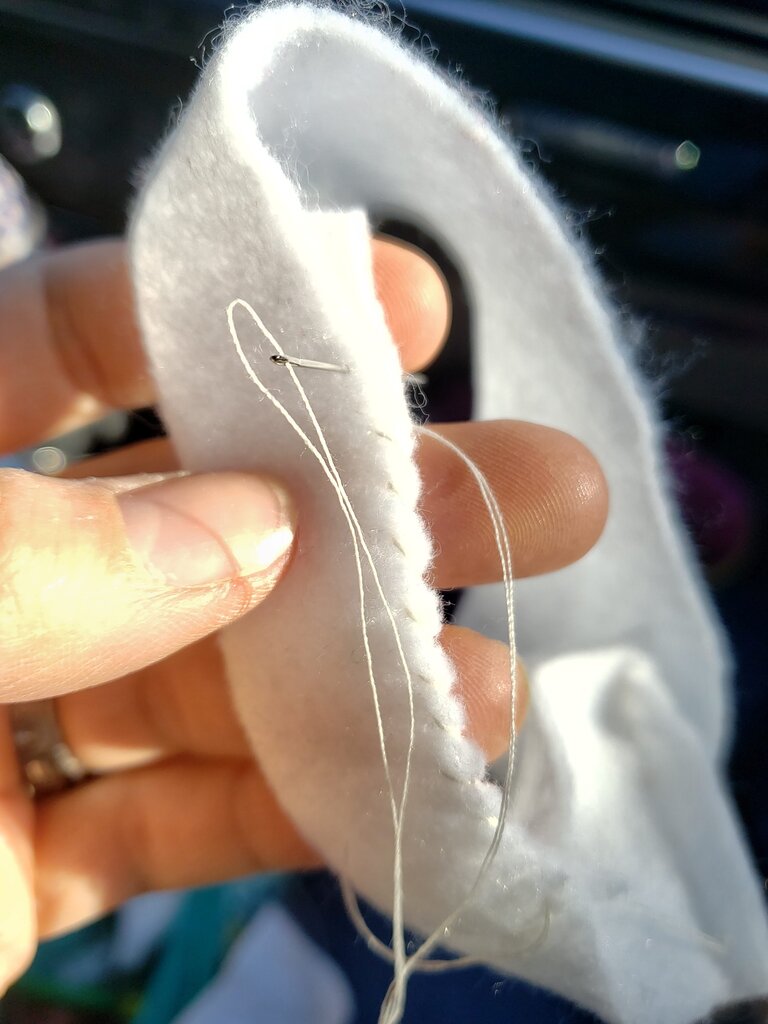
- I hand stitched them together, leaving a 3″ gap, turned them right side out and then stuffed them very lightly with recycled poly stuffing and closed the gap with a ladder stitch.

- Cut a 2″x12.5″ strip of white felt. Stitch the two ends together

- Fold in half the long ways so the unfinished edges are on the inside. Stitch

- Stitch circle (unfinished side) to bottom of the mushroom cap.