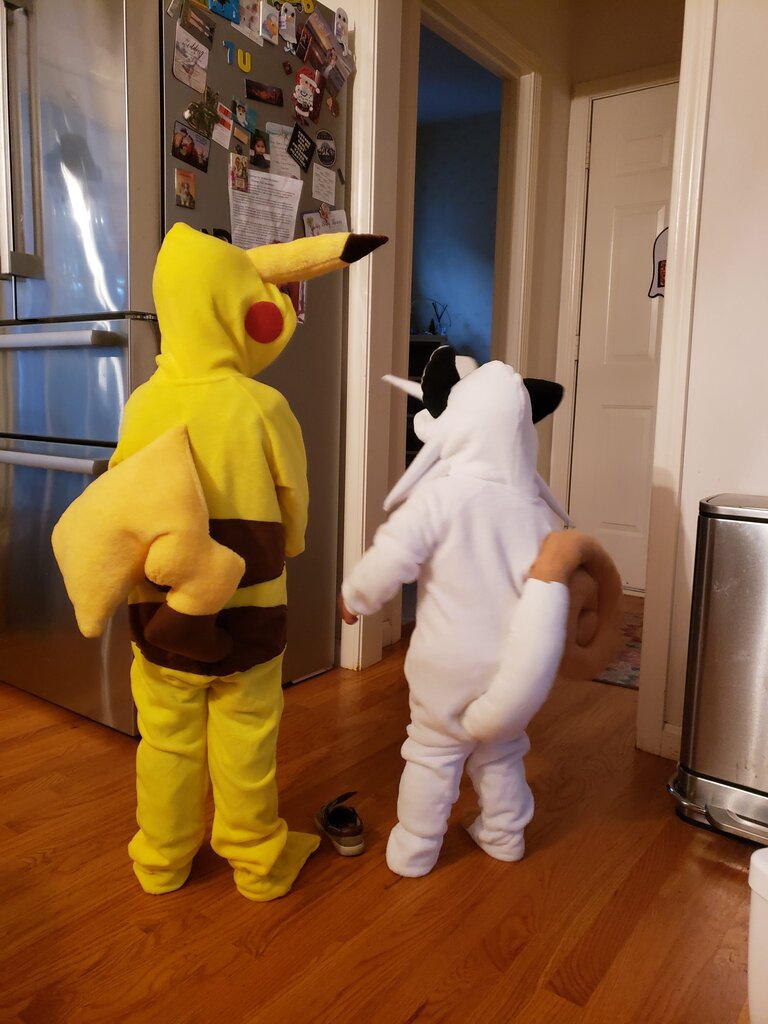
Well I’m sitting in the basement in quarantine. I somehow caught covid despite wearing a mask in public all the time and being one of the most cautious people I know. Ironically I went into work the day before I got sick, something I only do every other month, so I also potentially exposed a bunch of friends and co-workers. That seems incredibly unlucky. Anyway, guess it was bound to happen sooner or later, I’m just glad it didn’t happen during the holidays!
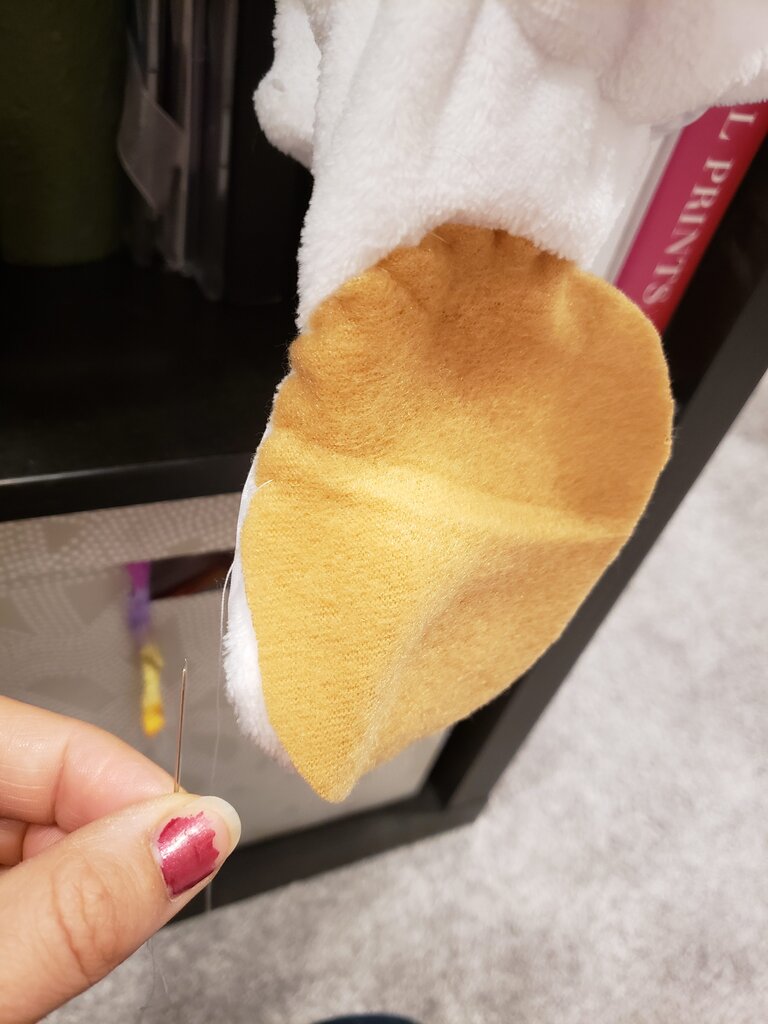
For Christmas this year I fell in LOVE these adorable Maileg mice. They each come clothed in a little outfit, with a little stuffed bed set up inside a pretend matchbox (or the like). They are very well made. For all these reasons they are a bit expensive. I had convinced myself that I was going to sew my own version of these little mice for the kids, but a couple months before Christmas (right when I was cutting down on the crafts I had planned for Christmas) I convinced myself I should just buy the real deal. So I gave up on making the little mice and bought Julius and Patricia each a mouse from Maileg. Some day I’ll probably make them outfits…
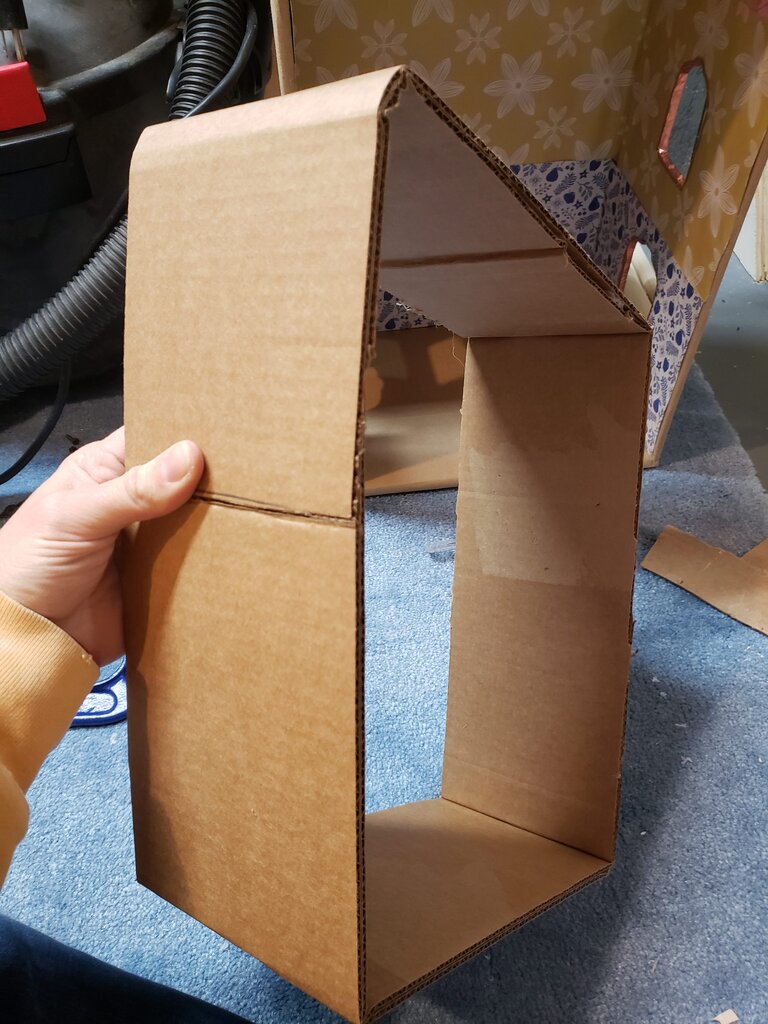
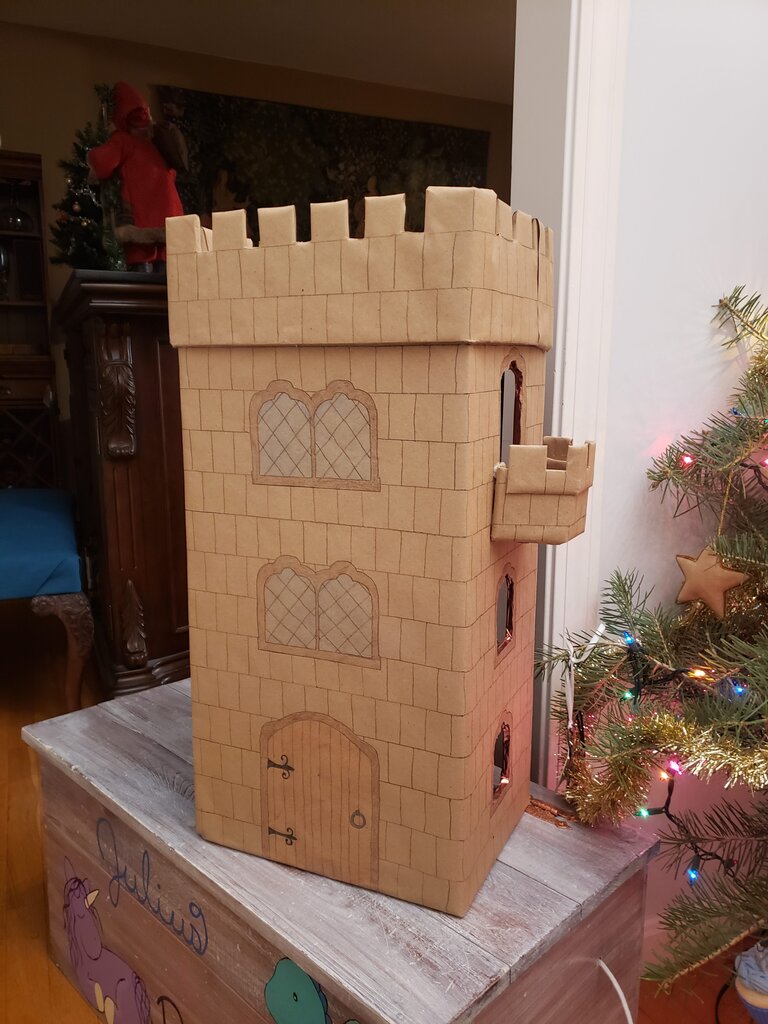
And instead I decided to make a mouse house! The cool thing about the Maileg designs is they are plastic free. A bunch of their dollhouses are made of cardboard! Having made many a cardboard dollhouse in my day, this seemed right up my alley. What I decided to make is really close to the Maileg castle tower, which I love. Is has an adorable modular design that you can add other components to. Originally I had grand plans to make two towers, but it took me so long to make just the one that I halted construction of the second. I will get to it someday though, I’ve already cut out all the doors which took me a considerable amount of time!
Oh and before I forget – Patricia LOVES her little Maileg mouse. It was the first present she opened on Christmas, and she flat out refused to open any other presents for a solid hour afterwards. She just sat there snuggling it. Now she sleeps with the mouse in her bed, in it’s bed. It’s very frustrating to find all the pieces whenever she loses them (which is all the time) but it’s so adorable watching her snuggle it that it makes up for the constant scavenger hunt. And I asked Julius if he liked the castle and he said “who made that?” His response when I told him I did was, “wow Mommy, good job it looks great”.
Well if you want the Maileg castle, you should definitely buy it yourself. But if you’re like me and had lots of boxes lying around from that pirate ship you never made then have at it!
 Cardboard Castle Dollhouse (inspired by Maileg)
What you’ll need:
- 1 sturdy box about 2.5 feet tall and 1 foot deep and at least 1 foot wide (mine was a server box, so double layered and very sturdy)
- Additional cardboard for turret and balcony
- Hardboard for flooring
- Assorted colored paper for wallpaper and flooring
- ~6 feet of quarter round
- brown craft paper
- 1/2″ washi tape
- colored pencils
- wood glue
- Glue gun
- xacto knife
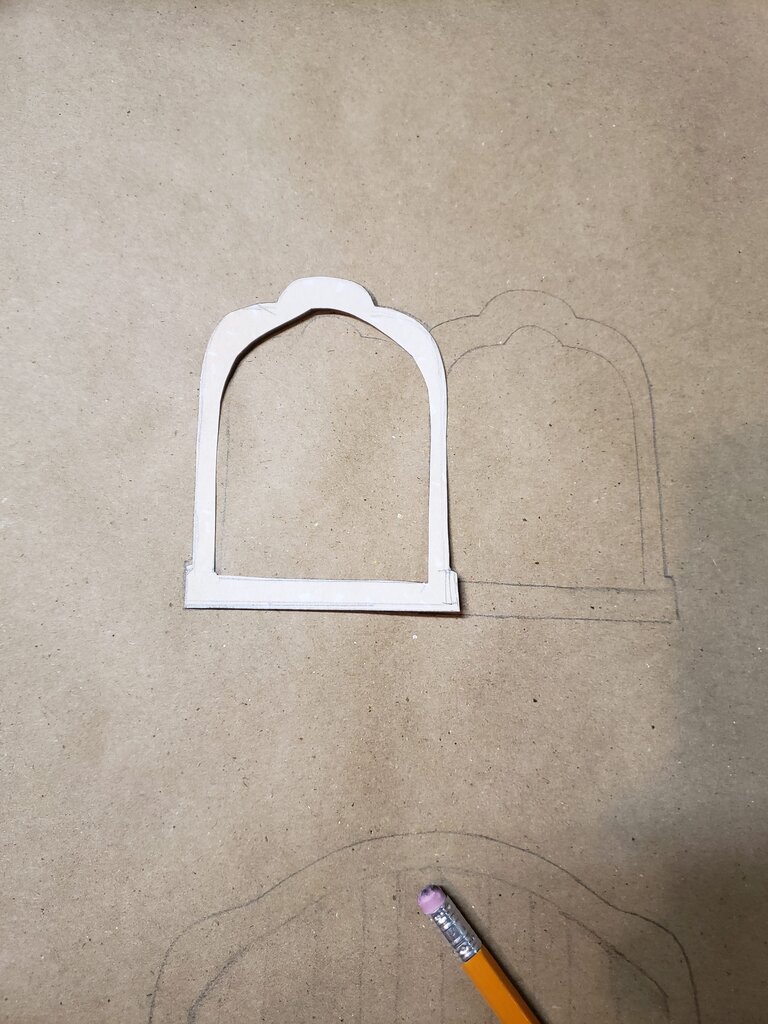
- Pattern here
- Cut your box in half to form a box about 1’x1’x2.5′.
- Use wood glue to glue the box flaps shut.
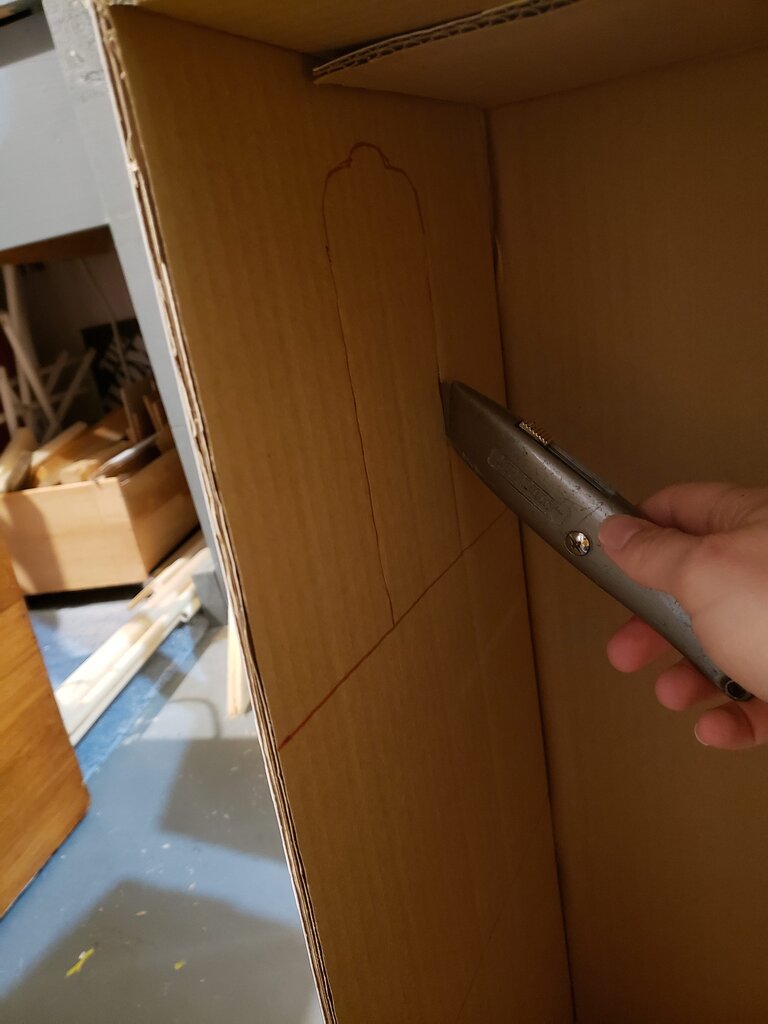
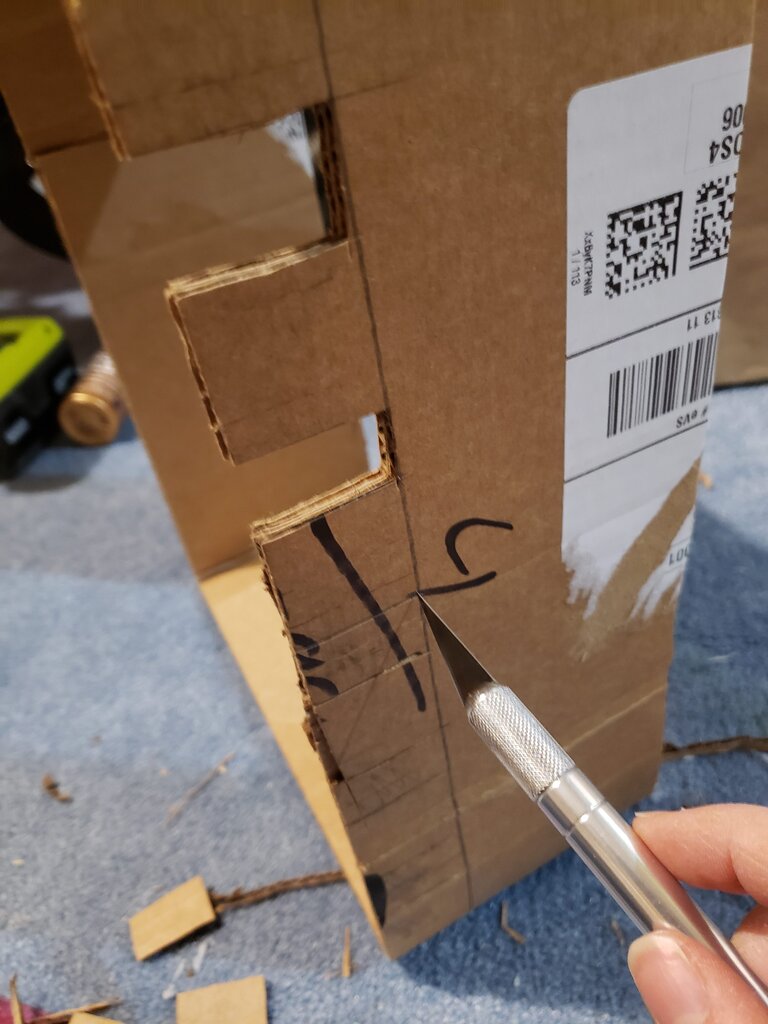
- Measure and divide box into 3 equal height floors. Using my template draw a door to a balcony on top floor of one side, and door to outside on bottom floor on opposite side. Cut.

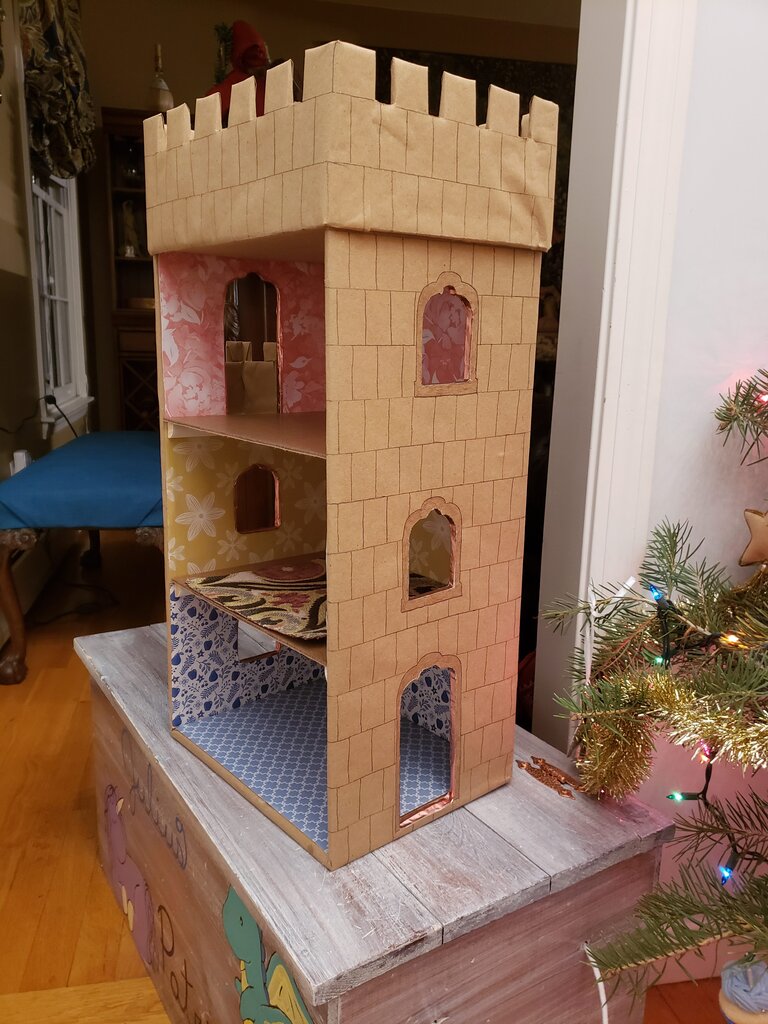
- Using my template draw and cut out windows on sides opposite the doors, and the middle floor. These should be an inch or so above the floor dividing lines.
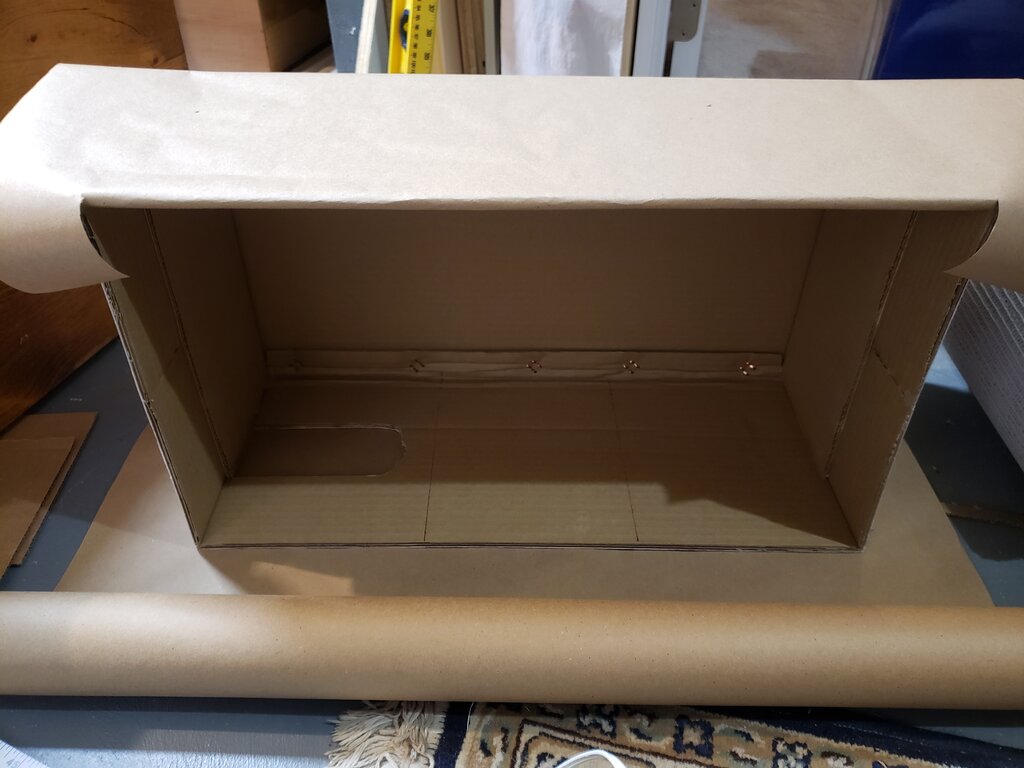
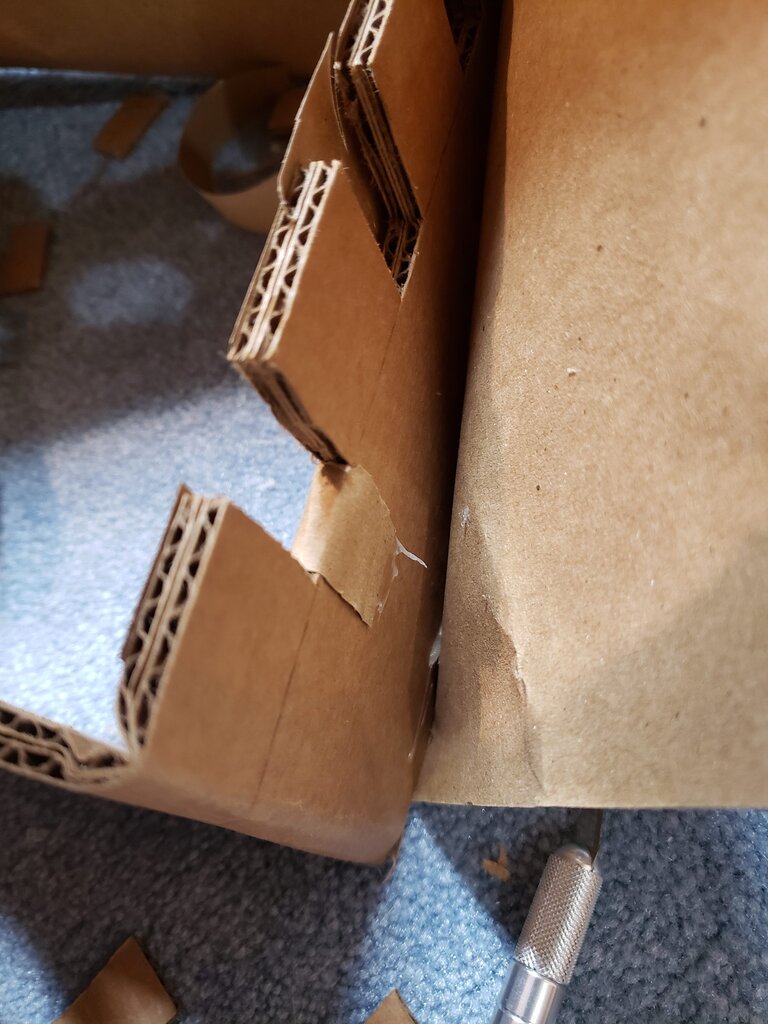
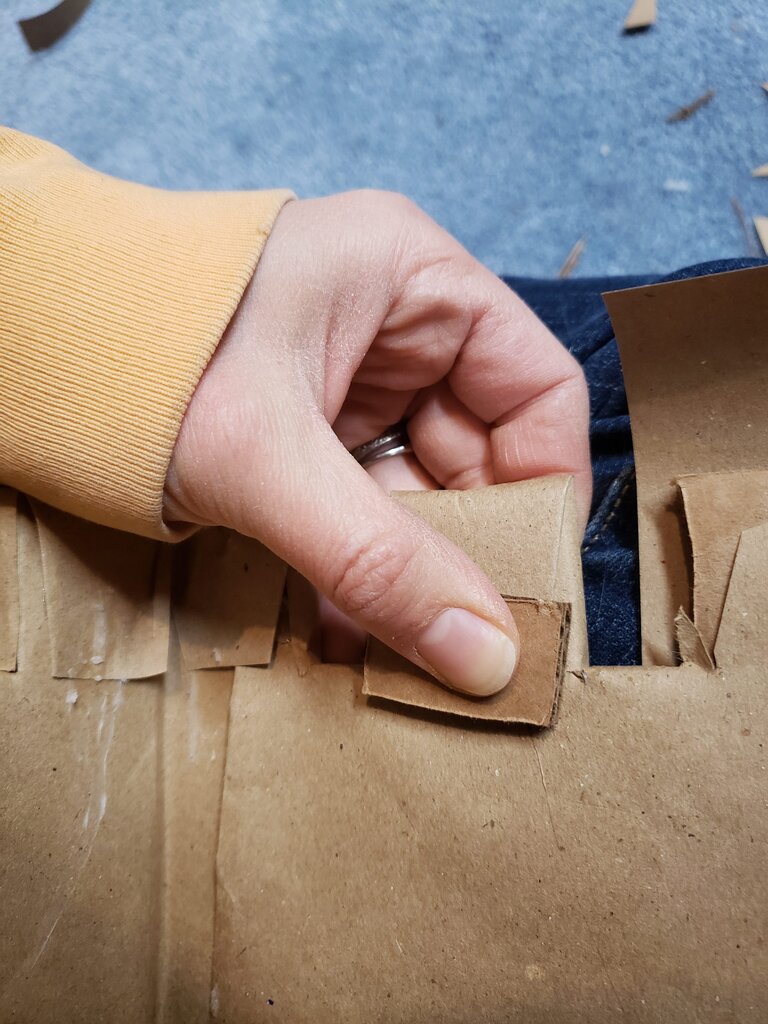
- After the doors and windows are cut, wrap the entire box in kraft paper, leaving the inside open. I folded the sides first, then cut a piece to fit on the top and inside top.

Wrap outside of box in kraft paper.
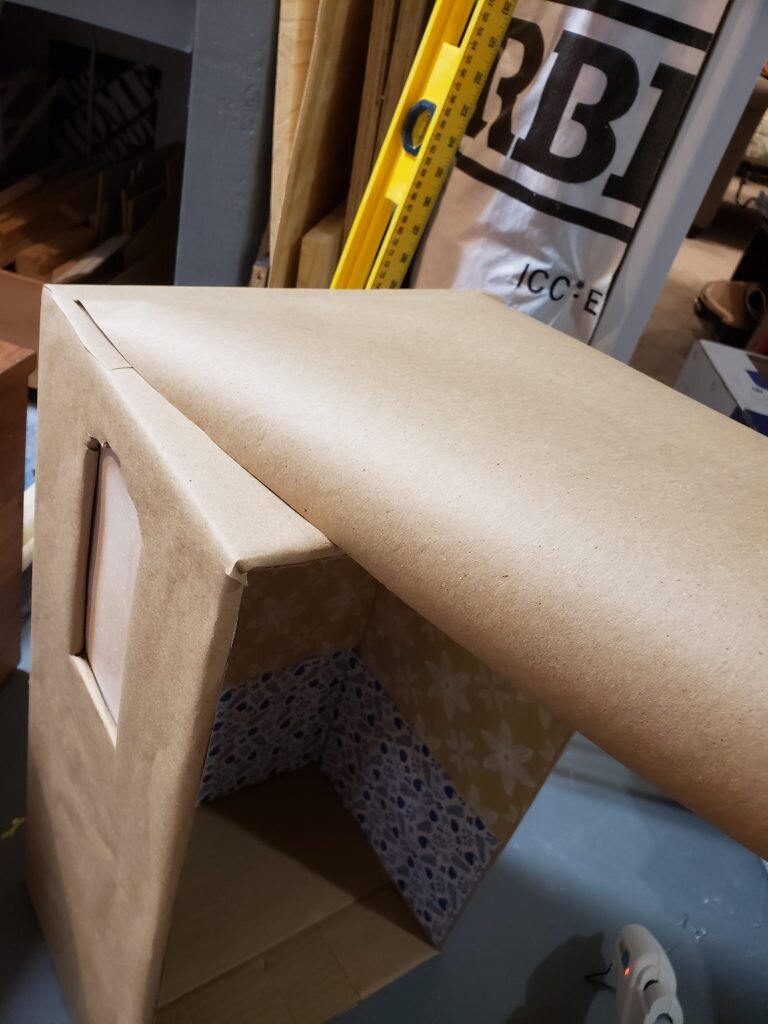
Cover top of box (inside and outside) with kraft paper.
- Cut an ‘x’ in the center of each door or window and fold down the kraft paper over the exposed pieces of cardboard as best you can to form the window ledges/frames and doorframe (note: I actually only did this for the doors, but wish I’d done it for doors and windows, so I’m telling you to do it this way for future reference :D )
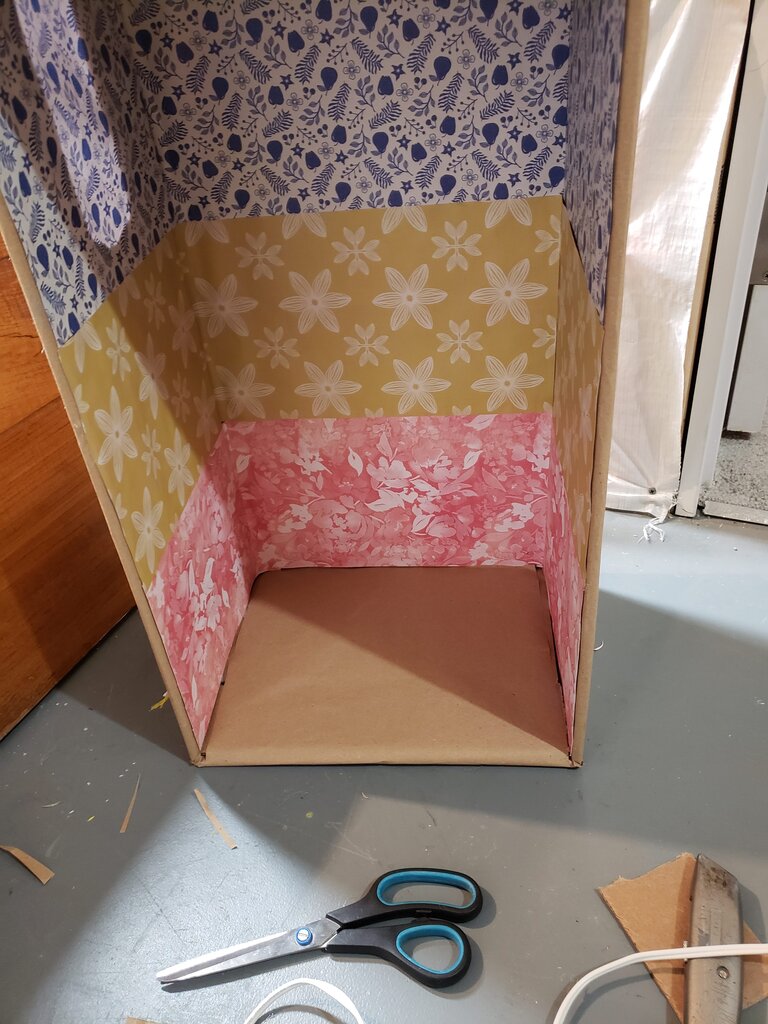
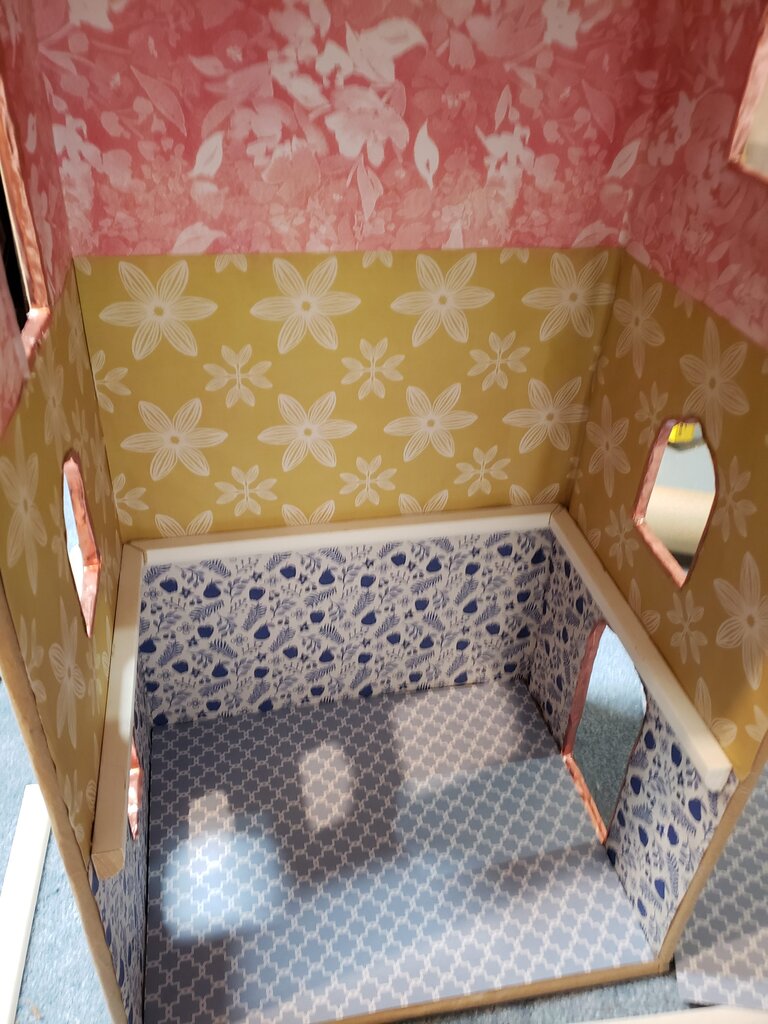
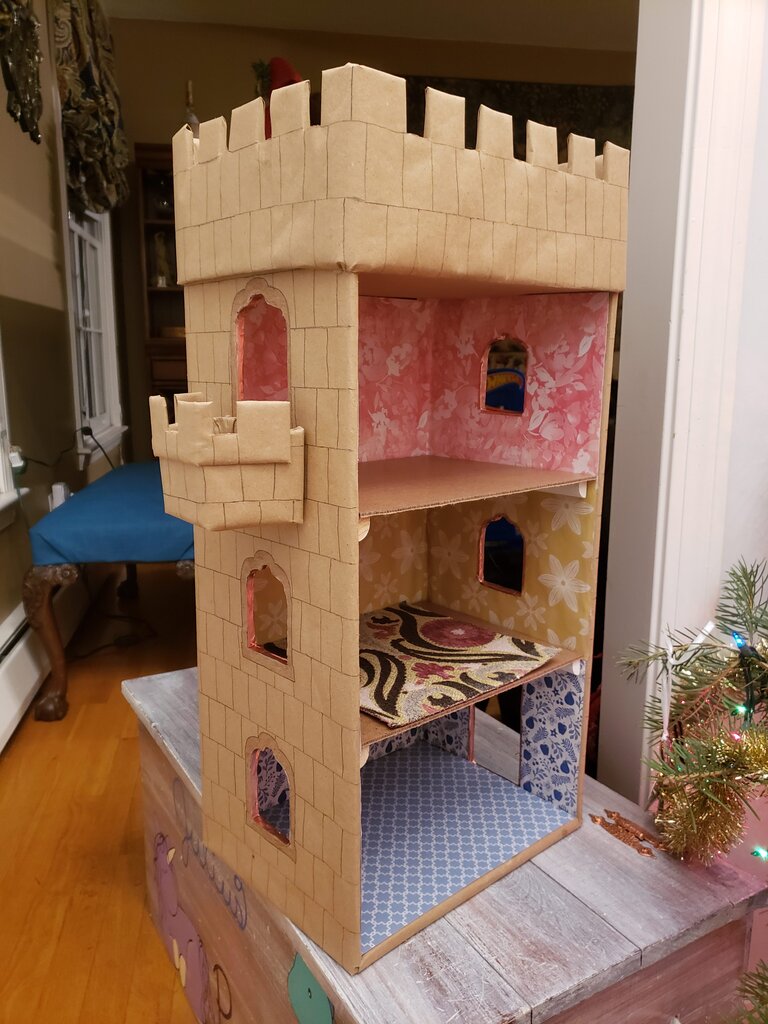
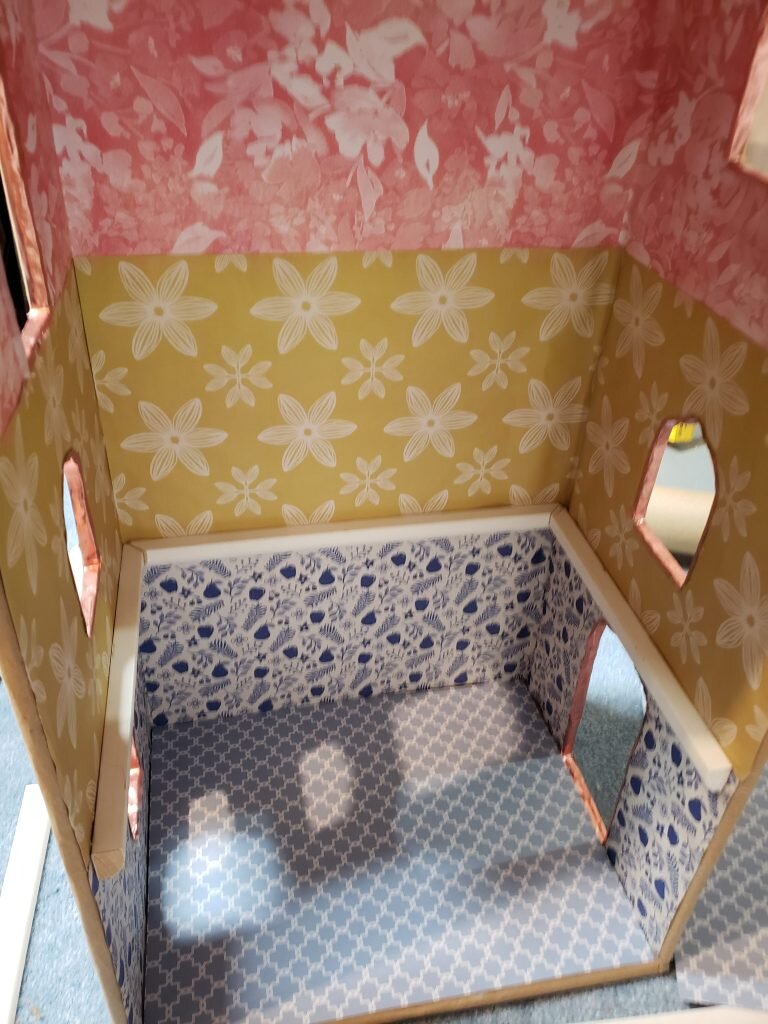
- Measure the size of each segment of wall and cut down paper to this height. Hot glue paper into inside of the box in each “floor” segment.

Wallpaper glued in place.
- Glue washi tape into window openings, curling into the inside of the castle over the wallpaper.
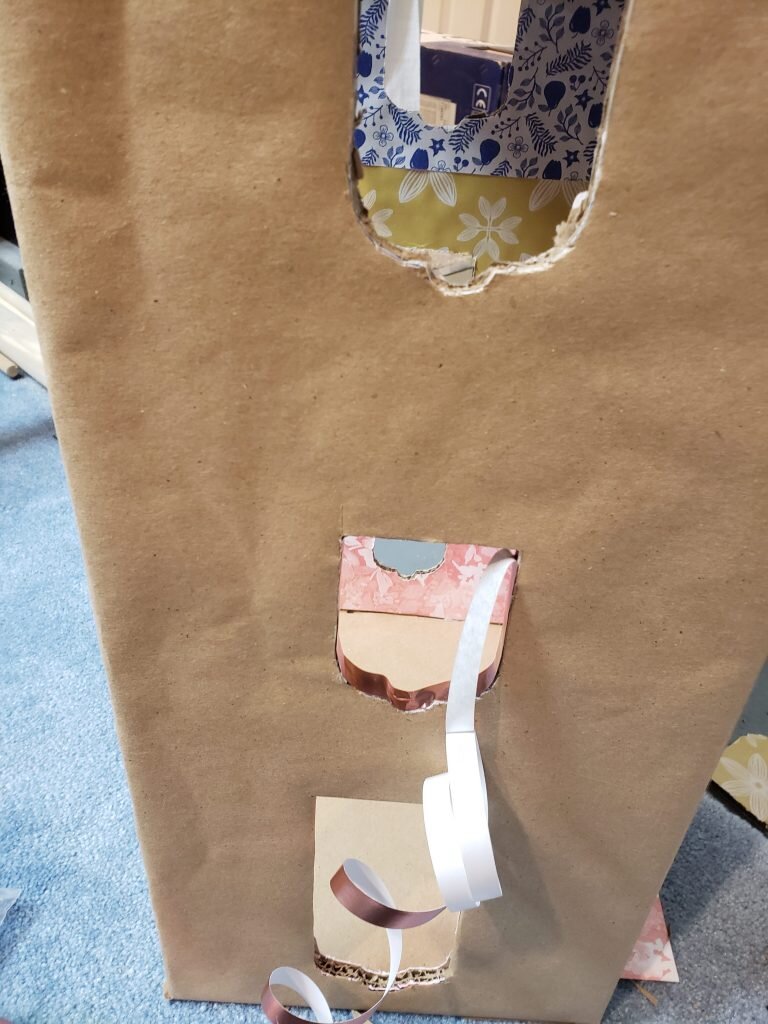
Gluing washi tape into windows.
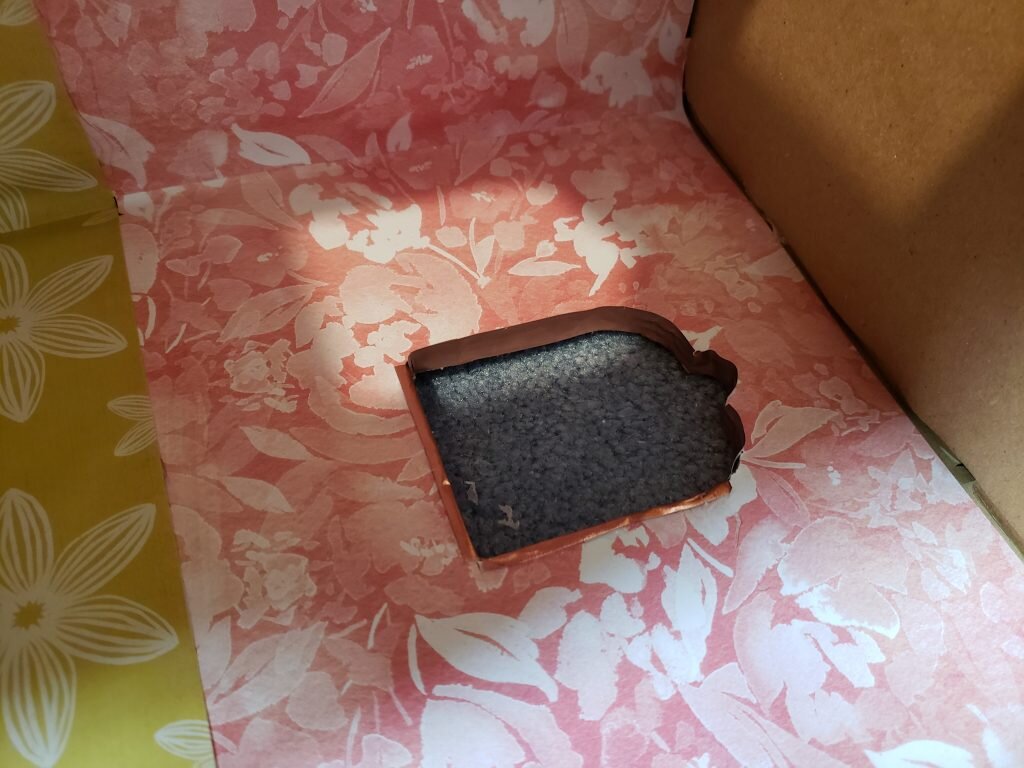
Inside view of washi tape.
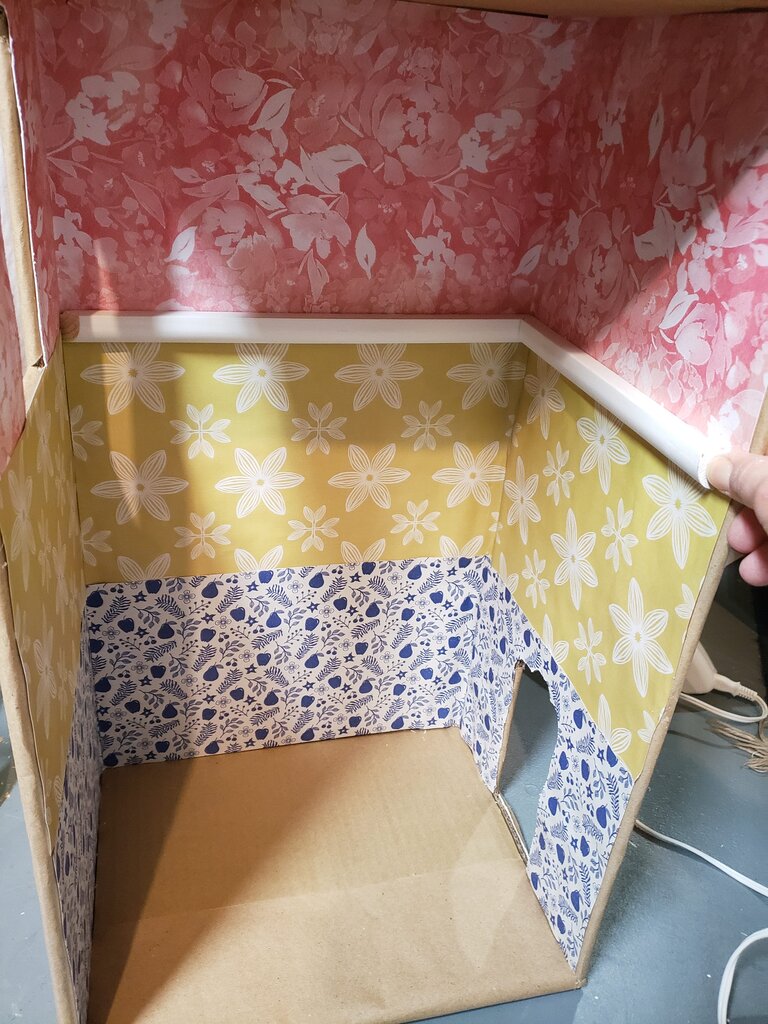
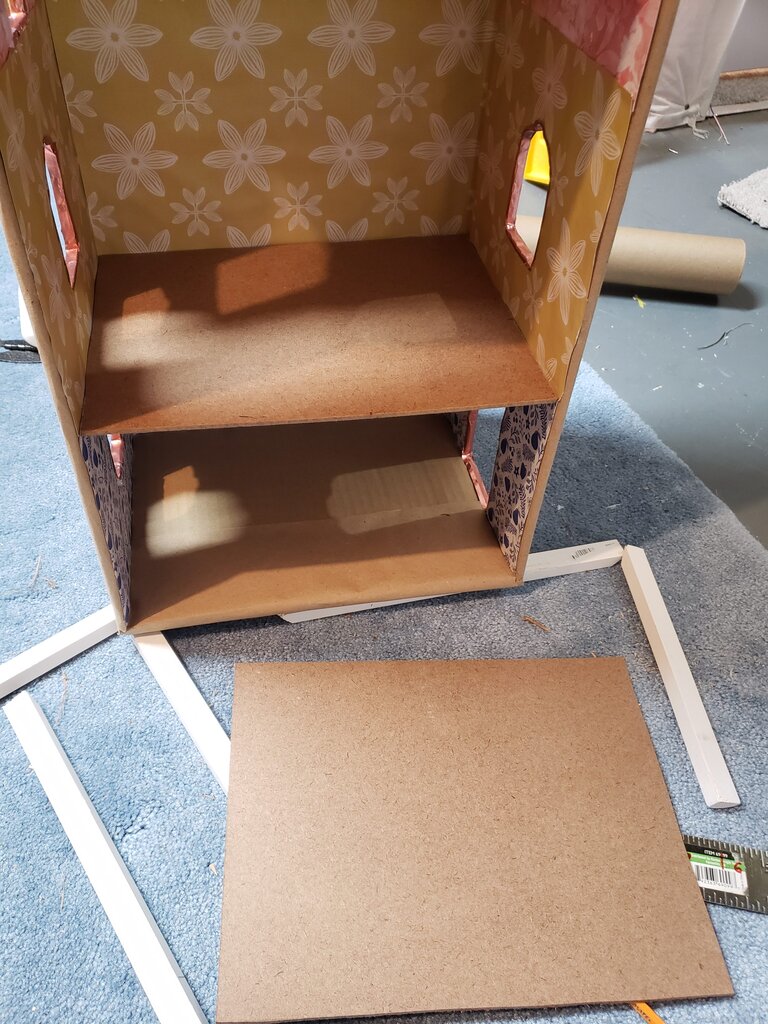
- Measure the inside dimensions of the box for each “floor” and cut two pieces of hardboard for the upper floors.
- Cut piece of cardstock for bottom “floor”. Glue in place.
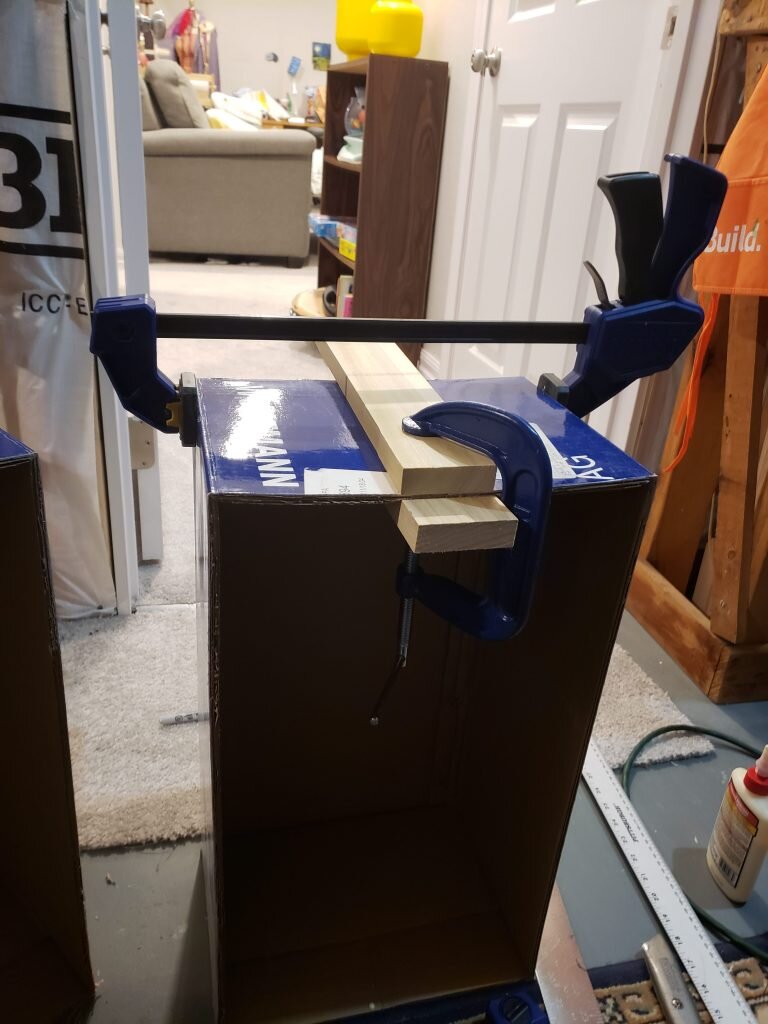
- Cut quarter round into segments to fit within your box. The flat side will need to be on the top to hold a piece of hardboard, and the two pieces of wood should be cut at 45 degree angles to meet in the corners. (See image below)

Cut quarter-round.

Example of how it should look when completed.
- Glue quarter round into place on middle floor
Gluing quarter round into place. (you can see the bottom floor is also glued into place in this picture).
- Glue hardboard into place on middle floor.

Hardboard in place.
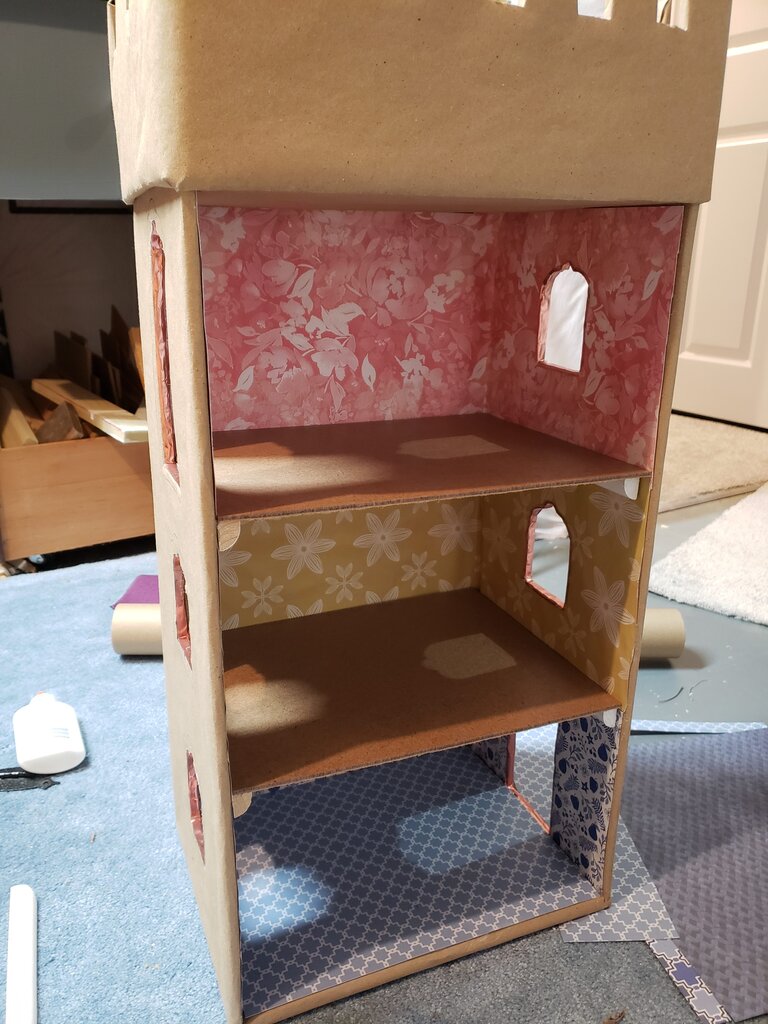
- Repeat steps 12 & 13 for top floor.

Top floor completed.
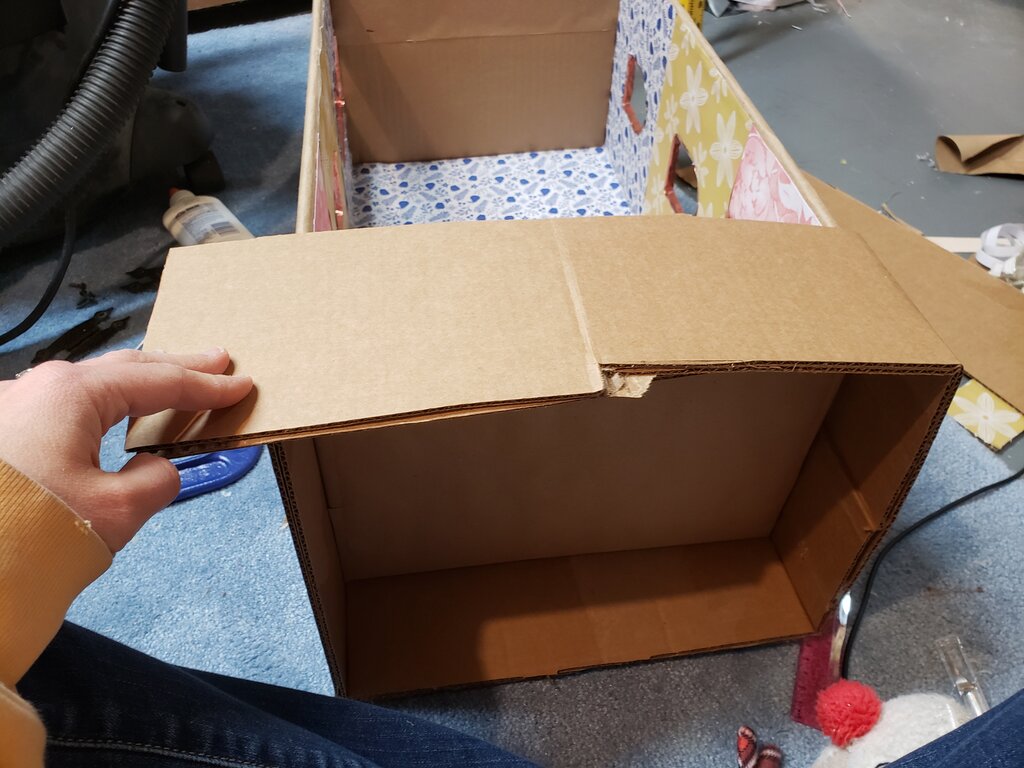
- Measure the outside perimeter around the castle. Cut two pieces of cardboard that length and 5″ tall.

- Offset pieces slightly then glue on top of each other to form a thicker piece of cardboard. Fold to form a box that will fix over the top of the castle.

Gluing to form a box.
- Glue offset portions together.
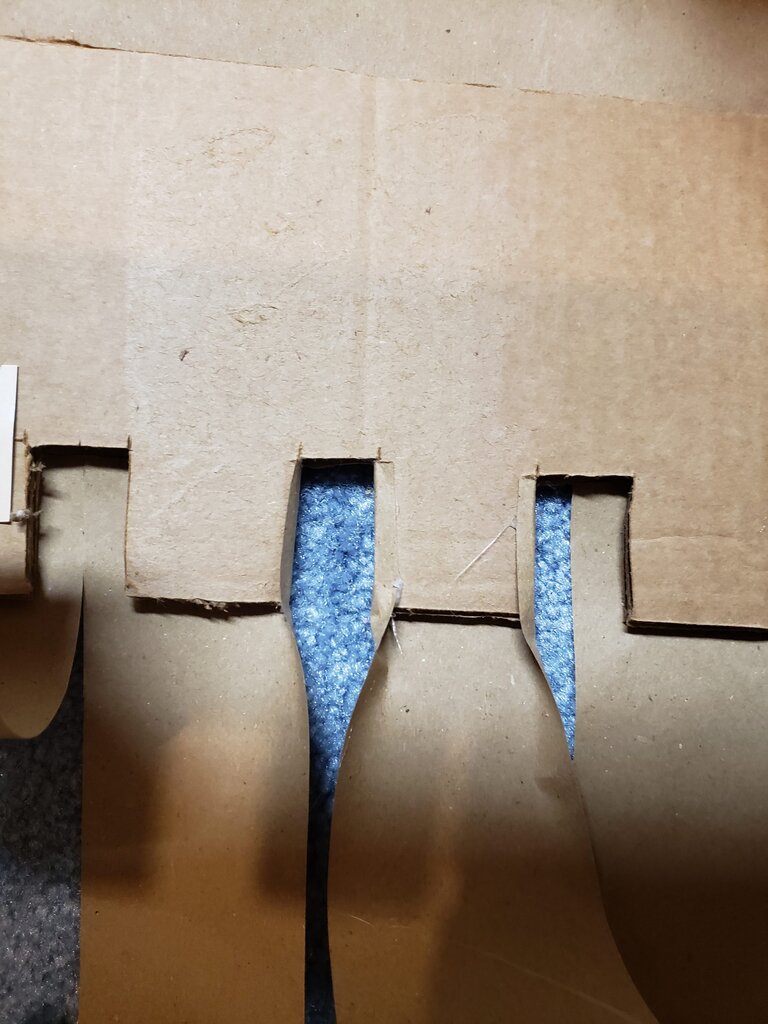
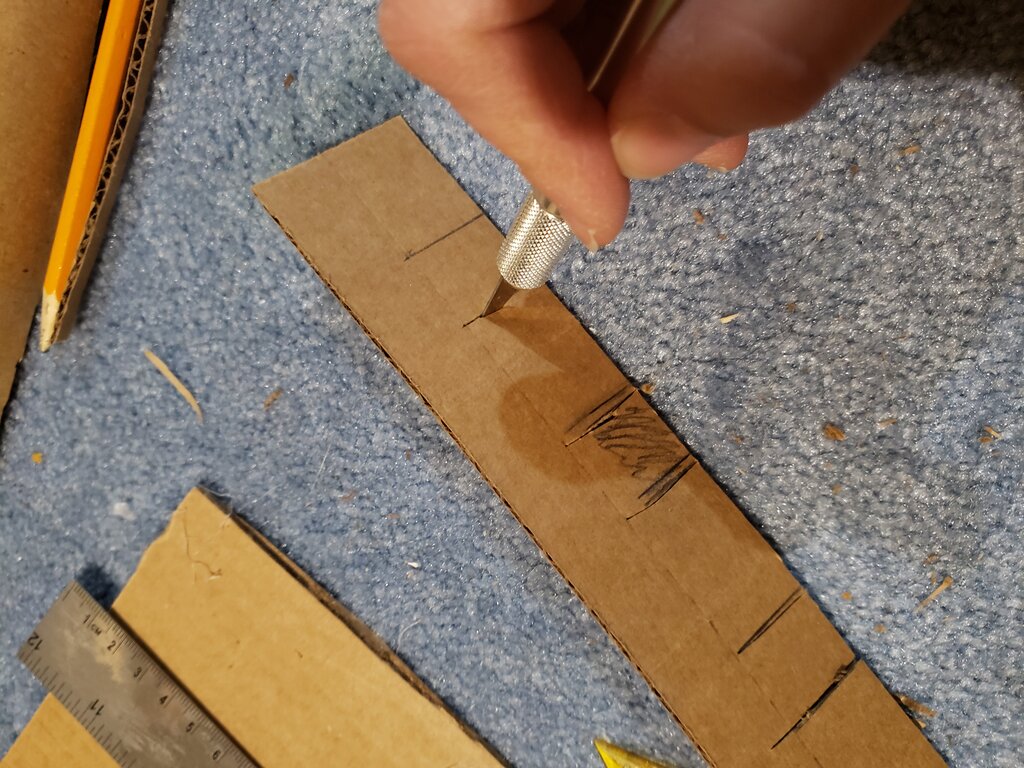
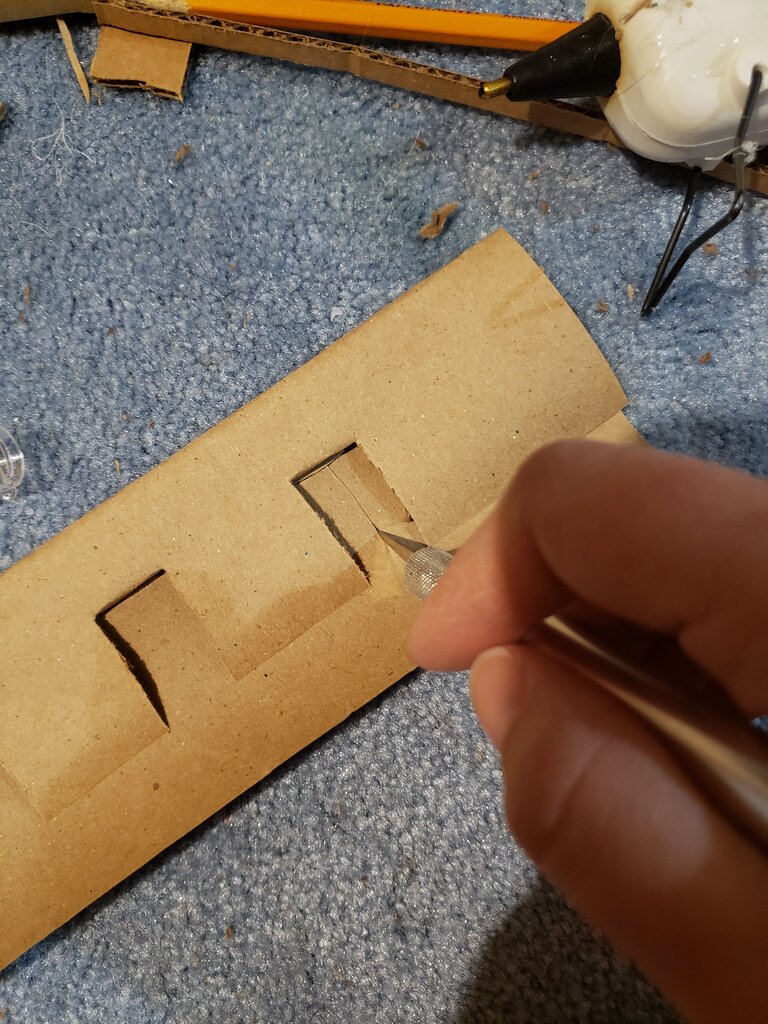
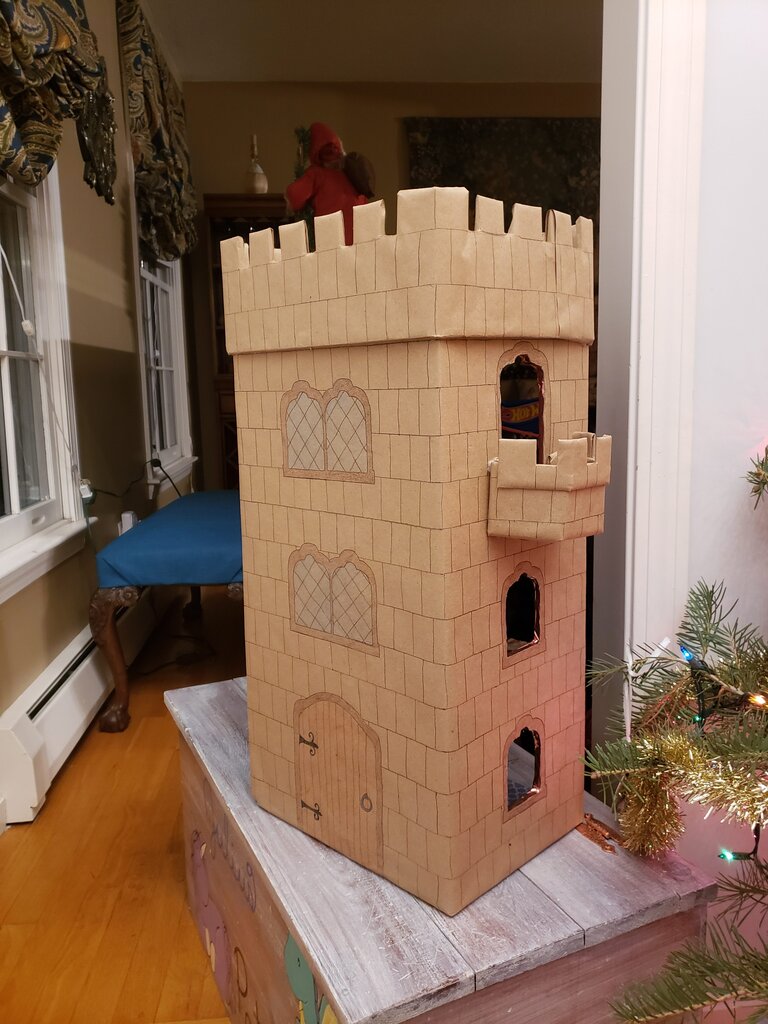
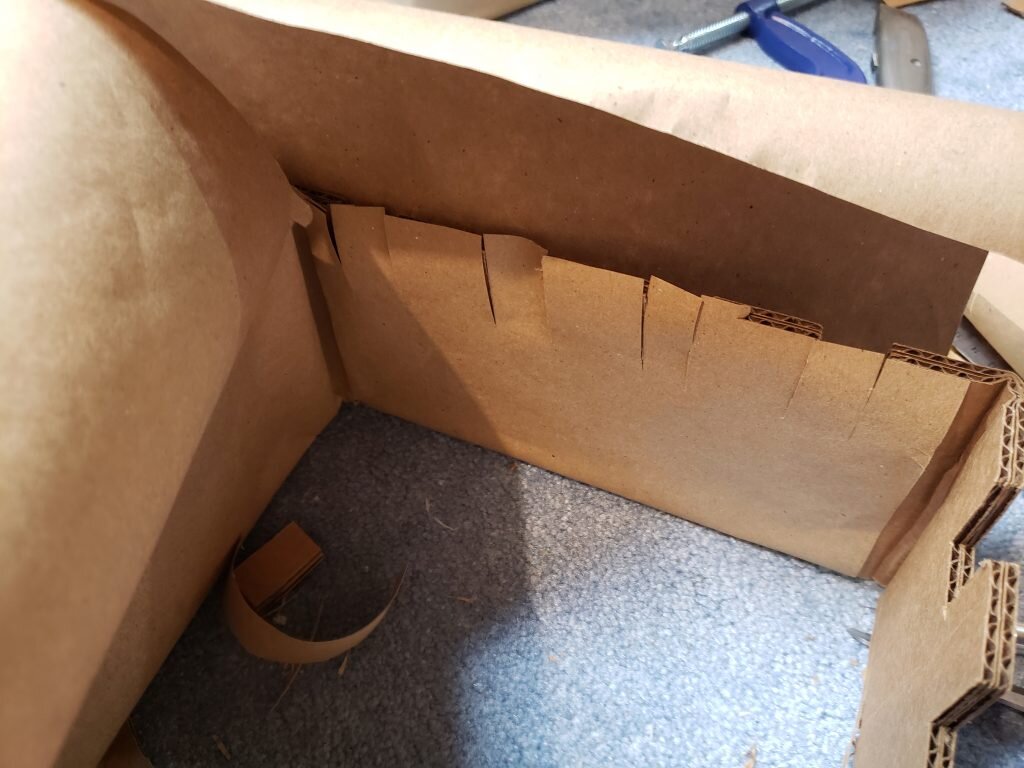
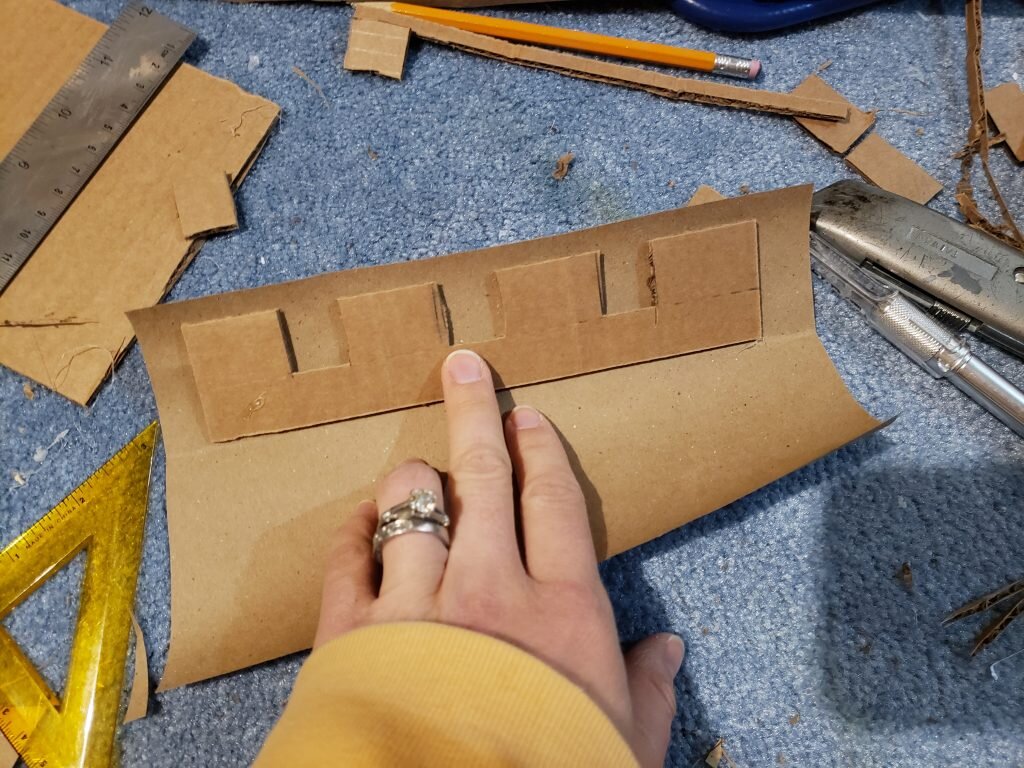
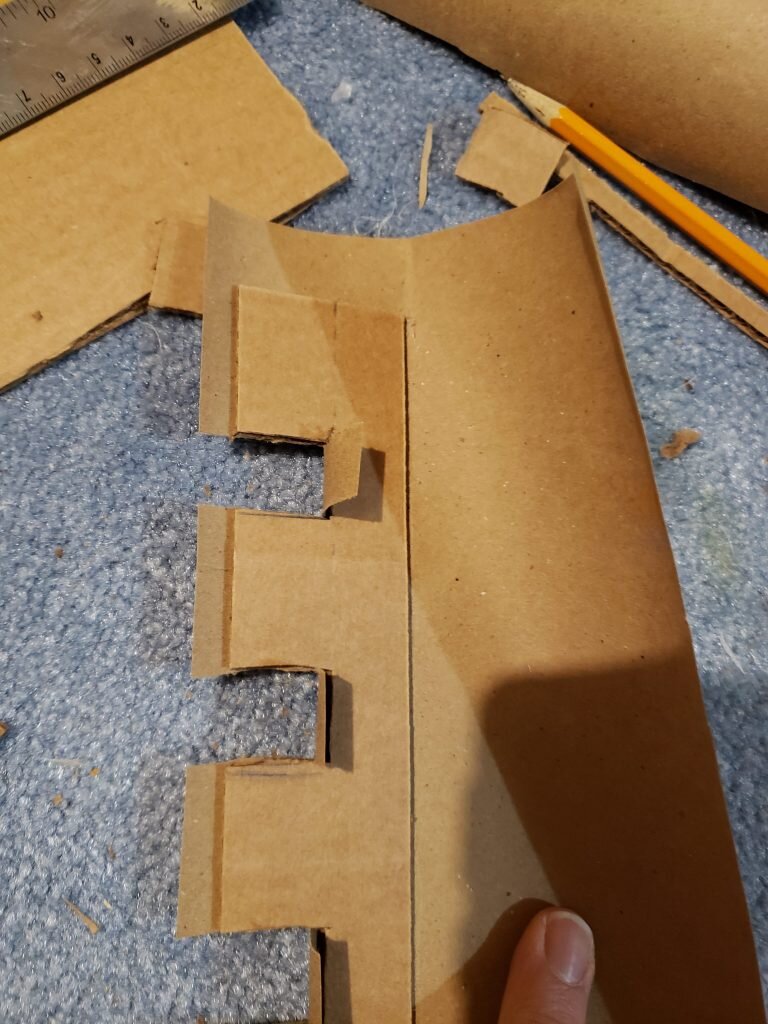
- Cut pattern into top of castle wall by cutting a 1/2″x1″ rectangle notch with every 1″ between along the castle. (Note: I had to fudge this slightly to get it to measure out evenly)

Cut notches into top of castle.
- Cover top of castle wall with kraft paper by folding a piece of kraft paper in half so that it is slightly taller than the castle wall. Glue inside portion in place first, then cut slits to match the cut out portion of the wall.
- Fold slits over down to the front of the castle wall, glue in place.

- Glue the outside of the wall in place, then cut a slit down the center of the cut out portion of the wall, and along the bottom of the cut of portion of the wall. Fold onto the large sections of castle wall, and glue in place. (*note this picture doesn’t show step 20 being completed first, just ignore this, I didn’t have a better picture with the correct placement.)

- Fold the top of the wall down and glue in place.

- Create the balcony.
- Use my template to cut and fold the balcony as indicated.
- Glue bottom to sides at tabs.
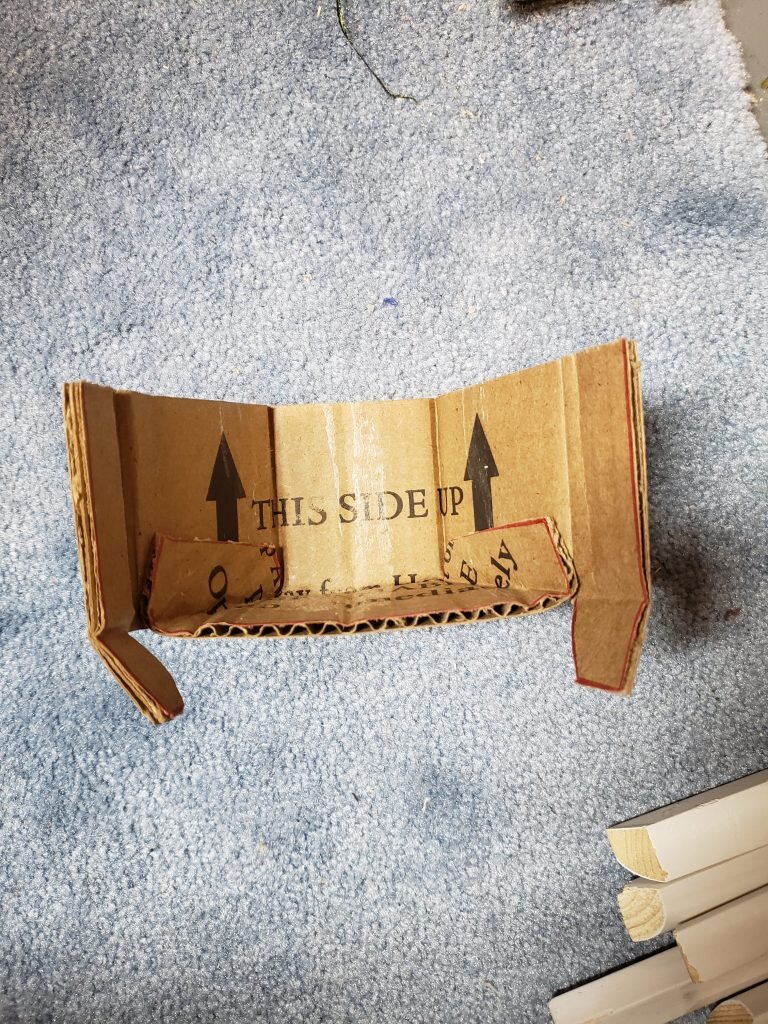
Glue bottom to sides using tabs
- Glue back sides to bottom at tabs.
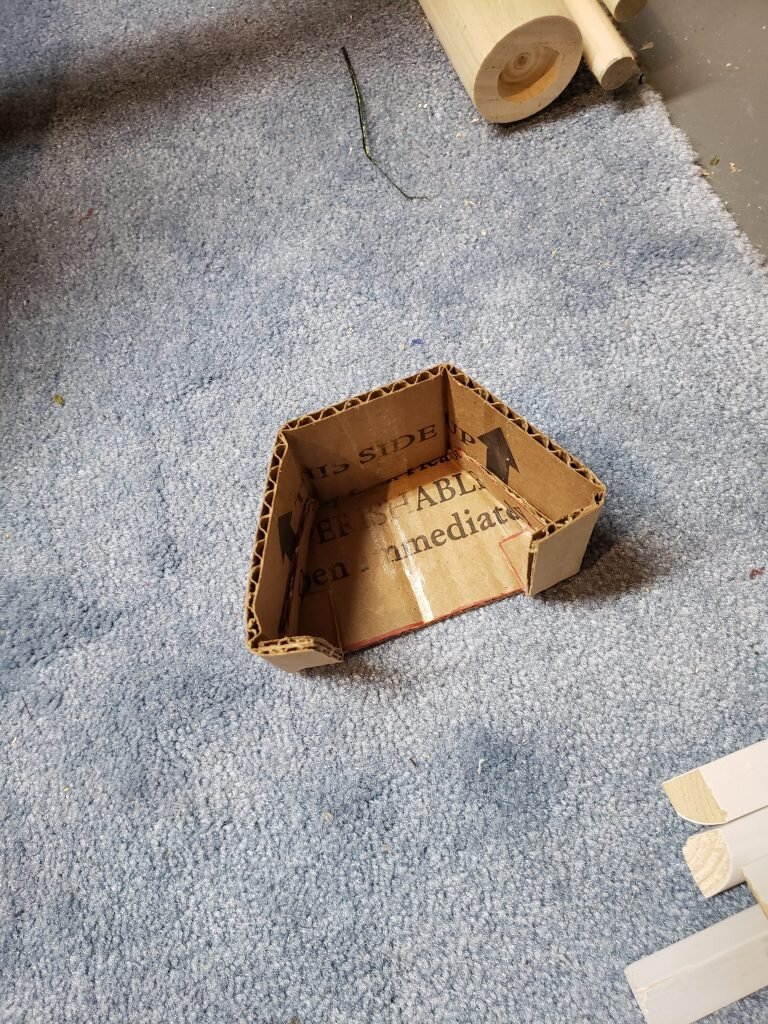
Glue back flaps to the bottom of balcony via tabs.
- Wrap in kraft paper.
- Create a smaller brick topper for balcony 5.5″ wide and 1″ tall.
- Cut out 1/2″x1/2″ notches with 1″ bricks in between.

- Cover top of castle wall with kraft paper by folding a piece of kraft paper in half so that it is slightly taller than the castle wall. Glue inside portion in place first, then cut slits to match the cut out portion of the wall.
- Fold slits over and down to the front of the castle wall. Glue in place.
- Glue the front (outside) of the wall in place, then cut a slit down the center of the cut out portion of the wall, and along the bottom of the cut portion of the wall. Fold onto the large sections of castle wall, and glue in place.

- Fold the top of the wall down and glue in place. Fold unfinished sides in to the back and glue in place.
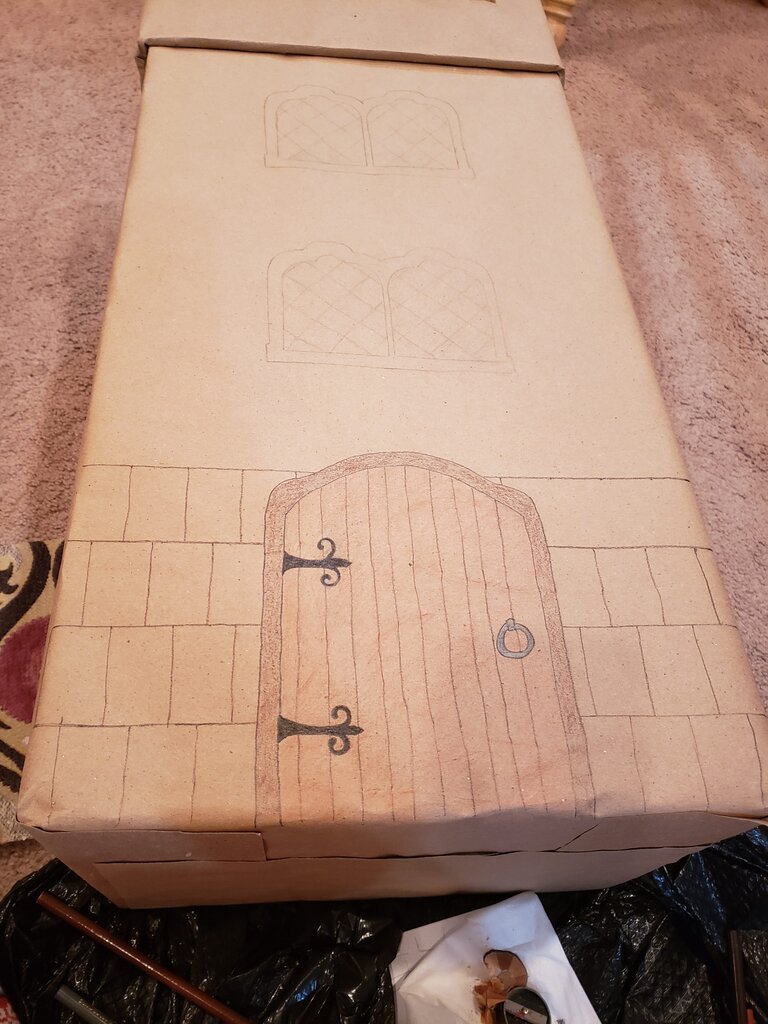
- Using template for windows and doors draw windows and door on front of castle, and then draw an outline around windows and doors on side of castle and fill in with colored pencils.

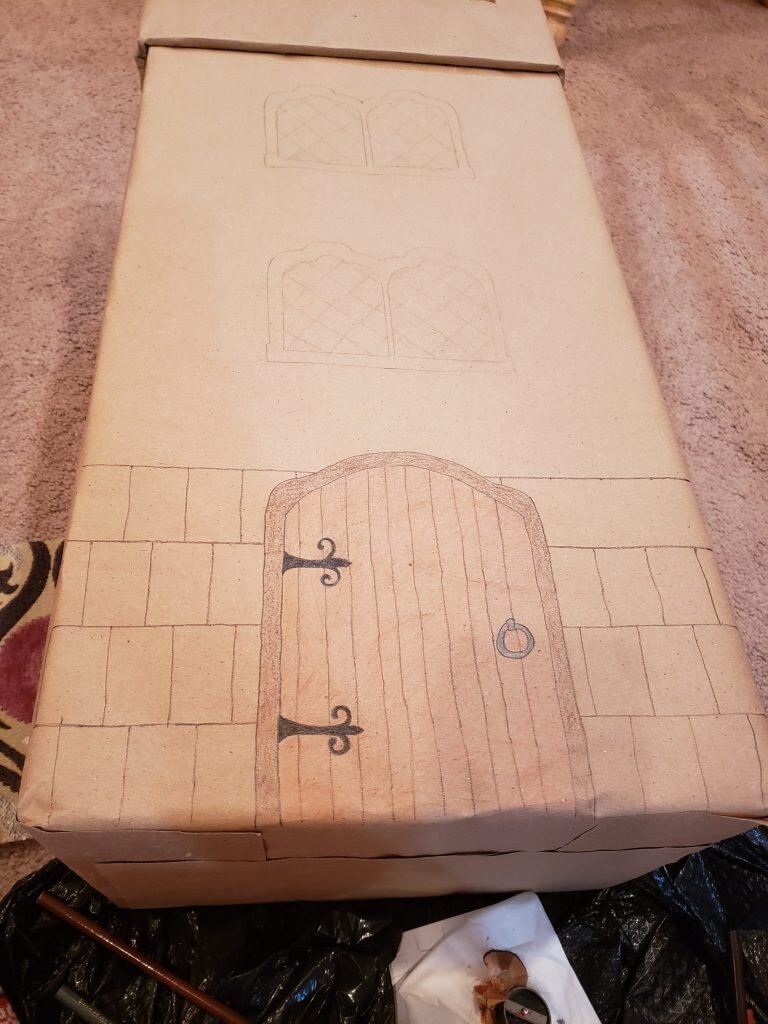
- Use a ruler as a guide to draw 1.5″ bricks spaced 1″ apart on entire face of castle. Repeat for top turret portion of castle as well as balcony.

- Glue the top of the castle with brickwork on top of castle.
- Glue the brickwork piece of balcony on top of balcony.
- Glue balcony on outside of top balcony door.