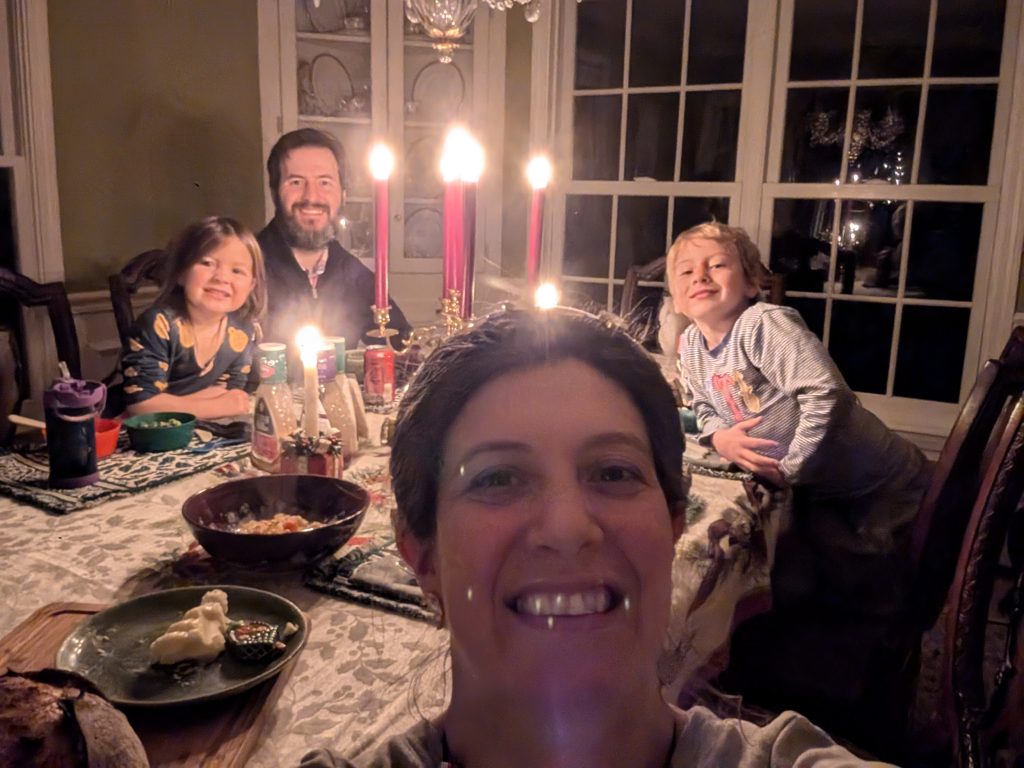
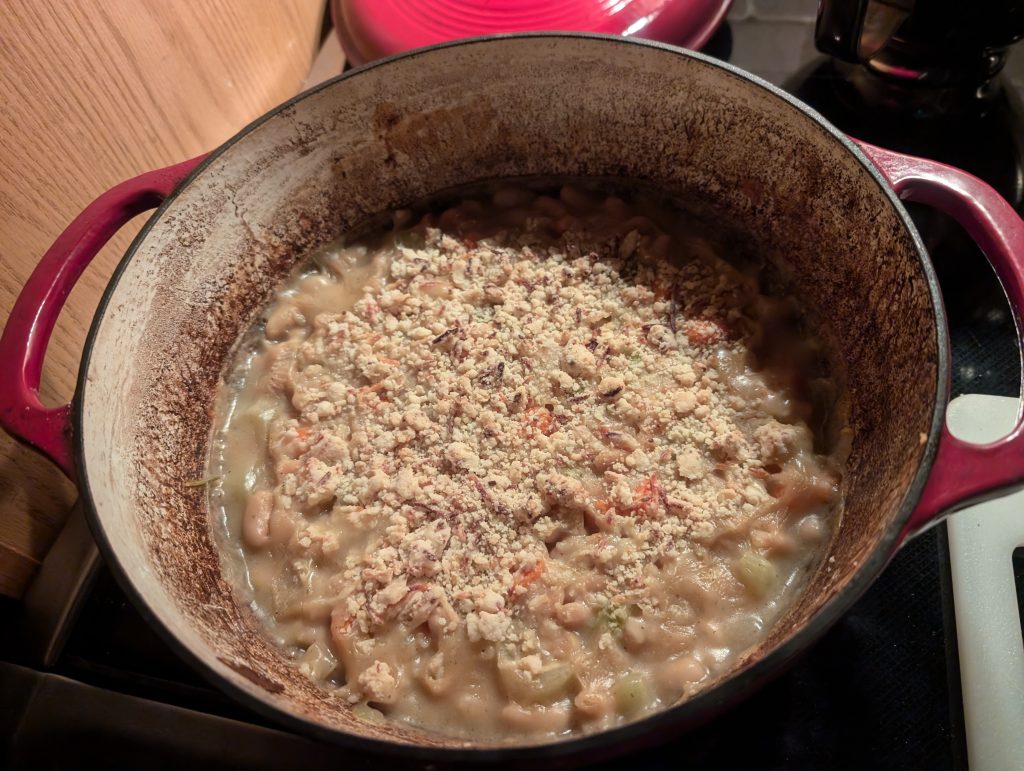
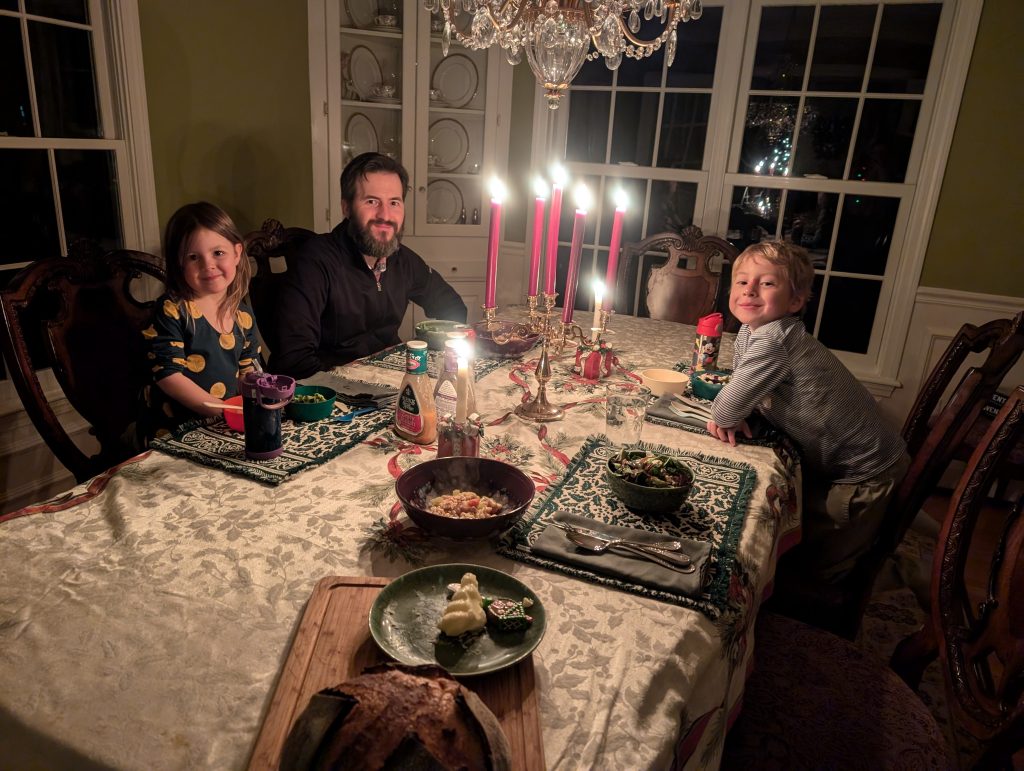
Hello dear friends! Trying to get a blog post in. Despite having to work some of the weekend it was a good weekend overall! We started off with some Valentine’s day dinner! This year we opted for crepes! The crepe filling I made was incredibly easy. I sautéed mushrooms and onions then added in baby spinach until it wilted and finally melted cream cheese in it. It was amazing. I usually make something similar using béchamel sauce, but this was way faster since I didn’t have to measure anything for béchamel. We had both savory and dessert crepes and the kids seemed to like both. (Though Patricia ate most of hers with just cheese inside and Julius ate most of his savory crepes plain with cheese on the side.)
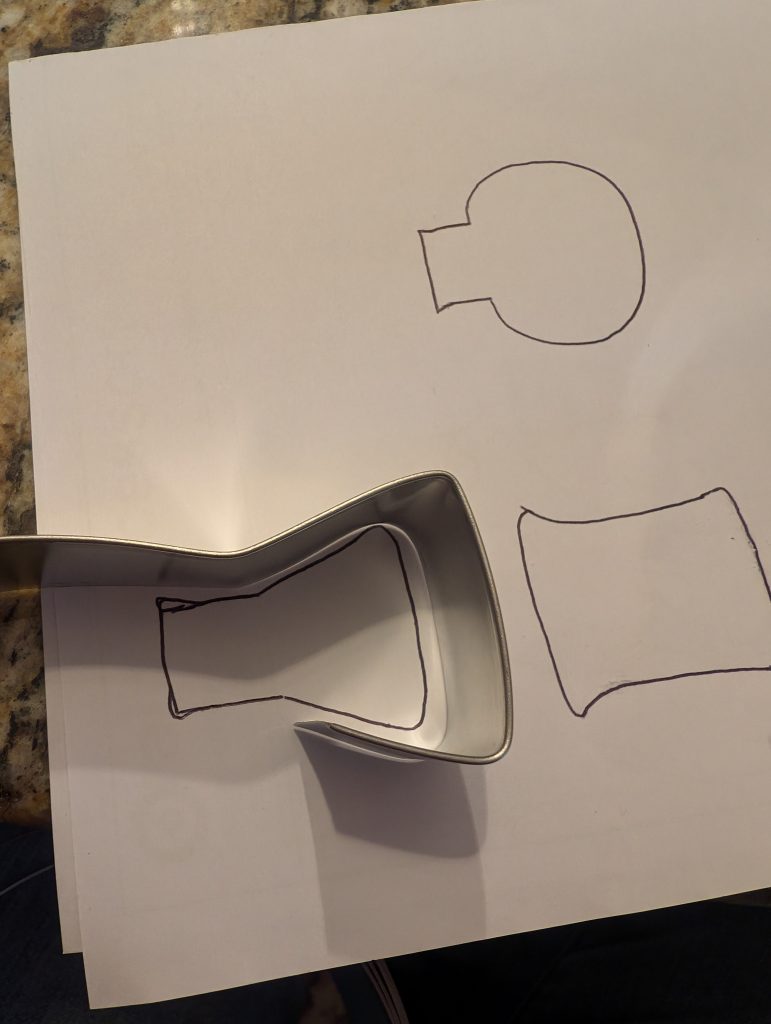
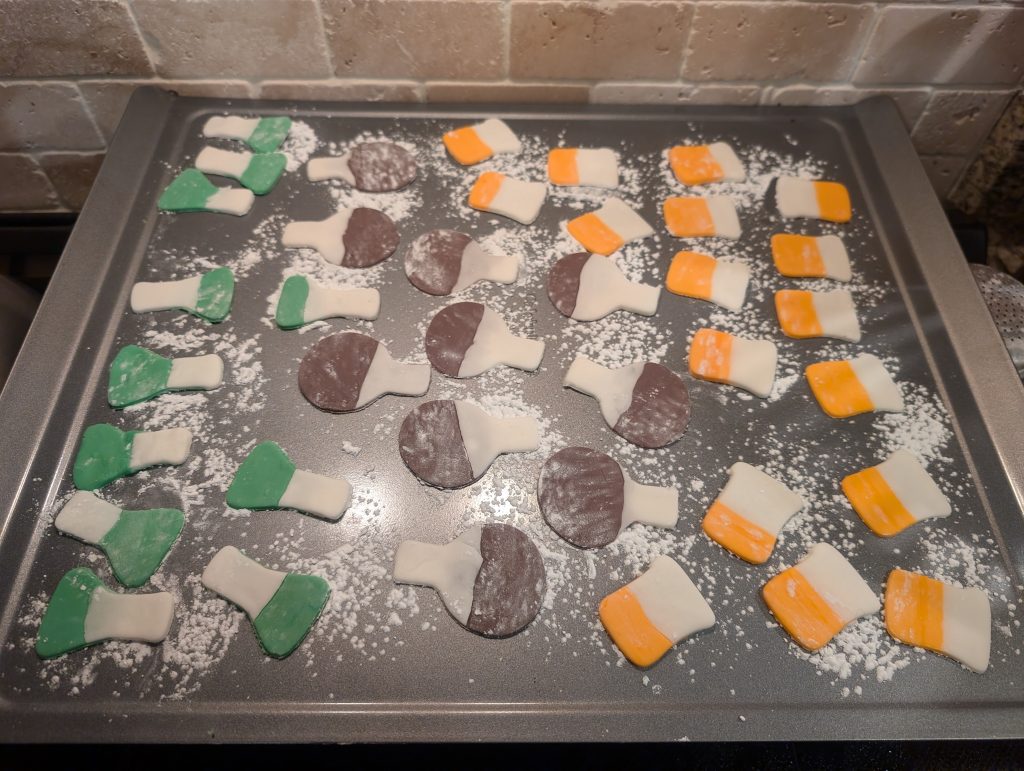
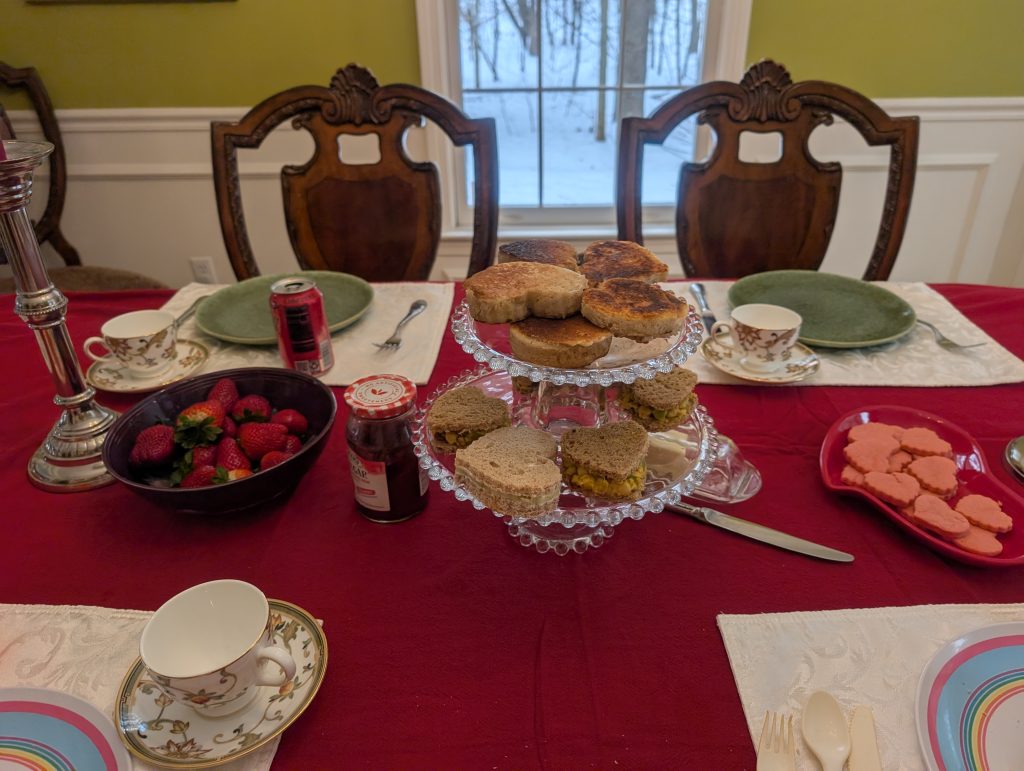
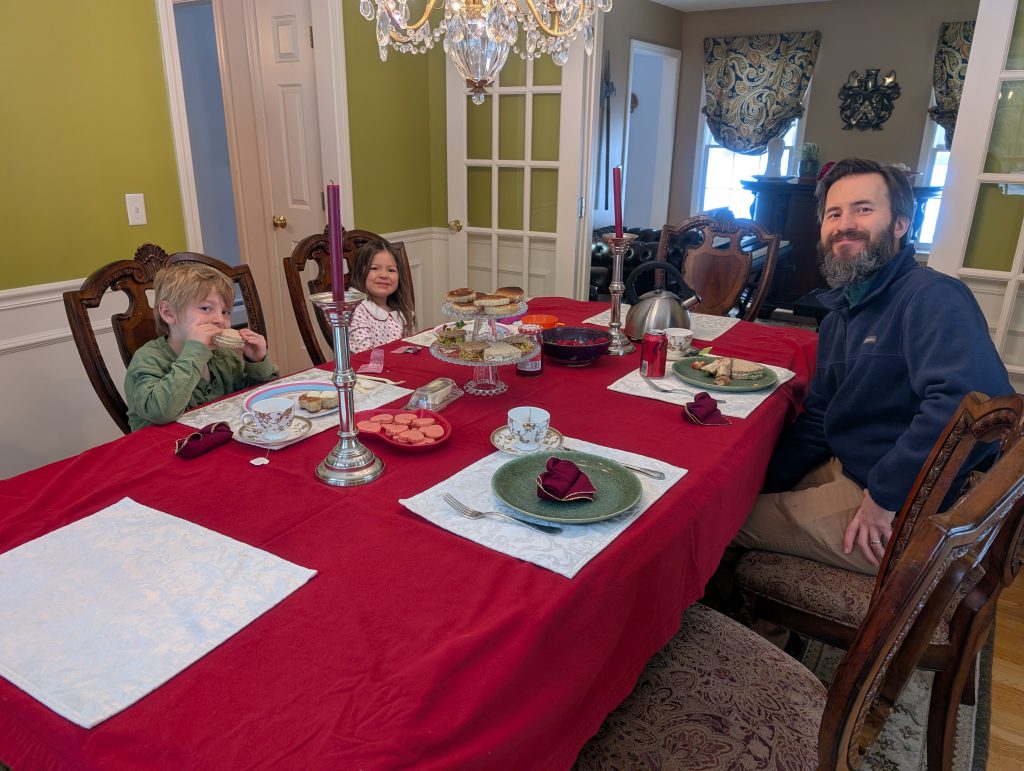
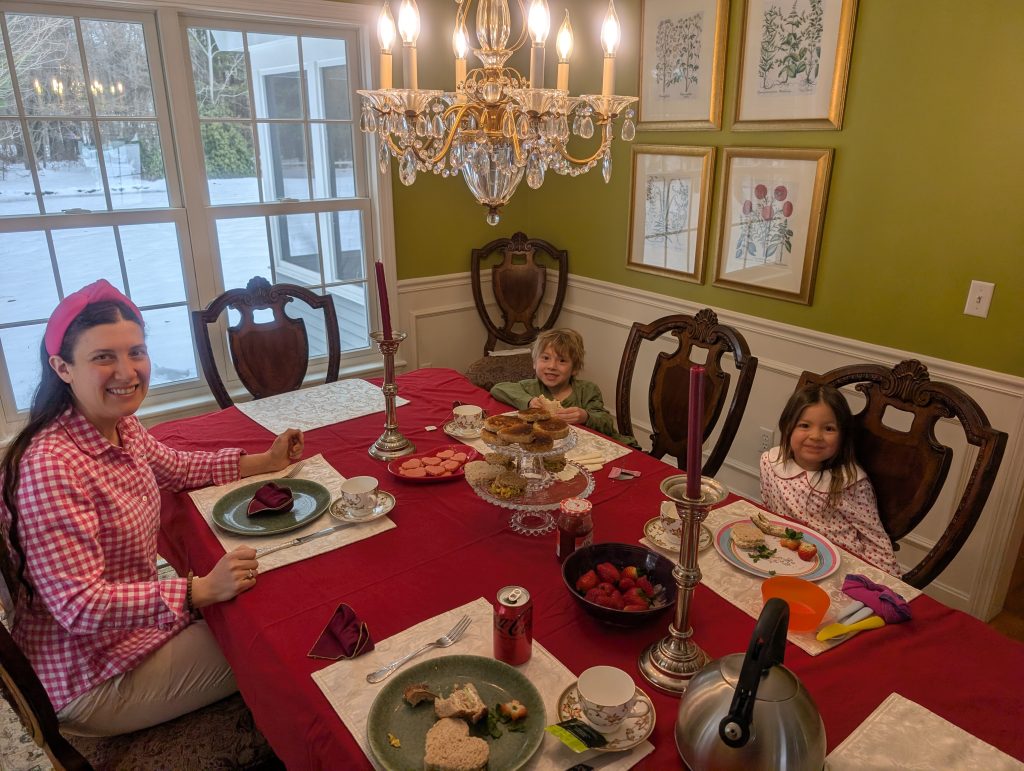
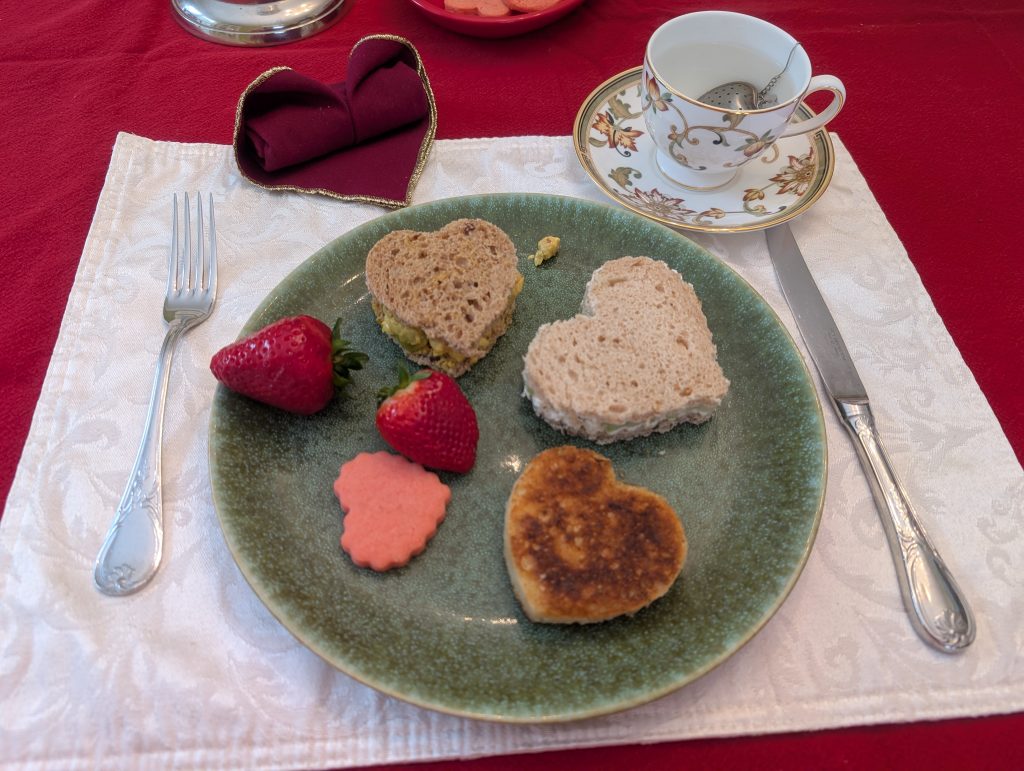
Because I had to work we decided not to go skiing in Maine. Julius was absolutely heartbroken. To make it up to him I decided to plan some Valentine’s events the rest of the weekend. We had a Valentine’s tea party for a late lunch on Saturday. I have a LOT of heart cookie cutters, so I really put those to good use. For tea sandwiches we made cream cheese & cucumber (classic) and chickpea curry (I think it doesn’t taste great on bread though). Julius helped me fold napkins into hearts and did a really good job. Oh! And the kids made us Valentine’s cookies for the tea party. I gave them homemade sugar cookie dough and cookie cutters for Valentine’s day. Of course they also wanted to get out other cookie cutters so Julius also made a boat and Patricia made a dolphin. They were quite pleased with them and they tasted excellent with tea.
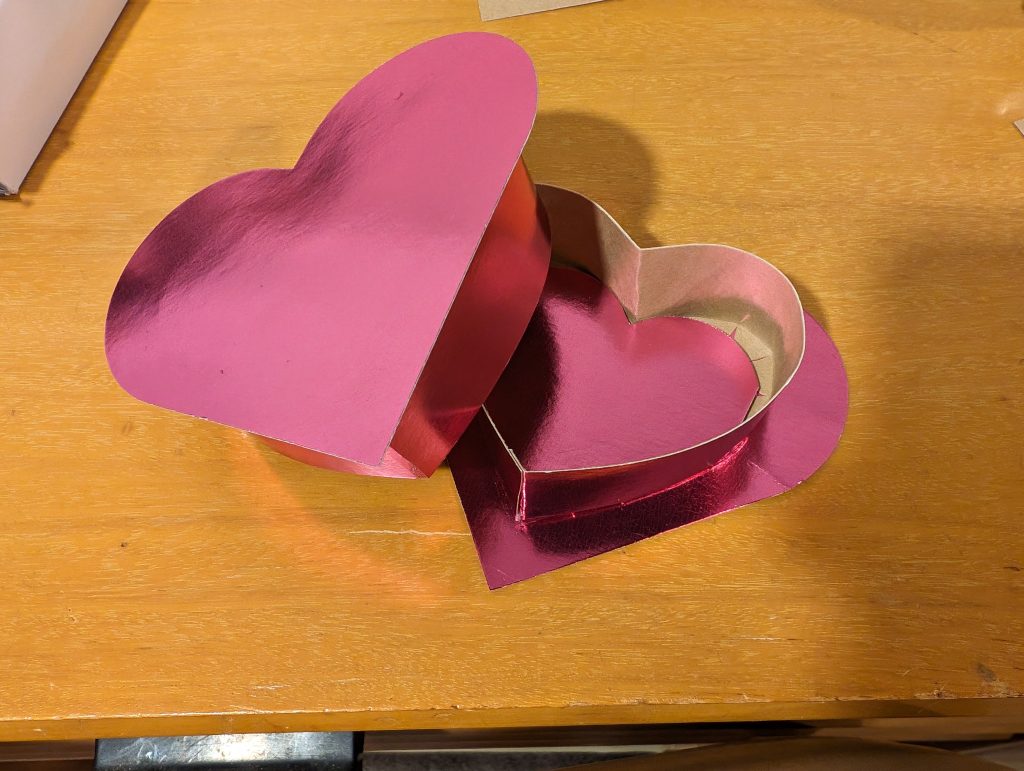
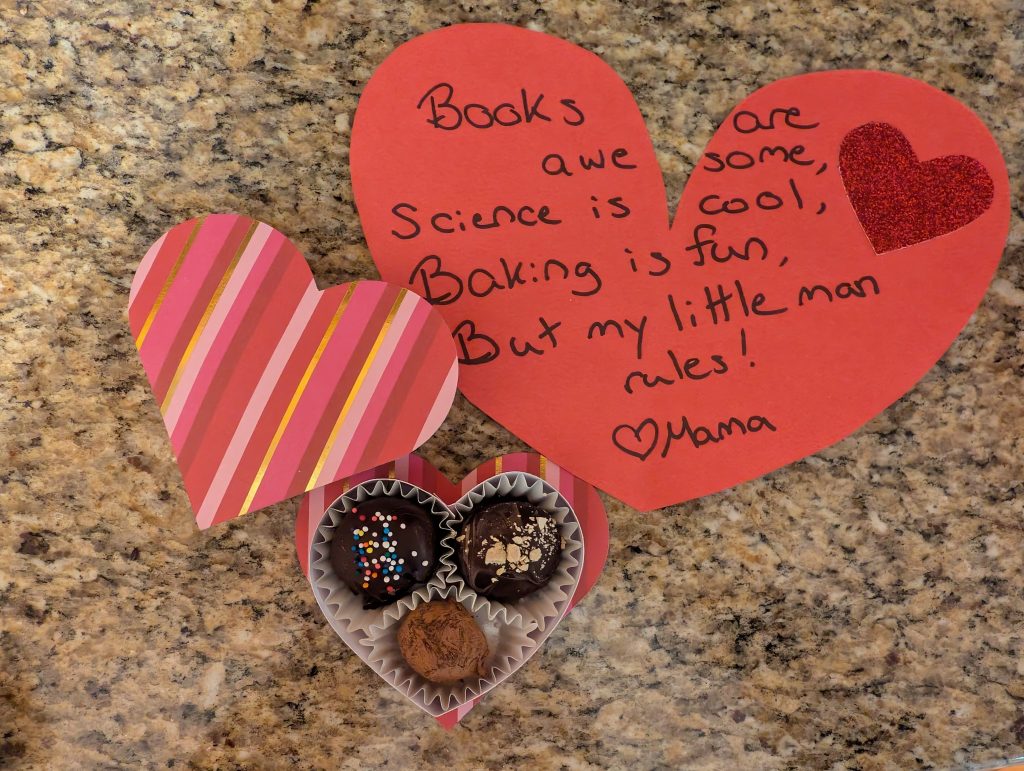
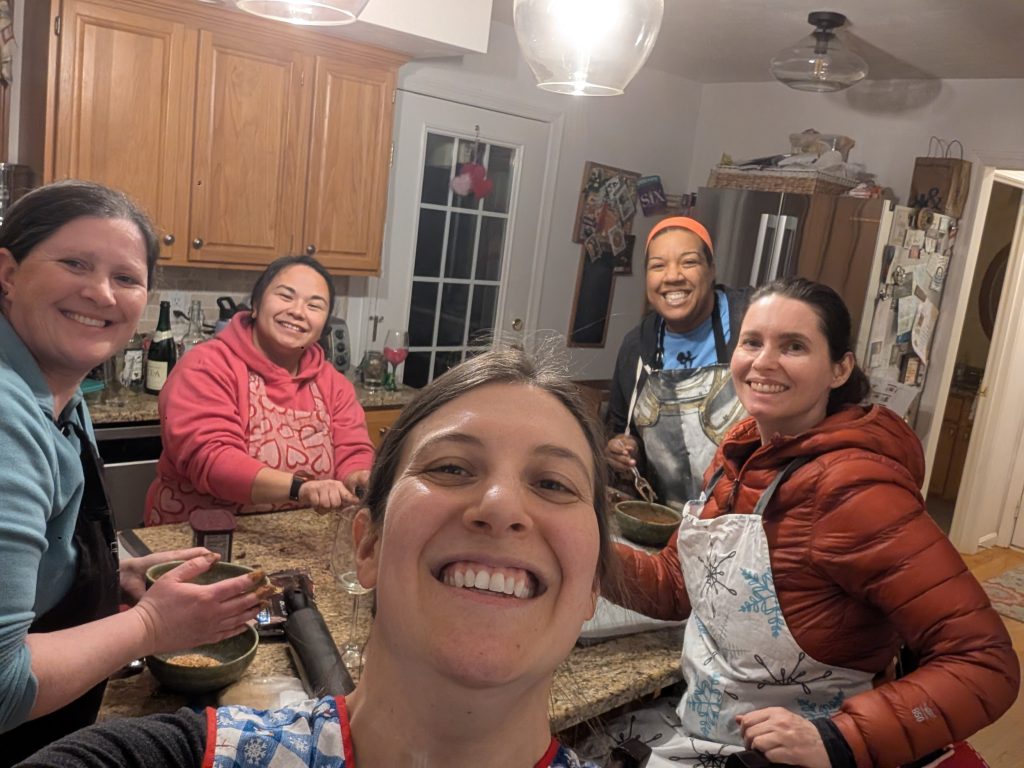
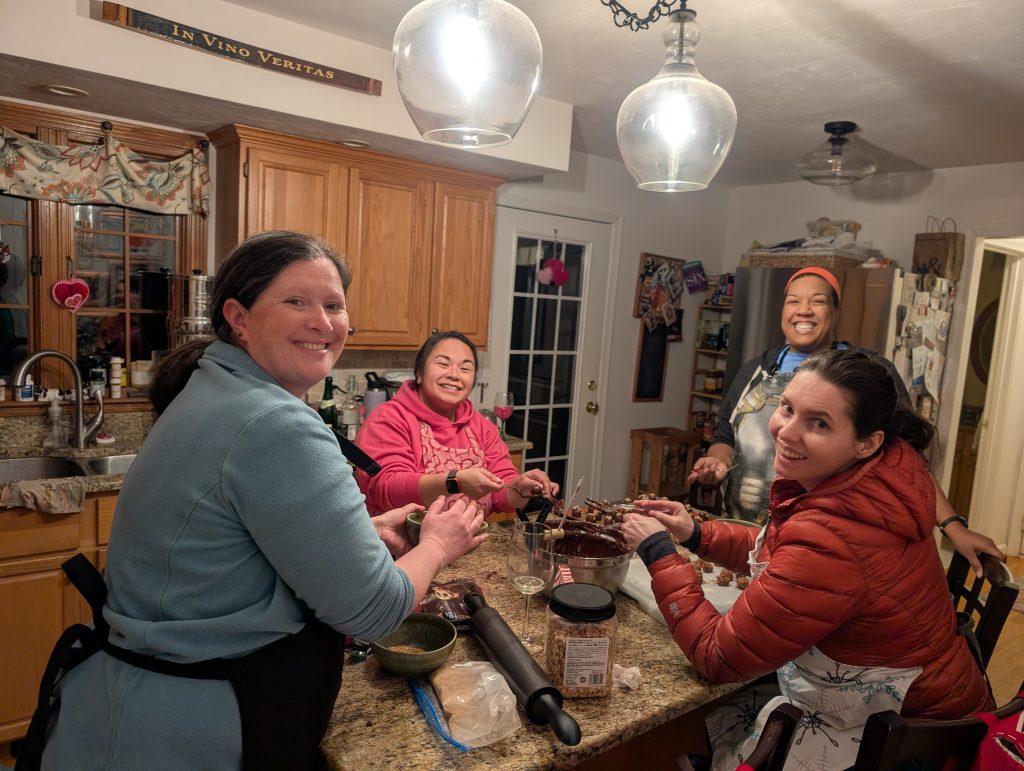
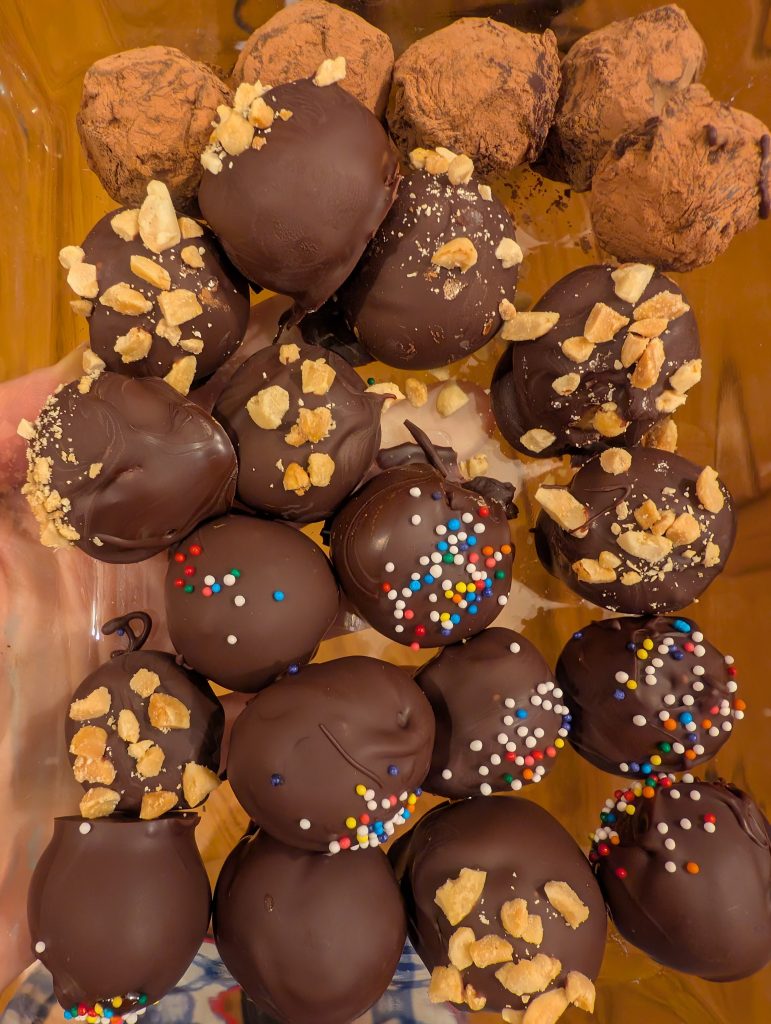
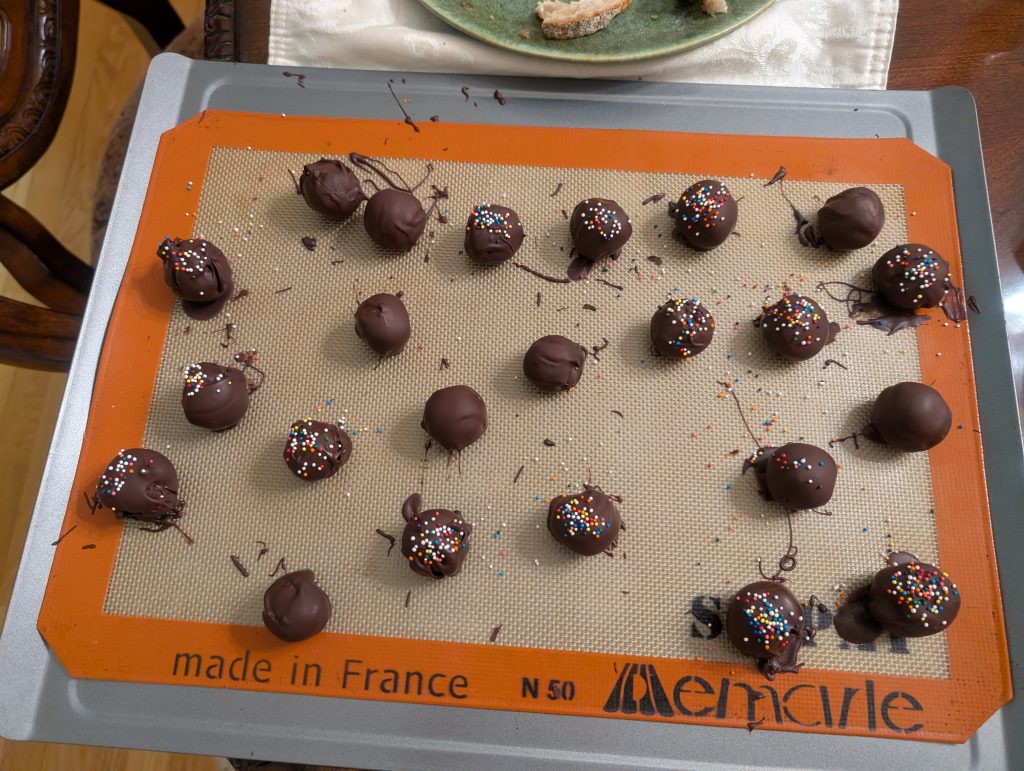
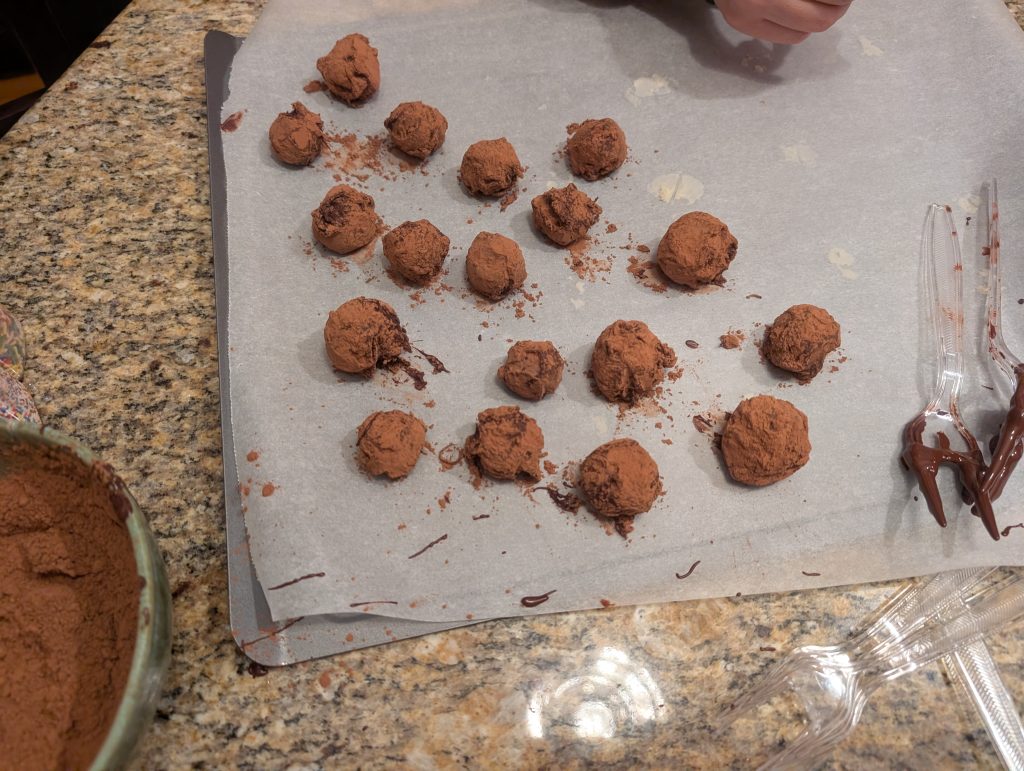
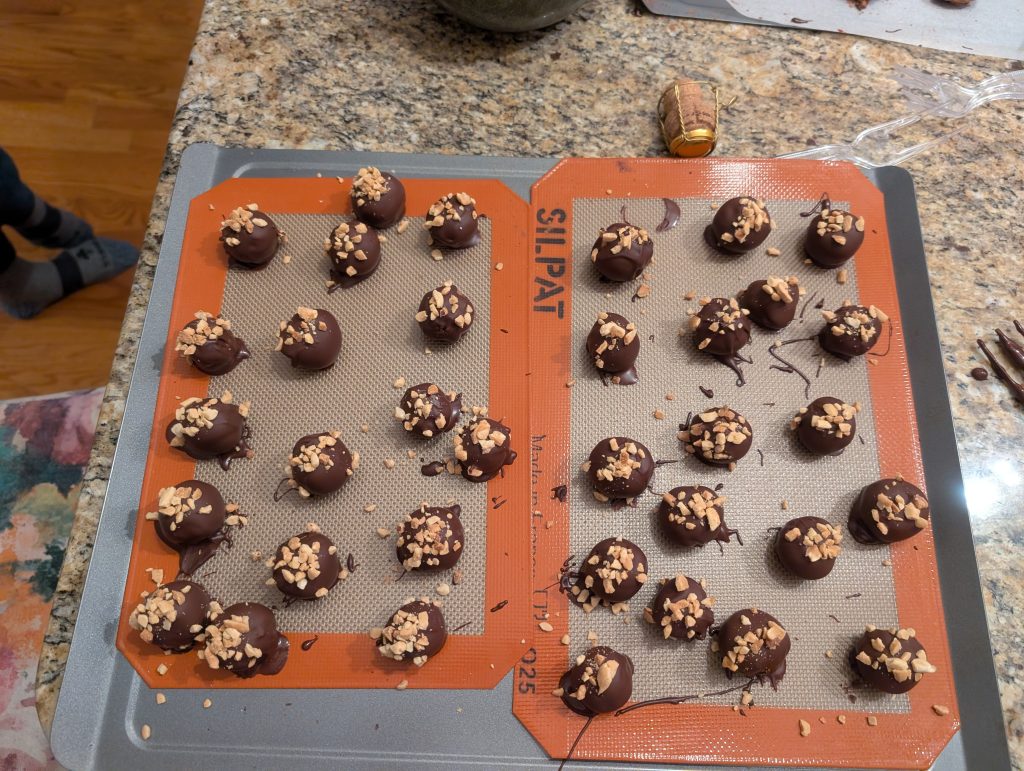
I also caught up on laundry this weekend! For the first time in like 8 weeks the dirty laundry baskets are empty! (Well they were empty until the kids put today’s clothes in them. And the clean laundry baskets are full, but I’ll take what I can get!) I have to focus on the little things given all the craziness these days. Oh and I should report back that the truffles were some of the best we’ve made! The lavender were amazing (I will need to remember to make a double batch next year), and most of the chocolate was perfectly tempered. The peanut butter ones were delicious and I don’t think I got to try a chocolate one but Julius told me the inside was “really good”. As part of their gift I made the kids little Valentine heart boxes on my Cricut that perfectly fit one of each truffle inside. I actually made the pattern last year but it seems I never posted it! I will tell you that it came out better this year. Last year I used tape glue to adhere everything and they fell apart instantly. This year I tried a hot glue gun and it worked so much better!
Small Heart Truffle Boxes
What you’ll need:
- 1 sheet of 80lb cardstock
- cricut pattern here
- glue gun
- mini muffin cups
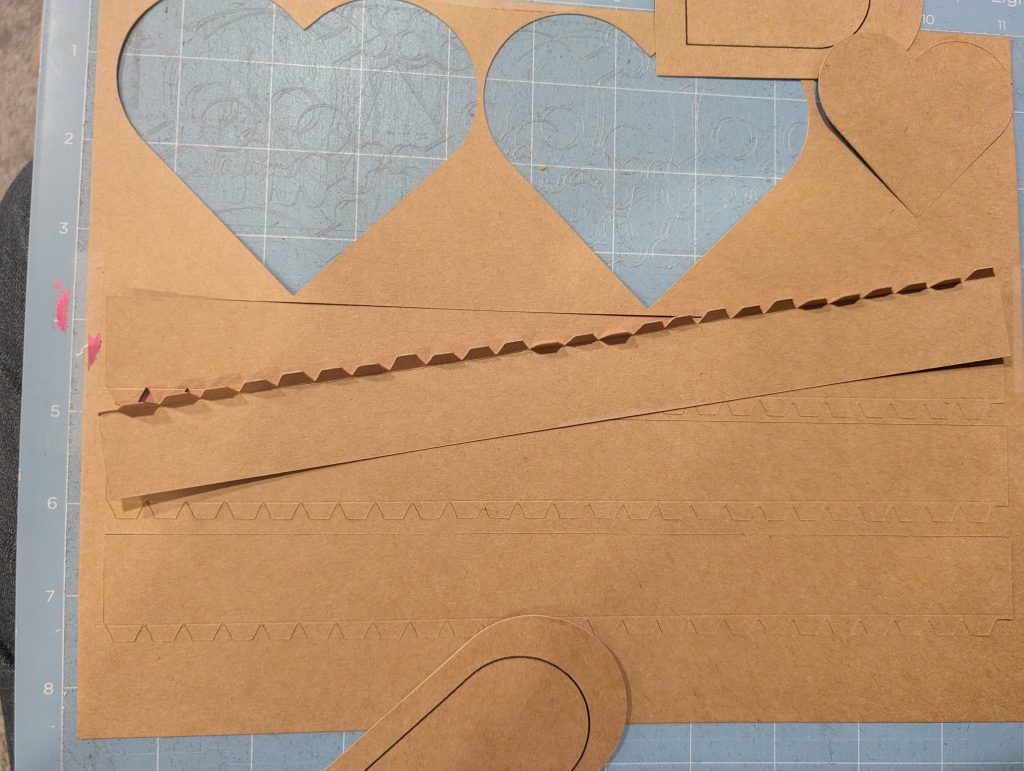
1. Follow the instructions on your cricut to cut your box (make sure to select cardstock). You will want this to be right side DOWN so that it can score properly and so it can trace out a heart guideline.
2. Punch out your pieces.
3. Fold the side pieces on the tabs under.
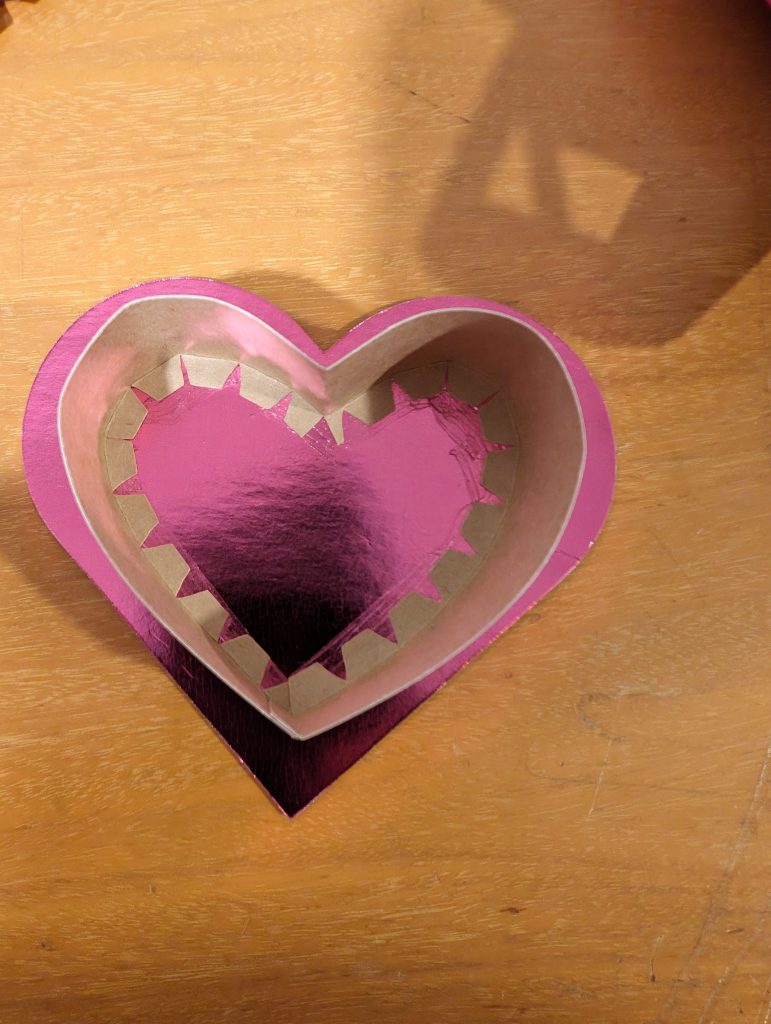
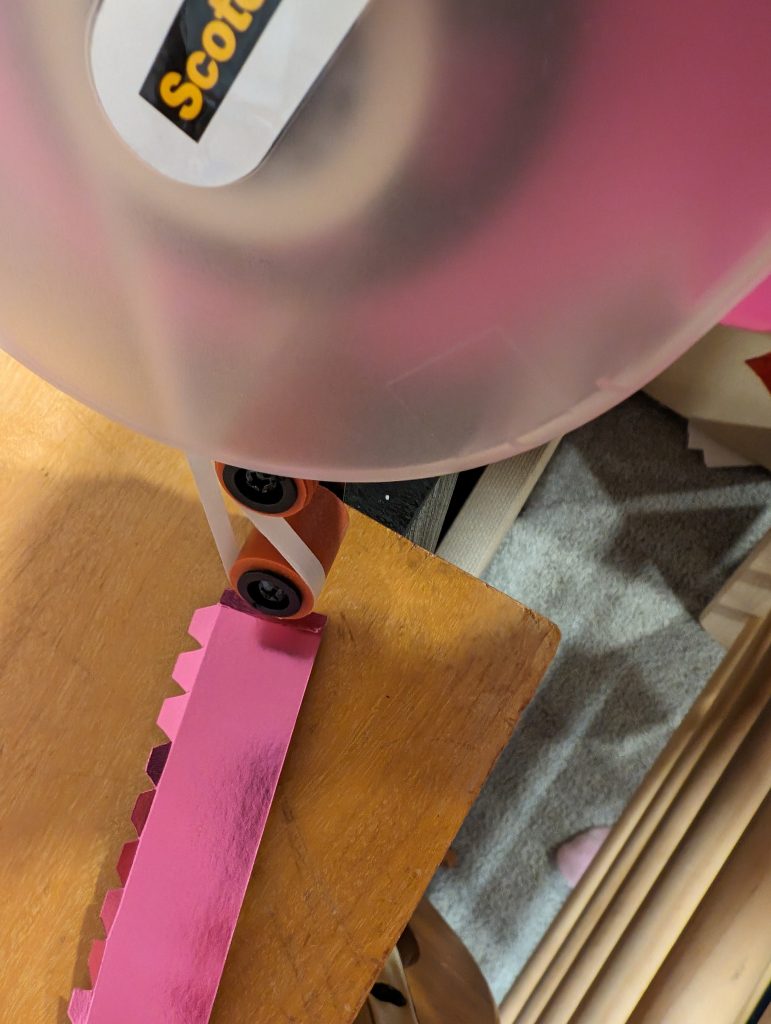
4. Make your top piece by hot gluing the side pieces on starting at the top center of the heart. Line up the edge of the tabs with the outside of the black line drawn with your cricut.
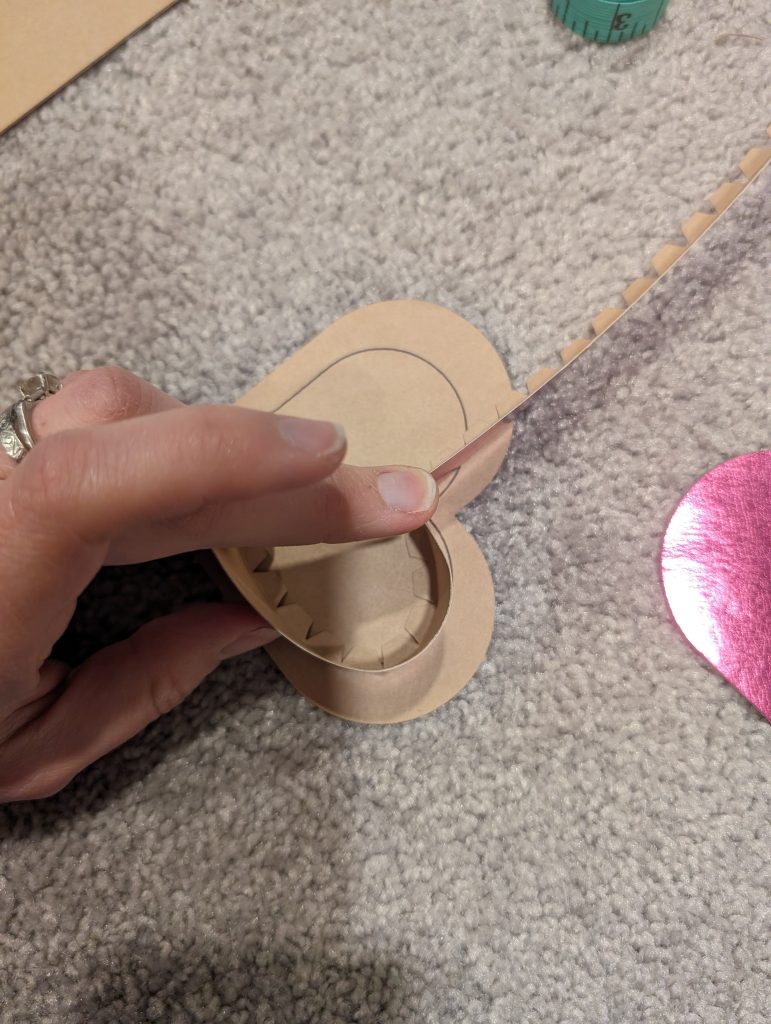
5. When you reach the end (back at the beginning of where you started gluing) trim to 1/4″ and fold. Glue this tab to where you started.
6. Using the small heart, trace a heart on the right side of your box bottom in the center. This will be your guide.
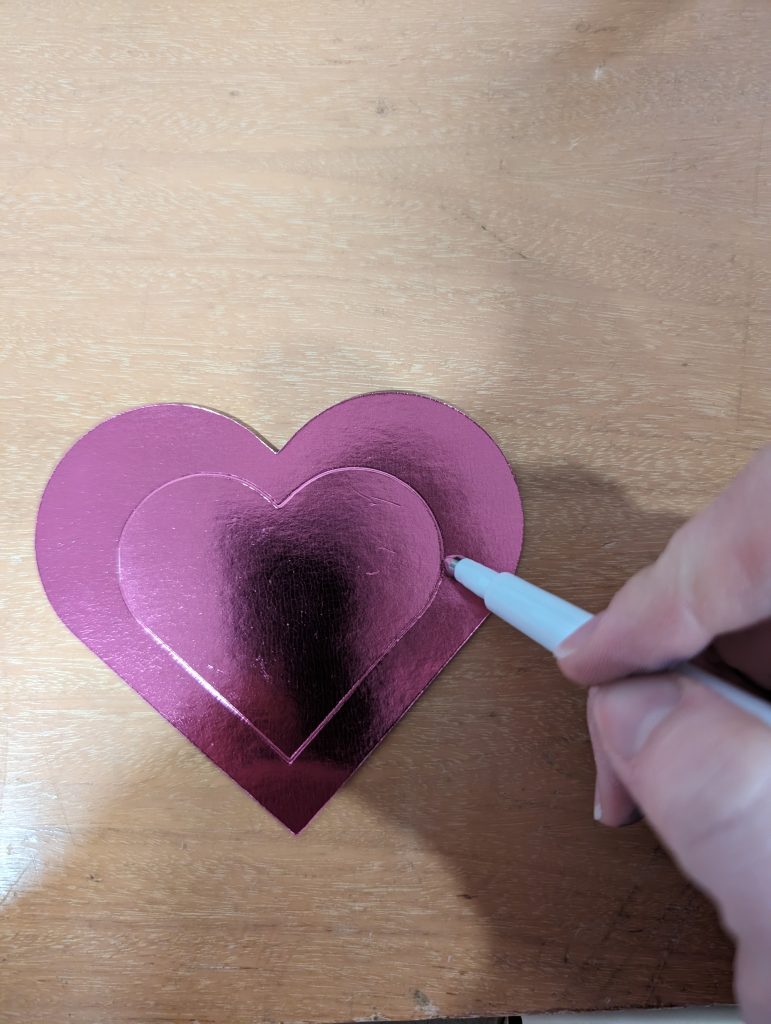
7. Repeat steps 4 and 5 using the small heart tracing as the guide.
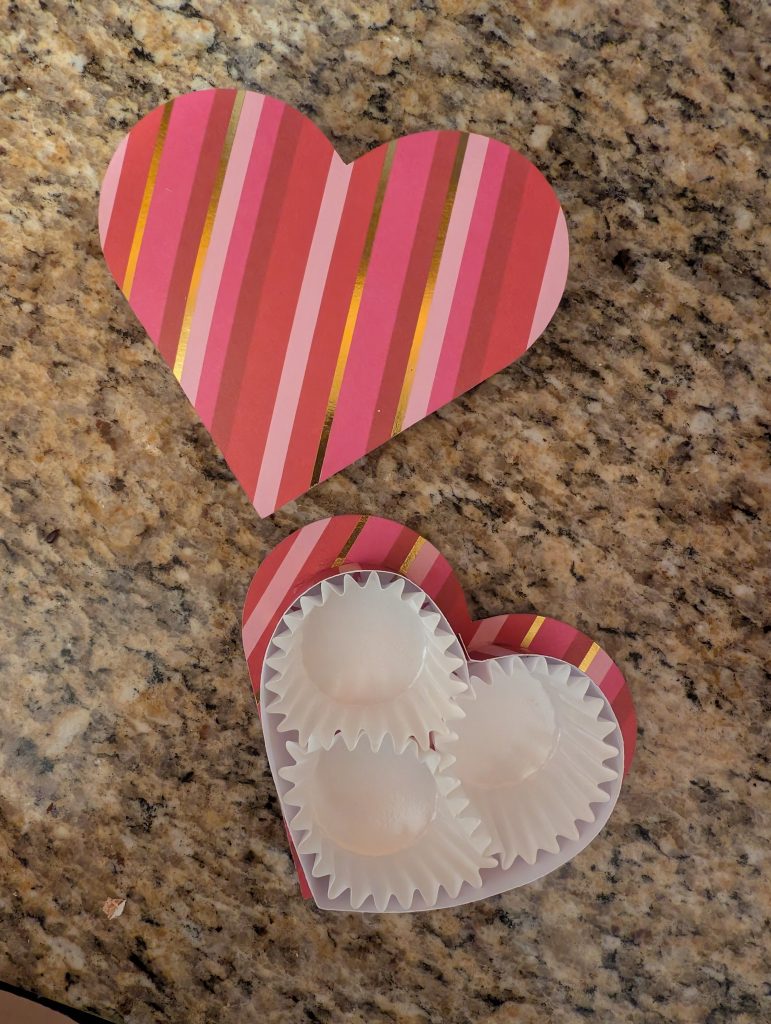
8. Place the small heart guide inside the bottom of the box.
9. At this point you can add in 3 small mini muffin cups to the box, and your candy!


