So I accidentally ate KFC today. Well not accidentally, it was pre-meditated. I did walk in and purchase it before I ate it. I even had a rousing conversation with the guy at the counter about my favorite types of Mountain Dew. Anyway, never again. (That’s what I say every time.)
I was going some where with this… oh yeah! So its not all that bad because I did yoga today at lunch, and that might counteract some of the terribleness of eating that delicious chicken deep fried in lard. Maybe.
Yesterday I had an epiphany about yoga. If you’ve read my other blog posts, you’ll notice that I attempted to start meditating to relieve the horrible tension headaches I was getting during my last project at work. The problem with meditation is that you have to just sit there and do nothing. I mean, I know that’s the whole point, don’t get me wrong. If you’ve met me, you’ll know I can’t just sit in once place and do nothing. Frankly I will go one step further and say it kills me to not multitask. Well yoga fixes that! I am focusing on my breath while mindfully moving (doing exercise)! It is the perfect combination of relaxation+exercise multitasking that a type A person like myself would enjoy. And did I mention I can touch my toes now?! I’m all in.
Yoga has lots of “stuff” that you can buy to go along with it, but aside from some pants that you won’t moon anyone in a mat is really all you need. I now own two mats, one for home and one that I keep at work. Recently my best buddy has been lamenting her yoga mat bag’s functionality because the mat sticks to the sides when she tries to insert it. That got me to thinking. Below is a “bag” pattern to hold your yoga mat!
The circumference of my mat at home is 15″. The mat is 5mm thick, so this is pretty large. You can change the size slightly to accommodate your mat, though using long strips of velcro allows you to adjust the size considerably.
Yoga Mat Carrier
What you’ll need:
- ~1/2 yard of scrap fabric (I used some leftover from the curtains in our lounge)
- 2.5 yards of 1″ thick nylon heavy webbing
- 1 foot of velcro
- thread to match
- Cut a 22×16″ rectangle of your fabric.
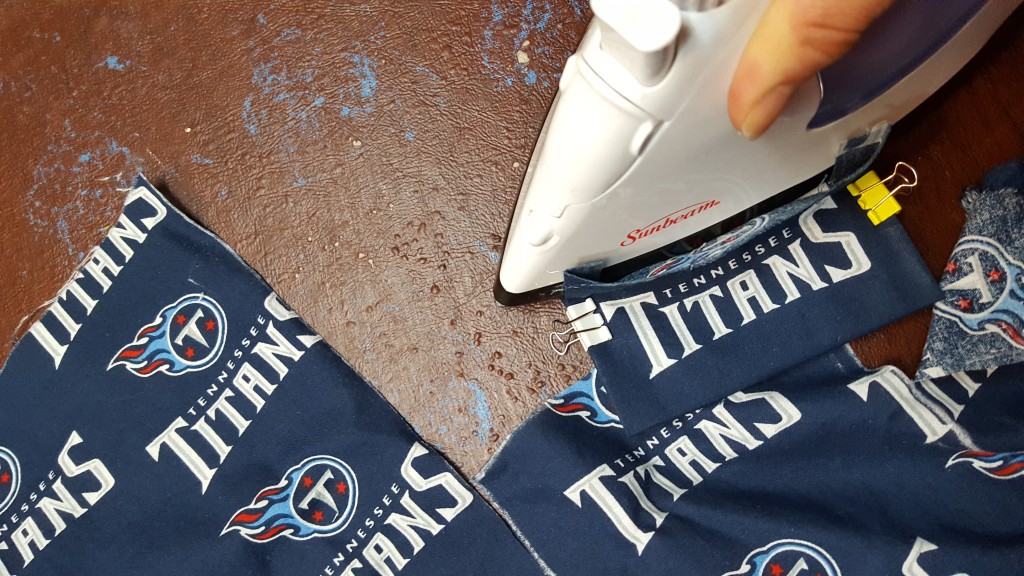
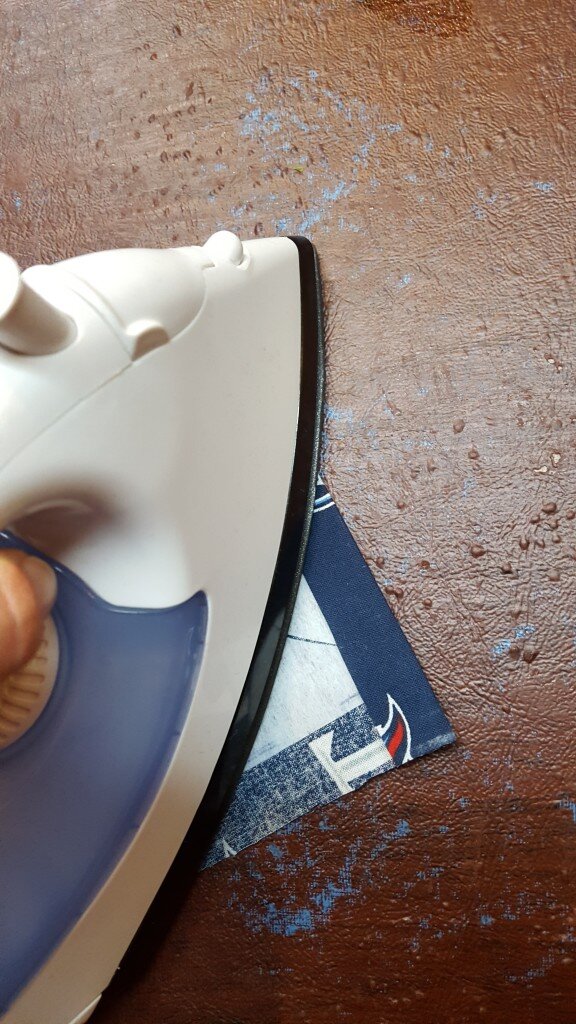
- Press the sides under 1/2″ then under 1/2″ again.
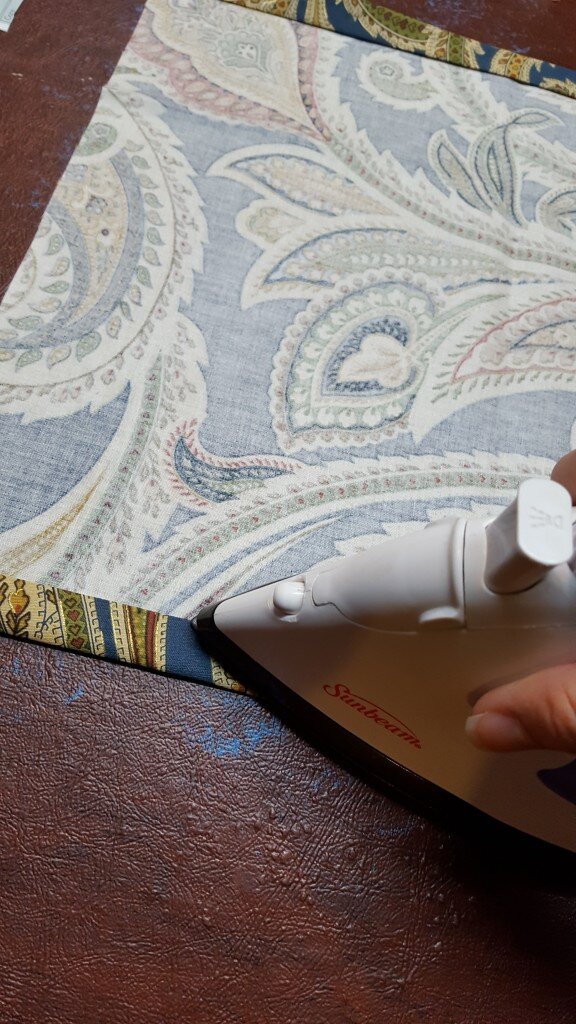
Fold edges under and press
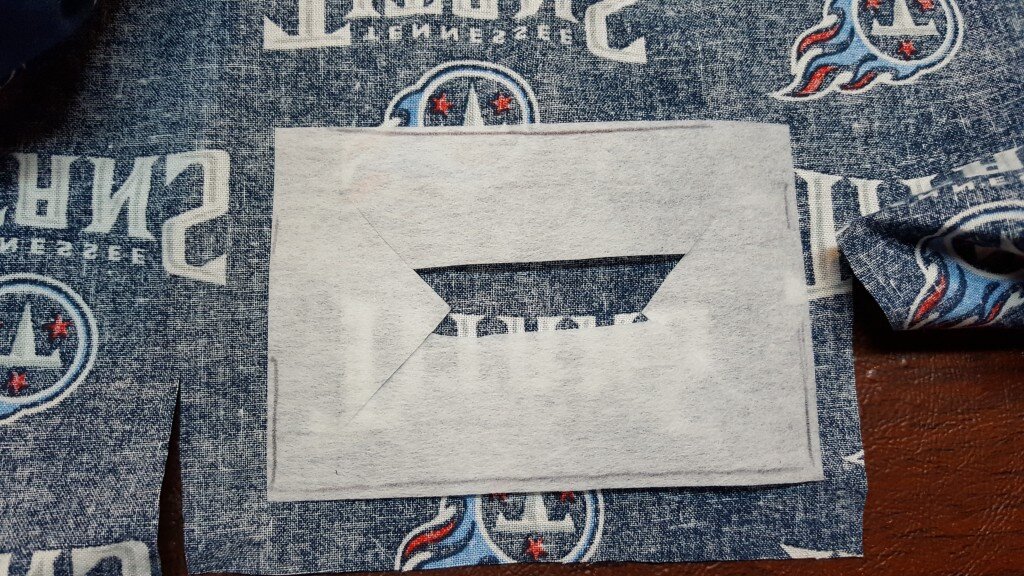
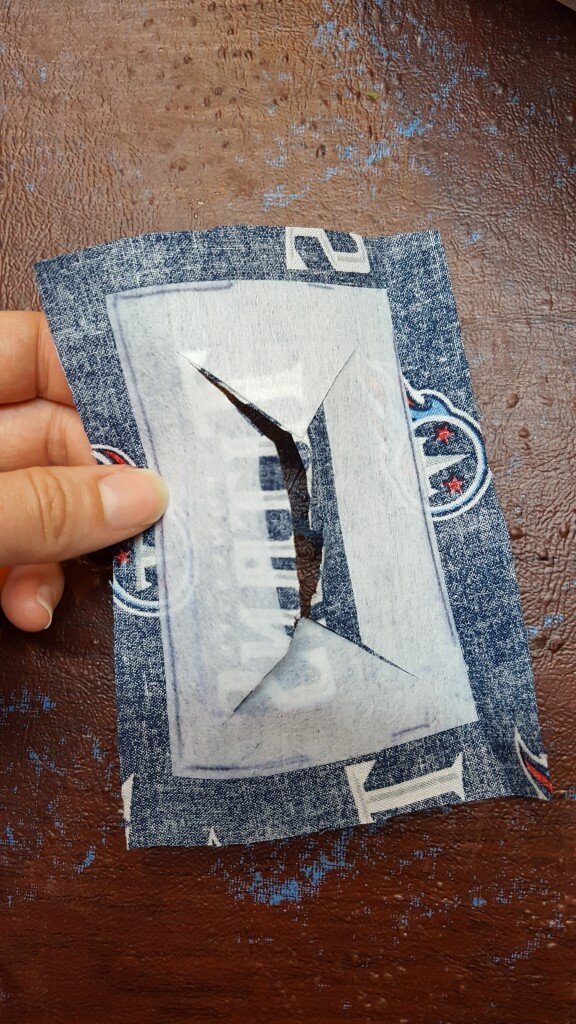
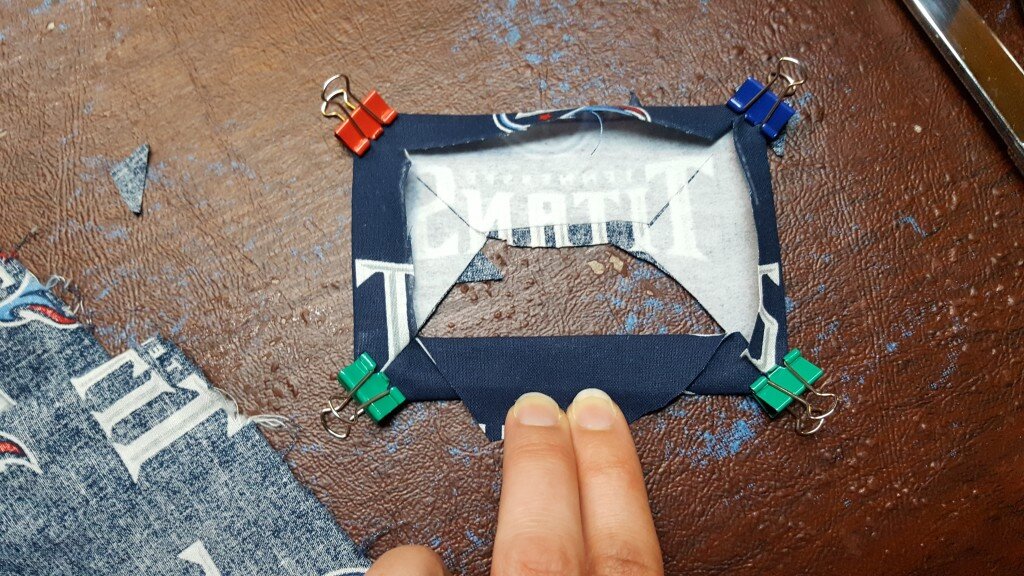
- Fold out the corners. Snip the corner off at the first intersection of your folds.
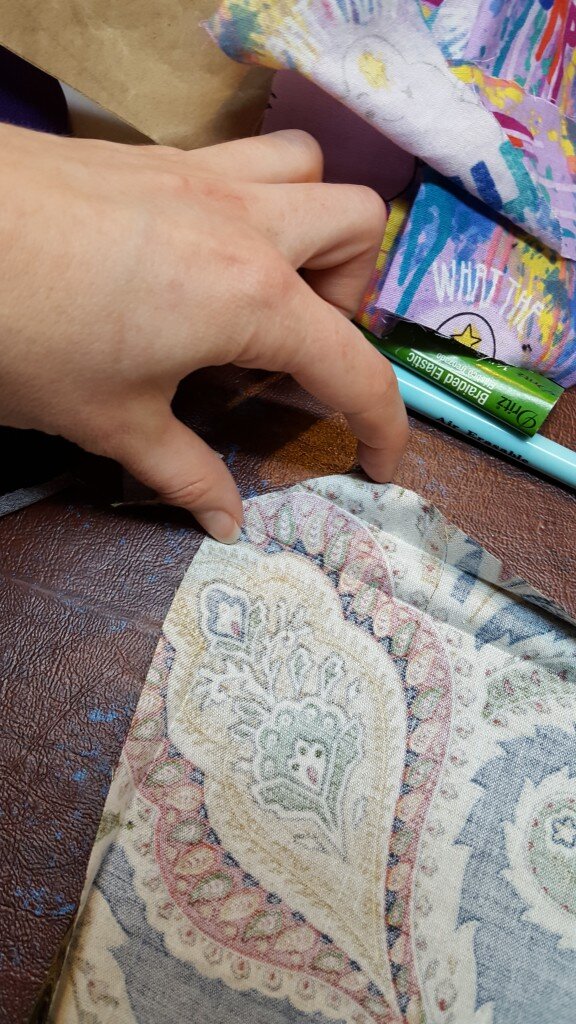
Snip off corner at first intersection
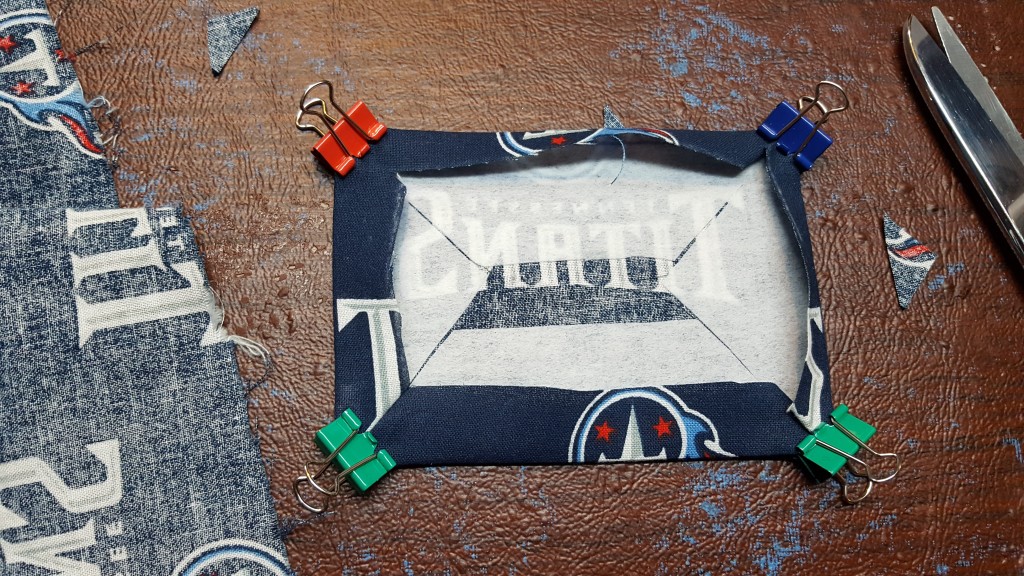
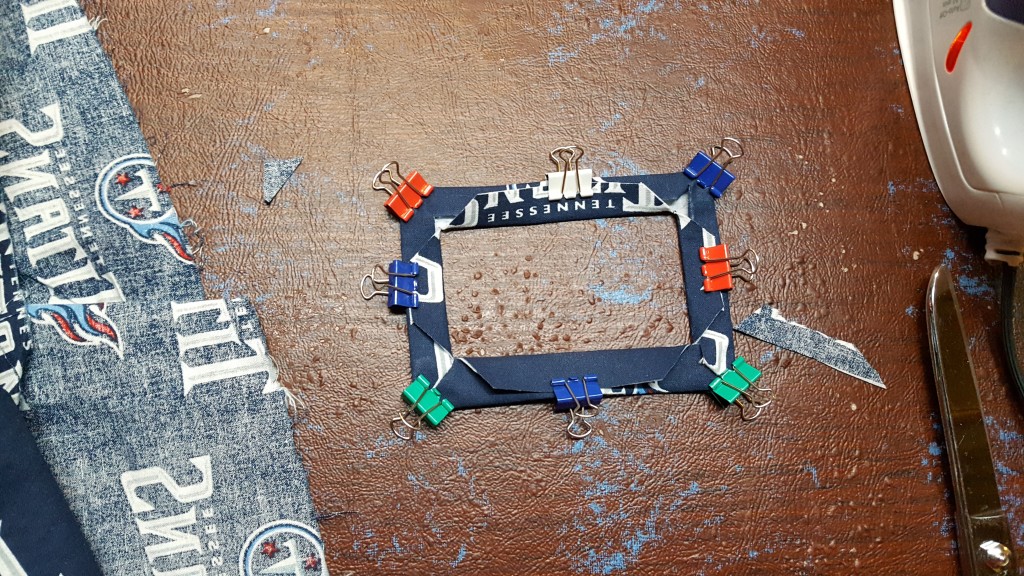
- Fold the rest of the corner over at the inner most intersection of your folds. Then fold the edges under 1/2″ and under 1/2″ again following the original folds.
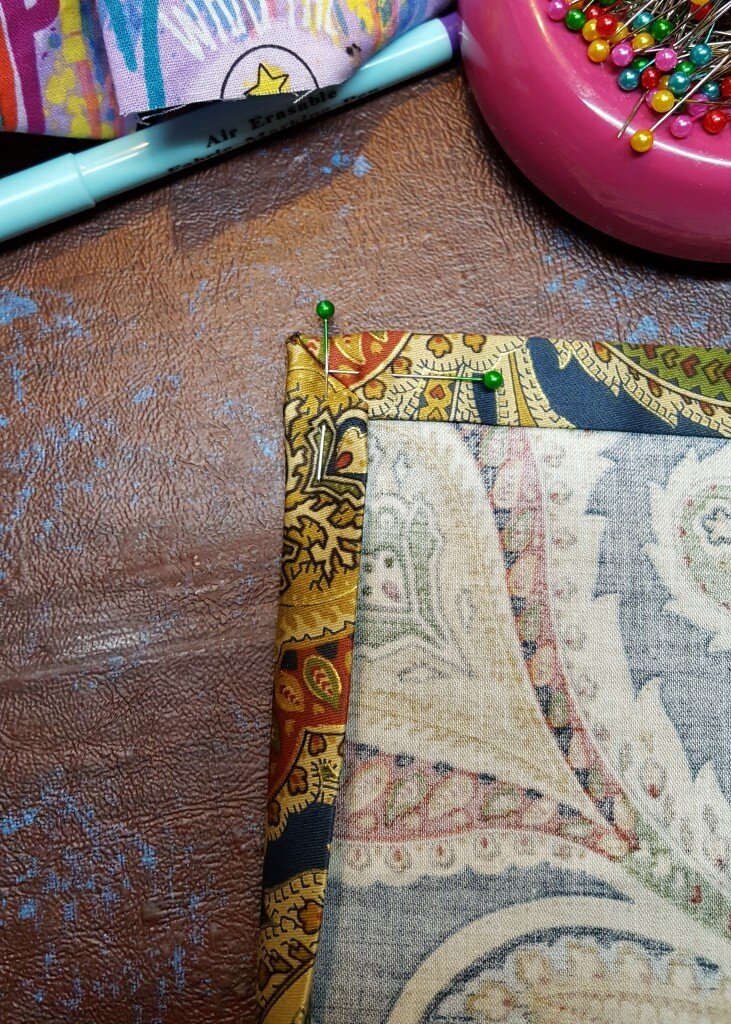
Mitered corners
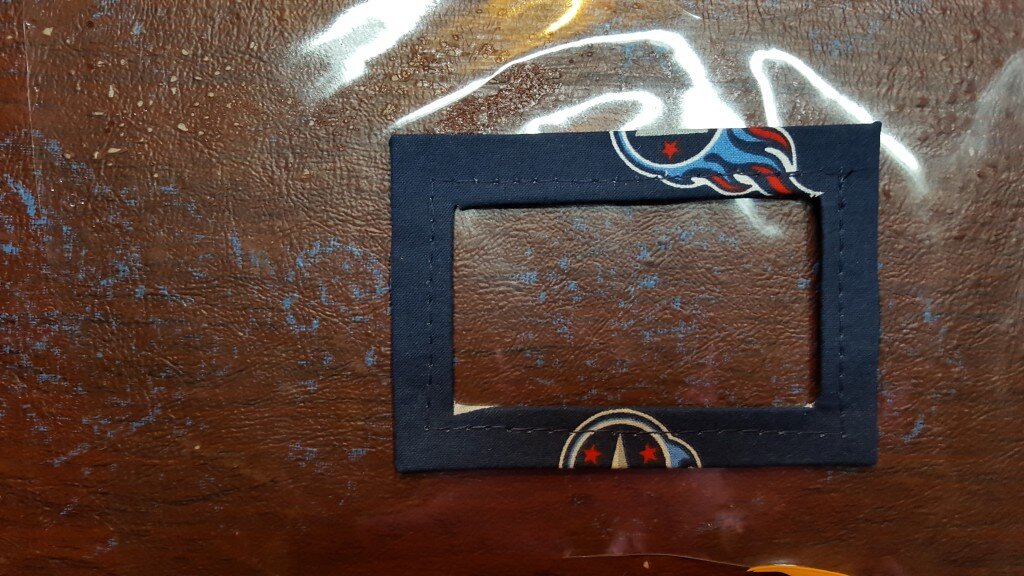
- Repeat for all 4 corners. Pin & stitch
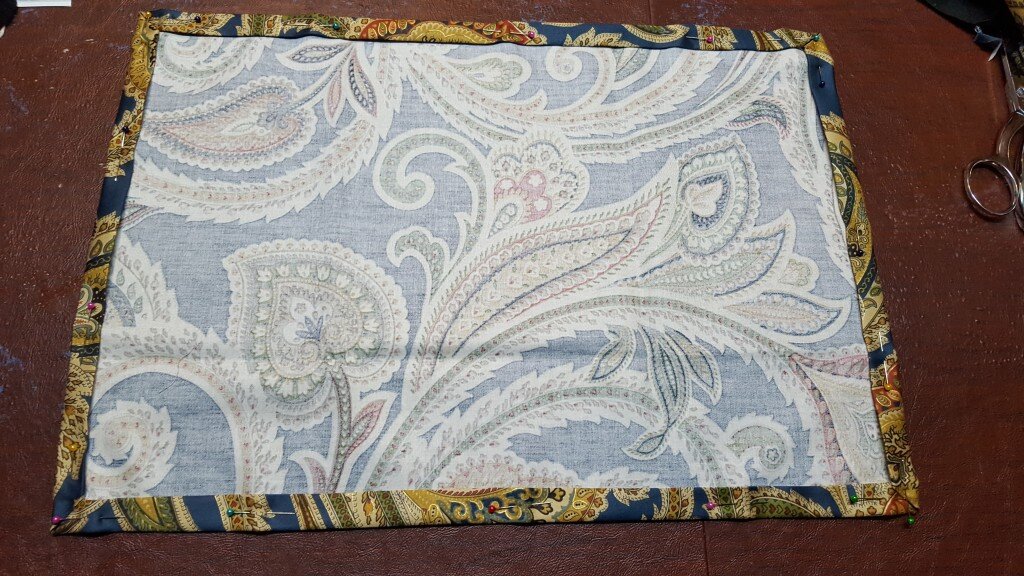
Pin and stitch edges
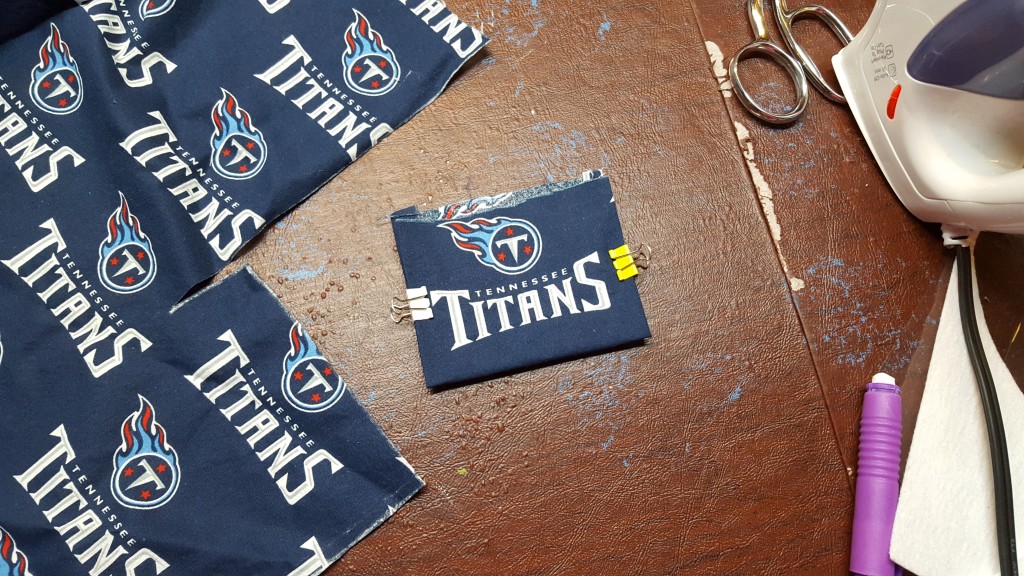
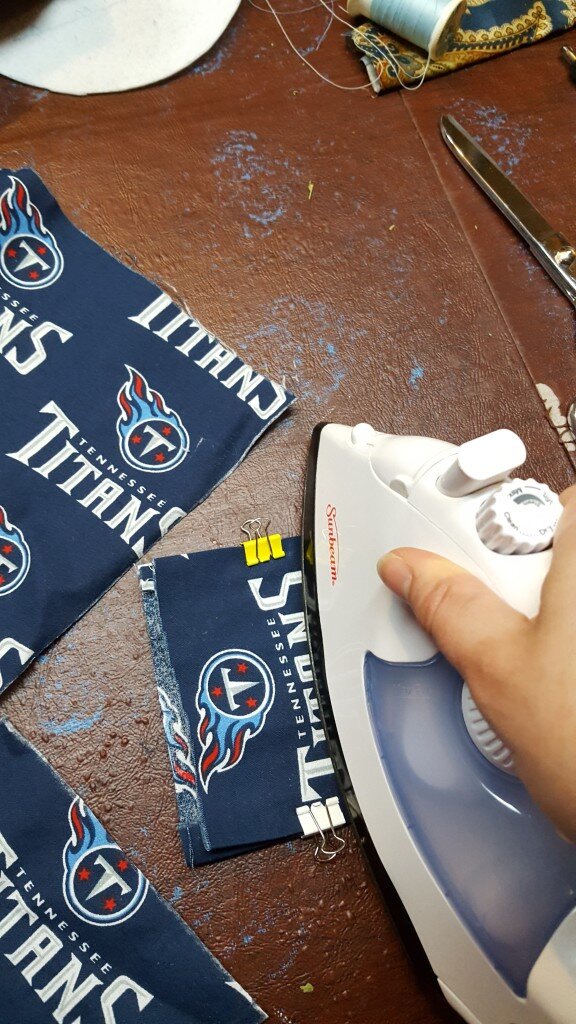
- Cut a 10×5.5″ rectangle of fabric for your pocket. Press the top under 1/4″ and then under 1/4″ again. Stitch.
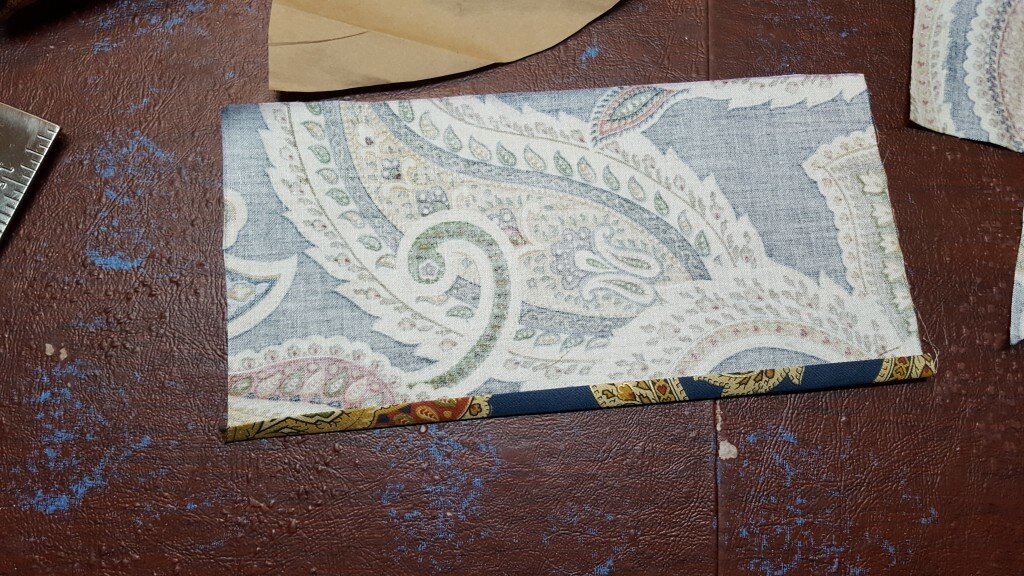
Fold under one side of the pocket.
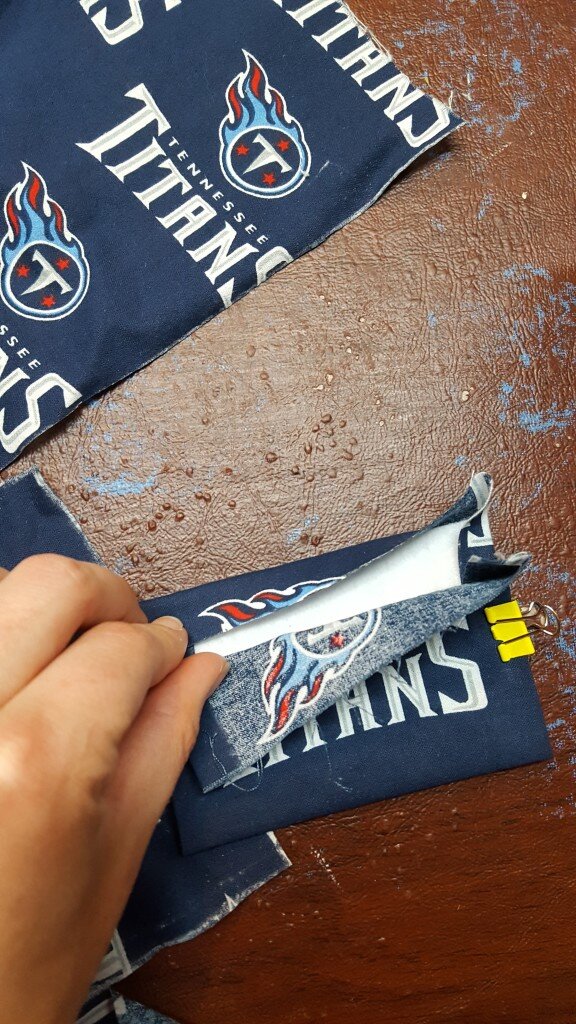
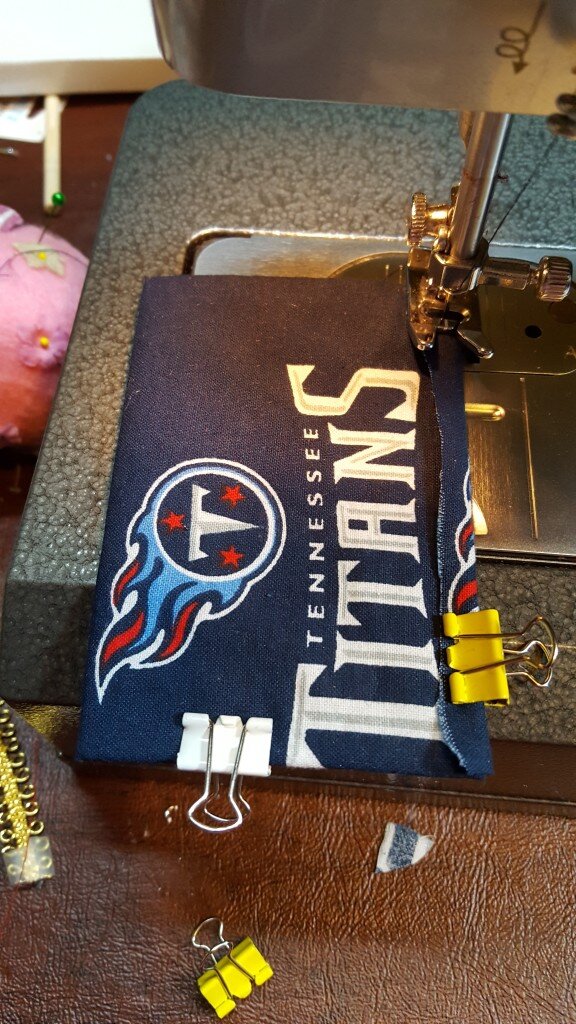
- Fold the sides in 1 1/4″. Press & stitch 1/4″ from the unfinished edge.
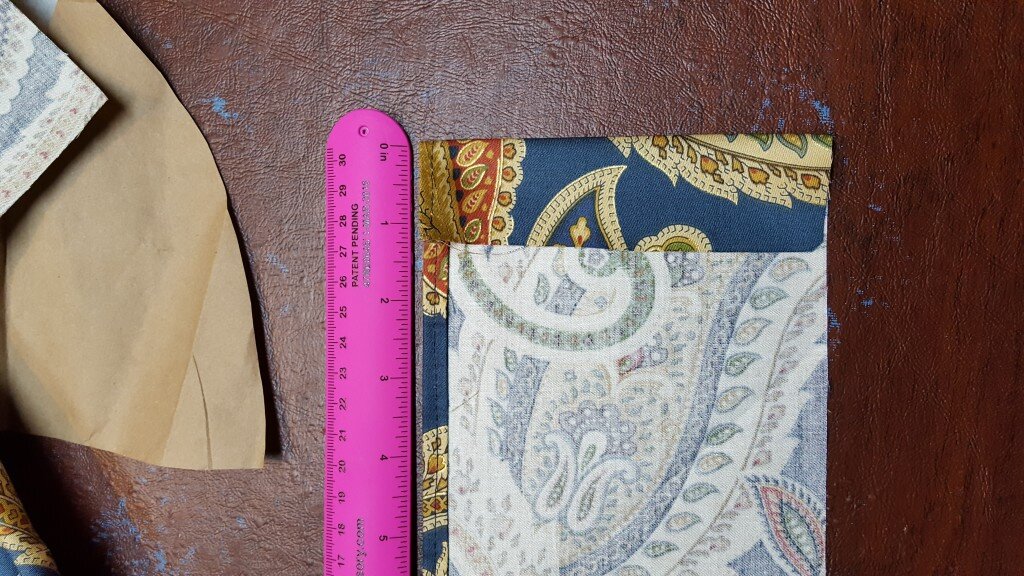
Fold sides in. (Check out my adorable ruler slap bracelet!)
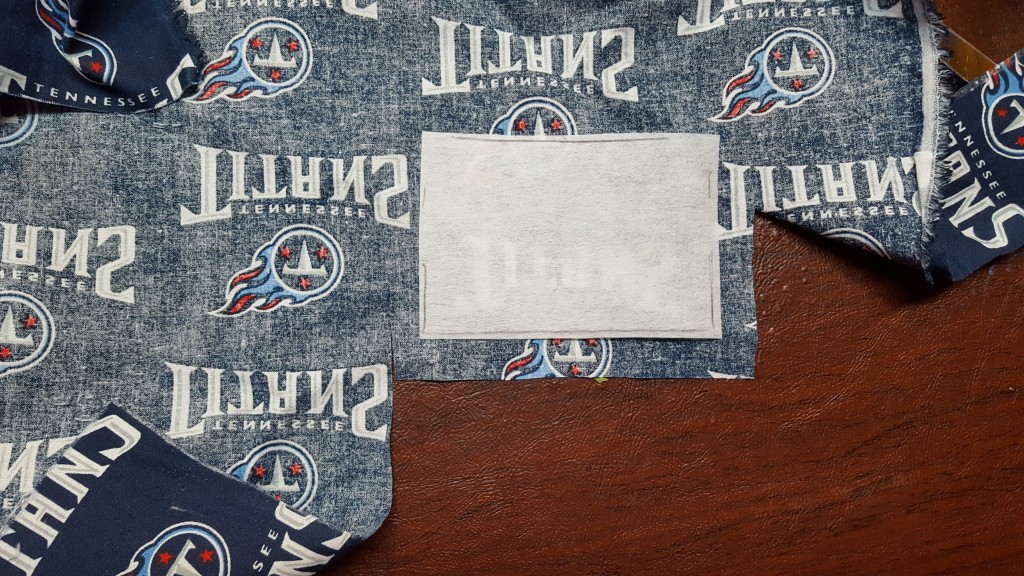
- Fold large rectangle for the bag in half to find the center. Pin the unfinished edge of the pocket slightly above this line. Stitch.
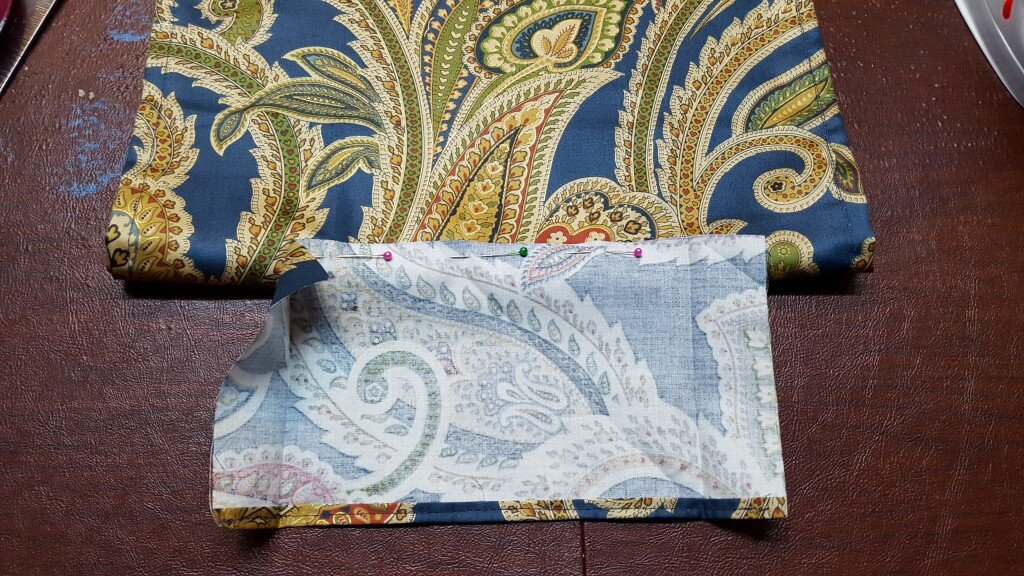
This picture is slightly wrong… You should have stitched the folded in sides so they shouldn’t be flopping around.
- Pin the sides of the pocket and stitch (you may have to turn the pocket inside out to do this).
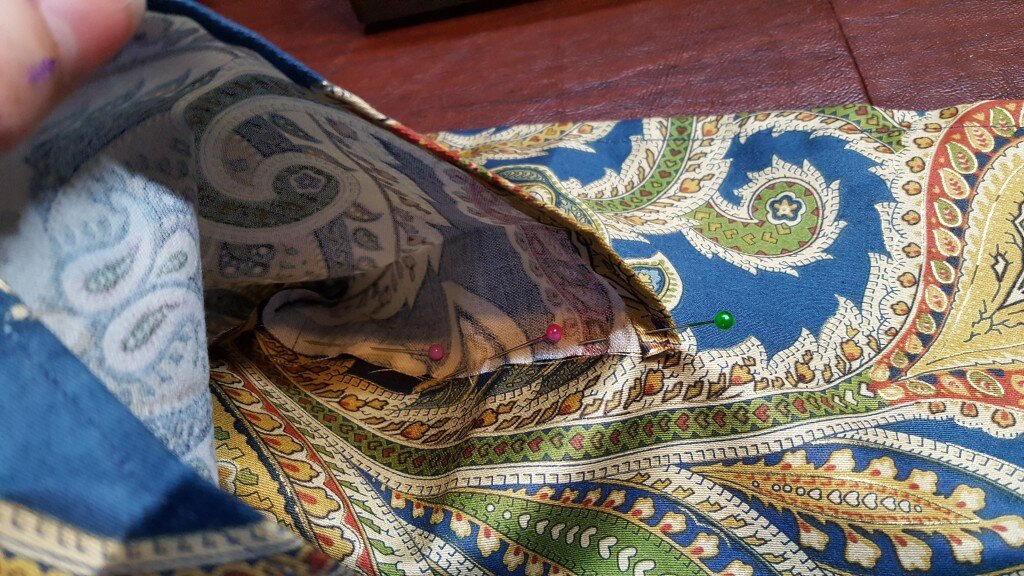
Pin sides of pocket to bag.
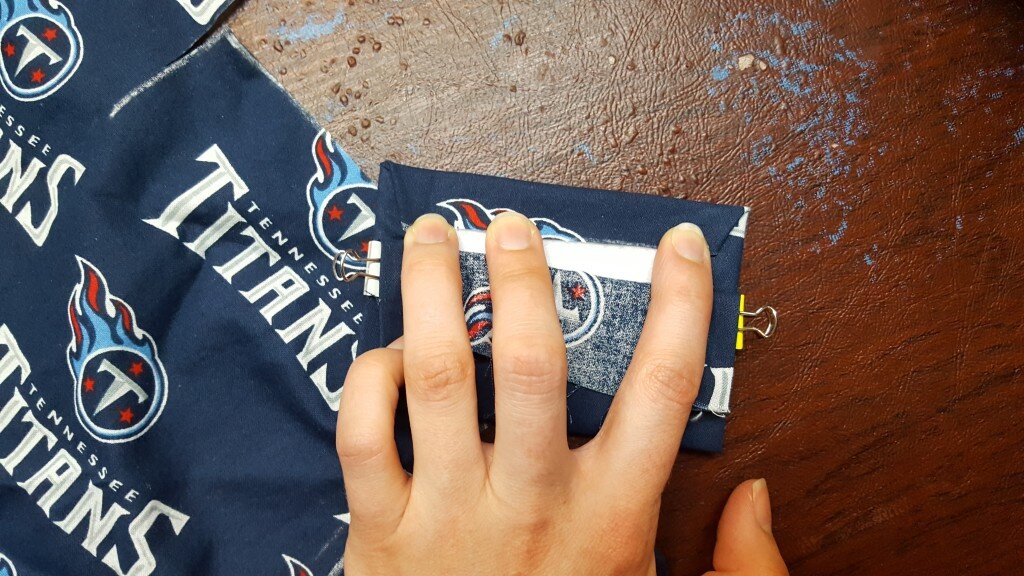
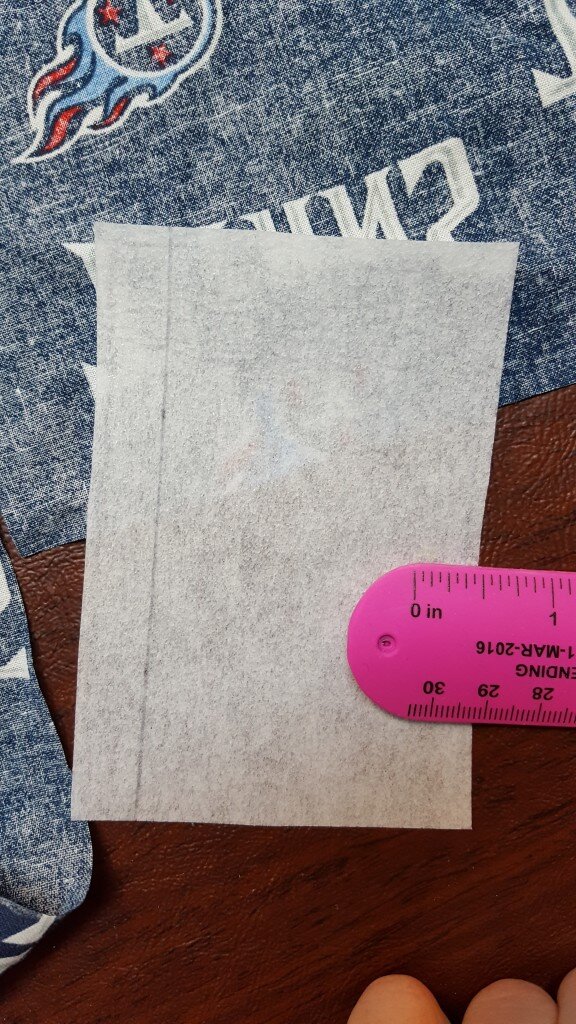
- Attach a 1″ piece of velcro to the pocket.
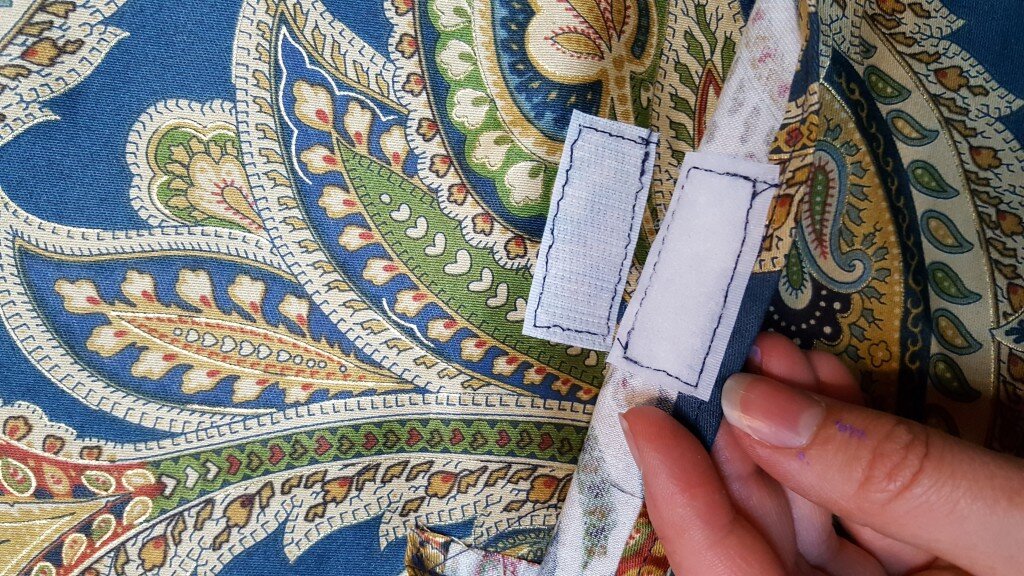
Attach velcro to inside of pocket.
- Attach a 3.5″ piece of velcro vertically to the edge of each side of the top of the “bag” on the the right side of the fabric.
- Attach the other half of the 3.5″ piece of velcro on the edge of each side of the bottom of the “bag” on the wrong side of the fabric.
- Take your nylon webbing and cut it in two equal length pieces. Toast the edges slightly with a lighter to prevent fraying.
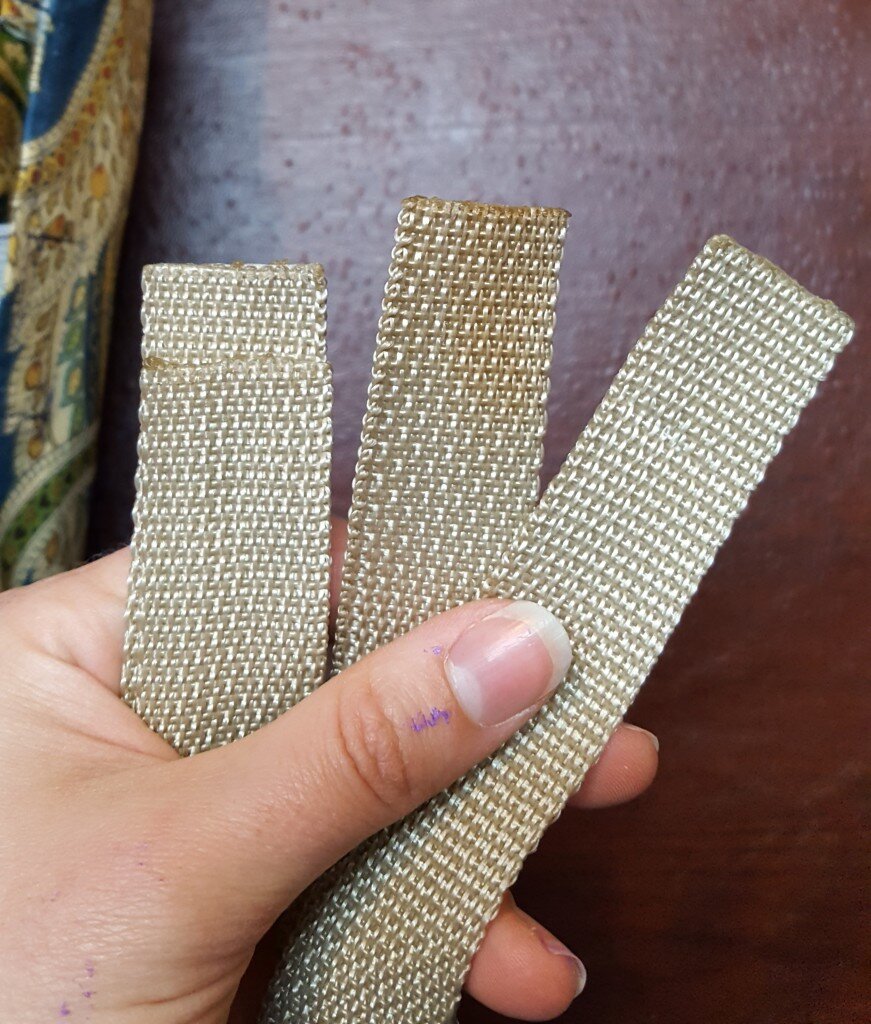
Burn edges to prevent fraying
- Once again fold fabric in half and pin one end of the webbing to one side at the fold. Take the other end of the webbing and overlap the pinned end by an inch. Replace your pin. Make sure your strap is not twisted. Repeat with other side.
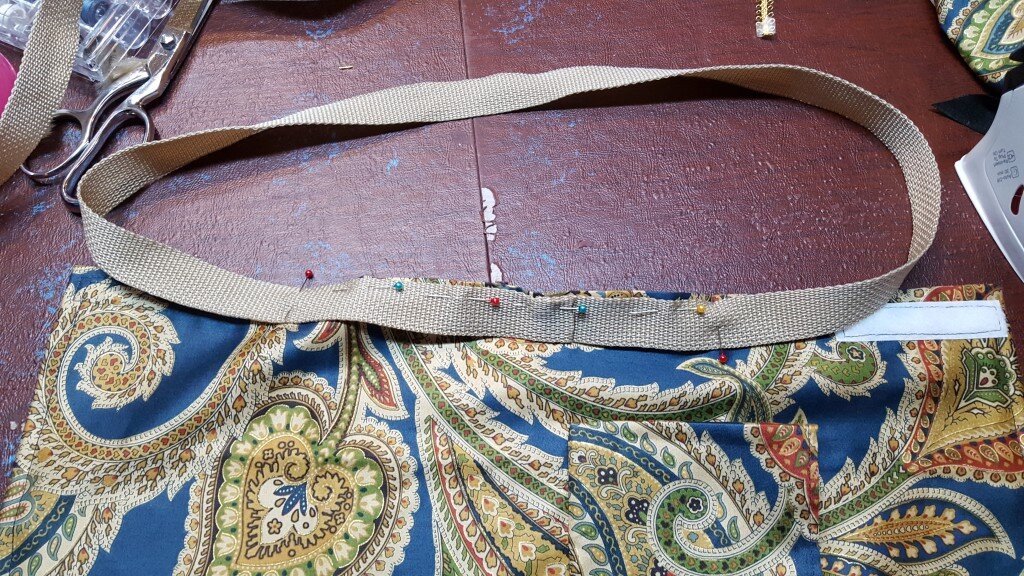
Attach handles to bag. Note that I marked where to stop sewing with the perpendicular pins.
- Stitch both straps on the edge from 2 inches below the velcro to 2 inches below the velcro on the other side.
Enjoy!
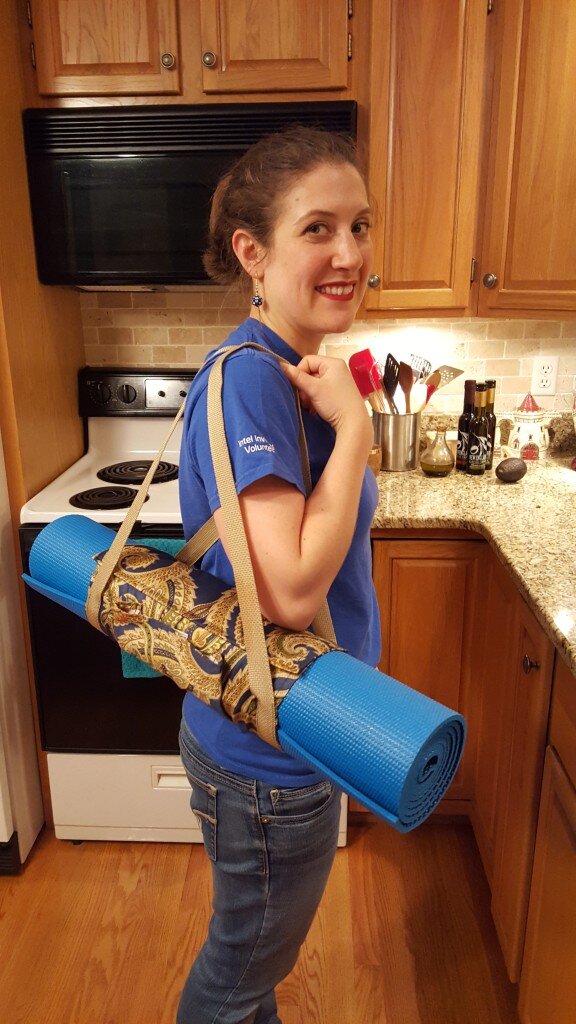
Go yoga.
To roll up your yoga mat lay the rectangle flat and put the yoga bag through the straps. pull side with pocket up first around mat snuggly, then wrap the other side around securing to the velcro. You can put your yoga strap in the front pocket!
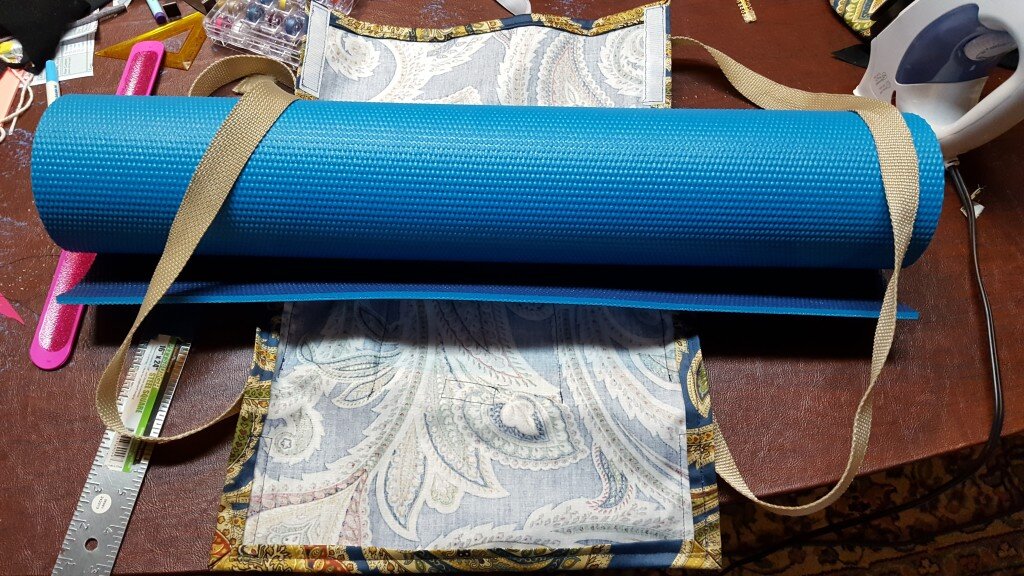
Insert mat through straps
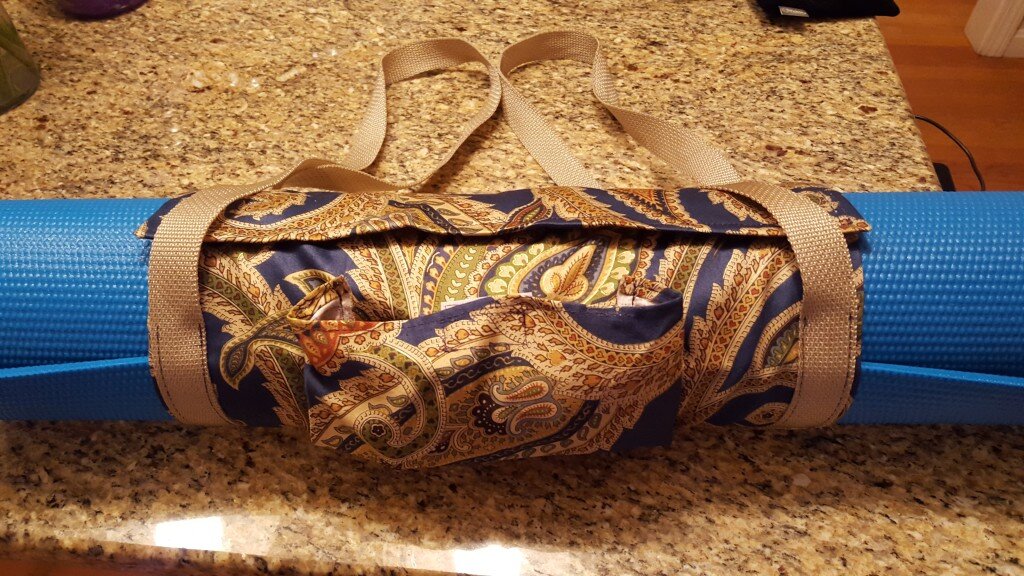
Roll rectangular section around mat, securing with velcro.
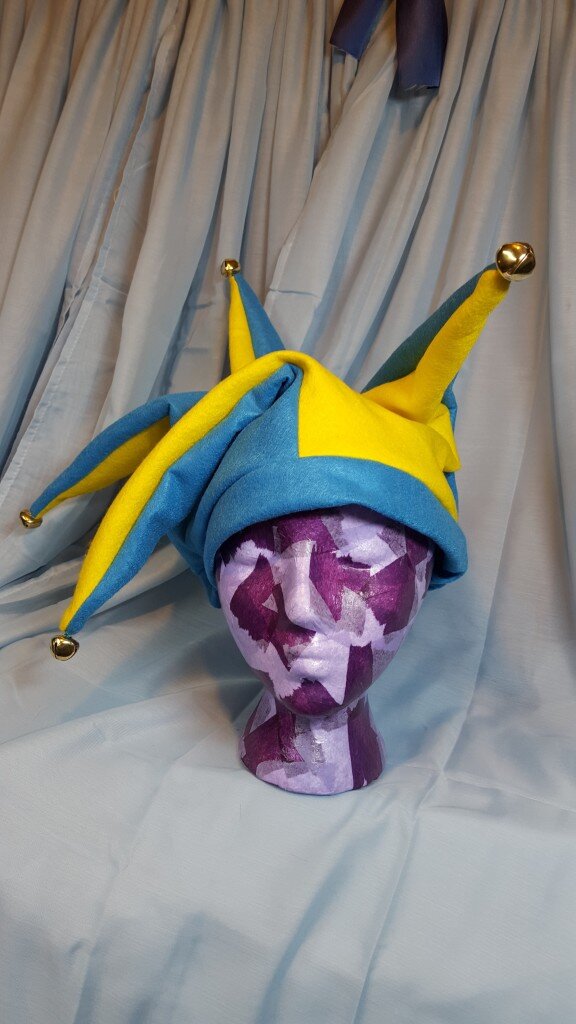
Now for the part you have been waiting for! Thank you for the June contest entries… I will be contacting you in the coming week. Our July give away is going to be centered around Pokemon… I’ll be giving away several hats similar to the one I made here (though they will be solid black with a pokeball). If you’d like to enter, post a comment (by August 15th) with an answer to the following question – Is Lexi pulling off that red lipstick above? Just kidding, tell me your favorite Pokemon and why! Bonus points if you can guess my favorite pokemon. :D Bonus bonus points if you can guess my favorite flavor of Mountain Dew (Will you are disqualified from answering both of the bonus questions).
