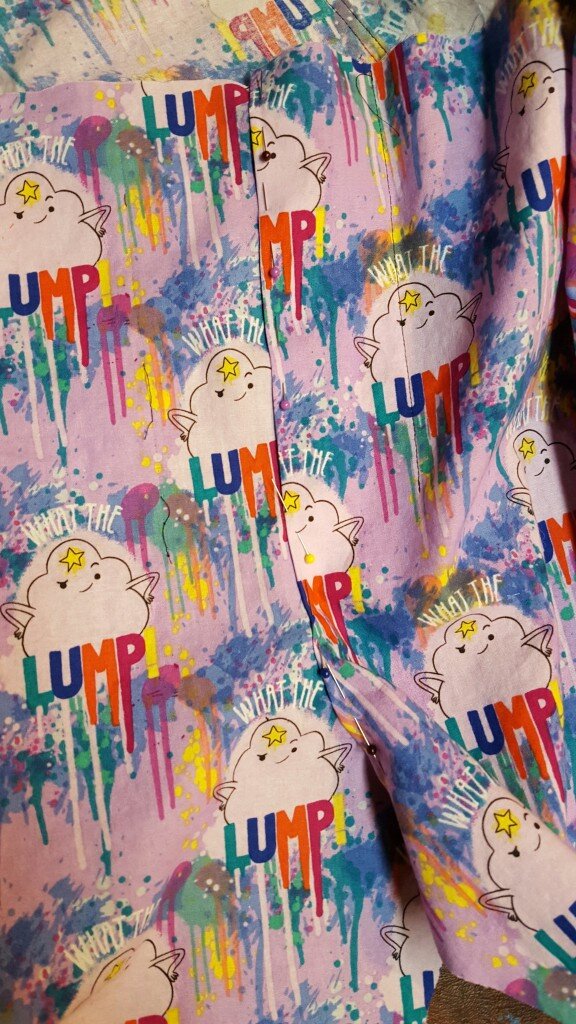
Captain Planet Grocery Bag Holder & January Give Away!

Well if you hadn’t guessed it before by my blog – beekeeping, thrifting and making old things new again – I’m one of those new age hippies. My big thing is reuse. I hate putting things in the dump if I can avoid it. I especially hate those little styrofoam packing peanuts. I have a giant box in my basement full of them that I reuse for packing just so they won’t go into the dump immediately. Sorry I digress.

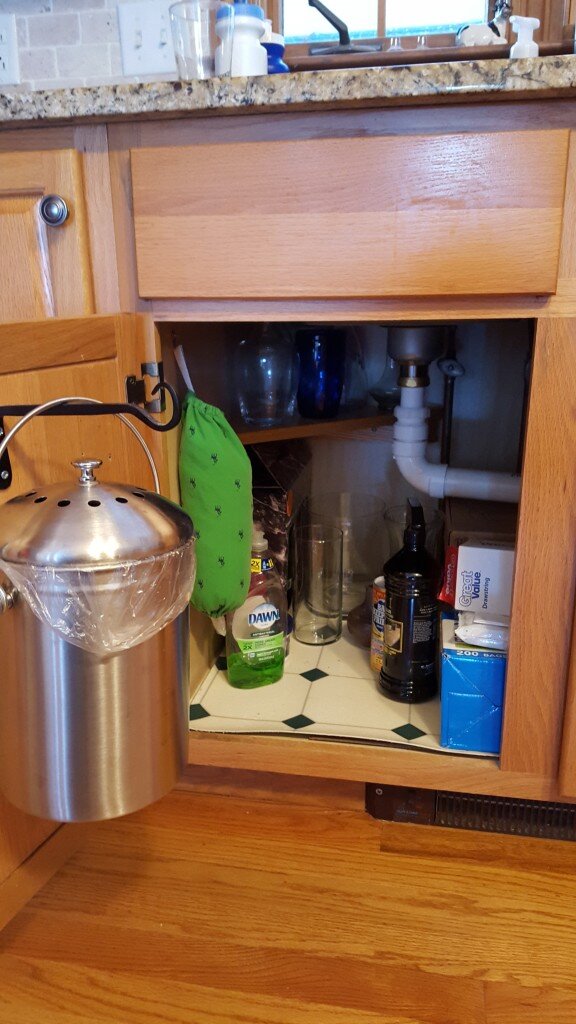
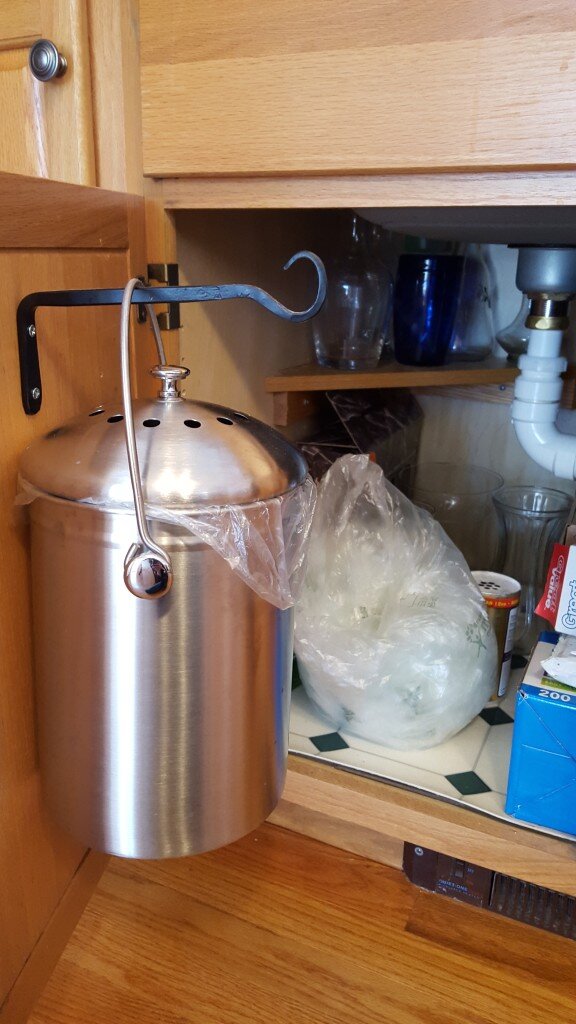
A few years ago I decided I wanted to compost. There are lots of stigmas around composting – that it smells, it is hard work, etc. Well I can tell you none of those things apply. I keep a compost bin under my sink and throw vegetable scraps in it until it fills up. This compost bin is so great at concealing odors that I sometimes forget how long the food scraps have been in there until I open it. And I can put it right in the dishwasher!

20160124_120104

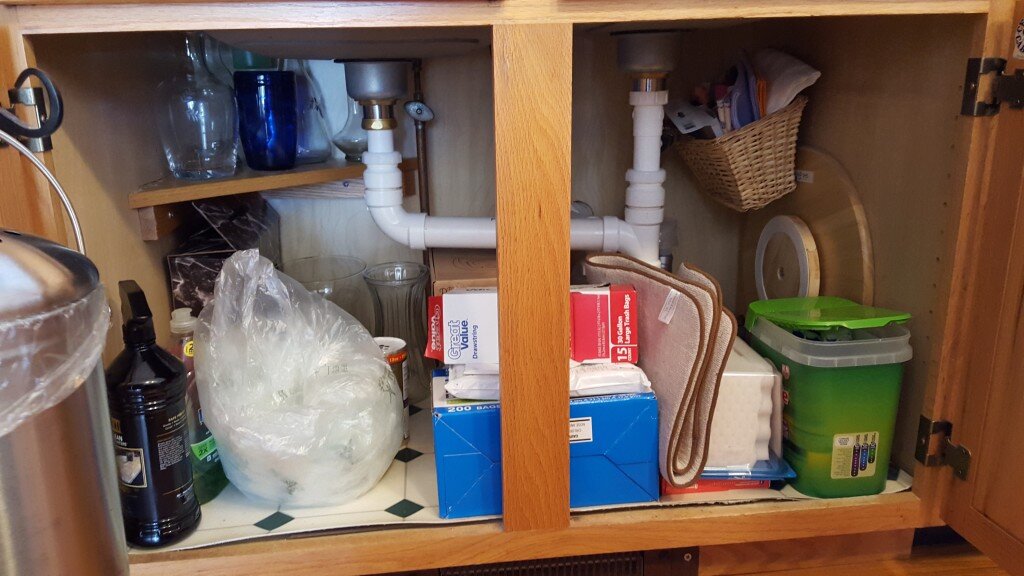
Sidebar – look at my organized under-sink! I created and installed a corner shelf last weekend that makes things so much more organized (see the top left). (Thanks mom & dad for my power drill and circular saw!) Oh let me show you the other side too! On the right I added a nice little $.99 thrift store basket to hold random cleaning supplies and sponges!

20160124_120355

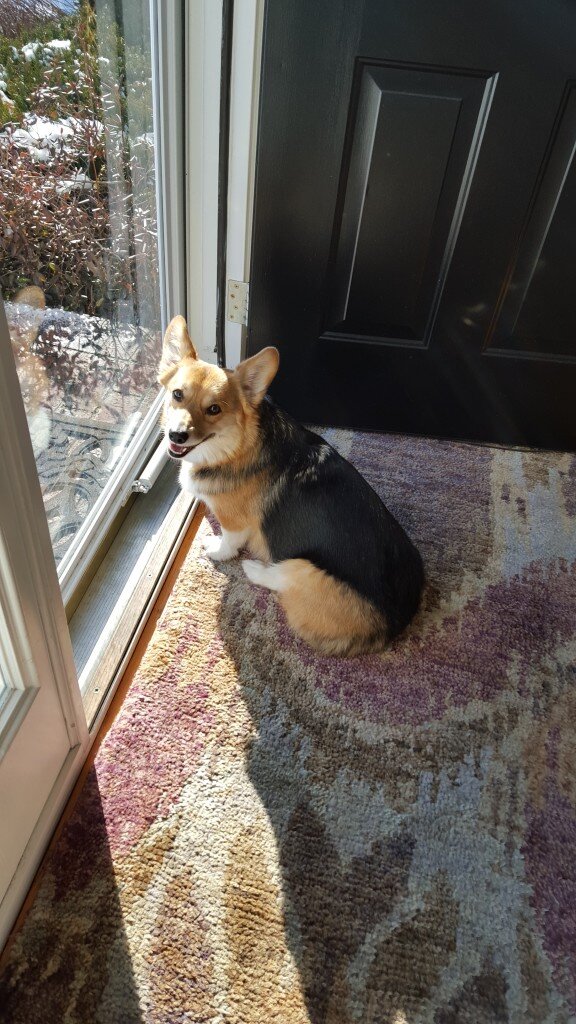
You may have noticed the unsightly stash of produce bags sitting in a ball under the sink. I can’t bear to throw these away either so I use them to line my compost bin before eventually throwing them away (they also work as dog poop bags for the tiny poop machine).

Corgi in the sun

Corgi in the sun

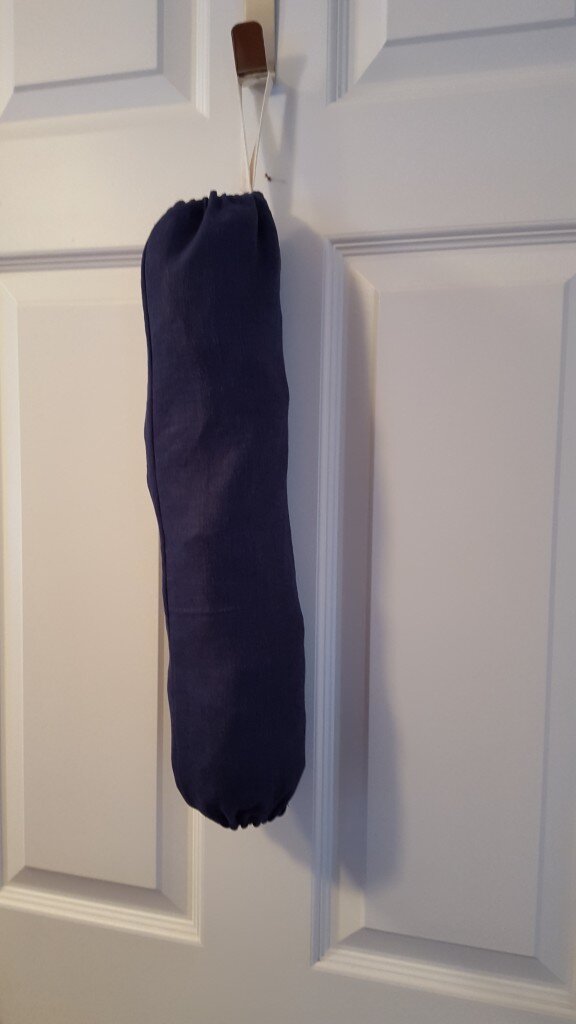
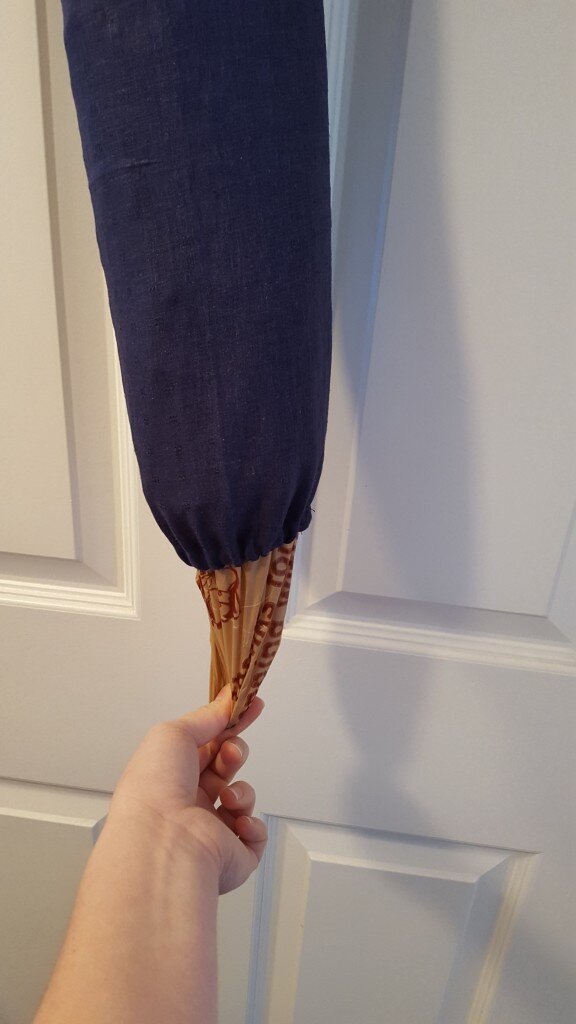
So to take care of my unsightly bag stash I’m going to show you how to make a grocery bag or produce bag holder that you can hang up. Hopefully this will encourage you to store your bags and reuse them!  Look at how much better this looks now!

20160124_152813

But wait, there’s more! Before I show you the bag holder plans – I’d like to give away two sets of hand made earth friendly items for our January give away! You’ll get a full size grocery bag holder and a fun mystery prize that I’ll show you how to make next week! What do you have to do to enter the contest? Just comment about an earth-friendly step you’ve taken in your household or an environmentally friendly idea that you are thinking about trying! No idea is too small because as Captain Planet says “the power is YOURS”. (I know you’re rolling you’re eyes and I… am… loving it!!)

Captain Planet Grocery Bag Holder

20160124_145001

What you need:

  • 2 pieces of 21″x8″ lightweight fabric for a grocery bag holder  -or- 2 pieces of 15″x7″ lightweight fabric for a produce bag holder
  • 1/4 inch elastic (about 1.5 feet)
  • yarn needle
  • short piece of ribbon
  • thread
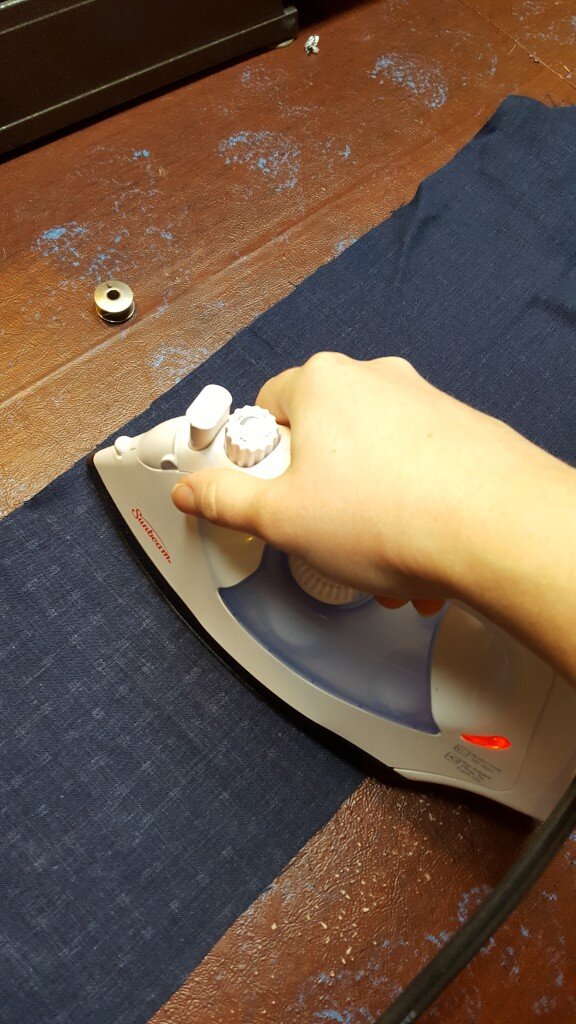
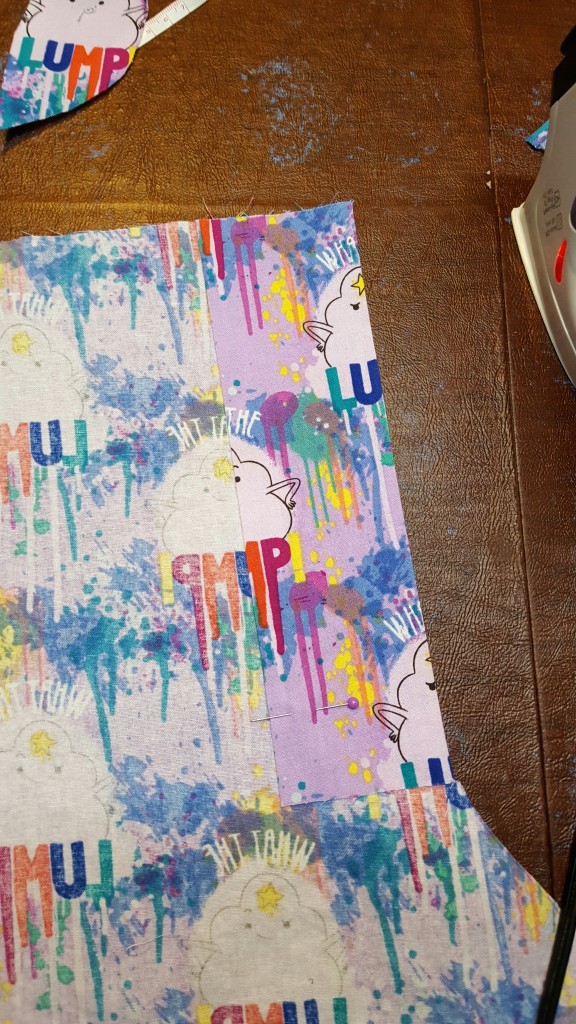
  1. Iron your two rectangles of fabric flat.20160124_140336

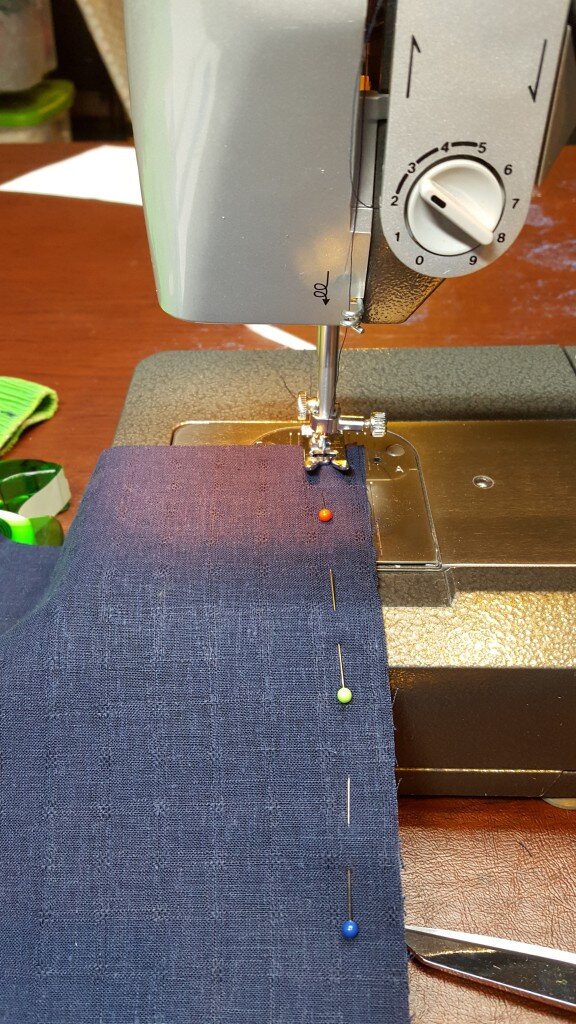
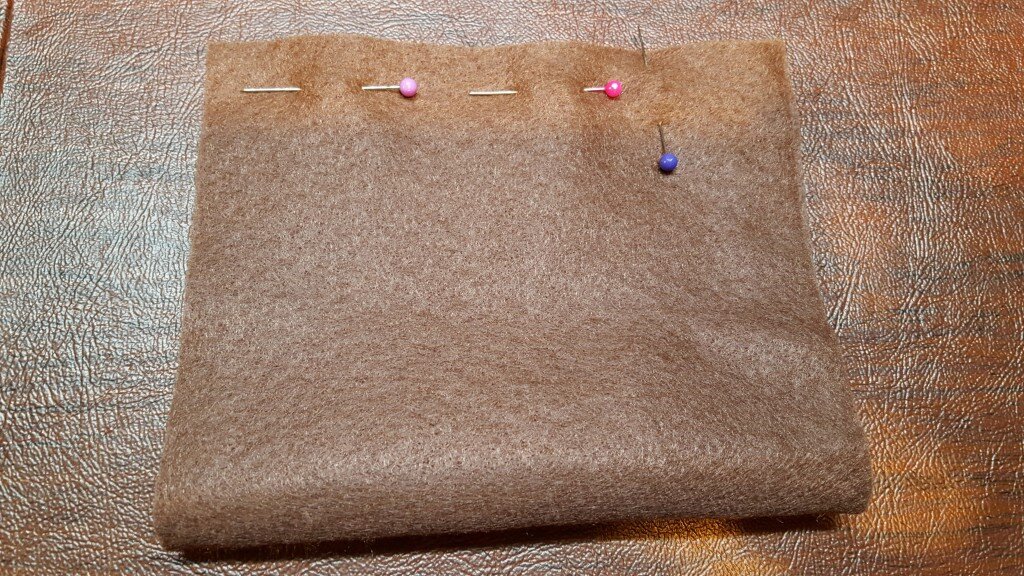
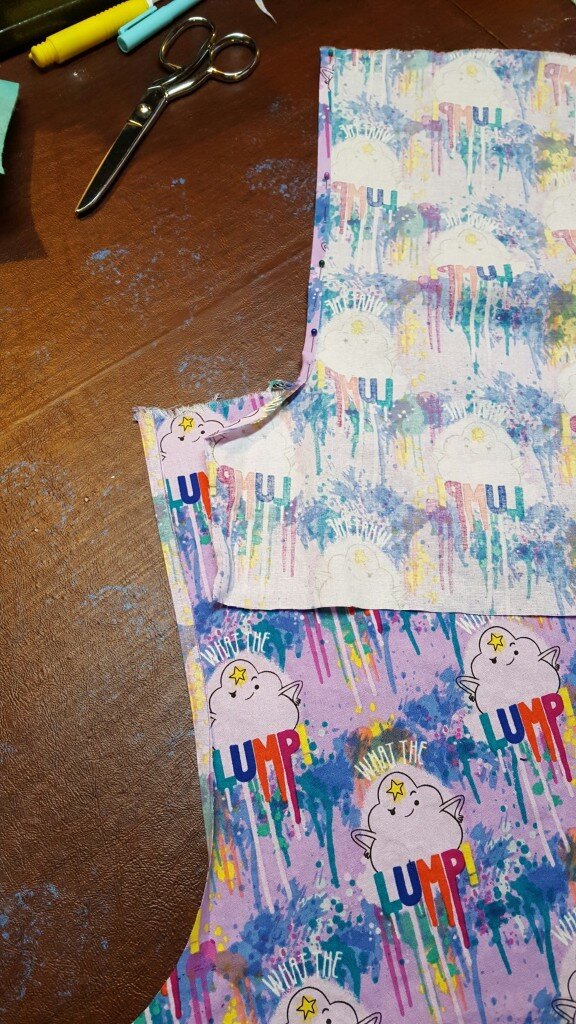
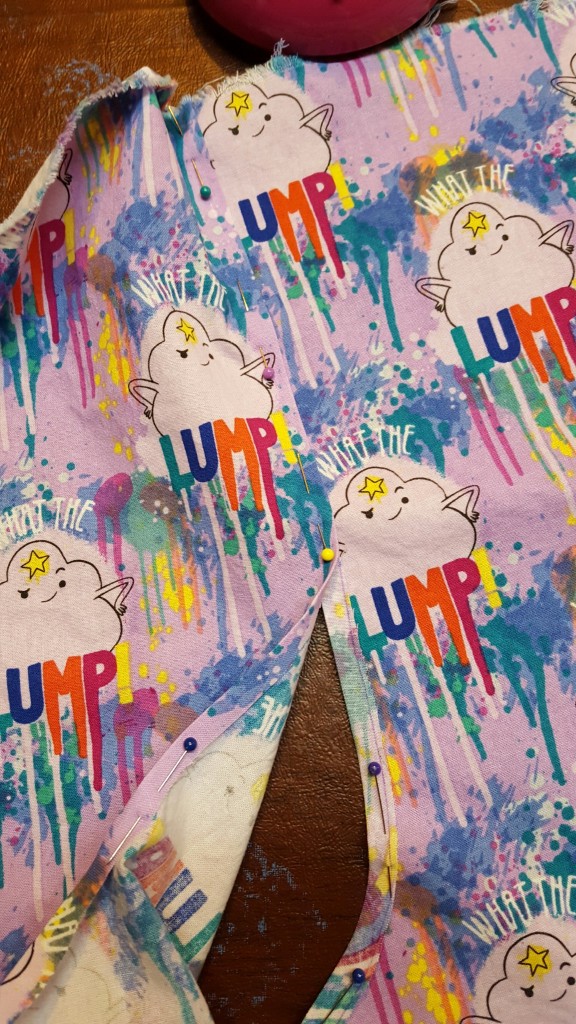
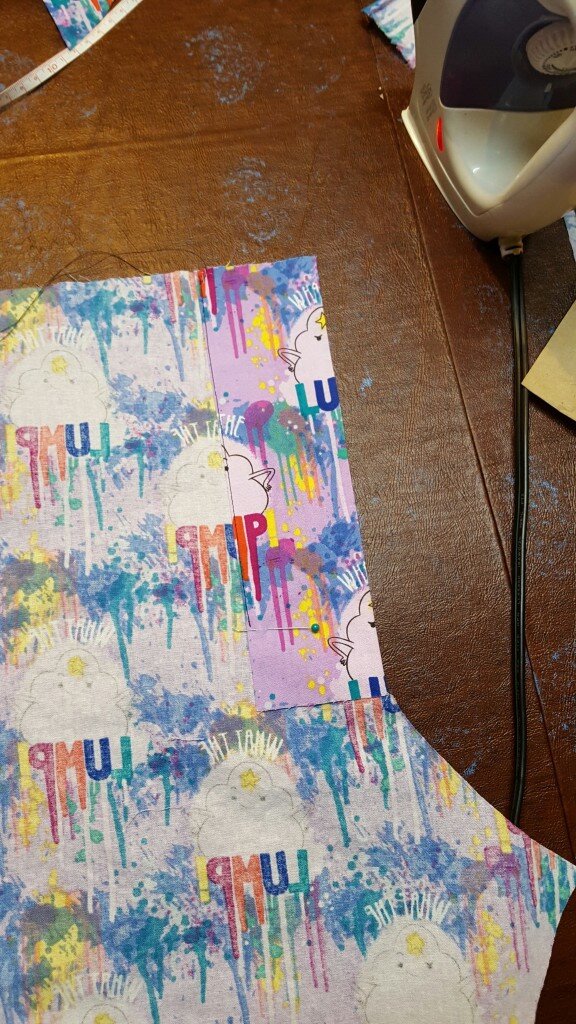
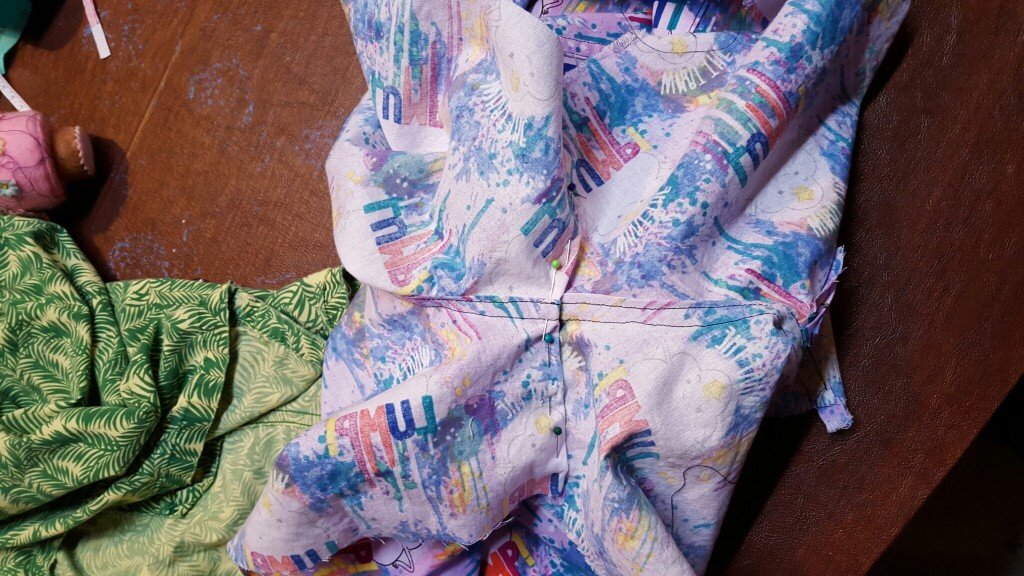
2. With right side together pin and sew along both the long sides of your rectangles.20160124_141509

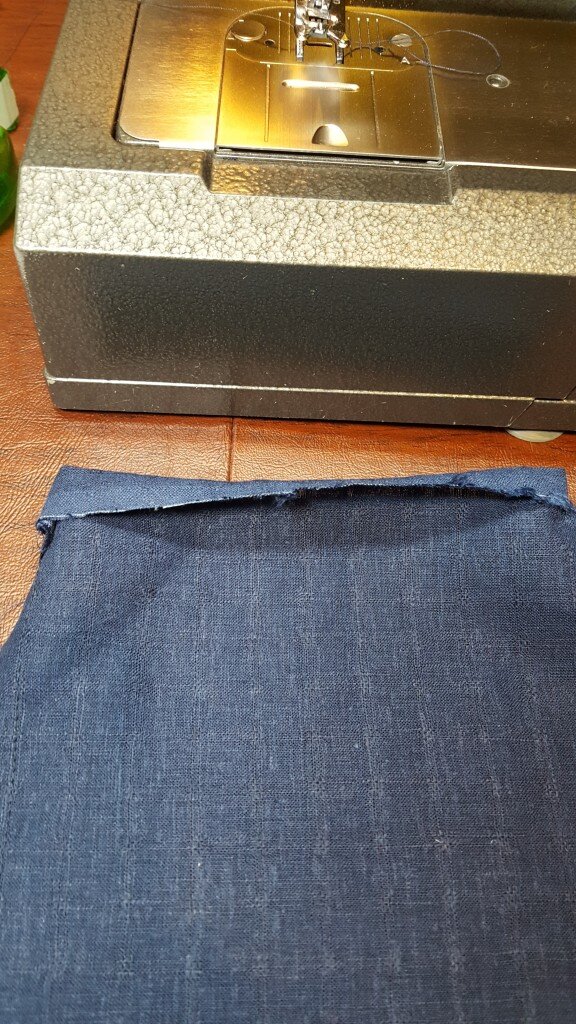
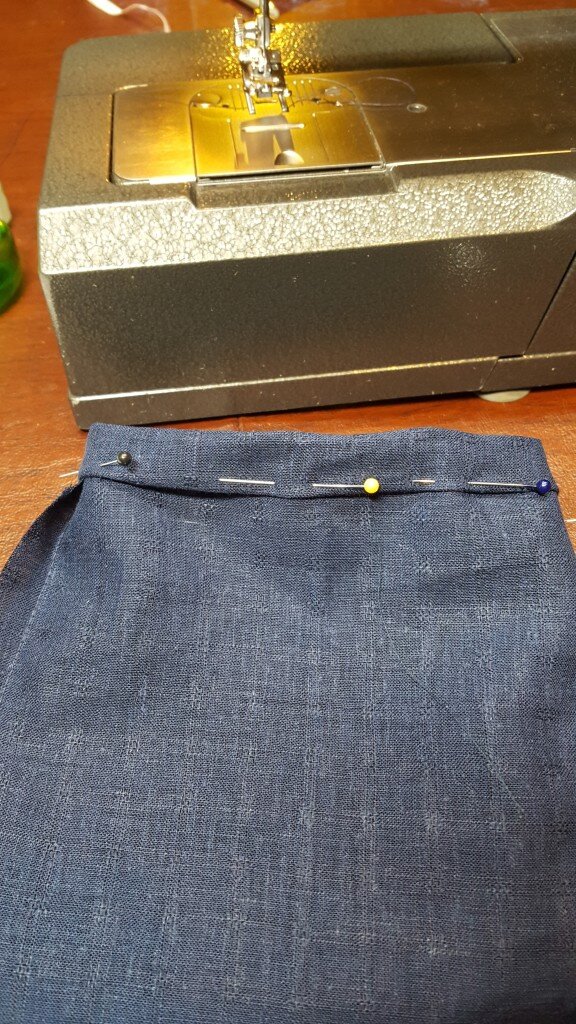
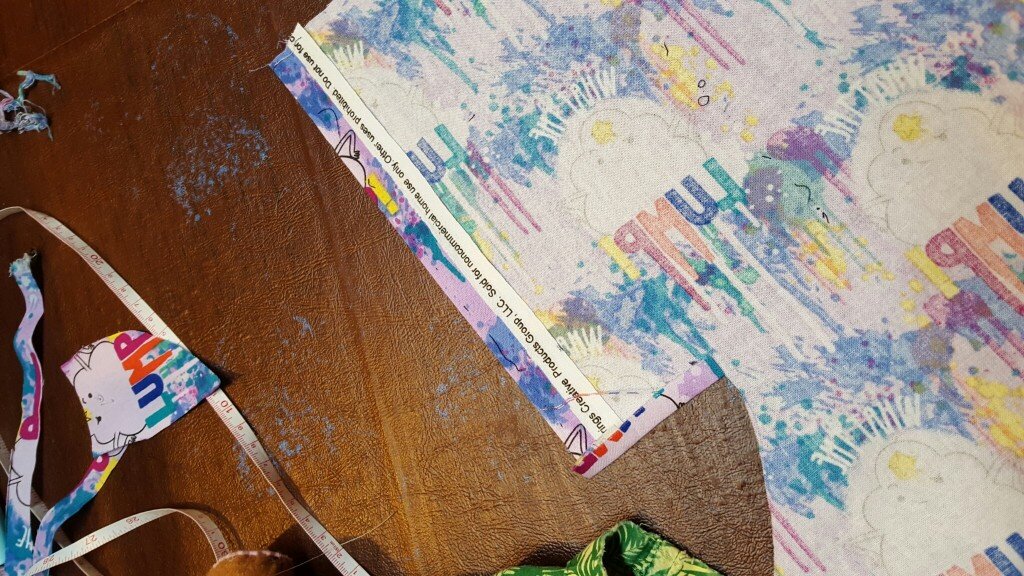
3. Fold the top over once 1/2 inch.20160124_142200

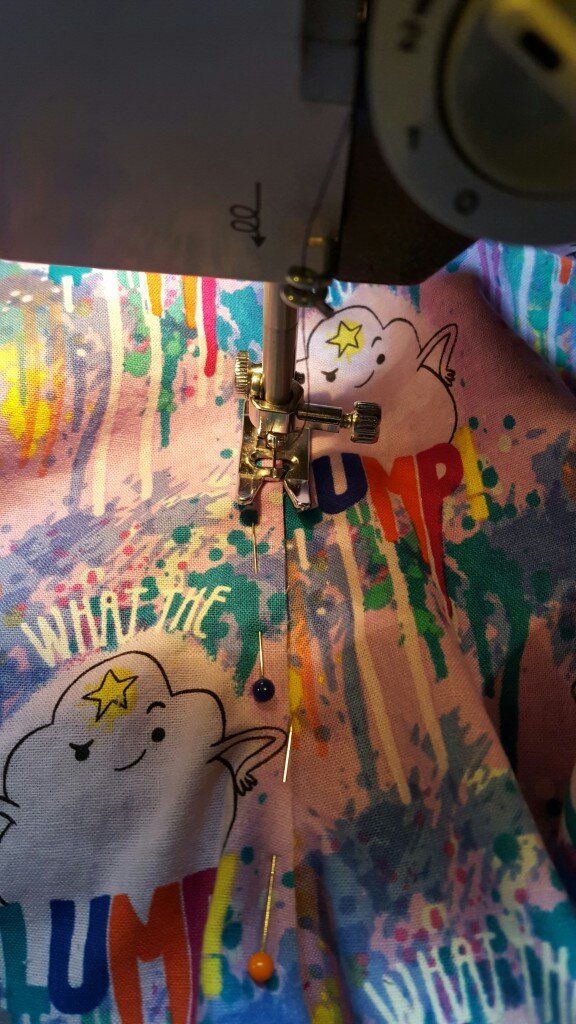
4. Fold over again and pin to form a 3/4″ rolled hem.20160124_142109

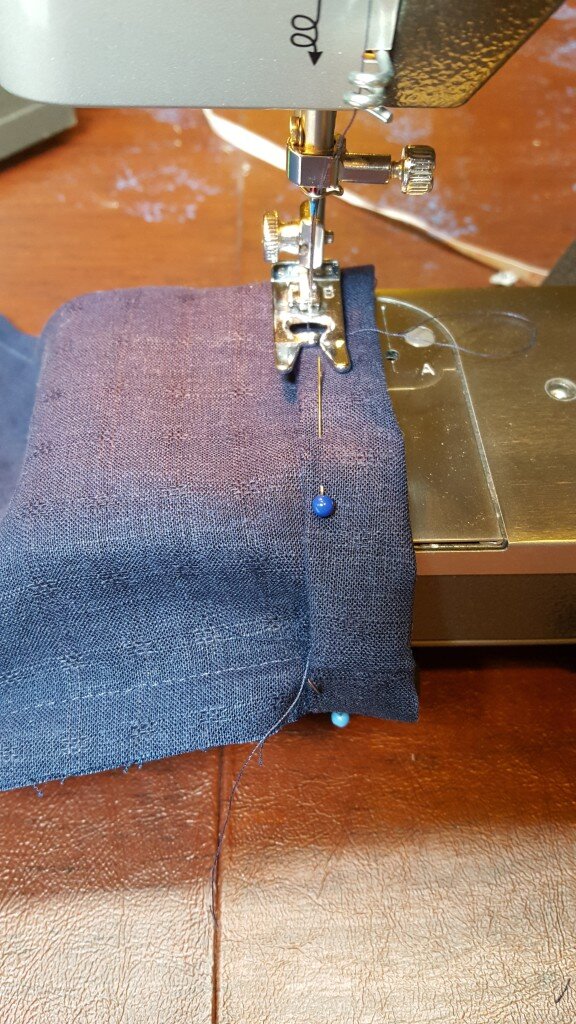
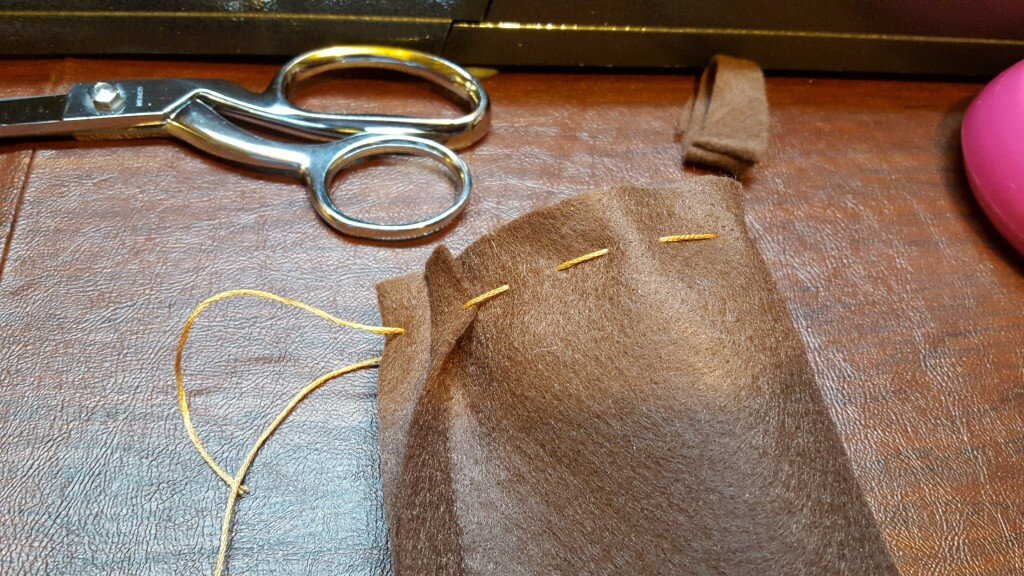
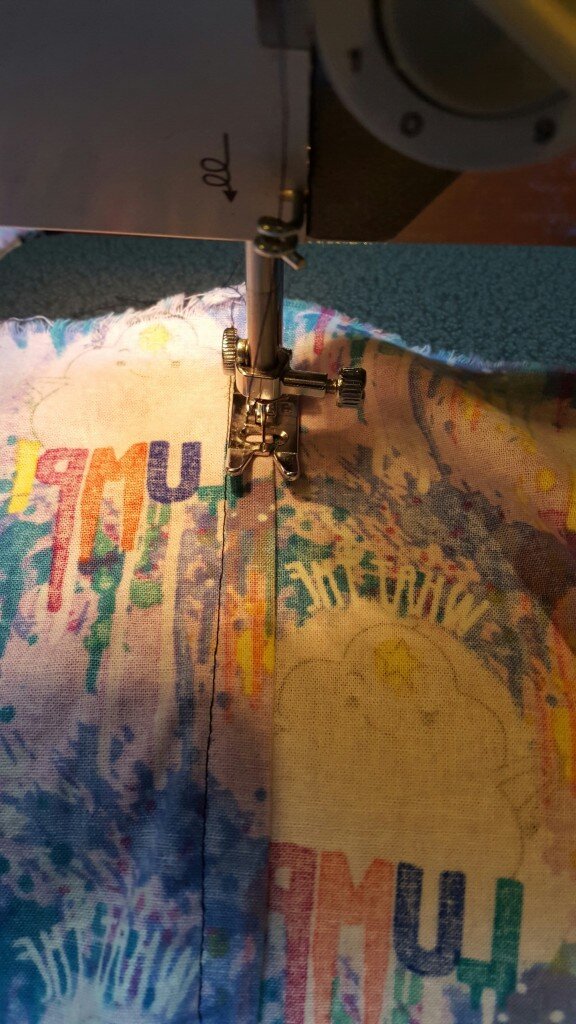
5. Stitch close to fold and leave a one inch gap opened to form a tube.20160124_14232820160124_142656

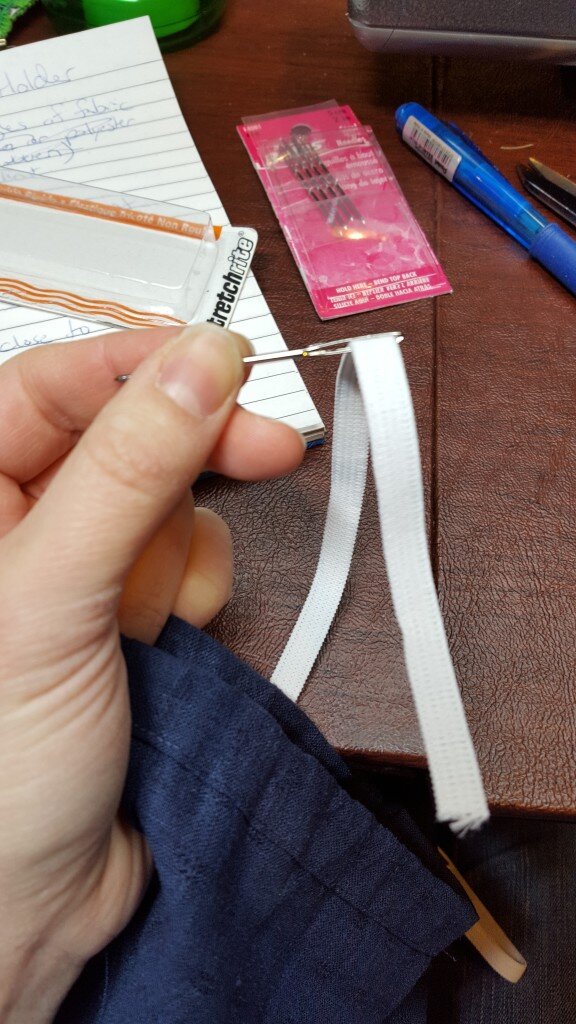
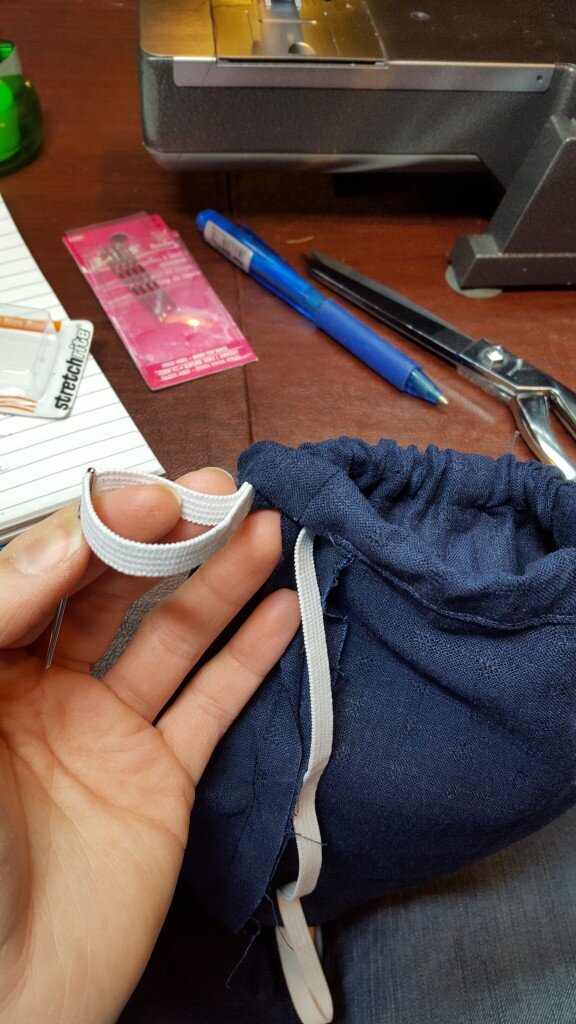
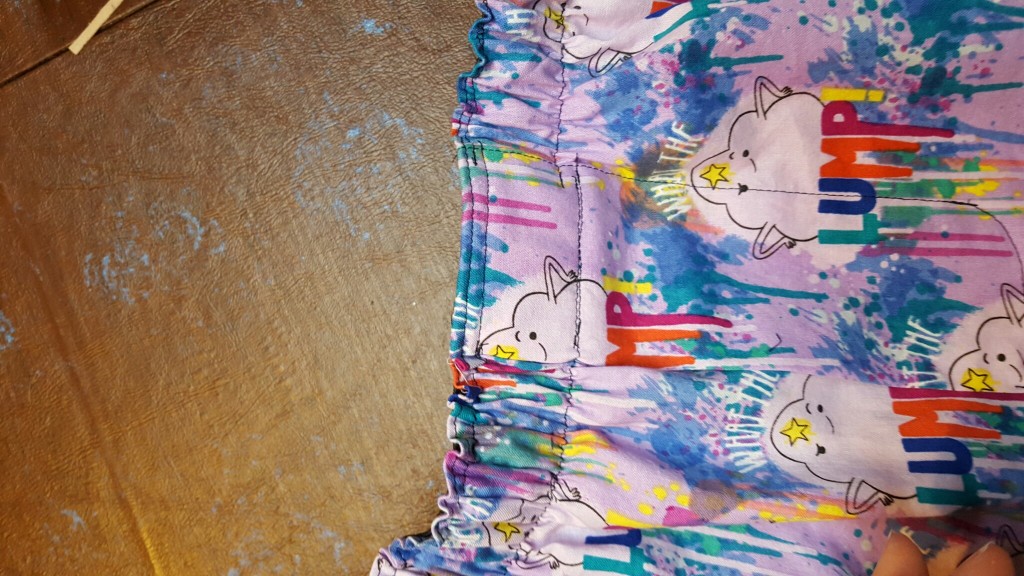
6. Using a yarn needle thread the elastic through the rolled hem tube.20160124_143057 20160124_143247

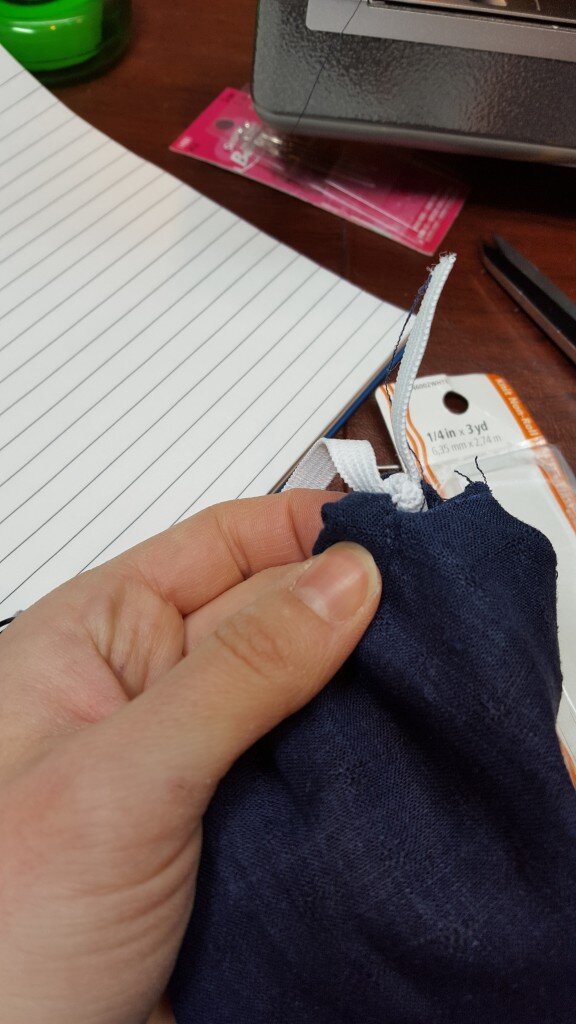
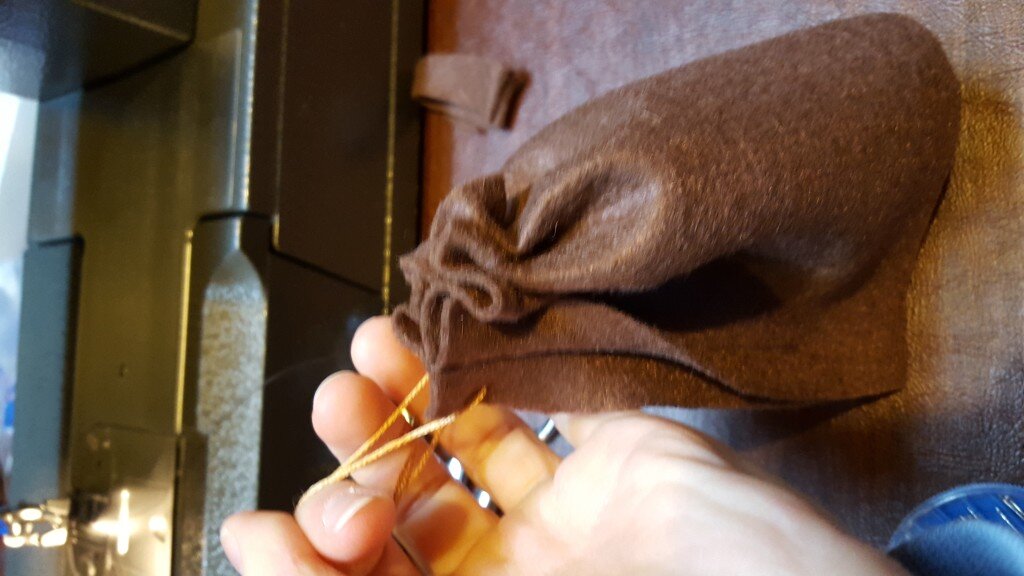
7. Gather fabric around the elastic until you have a hole 3.5 inches in diameter (or 2.5″ for the produce bag holder).  Tie off the elastic.20160124_143510

8. Sew the gap you left in the hem closed.

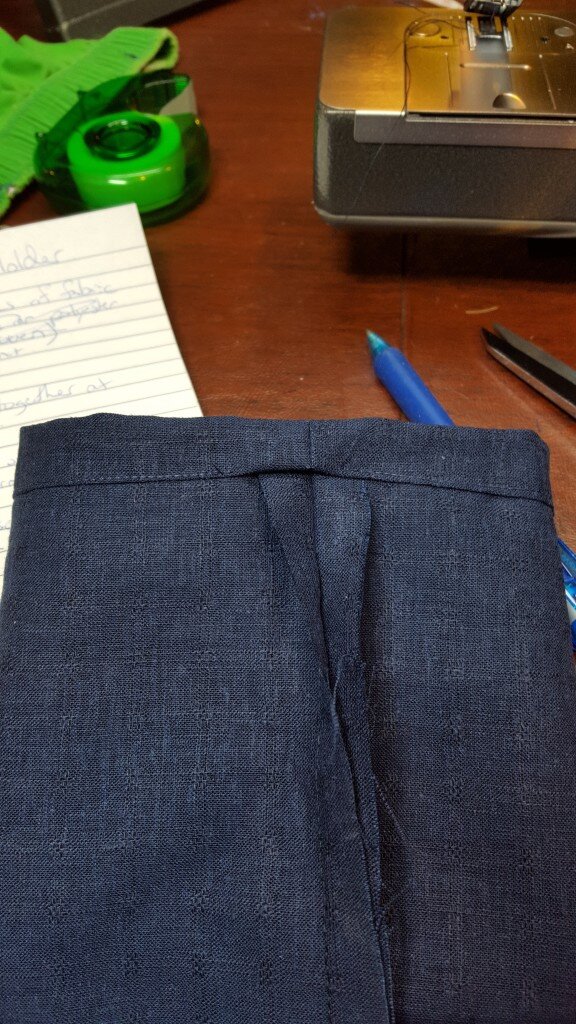
9. Repeat steps 3-9 for the bottom hem.

10. Cut a 8-10 inch piece of ribbon (depending on preference) and fold in half.

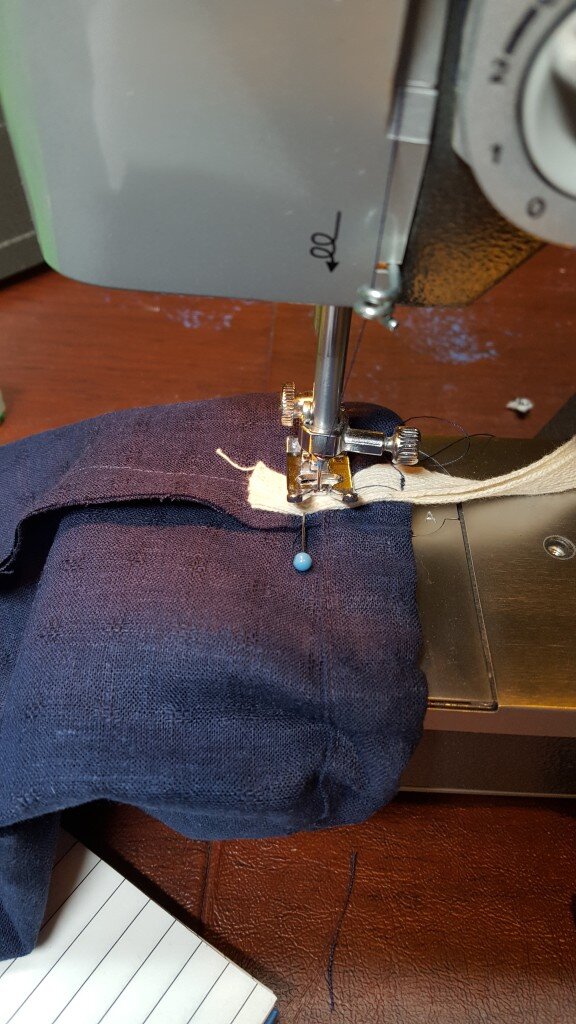
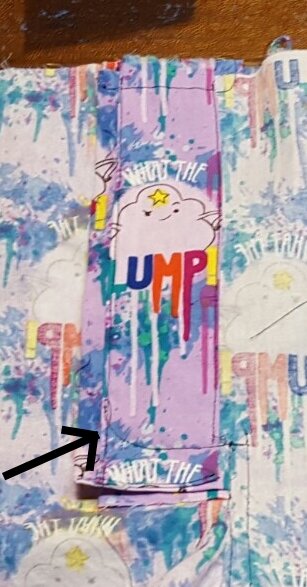
11. Stitch ribbon to the side seam at the top and bottom of the rolled elastic casing.20160124_144643

Open out & stuff with bags!

Voila!

20160124_145015

Posted in Crafts & Sewing, Thrift Finds | 7 Comments

ChristMoose Pattern

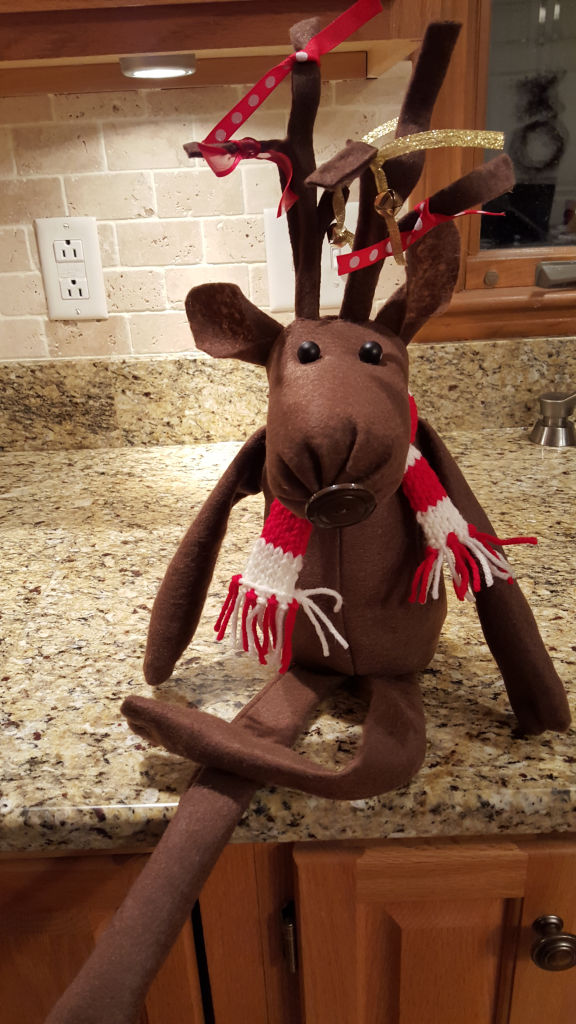
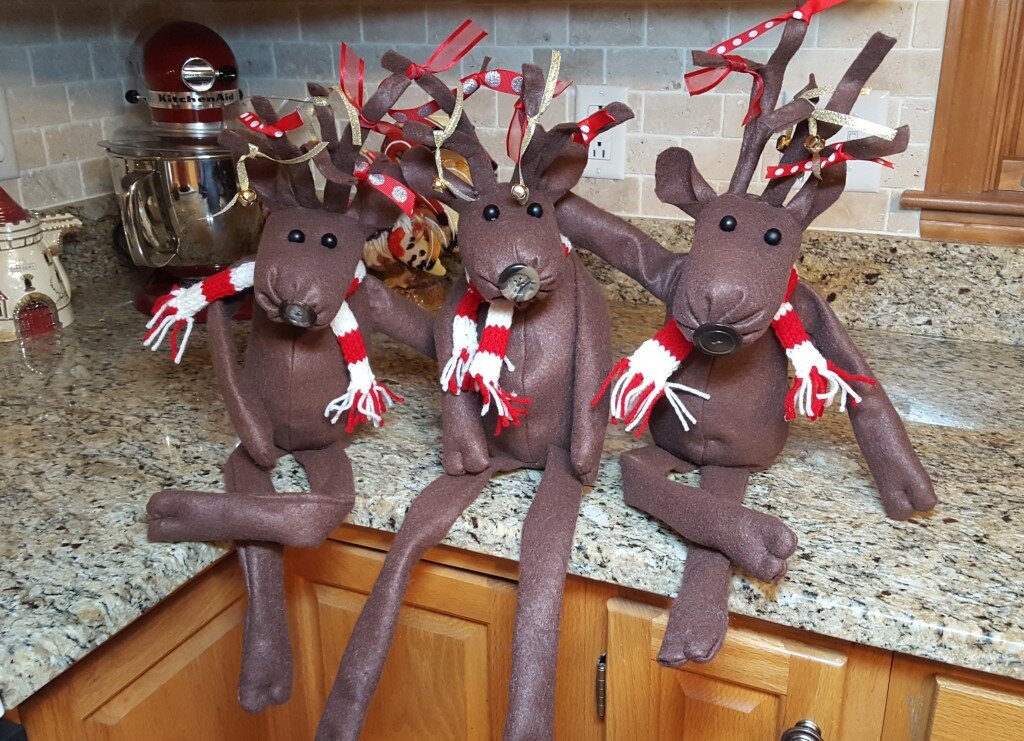
First off – thanks to Ka and Andrew for commenting on my Christmas Traditions post! You both are getting a ChristMoose and you should receive it very soon (if you haven’t already). For those of you who didn’t enter the give away – below are the instructions and pattern to make one of your very own!  It is a bit lengthy compared to the other patterns I’ve posted, so if you have any questions definitely send me a note!  You’ll notice at the end that they all look a little bit different (just like in real life)!  Depending on how long you make the nose, where you put the antlers, or how you position the eyes and ears you’ll end up with a moose with a different personality.  So play around with it!

Before I start you off on the moose pattern I wanted to mention that I’m going to be doing one give-away every month this year, so check back every Monday to better your odds of winning.  We’ll have some cookbooks and some other homemade items up for grabs.  I’m also working on a very beginner sewing series for those who want to get into sewing but have no idea where to start. I’ll hope to have some info on that soon too.  I’ve also been working for the last couple weeks to get my sewing studio in order (aka basement).  It is taking forever, and since it is an unfinished basement I’m trying my best to make it feel less like I’m sitting between the oil burner and the oil tank… I’ll show you some pictures of that too this month.  Okay, without further adieu I give you instructions to make this little cutie!

dapper_moose

To make a dapper Christmas Moose you’ll need:

  • About a yard of brown felt or fleece material (I used felt)
  • Brown thread to match
  • About 2 feet of covered floral wire
  • A large button for the nose (mine were about 1 3/8″ wide)
  • Two large black beads for the eyes (mine were about 1 cm wide)
  • scrap fabric for a beanbag
  • sand, rice or beans for the beanbag filling
  • stuffing
  • scrap ribbon and bells to adorn the moose’s antlers
  • fabric or yarn for a scarf
  • A glue gun
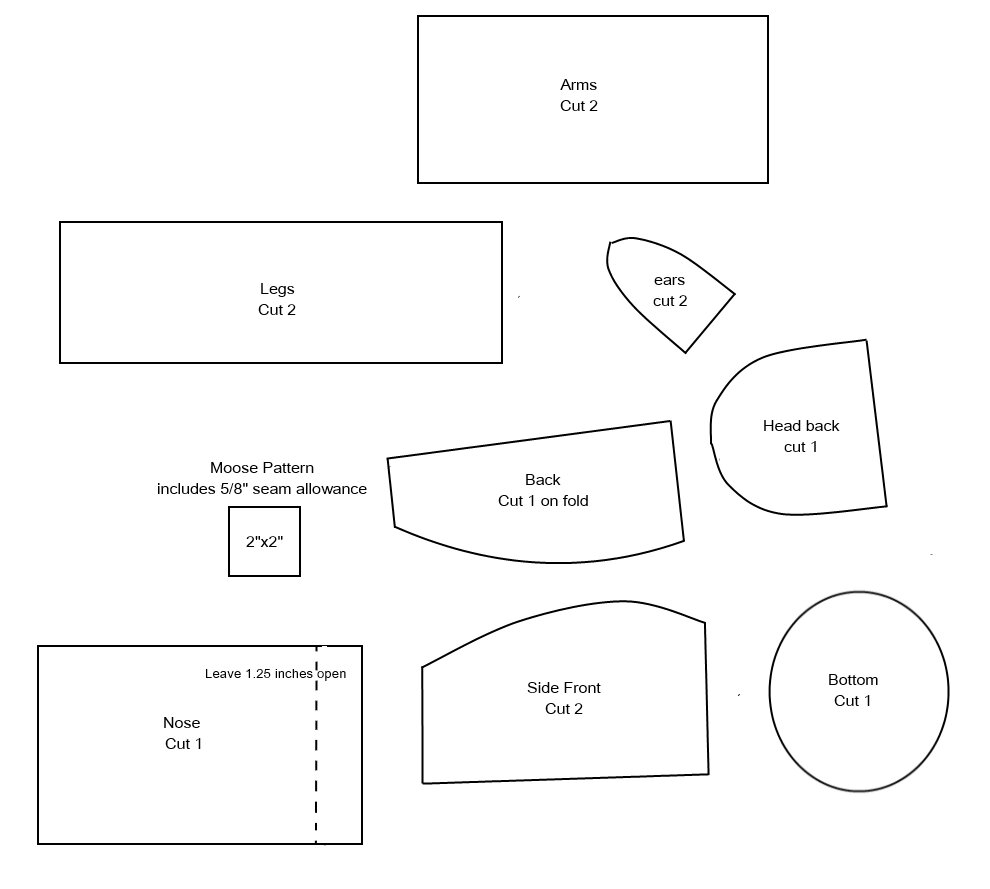
  • Pattern here:moose
  1. Start by cutting out all your pattern pieces from the pattern above. They already include 5/8″ of seam allowance.  Make sure when you print it it is scaled to match the 2×2 square.
  2. Using brown felt or fleece (I used felt) cut out all pattern pieces.
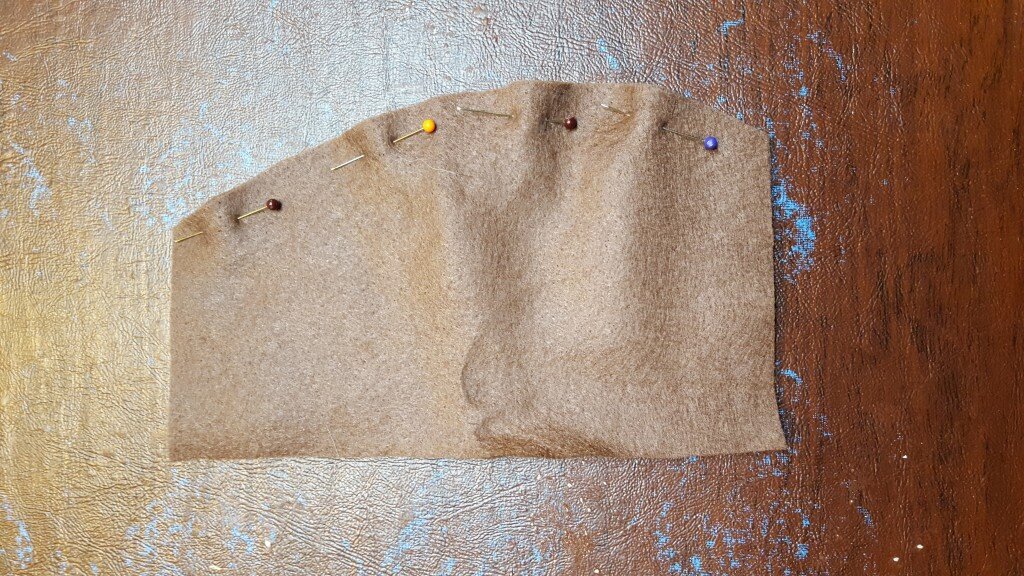
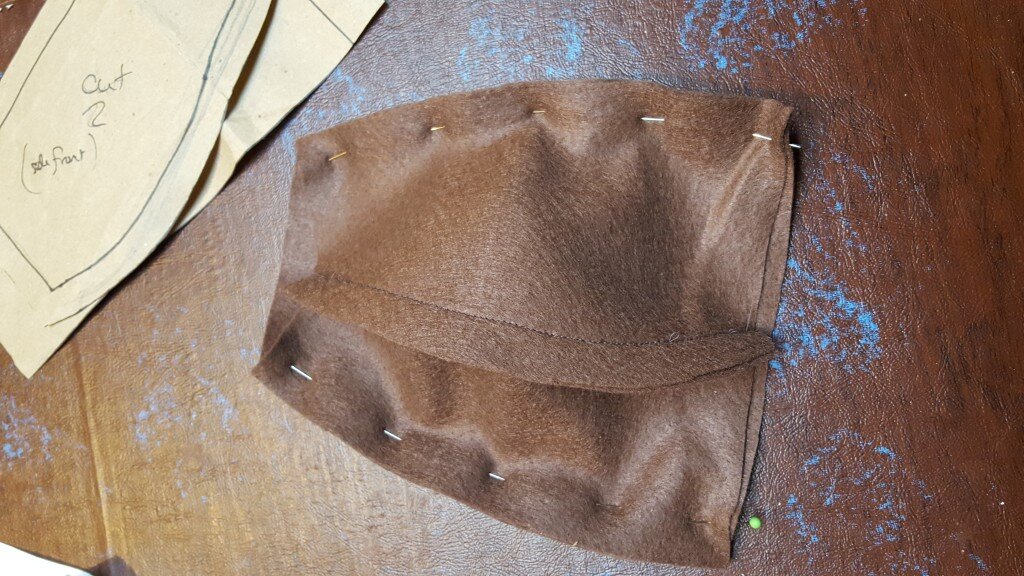
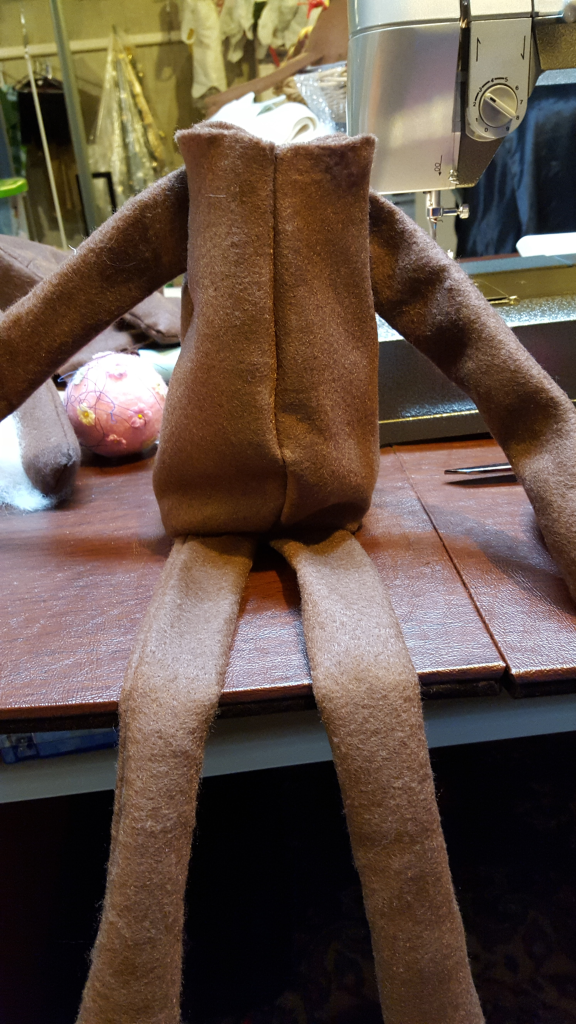
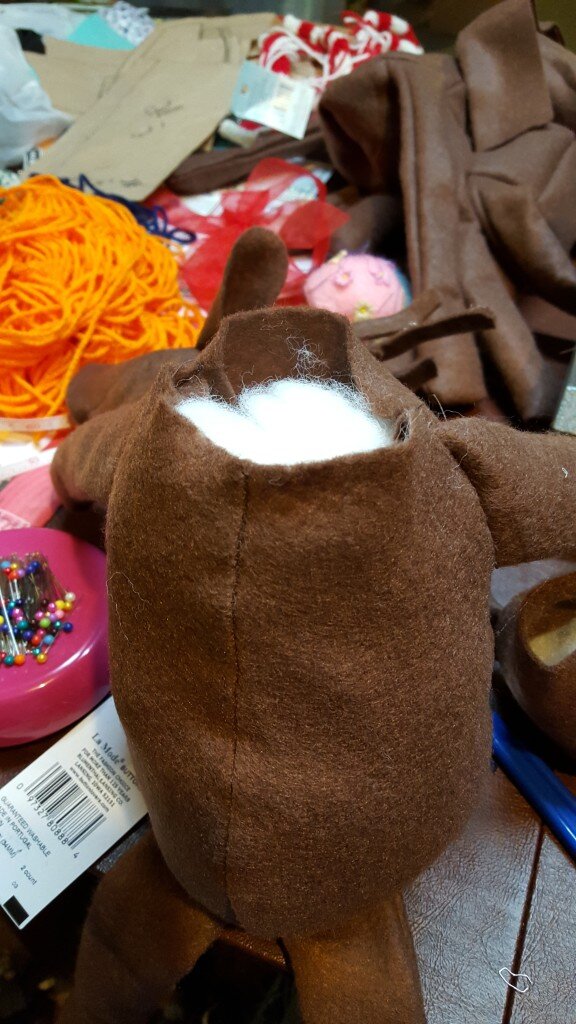
  3. Take the two front pieces and pin and stitch down center front, forming the moose’s belly.20160105_211751
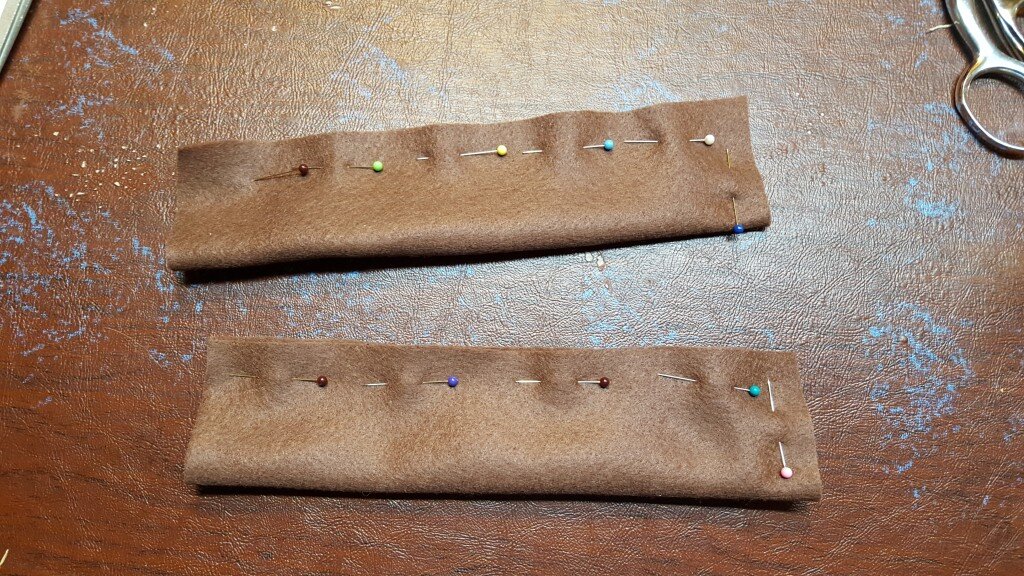
  4. Fold the rectangle for one arm in half lengthwise. Pin and stitch on the length and one end, leaving the other end opened.20160105_215121
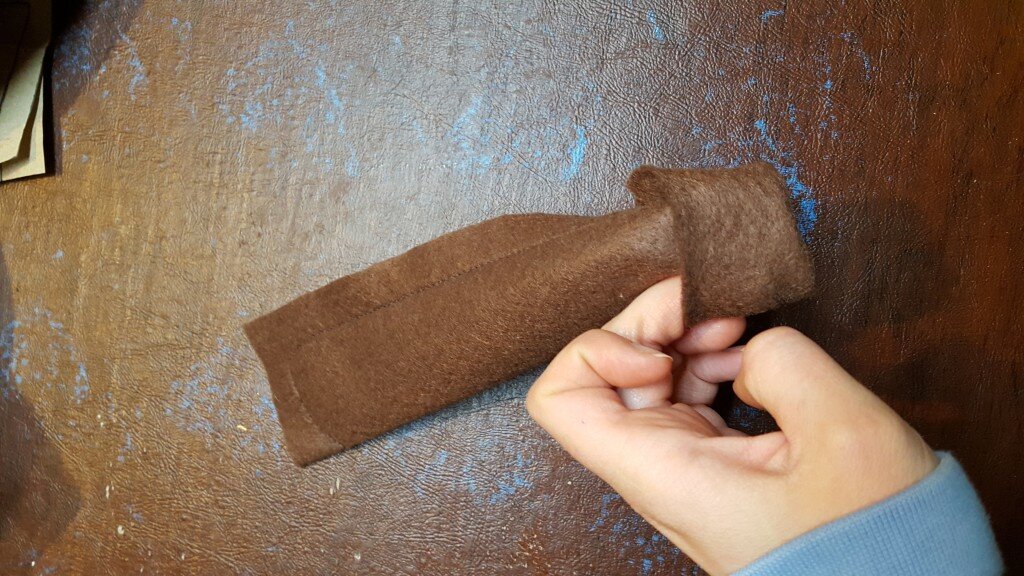
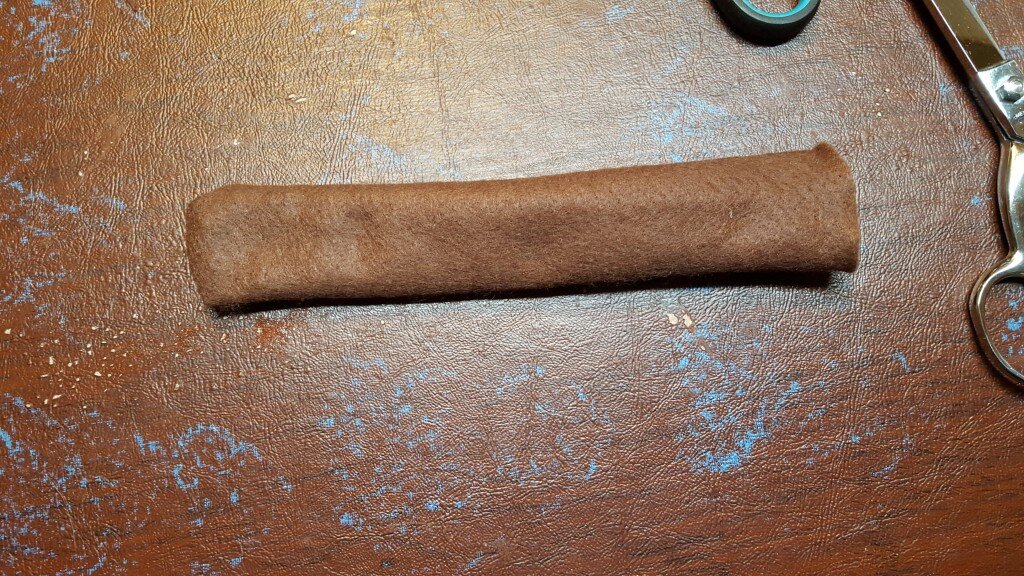
  5. Turn out the arm so the right side is facing outwards. You may need a chop stick or long object to help with this.20160105_220057
  6. Put a tiny bit of stuffing in the “hoof”, enough to make the hoof a bit puffy for about an inch and a half.20160105_220154
  7. Repeat step 4,5,6 with the other arm and both legs.
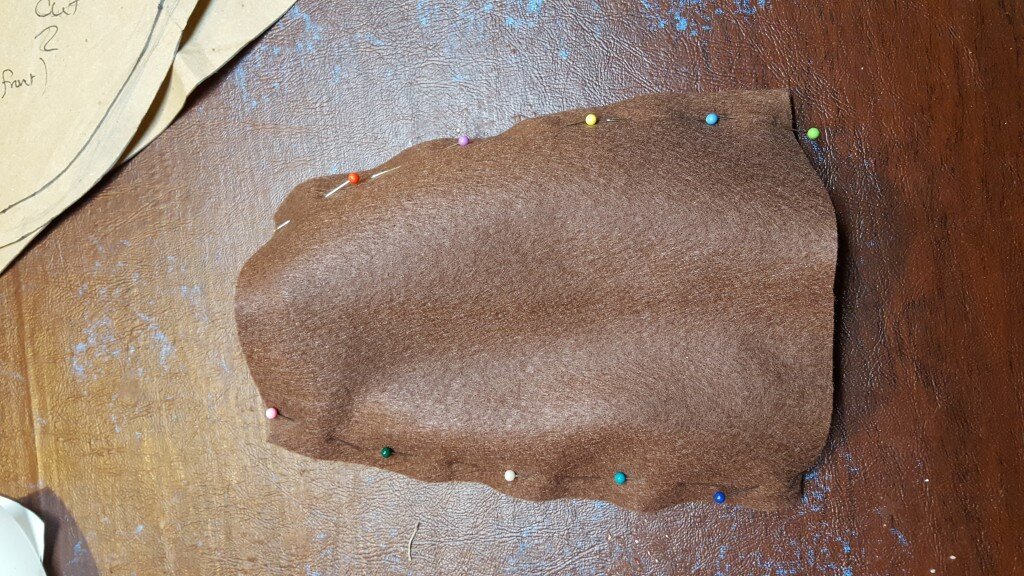
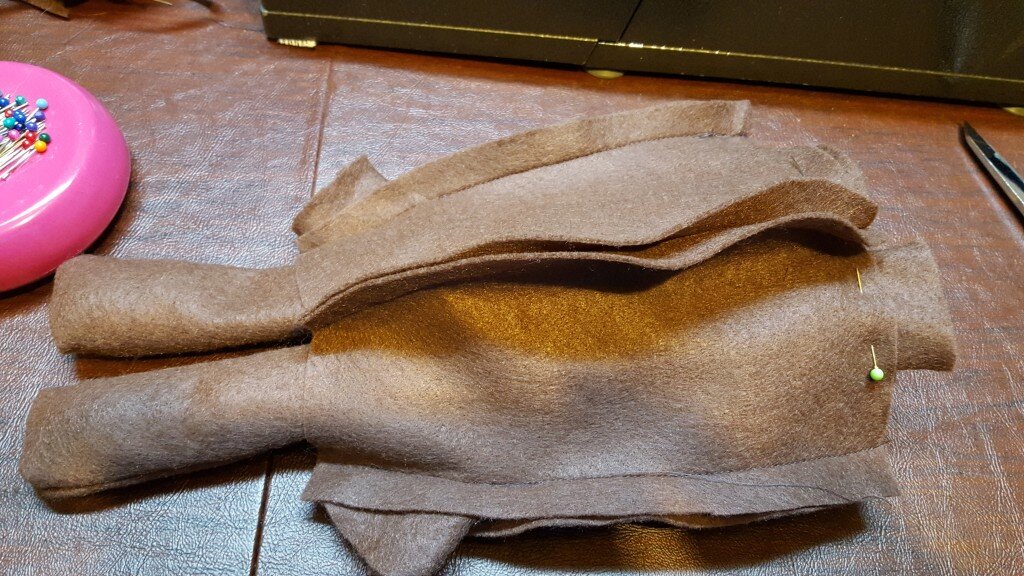
  8. Pin each side front to each side back, right sides together to form the moose’s torso.20160105_21290920160105_212912
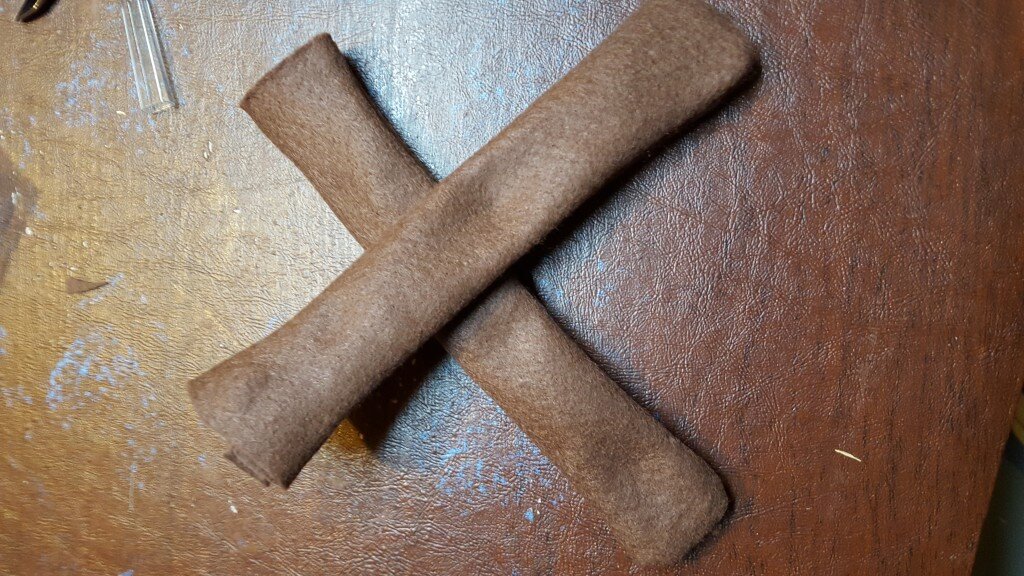
  9. Cross the arms, and insert into the moose torso.20160105_220638
  10. Remove the top two pins at the neck area on each side and re-pin, inserting the arms at a 45 degree angle. Stitch side seams.

    You can see here the legs pinned at center front and the arms sewn into the side seams.

    You can see here the legs pinned at center front and the arms sewn into the side seams.

  11. Pin both legs side by side on either side of center front no the inside of the torso. You’ll want them to touch but not overlap (see above).
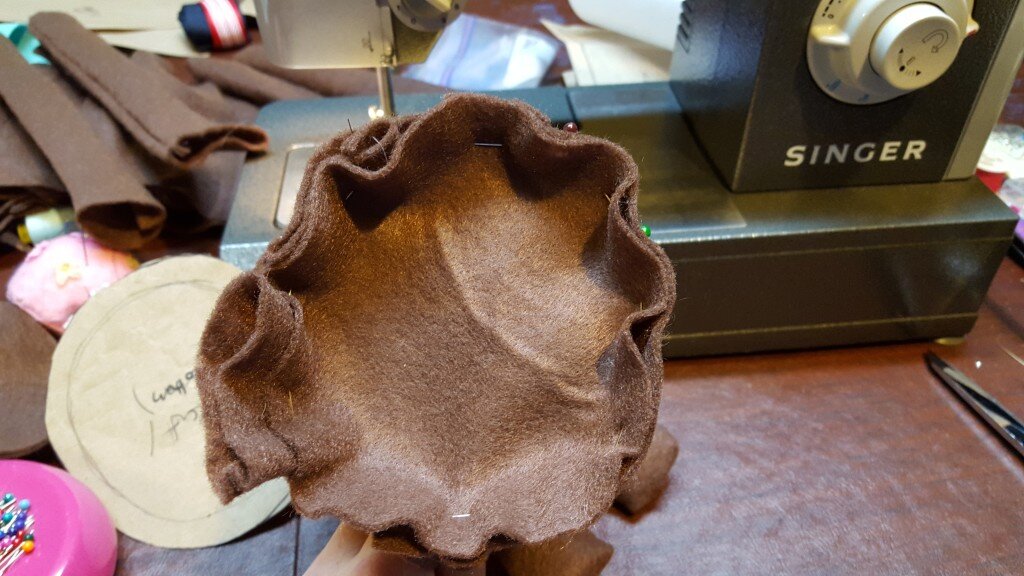
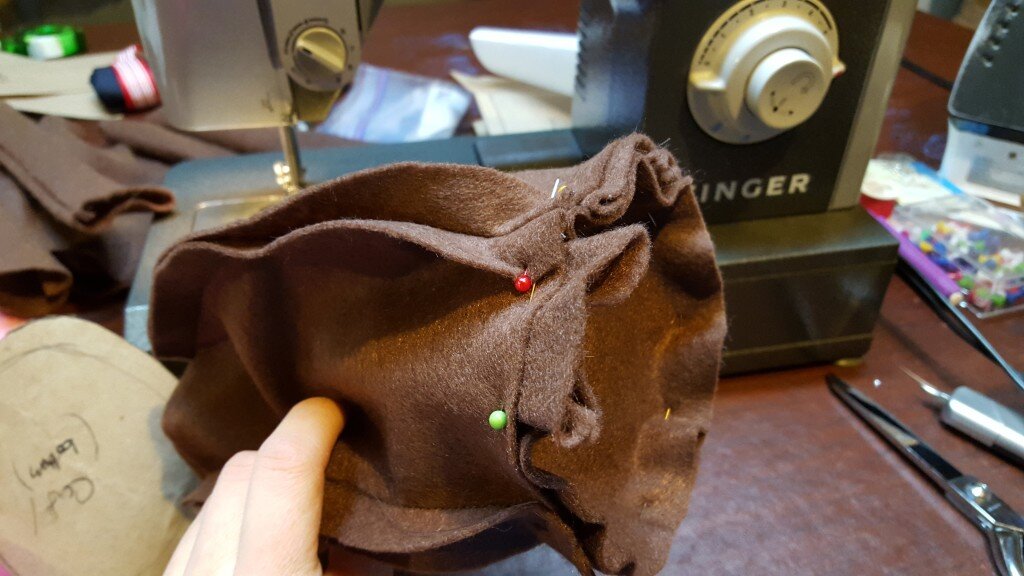
  12. Pin the bottom circle along the torso to form the moose’s rump. When you get to the pins holding the legs, remove the pins and reinsert to hold all layers of fabric together.20160110_22234820160110_222352
  13. Stitch & open out the moose.Moose_opened_out
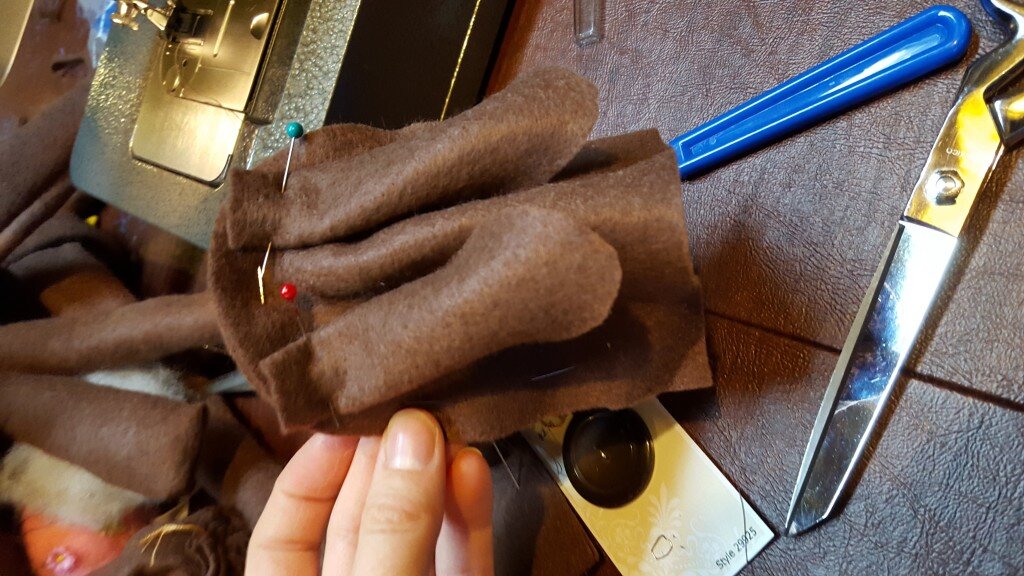
  14. Next create the moose’s head by folding the moose’s head piece in half along the width.20160110_224841Pin & stitch, leaving 1.5 inches opened.
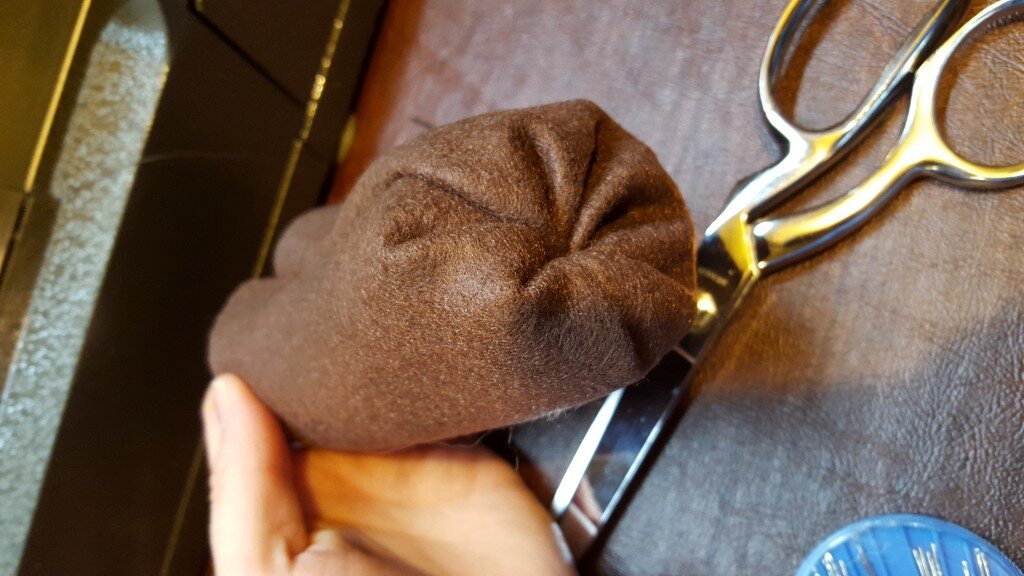
  15. Using a doubled thread, stitch a running stitch half an inch from the bottom of the tube formed by step 14.  Do this on the wrong side of the nose.  20160110_225817
  16. Pull both ends of the thread to gather tightly to form the moose’s nose. Tie securely.20160110_225826When folded right side out it will look like this.20160110_225908
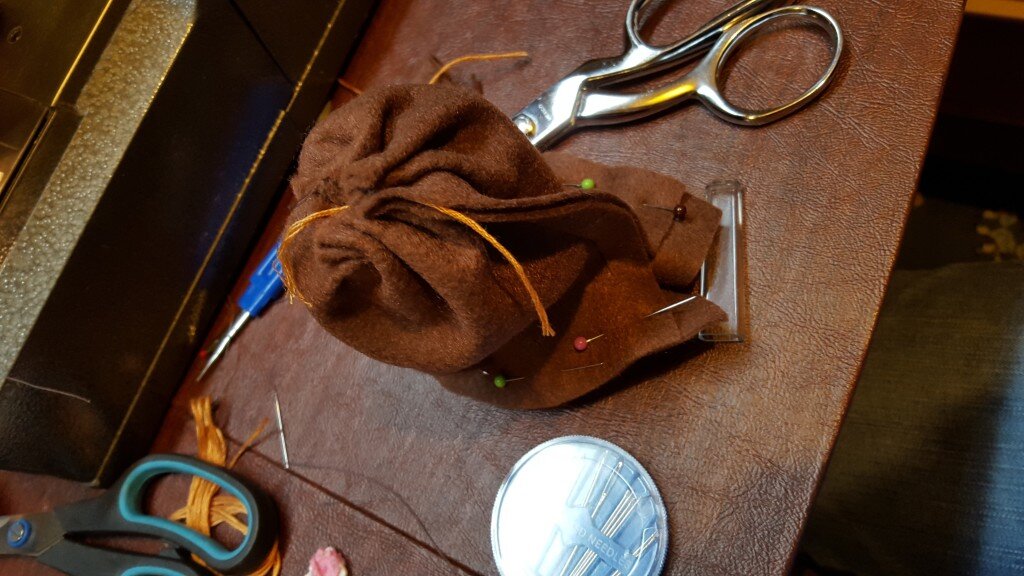
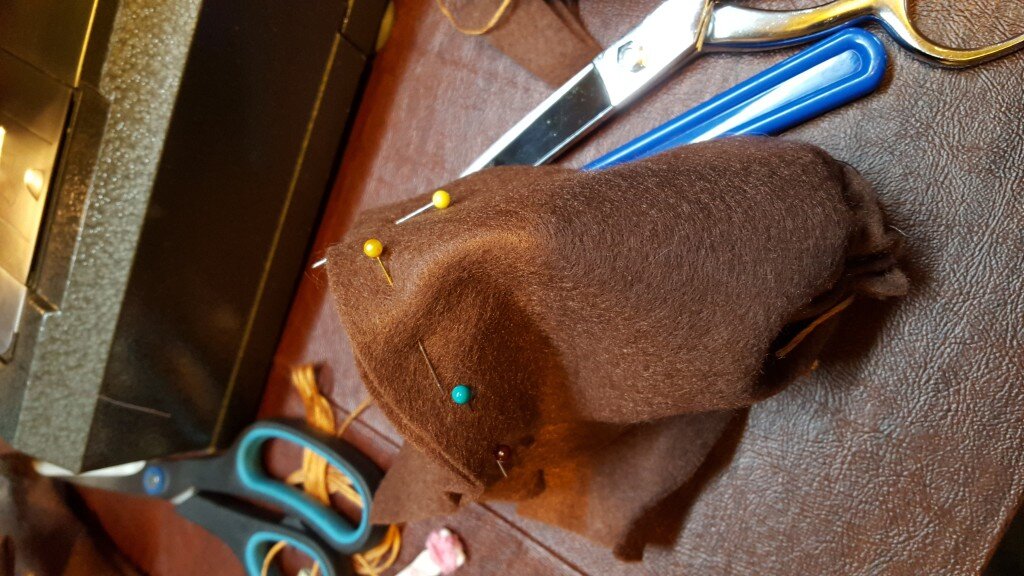
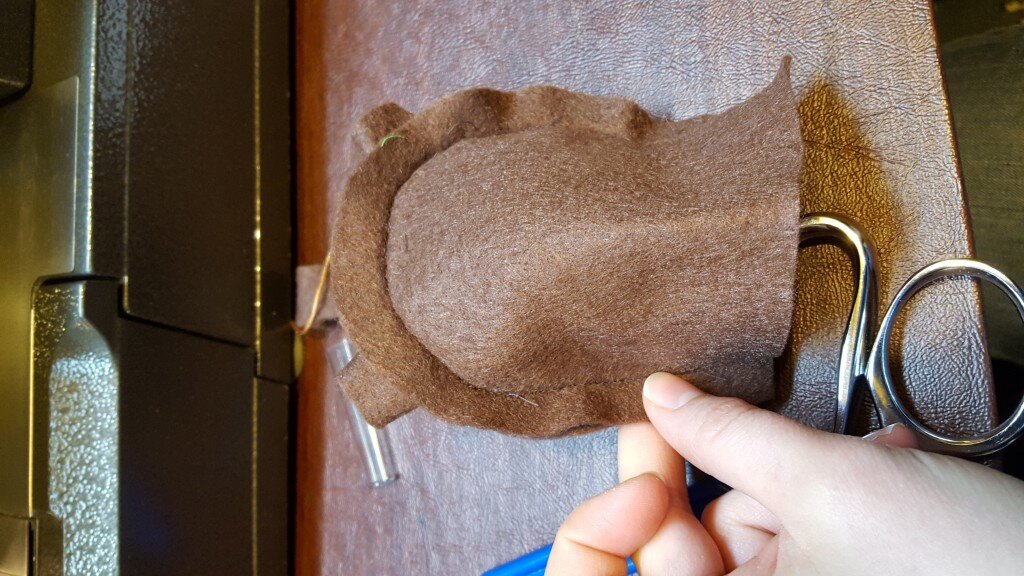
  17. Pin the back of the head piece onto the nose cylinder. Be sure to align the nose properly by folding the tube in half and matching this to the top of the rounded back piece.20160111_21304120160111_213719
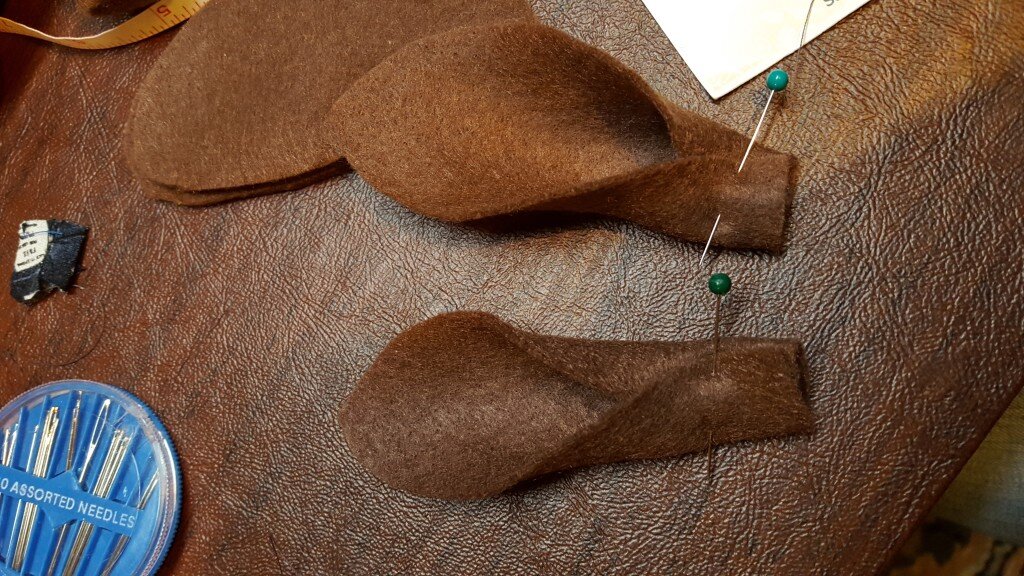
  18. Take and ear and pinch both sides of the bottom inwards to give the ear some depth.20160111_213528
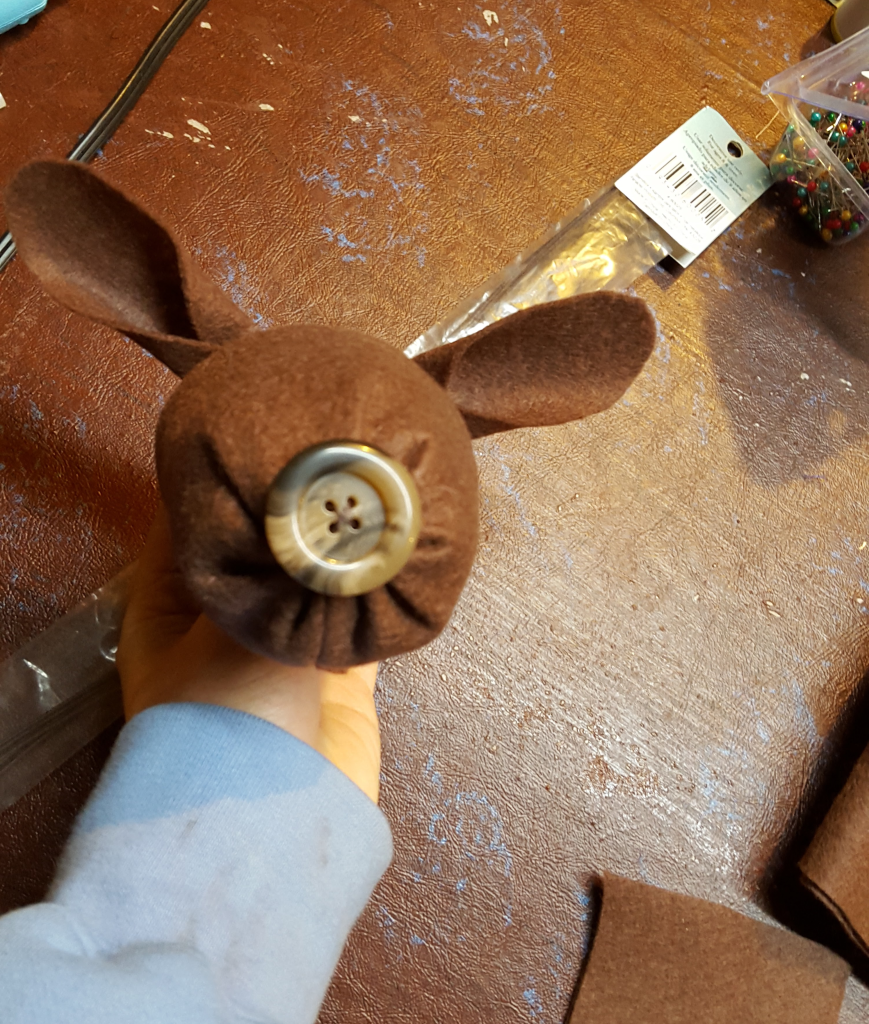
  19. Pin the ears on the inside of the head an inch or so off from the top center. Make sure ears are facing down when you insert them like so. (Shown here on the outside for clarity, but make sure to actually put these on the inside.)20160111_214755
  20. Stitch, leaving the neck opened.20160111_214901
  21. Open out.
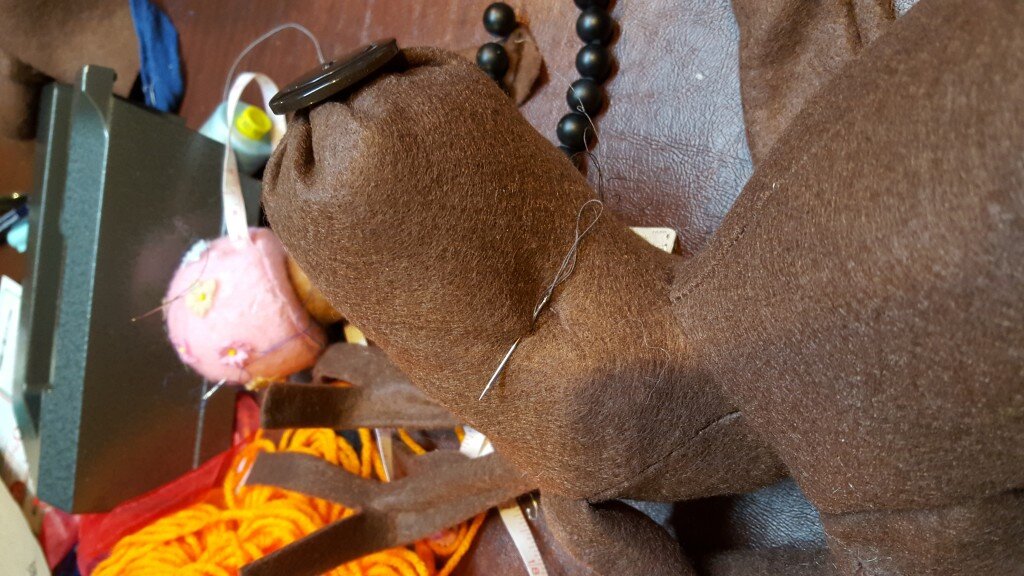
  22. Sew button nose on snout covering the gathers.moose_head
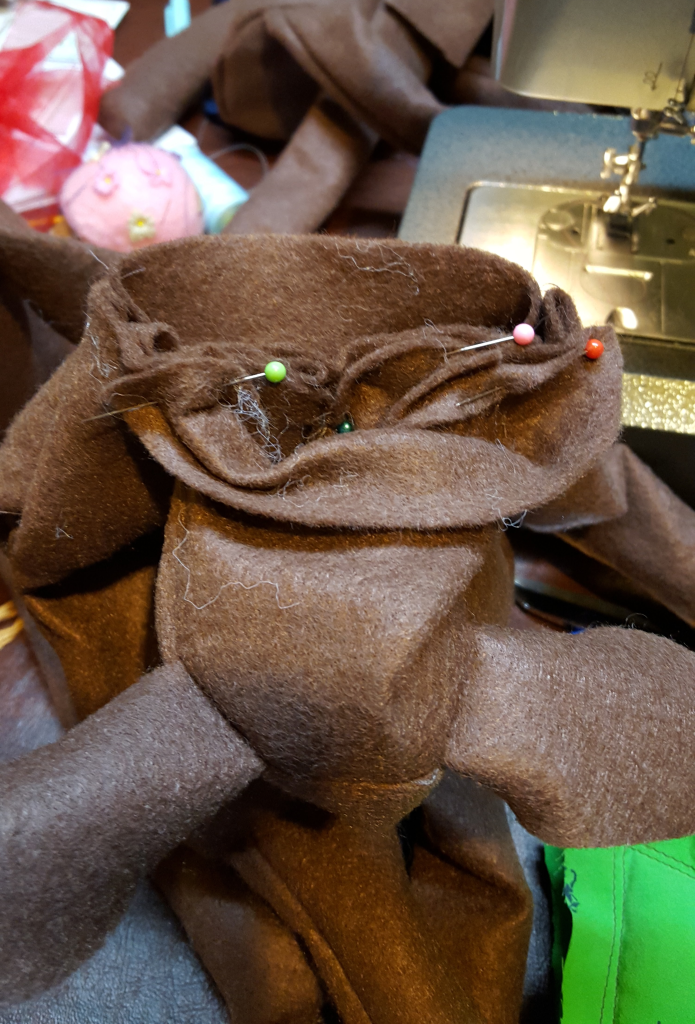
  23. Pin the right sides of the neck front together and sew leaving the back of the neck opened.moose_neck
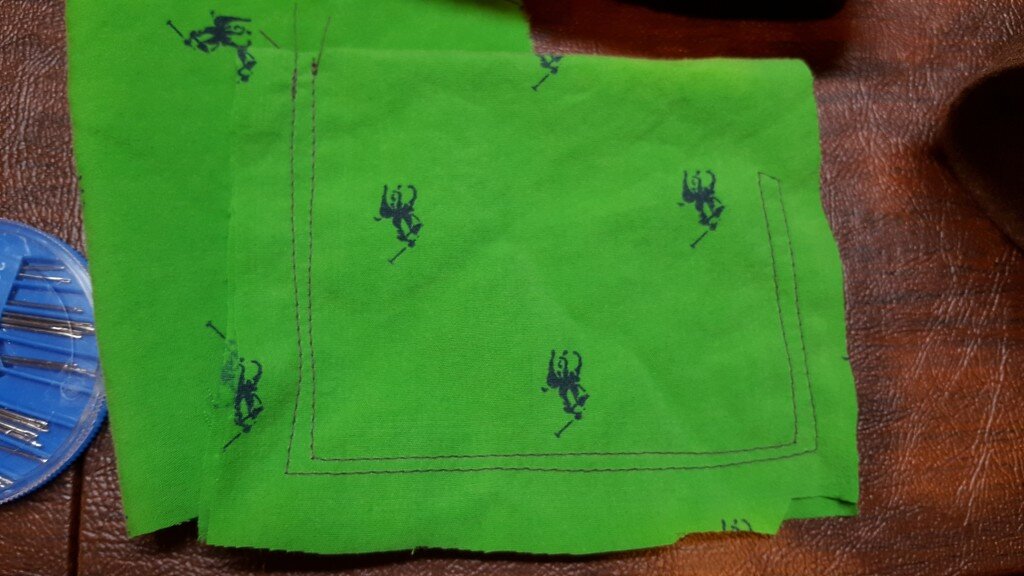
  24. Next create a bean bag to weight the moose’s bottom. I used scrap material to cut an 8 inch by 3 inch square that I then cut in half. I stitched along the edges (twice about 1/4 inch apart for security) then left a 3/4″ opening on the bottom to fill.20160111_205343
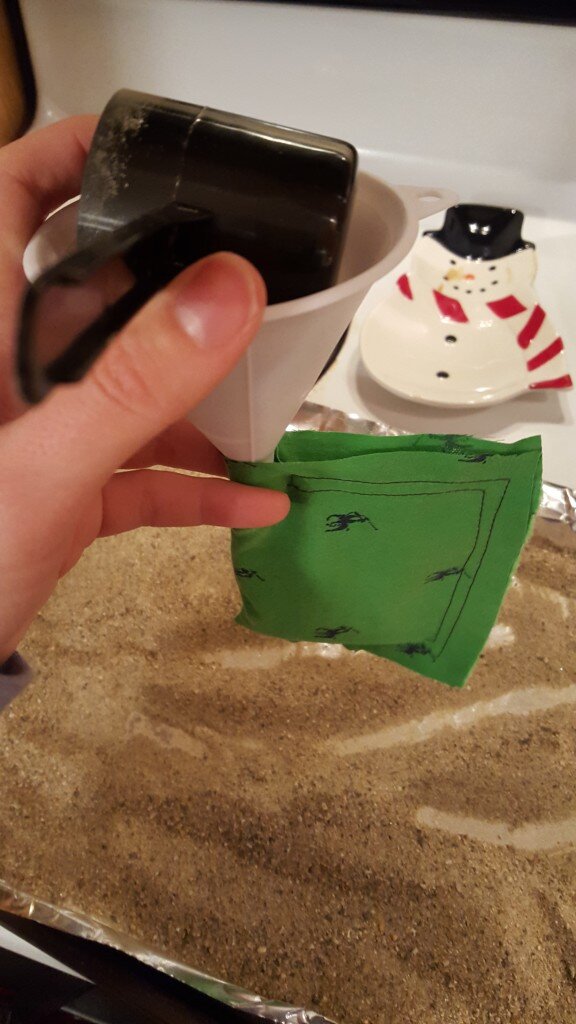
  25. Using a funnel I poured in 1/2 cup of clean sand. You can use dried beans or rice instead, or anything fairly heavy.20160111_223406
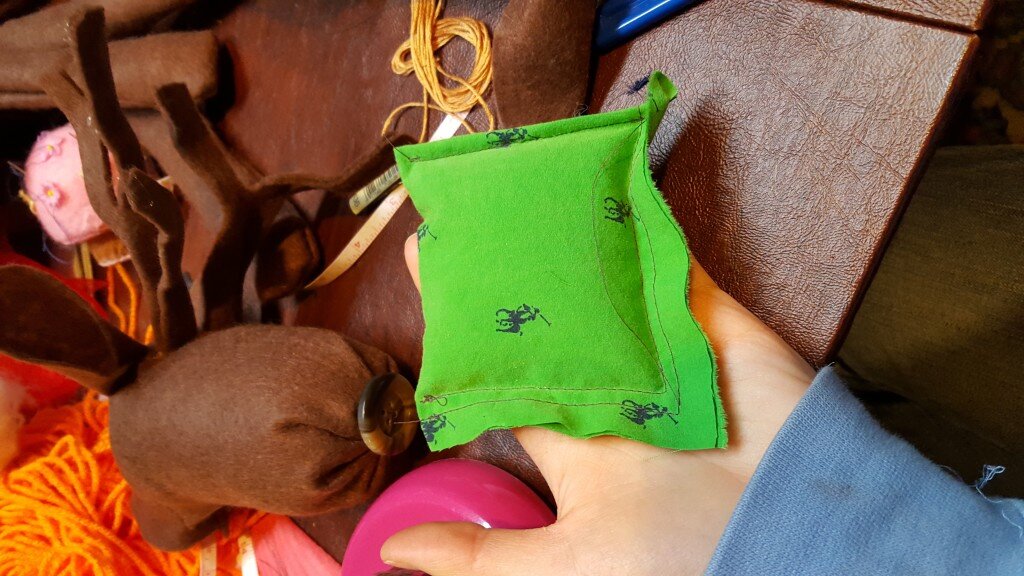
  26. Next fold the unfinished edge over on itself and sew closed.20160111_223540
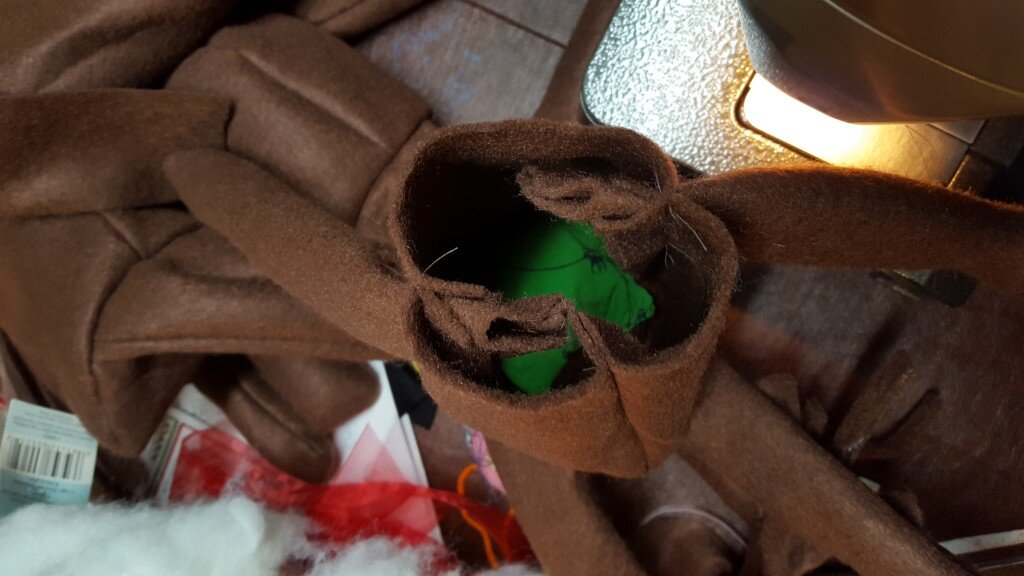
  27. Insert the beanbag in the moose’s body so it lies flat.20160111_223618
  28. Stuff the moose with stuffing in both body and head.20160111_223733
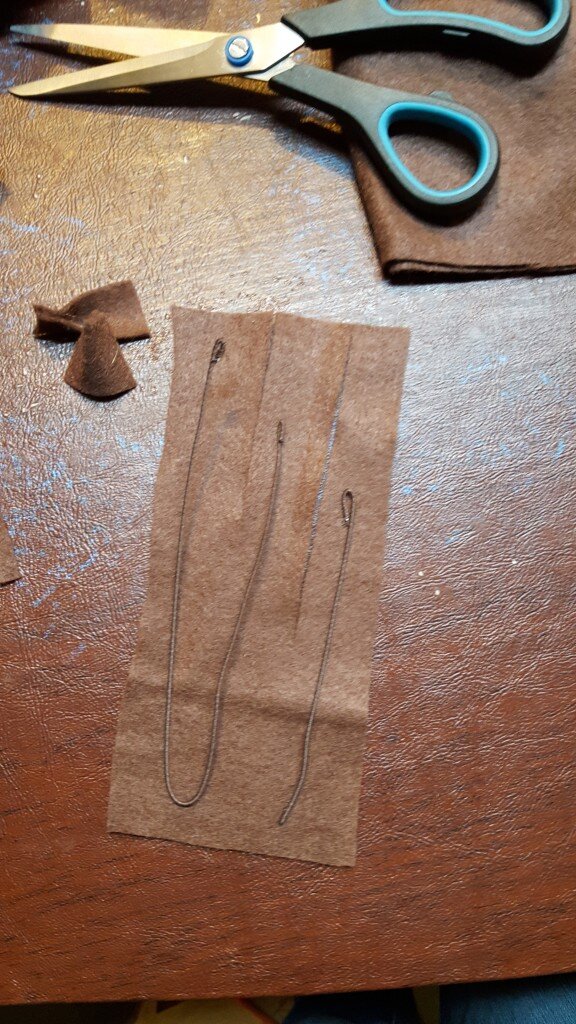
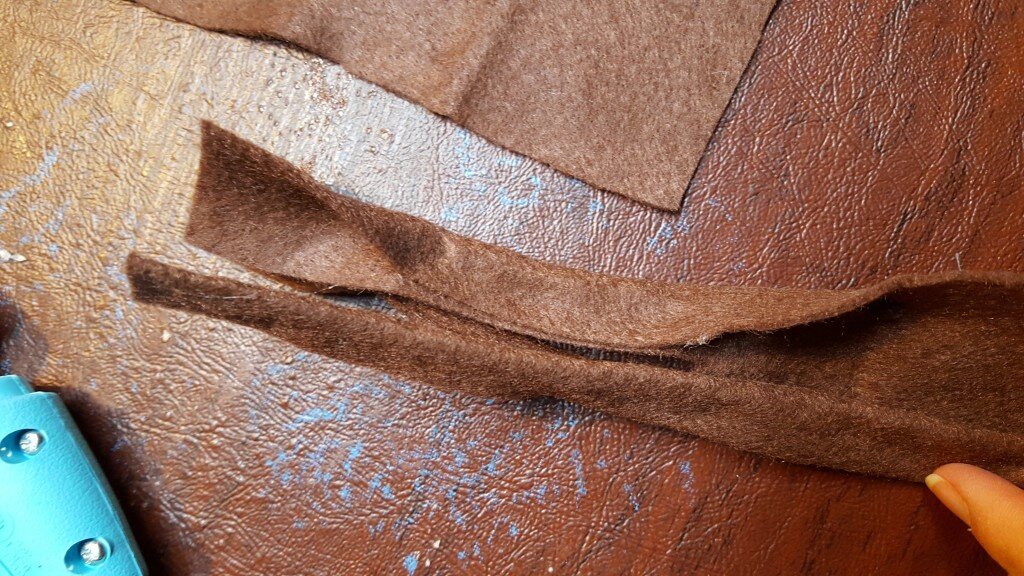
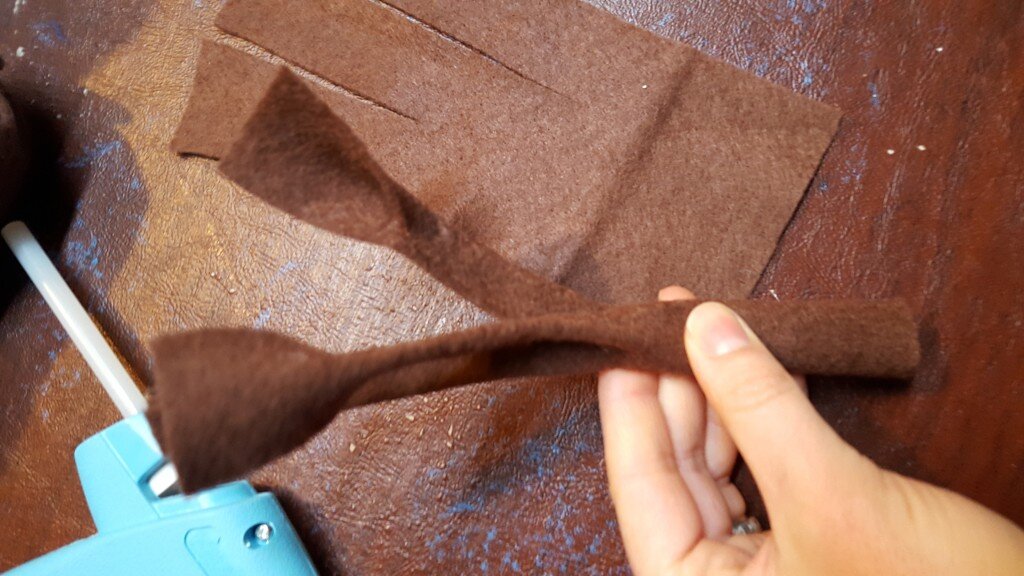
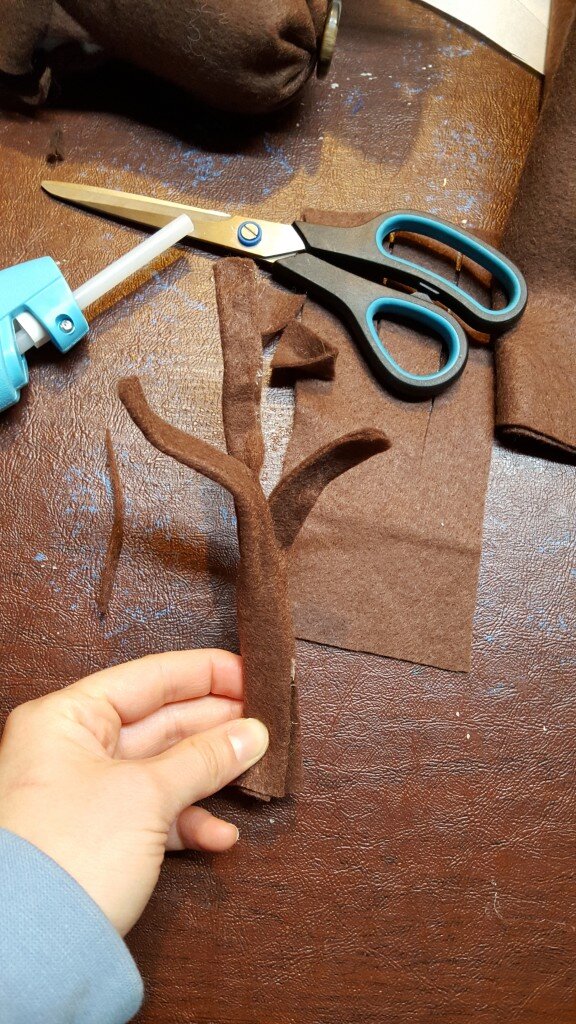
  29. Next create the antlers. Cut two rectangles of 3×8 fabric and cut down the fabric on the one inch marks along the vertical 1/3 of the way and 2/3 of the way down. See picture.20160111_222311
  30. Cut a length of cloth covered floral wire so you can fold it in half and it will cover the length of the first two antler prongs (the second prong slightly shorter than the first.
  31. Cut a second shorter length of wire for the third antler prong.
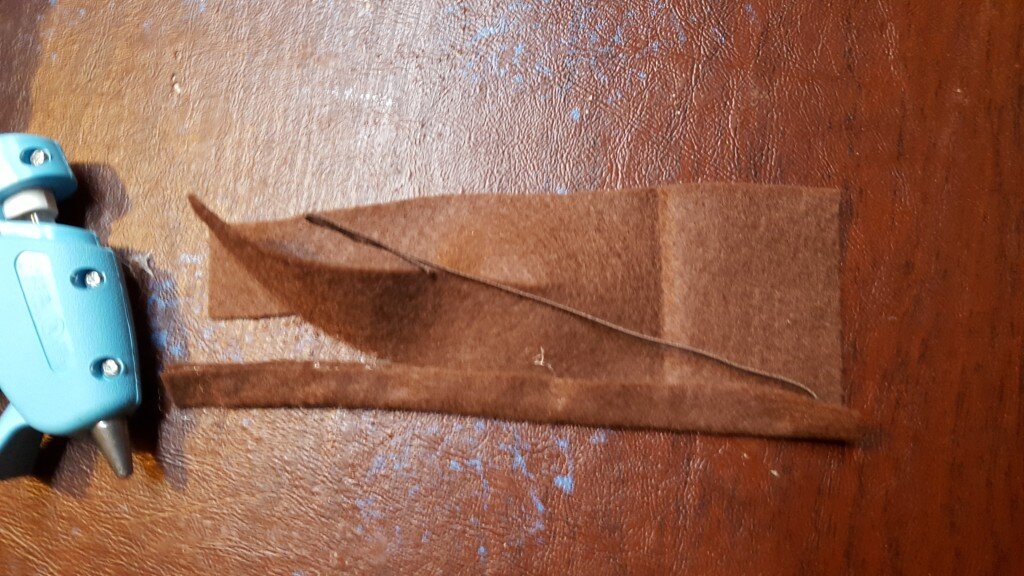
  32. Using a hot glue gun, glue the wire inside the first antler prong and fold the fabric in half to enclose the wire.20160111_221632
  33. Do the same for the second antler prong.20160111_221735
  34. For the third prong, secure the smaller piece of wire inside the top of the prong.20160111_221915
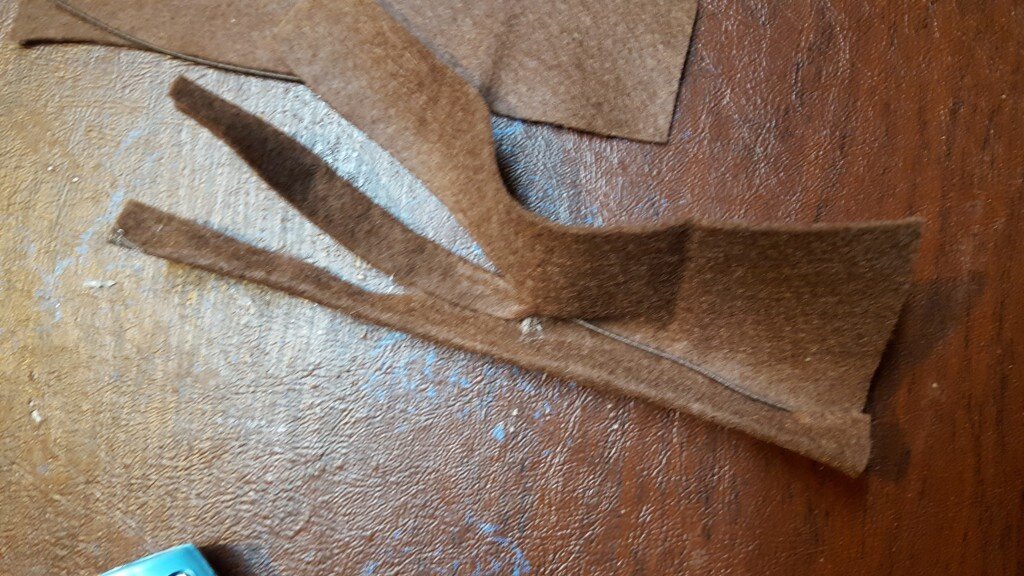
  35. Next fold the third prong under and secure with glue at the base of the antler.20160111_221927
  36. Trim the two side prongs down a bit just above the floral wire to make them uneven lengths. Your antler should look something like this when you’re done:20160111_222139
  37. Repeat steps 30 through 36 for the second antler.
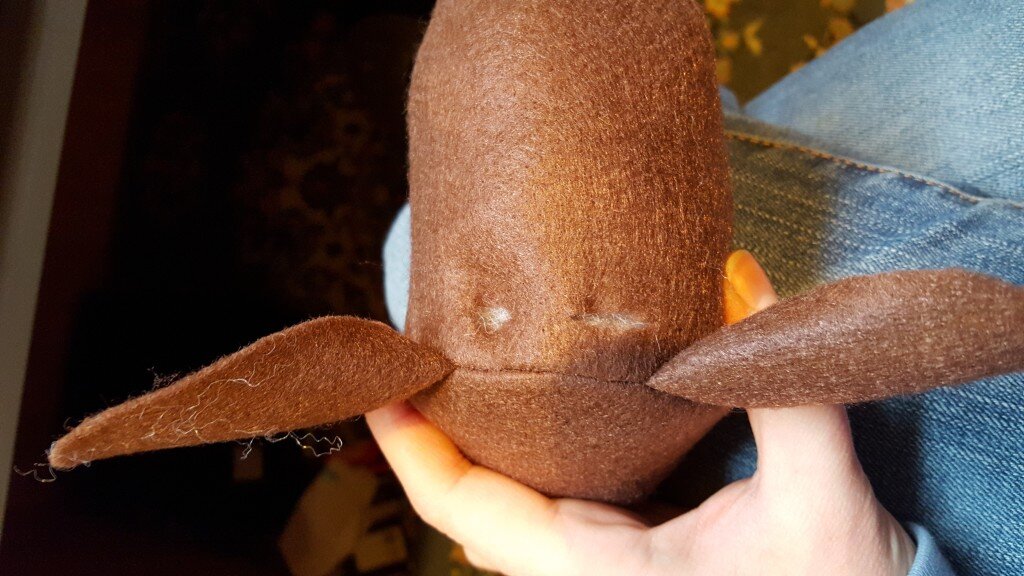
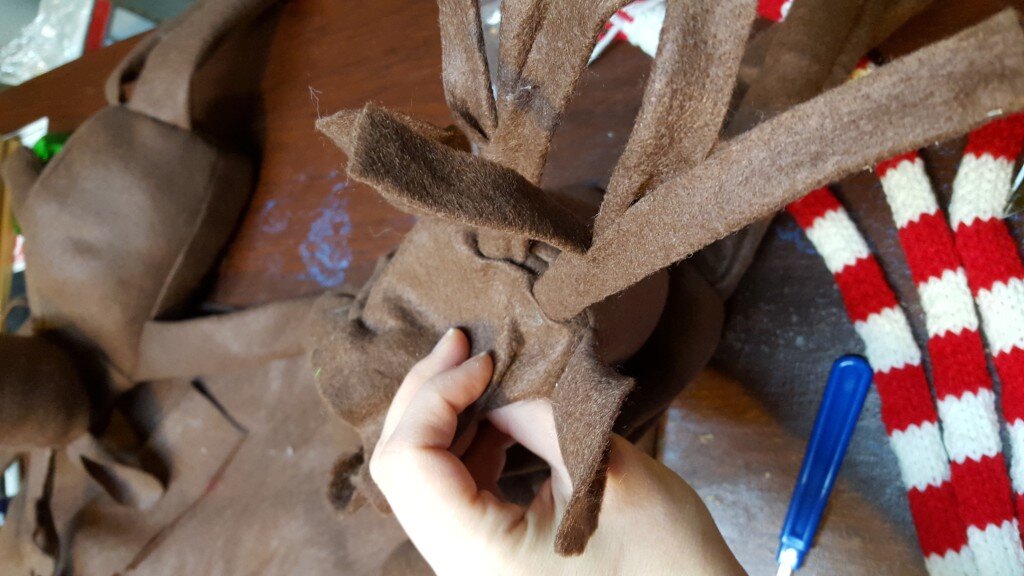
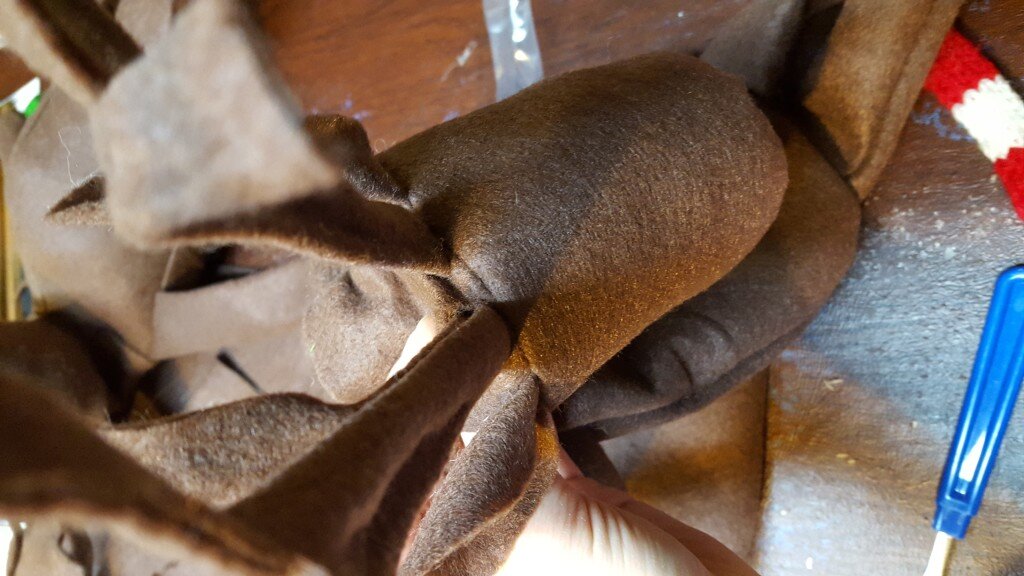
  38. Using a stitch ripper or small scissor make incisions on the moose’s head for the antlers. Depending on preference you can make the incisions in front of the ears or behind the ears.20160111_222907
  39. Push the base of each antler through the hole and use a hot glue gun to secure.20160112_22022520160112_220229
  40. Hand stitch the back of the neck closed.20160112_221053
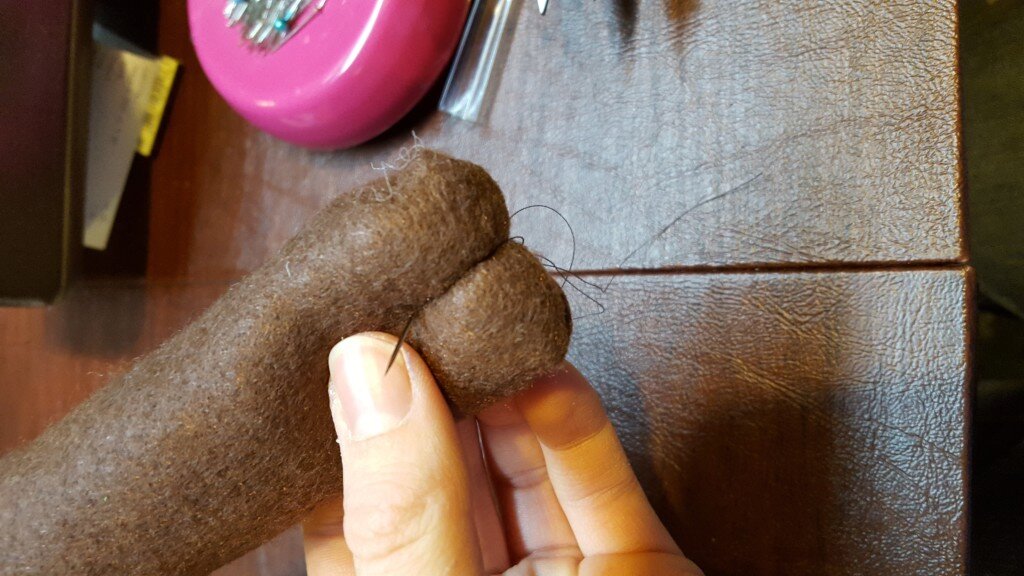
  41. Whip stitch 3/4″ up the bottom of the arms and legs to form hooves.20160112_221328
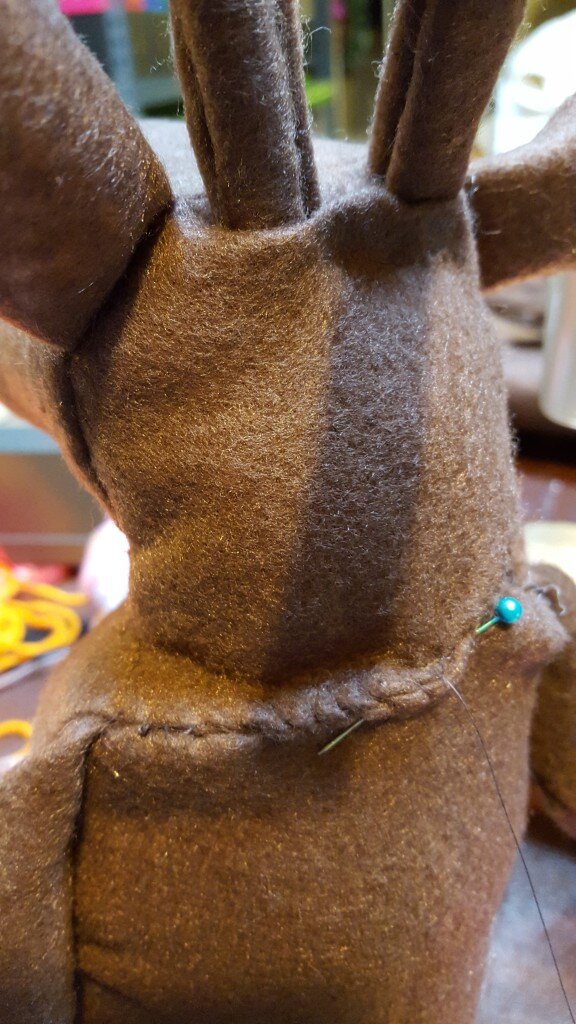
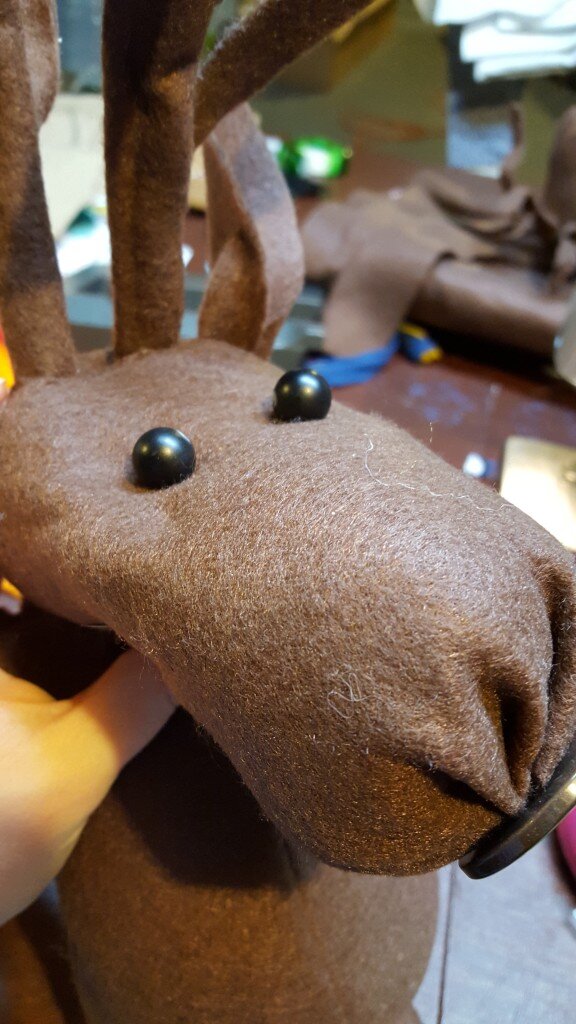
  42. Attach eyes by securing thread to bottom of neck and sewing through head to where you want to secure the eye. Add bead and pull slightly taunt to form an indentation.20160112_222623
  43. Secure again at bottom of neck. Repeat for second eye.20160112_222626
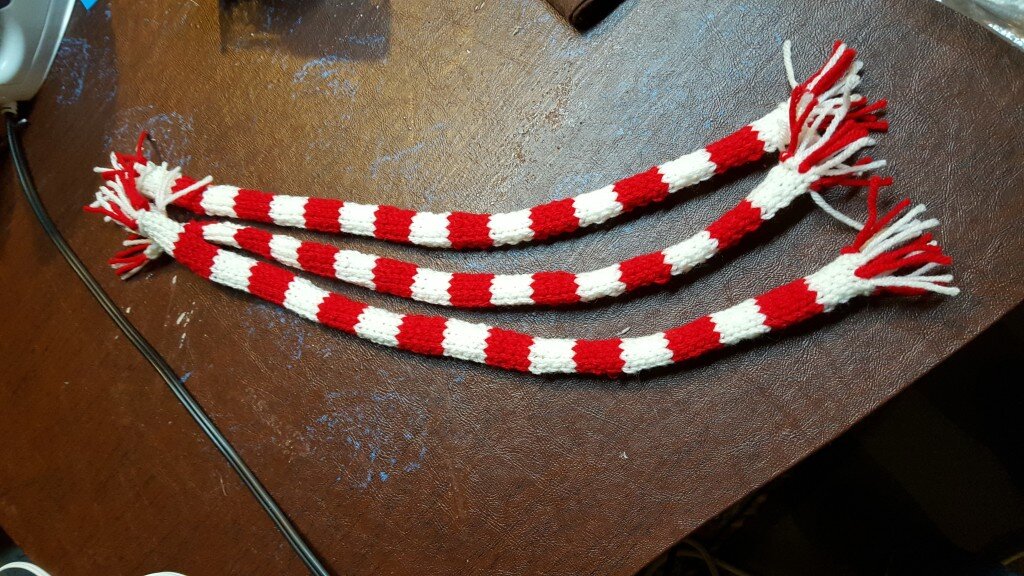
  44. Next create a scarf for the moose (or cut one out of fabric if you don’t feel like knitting!  My scarf recipe was just a basic stockinette stitch, 8 stitches wide, 6 rows wide of alternating red & white, 17 blocks long. I added fringe at both ends.20160112_214721
  45. Adorn your moose with the scarf and bits of mismatched ribbon with a few jingle bells tied on.dapper_moose

Now your moose is ready for a party with friends!moose_party

Posted in Crafts & Sewing | Leave a comment

But What About the Bees?

Okay I’m ready to talk about it now… after two seasons of evasion, here’s what happened to the 2015 bees…

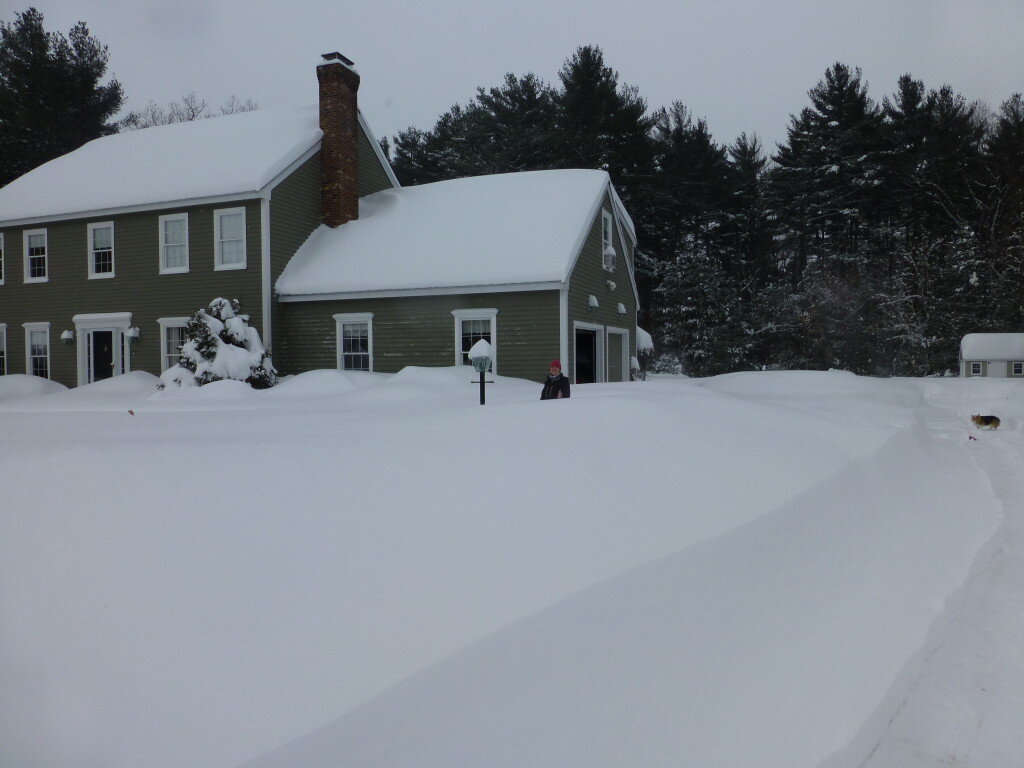
I got this package of bees from the same beekeeper i purchased them from last year – he gets them from a reputable farm in Georgia. Well this year I decided I was going to get them EARLY so if anything went wrong this time around I could correct it before late summer. I picked the bees up at the end of April. Well, if you’re familiar with New England, you know the winter of 2015 was pretty much Hell frozen over. 6 foot snow drifts etc.

Winter New England 2015

Winter New England 2015

When the time came to pick up my bees the snow has ALMOST melted, but it was still only in the 40’s. If you remember from earlier posts, bees don’t leave their winter cluster until the temperature hits 55. I wasn’t going to risk it so I waited 2 days until the weather broke, keeping them in my basement and spraying them with sugar syrup periodically. I actually felt rather knowledgeable about the whole thing because while I was picking up the package, I dissuaded a new beekeeper from installing the package the day of in the dark and cold. She didn’t know whether to trust me completely (I guess because I told her what happened last year), and went inside to ask the owner… While I was leaving she told me he had given her the exact same advice. (+1 for the Lady Beekeeper…)

When I finally installed the package on a sunny 60 degree Thursday, I had lost 10% of my workers and they had used up the entire can of sugar syrup. I hived them, this time making sure not to drop the queen into the package of 1000’s of bees. It was my easiest hiving yet, and I immediately provided them with 5 gallons of fortified sugar syrup and a pollen patty. Things looked good – my azaleas bloomed shortly thereafter and were crawling with bees. Then I went for the first inspection – right on time.

I saw literally EXACTLY what I had seen last year – no capped brood except drone cells, and really spotty egg laying. Great. The only difference was that this time I found the queen. I knew what I had to do, but now I was extremely angry that I had gotten 3 terrible layers from the same beekeeper. And I really like this beekeeper! He is such a nice guy! But I couldn’t risk a 4th dud. Not at $25 a pop, and the risk of losing another $100 package of bees. I called every beekeeper within 50 miles. I even called Rossman Apiaries directly (the Georgian apiary where the package was from). No one had any queens because it was too early in the season! Plan backfired!

I finally called my local bee store and I told the woman over the phone that this was my 3rd bad queen. I asked her how I could guarantee my next queen was a good one (even though I didn’t think there was any way). She had no idea, but I figured I’d bite the bullet and try one last time with this source, rather than let my colony just die with the bad layer. He was very nice as always and even gave me the queen for free. Oh, did I mention my friend from California was in town for the weekend while all this was happening? Beekeeping has such touchy timing that I knew I had to get a new queen this weekend or risk the whole hive, luckily my friend understood.

The next part is the most interesting but I don’t have any pictures of it so you’ll have to imagine it. I put ratcheting straps around the hive and Will and I lifted the whole thing on a wheelbarrow and moved it 50 yards from its resting place. (Will wore my suit, I just put a veil and gloves on for this part, thank goodness for the extra veil.) While we’re doing this my neighbor walks over and starts asking about the bees. Very inopportune moment. I’m not sure why people like to come talk to me while I’m gowned up, you would expect it to have the opposite effect. When my neighbor eventually left, I started sweeping bees off the frames, one at a time and then Will placed the frames even further away when we guaranteed they were bee-free. Then we moved the whole bee-free hive back to its resting spot (where some foraging bees were already gathering) and added the frames and new queen.

Two weeks later I opened up the hive again… to see the exact same thing. The queen was still in there, but there was only an egg in every 8 cells or so. Better luck next year…


Posted in Beekeeping | Leave a comment

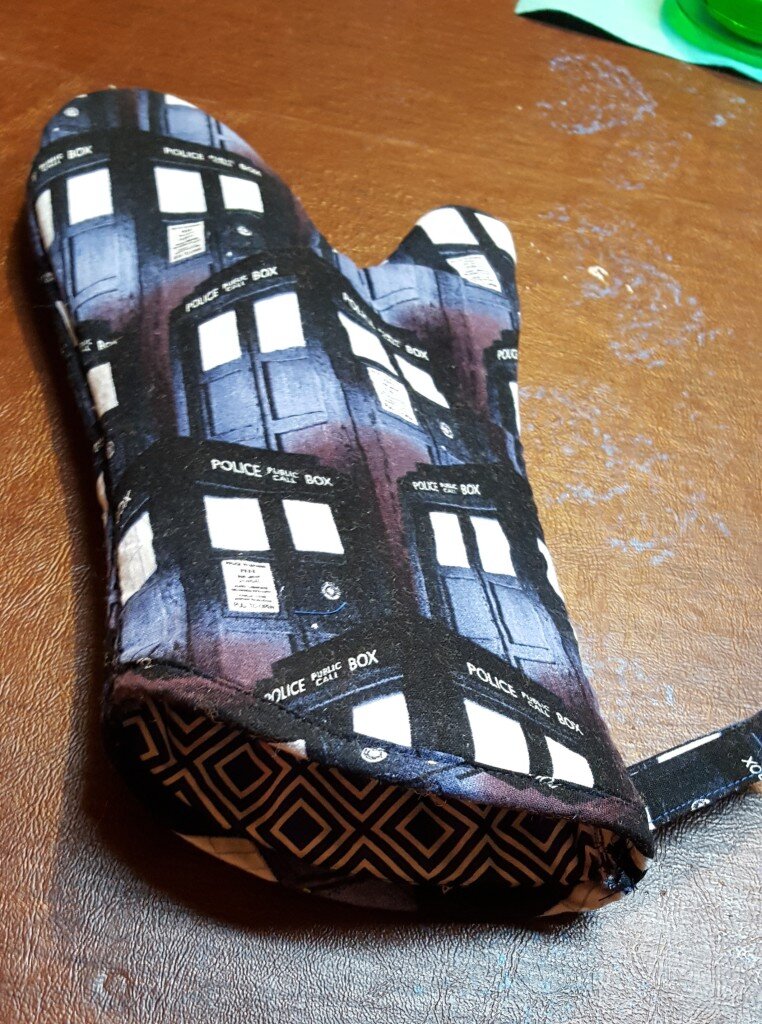
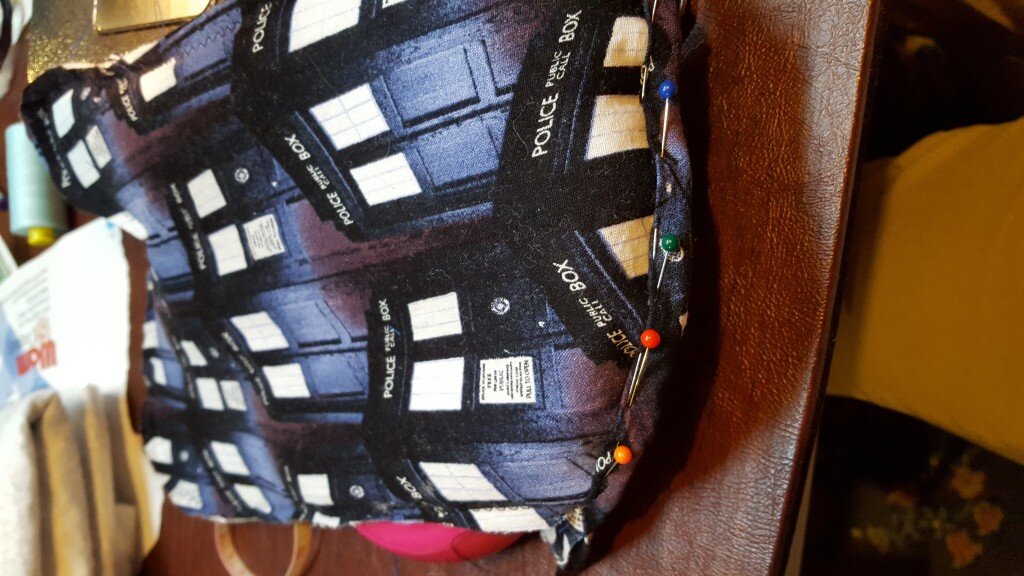
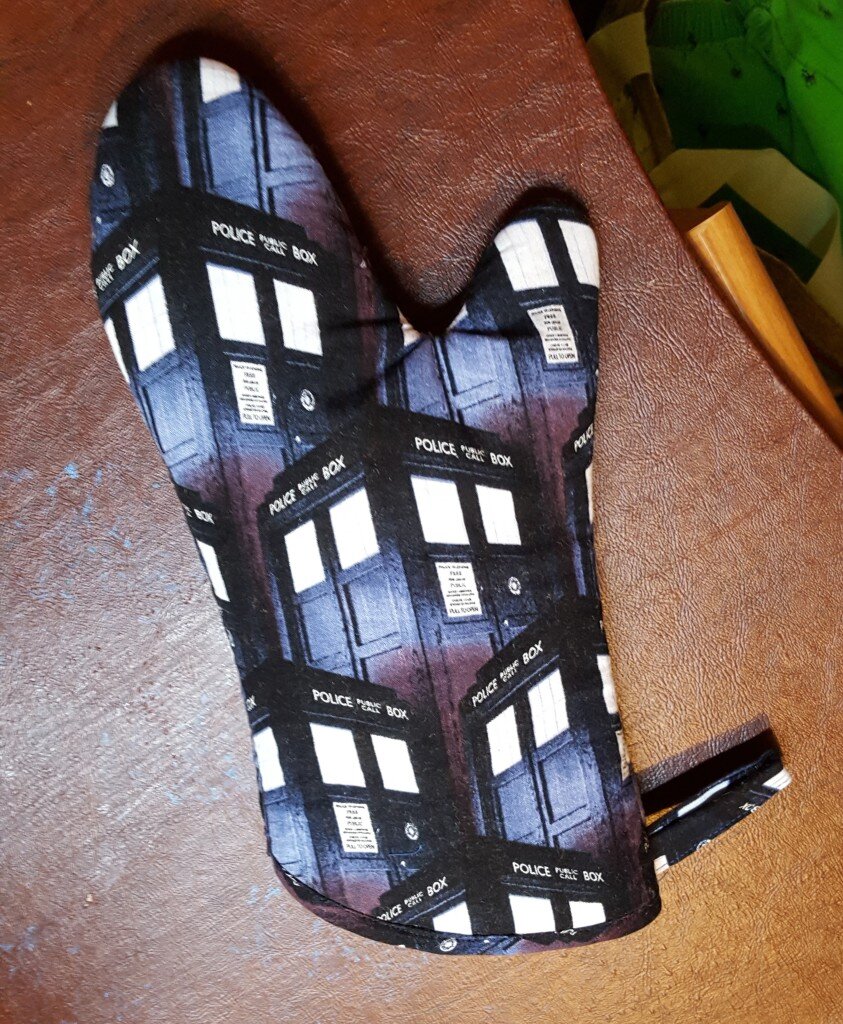
DIY Looks-Like-You-Purchased-It Oven Mitt

ovenmitt2

For our secret santa this year I suggested that on Christmas Eve we give our person a $5 gift that was somehow representative of the person giving the gift.  Then we would open the gifts and everyone would guess who had who.  I think everyone did a pretty good job at this – for instance my brother and Erin wanted Christmas ornaments for their tree so my mom gave my brother some ornaments she found at Savers (she left the tag on so Mark would know she found them while thrifting).  My brother (a talented knitter) knitted Will a handsome scarf.  Will gave my mom cat toys with googly eyes. (Frankly I have no idea how this represents Will but he had said to everyone at some point that whoever he got was getting something with googly eyes.  Weirdly everyone forgot he said this except my mom who actually guessed it was from Will.)

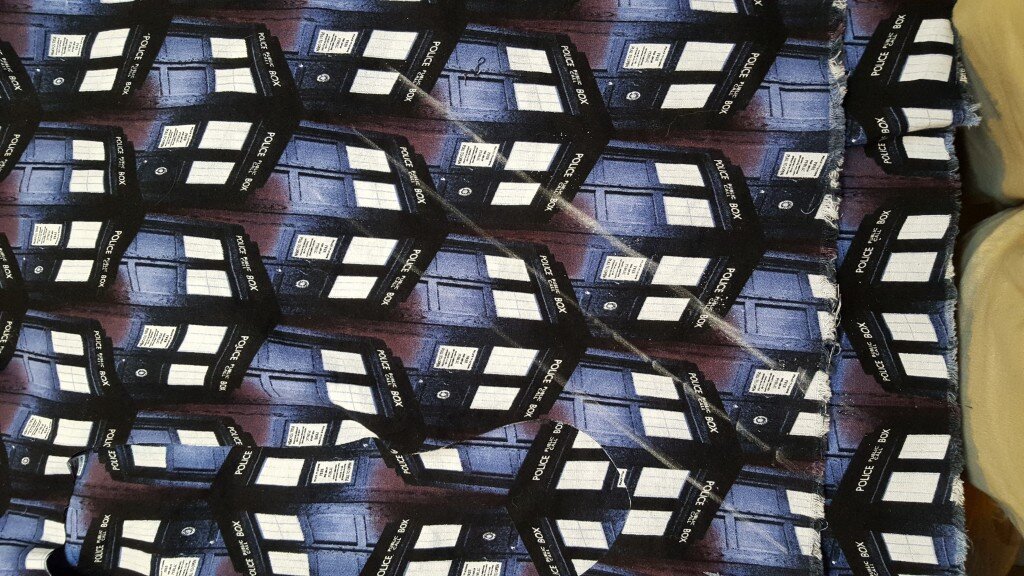
I had Erin and some TARDIS material from JoAnn Fabrics so I made her a Whovian oven mitt.  (Though this backfired a bit because no one realized I made it!  I will consider it a compliment…)  So here’s how to make a look-like-you-purchased-it oven mitt!  This is a nice easy pattern for those new to sewing!

You will need:

  • 100% cotton thread*
  • 100% cotton fabric* for the lining and exterior (I used two different patterns)
  • INSUL-BRIGHT insulated lining
  • Natural Cotton* Batting

*Note: It is important that you use natural fibers for the mitts, as you don’t want polyester melting all over your hands and pans.

Instructions:

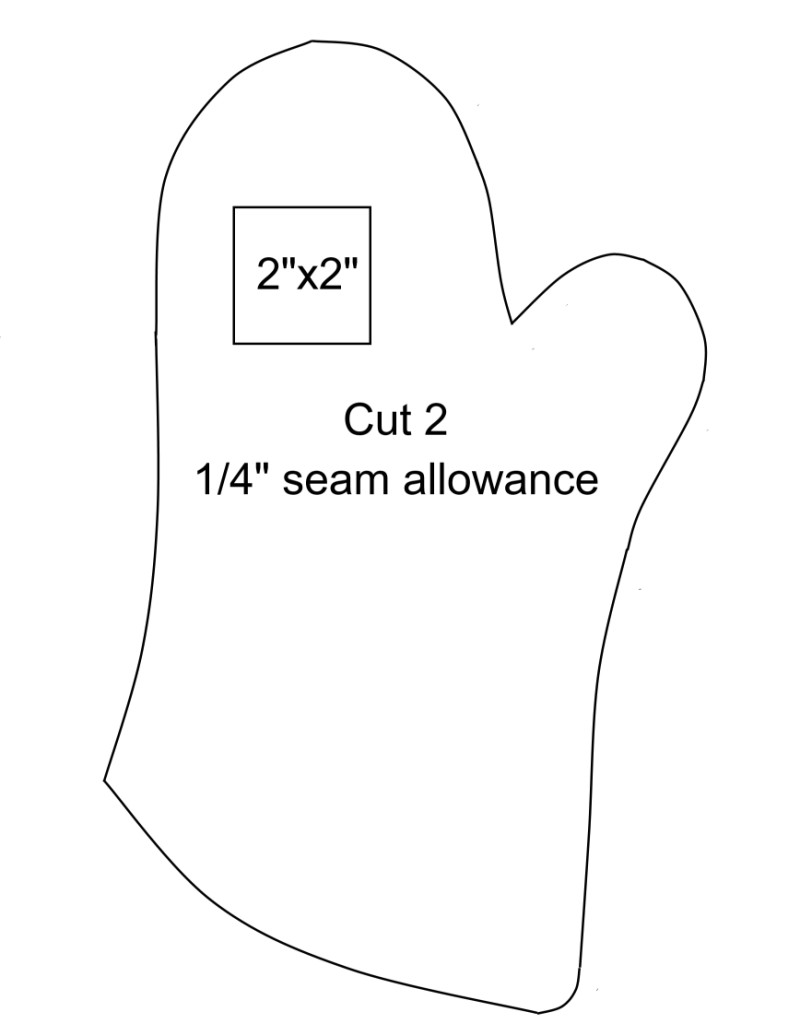
Print out my oven mitt pattern below.  You may want to add an additional 1/4 inch of seam allowance if you are new to sewing (I only account for 1/4 inch of allowance).

ovenmitt_pattern

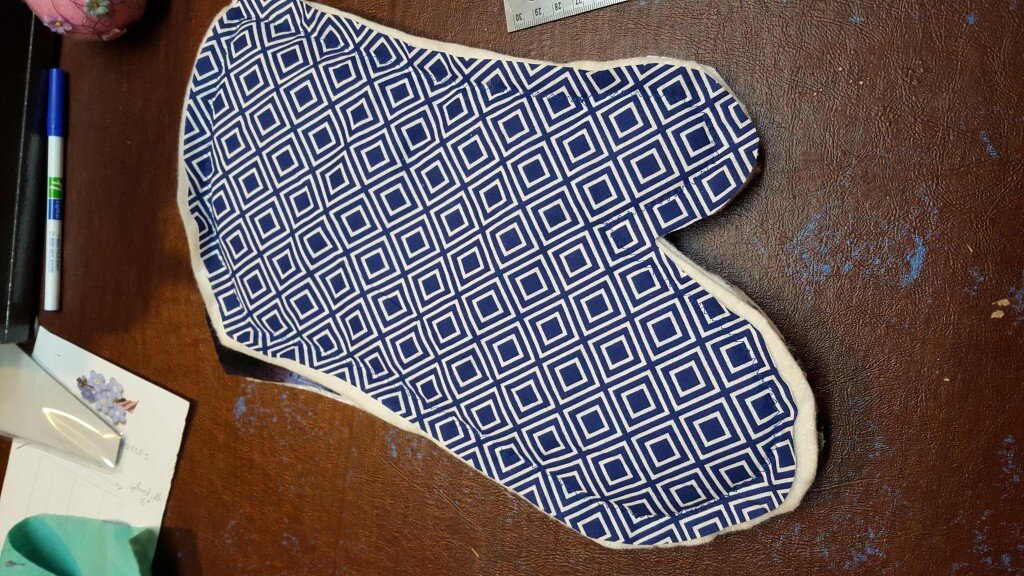
Cut 2 (one wrong side and one right side) each of the lining fabric, exterior fabric, batting, and insul-bright.

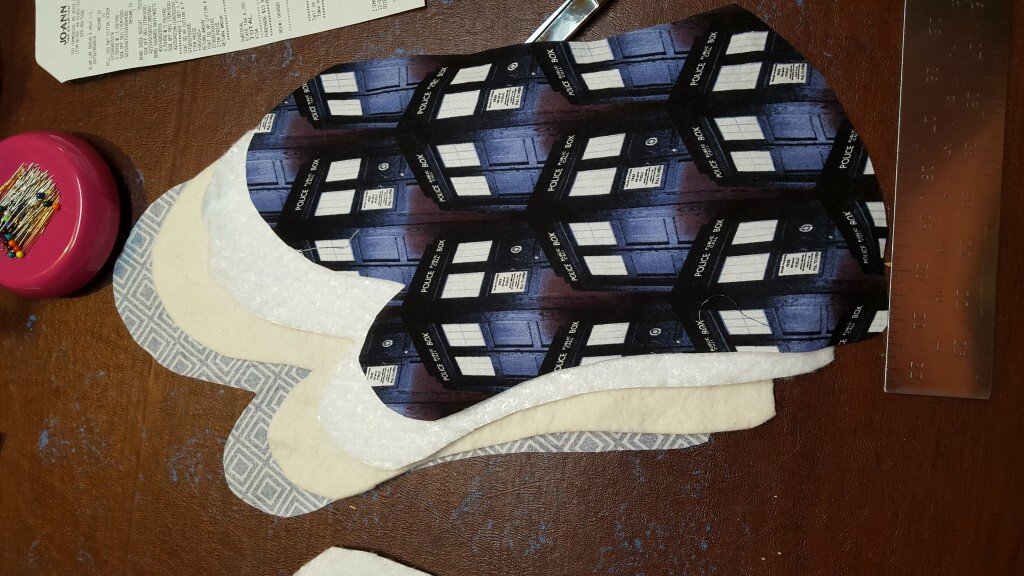
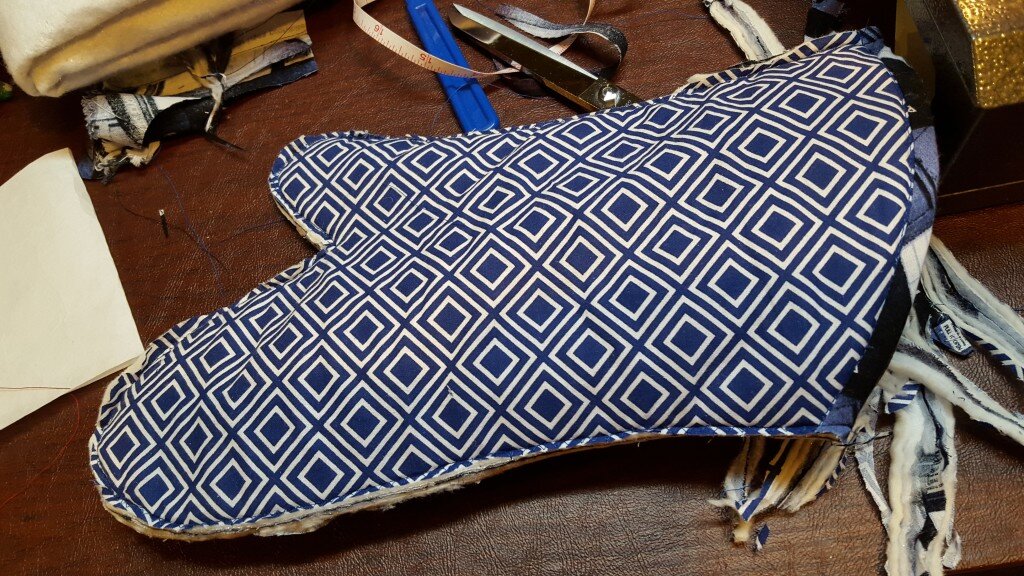
Form two halves of the gloves by lining up lining, batting, insul-bright and exterior fabric in that order.

20151222_192521
Pin and baste each glove half.

20151222_202812

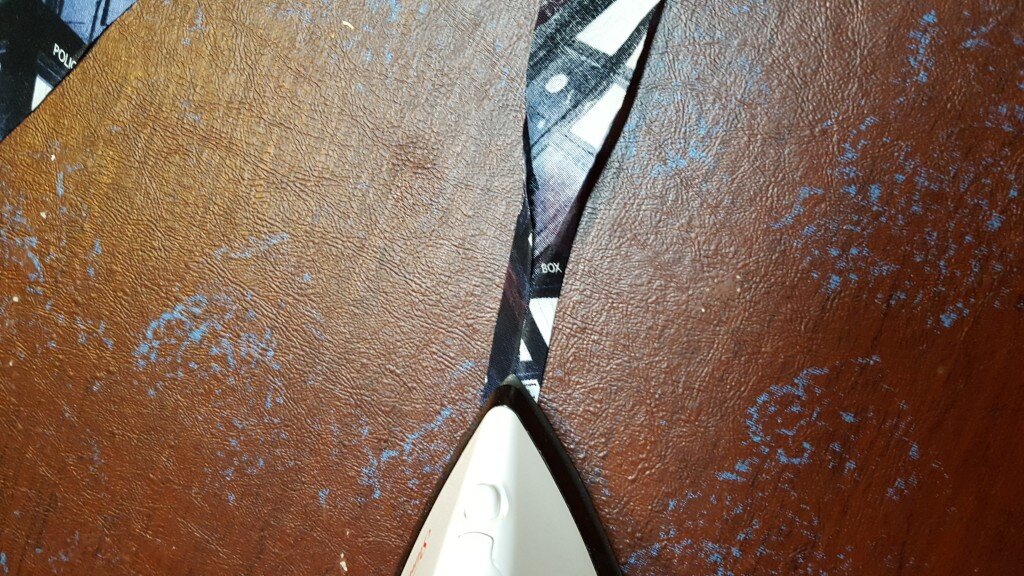
Next create two 1 foot strips of bias tape by cutting 1.5 inch strips of fabric on the bias ( at a 45 degree diagonal from the grain).  This creates a stretchy, malleable strip you can use as to finish seams.

20151222_203543

Take each strip and press the two edges towards the center as shown below.  Congratulations – you have created bias tape!

20151222_203903

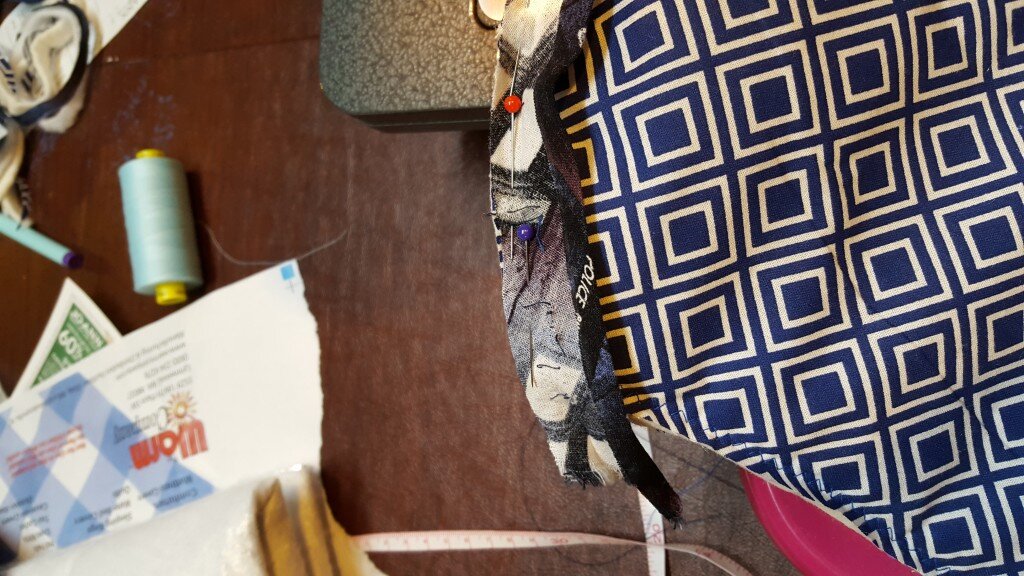
To finish the cuff of the oven mitt fold out one side of the bias tape and pin it right side to right side, matching unfinished edges, on the inside of the oven mitt.
20151222_205140

Stitch close to the fold you opened out.

Fold the bias tape to the front of the mitt half, keeping the unfinished edge folded under.  Pin.

20151222_205527

Stitch close to the fold and trim excess bias tape.

20151222_205647

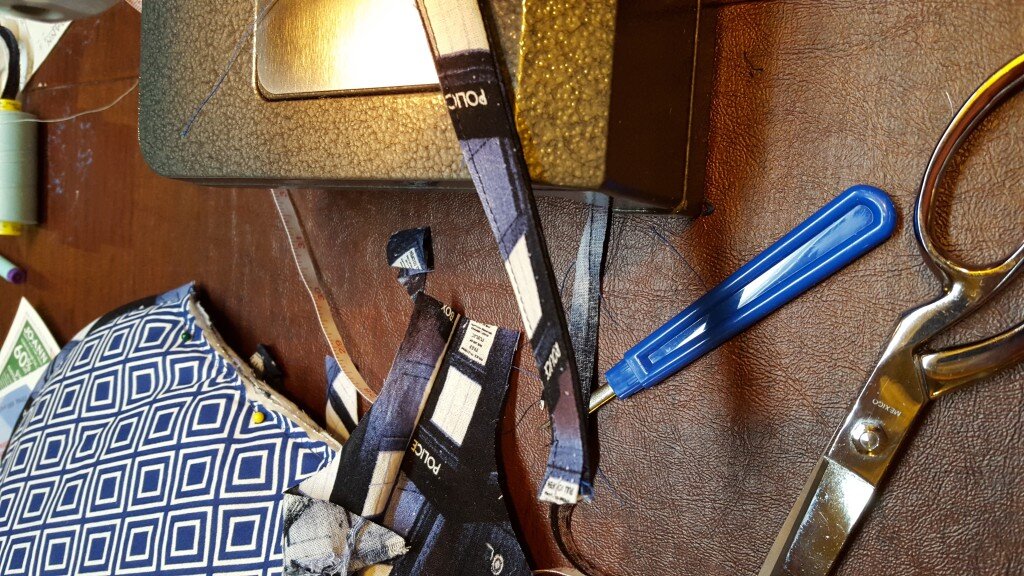
To create a loop for your oven mitt, cut an 8 inch by 2 inch strip of fabric.  Iron the two edges towards the center and then press in half the long way (right sides out).  Stitch down the edge and fold in half.

20151222_211103

Next pin the two halves of the oven mitt together with right sides facing in.  Make sure to include the loop for the oven mitt.  The unfinished edges of the loop should hang outside the mitt, and the loop should be sandwiched on the inside.

Zigzag stitch the two pieces together, trim excess.

20151222_211838

Flip to the right side – and there you have it!  An oven mitt!

ovenmitt

Since I got everything on sale or with a coupon at Joann Fabrics all the materials only cost me $10 total for 1/2 yard of each material!  And I still have enough left over for another 2 oven mitts!

Posted in Crafts & Sewing | 2 Comments

T.A.R.D.I.S. Sweatshirt

The last couple years my family has been doing a secret Santa gift exchange instead of buying gifts for everyone in the family.  This works out extremely well.  Instead of drawing names out of a hat this year we used Elfster.  The site is great and allows you to exclude spouses from drawing each other, add wish lists, and it even includes a secret messaging system.  My family heavily abused the messaging system which made the whole gift swap thing hilarious.  For instance one of the questions I got (I guess in response to my vague wish list saying that I would like “anything sewing related”) was this:

elfster1

Here’s the link to what they sent me:

elfster2

This had me laughing for about an hour.

For the elfster swap I had to buy gifts for Erin, my brother’s wife.  I was very excited to get Erin because it meant I could go all out with Dr. Who themed gifts in addition to whatever puzzley things she asked for.  As I was leaving Walmart after picking up another present, I saw this perfect TARDIS blue sweatshirt.  For future reference it was the Hanes Women’s Fleece Zip Hoodie in Blue Allure.

I used the applique patch patterns I had created for my TARDIS dress to adorn the sweatshirt.  Here’s the finished product on my sister-in-law amongst our other Christmas treasures:

Erin_Tardis

She really liked it!  So much so that my brother wants one too and I’ll probably make one for myself.  I’m also looking into putting them on Etsy… stay tuned for that!

Posted in Crafts & Sewing | Leave a comment

Holiday Hiatus

Well I have had a busy week since the last blog post.  I mailed out Christmas cards, finished a few homemade gifts, and made cookies, fleischsalat and 10 lbs of swedish meatballs.  Plus we saw STAR WARS (don’t worry no spoilers here).  Unfortunately I really want to post all the things I made for Christmas, but many of them will be given to folks who may read this blog.  I’ll have some post-Christmas how-tos and a show off of what I made starting next week.  I’ve also finally updated the cotton print boxer post with the pattern I used!  Maybe that will tide you over.

Until next Monday… Happy Holidays to you and yours!

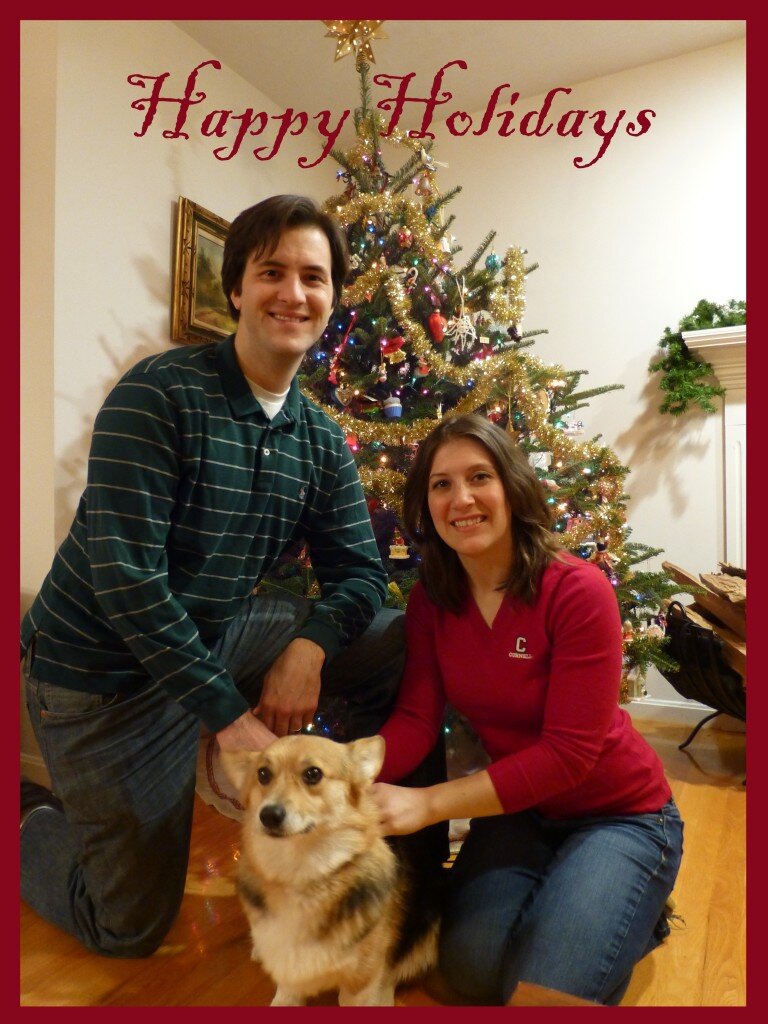
Holiday Card

Posted in Crafts & Sewing | Leave a comment

Christmas Traditions (and a give away!)

I love Christmas traditions.  Our family Christmas is steeped in tradition. As soon as December rolls around we count down to Christmas on our chocolate advent calendars and pick out and decorate a lovely smelling fresh pine tree. On Christmas Eve we gather at my parent’s house for roast beef, my mom’s killer gravy and all the fixin’s. Then we sit round the fire and everyone receives an ornament hand picked by my Grandma. On Christmas Day after opening presents we head to my grandparent’s house where the German traditions kick in. We hunt for pickles (and a piece of coal from my great great grandfather’s coal mining days) on my grandparents’ Christmas tree. Then we eat delicious German wursts, my Grandma’s swedish meatballs, fleischsalat (the best way to describe this is its like potato salad but replace the potatoes with bologna), multiple types of potato salad and rye bread. For dessert there is homemade stollen and too many types of Christmas cookies to list.

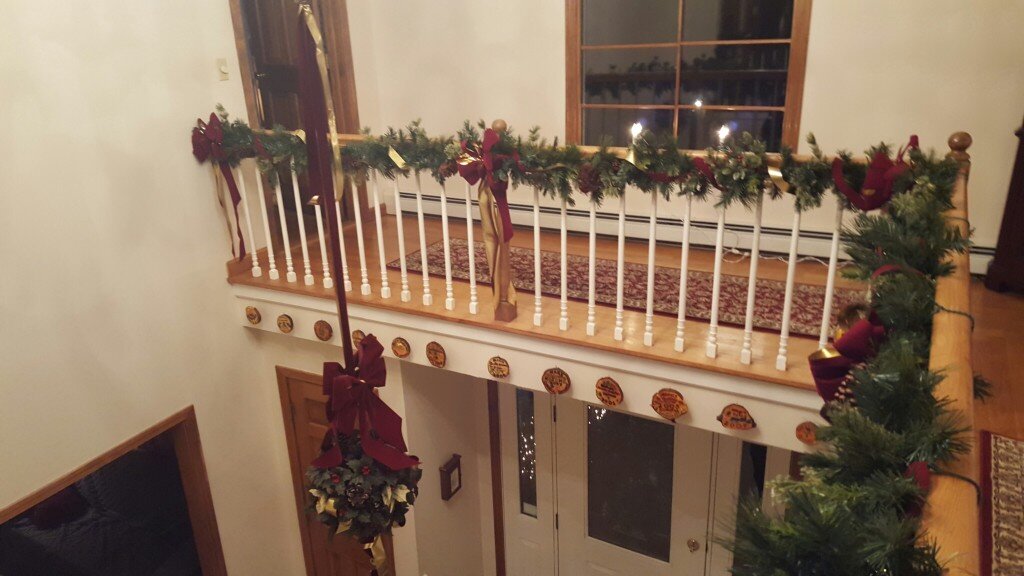
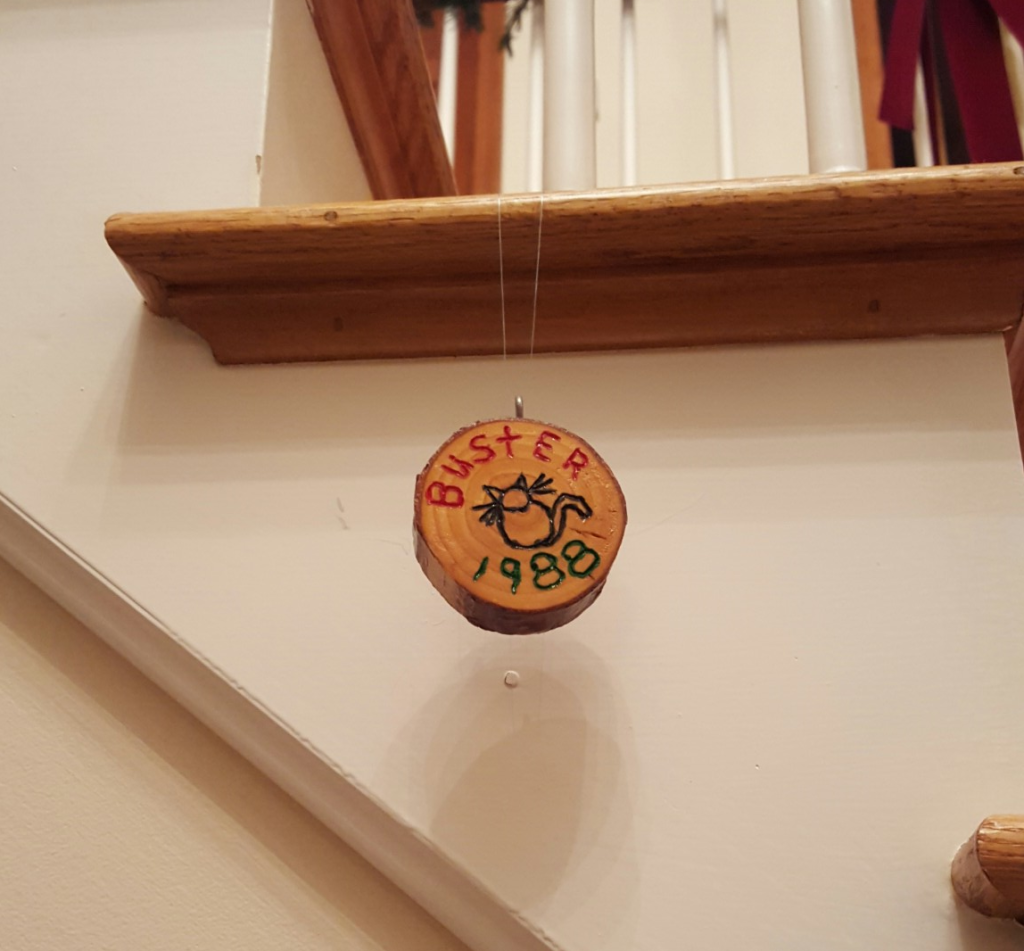
One of my favorite traditions, started by my uncle when he first was married, is to cut a slice out of the stump of each year’s Christmas tree and paint it with events that were significant that year. He then turns them into ornaments and hangs them up before Christmas. It is like creating a piece of a time capsule that you get to open every year. Everyone in our family, now grown, have also adopted the tradition. My parents decorate their foyer with them. Here are some of my favorites.

Tree trunk memory ornaments

Tree trunk memory ornaments

cat

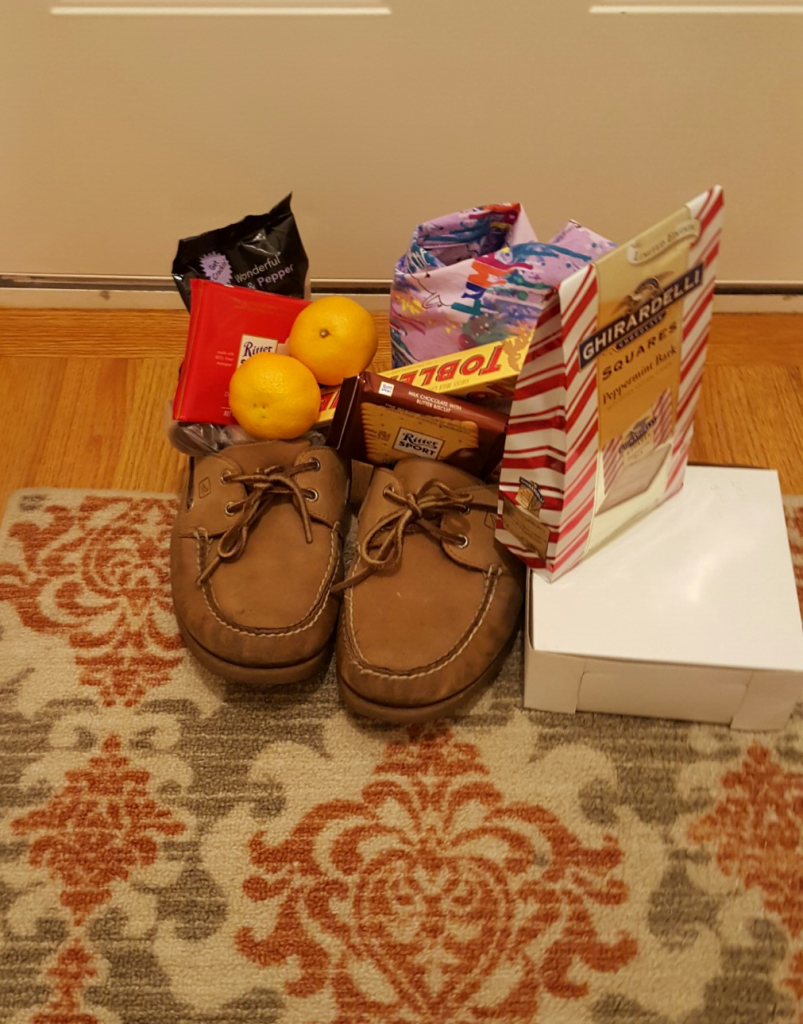
Another German tradition we celebrate is Saint Nicholas Day. On December 5th we leave our shoes by the front door and when morning comes they are filled with sweets, oranges, apples, nuts and little toys from Saint Nick! I can remember being so excited that I was one of the few schoolchildren who received gifts from Saint Nick (it clearly was because my grandma, being from Germany, had some serious Saint Nick connections). Well I must have been naughty for the last decade because Saint Nick hasn’t delivered anything for me recently, but he always fills my husband’s shoes full of treats and silly things. Luckily my husband wears a size 13 so I get to share the treats!

Shoes

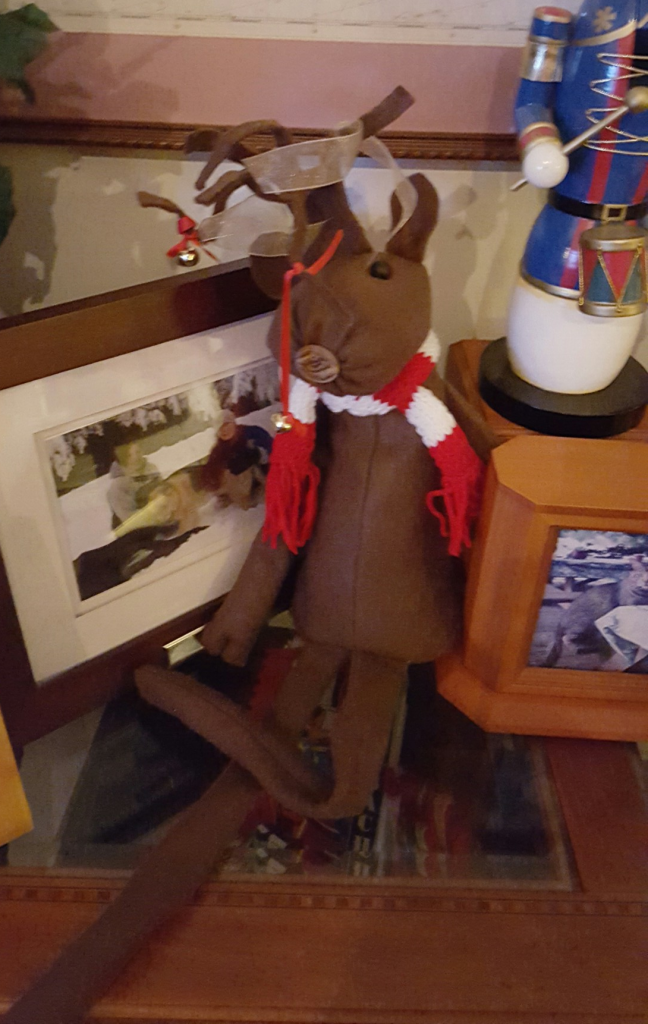
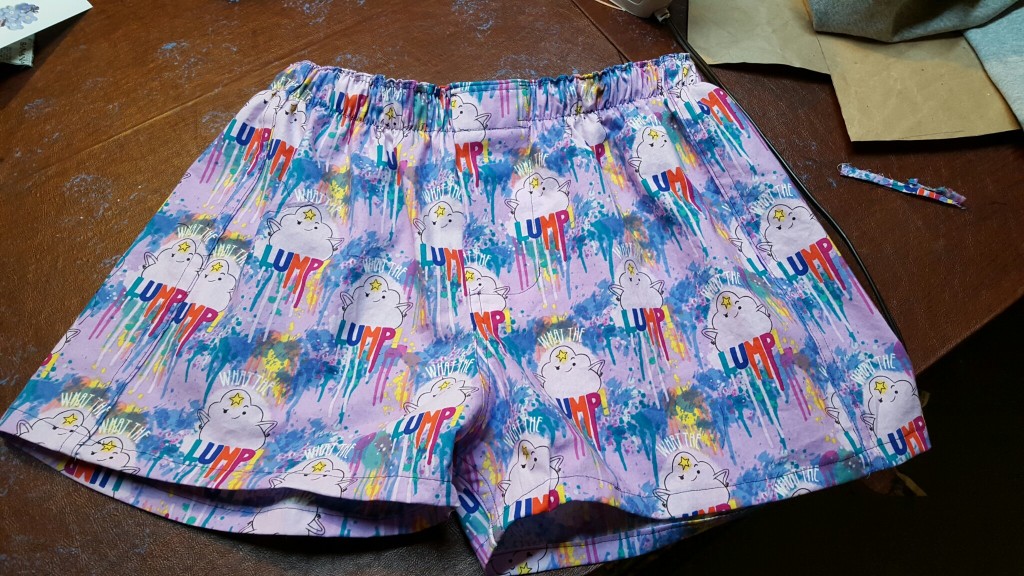
This year Saint Nick delivered some silly Adventure Time boxers much like the ones I’ll show you how to make in this post! But before you go… a Christmas give away! What are your favorite winter holiday traditions or memories? Post them in the comment section below by next Monday. I’ll mail the writer of my favorite comment a silly Christmas moose like this guy. (And in case you’re wondering, your odds are pretty good since I don’t usually get many comments. :) ).

Christmoose

Christmoose

Posted in Crafts & Sewing | 4 Comments

Cotton Boxer Pattern

20151204_235513

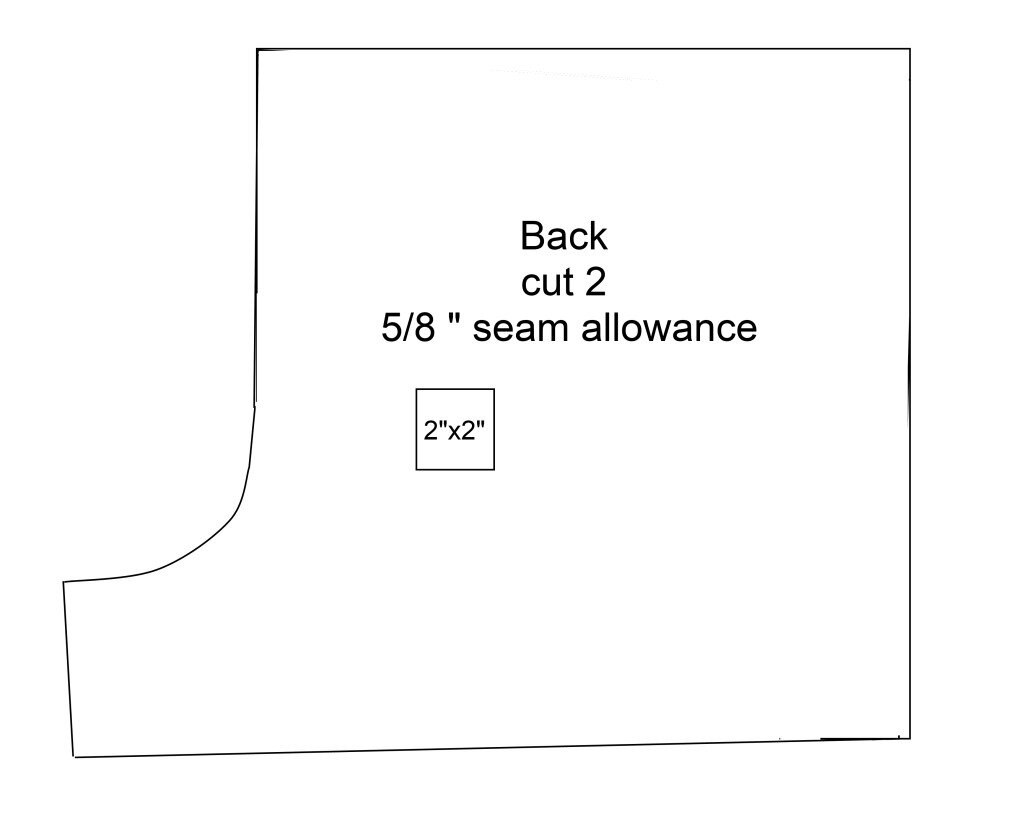
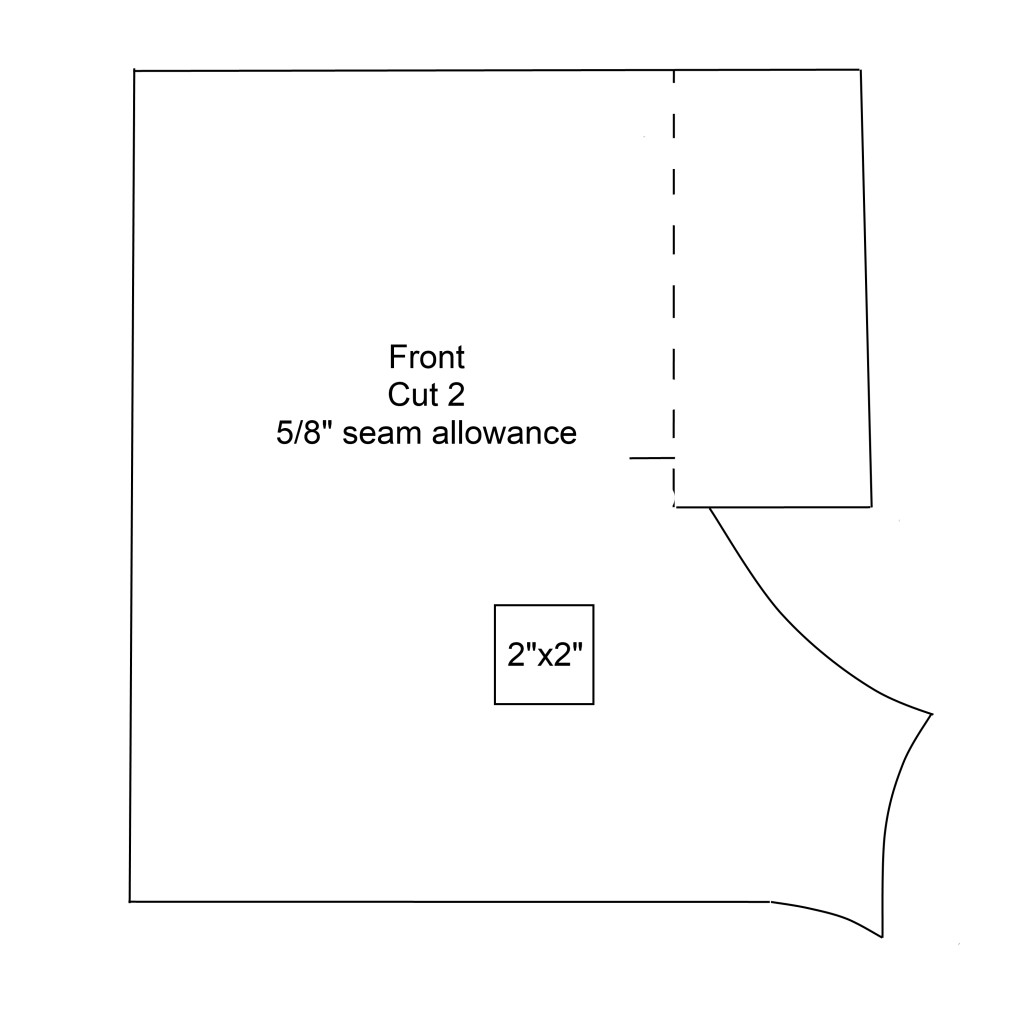
Note these boxers fit my husband (size 34 waist with what he thinks is a big bum) – if you need a different size, you can scale up or down an inch or two. I used one yard of 43″ wide fabric – but after washing my pattern barely fit so I’d recommend 1 1/3 yards. Wash and dry your cotton print so you already have the shrinkage taken into account. You’ll also need waistband elastic the width of the wearer’s waist minus an inch.  See the bottom of the post for the pattern and make sure you scale it to match the 2″x2″ square when you print.

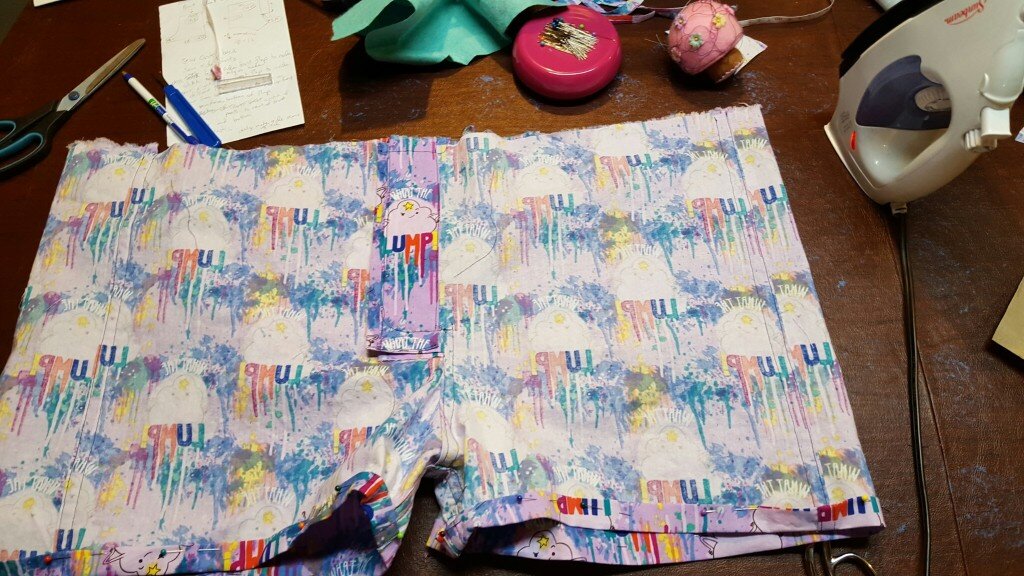
1. Layout your pattern pieces onto your fabric and trace/cut. Tomorrow I’ll post the pattern, I can’t figure out the best upload format at the moment. My pattern includes seam allowance.

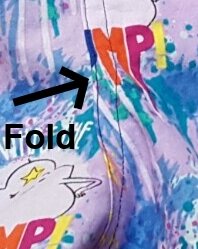
2. First I need to show you how I did the seams which look identical on the inside and outside of the boxers.

seam


I’m not sure if this is a real technique – if it is I don’t know what it is called. If someone can tell me, that would be helpful. Since you don’t want an itchy piece of fabric tickling you in your boxers all day I used this seam technique everywhere except the waist and legs where I did a rolled hem. What you do is your take the two edges you want to attach and press one edge right side out about 1/4 inch. On the second piece, press the edge wrong  side out.

Two pieces to be stitched together, one pressed wrong side out, one pressed right side out.

Two pieces to be stitched together, one pressed wrong side out, one pressed right side out.

a. You then lay the two pieces of fabric on top of each other so the unfinished edge that you pressed is sandwiched in the middle.

20151204_215341

b. Pin and stitch very close to the folded edge on the right side of the fabric.

20151204_215834

c. Then flip over and stitch very close to the folded edge on the wrong side of the fabric.

20151204_215959

3. Use this technique to stitch the two side front seams, and the center back seam.

4. Before I did the center front seam I added the flap for the fly. I first pressed the rectangle of fabric on the boxer’s left front down, forming a center front line.

20151204_222909

5. Next I stitched down the cut edge, leaving an inch at the bottom opened.
20151204_223334

6. On the boxer’s right side I pressed the edges of the flap.

20151204_223557

7. I then pressed a piece of scrap fabric into a rectangle to fit over the edges I pressed. I sewed this in place on all sides. This was to reinforce the flap. Somehow I don’t have a picture of this, but you can see it in this picture.

20151204_231218

8. I pressed the seam below the flap on both sides following the procedure mentioned in step 2 above.  Then I pinned the boxer front all along the center front seam.  I then sewed the center front below the flap following step 2.

20151204_224352

9. I basted the top of the flap at the waist. Then I stitched from where I had stopped in step 5 to the end of the flap in a slight arc.

flap

10. Sew the crotch together using the procedure in step 2.

20151204_225834

11. Hem the bottoms of the boxers.

12. Press under the waist of the boxers.

13. Add the elastic waistband. At the flap you want to sew the elastic to the boxers unstretched. For the rest of the elastic I followed an example I can’t find anymore.  I’ll post the link if I find it again.  Basically I sewed the elastic to the front of the boxers at the halfway point unstretched.  Then I folded the boxers in half and stitched the elastic ends at this point.  I pinned two more times between the two areas I stitched.  Next I stretched out the elastic so it was taunt with the fabric and then stitched.

20151204_235502

Pattern Pieces

boxers_back boxers_front

Posted in Crafts & Sewing | 2 Comments

Butterfly Hair Pin

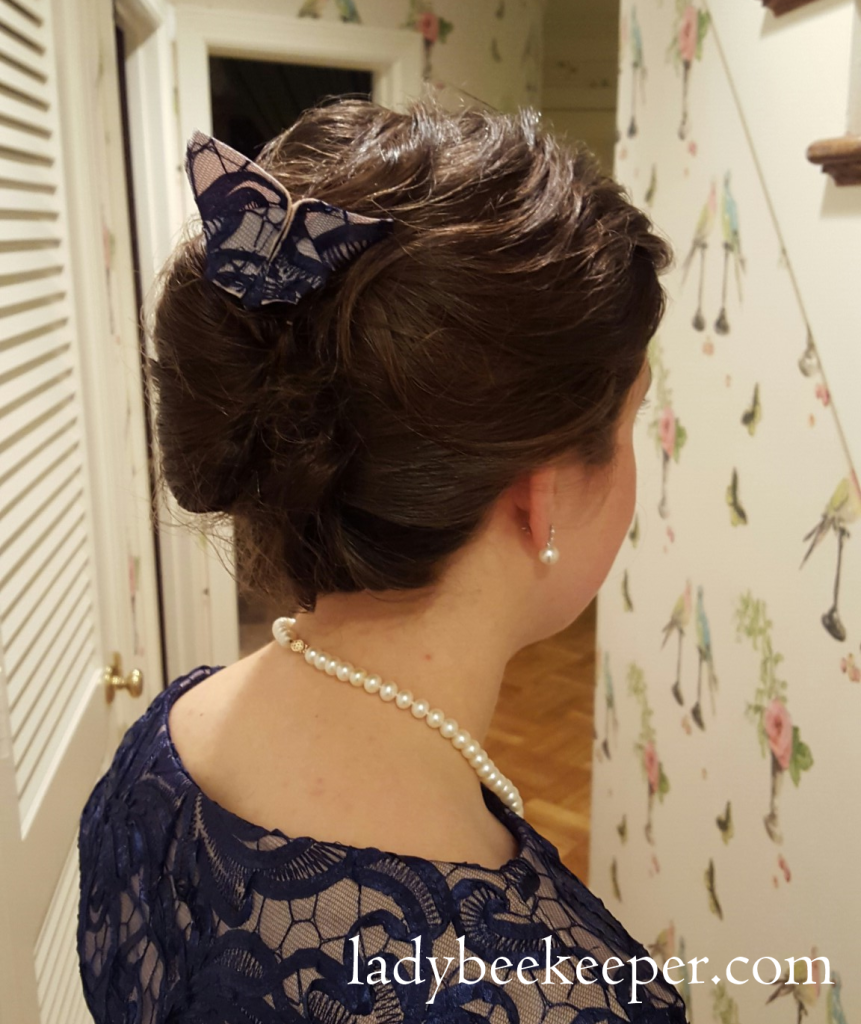
Last week I was honored to be the “Member Project of the Week” on BurdaStyle! I am not going to lie, I couldn’t wait for work to end to check all the nice comments people had left!  What a great community!  Anyway, as promised here is how I made the butterfly hair pin for my updo!

One day while I was scouring pinterest I came across this link to a beautiful origami butterfly. It looked like a cute accessory to the french twist updo I had been practicing for my Bal d’Hiver ensemble. It was extremely quick and simple to make so I am trying to decide what I can use a ton of them on. For those who cannot follow the pictures on Pinterest I figured some English instructions may be helpful.

butterfly_hair_pin

Here’s how I made a 5 minute butterfly hair pin

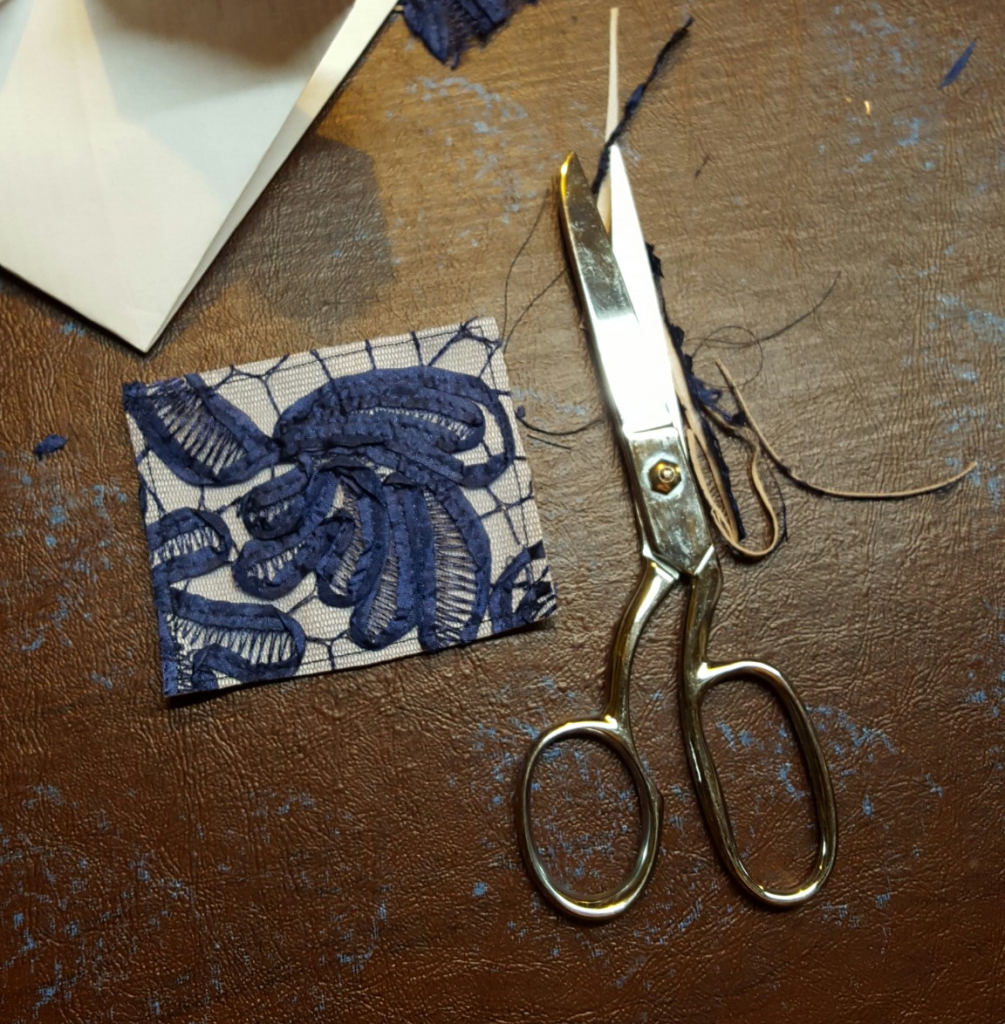
Since this technique is basically origami you want to create a thin solid rectangular piece of fabric that is as close to paper as possible. I used scraps of navy blue polyester lace, nude polyester stretch material and some medium weight fusible interfacing.

I first cut each of my scraps into roughly 2 inch by 3 inch rectangles.

butterfly1

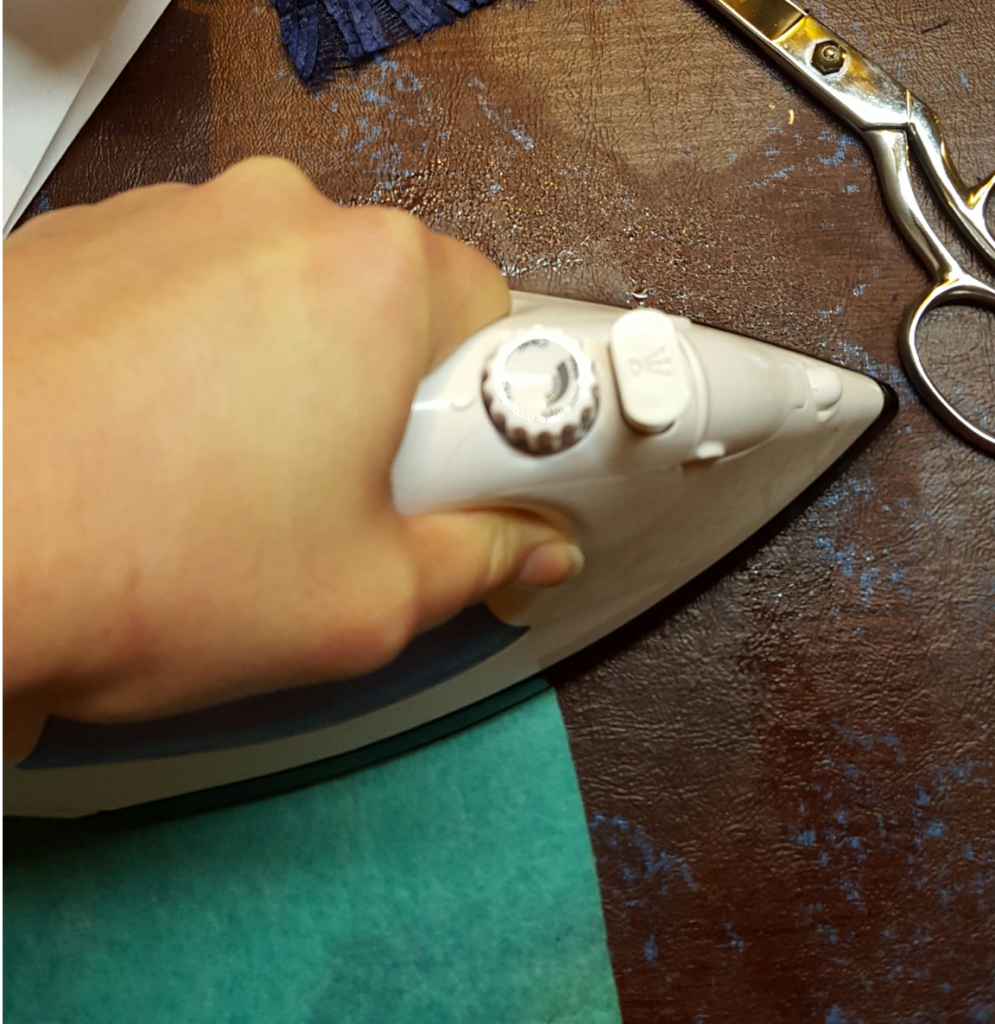
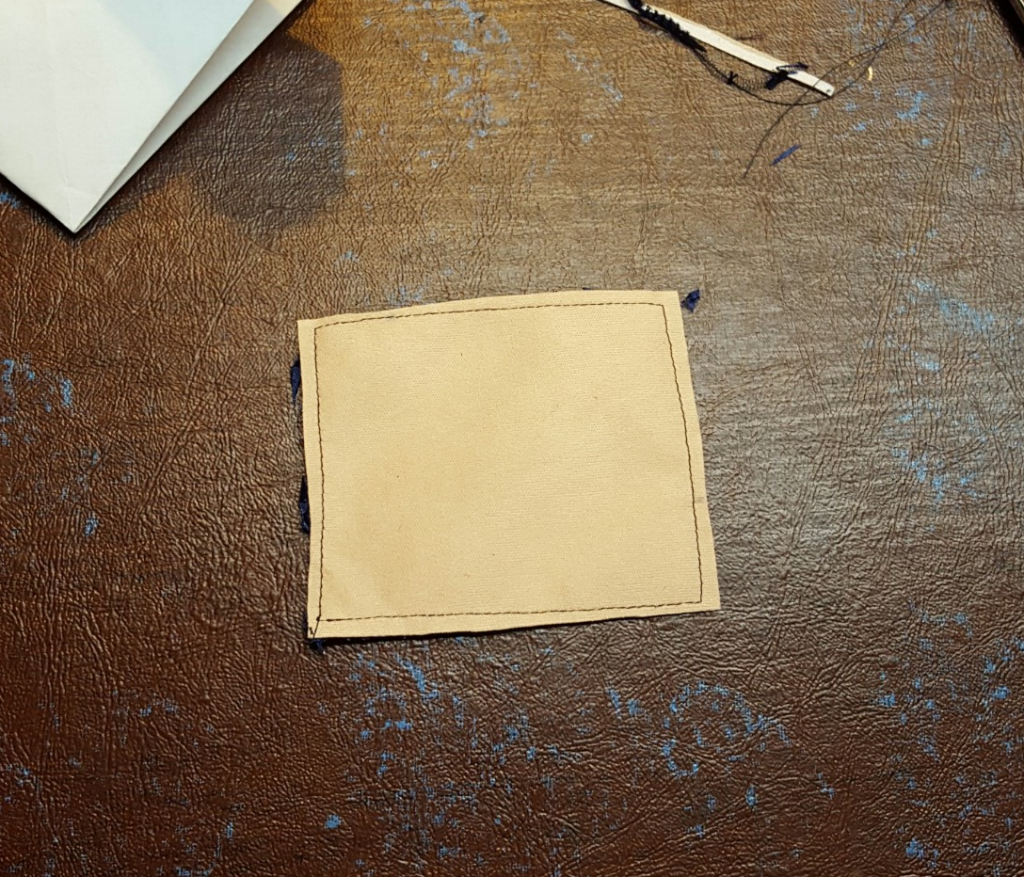
Next I ironed my fusible interfacing to my nude stretch polyester to produce a material with a paperlike stiffness.

butterfly2

I sewed my lace to the other fabric. And trimmed it to make an even rectangle.

Front view of rectangle

Front view of rectangle

Back View of Rectangle

Back View of Rectangle

Next I folded the rectangle in half the long way with the right side facing out.

butterfly6

I ironed it flat.

butterfly7

I folded the rectangle in half again the long way.

butterfly8

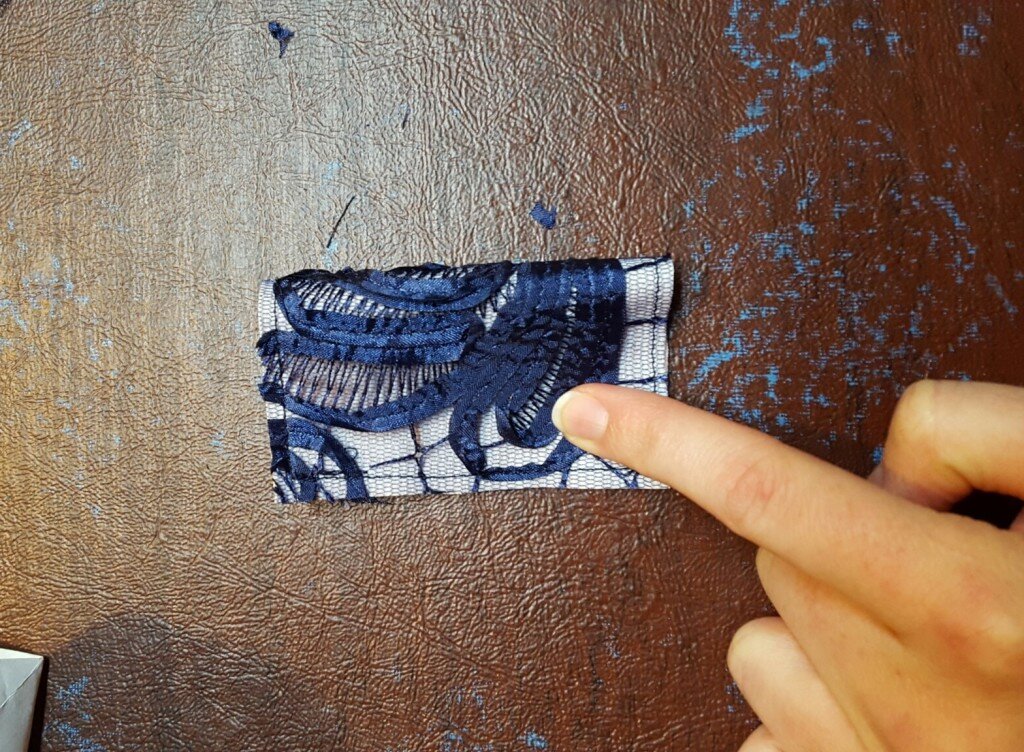
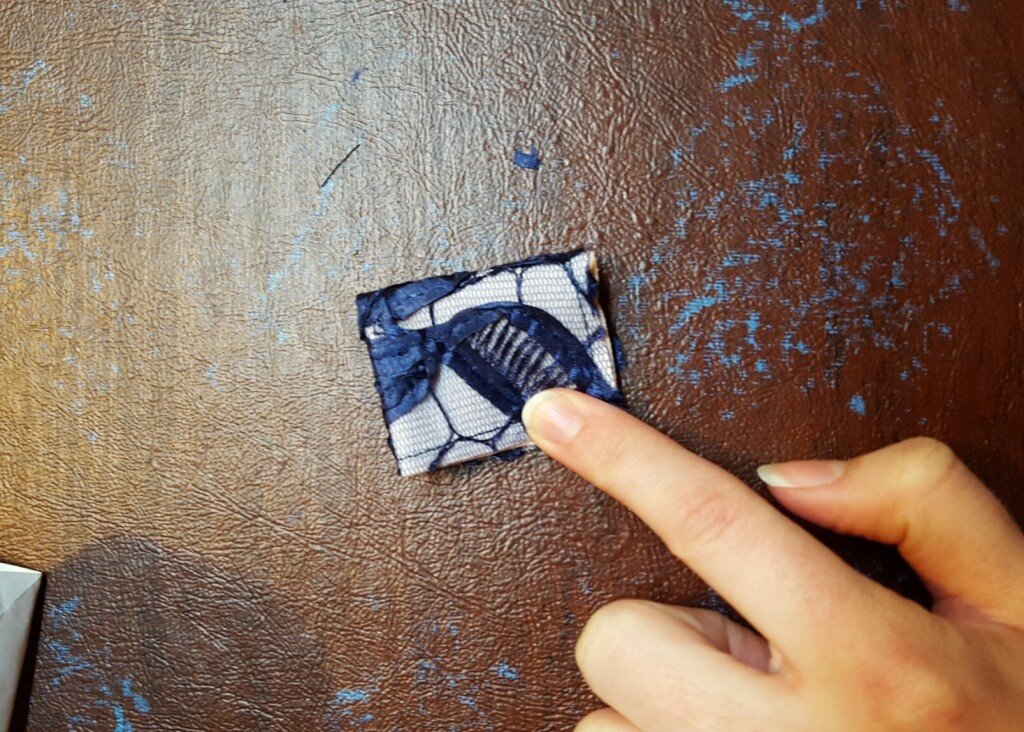
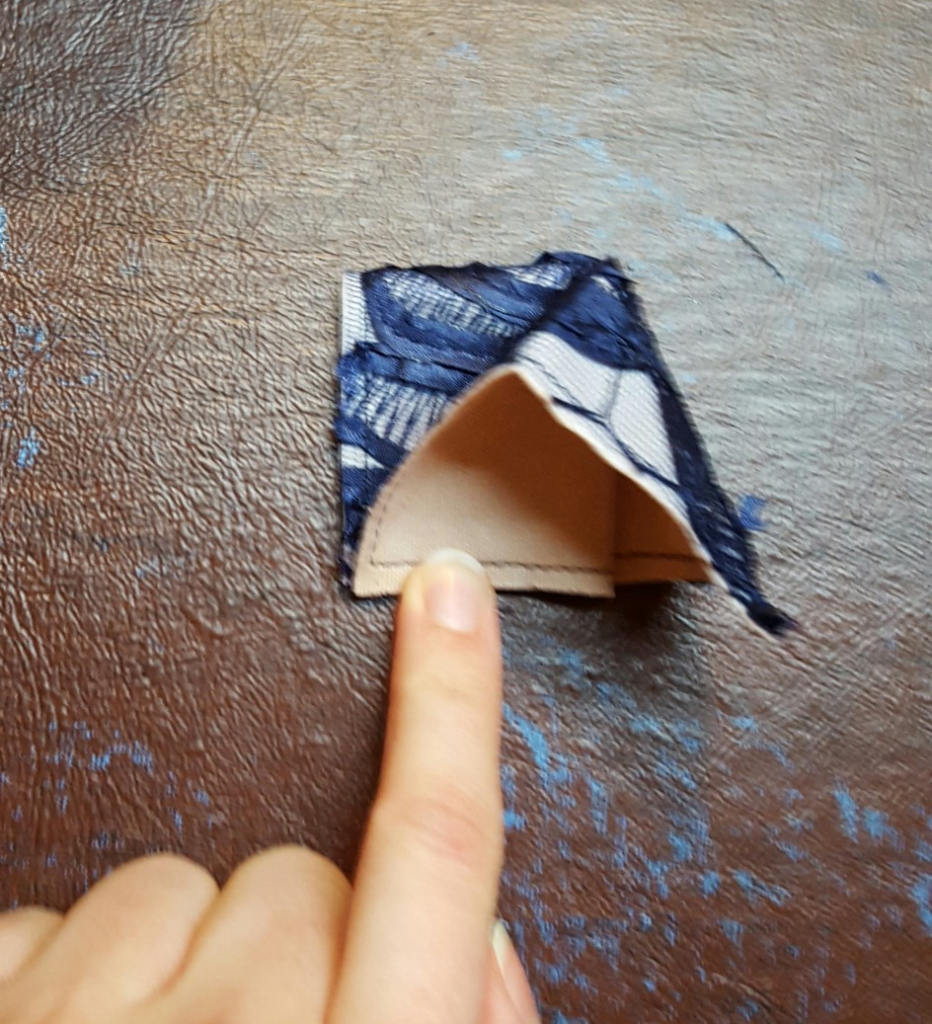
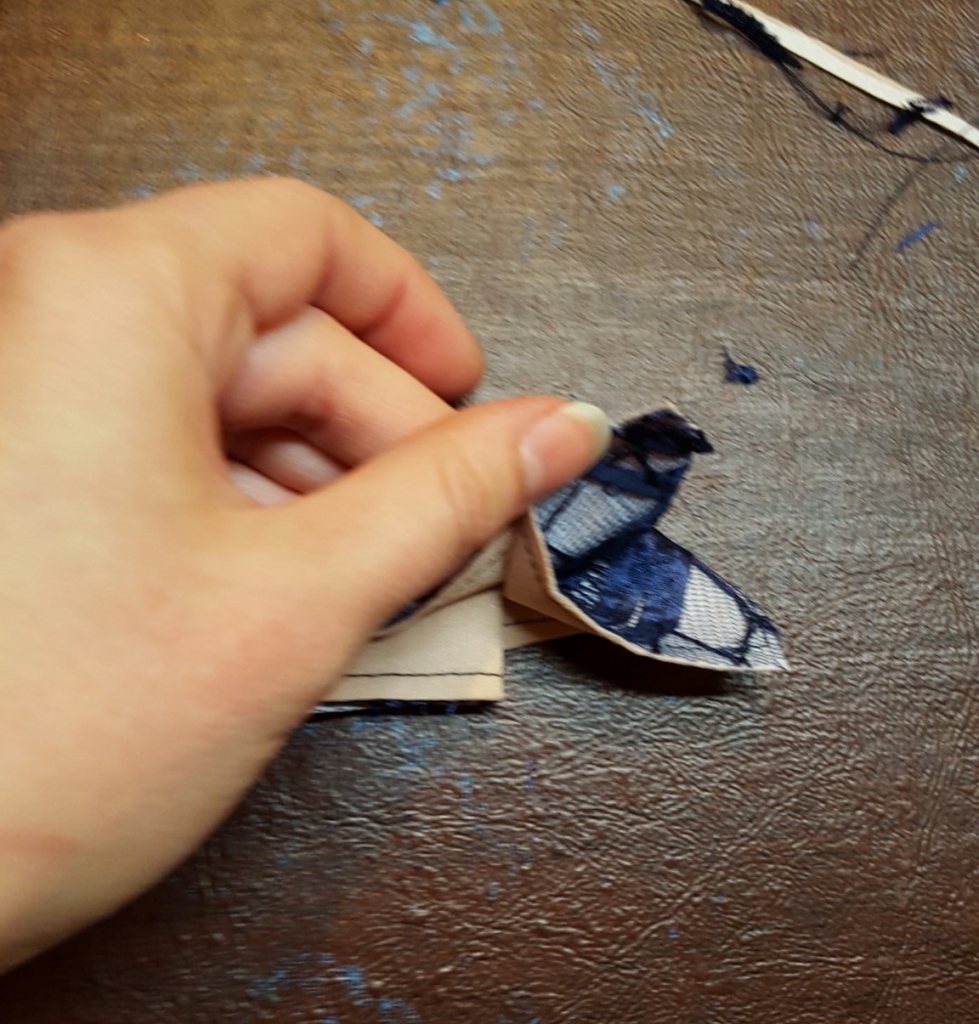
I slipped my finger under the top layer of fabric holding down the corner and pressed down to form a triangle with a bit of the wrong side fabric showing at the bottom.

butterfly9

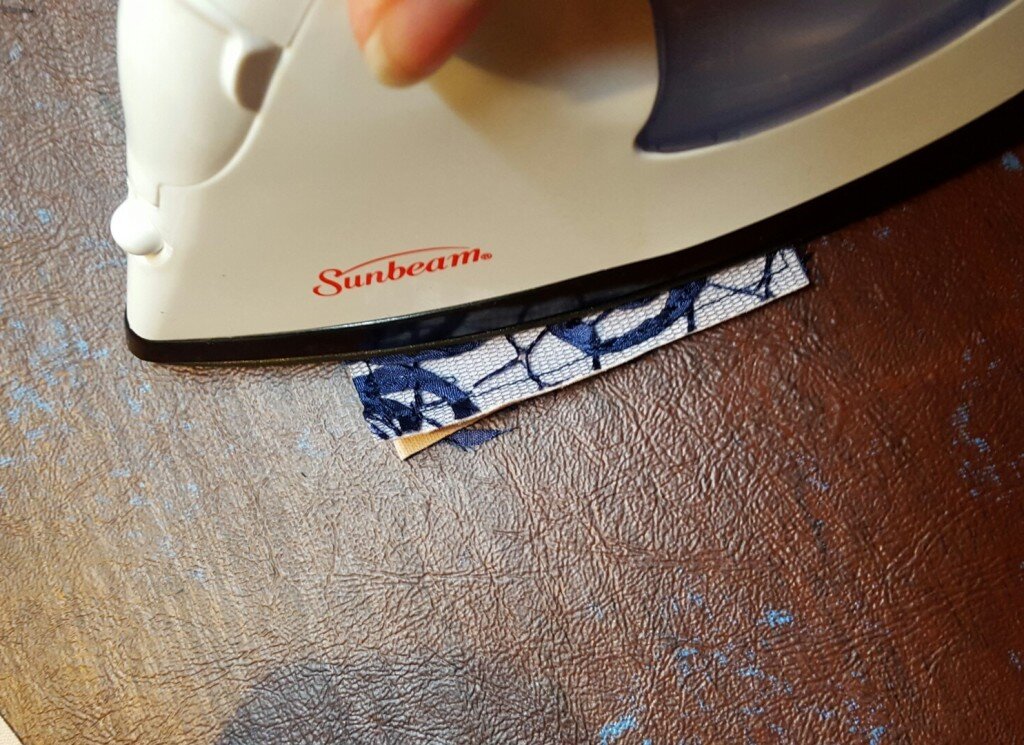
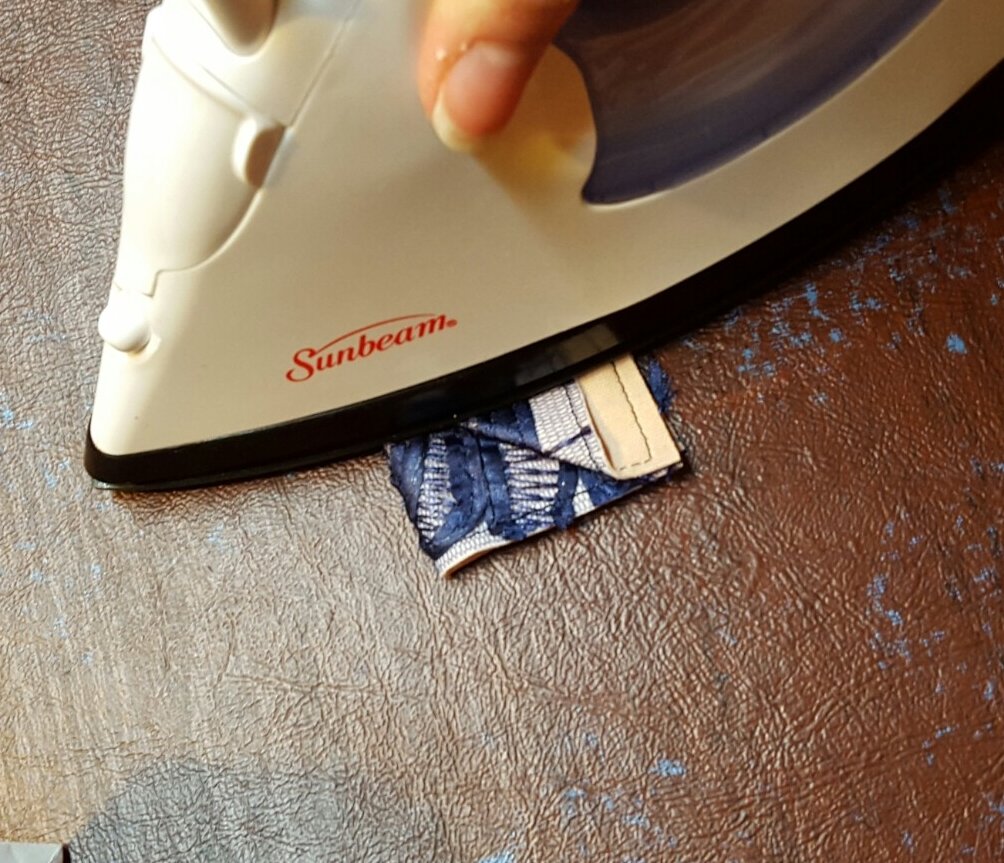
I ironed this flat.

butterfly10

I flipped the piece over and did the same thing on the other side.

butterfly11

butterfly12

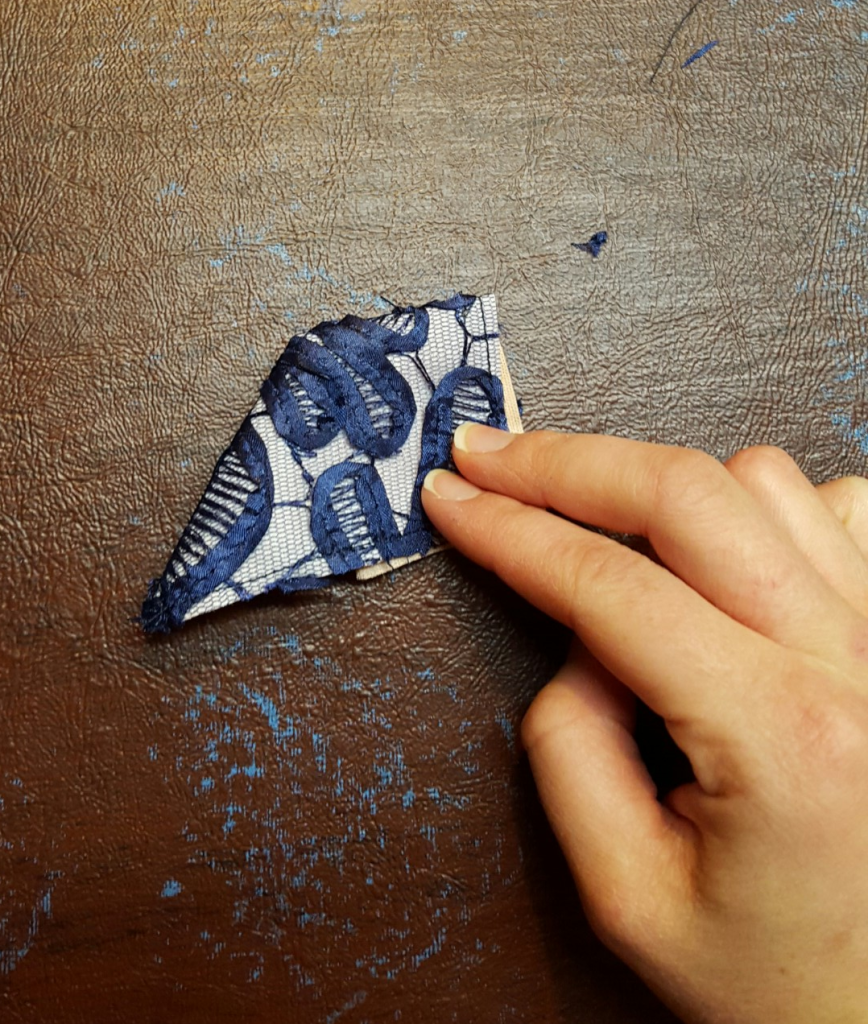
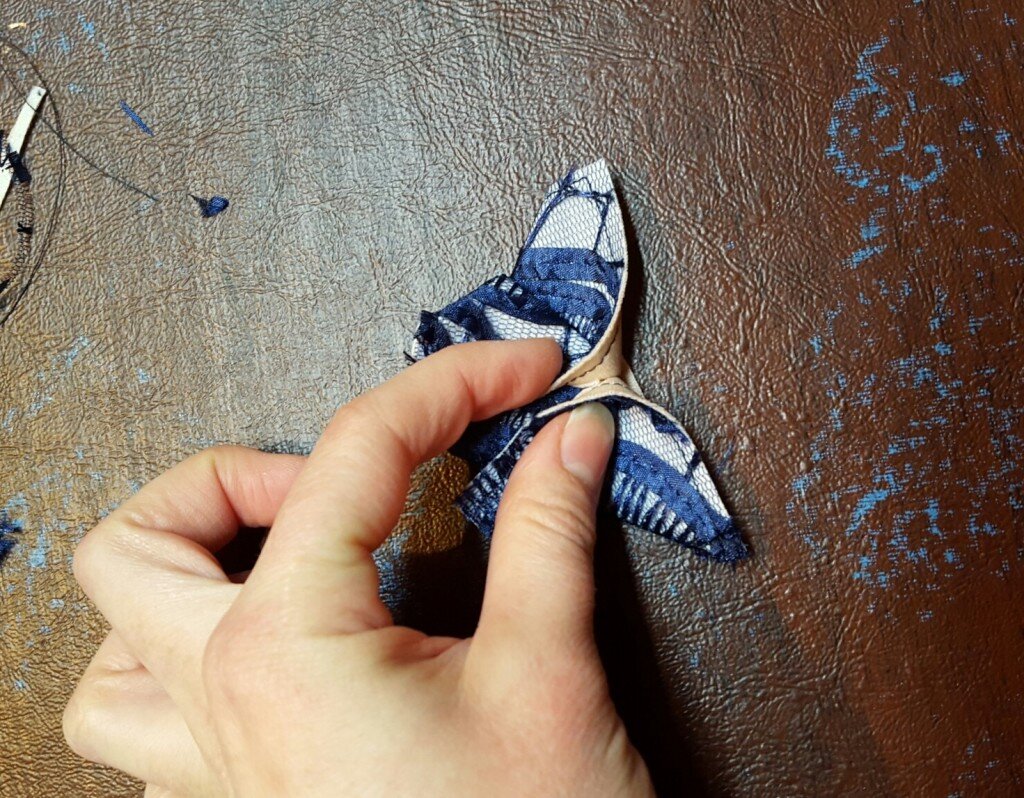
I then took the right corner flap of the triangle and lifted it up to the top middle of the right side of the triangle.

butterfly13

This will form a 3 dimensional c shape with the wrong side of the fabric showing.

butterfly14

Follow the same procedure on the other side and stitch the center portion together with a couple quick stitches to hold it.

Finished butterfly

Finished butterfly

Attach the back of the butterfly to a bobby pin – or your project of choosing!

Join me next Monday for some holiday fun and a give away!

Posted in Crafts & Sewing | Leave a comment

Dress to Impress

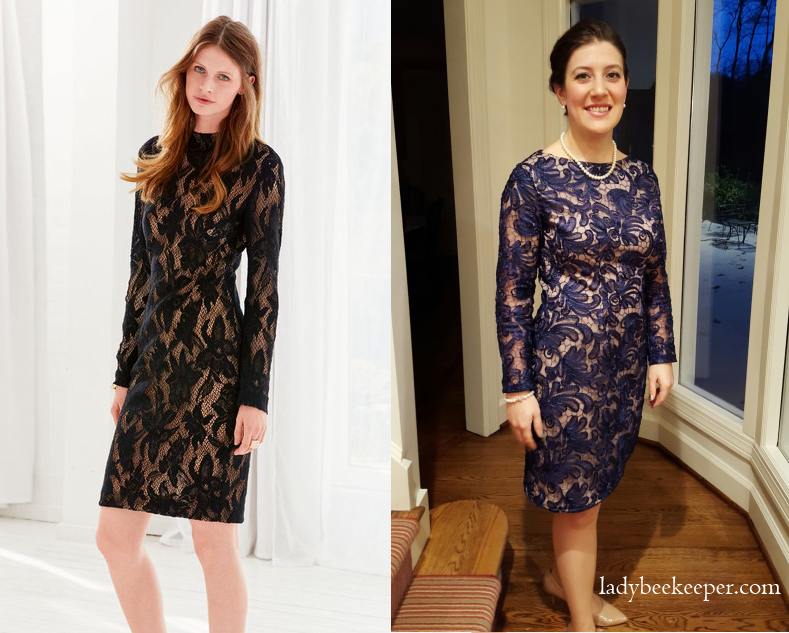
Burdastyle version vs. Mine (obviously I can't compete in legs or shape with the model...)

Burdastyle version vs. Mine (obviously I can’t compete in legs or shape with the model…)

My husband’s family is from Nashville and my mother in law ends up planning all sorts of fabulous social events for local charities. This means my husband and I get to attend all sorts of fabulous events. For instance we went to a real live white tie ball (which for those unfamiliar means my husband wore tails and I wore a ball gown)! Well this year my sister in law was presented at a debutante ball after Thanksgiving.  When my mother in law explained the proper dress for me was cocktail attire, I decided I would try my hand at sewing a dress for the ball.

I have been interested in trying the print-at-home Burda Style patterns for a while now and I thought this dress would fit the bill. So I downloaded the pattern and headed to JoAnn Fabrics for fabric. They recommended stretch fabrics so I purchased nude polyester fabric and navy polyester lace. I had several coupons so the total cost for materials (zippers and all) was only $39!
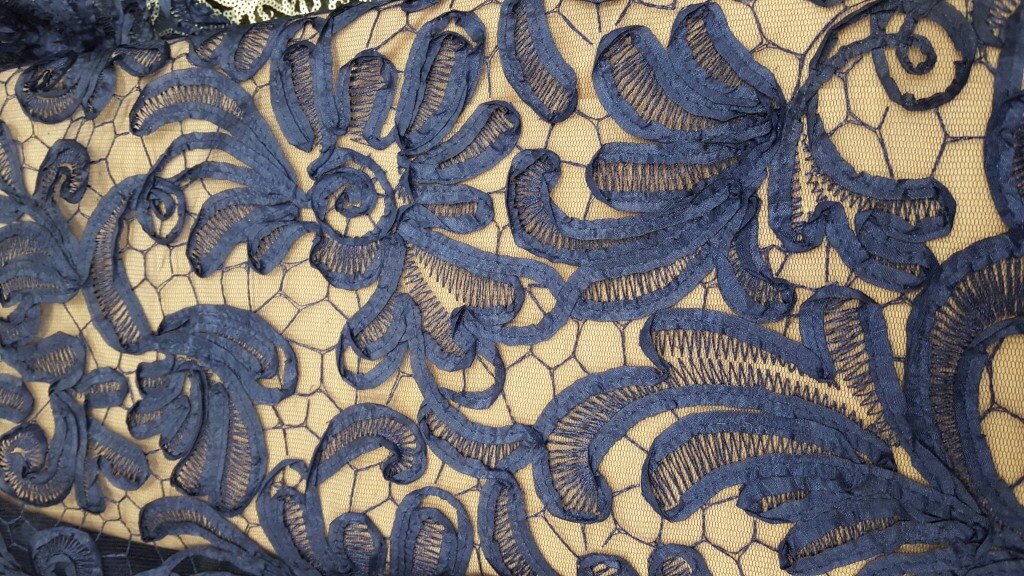
Close up of blue lace over nude fabric

Close up of blue lace over nude fabric

When I got home I started tackling the print-at-home pattern. I love sewing, but my least favorite part of the whole process is laying out and cutting my fabric and patterns. Well given this, the whole print-at-home process adds another layer of boredom to my sewing excitement. The first problem with the whole process is that you must print out the pattern true to size on your printer. Following the steps to measure out a test square to make sure you don’t shrink the pattern are easy, but what they failed to realize is that you can’t print to the edge of the paper. Every home printer in existence has a non-zero minimum border of white space to which it cannot print. This means that the clever little triangles that you are supposed to match up on each paper are cut off on one side. You can mostly estimate where they are supposed to go, but if you are a bit OCD like I am this will be incredibly annoying to you. After printing you have to line up and tape together all the sheets of  the pattern which is similar to doing a really boring puzzle. My pattern was 40 pages long so this took an incredibly long time. And about halfway through I realized I really didn’t have to tape the entire thing together because some of the pieces didn’t even get used for my pattern. This just made me feel as if I had just needlessly killed a forest. Since the patterns didn’t have seam allowance built in I transferred the exact pattern to my fabric and then had to measure and add all the additional allowances. Overall this print-at-home process increased the time to sew this dress by around 2 hours. I’ll have to remember to account for this next time I try another print-at-home pattern.

The rest of the process proceeded smoothly and the directions were fairly easy to followm until I got to the neckline. As I was lining up the shoulders and high neckline I realized that the neckline was way too small. My neck supposedly fit the exact dimensions of the size in the pattern, but it was like they did not account for the fact that everyone has a round rather than flat neck. Even on my mannequin (who has an incredibly petite neck) the fabric in the chest became contorted and bulged from the fabric around the neck. So I completely reworked the neckline. As I was fixing the neckline I also noticed that the front darts did not produce anything near as form fitting as the picture. So I added an additional set of darts, along where I would have added a princess seam. Here’s how I did both:

For the darts, I dressed my mannequin (whose name, if you are wondering, is “old girl” as in “you are looking pretty good old girl”) and pinched and pinned fabric from the tip of both busts down to the waist along the princess seam line. I don’t have a picture of this part but here’s a diagram of where I pinned (modified from this website).
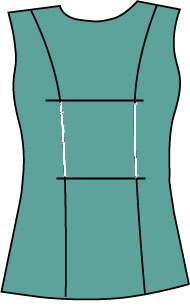
White portion is where I pinned new darts on the mannequin along the black princess seamline

White portion is where I pinned new darts on the mannequin along the black princess seamline

I then removed the dress from the mannequin, turned it inside out and drew on the fabric in marker where the pins formed the darts.
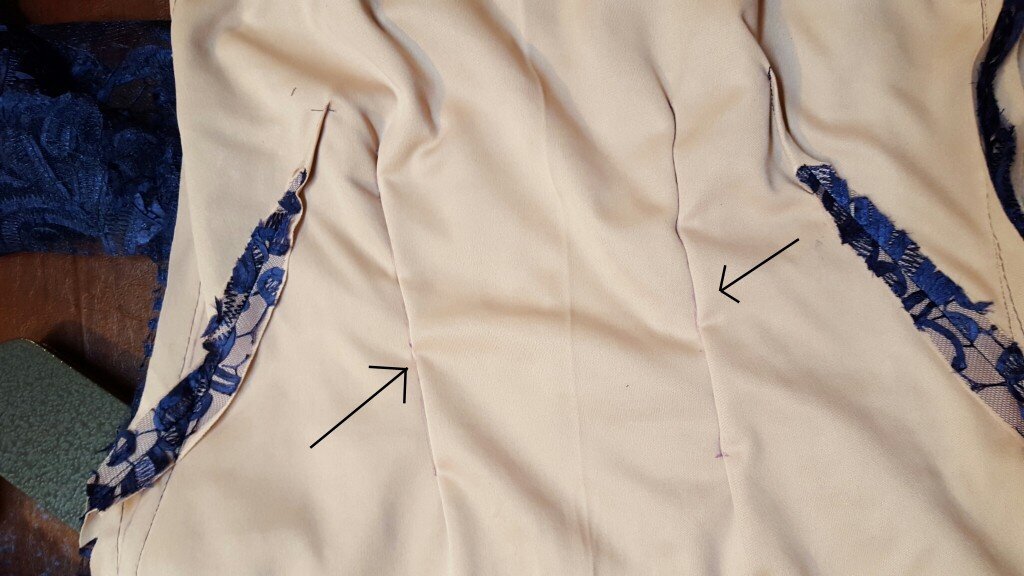
darts

Next I removed the pins and inverted the darts to the insides of the fabric (right sides together) matching the lines I had just drawn. I then sewed along my markings to form the additional darts.
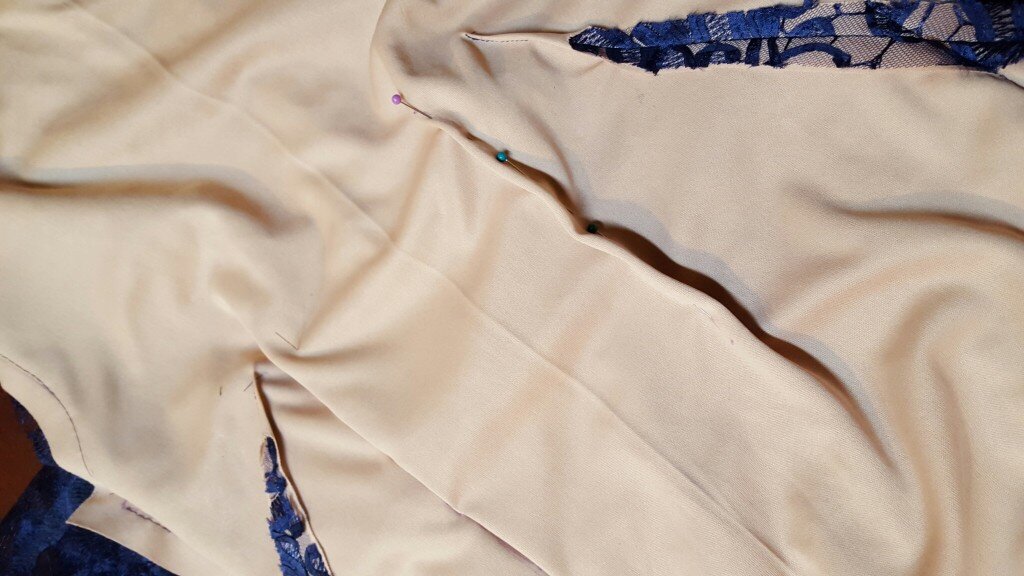
20151121_172106

For the neckline I dressed old girl in the dress again and marked on both shoulder seams where the tension was beginning to cause the weird bulging. Then I removed the seams I had made on both shoulders (including the invisible zipper) and again dressed up old girl in the dress. I repinned the shoulder seams.  Then I pinned along an approximate neckline in front and back and removed the dress again.
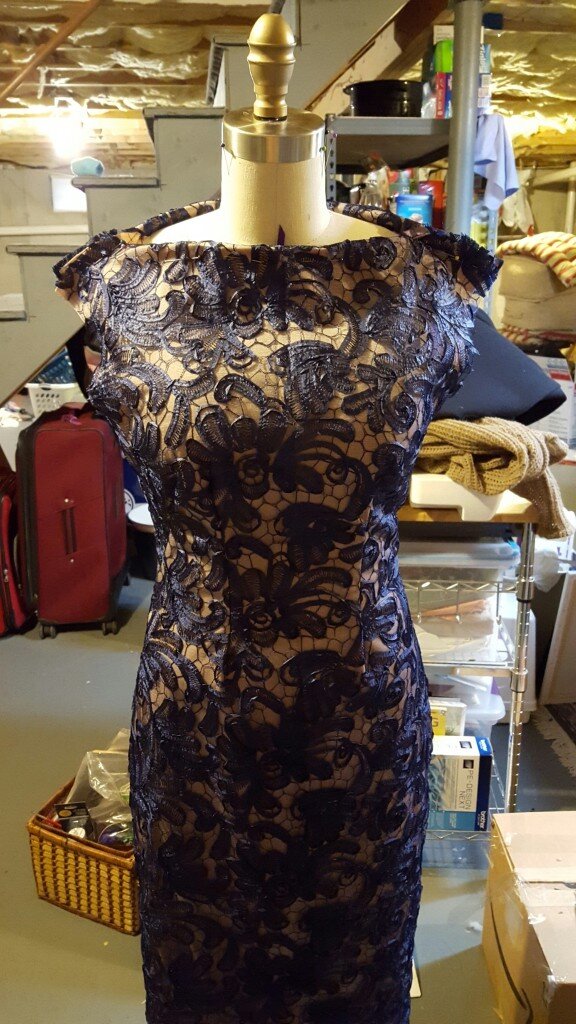
Repinning the shoulders and pinning a new neckline.

Repinning the shoulders and pinning a new neckline.

Here I went back to my pattern and took the measurements from my neckline and shoulder pins to approximate the new neckline to make sure I didn’t make anything uneven.  I used my drafting curves to choose an appropriate neckline for the front and the back.
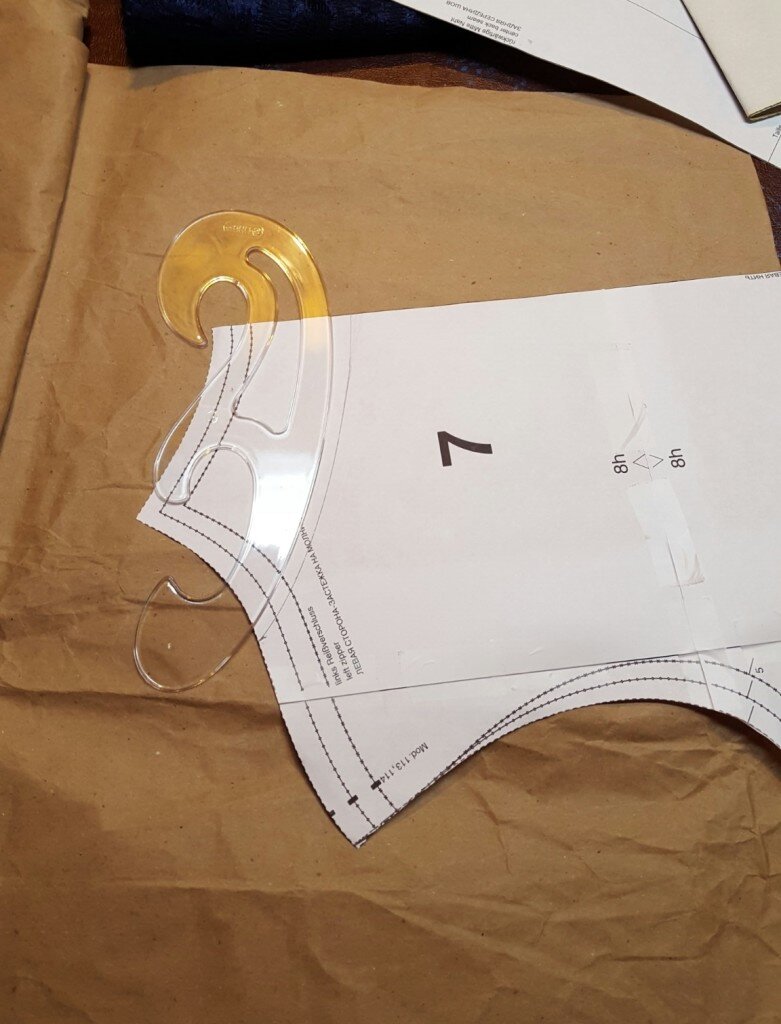
Using drafting curve to revamp the neckline on the pattern

Using drafting curve to revamp the neckline on the pattern

Then I transferred the whole thing over to a new neckline pattern (because I didn’t want to destroy the original pattern). To my pattern I also added seam allowance. Since I am all about saving paper I always use the brown paper that comes in amazon packaging for my personal patterns. It is wide and long and irons out pretty well.
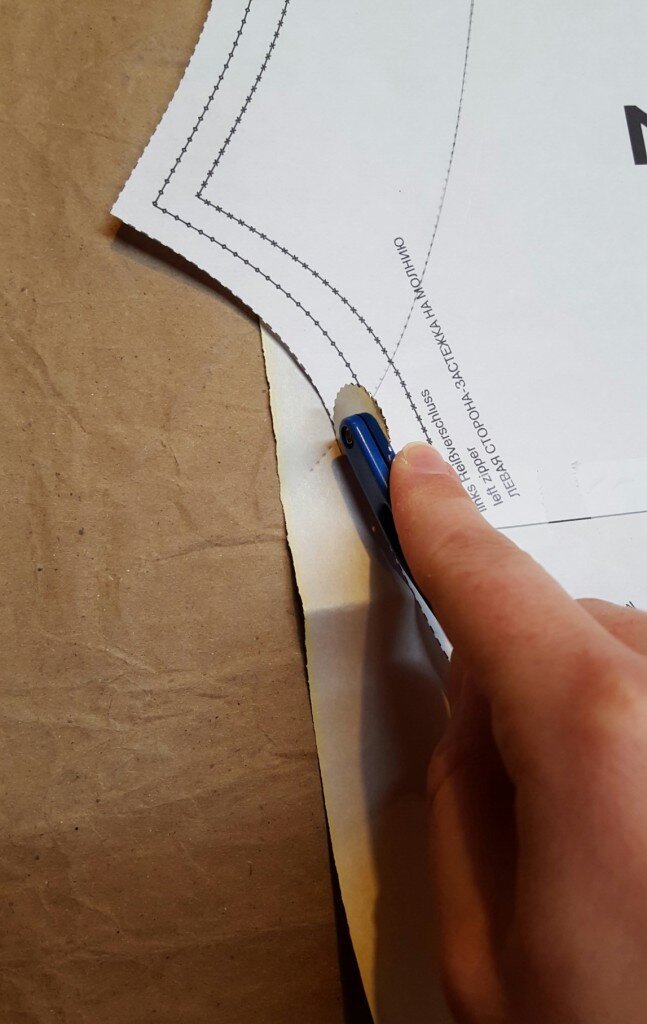
Transferring neckline pattern

Transferring neckline pattern

I also had to make a pattern for the front and back neck facing since my neckline had changed so dramatically. I simply traced the new neckline of the dress onto another sheet of brown paper and made a 2 inch semi-circular pattern strip.  I used this pattern to cut some lace for the neck facing. Since I didn’t think it made sense to make the facing only lace, I also cut out some lightweight sew in interfacing to back the lace facing.

I then proceeded to sew the shoulder seams and neckline as recommended in the instructions, but omitting the invisible shoulder zipper since the neckline was now big enough to fit my head through. For my new neckline I really had to clip my curves but then everything sat beautifully flat.

The one additional thing I did differently from the included instructions was to understitch the neckline. I wish someone had taught me this technique earlier because it really makes your neckline sit flat and look like a normal neckline rather than something homemade and wobbly. Here is a great tutorial.  Oh and I realized my needles were doing strange bad things to the super stretchy fabric so a few stitches in I switched to a ball tip needle which pokes between the knit fibers rather than piercing them.

Here’s some pictures of me modeling the finished product:
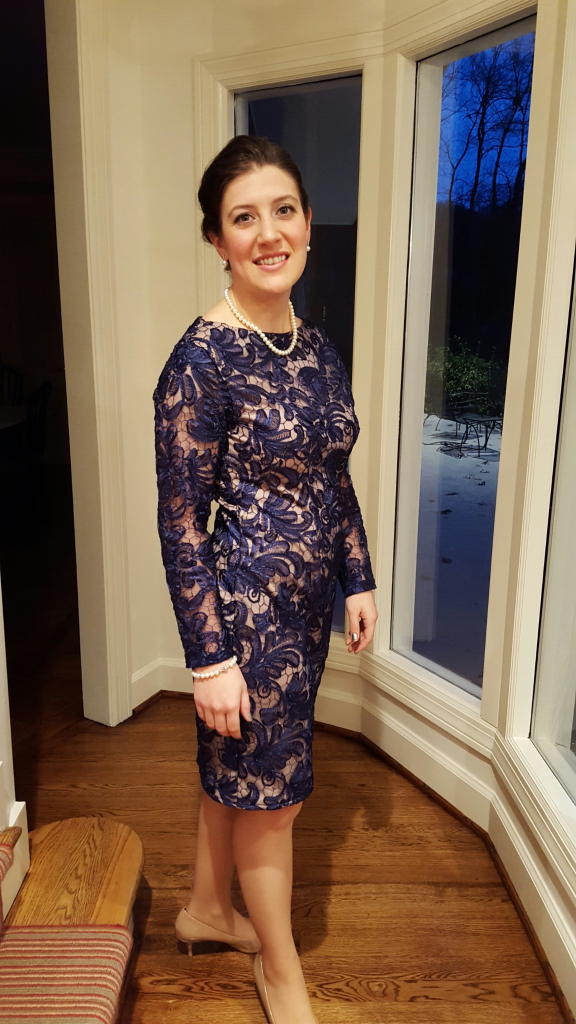
Front View
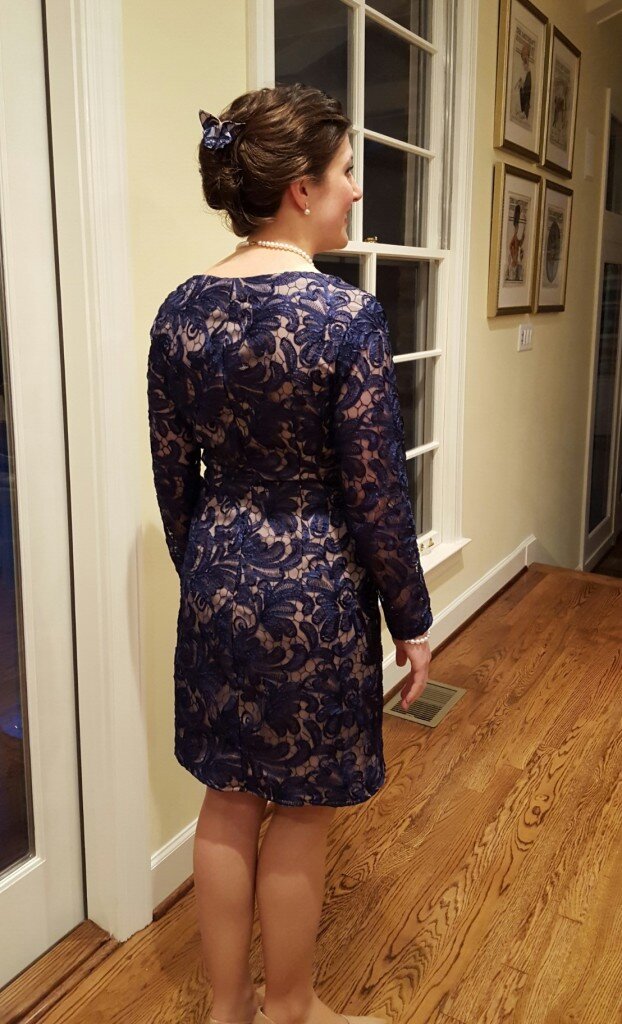
Front View

Back View

Back View

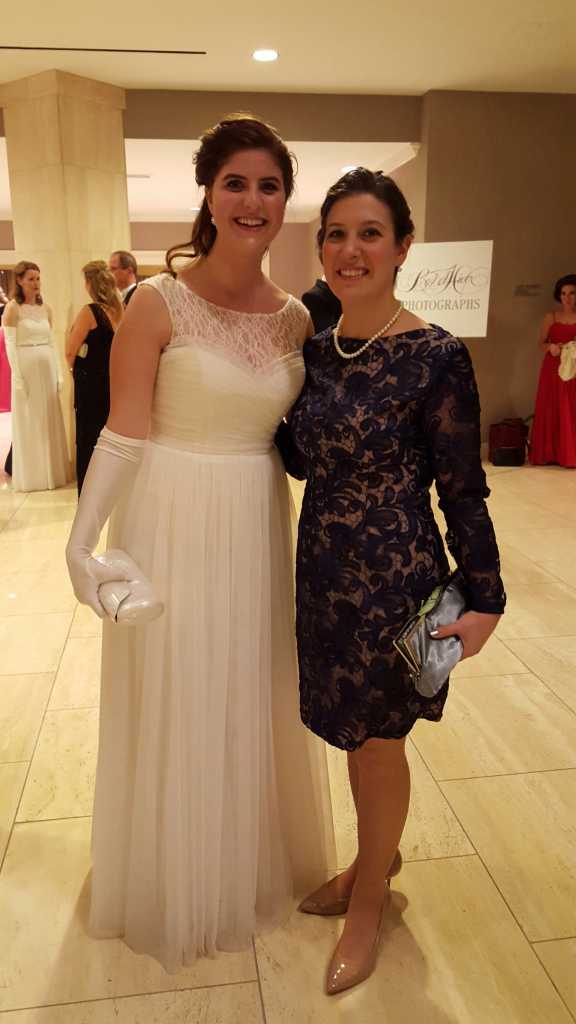
My beautiful sister in law in her ball gown.
My beautiful sister in law in her ball gown.

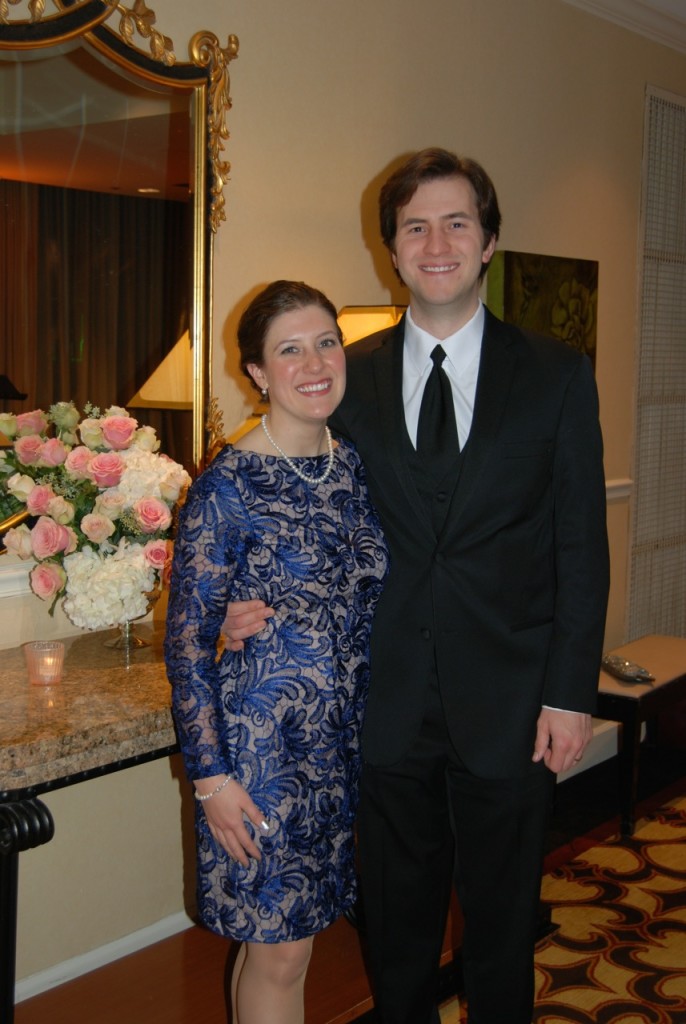
Finished product at the Bal d'Hiver with my handsome date.

Finished product at the Bal d’Hiver with my handsome date.

Next week I’ll show you how I made my cute butterfly hair accessory using scrap fabric!
Posted in Crafts & Sewing | Leave a comment