Well thanks for your patience! The party ended up getting rained out two weekends ago, but on the rain date this past Saturday the weather was gorgeous!! This meant of course that I procrastinated finishing party prep until last week. I was a bit ambitious with Earth Day party crafts this year, and I think there were simultaneously more activities that were hits, but also some that were not even touched at all. Before I get into the activities let me tell you about the drama.
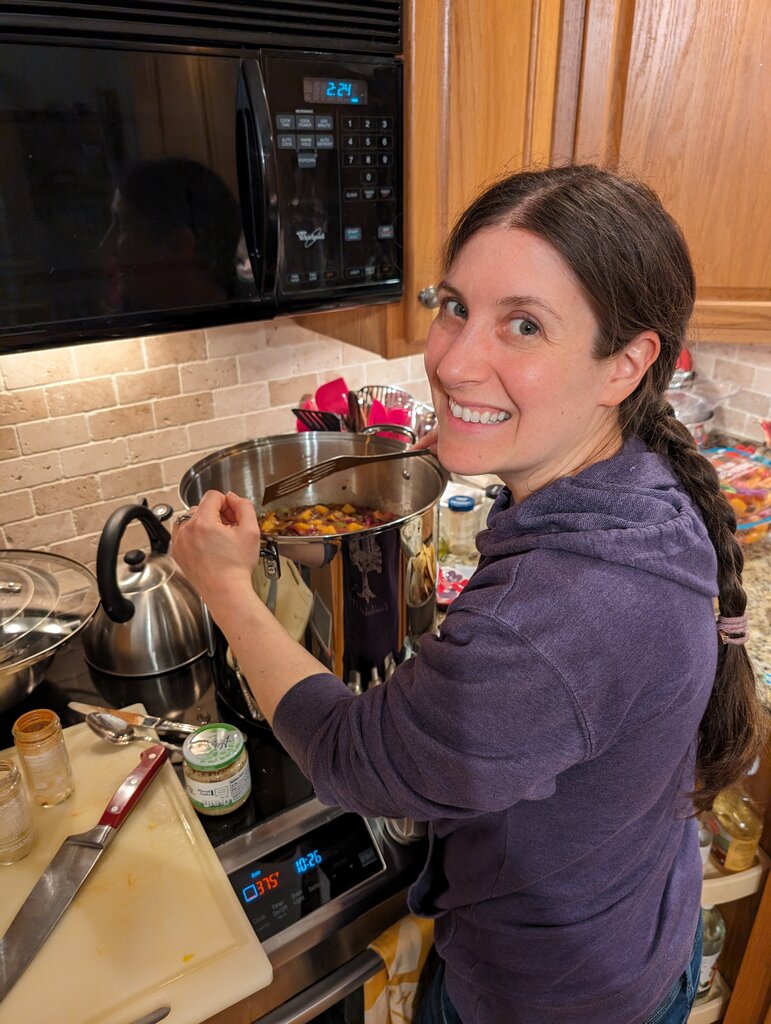
It wouldn’t be a recipe for disaster without some drama. This year I decided to make the main course gluten free and vegan. (You see last year I failed to know one of our guests was gluten free, in my defense I had never met them before and Will had anecdotally told me they were gluten free before I had even conceived of having a party. And no one responded to my “tell me if you have food allergies or intolerance”. In a here’s-what-not-to-do moment, I did tell the person to their face it was such a relief that none of the friends that were gluten free were here because I’m always so nervous cooking gluten free. Ouch.) So anyway this year I painstakingly spent 6 hours making 5 GALLONS of gluten free, vegan chili. It took me 1.5 hours of veggie chopping alone. Then 1 hour of cooling it before it was cool enough to put in the fridge.

If I look tall it is because I am standing on a 2 foot step stool to stir the chili.
When I woke up the next morning (the day of the party) the garage fridge (where the chili was stored in batches) was at 57 F. I had a near melt down. I decided that we could save the party by getting some kind of vegan soup from the store so I ran off to the nearest grocery store. For some reason completely unknown to me, the entire vegetarian soup section in the store had only 5 cans in it. I broke down sobbing. Luckily my BFITWWW Amy and Will saved the day by finding me MANY cans of Annie’s vegetarian lentil soup (which is actually super delicious). We heated these in several crock pots and moved on with the party. Julius was very sweet and told me multiple times while I was sad “I think you do a great job with Earth day parties Mommy. You are so creative.” What a love bug. So without further ado let me show you the 2024 party.
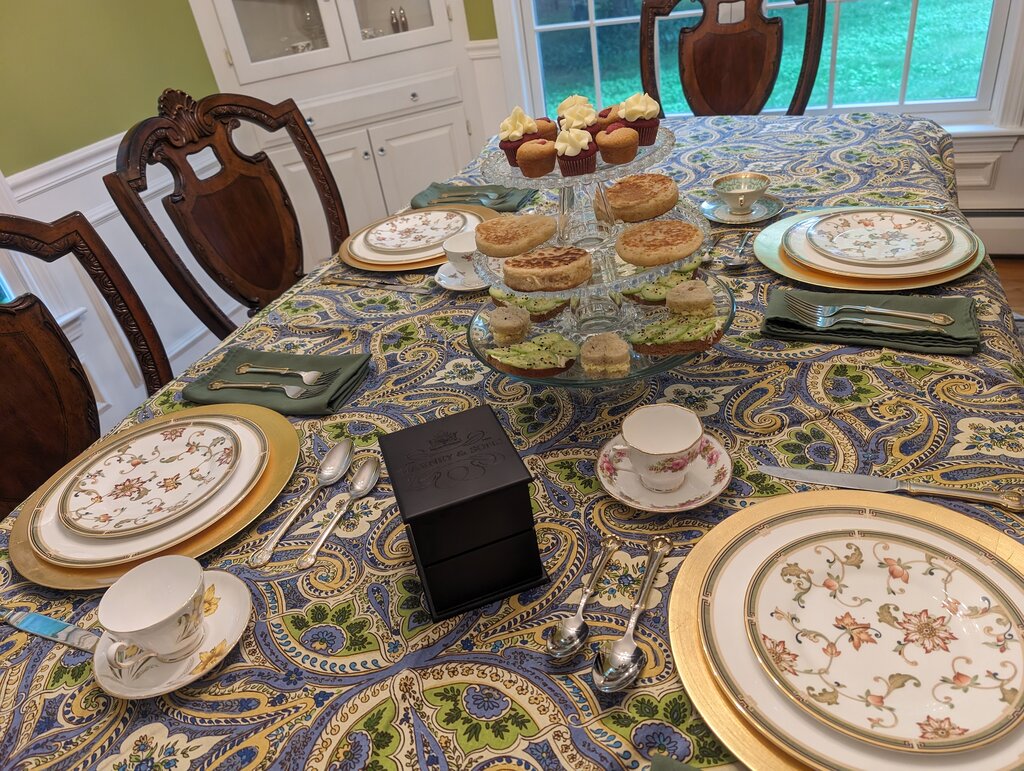
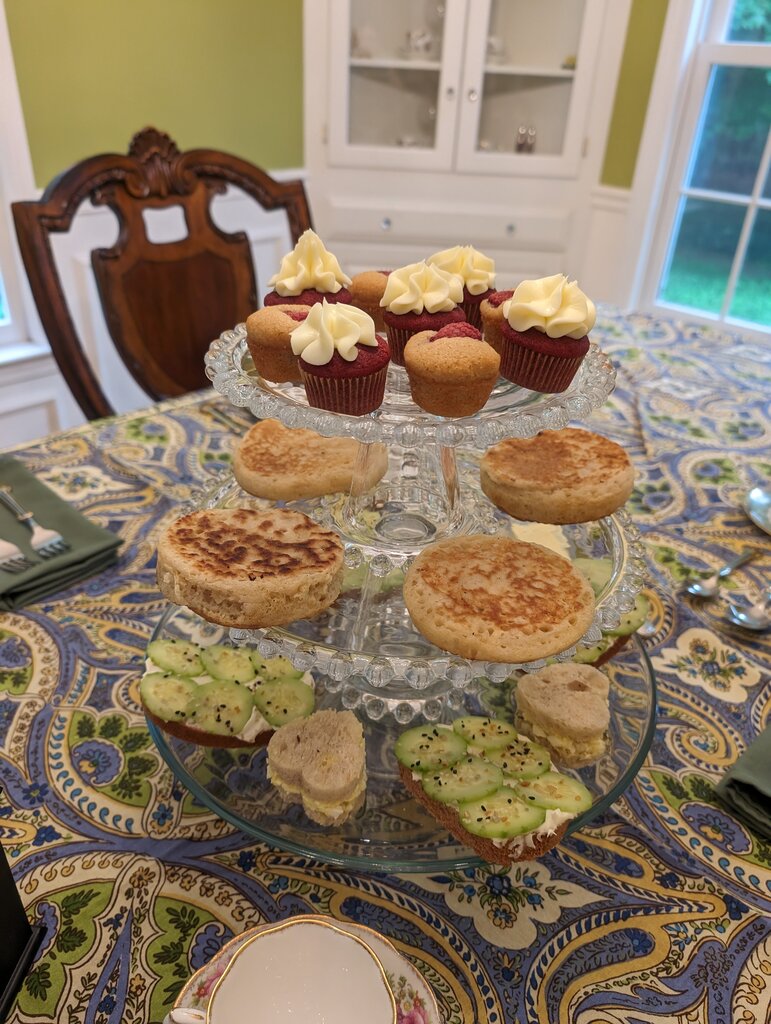
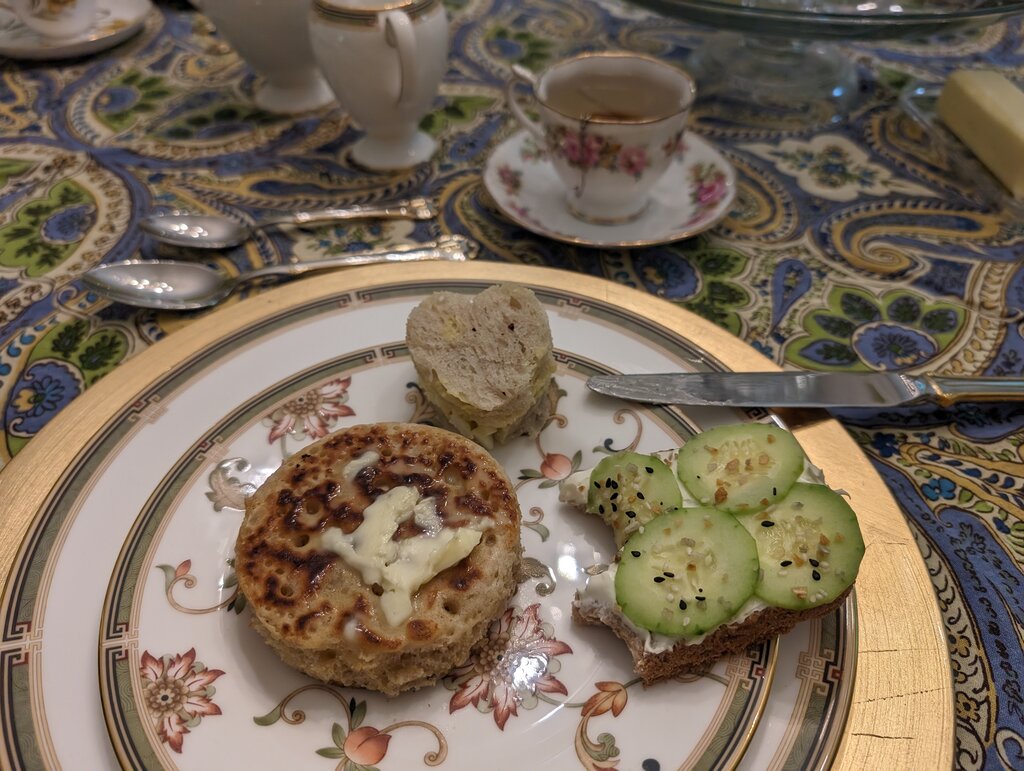
Food
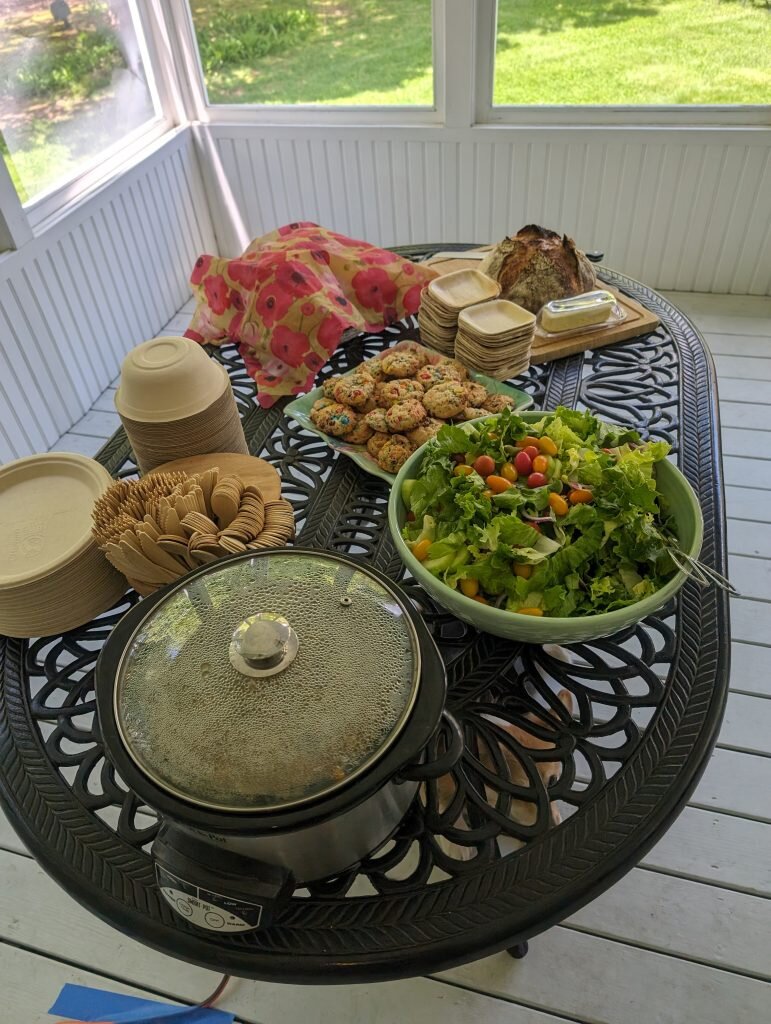
The pb&j sandwiches are hiding underneath that bees wrap.
Menu
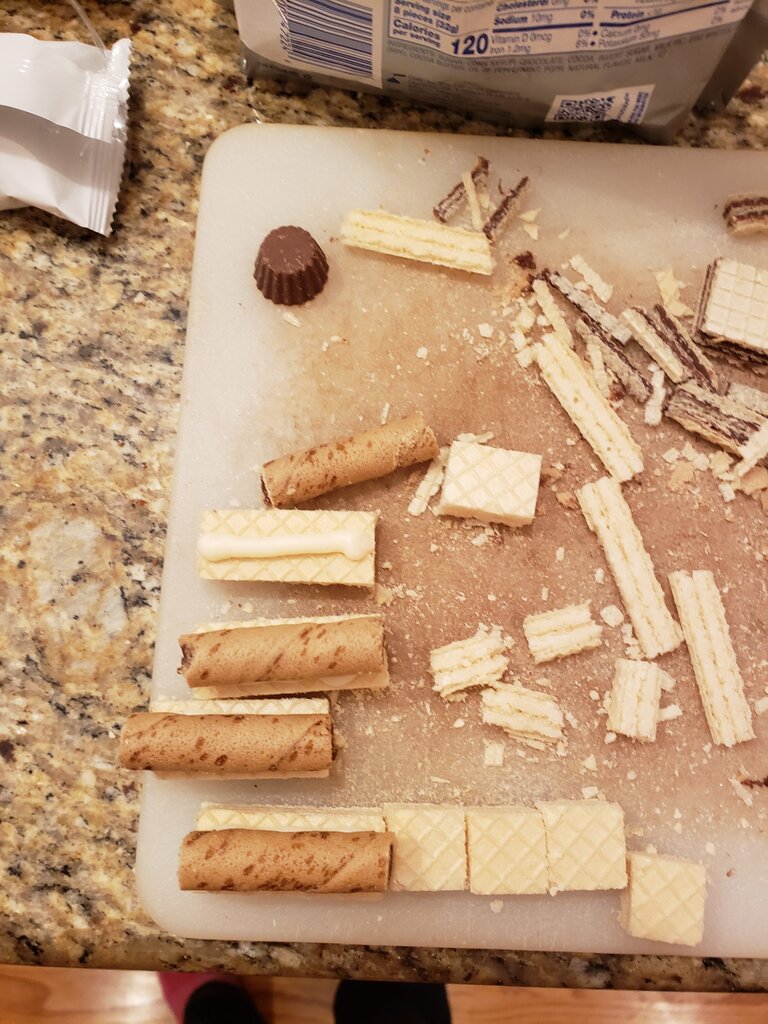
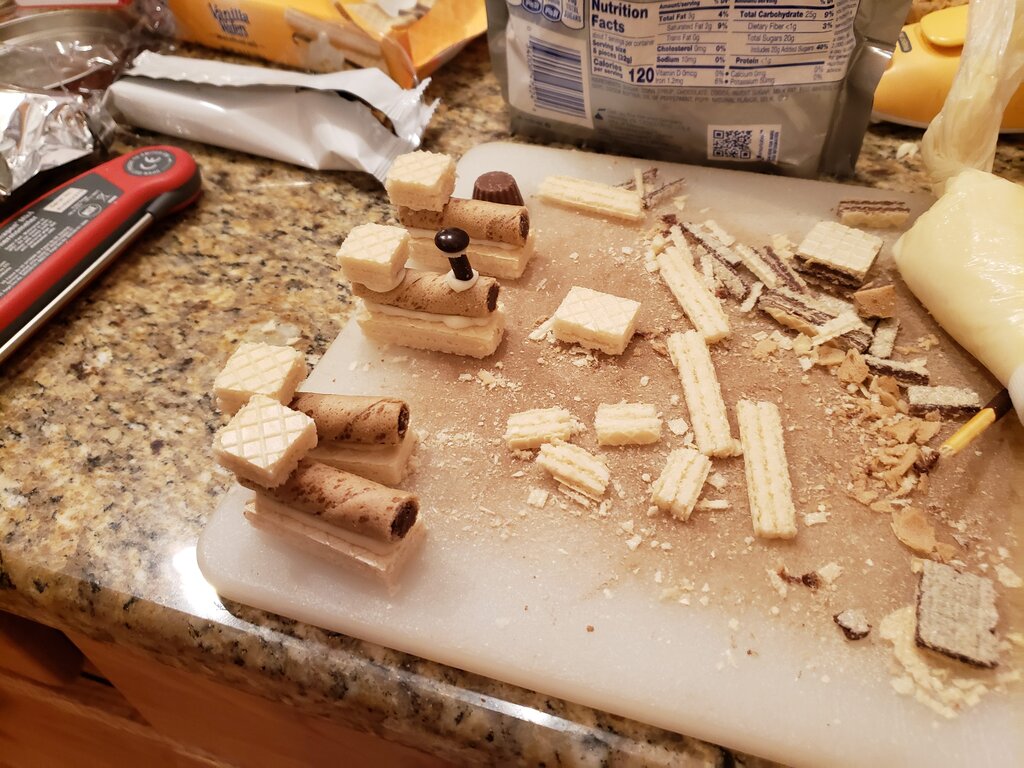
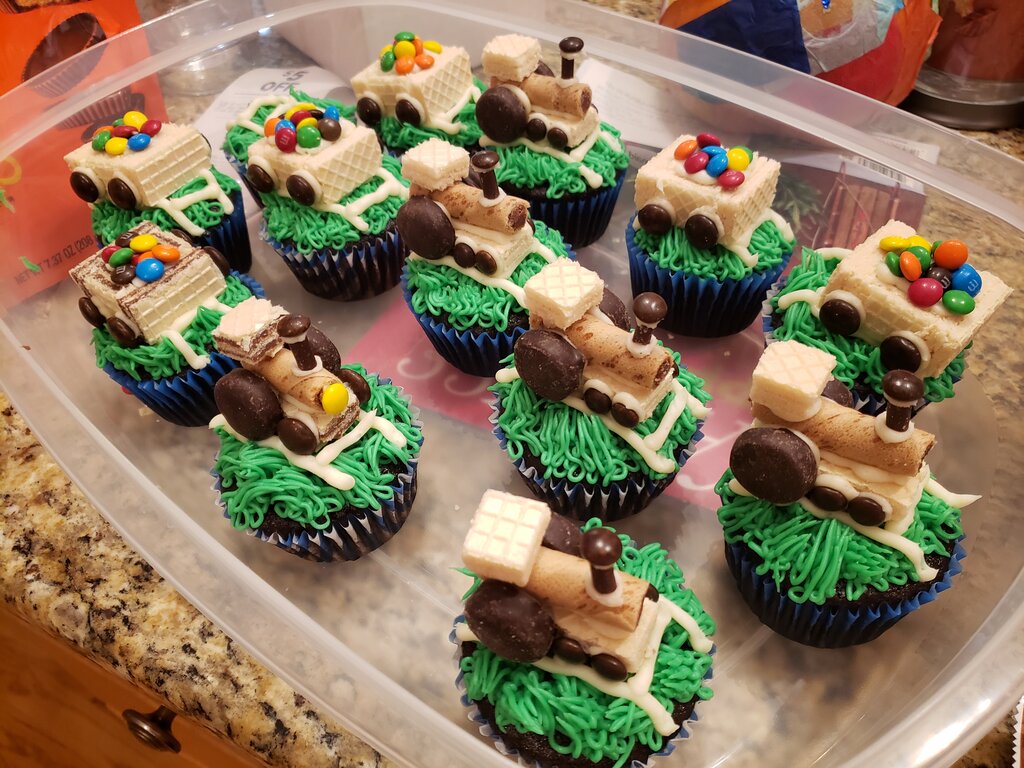
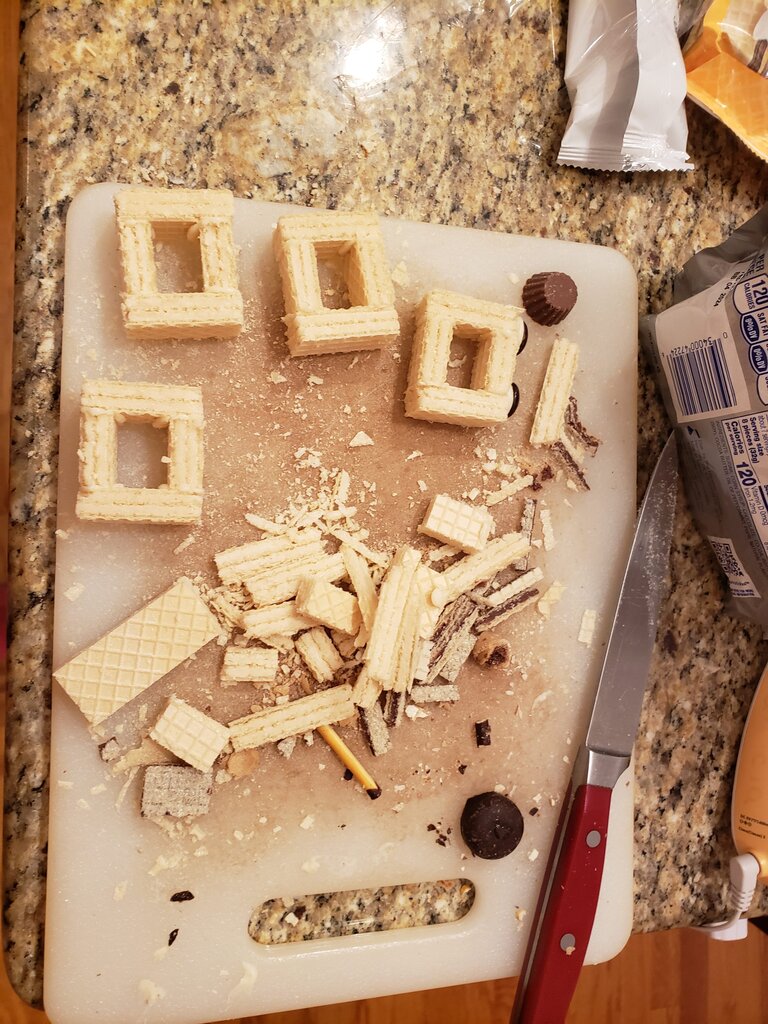
I had way too much food as usual. People never eat as much as I expect.
In theory this menu should have been pretty simple for me (if my backup fridge hadn’t died). Here’s approximately how I made it work.
Food Prep
Several months/weeks before:
I have been making 2 loaves of sourdough for the last couple months and freezing one for the party. To thaw I just unwrap the loaf and put it on a baking rack overnight and they were still perfectly crusty. I also made and froze two batches of cookies pre-scooped.
A couple days before the party:
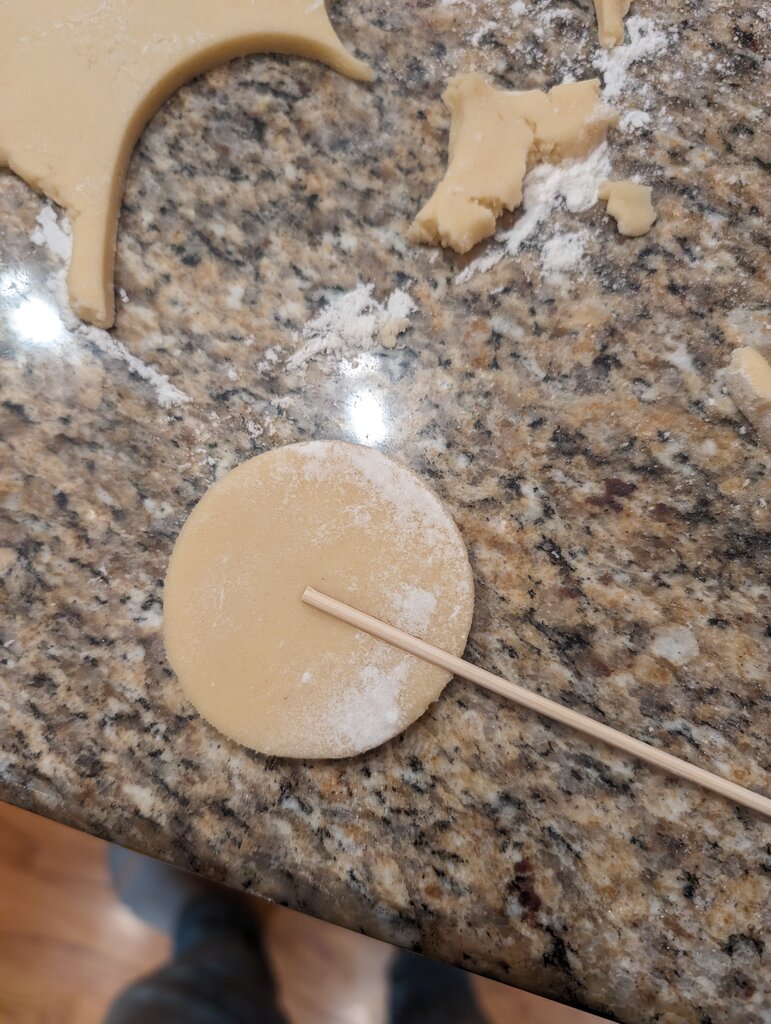
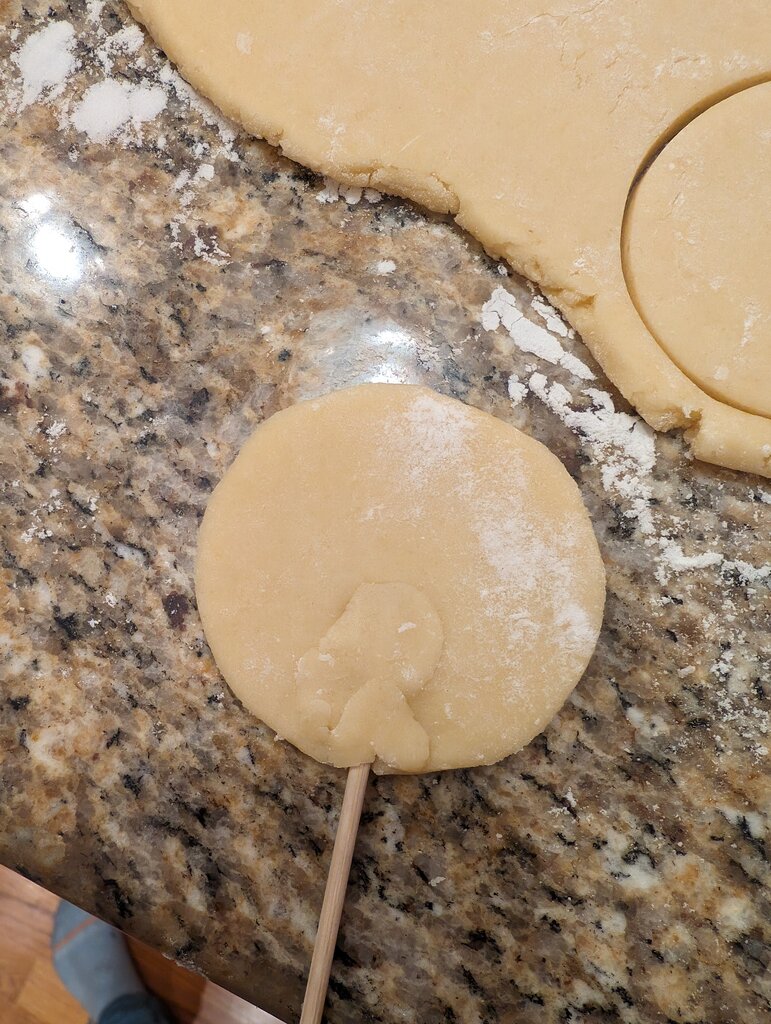
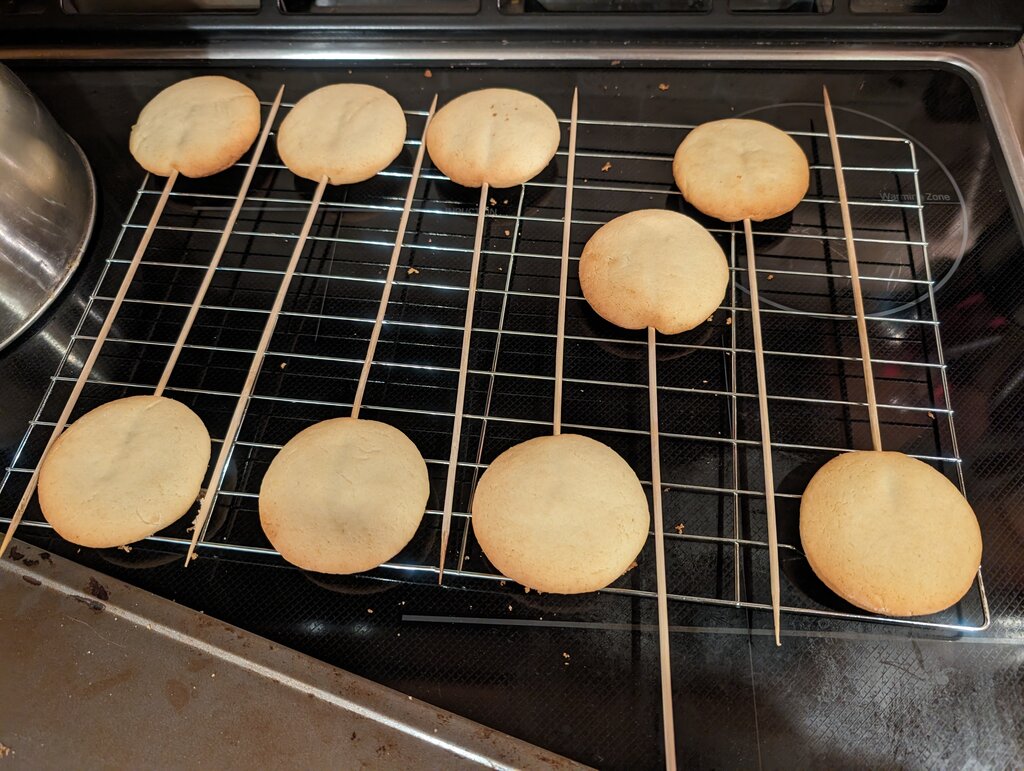
I made the bread for the pb&j sandwiches a couple days before the party and then sliced it and put it in containers. I also baked the two batches of cookies from frozen (at 375F for 13 minutes).
The day before the party:
I made the chili and chopped all the ingredients for the salad. I also took out the loaves of sourdough to thaw.
The day of the party:
I made the pb&j sandwiches, put the chili/soup in crock pots to heat, assembled the salad, plated the cookies and put the sourdough out on a cutting board with some butter.
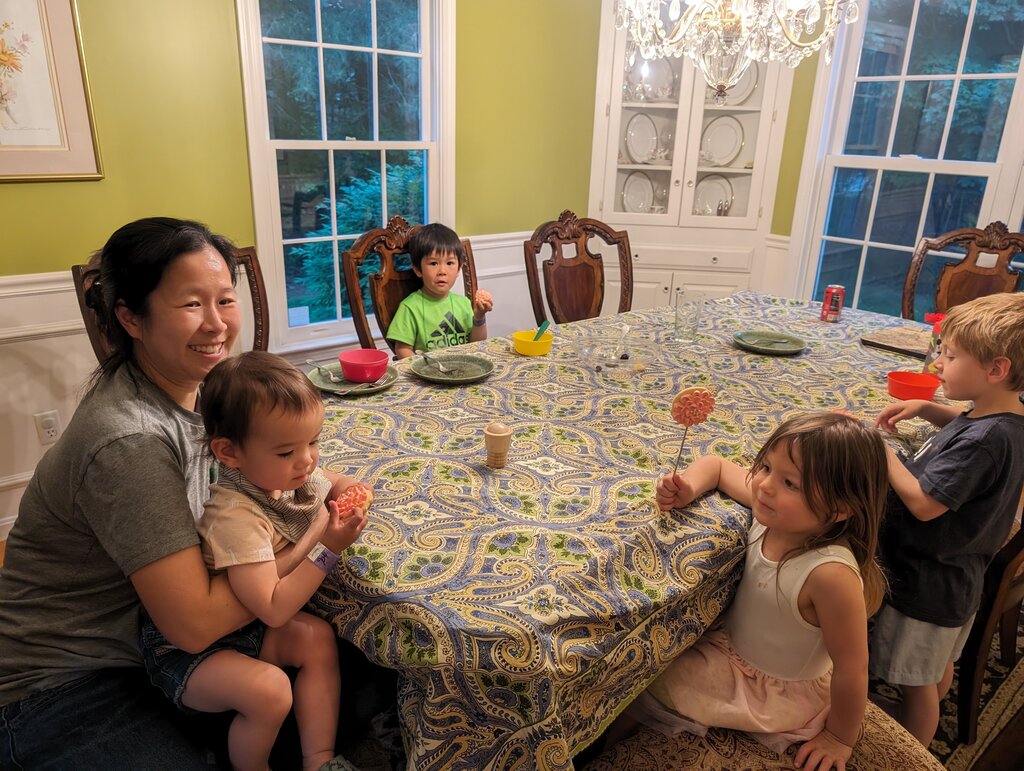
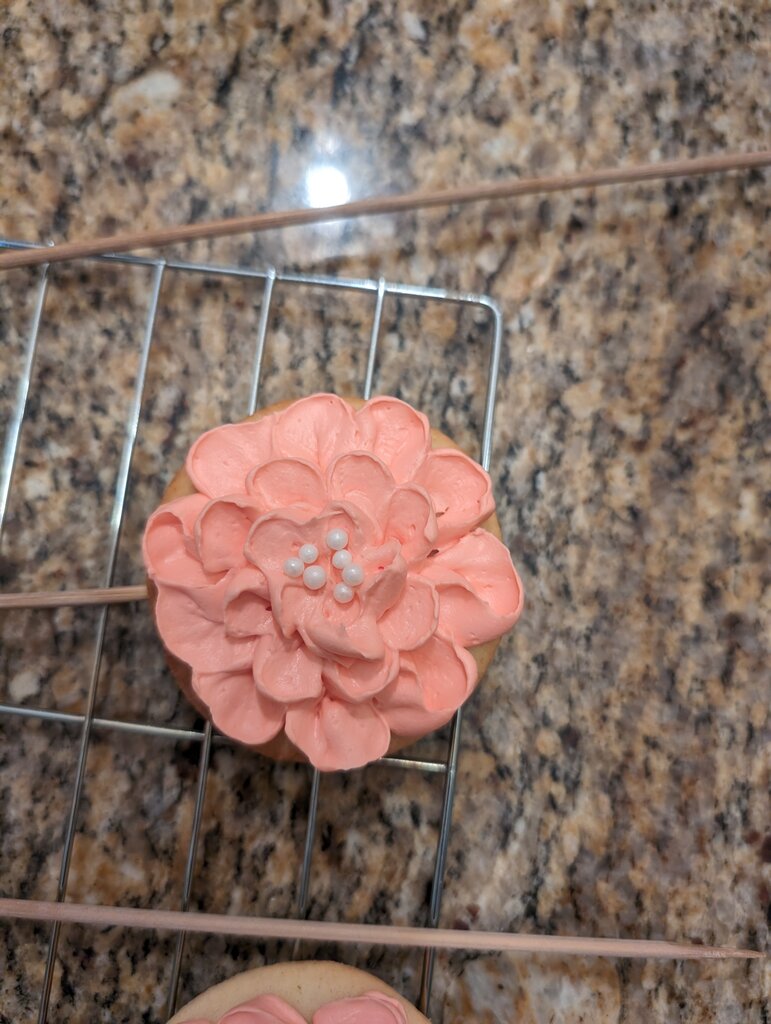
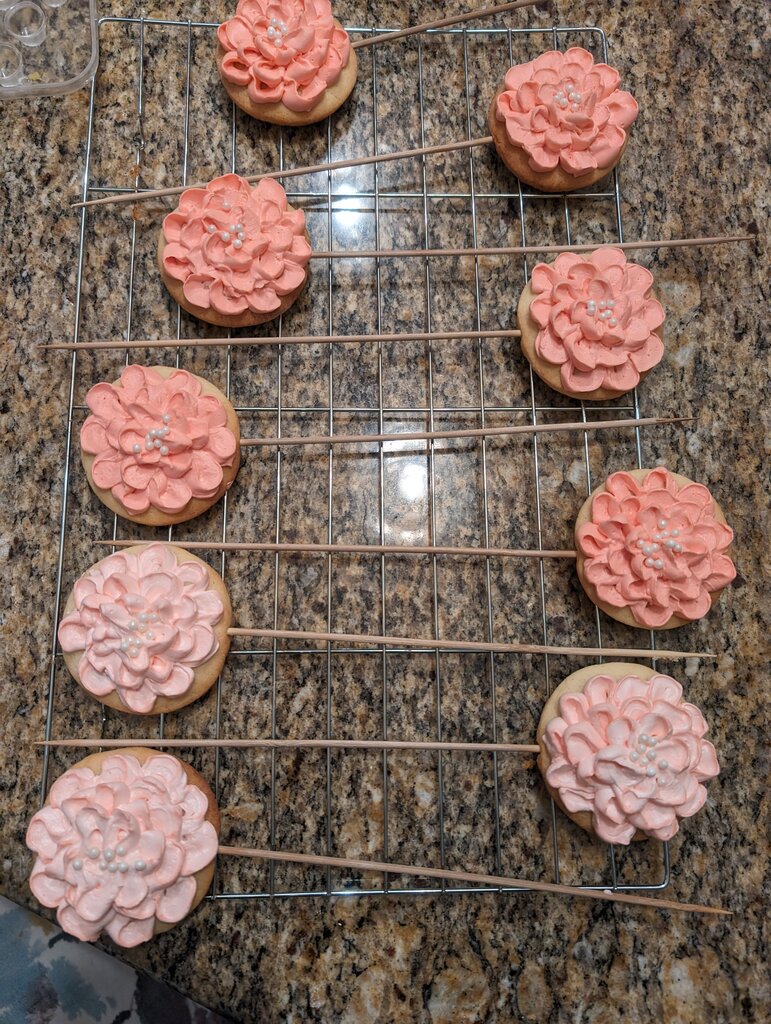
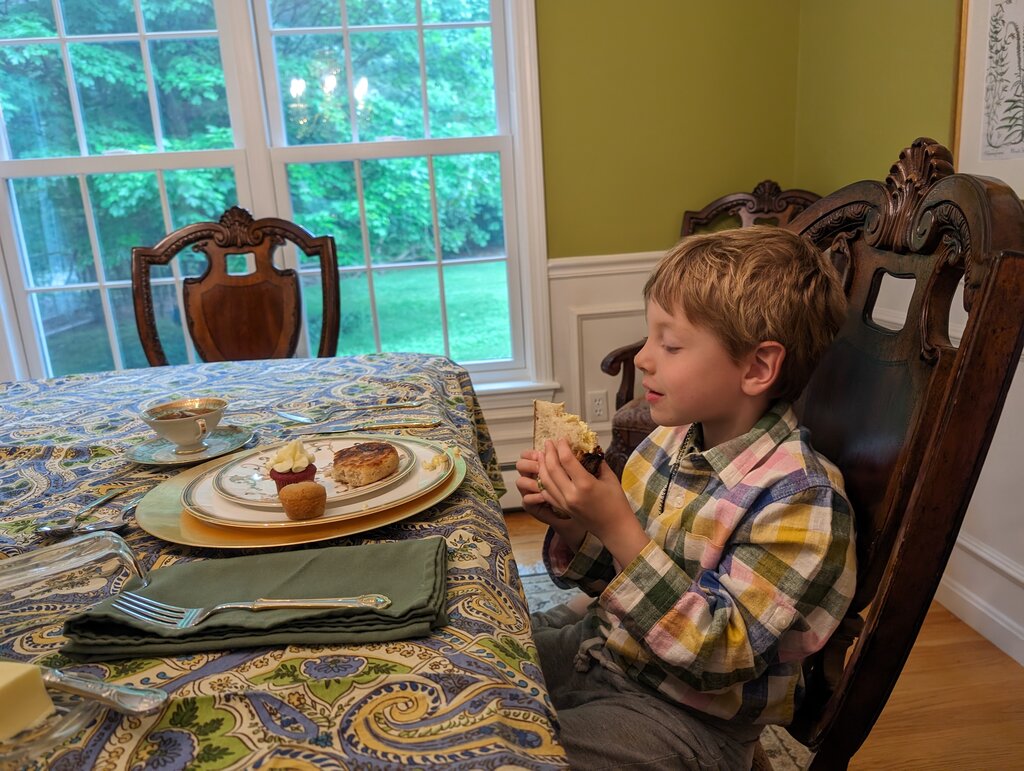
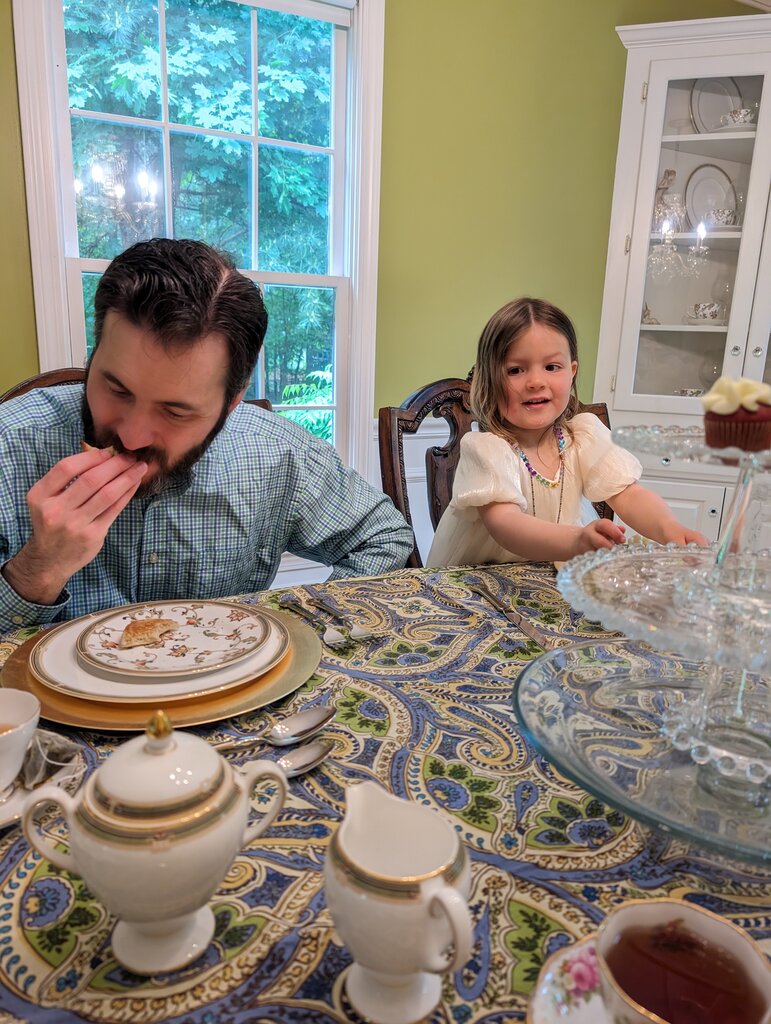
Overall everyone seemed happy with the food and people talked more about my sourdough than anything else (which let’s be honest is all I really wanted to hear)! I think total for we went thru one loaf of pb&j sandwiches, one crock pot of lentil soup, one giant container of salad (consisting of 2 cucumbers, 2 pints of tomatoes, onion and 2 large heads of green leaf lettuce) and half the cookies for 19 adults, 11 kids (I know it seems like I made too much food but the previous weekend we had 54 “yes” RSVPs). Other people brought items too like broccoli salad, cheese, tapenade and cookies, so that accounted for some of it.
We put out seating inside the porch, in the shade of the house and also in the shade of the maple tree in the yard. We put several picnic blankets out for guests to use too (and sun tan lotion). 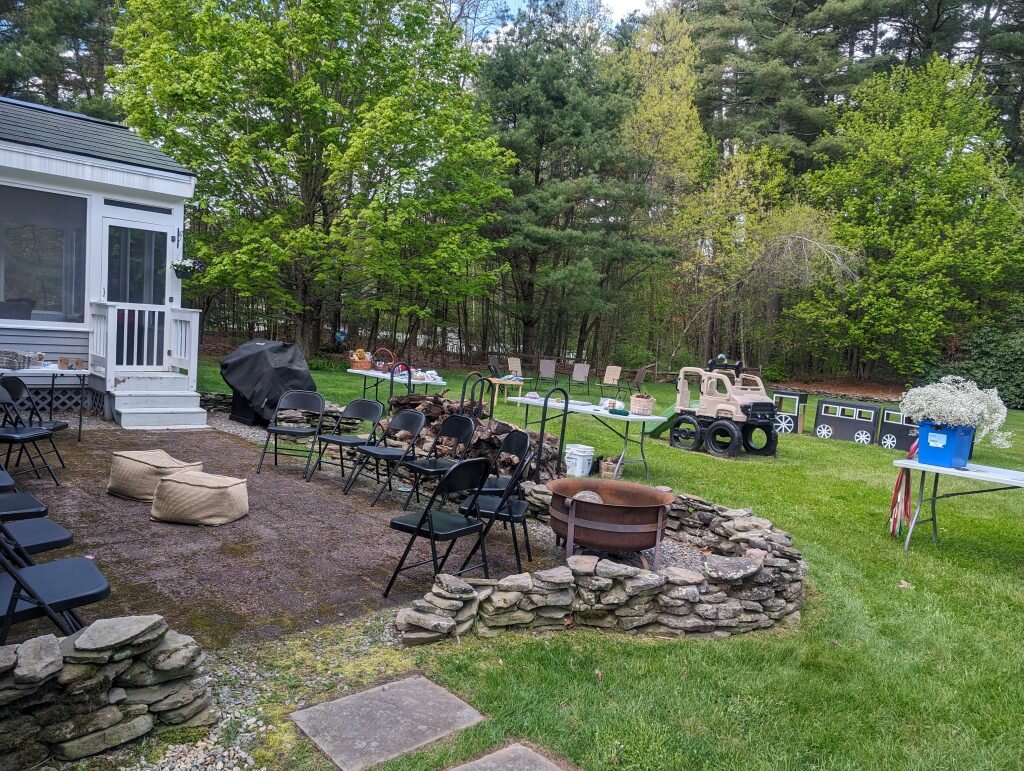
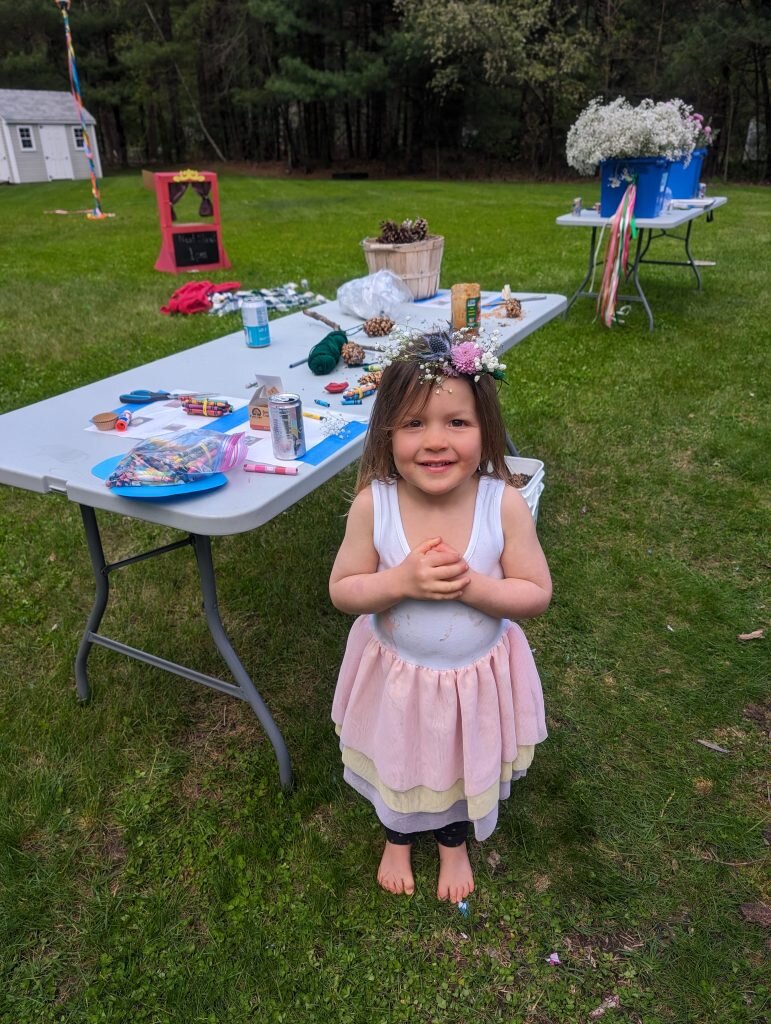
Activities
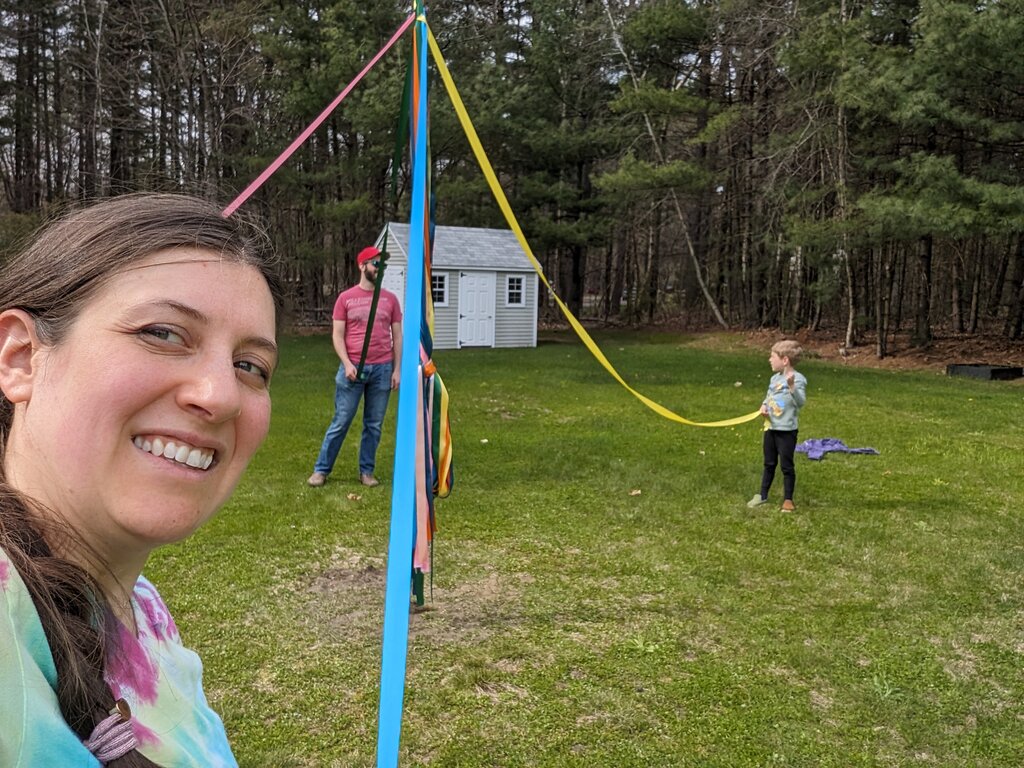
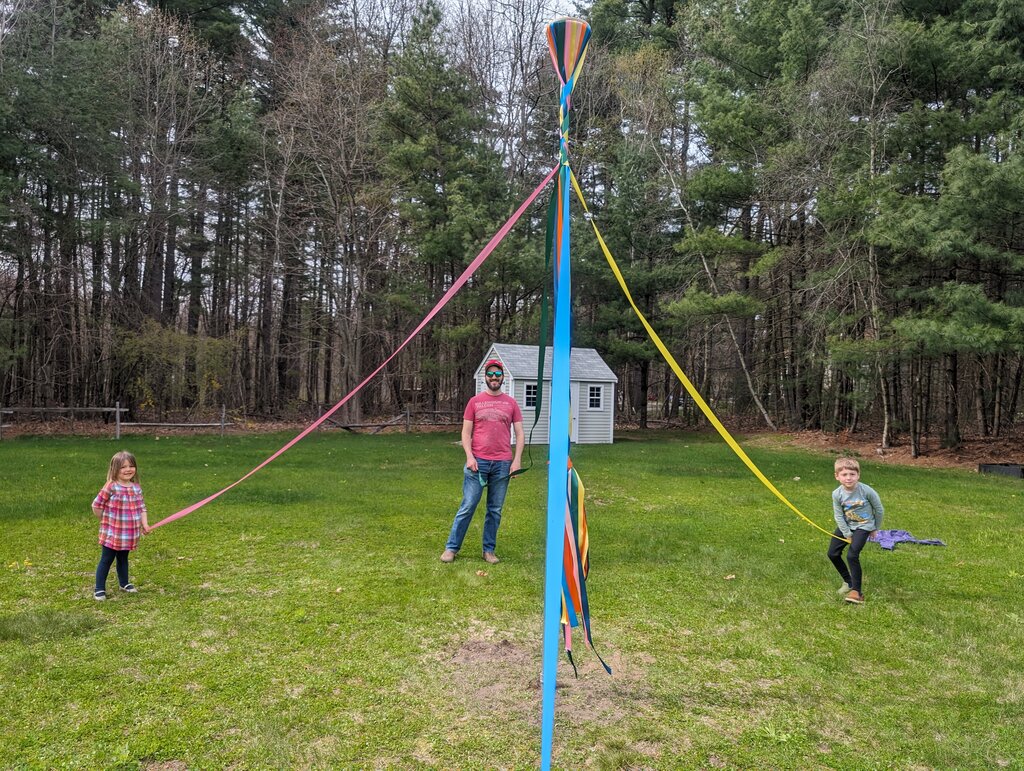
May Pole Folk Dancing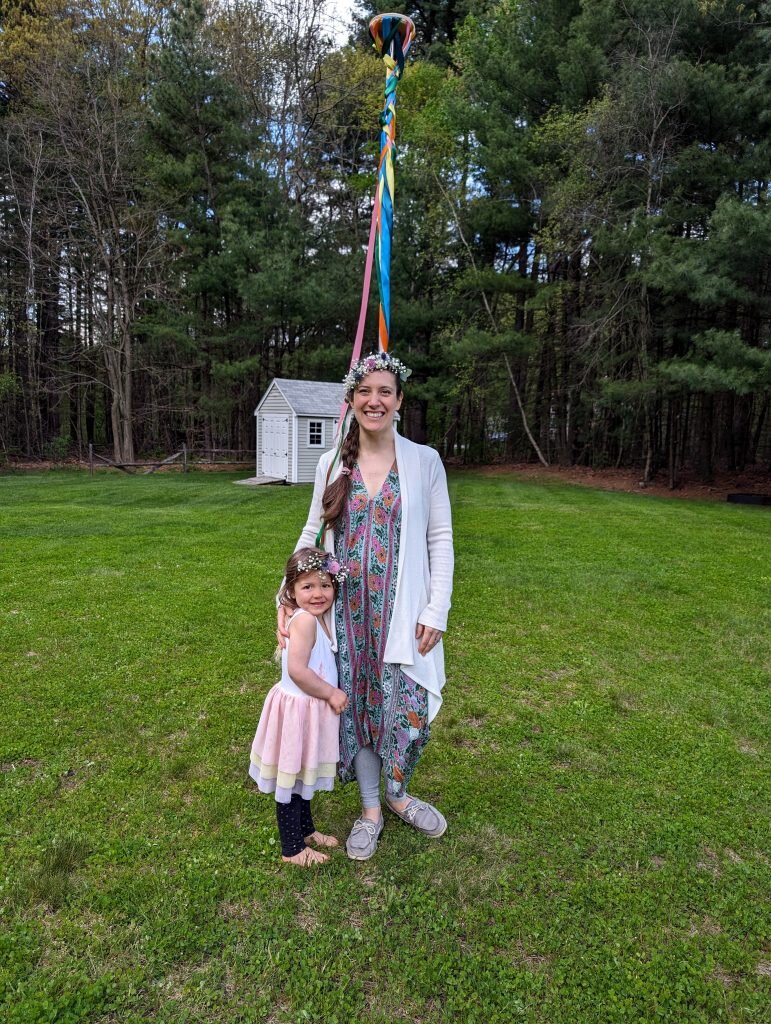
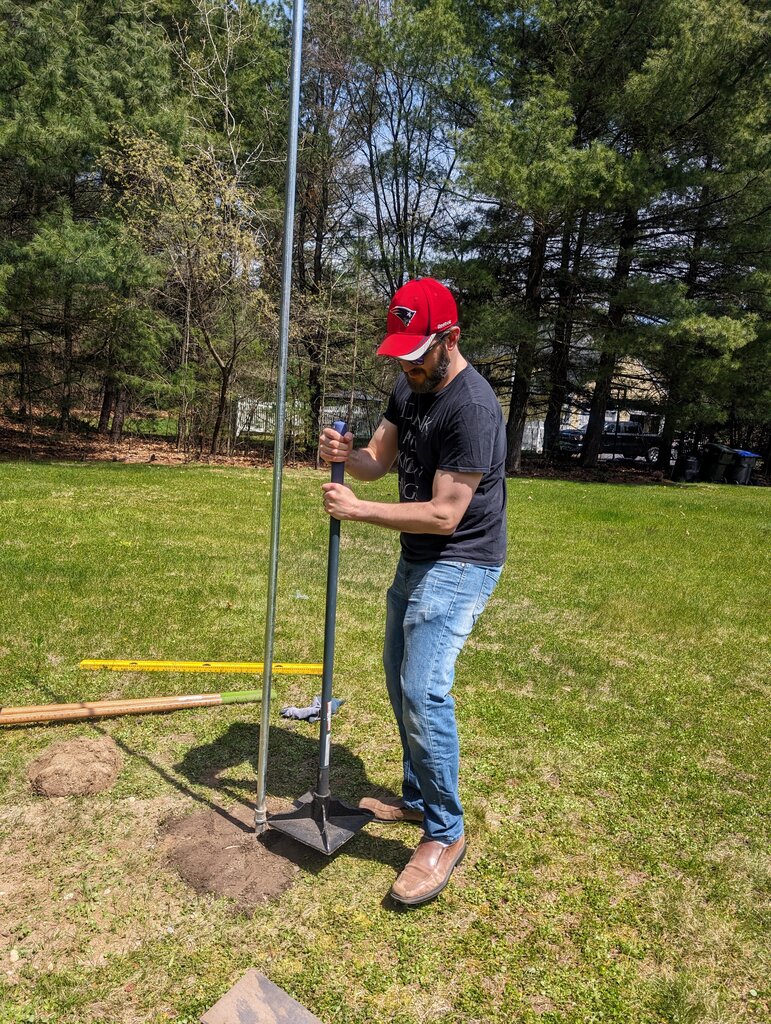
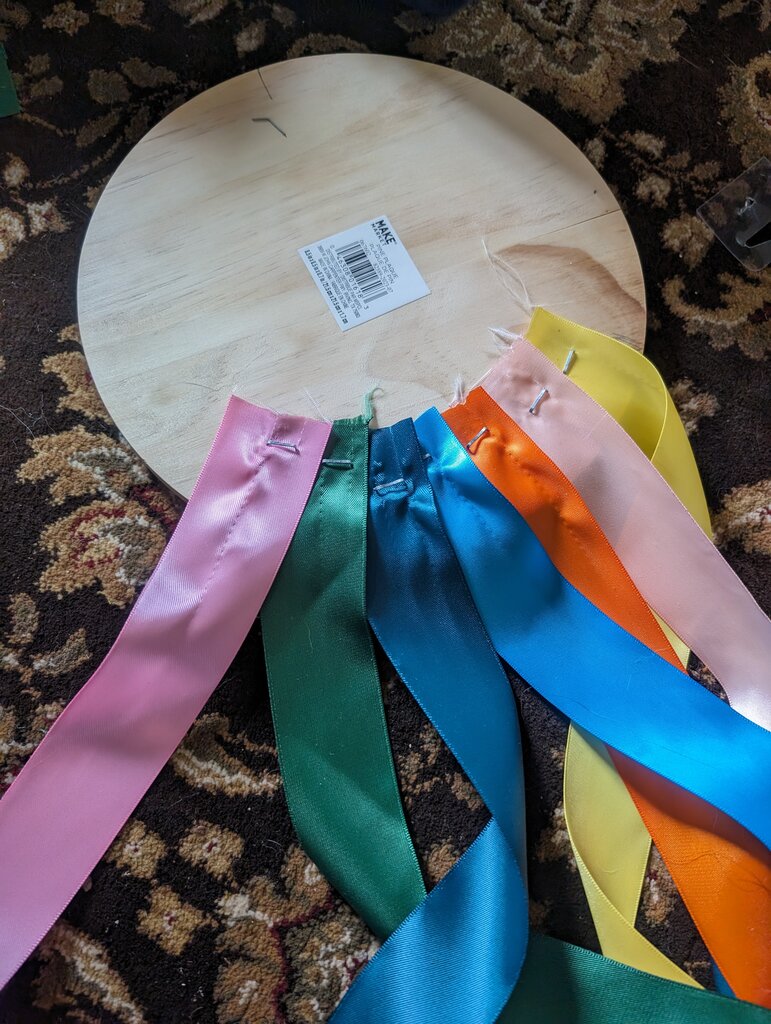
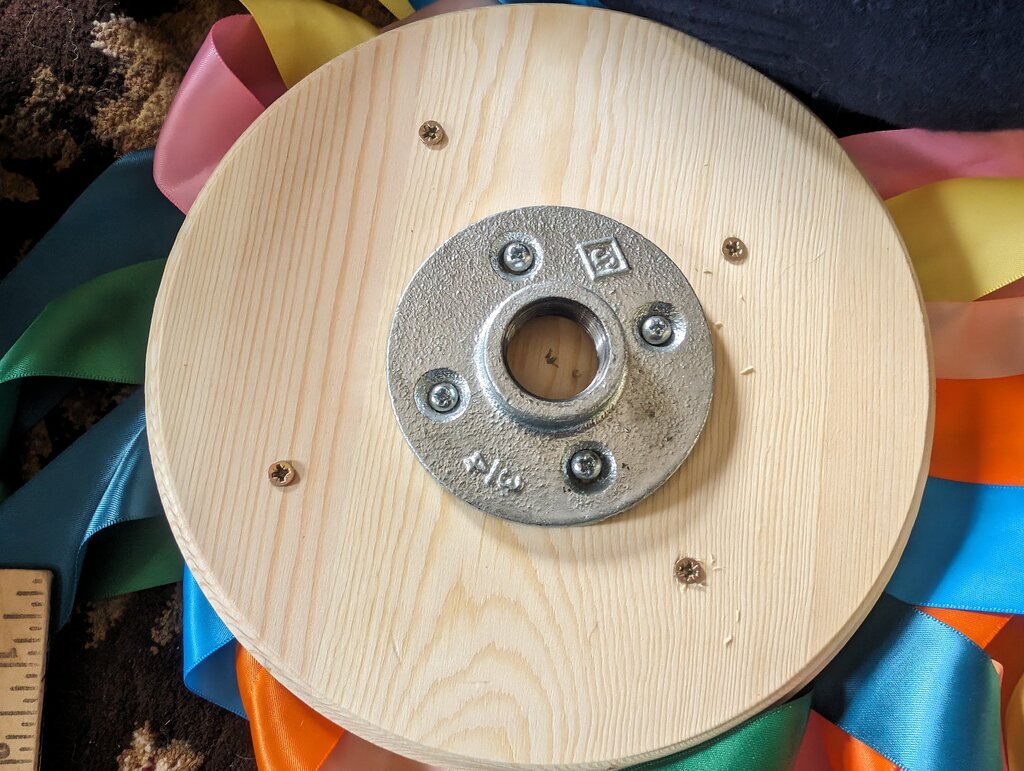
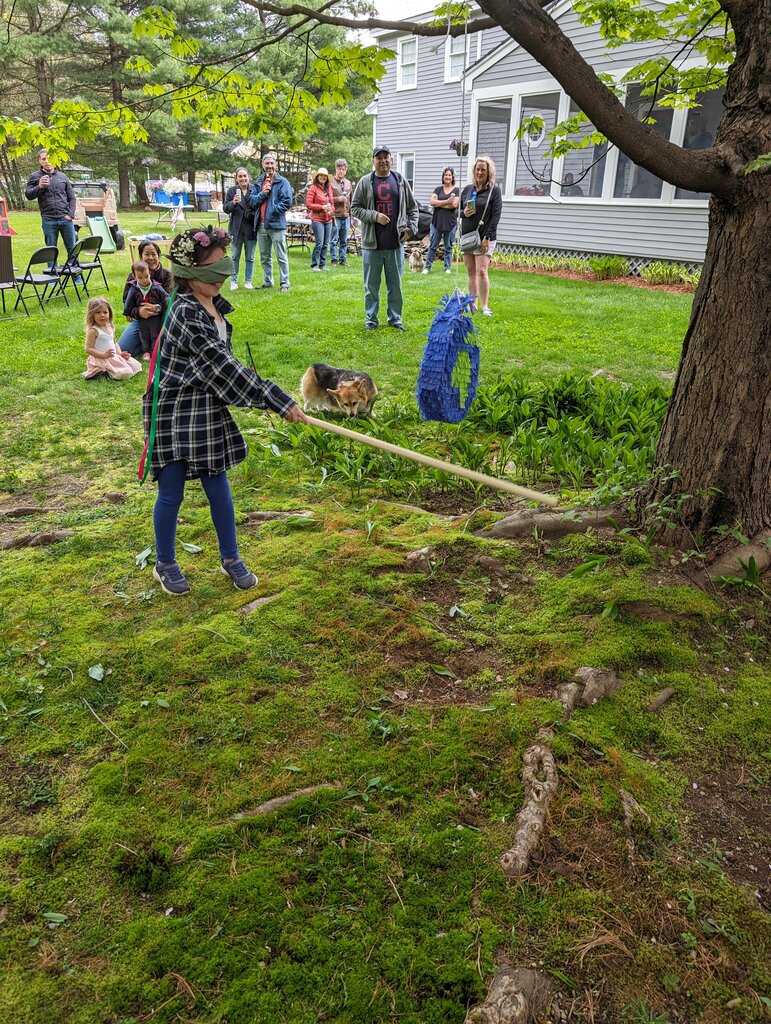
I wanted to throw a bit of “May Day” into the mix this year, as who hasn’t wanted to frolic around a maypole?! (Turns out the answer is most people, even if they know what a maypole is which is already rare here in America.) Well anyway Will is a trooper and dug me a 3 foot deep hole for our maypole (13 feet of galvanized steel). I got this idea from this clever tutorial though I couldn’t find rebar long enough to convince me it could structurally hold up 10 feet of steel pipe with 20 people dancing around it. So instead I got a 3′ length of pipe with a threaded connector and a 10′ length of pipe and buried the 3′ length in the ground.
Everyone who participated said “it was more fun than expected” so I consider that a win!!!
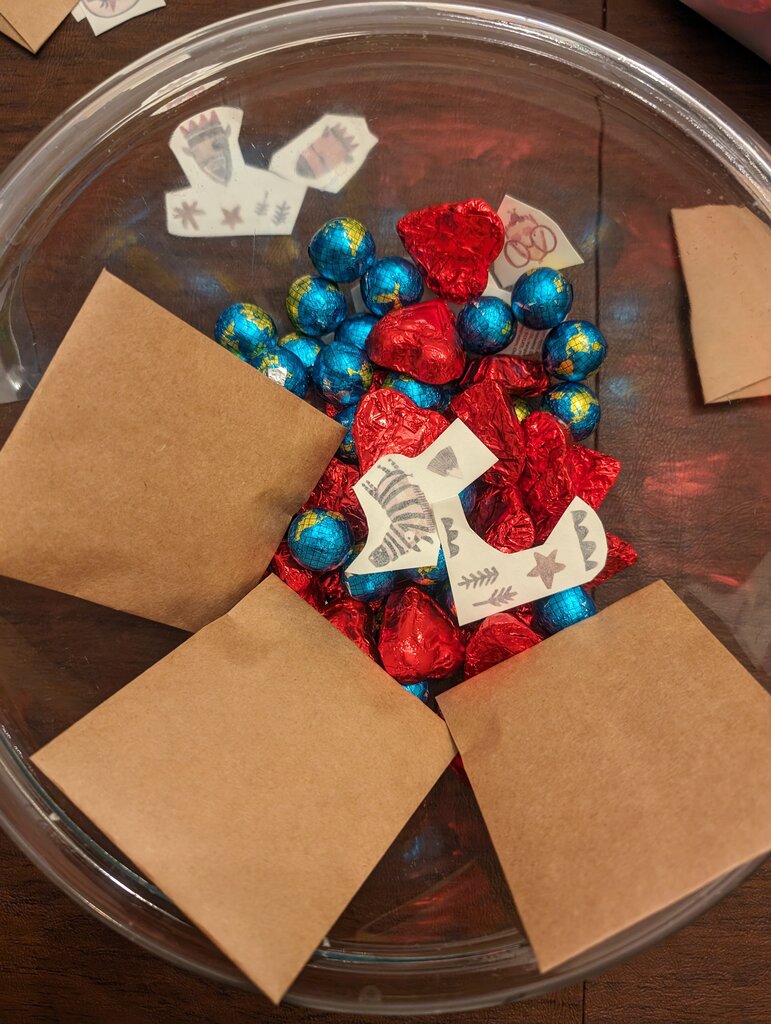
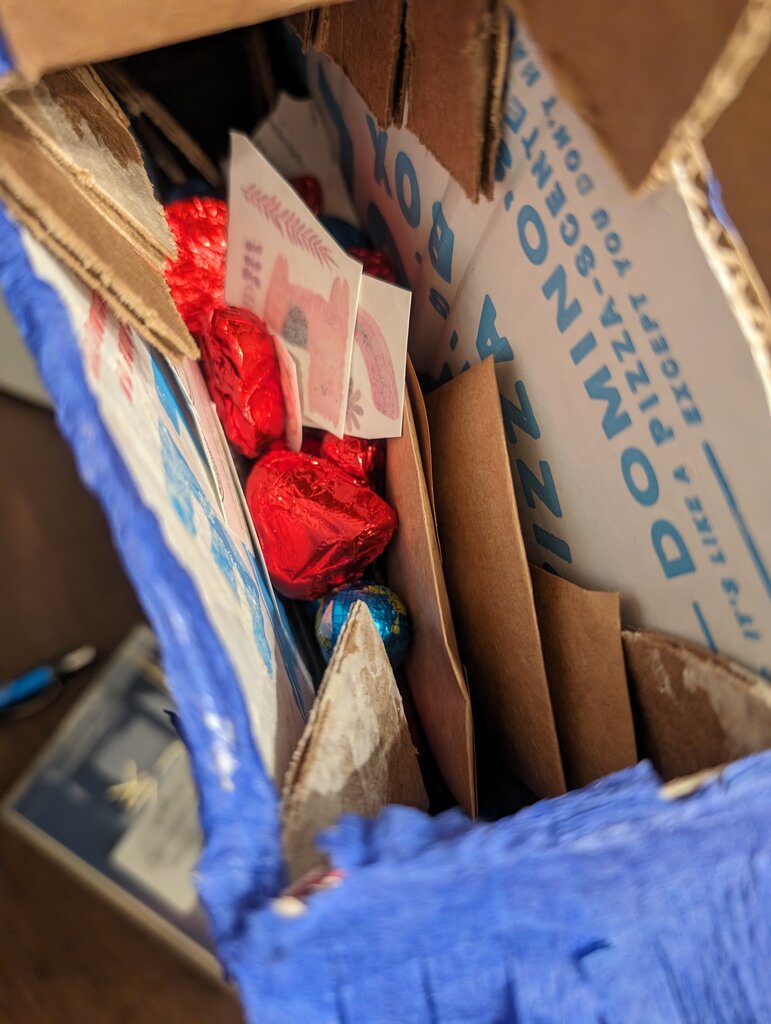
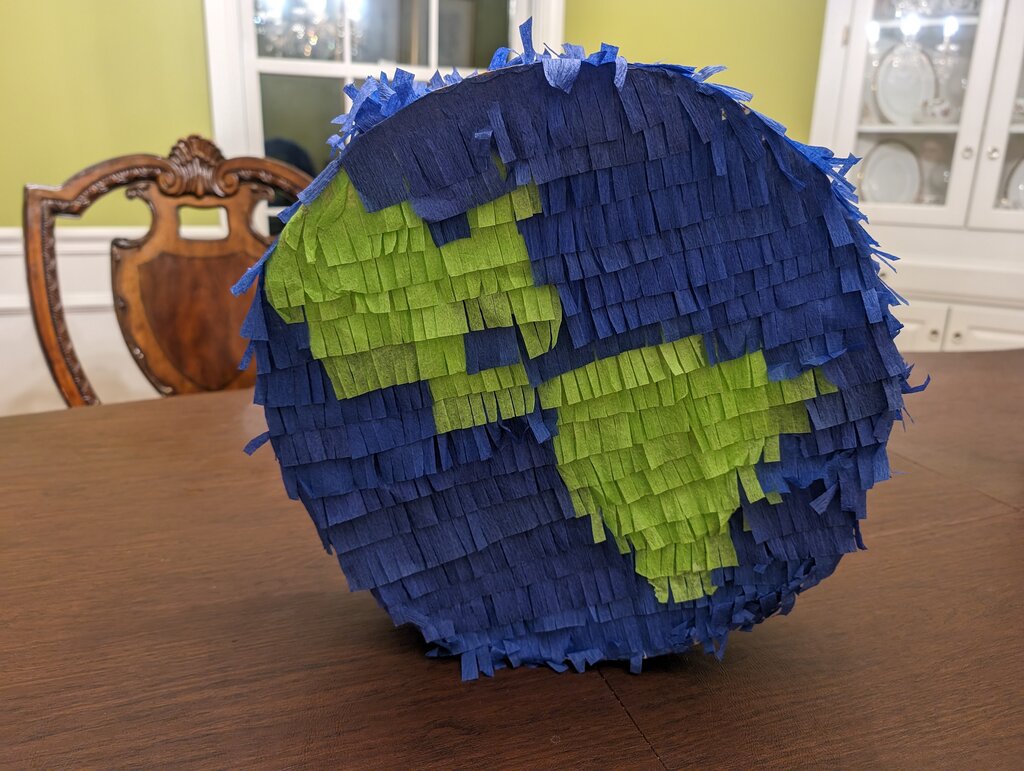
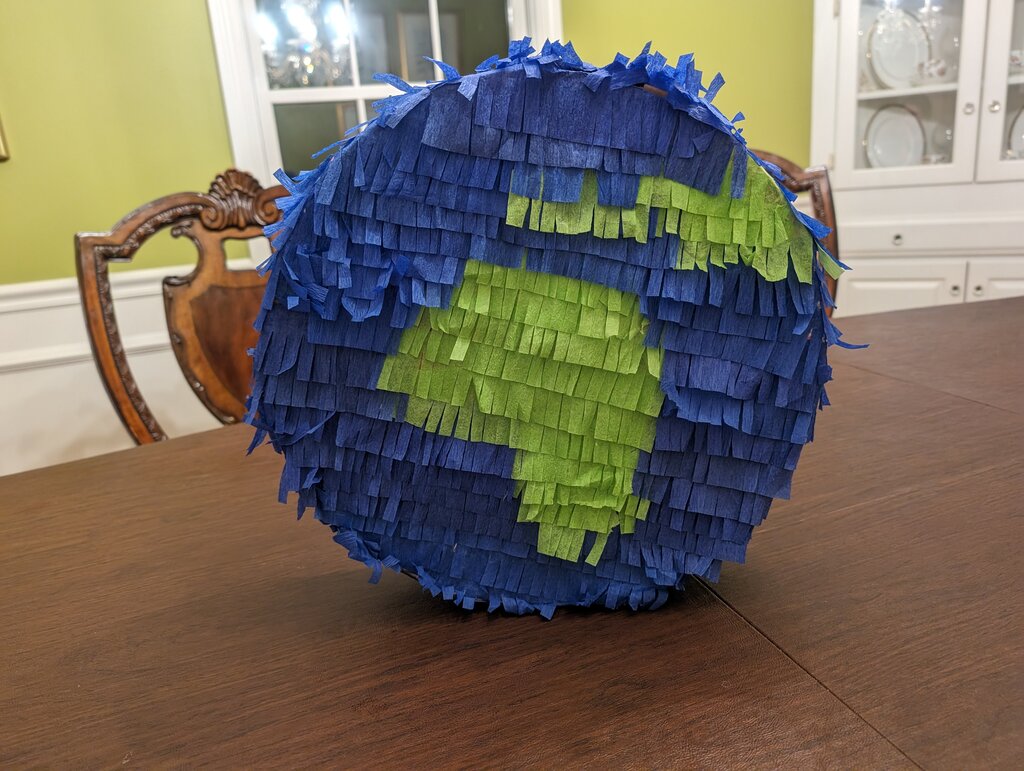
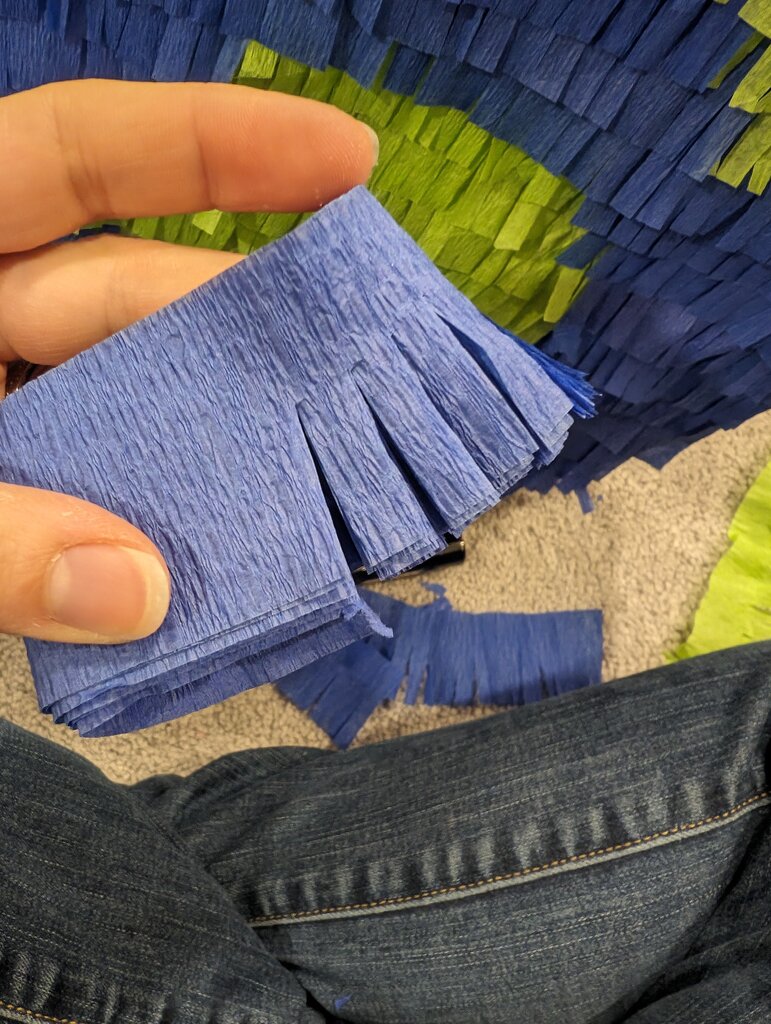
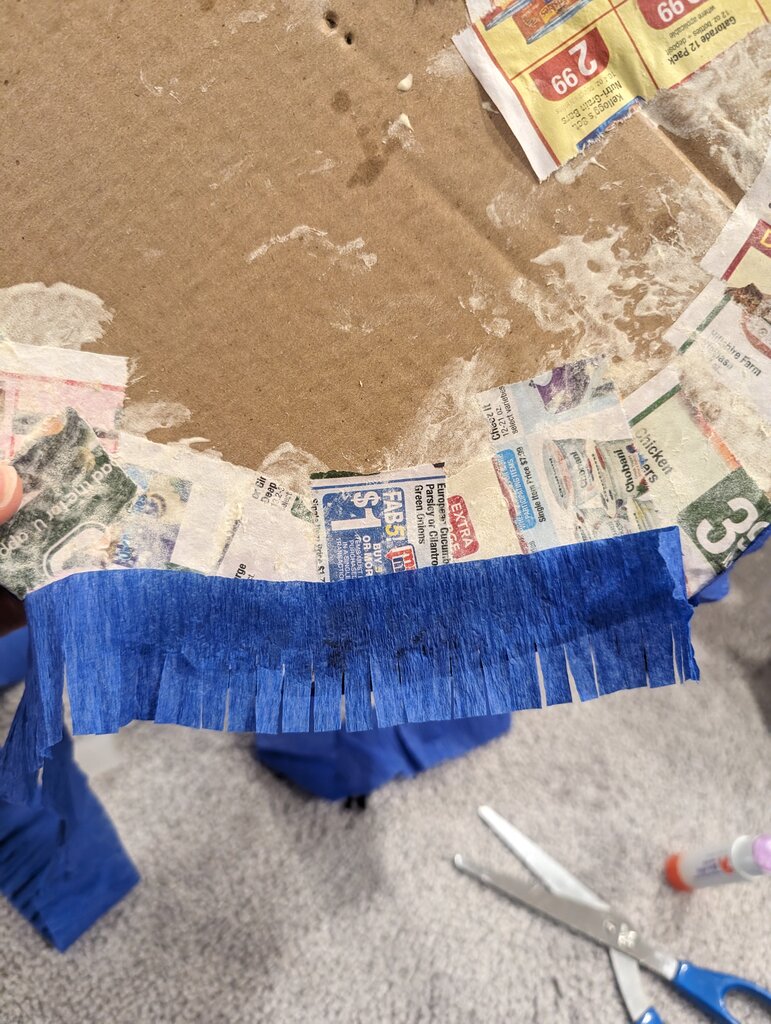
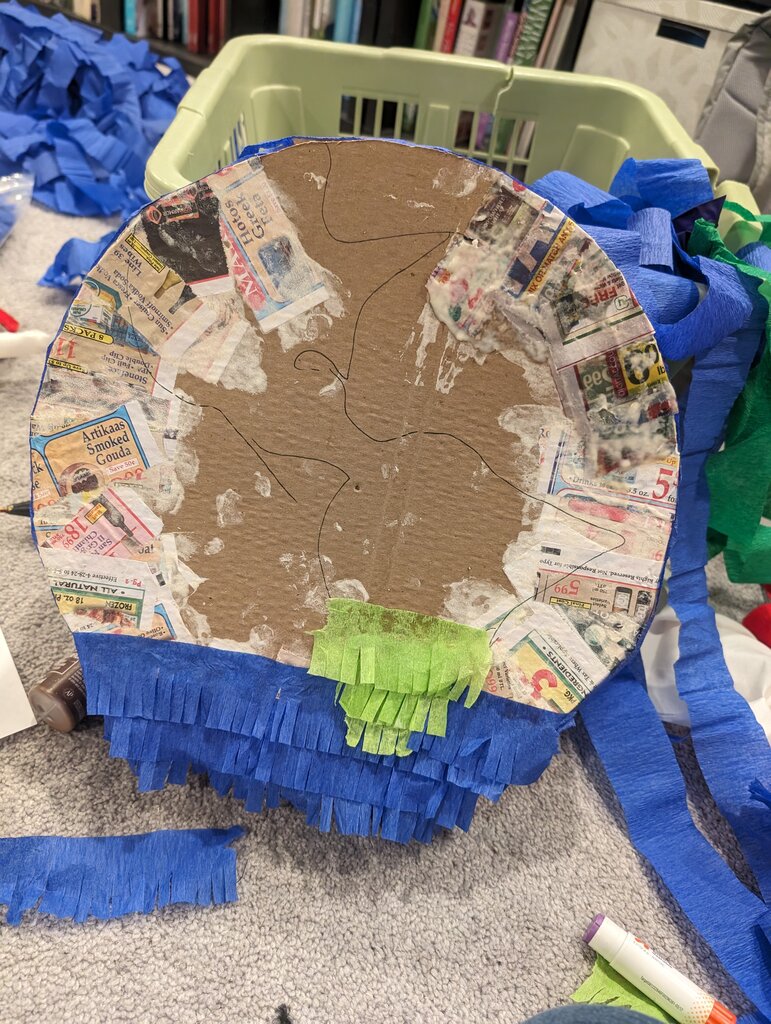
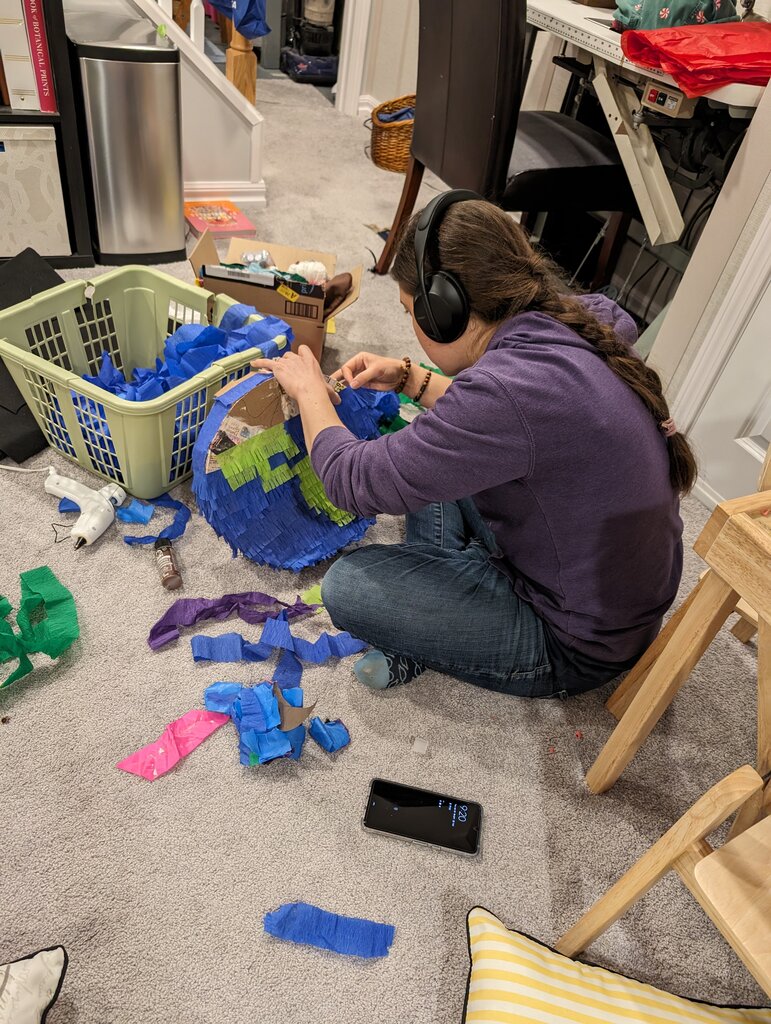
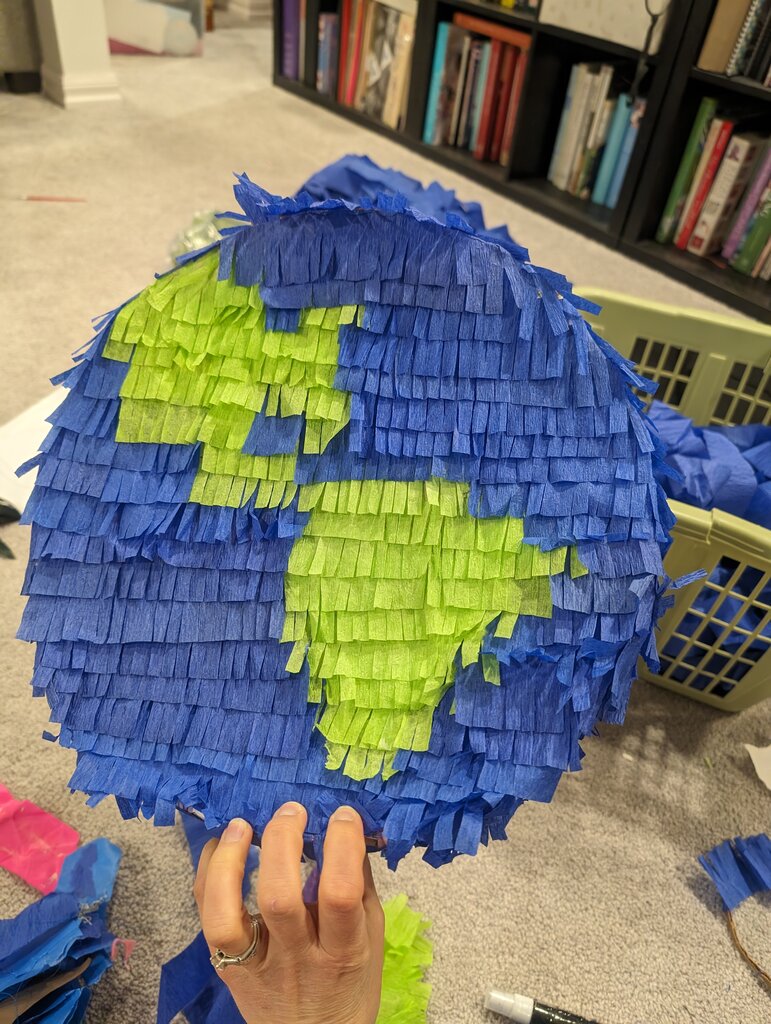
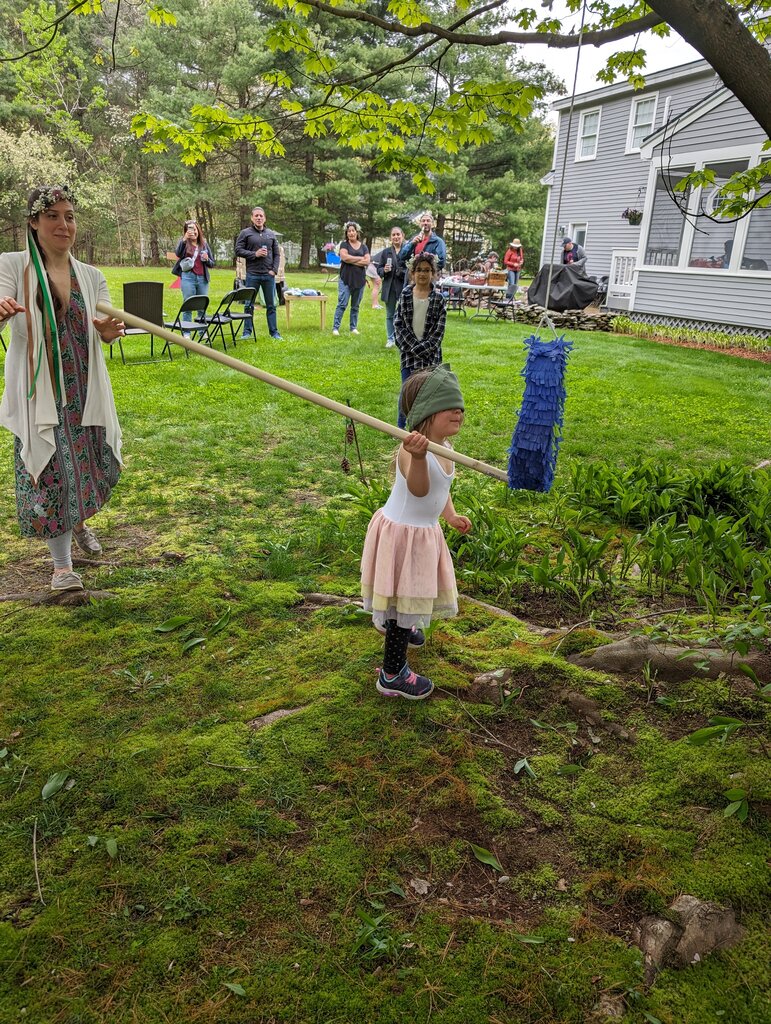
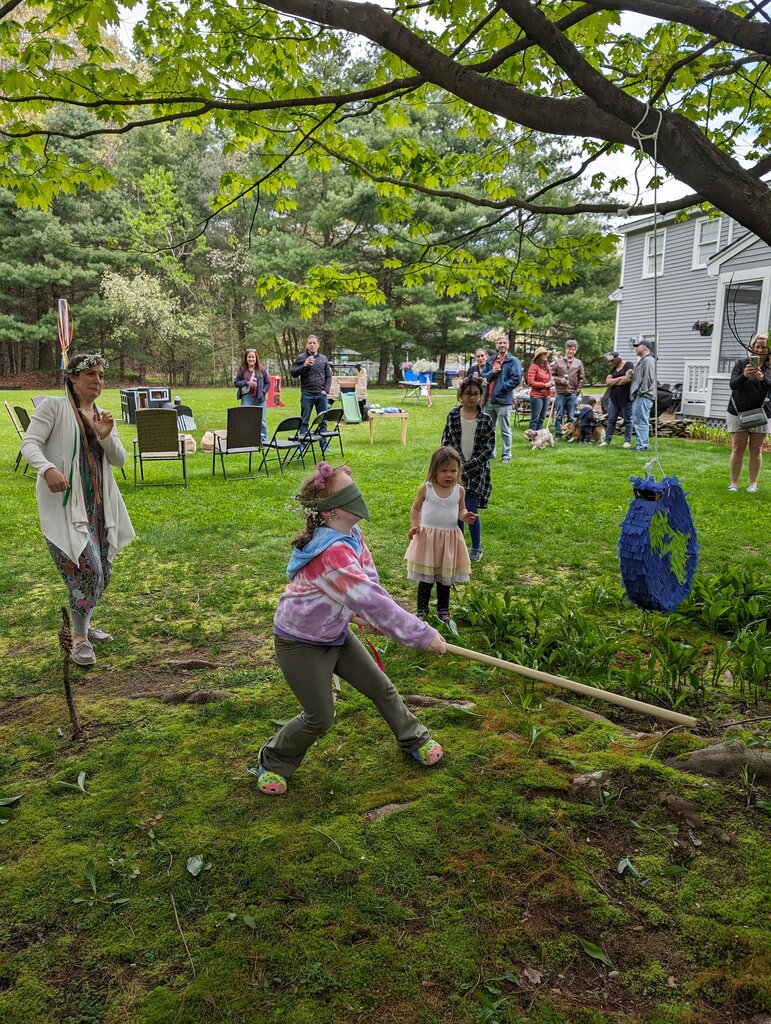
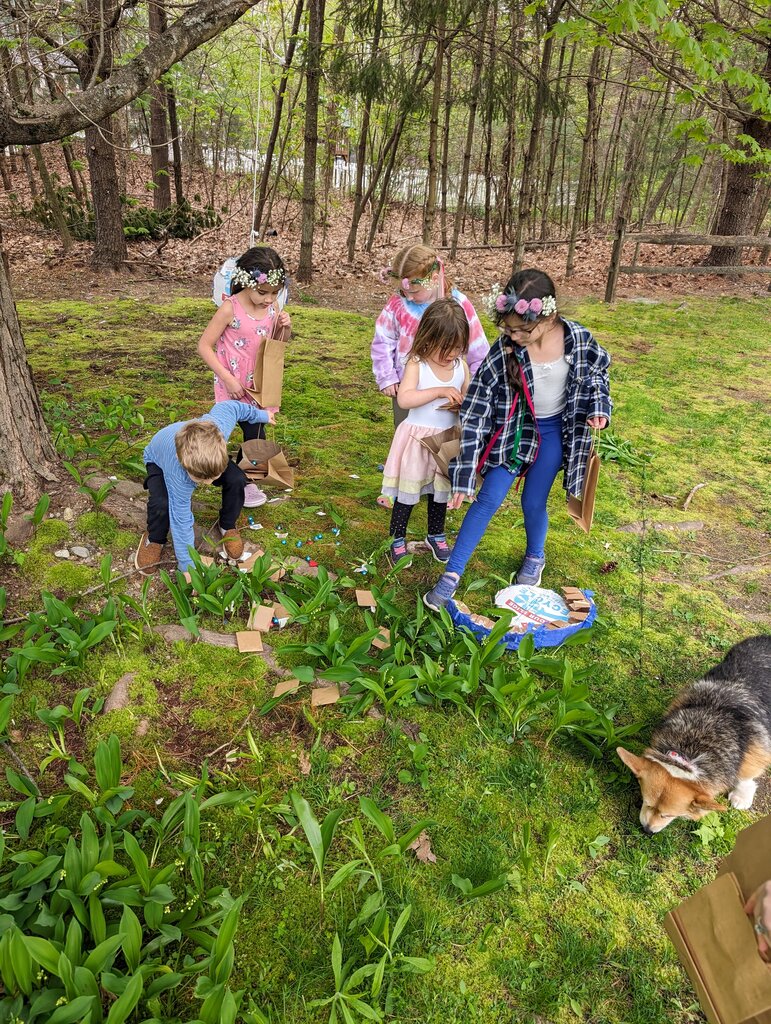
Earth Piñata

The final set of swings!

Dany also was looking for candy
Patricia said this was her favorite activity. I made a piñata entirely of recycled items then filled the piñata with hard candies I got from the bulk store and packaged in recyclable paper bags, foil covered chocolates from the bulk store, and plastic free temporary tattoos. All the kids got several whacks in until Veronica busted it opened! I think all the adults had a great time watching this one too.
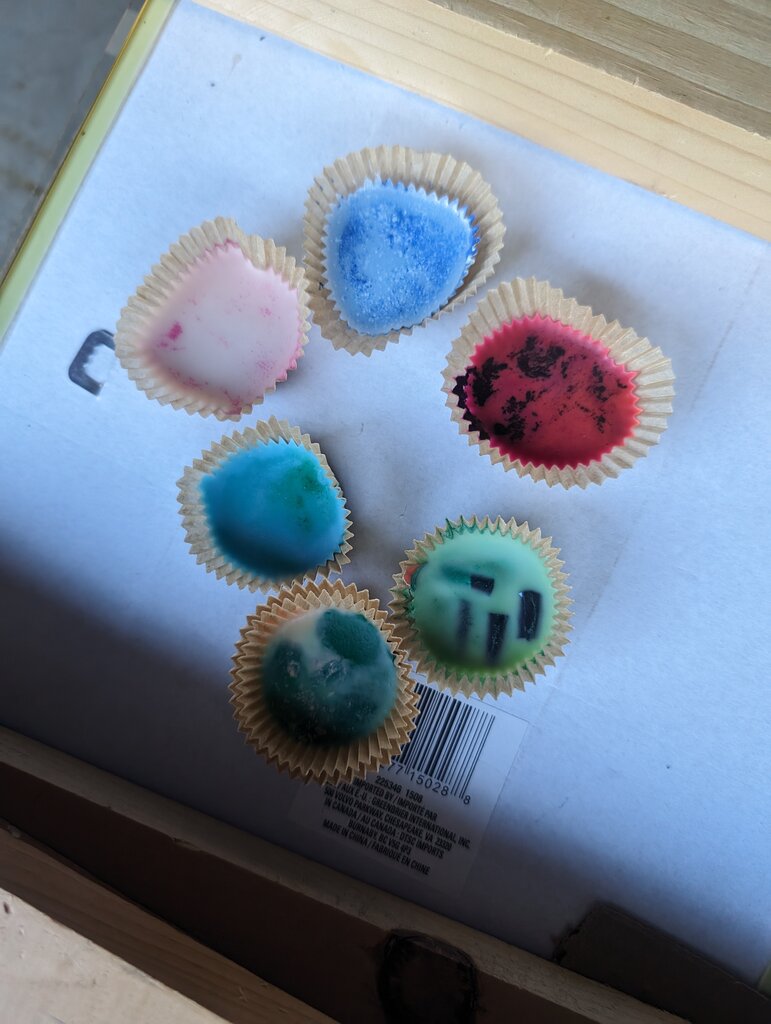
Solar oven crayons

The solar oven in action

Some finished crayons
I made a solar oven from recycled materials for the party. Because I’ve always wanted to make a solar oven. We used broken crayons to make new crayons. It was too cloudy the day of the event, but I baked the crayons today in full sun and it worked great!
Utensil sets
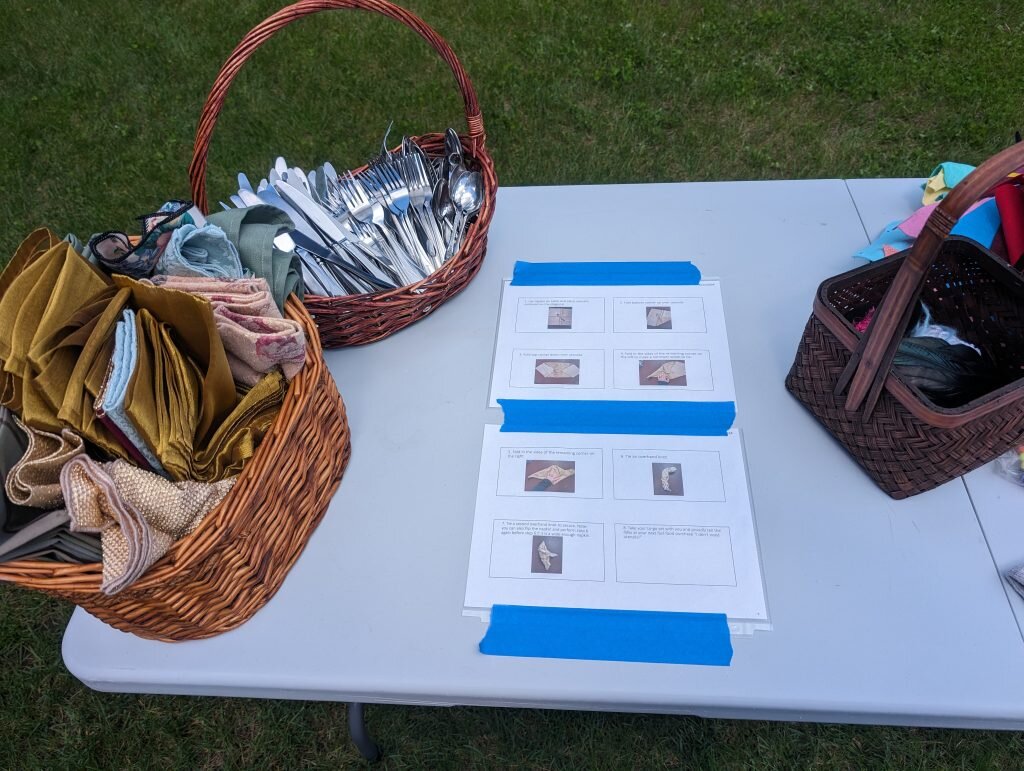 I wanted to give everyone a utensil set they could keep in their car/backpack/lunchbox/purse like the ones I carry around, but I didn’t have time to make 40 cases. So instead I went to the thrift shop and bought 40 spoons/forks/knives and napkins and demonstrated a way to fold these together for easy transport. You can take butter knives on planes so these are safe to keep in your carry on! Julius said this was his favorite activity, but I’ll be honest only 2 people did this one.
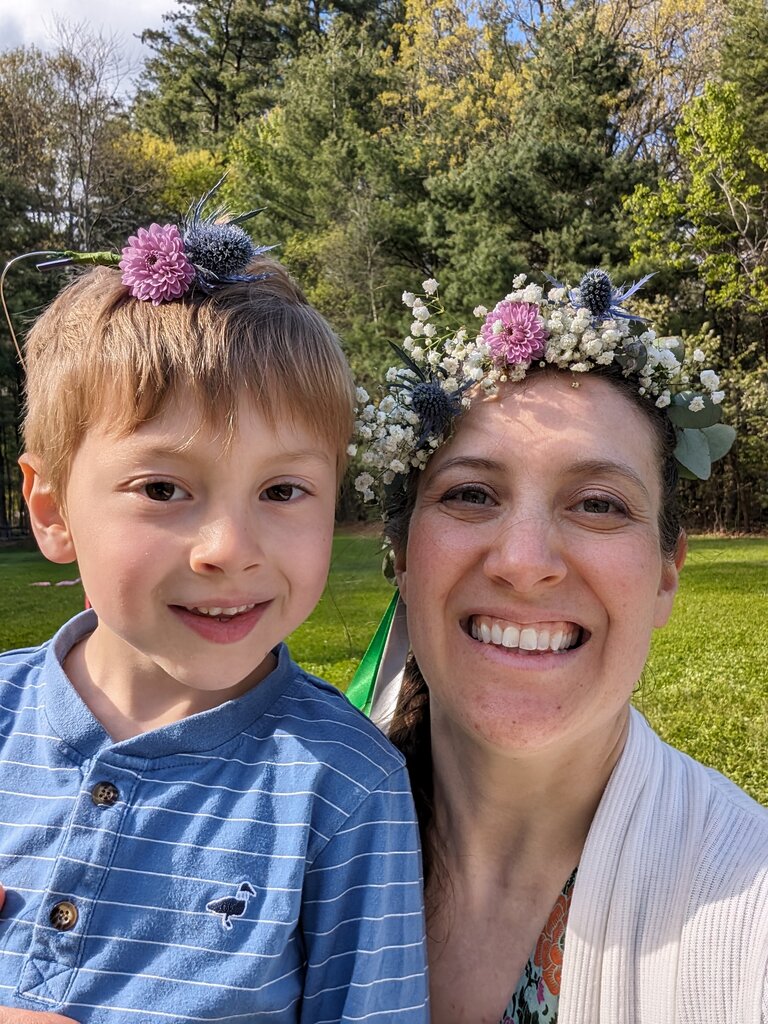
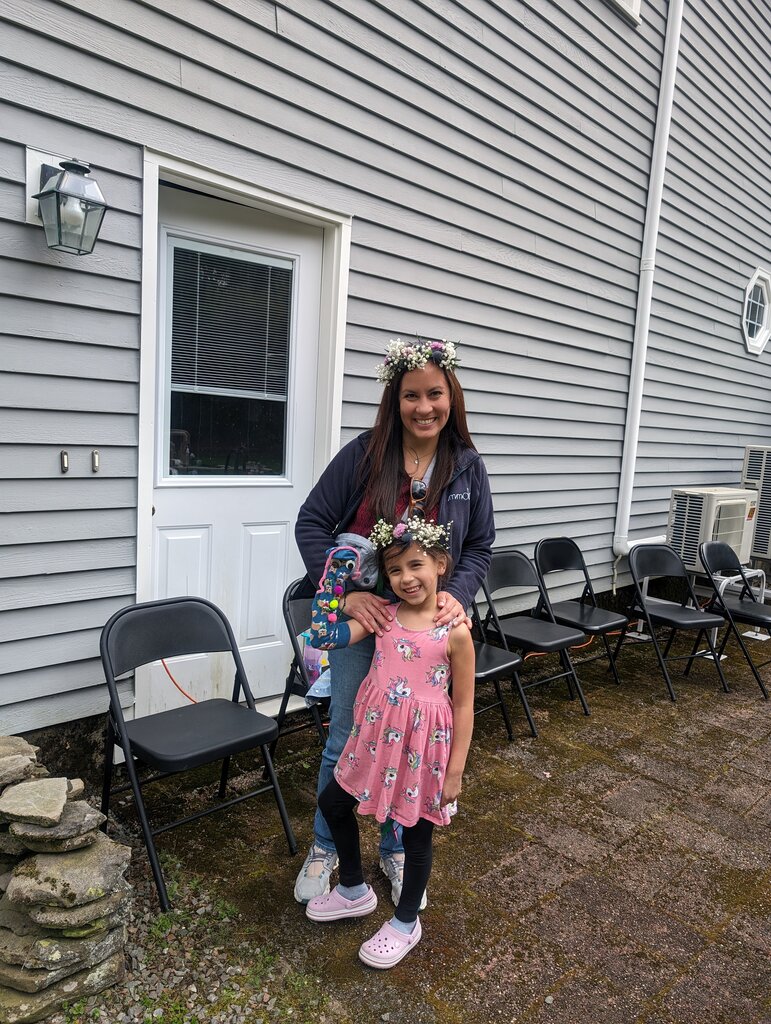
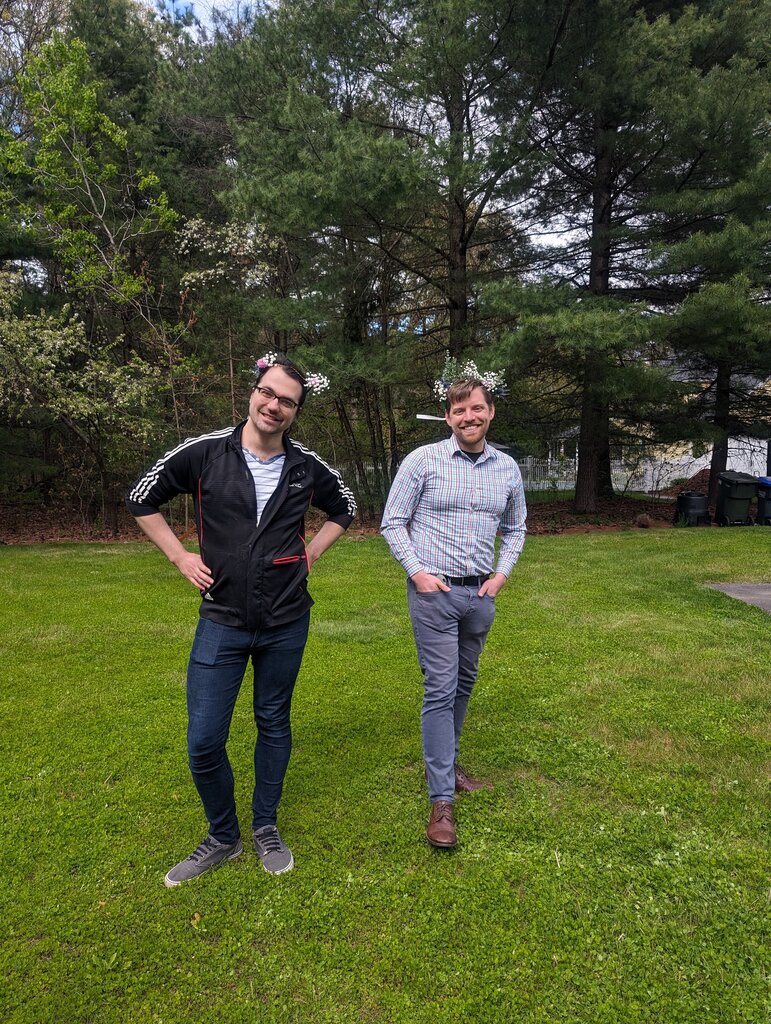
Flower crowns
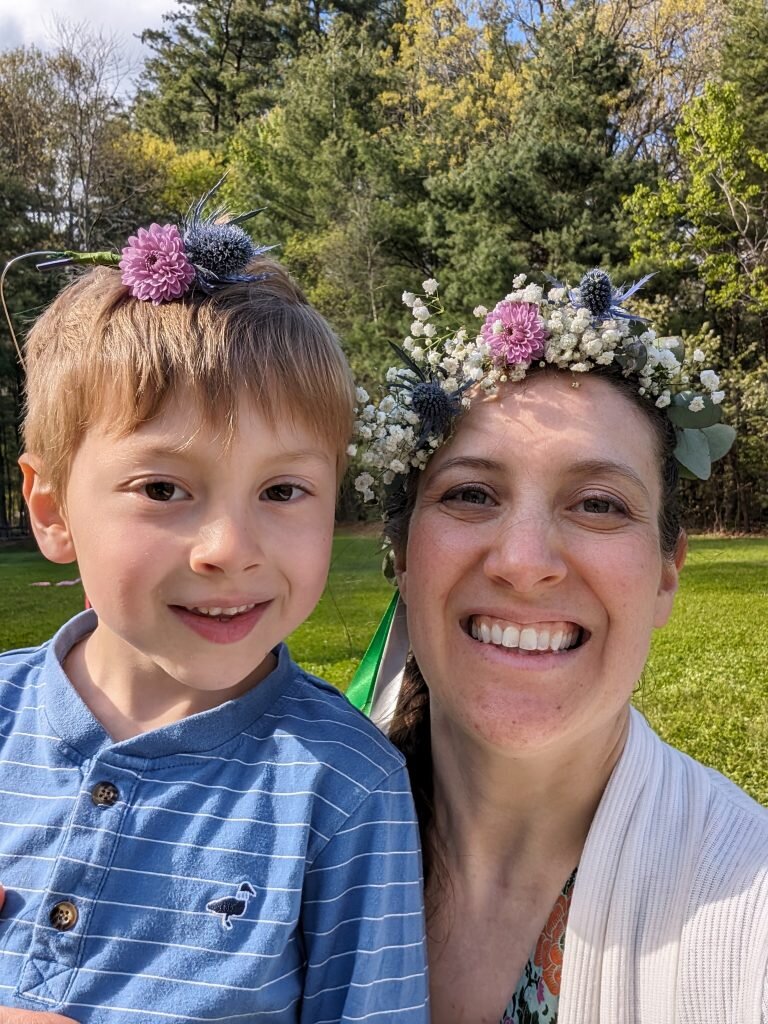
Julius and I with our crowns

Ibis and Joanna with their crowns (and sock puppet!)

Keaton and Owen sporting crowns
This seemed liked the favorite to me. I bought (way too many) fresh flowers from the local florist (/our landscapers) and provided instructions for folks to make their own crowns. They all came out so unique and cute. I wanted an excuse to wear a crown. And everyone obliged me.
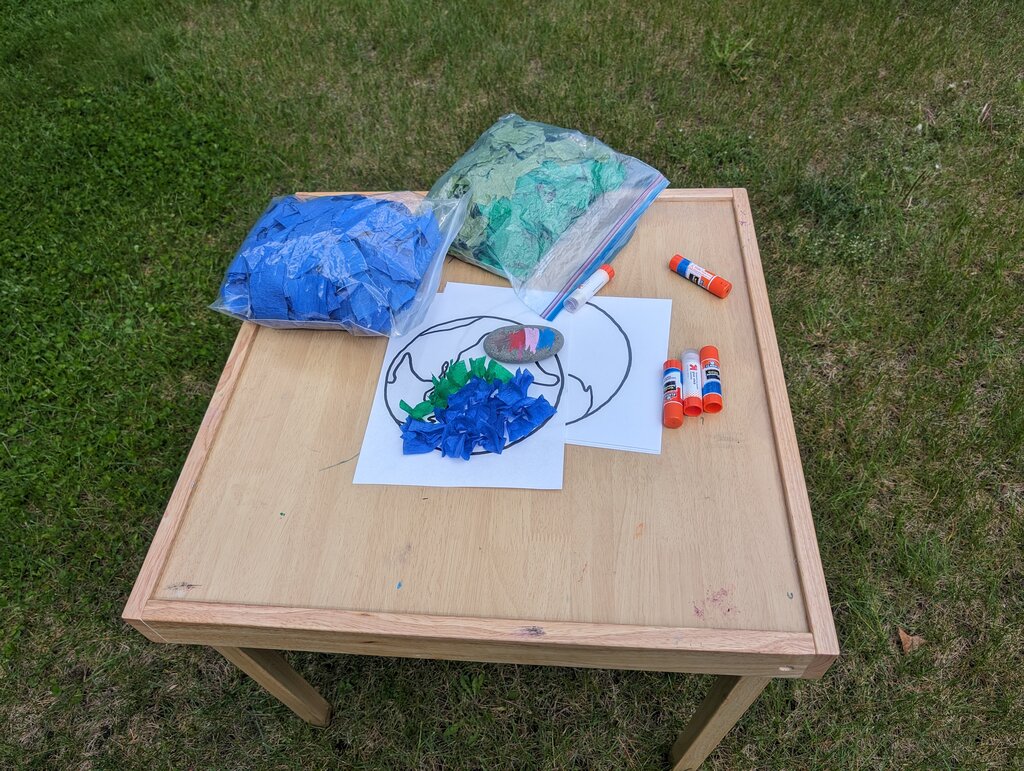
Earth paper craft
 This one was for the kiddos and I don’t have pictures of anyone doing one. This one was simple to put together and used recycled crepe paper streamers I’ve been saving from Patricia’s under the sea party.
Pinecone Bird feeder
Behind Patricia on the right of the table is where the pinecones were! I can’t believe I forgot to take a picture!
A lot of kids made these and they were MESS-Y. Several kids left them on the ground and Dany ate several. I did provide recycled bags for people to take them home in but we also hung up about 5 that were instantly devoured by squirrels the next day.
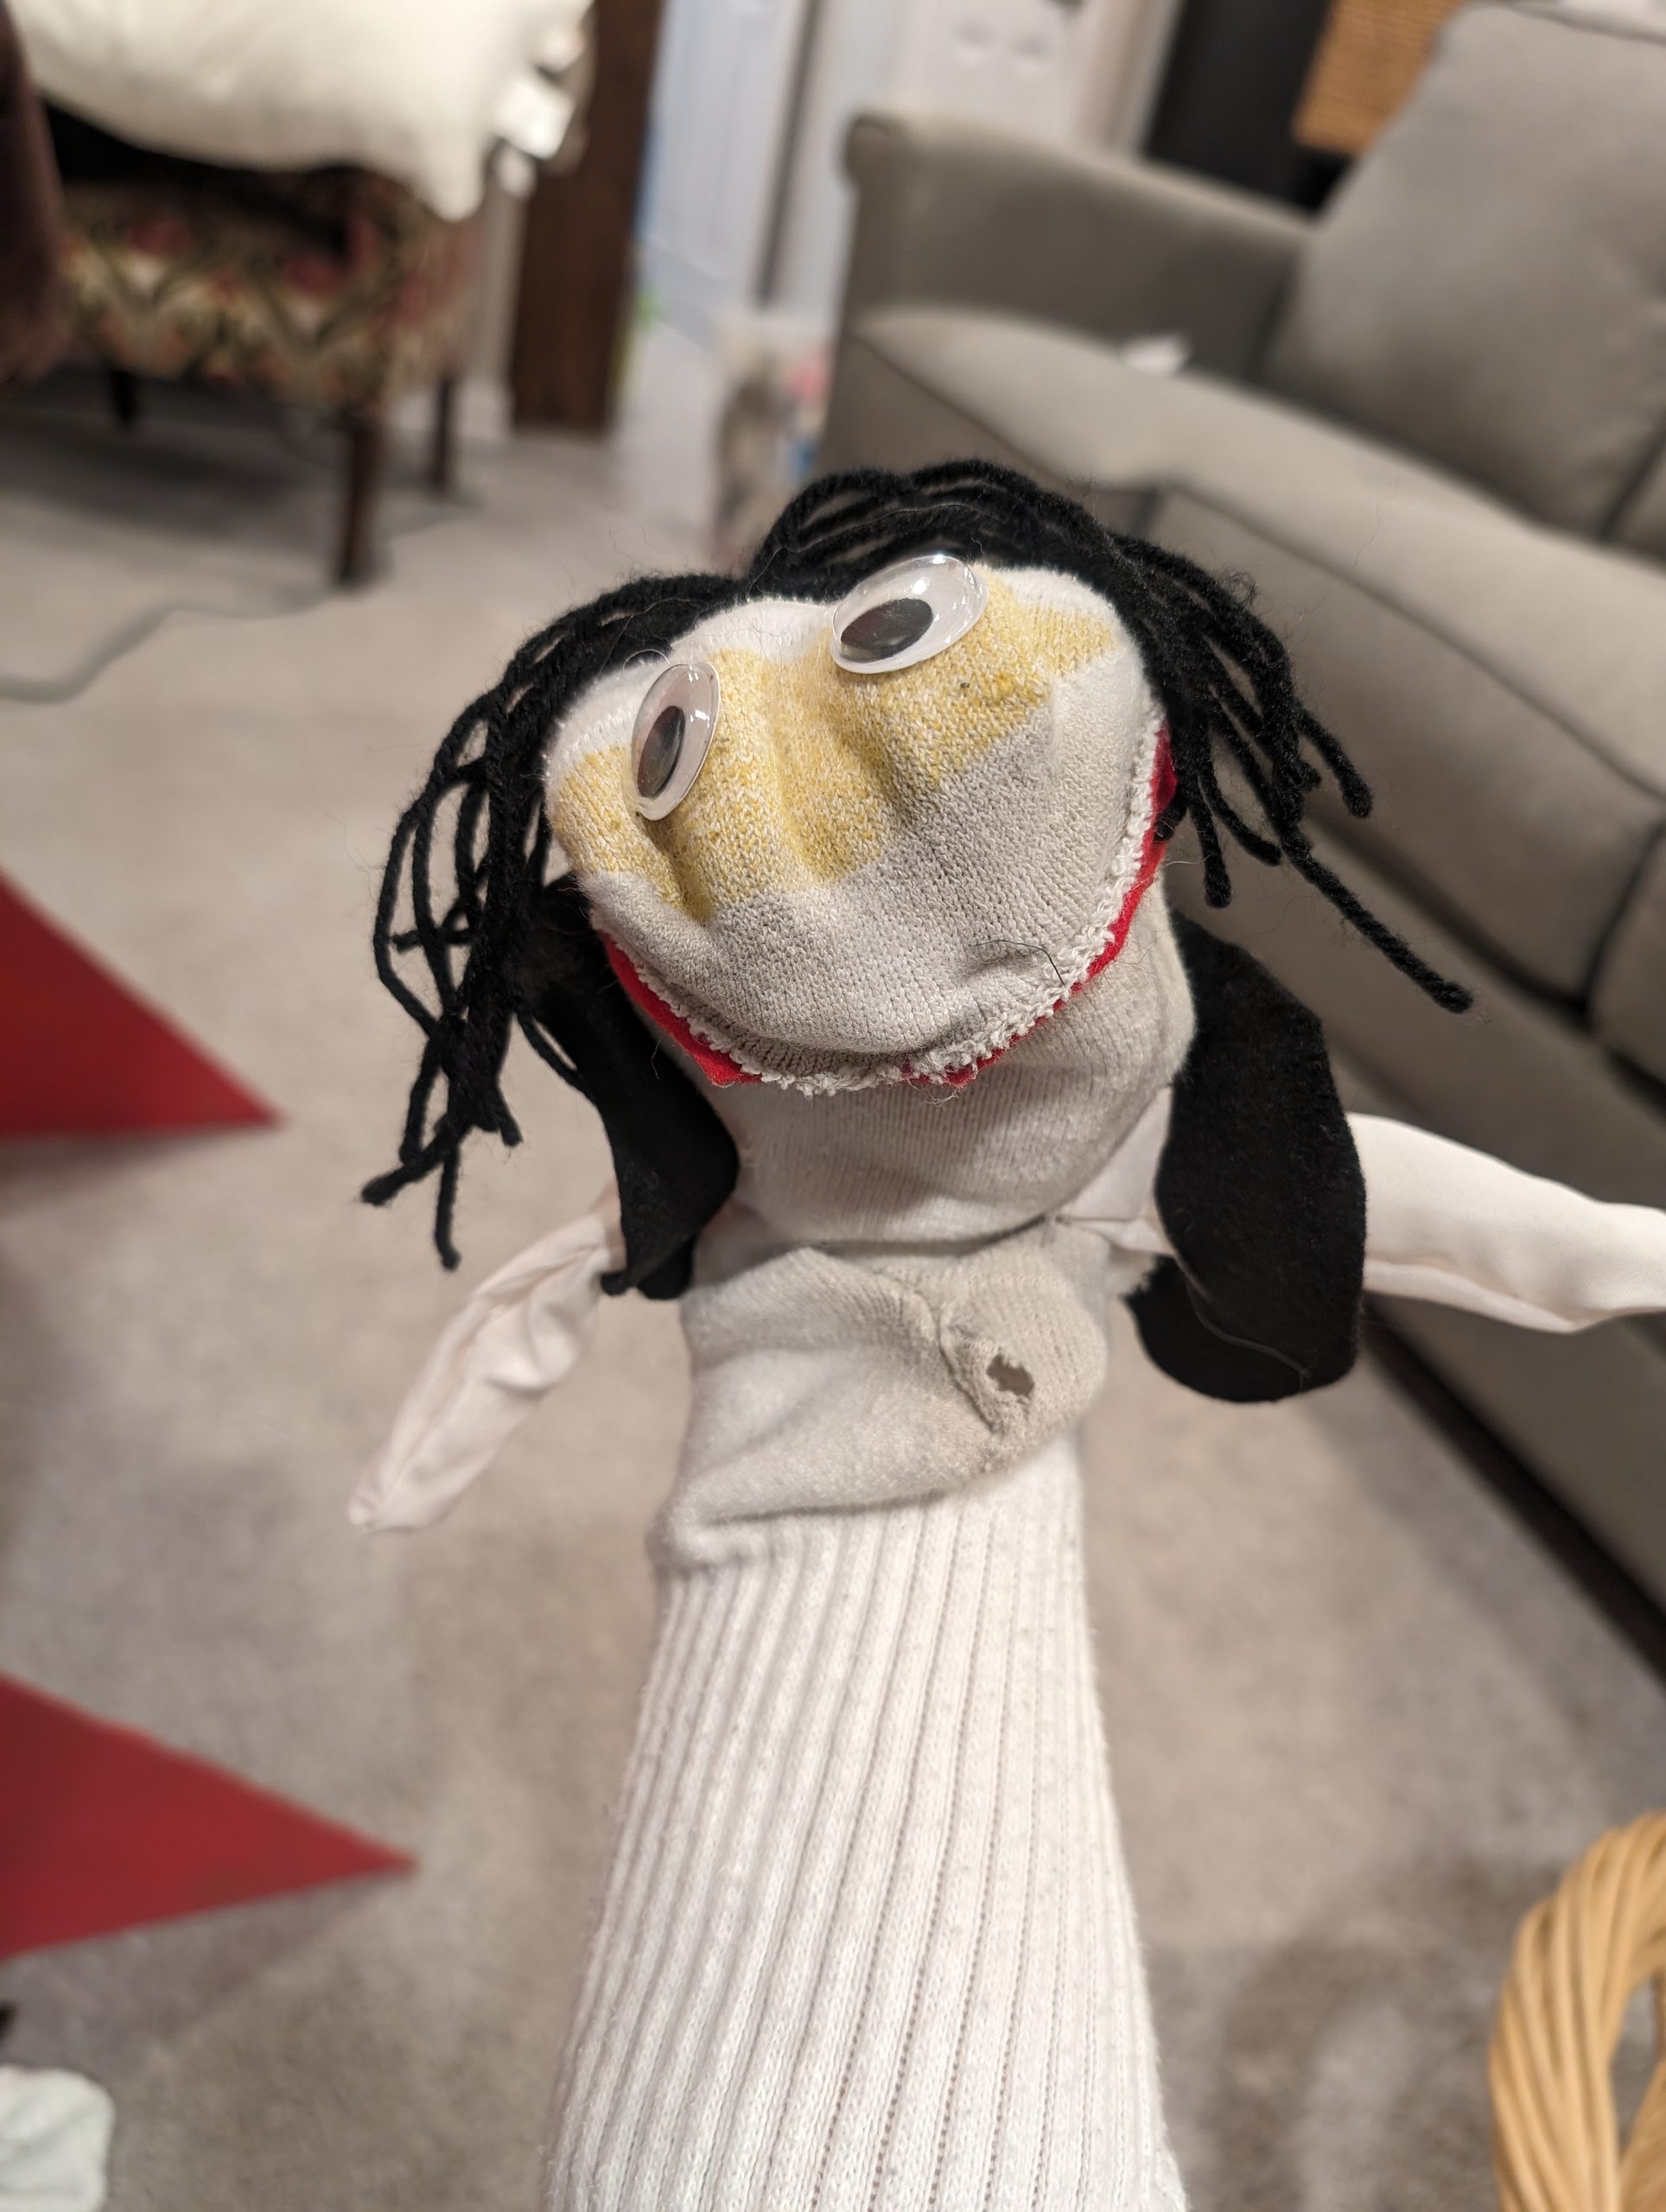
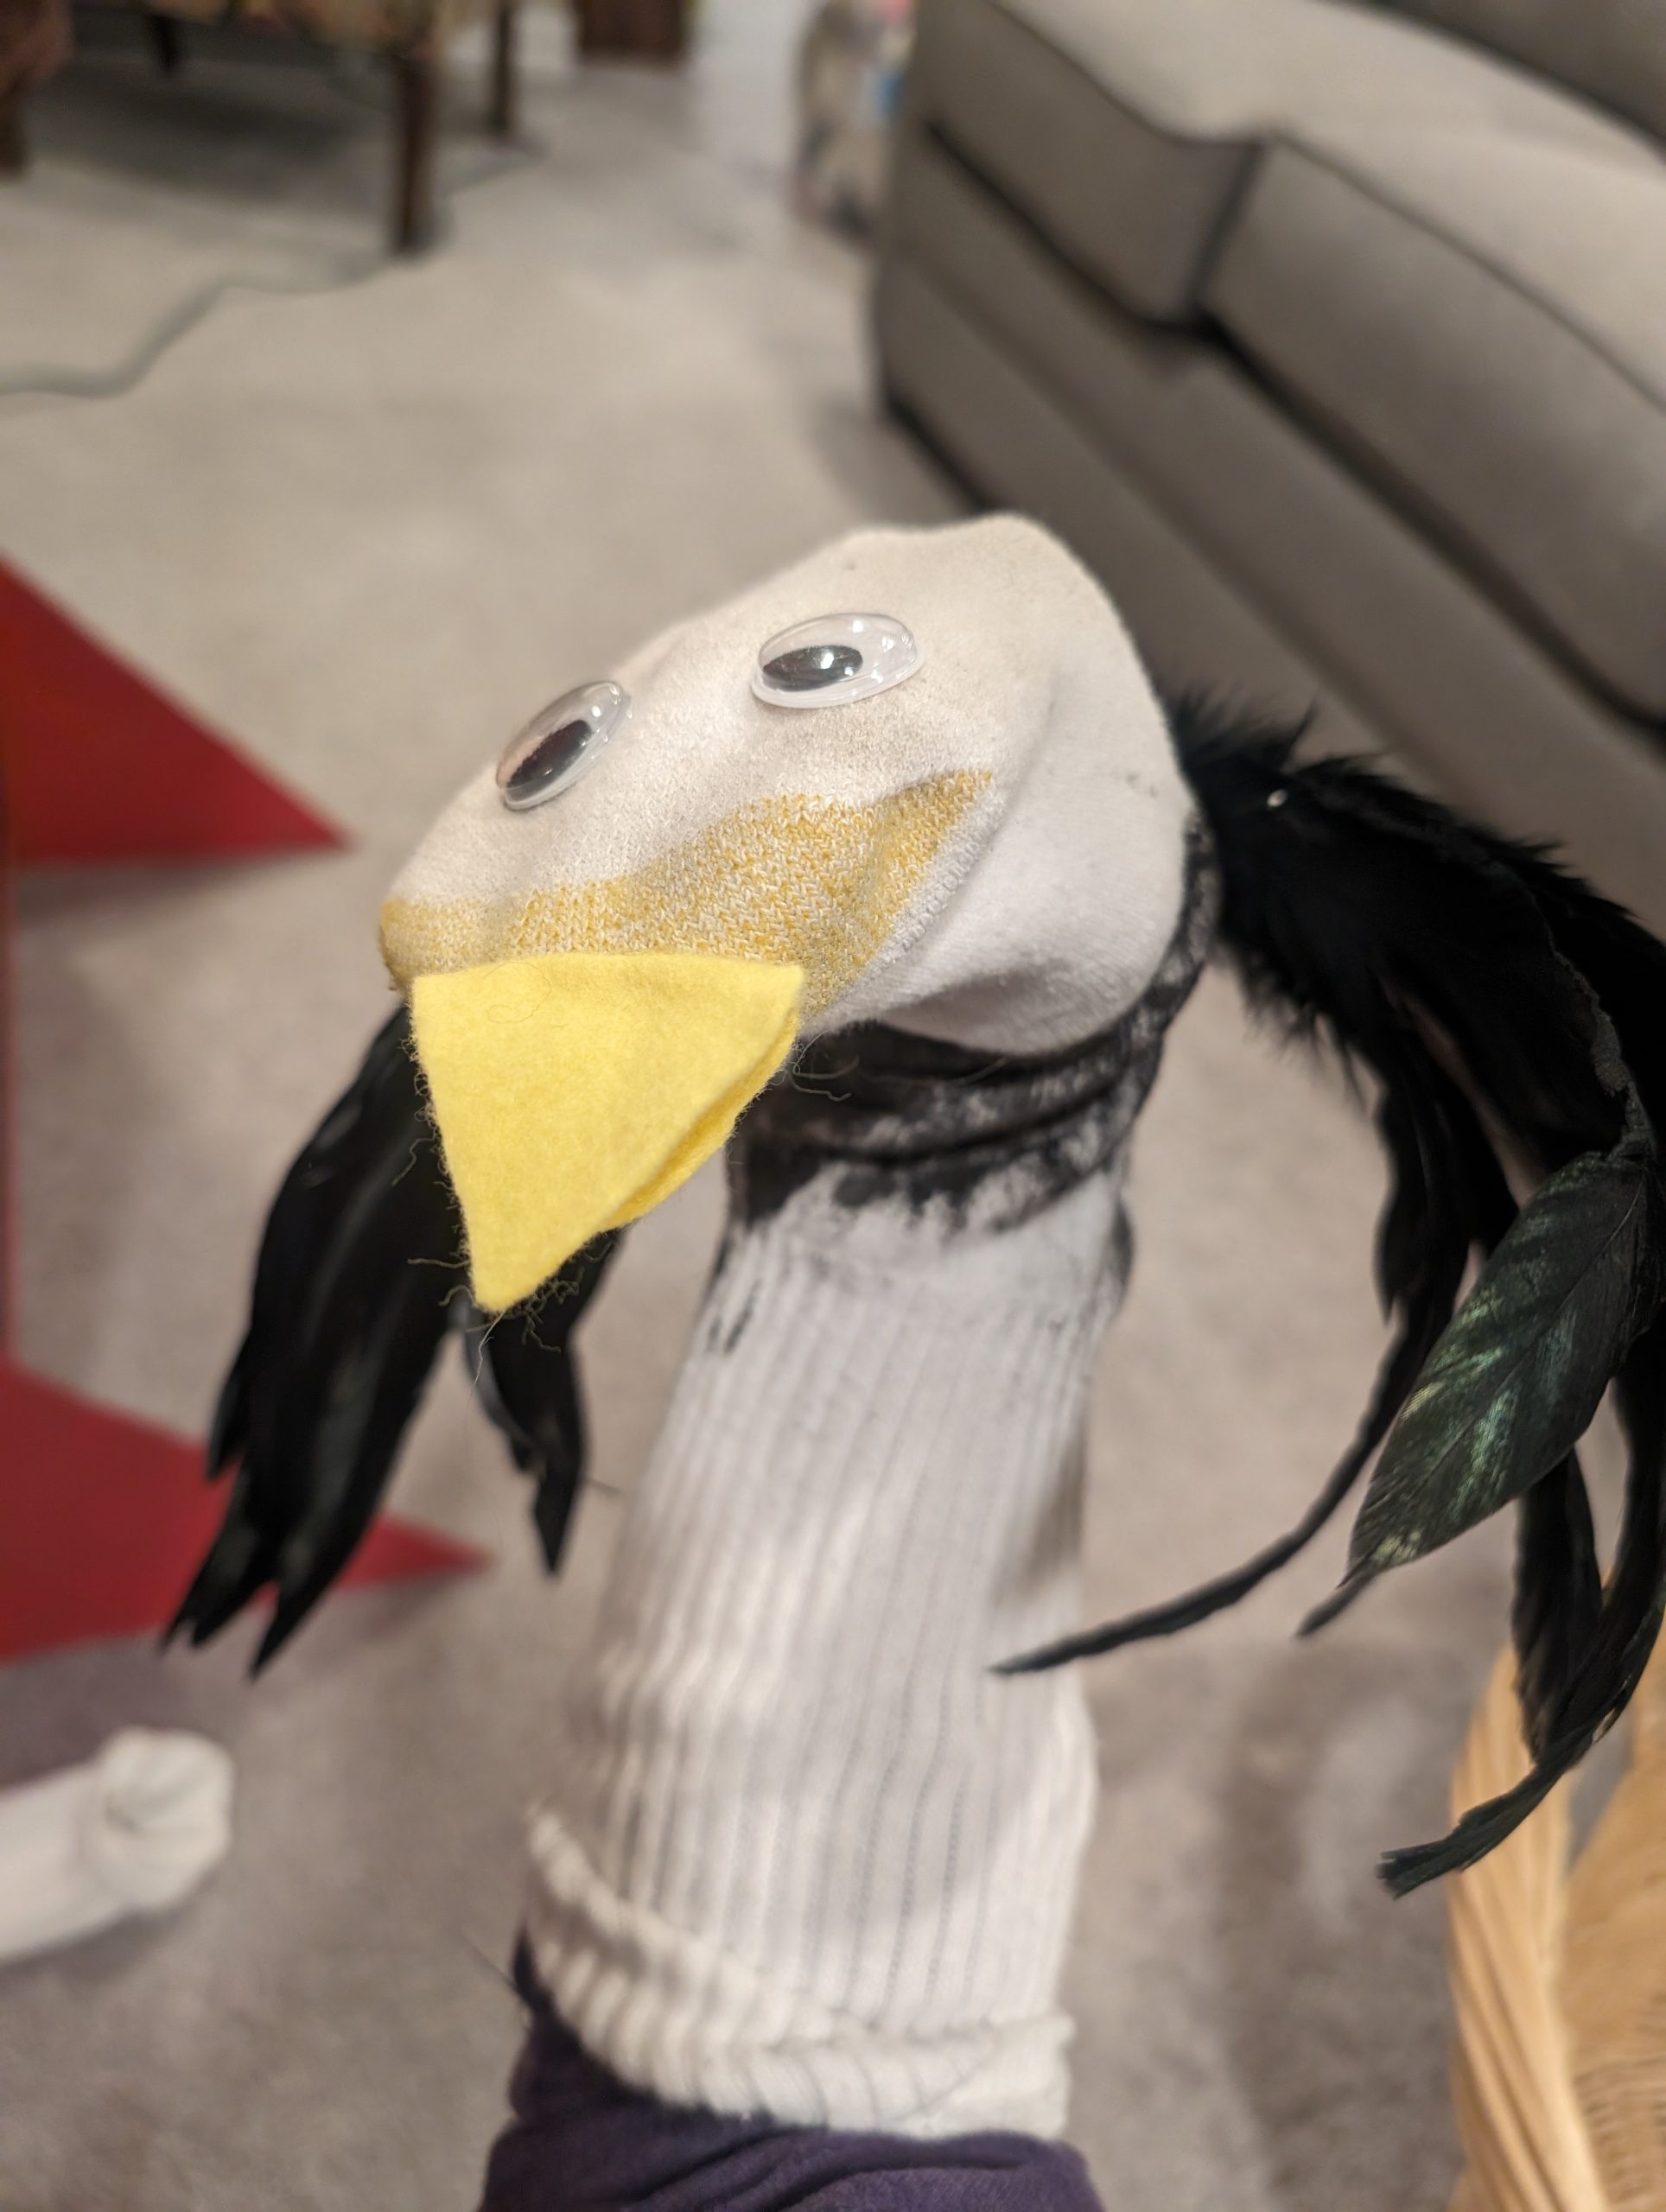
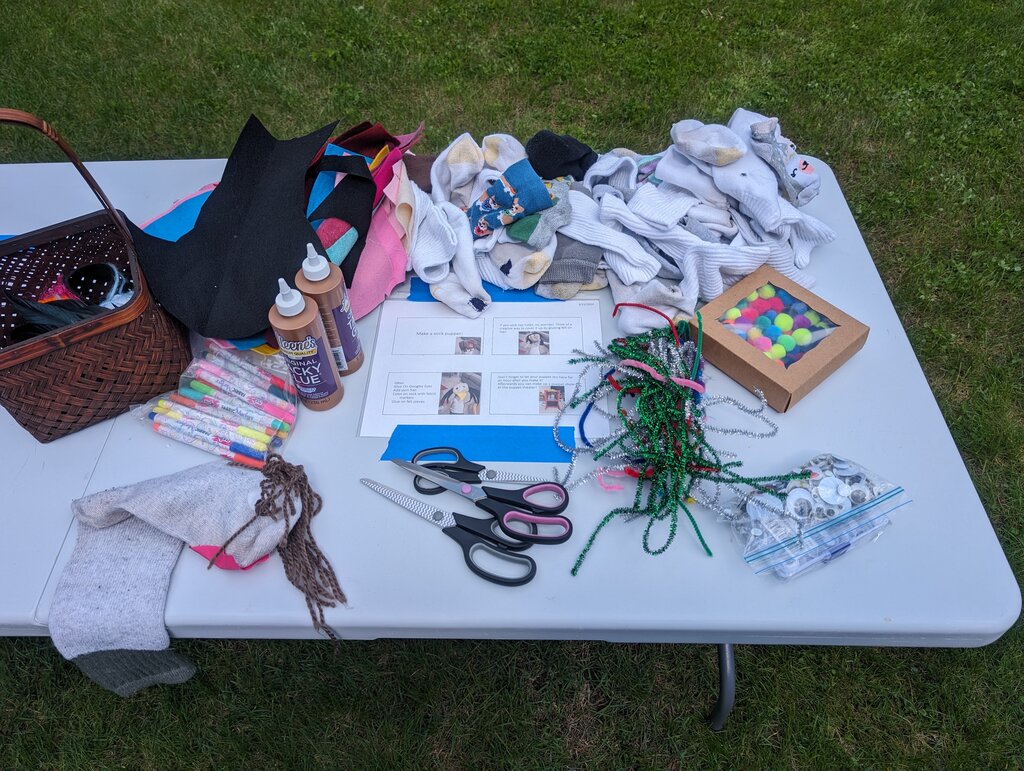
Sock puppets
 The kids seemed to love this one. Patricia made several more sock puppets after the party, and also today. It was just a “here’s a bunch of stuff, use your imagination” craft, which I used to like the best when I was a kid too.
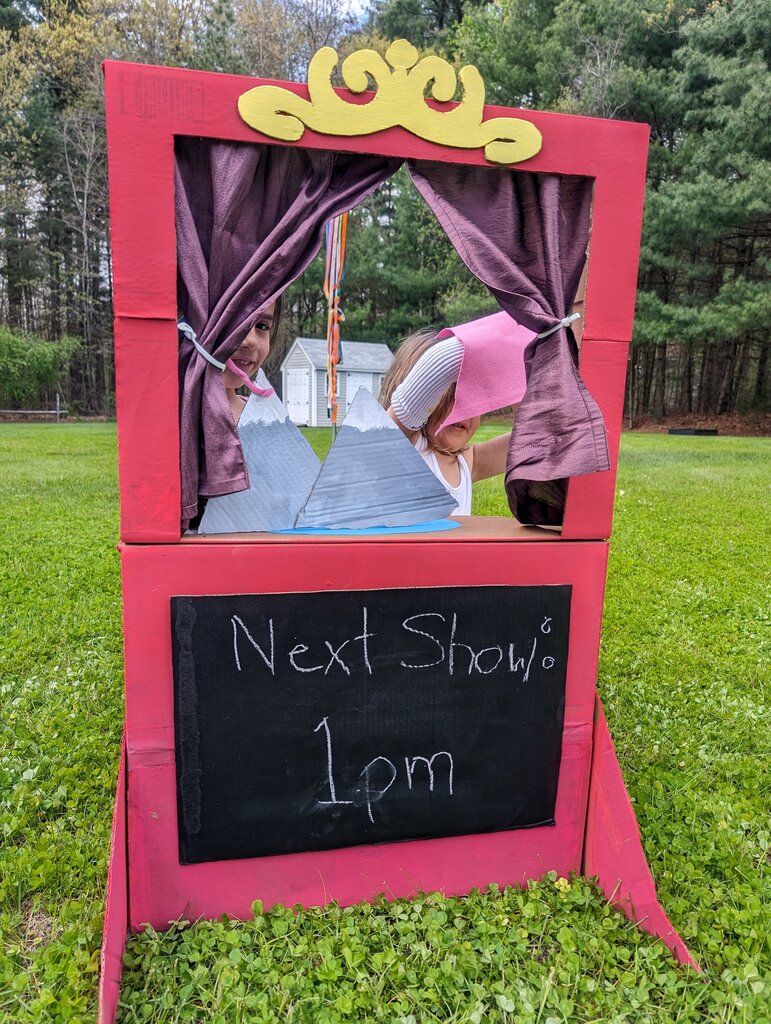
Sock Puppet Theater

Joanna and Patricia show off their puppets.
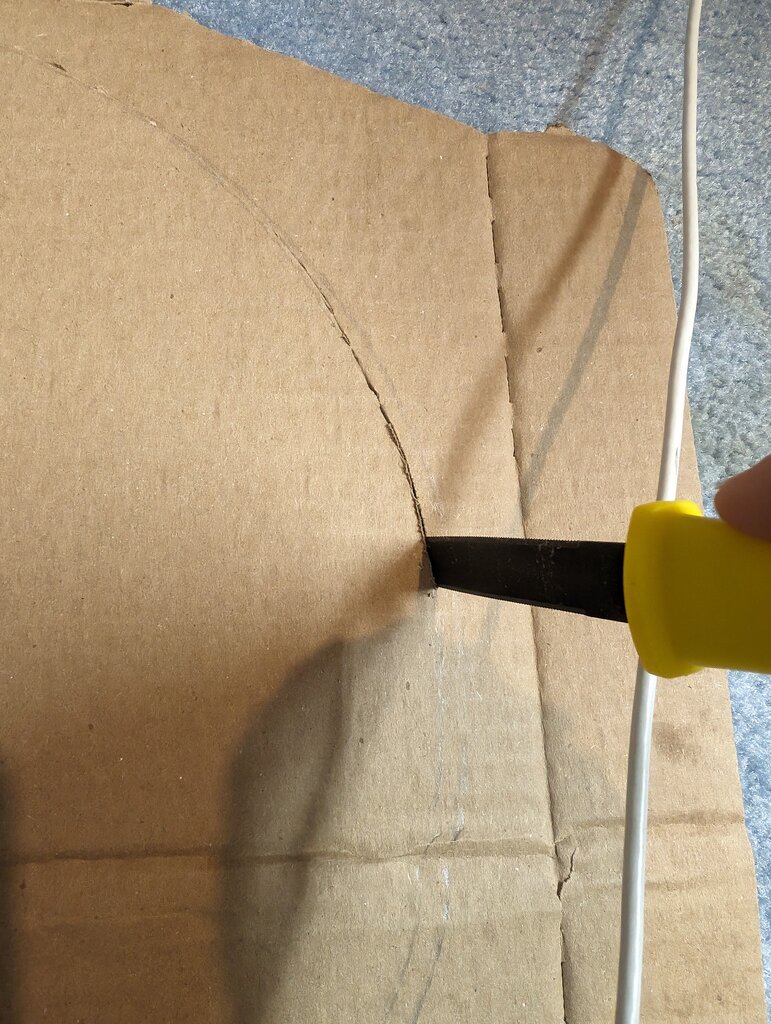
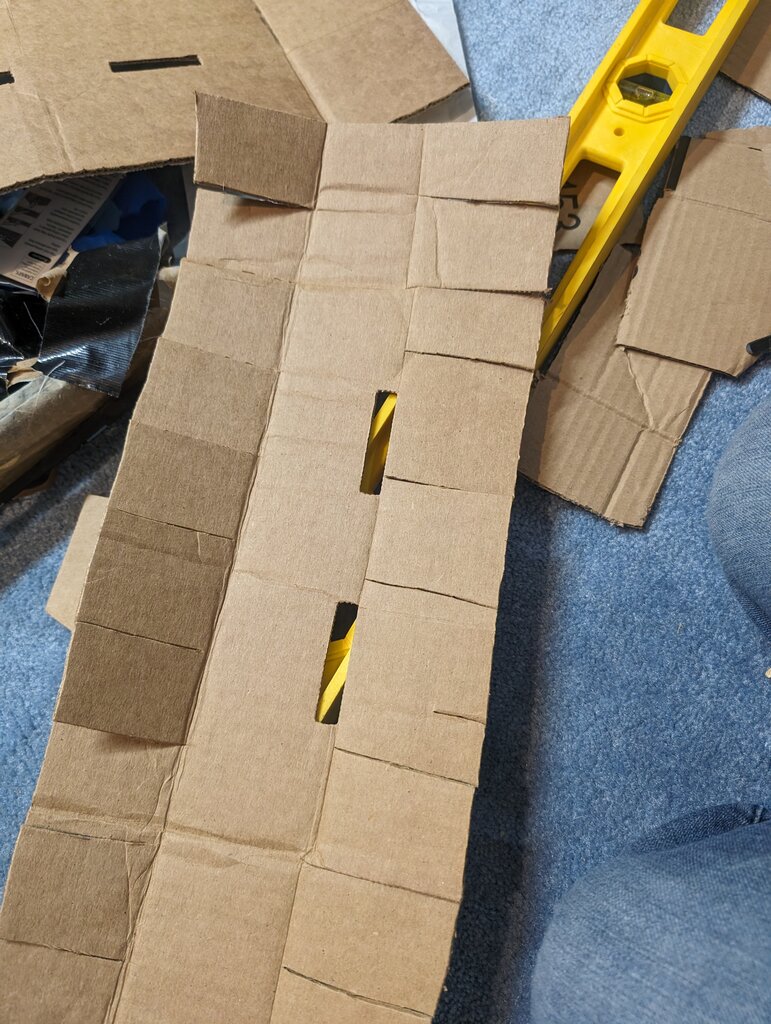
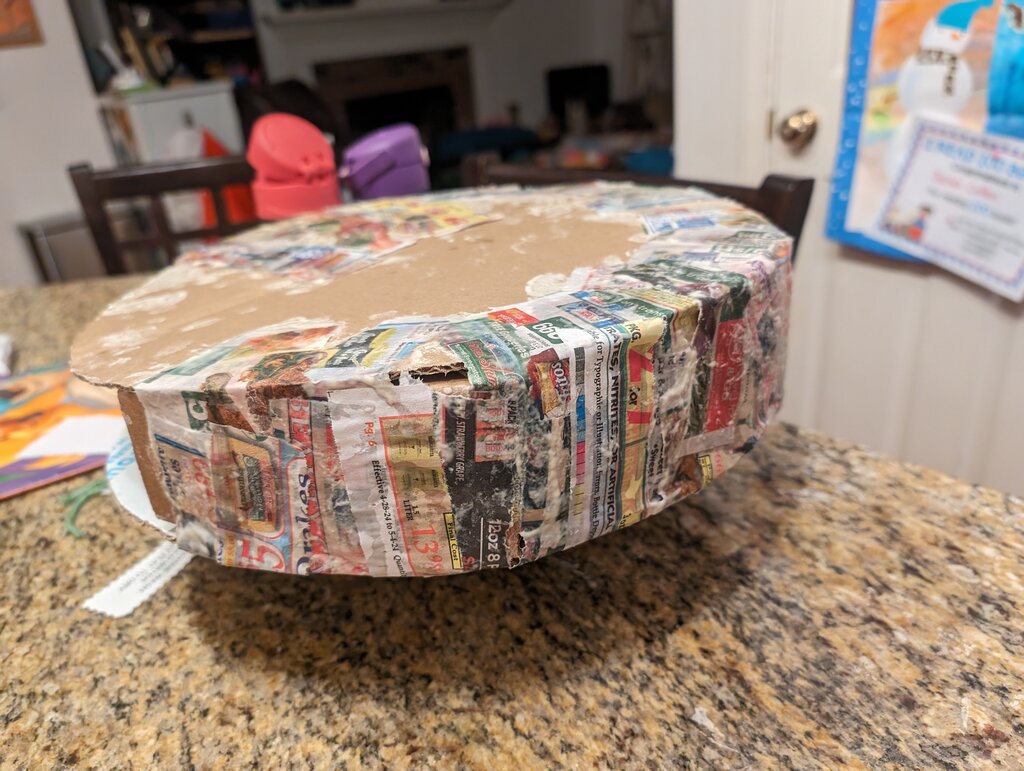
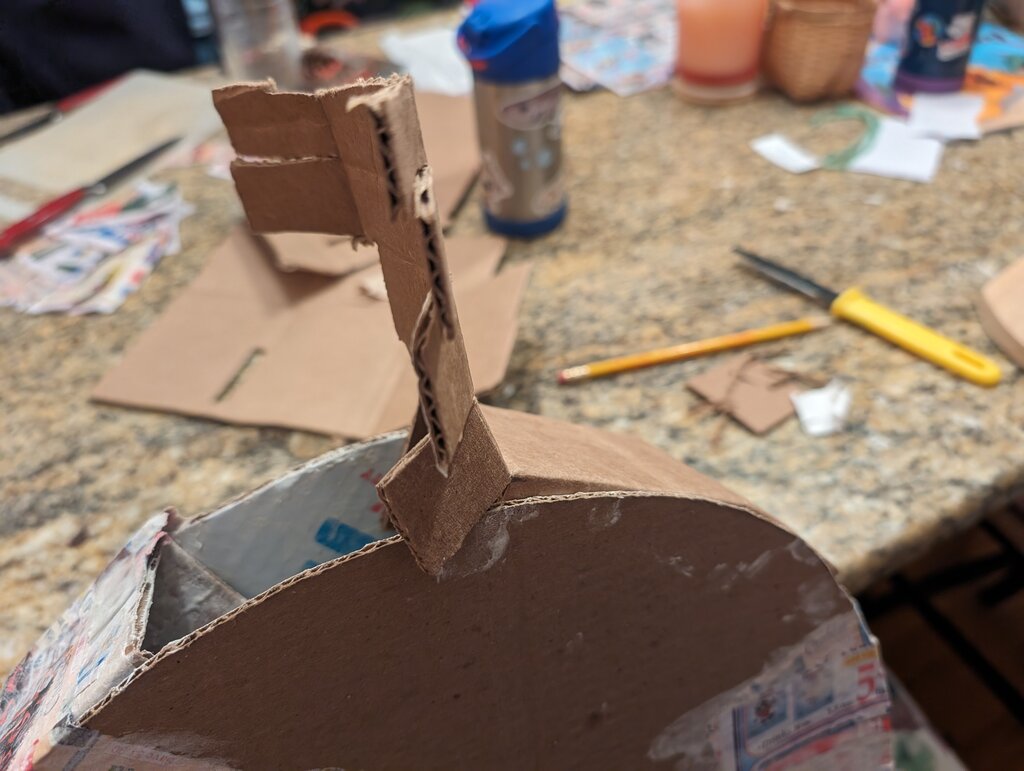
I couldn’t have a party without cardboard crafts, so I made a puppet theater from recycled cardboard for the kids to play with their sock puppets in.
I also did a sock puppet rendition of “Gluscabi and the Wind Eagle” which is a tale from the Abenaki people about the wind. The rendition I performed was from a book called Keepers of the Earth: Native American Stories and Environmental Activities for Children which I took out from the library. As we know the indigenous peoples of the land we now call America were deeply in tune with the spirit of the Earth and its creatures so we have a lot to learn from them about protecting the Earth. Julius, one of our cub scout friends and I read all the stories in this book and really enjoyed them! Our favorite (the one Julius cracked up at the most) was a story about a trickster name Gluscabi who gets frustrated with the wind. I made silly sock puppets of the three characters in the story and did my best performance of it. I hope my humble attempt did it justice! As an added bonus we learned a beautiful song that Gluscabi sings when paddling his canoe.
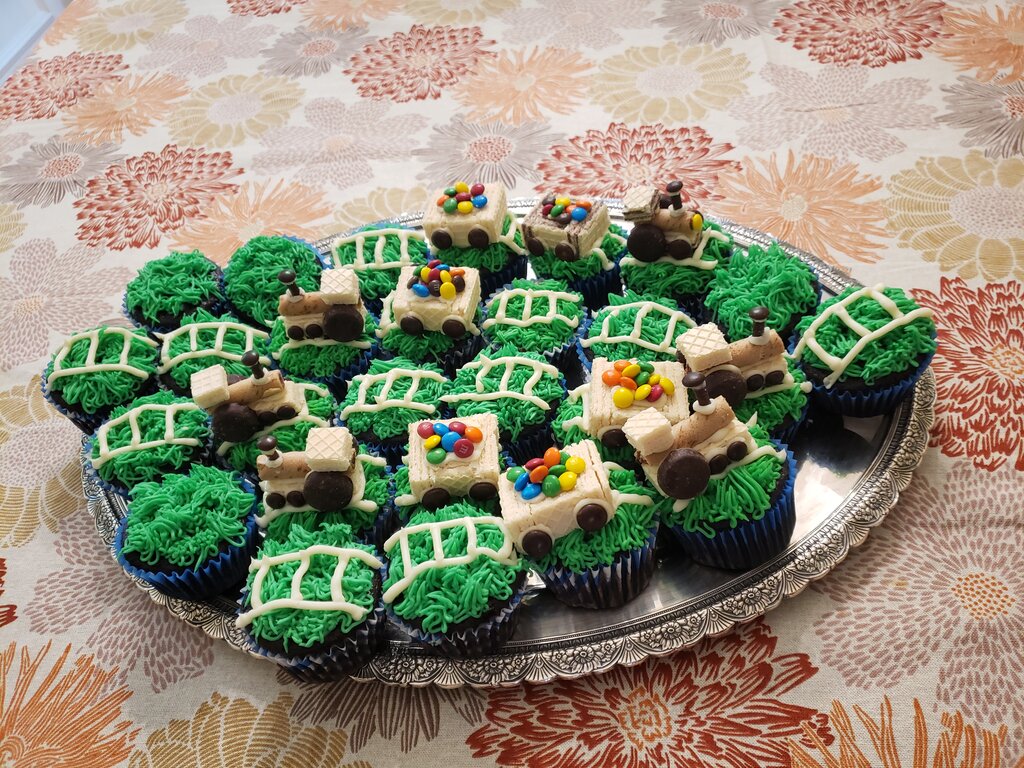
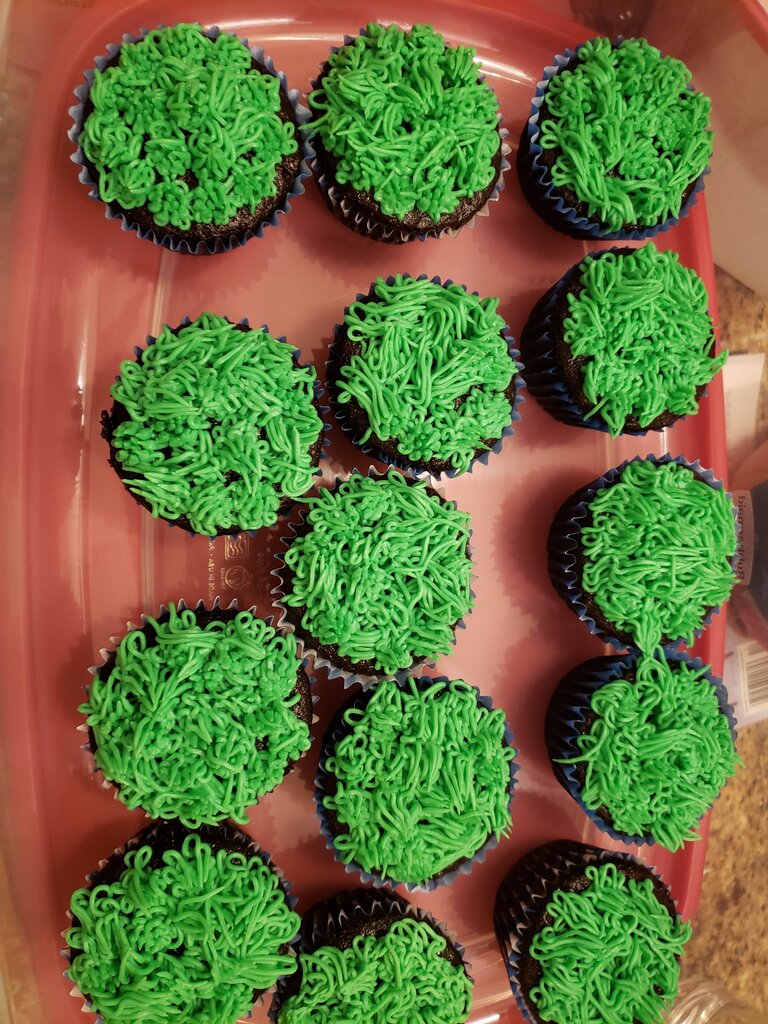
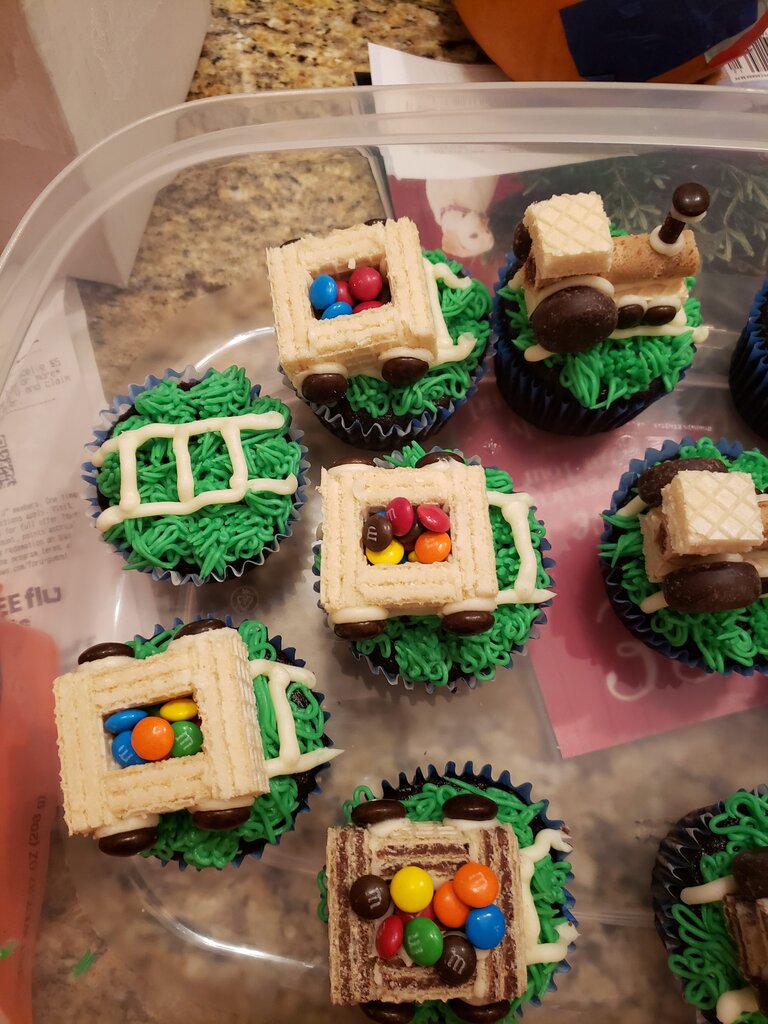
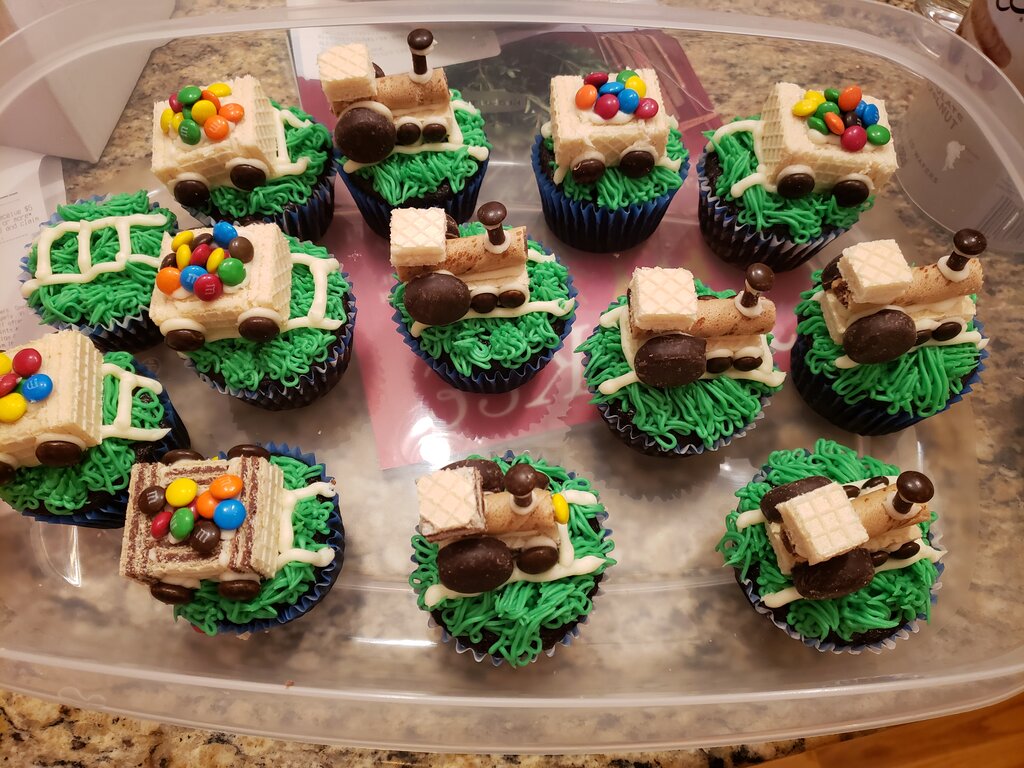
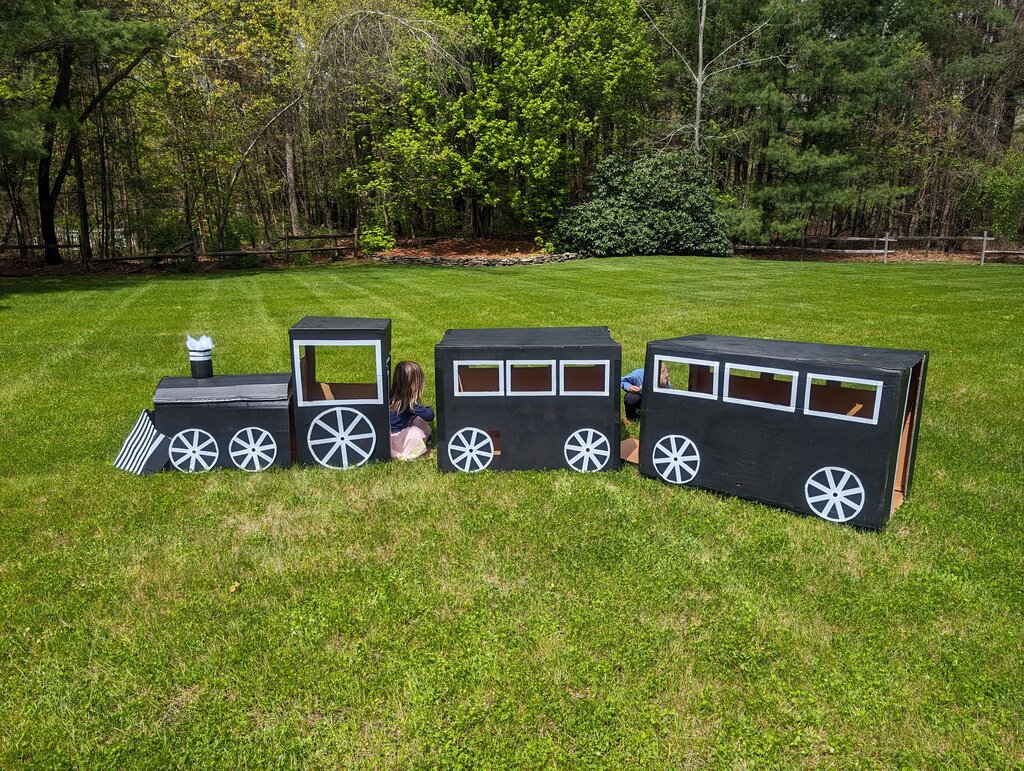
Cardboard Train
 Does this look familiar? Well you’re right. I tried to pass along the train from Julius’ birthday party, but while over 10 people said they wanted it, no one ended up taking it home. So this is the last hurrah for the train before we break it down!
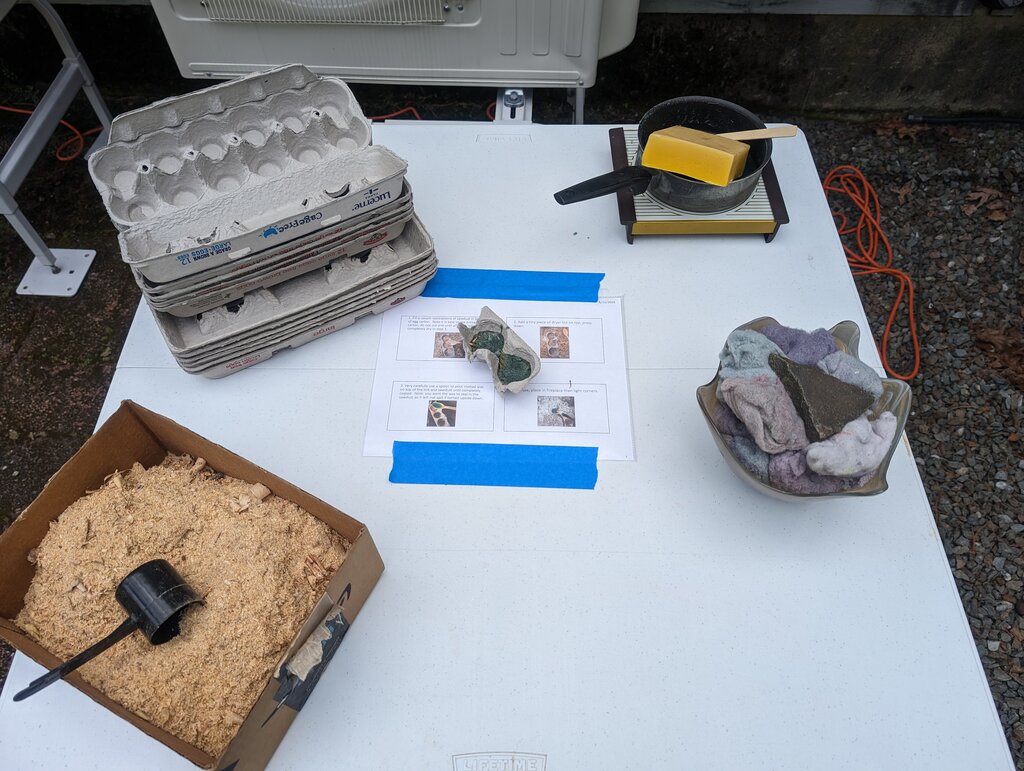
Fire starters
 I don’t know if I should talk about these! My hot plate stopped working for some reason so the wax didn’t melt properly so 0 people did this craft! It’s too bad because my test batch burned amazingly well!!!!
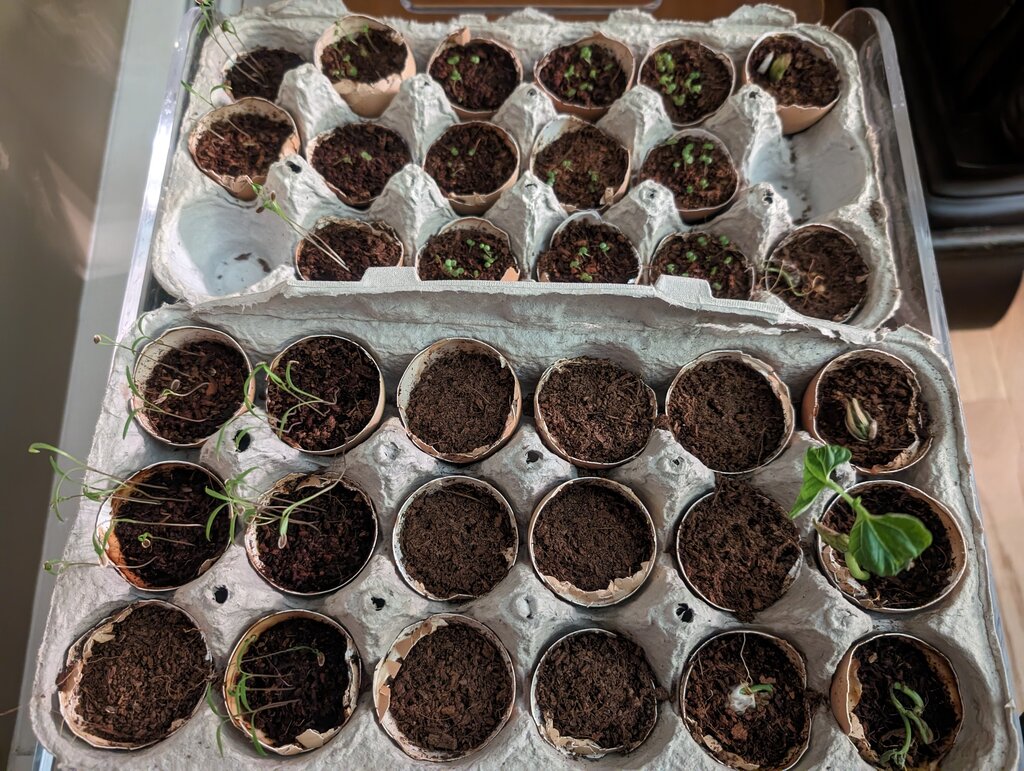
Favors
 As Will said “it wouldn’t be an Earth day party without something planted” so I made plants the favors! I totally forgot to give them out to all but the last people but the favors were herbs/beans planted in shells I had washed out. They were marjoram, dill and navy beans.