No Room for Mush

Well I was in charge of the kiddos the past 4 days while will was at a board game convention (I was supposed to go too, but there were several reasons I ended up staying home instead).  I had all these great plans to do with the kids, starting with logging off work at an actual reasonable hour on Friday.  Those plans didn’t happen and I ended up barely getting home in time to make them dinner while on a work call then putting the kids to bed (late) and working until 1am on Saturday, and much of the day on Saturday.  I noticed Patricia does bad things to get my (negative) attention while I am working.  For instance she colored on the couch, hit or pinched her brother (out of the blue) and did various other mean things anytime I was on a work call.  Normally she only does things like that when she is cranky so that scared me.
Despite the horrible work schedule I did get the day off on Sunday and decided to take today off to take them to the New England Aquarium.  (It’s a state holiday today for the marathon, so Patricia was already out of school.)  I figured Julius would love the aquarium because he’s been super into sharks lately and told us he wants to be a marine biologist.  And I told Patricia there were penguins, so that convinced her.  I don’t know if I’ve ever been to this aquarium, but it was super cool.  They have two different species of penguins, sea lions, a tank where you can pet rays and sharks, a humongous coral reef 3 stories high and numerous other tanks on the sides.

Patricia stared at the penguins for at least 20 minutes, and then I had to drag her away from each penguin area anytime we passed by.  Julius was extremely excited by the sharks in the shark tank but was slightly disappointed that I made him leave after like 20 minutes of hanging around there.  He did work up the courage to touch one of them, so I was proud of him for that.  I think he might have been disappointed I didn’t give him longer to work up the courage to touch more… but Patricia was also there and I had to try to keep them both interested which was challenging with just one adult.  Overall I considered the day a success!

This is as good as it gets, both kids looking the same (wrong) direction.

Another success was this little mushroom house I made for the fairy peg dolls at Patricia’s “party”.   For this guy I combined felt sheets with felted details.  I want to start doing that more often because felting opens up a whole new avenue for realism on felted projects.  I only touched on that briefly with the little bushes around the base of the mushroom and the door, but next time I’ll try to up my game.  Oh and this tutorial is a bit loosey-goosey.  I will provide my measurements as guidelines, but I don’t have a pattern.

Felt Mushroom House

What you’ll need:

  • white felt
  • red felt
  • stuffing
  • roving for decorations (I used shades of brown and green)
  • brown embroidery thread for details
  1. Cut a 9.5″x 11″ strip of felt for mushroom base.  I folded this in half to form a 4.75″x11″ strip of felt, then overlapped the unfinished two ends so the part near the folded side had more overlap than the part near the bottom (causing it to flare out a bit).  I then trimmed where they met, and trimmed the bottom (the larger side) so it would sit flat.
  2. Finally I stitched together at the unfinished ends.
  3. Next I drew and cut out an arched door and circular window panes.
  4. At this point I felted the door and bushes onto the side of the mushroom house.
  5. Then I embroidered the trim around the door and windows.
  6. Next I cut a piece of circle of white felt and a circle of red felt with 9″ diameter.
  7. I hand stitched them together, leaving a 3″ gap, turned them right side out and then stuffed them very lightly with recycled poly stuffing and closed the gap with a ladder stitch. 
  8. Cut a 2″x12.5″ strip of white felt.  Stitch the two ends together
  9. Fold in half the long ways so the unfinished edges are on the inside.  Stitch
  10. Stitch circle (unfinished side) to bottom of the mushroom cap.
Posted in Crafts & Sewing | 1 Comment

Peep de Resistance

Well it’s 10pm again, a day after I was supposed to post and I’m only just starting this post!  I have no one but myself to blame (and maybe work – I need to figure out how to not feel guilty about logging off).  (No thanks to work) we had a great Easter!  The Easter bunny hid lots of eggs for the kiddos, and even found out how to get inside and hide some surprises in their easter baskets.  Patricia and Julius were both very excited about the egg hunt this year except Patricia wanted to open the eggs as she went, and we had to dissuade that.  This year the Easter bunny decided to put money in the eggs because Julius has been very interested in filling his piggy bank with coins lately.  The bunny hid just a handful of quarters and a single dollar.  Patricia won the dollar and shouted “I got money!” when she opened it.

Patricia was very excited about all the easter themed “peeps” decorations.  You probably know I have a giant bunny peep that the kids love to lay on.  (Patricia calls peepa which is pretty cute.)   In addition to the giant peep I have some little peeps that I keep in a basket on the dining room table.  Well they started out on the dining room table but Patricia immediately claimed them as her own and started carrying them around everywhere.  There is a larger one that she calls the “mama” peep and she calls two of the smaller ones Patricia and Julius peeps and she has told me there is no dada peep.

Ka just so happened to have sent me a giant peep 3d cake pan set that we were looking at online.  It was incredibly hard to find and I don’t know why because it WORKS SO WELL.  They tell you to use some kind of pound-cake like cake using boxed cake mix, but I said screw it I’m making a carrot cake, just to make the maiden voyage of this thing a real challenge.  That said the cake part was the easiest part!  Frosting was more of a challenge (especially since I was trying to convince the kids not to touch it while I was making it.)  If you find one of these pans I’ve got the instructions written down below (plus Ka told me I’ll need to make 10 more of these cakes to make the pan worth it so I will have to remember how I did it).  Patricia was very excited about the Peep cake and asked if “it has babies?”  Which I guess, yes, those little peeps ARE babies!

Check out these adorable bunny napkins!

Table settings for Easter

Look at these two cuties.

Julius insists on never doing a proper smile in family photos anymore.

Mother of all peeps

Mother of all Peeps Carrot Cake

What you’ll need:

  • 1 recipe of carrot cake batter from here
  • baker’s twine
  • 1 recipe of cream cheese frosting also from here
  • sanding sugar in color desired (they only had pink)
  • 2 chocolate chips
  • 350 for an hour and 10 minutes.
  • Giant Peeps Pan

Butter and flour the inside of both halves of the cake pan. Place bottom cake pan on top of a small sheet pan.

Follow recipe above to make carrot cake batter and pour into bottom peep pan.  (Or you can try 5 cups of pound cake batter).  Pour it all the way to the lip of the pan (even just above) and then carefully put the lid on top.  (Now you can make cupcakes with the remaining batter.)

Use baker’s twine to tie the peep together as best you can so the batter won’t cause the top to push off while baking.

Bake at 350 F for 50 to 70 minutes (it took me 1 hour 10 minutes I believe for a finished cake, but I checked it with a skewer every 10 minutes starting at 50 minutes. I also gently removed the top and checked it with a skewer then returned the top back on.

When cake is done and the skewer comes out clean, remove from the oven.  Then they have a complicated method of cooling it but I followed it exactly…  Let it cool for 5 minutes in the pan. Then remove the lid and let it cool for another 5 minutes with the lid off.  Replace the lid and flip the pan over.  Let it cool again for 5 minutes.  Gently remove the lid (this is the bottom now) and let it cool again for 5 minutes.  Finally release the peep from the pan and place it on a serving tray and let it cool for 4 hours (I let it cool overnight, uncovered on the counter).

Mix the cream cheese frosting recipe above (I used the lower number for sugar and I already thought it was ridiculously sweet.)  Make sure everything is at room temperature (despite what the instructions in the recipe say) because I found it easier to frost this way.

Frost the cake with a layer of cream cheese using an offset spatula.  Get it as smooth as you can.

Sprinkle the sanding sugar all over the peep.  In this step it was helpful for someone (Will) to rotate the plate around so we could get more sugar on the body of the peep.  I also used my hand the gently grab scoops of sugar and press them into the frosting to fill it in better.

When you’re finally satisfied with the sanding sugar, add chocolate chips as eyes.

Cake with the cake pan lid removed.

Cake standing upright on the serving plate.

Frosting the cake.

After I’ve covered it in sanding sugar and added chocolate chip eyes!

Yum it was really tasty. Too tasty!

Posted in Culinary Delights, Parties | 1 Comment

Cheese Please

Well my house is full of treasures trash.  Not treasures, straight up trash.  I feel like a horder and it’s disconcerting.  I swear it is for a limited time though since I’ve been collecting trash/recycling for the Earth day party I’m throwing this year!  I’ve wanted to do an Earth day party for years now (I had the idea at the beginning of 2020…)  Since we are finally back to normal activities for the most part I thought this would be a good time to throw a party for everyone I haven’t seen in person in 3 years…

The cool “motivation dice” Amy made me!

So that’s why I am collecting trash.  Though Will will tell you I’ve always collected trash, which really, really made me unhappy to hear.  The other day I told him he couldn’t throw out a bunch of things and jokingly mentioned to him that he needn’t worry, it wouldn’t last too much longer.  His response was that “he was always afraid to throw away the weird things that I didn’t put in the recycling or trash” for fear that I’d “ask where some bits and bobs have gone”.  He’s right.  It’s a problem.

Good news though, while I may have developed a new affliction I might have a cure for another one.  Amy made me some cool dice to solve my motivation problems!  One die tells me what type of project to work on, the other one tells me what it needs to be related to/for.  The first one was “Patricia’s choice – edibles”.  I’d like to say this post was entirely inspired by that, but it was originally inspired by a combination of Julius and Patricia.  Patricia and Julius both love mac and cheese, and Patricia loves beans (though honestly, her favorites are not usually chickpeas, maybe I make too many of those.)  I wanted to combine those into a healthier version of mac and cheese with more nutritional value.  That’s where I came up with ‘peas and cheese.  The kids seem to like it, admittedly they don’t wolf it down quite as readily as mac and cheese, but I also don’t have to bribe them to eat it.  To make it a bit more kid friendly you could add 3 cups of cooked pasta at the end without changing anything else (some small pasta like medium shells would be perfect).  Oh also, this one cooks up in less than 30 minutes.

Not much to look at (unless you count that bowl), but I swear it’s tasty.

‘Peas n’ Cheese

Ingredients

  • 2tbps butter
  • 2tbsp flour
  • 2 cups milk
  • 1 cup of shredded cheddar cheese (I’ve both shredded my own and used the ones in the bag – fun fact the hannaford brand now says it uses microbial enzymes!  Not sure if that’s because I asked them a couple months ago or it’s just a coincidence…)
  • 2tsp lemon juice
  • 1 tbsp minced garlic (I used the ones in the jar)
  • 1/2 tsp onion powder
  • salt and pepper to taste
  • 3 cans of chickpeas, drained and rinsed (I use low sodium)
  • 3 cups of frozen peas

Melt butter over medium heat with minced garlic.  Cook for 30 seconds until garlic is fragrant.  Add flour and onion powder.  Cook, stirring constantly for about a minute.  Slowly pour milk into the butter/flour mixture, whisking constantly.  If mixture starts to get blobby, stop adding the milk and whisk quickly until lumps are gone then continue adding milk.  After all milk is incorporated, lower heat to medium low and let simmer, stirring occasionally until thickened slightly.  Add lemon juice and cheese, then salt and pepper to taste and finally add chickpeas and peas, return to medium, and heat for 10 minutes or so until peas are cooked and chickpeas are heated through.  If desired, stir in 3 cups of cooked, drained pasta before serving.


Wait!  You made it this far?!  Check out my sweet mug I made last time I went to the pottery place…

Posted in Culinary Delights | 2 Comments

Fired Up

Well friends I had an eventful week last week!  I ended up in the hospital (long story) unexpectedly after my doctor called me at 10pm on Tuesday and suggested I go to the ER.  The short story is that they did admit me to the hospital (much to my surprise and unpreparedness) but didn’t find anything interesting.  They did cover me all over in adhesive tape (which is listed along with latex as one of my allergies) so that after I left I broke out in rashes.  (I guess I can consider that a party favor!)

When they finally discharged me at 5pm on Wednesday I had to scramble to pack for our weekend at PAX!  Mark and Erin flew in from out of town while my mom watched Julius and Patricia.  We had so much fun!!!!  I’m so sad it is over already.  The highlights were these mini puzzle rooms (that were a bit too easy for us puzzle experts), a fun D&D adventure, lots of board games, some video games and seeing lots of friends!  Oh and the theme was 80’s computers, so Will and I naturally had to get merch!  It’s the first year I’ve waited in the merch line but I’m glad I did because now I’m the proud owner of a PAX microcomputer shirt.  (And even better Will has an evil wizard hoodie!  Sidenote: I only recently realized I might have married an evil wizard and I’m not upset.)

On Sunday I slept like half the day due to sheer exhaustion but then Julius and I decided to do some pottery painting.  Okay, to be honest my reason for going to the pottery place was that I had to pick up some pottery I had already painted, but what’s wrong with more pottery painting?  This pottery painting studio is HUGE.  They have two floors, tons of options for pottery and colors, and give you free range to do what you want.  I found them because they have a stoneware painting class.  Stoneware is a mid fire pottery where you can use mid fire glazes that do all sorts of fancy things in the kiln.  I’m obsessed with the sort of asymmetric dripping glazes that you see on high fire pottery and really wanted a set of new pasta bowls.

The pasta bowls my aunt Ruth gave me 12 years ago when Will and I got married are heavily used and on their last legs.  (If I’m being honest I’m down to just 3 pasta bowls total, and the remaining bowls look pretty shabby.)  I couldn’t find any I liked when I got new dishware a couple years ago.  The new plates and bowls used a reactive glaze which they advertise as being random and unique on every piece, but I was a bit disappointed when I got them.  They were much more uniform than they looked on the website.  I still love them, but decided to look on Etsy for some bowls instead.  Holy moley, individual bowls on Etsy are expensive!  Despite the price I still didn’t see anything in the size I wanted (I guess most people call “pasta bowls” “dinner bowls” or “meal bowls”).

This is when I started calling pottery places.  I decided I could paint my own bowls for the same price as ones I could buy off Etsy.  Not only could I pick the color scheme I wanted, but I’d get to play around with paint.  Most of the places I called were generally confused that I wanted to buy 6 of the same bowl.  Clay Time on the other hand was super helpful and over the phone measured a bunch of different bowls for me, and even set 6 aside.  Of course when I got there the bowls they set aside didn’t seem very large… and instead I chose some larger bowls that were labeled as “serving” bowls.  I now realize that I probably need to cut down my carb intake.

I did a test run on my first bowl during the stoneware painting class I took and it came out AWESOME.  I cannot take full credit for the awesomeness.  I followed an example that one of the owners had; I just picked a different color scheme.  I planned to return 2 weeks later to paint the rest but came down with a fever on the night of.  I was extremely sad since I’d planned the whole week out so Will could watch the kids (and it was a day I wouldn’t have to work late).  Instead I ended up going there on a Friday night (which happened to be the stoneware class night again) but I asked them to put me far away from anyone in case my work called.  (We were once again all working late.)  It ended up working out for me because I was able to take up an entire table and assembly line create 5 more bowls (with some slight tweaks from the original bowl to account for how far things dripped etc.)

I’m going to put the recipe here for if I ever need to make some more of these bowls!  The glazes they use are Mayco Stroke & Coat.  I forget what cone they fire to, I’ll have to ask.  (Guessing 6 based on the Mayco pictures.)

This doesn’t seem like a serving bowl, right?! Or do I really just eat too much pasta?

Lexi’s Definitely Single Serving Pasta Bowls

  1. Sponge entire piece off with water to make sure no debris is on the surface.
  2. After dry, apply a thin ring of liquid wax resist on the bottom of the piece 1/4″ from the bottom. Let dry.
  3. Dip fan brush in water, then squeeze out extra between two fingers so brush is damp but not wet.
  4. Paint the bottom inside of each bowl with Oyster.  Make sure to apply more paint whenever the brush starts to drag.
  5. Let dry.  Paint 2 more coats of paint, letting dry between each coat.
  6. Paint the inside top half of bowl with eggplant. (Overlap the oyster slightly.)

    Here’s my assembly line process. I’m working on the top inside layer.

  7. Let dry.  Paint 2 more coats of paint, letting dry between each coat.
  8. Paint the bottom half of each bowl (up to wax resist) with Oyster.
  9. Let dry.  Paint 2 more coats of paint, letting dry between each coat.
  10. Paint outside top half of bowl with eggplant.  (Overlap the oyster slightly.)
  11. Let dry.  Paint 2 more coats of paint, letting dry between each coat.
  12. Apply a thick 1.5″ wide band of galaxy where the eggplant and oyster overlap on the outside and inside of bowl, loading it up with crystals. Let dry.

    Note I made the band on this one a bit higher because I didn’t want the drips to go so far down the side of the bowl this time.

    It is going to make me happy everytime I eat out of one of these.

    Why yes I can make you some! ;)

    Check out my stack of new dishes.

    Want to know what I painted this time?  You’ll just have to wait and see!

Posted in Crafts & Sewing | 4 Comments

Little Ones

Happy Monday!  (Or I guess Tuesday when you’re reading this.)  I’m again finding it hard to motivate myself to do projects.  I’ve been procrastinating by cleaning.  This is very weird.  There might be something wrong with me.  Just about the only thing I clean on a regular basis are the bathrooms and the kitchen.  Everywhere else in the house is full of toys and whenever we clean it, it instantly becomes full of stuff again.  Or worse, full of paper scraps because now Patricia is learning how to use scissors and she leaves piles of snipped up papers in her wake just like Julius used to do.  Usually though she’s snipping up Julius’ artwork (which is also all over the house) so in addition to the wake of little papers from Patricia, there’s tears and crying from Julius.

Julius is still at the temporary daycare location (in a church) so every morning I have to take Patricia into the building to drop off Julius.  She loves this and always gives him a hug and kiss before leaving him for the day.  It’s so darn adorable.  Patricia has gotten more imaginative with her play, and has started building little structures out of magnatiles like Julius likes to do.  This means the magnatiles are a hot commodity.  They also have been playing with the little pegdolls I’ve made a lot more.   They like to use them as people in their magnatile structures – they seem to fit perfectly

For Patricia’s birthday you may recall that I made a fleet of pegdoll fairies for her.  I love painting pegdolls.  I had just finished the A Court of Thornes and Roses series so obviously I had to make one of the fairies the best character in the books.  I’ll leave you to make your own guesses on who the other ones are if you’ve read the series.  If you haven’t read the series, then what are you waiting for?!   I made a cricut template for these so you can cut the wings out of felt using the cricut if you have one!  It makes it so much easier.

Finished fairies hanging out (sorry lighting is terrible)

Fairy Pegdolls

What you’ll need:

  1. Mount a sheet of felt on a cricut mat (make sure it has good adherence or else use tape to tape it on)
  2. With the fabric blade loaded, load the mat and cut wings.
  3. Remove wings from mat, set aside for now.

    Cutting out a set of wings.

  4. Paint pegdolls with your desired color schemes.

    After painting the fairies

  5. After your fairies are dry, apply 2 coats of mod podge acrylic spray sealer, letting dry according to bottle directions between coats.

    Spray paint with mod podge sealer.

  6. When sealer is dry, hot glue a set of wings to the back of each fairy.

    Hot glue wings on each fairy.

    After adding their wings

    You may notice I made some mushrooms too! Those are from pegs I cut off the pegboard that was in our closet (before I refinished it and added nicer hooks) and wine bottle corks!

Posted in Crafts & Sewing | 4 Comments

Tea Parties and Fantasies

I had the kids to myself this weekend which was fun.  I had grand plans to do some fun activities but the kids said no, so we just hung around at home.  Instead we ended up doing a bunch of cooking together and had a tea party.

I went all out for the tea party and brought out the good silver and china and made little tea sandwiches (I even polished the silver).  The kids picked out their own fancy outfits and mine as well (they chose a beautiful kurta bought for me by one of my work friends).  I put one of my ridiculous headbands on and Julius declared “you look like a queen!”  He gets lots of points always for buttering me up.  Patricia was also on mostly good behavior this week so it seems she must finally be feeling back to her usual self.  All weekend she kept telling me “<insert stuffed animal here> is my bestie” after snuggling said animal.  It’s so darn adorable.

If this isn’t the cutest picture ever, I don’t know what is.

Tea party lunch.

“The Queen” and her prince and princess.

One of the days we went to the grocery store to get food for our weekend cooking adventures.  I lured the kids into going with me by telling them they could ride in the cart (Hannaford’s has these cool two seater carts shaped like farm trucks, but they are frequently taken.)  Of course the carts were not there when we arrived, so I let Julius ride in the basket of the cart (you can judge me but in my mind he’s safer in there than getting lost in the store).  They were quite happy with this situation especially when Patricia realized that we had to put the FOOD in the basket part of the cart where Julius was sitting.  She of course wanted food piled up on her as well so we ended up wandering around the store with a mountain of groceries on top of both kids.  A person in the store saw us and thought it was adorable.  I’m glad he said something because I wouldn’t have thought to take a picture.

I’m still behind on crafts from Patricia’s party!  So I will show you quickly how I made the fairy skirts!  They are super easy, and very forgiving, so once you get the hang of them you can make them in front of the tv almost as a side thought.

Fairy Skirt

What You’ll Need

  • about 2-3 yards tulle (I found mine at the thrift shop a couple years ago!!)
  • about 1 yard of 1/4″ wide elastic
  1. Measure your child’s waist.  Cut a piece of elastic to that width.
  2. Overhand knot the ends together to form an elastic belt.

    This is the only picture I have of the elastic – see it on the table in the top right?

  3. Measure from your child’s waist to 3 inches below their knee.  Fold tulle in half.  Cut about 24 5″ wide strips of tulle (folded in half) in that length. (Note: you may need more and less depending on your child’s size.)
  4. Knot tulle onto elastic belt as follows.  With tulle piece folded in half, hold fold/loop over the top of elastic belt. 
  5. Put ends of tulle down and around the elastic and back up thru the loop.  Pull tight. 
  6. Repeat for other strips until the entire belt is full.Note: When you come to the knot in the elastic, cover up with one of the knots.
  7. Let your child use their imagination!

    I just love this photo

    And this one too.

    And here they are admiring their outfits.

Posted in Crafts & Sewing | Leave a comment

Hextacular

Well….. we had 2 days of both kids in school last week! A new record! I realized that our kids have both been in school at the same time for only 2 days in the last 4 weeks.  That is rather disheartening.  This time Patricia was sick, and Julius had another snow day!  The snow does look very pretty AND it was great snowman snow!  So we built a snowman that Julius named “Violet”.  (Not sure if the snow person was named after his friend from school or not…)

I had an existential crisis this week.  I hope it doesn’t sound too entitled, but it probably will.  You see, 14 years ago I had a dream/career goal to be a post-si debug engineer.  For the last 3 years I’ve been working in that job and I love it (most of the time).  While there is always so much to learn in this role and I could see myself enjoying this job for a long time, I came to the realization that I might need some new goals.  When you’re young and just out of school though the world feels like your oyster!  Now I feel like I have to make my goals WAY BIGGER because I’ve got less time to lose!  Or maybe it’s just that I’ve been reading a series where the main characters level up to more and more ridiculous levels every novel. It’s a problem.

Maybe my goal should just be to have a better work life balance!  That seems like a noble goal.  In 10 years I want my kids to like me and still have a career.  (She types, as she writes this blog after working til 10pm after missing most of dinner with the kiddos.)  I might have to reprioritize my life choices.

Speaking of reprioritizing!  I finally got around to an item I’ve had on the list for 2 years now!  A couple years ago we got a Berkey water filter.  We love it, but I needed something to stand it up off the counter and in lieu of a stand I grabbed a wooden box (previously used to house olive oil) and a tortilla warmer (which may I add fit the bottom of the Berkey PERFECTLY?!)  It didn’t look great but it was functional.  I meant to swap it out when I bought or made one.  I decided the ones available for purchase were ugly, and I couldn’t decide what I wanted it to look like.

It’s hard to go down from here.

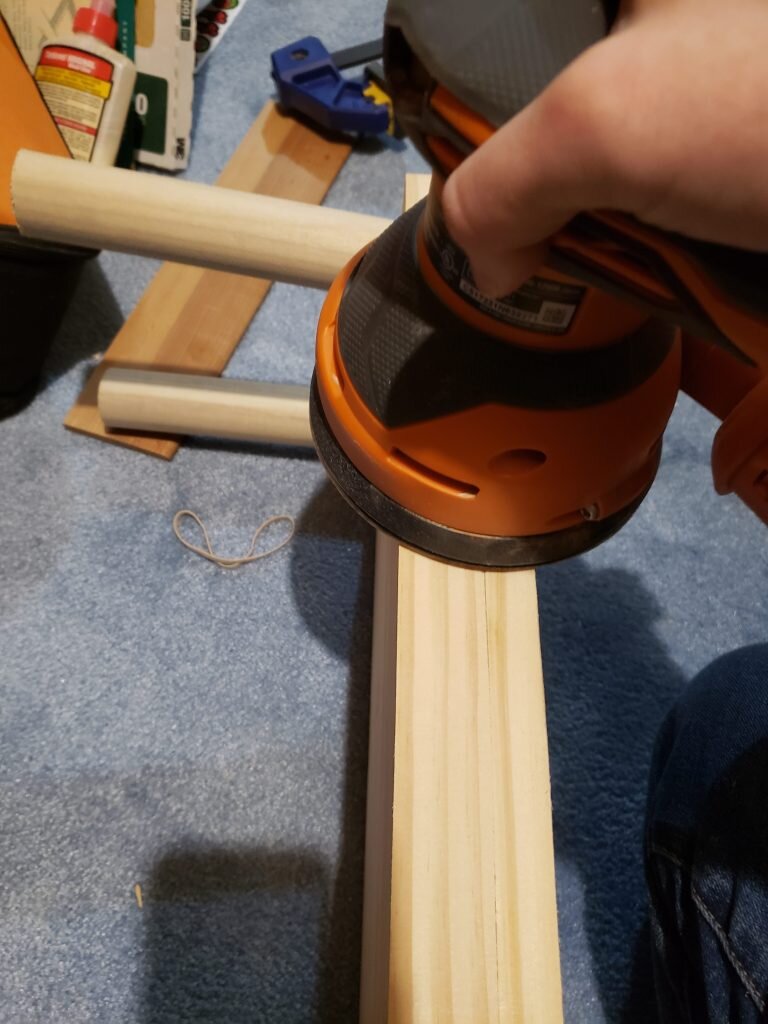
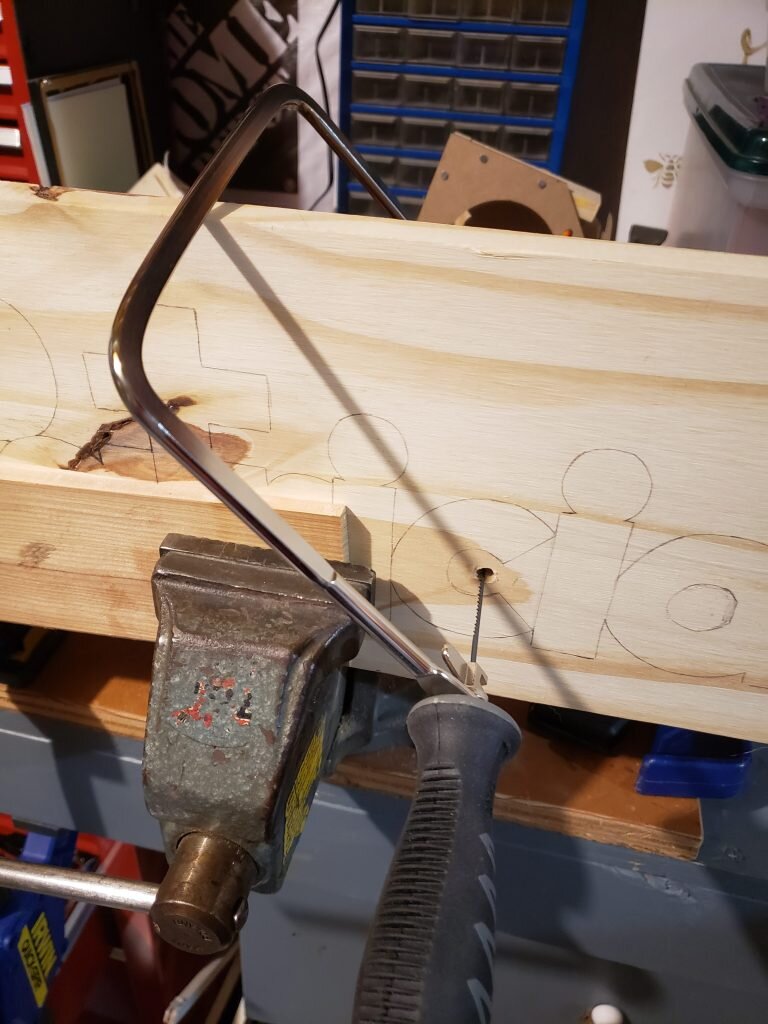
After 2 years though nothing could be uglier than my box/taco holder combo.  At some point I almost caved and bought a fancy beverage stand from Crate and Barrel that I LOVE!  But luckily I measured and it’s too low and the diameter is too small for my Berkey.  It was also $50.  I decided I could make one myself, but realistically I have no tools to carve or bend wood in a circular shape.  So I decided to compromise and make something hexagonal.  I am SO HAPPY with what I came up with and how it came out.  It didn’t cost me $50 either! (It cost me like $30, including the glue and tung oil)  Also I have to give full credit for the taping idea to Amy.  I sent her pictures of the complex jig I was working up to glue and clamp all these pieces and I realized it was going to take me a year, or 40 clamps to get thru the project in any reasonable amount of time.  The taping worked great, especially because the joints aren’t load bearing!

Big Berkey Drink Stand

What you’ll need:

  • 2″x2″x13′ piece of wood
  • Wood Glue
  • chop saw or miter box
  • clamps
  • sander (I use an orbital sander) and fine and medium grade paper
  • painter’s tape
  • 12 cabinet bumpers (like these)
  • Tung oil and polyester rags
  1. Set your chop saw at a 60 degree angle.  Cut 30 trapezoids that are 5″ on the long edge.
  2. Tape 6 trapezoids, end to end using the painters’ tape.
  3. Put wood glue at end of each piece then roll it up into a tight hexagon, making sure the faces align and everything is tight and secure.
  4. Repeat step 2&3 for 4 more sets.
  5. Let wood glue set overnight.
  6. Remove tape from all hexagons and sand the tops and bottoms until flush and smooth, dust surface.
  7. Stack hexagons together.  Apply glue sandwiched between each set of hexagons, and clamp together.  Let dry overnight.
  8. Remove clamps and sand down each face of the hexagonal tube until all pieces of wood are flush.
  9. Sand the top and bottom of the hexagon stack until pieces are flush and smooth.
  10. Dust surface with a tack cloth and then apply one very thick coat of tung oil with a polyester rag following the instructions on the container* to apply.
  11. Apply cabinet bumpers to the bottom face of the stand, on either side of each joint.

*Tung oil can spontaneously combust so make sure to follow instructions for how to handle rags while drying.

Wanted to show putting a water bottle underneath! The perfect height!

Posted in Home Improvement | 3 Comments

Not Just Black and White

Hello dear citizens of the realm!  Julius has returned to his place of schooling (ish) and the Colton household is filled with much rejoicing!  Three cheers for school and an uninterrupted work day.   Hip, hip, huzzah!

No, but in all seriousness I’m as happy as a clam, and so is Julius.  He told us today that he loves his temporary location (a church) because he “got to play hide and seek in the pews!” When I asked him “what?!” he explained to me what pews were.  Guess this is the sort of thing you must learn in parochial school.

Despite Julius getting frustrated with us for being cooped up at home for 3 weeks of half neglect while we worked, he is still such a sweetie.  Yesterday I was explaining to Julius what it meant to be sued (long story, only will further convince you of my craziness) and I may have impressed upon him that it’s when you get in trouble for something and a lawyer takes all your money (I swear I explained the concept more than that, but it seems that’s what Julius got out of it).  After the conversation he came up to me and whispered in my ear (so no lawyers could hear?) “if you run out of money, I have money that you could have.  I have two quarters!”  It was just so adorable I didn’t even know what to say!

Another cute happening, was that while Patricia was eating breakfast (Julius was still asleep) I saw a herd of deer crossing through our yard.  I grabbed Patricia from her seat and ran her over to the window so she could see them.  She watched in silence as they crossed our yard and I wasn’t sure she understood what I was pointing out.  Afterwards I asked her if she saw the deer and this was our conversation:

Patricia: “yeah, I not crying, I all done crying.”

Me: “You aren’t scared anymore is that what you mean?”

Patricia: “yeah.”

Me: “Deer are gentle they won’t hurt you”

Patricia: “Reindeers pet me?”

Me: “They won’t pet you but they are nice.”

Then she proceeded to run around the house and show me how the deer had run “really, really fast”.  It’s so baffling to think how toddlers are still not quite sure what their emotions mean or how to categorize them.

And have I mentioned how emo Julius is?  He frequently makes himself sad for the fun of it and draws pictures all the times with things crying.  His artwork has soul.  At some point last week Patricia was talking about walking on a cloud and I asked her if she thought she could stand on a cloud.  She said she thought she could, and Julius corrected her with this piece of poetry:

“Clouds are only made of rain and paper.  If you stand on one, you will fall.”

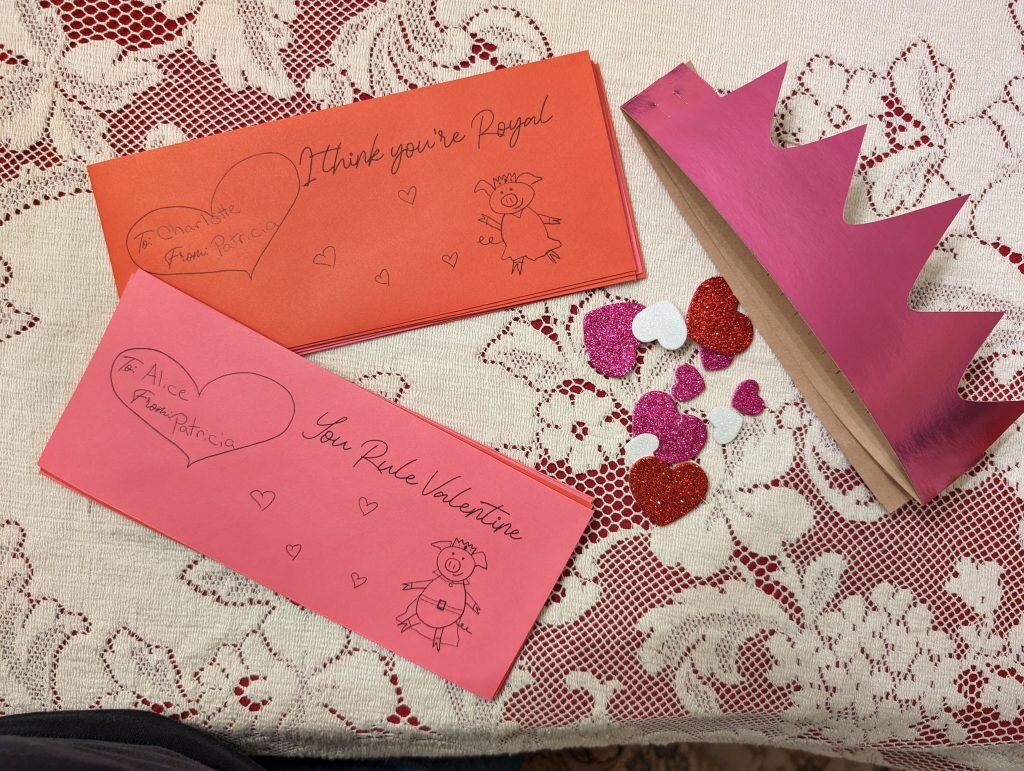
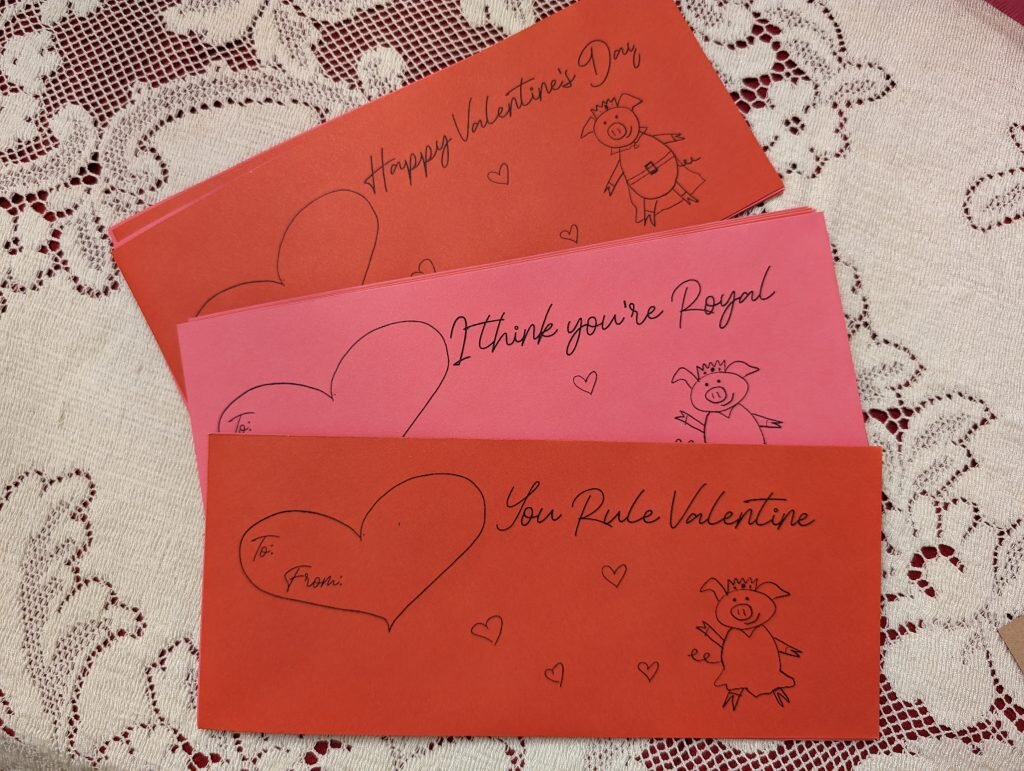
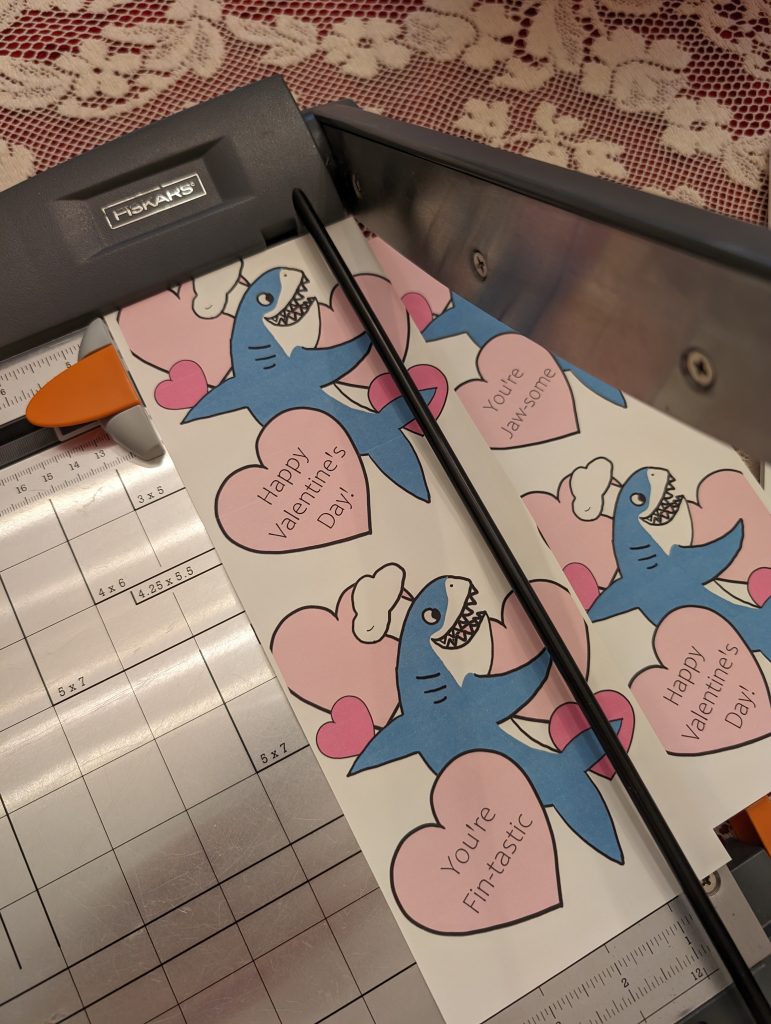
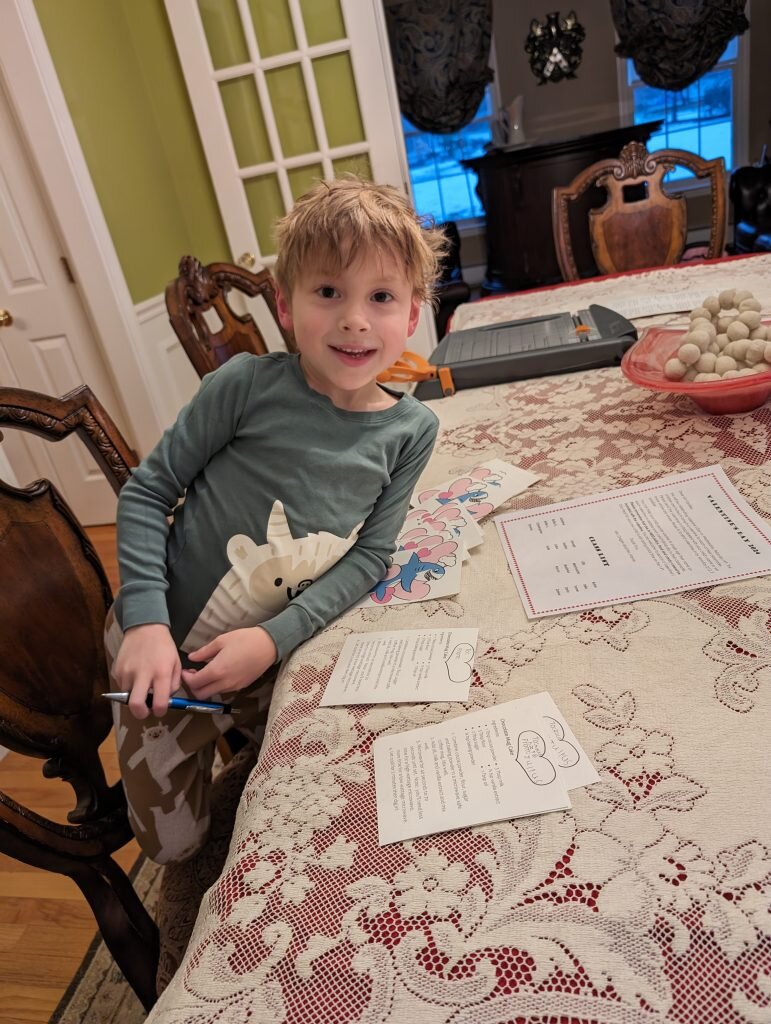
Julius was most heartbroken about Valentine’s day out of all the reasons he missed school.  He asked a dozen times why he didn’t get any Valentine’s from classmates even though a couple classmates were sweet enough to drop off Valentines to him.  I guess it was extra lucky that I made him the Valentine’s mailbox because he had something to look forward to, even if it was just from his mom.  Even worse we made 20 Valentine’s for his classmates.  You saw the penguins I made for Patricia.  Those guys took me no time at all to make because I did them assembly line style.  Julius loved them, but he thought classmates would prefer a DIY version.

So I had to figure out how to individually package paints for each kid and I thought of the brilliant(?) idea of putting them inside straws.  So I got some old straws that people didn’t want off our buy nothing group and spent like 5 nights filling them full of paint (in my bathroom with the fan on full blast and a painting respirator on.  I’m not going to lie, it was not the most fun use of my time and I will never do it again.   The instructions also took me forever to make.  And there are 17 of them still sitting on my table.  On the bright side?  They were dirt cheap!  I hope the few people we gave them out to liked them!  Julius and Patricia did!

Make your own Penguin Valentines

What you’ll need: 

  • 20 pegdoll blanks
  • 2 oz orange acrylic paint
  • 4 oz black acrylic paint
  • 4 oz white acrylic paint
  • 60 plastic straws
  • 20 paintbrushes (mine were leftover from a previous valentine)
  • 20 sheets of white printer paper
  • x-acto knife
  • double sided tape or tape glider
  • a candle
  • flat jewelry pliers
  • a plastic syringe (I used one from a Tylenol bottle)
  • stapler
  • Valentine template here
  • Valentine instructions template here
  1. Suck up 3.75mL of black paint with syringe.  Clean tip of syringe.  Insert tip of syringe into the straw.  Squeeze into straw and remove using care to avoid getting the top of the straw dirty with paint.
  2. Pinch the bottom of the straw closed with pliers, 1mm from the end.  Melt end over candle flame.  Gently press the pliers on top of the melted spot to close it.
  3. Repeat the same for the other end of the straw, cleaning the top of the straw with a rag first if any paint got near the top.
  4. Repeat steps 1-3 for 19 more straws full of black paint.
  5. Repeat steps 1-3 for 20 straws of white paint
  6. Cut 10 straws in half.
  7. Repeat steps 1-3 for 20 half-straws of orange paint using only 1.25mL of paint instead of 3.75mL.
  8. Print 10 pages of Valentines.
  9. Insert Valentine pages in the printer right side up.   Print 10 pages of templates.  (They should be on the back of the Valentines.
  10. Cut Valentine sheets in half.
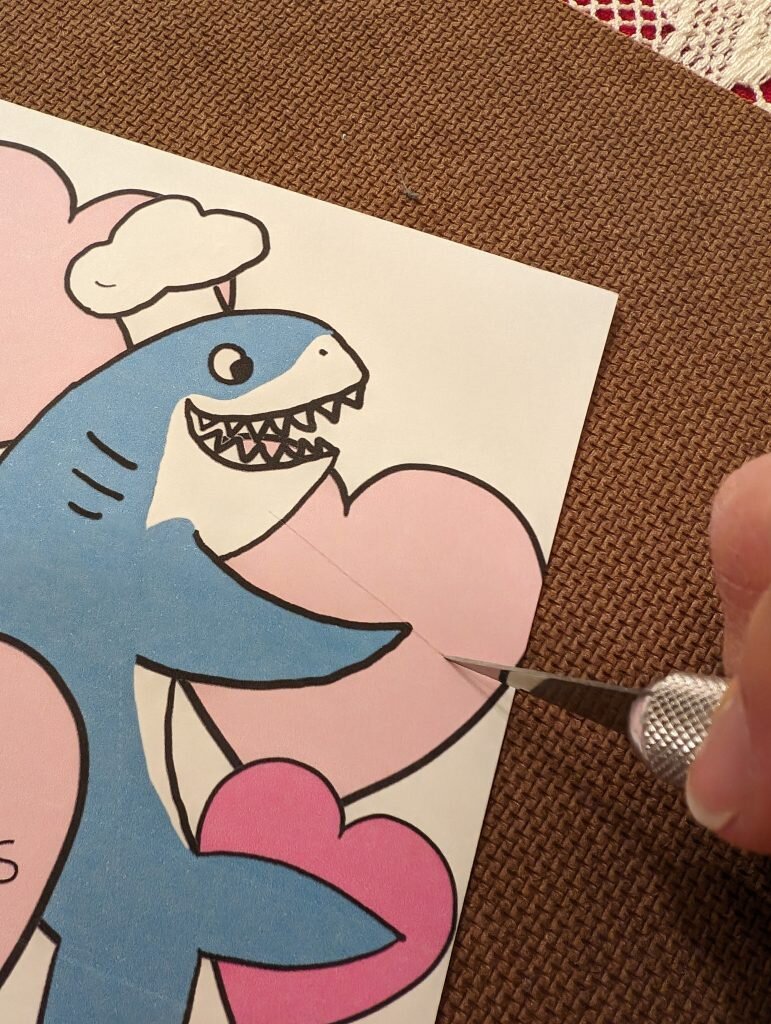
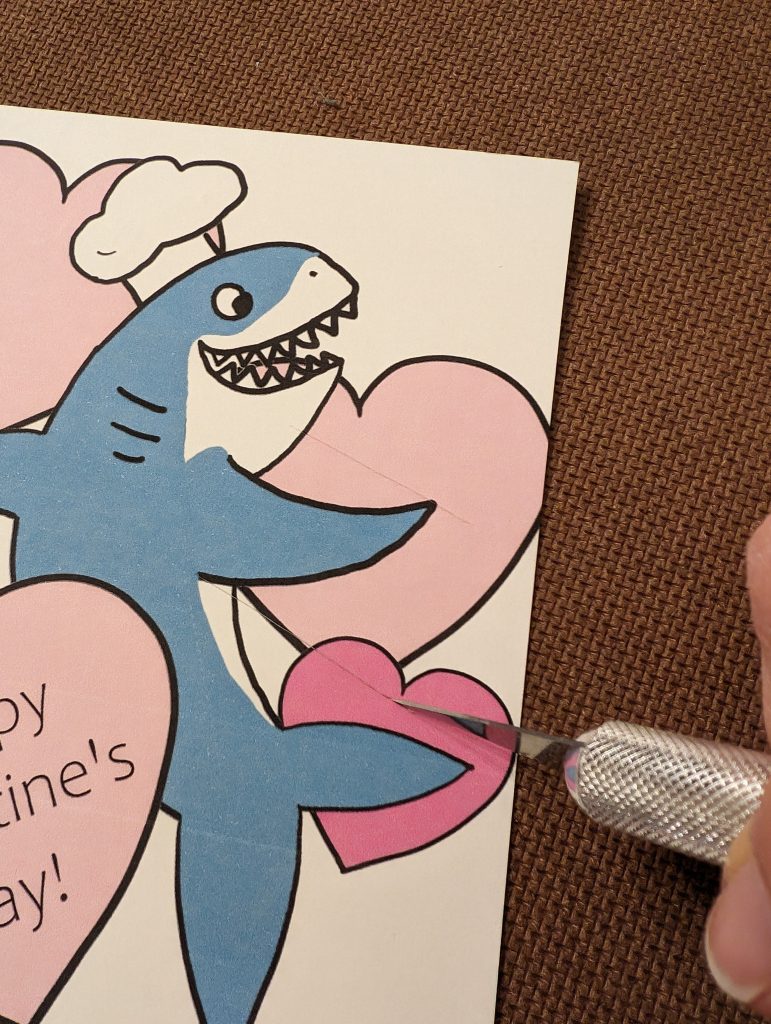
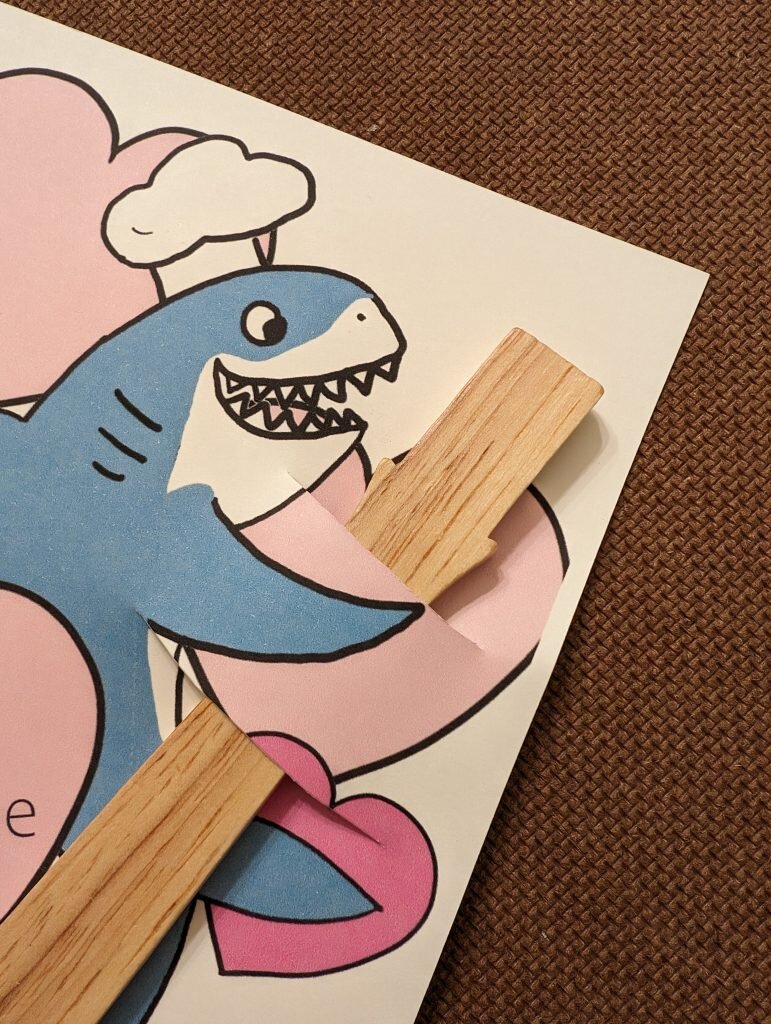
  11. Using an X-acto knife cut two 1/2″ slits above and below the penguin’s raised wing.
  12. Fold two sides of Valentines in towards one another, overlapping slightly at the back, to form a pouch shape.
  13. Put double sided tape on the bottom of the pouch.
  14. Press flap (without wording) down onto the double sided tape.
  15. Put double sided tape on the edge of the flap you just placed down.
  16. Press other flap down on top.
  17. Sign and address Valentines.
  18. Insert paintbrush through the slits in the front.
  19. Fill valentine with 1 black, 1 white and one orange tube and a peg doll.  Staple shut
  20. Repeat steps 12-19 with the rest of the valentines.

Patricia paints her penguin

Julius painting his penguin.

Posted in Crafts & Sewing | 4 Comments

I loaf you so much

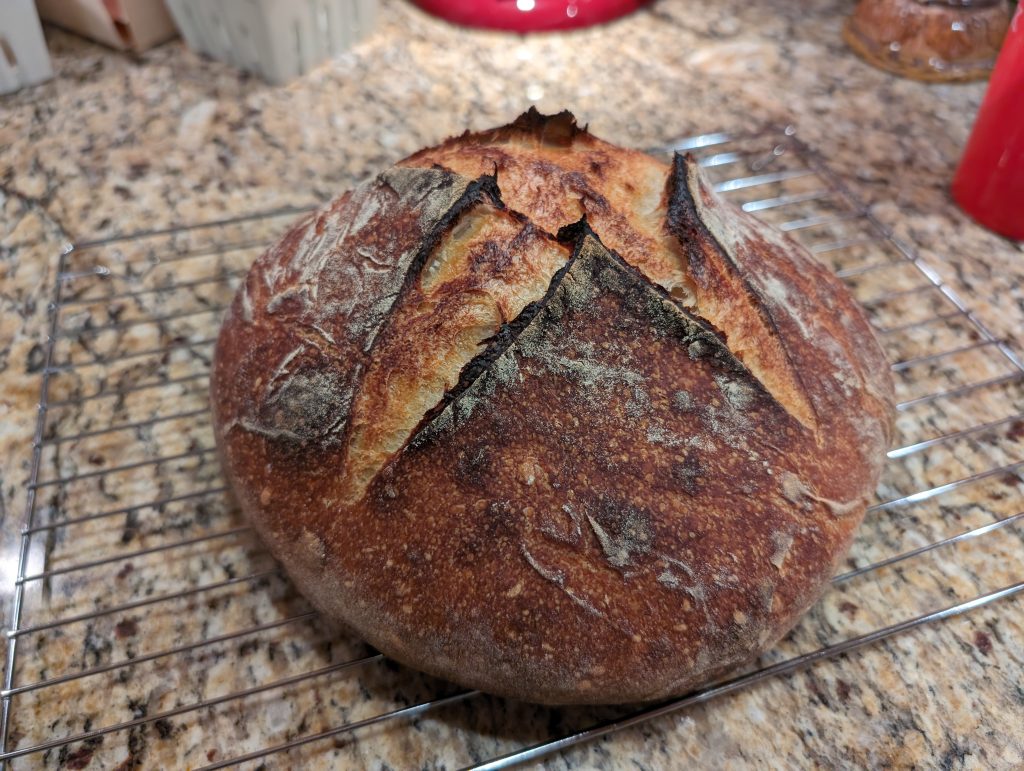
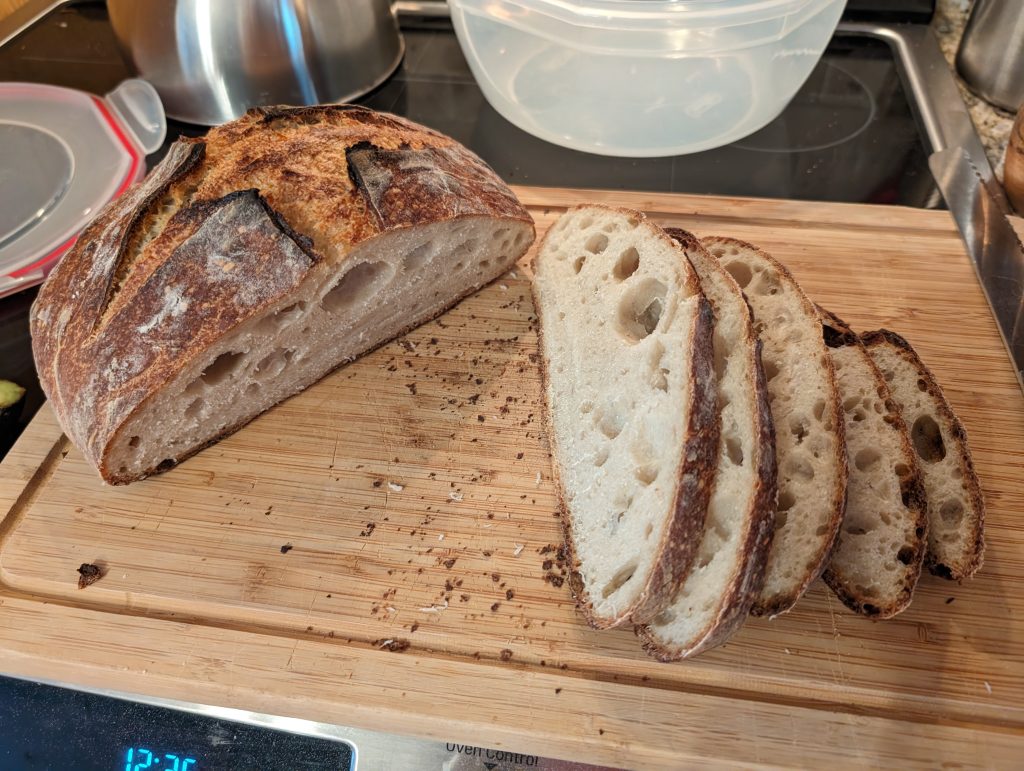
Well I again didn’t realize it was blog night (aka Monday) until 10:30am!  I was busy making a silly surprise for someone that I will probably post eventually.  The good news though is that despite being one day late I have another recipe for you!  This one’s another winner!  I calculated today and I’ve been vegetarian for 3 years and 5 months!  And I only recently found out that a lot of cheese isn’t vegetarian…

Turns out that a lot of the super fancy hard cheeses and even the cheap cheeses like American are made with enzymes from cow’s rennet which comes from the lining of cow’s stomachs.  They have ways of making cheese from vegetable rennet or microbial rennet, but the fancy hard cheeses with controlled names and origins (like Parmesan) have standards that require them to be made with animal rennet.  My guess is that the cheap cheese manufacturers choose to use animal rennet as well because it’s probably dirt cheap as a byproduct from the meat/dairy industry.  Sigh.  But don’t worry!  This meal has 0 cheese in it and is still darn delicious!

This is my take on a vegetarian meatloaf.  I’ve told you about my infatuation with lentils as a meat substitute and this one is my lentil magnum opus.  It’s also a great excuse for something vegetarian to serve with mashed potatoes (sidenote:  my kids LOVE mashed potatoes – they get that from me).  It took me several tries to get this one to stick together properly and not be too mushy.  Don’t expect the consistency of meat.  It’s going to be quite a bit softer.

Look at that loaf.

Lexi’s Lentil Loaf

Ingredients

  • 1/4 tbsp of butter
  • 1.5 c brown lentils, dry
  • half an onion, minced (about 2/3 cup)
  • 1 tsp garlic powder
  • 2 tsp onion powder
  • 2 tsp soy sauce
  • 2 tsp ketchup + more for the top (probably like 3/4 cup!)
  • 1 tsp salt
  • 1/2 tsp pepper
  • 1tsp parsley
  • 1/2c bread crumbs
  • 1 egg

Preheat oven to 350 F and grease a small loaf pan with butter.  Rinse lentils and add to a large pot.  Cover with water by 2 inches and bring to a boil.  Lower to a simmer and simmer for 30-35 minutes stirring occasionally.  Drain and mash with the back of a wooden spoon.  Stir in all other ingredients except the ketchup reserved for the top.  Press into greased loaf pan and cover the top with ketchup.  Bake in oven for an hour (or until center reaches 170F).  Remove from oven, let stand for 5 minutes, then slice and serve with mashed potatoes.

This loaf makes my mouth water.

Posted in Culinary Delights | Leave a comment

Penguins for Patricia

Monday again.  Julius’s daycare is still closed from water damage.  Patricia has been a monster – seems like a case of the terrible twos.   I’m really hopeful that Julius’s daycare will open next week at a temporary location because between the 7 days he missed while testing positive with covid, the two weather days, and the recent pipe burst, on Wednesday Julius will have been to school less days than he’s been out of school!  I’m having PTSD flashbacks to 2020.  At least he’s a bit more self sufficient than 2020 and in the mornings he makes crafts or plays with his toys, though this morning “crafts” was spraying water all over some papers he made (and also the table) and loudly blowing on the paper to dry it.  I had to offer an alternative option that he accepted gladly.

Patricia, despite the terrible-ness, still has her moments.  For instance every time you are holding your phone she’ll say “I see penguins?” She wants you to do a google image search for penguins so she can scroll through and admire them.  Sometimes she will question the penguin-ness of the penguins and say “that not penguin, that owl”.  The other day she asked me out of the blue “hedgehogs eat mushrooms? yes?  or no?”  (She usually adds the yes or no when I’m taking a long time to respond.)  Well, I had to google it!  Turns out they do!   She was pleased with the answer.  Several hours later she asked “Mice eat mushrooms?” (She might have said “mousies eat mushrooms?”)  Guess what?  They do too!

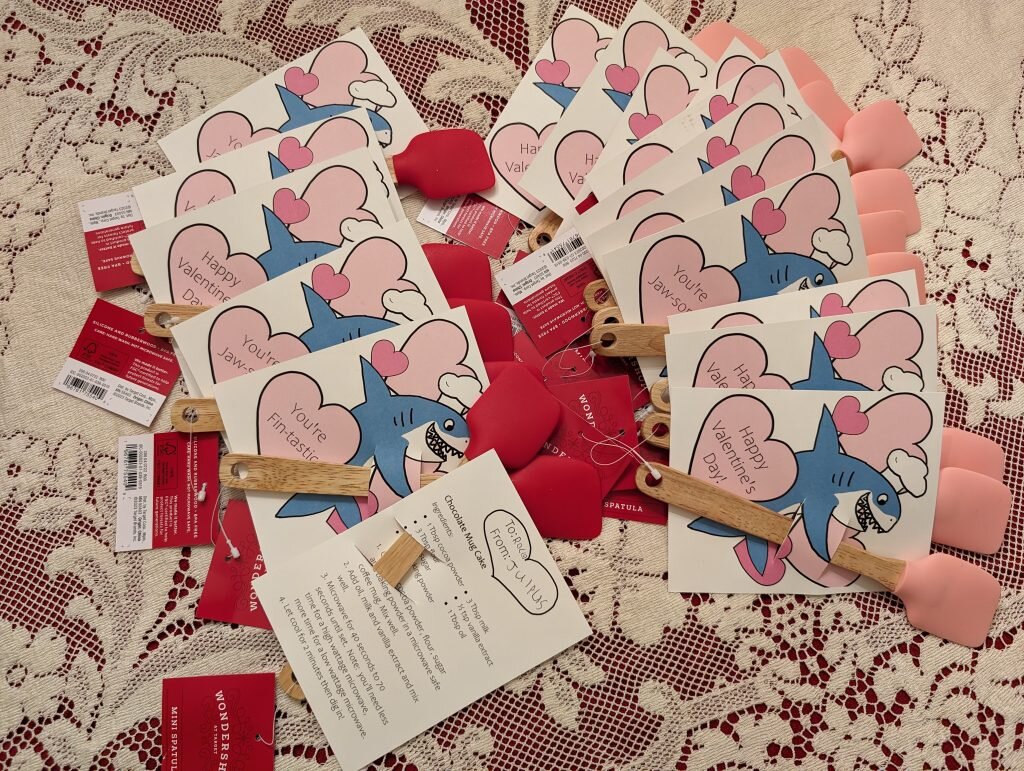
So for Valentine’s day this year I decided to make penguin Valentine’s for Julius & Patricia’s classmates (though Julius’ classmates may never get theirs…)  My mom found a crazy deal on pegdolls after Christmas from Lowe’s.  (I have no idea why Lowe’s sells peg dolls, but they were 20 pegdolls for $1!)  Julius wanted his Valentines to be DIY, so I’ll show you those next week.  For Patricia’s Valentines I made up a batch of pegdoll penguins in assembly line fashion (they took me no time at all compared to Julius’) and then tied them onto little cards I made with silly penguin puns on them.  They cost me less than a box of valentines with toys in them, even including the cost of paint…

Will and I joked that the generic “Happy Valentine’s Day” cards are for the bullies in the class…

Pegdoll Penguin Valentines

What you’ll need:

  • pegdolls
  • black acrylic paint
  • white acrylic paint
  • orange acrylic paint
  • pink acrylic paint
  • modge podge acrylic spray sealer 
  • 65lb 8.5″x11″ cardstock (preferably white but I only had ivory)
  • craft twine (I got mine in one of those mix packs from savers, so it was basically free!)
  • needle with eye large enough for craft twine.
  • Patricia Valentine PDF

Make penguins

  1. Paint front of penguins white.
  2. Paint back of penguins black, curving the black “hairline” at the top like a severe widow’s peak and curving in the black at the neck to define the belly and face.
  3. Add black eyes.
  4. Add small white dots to black eyes for a twinkle.
  5. Add in little orange beaks.
  6. With a very light pink (pink mixed with white) add small checks below the eyes.
  7. After penguins have dried completely, spray coat them with mod podge sealer.

Assemble cards

  1. Using the template above, print onto cardstock.  (4 will print per page).
  2. Cut each page in half and then in half again to form 4 4.25″x5.5″ cards.
  3. Use a needle threaded with craft twine to poke through the middle of the valentine (between the two penguins).  Leave a tail, then poke back thru the front of the card 1/2″ over from the first hole to form a horizontal line.  Trim tails so they are about 3″ each.
  4. Place penguin between two tails of craft twine, and tie twine in a bow around the penguin’s neck, securing them to the card.
  5. Hand out to all your friends!

    Patricia added the stickers herself.


Posted in Crafts & Sewing | 4 Comments