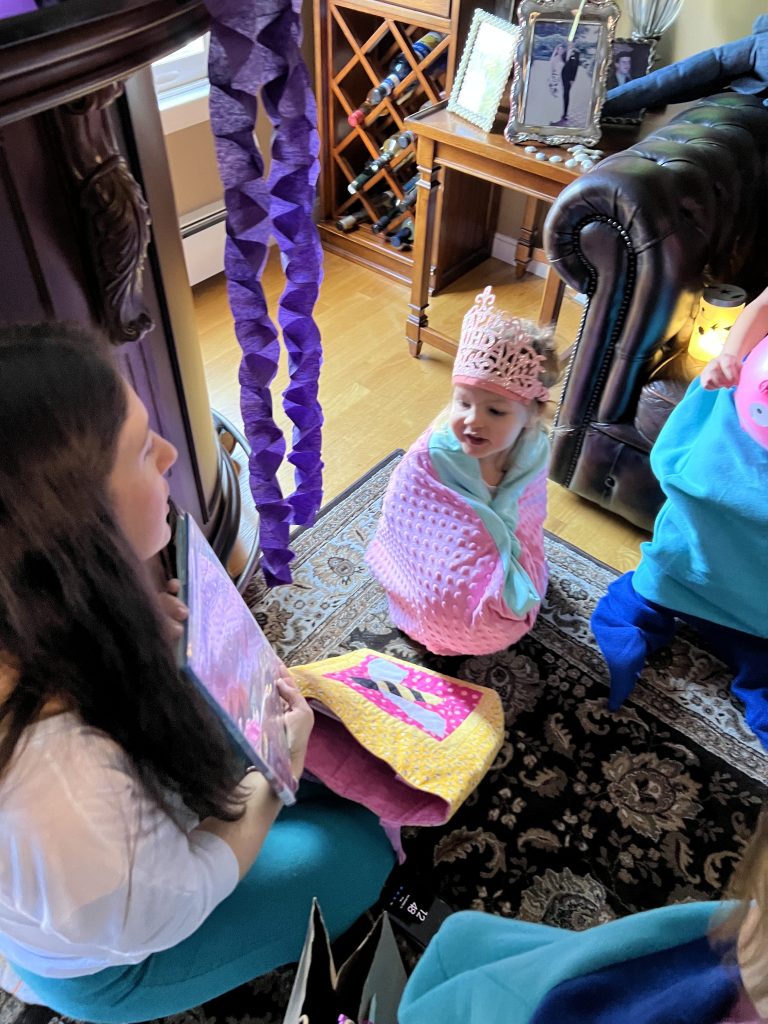
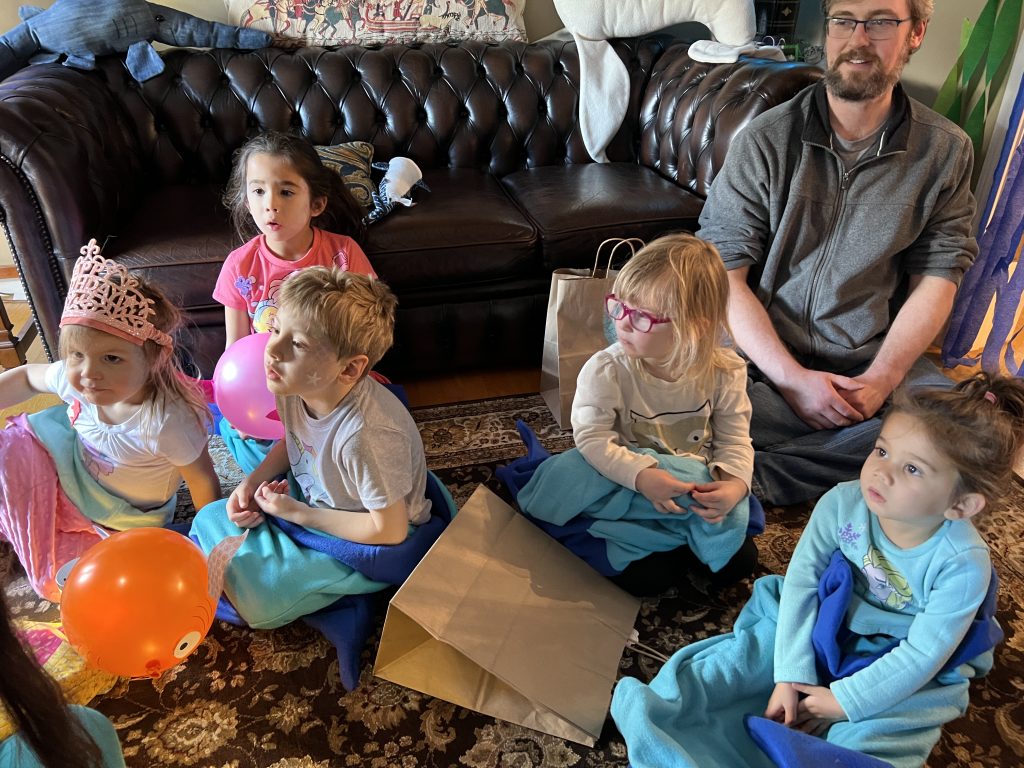
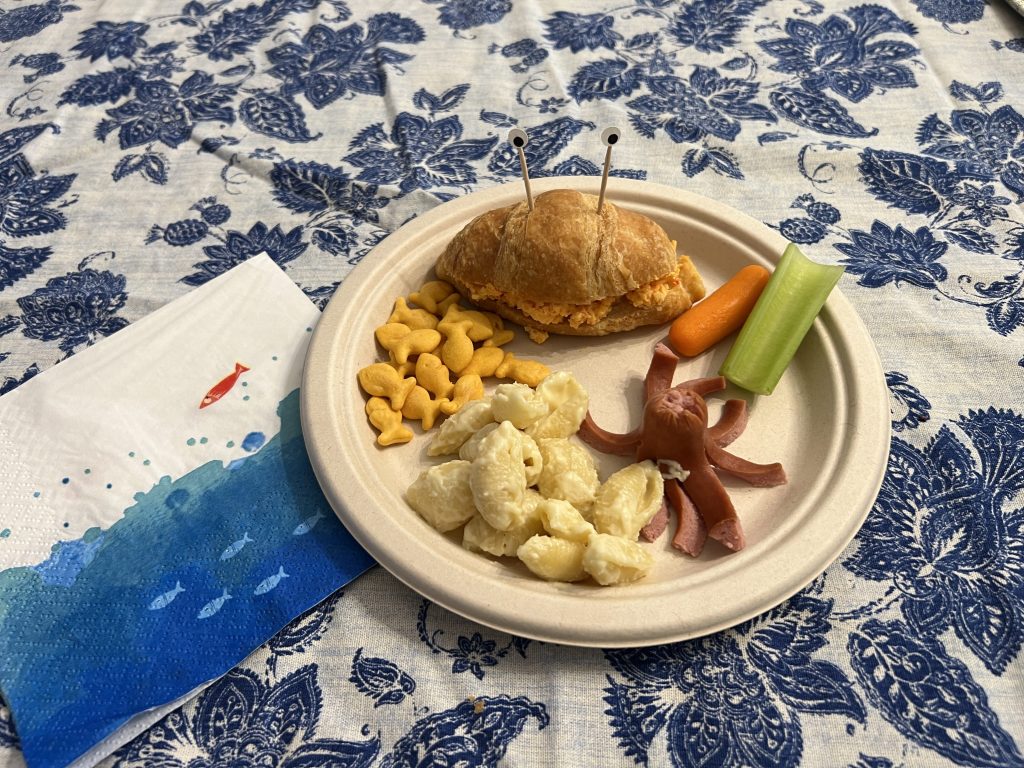
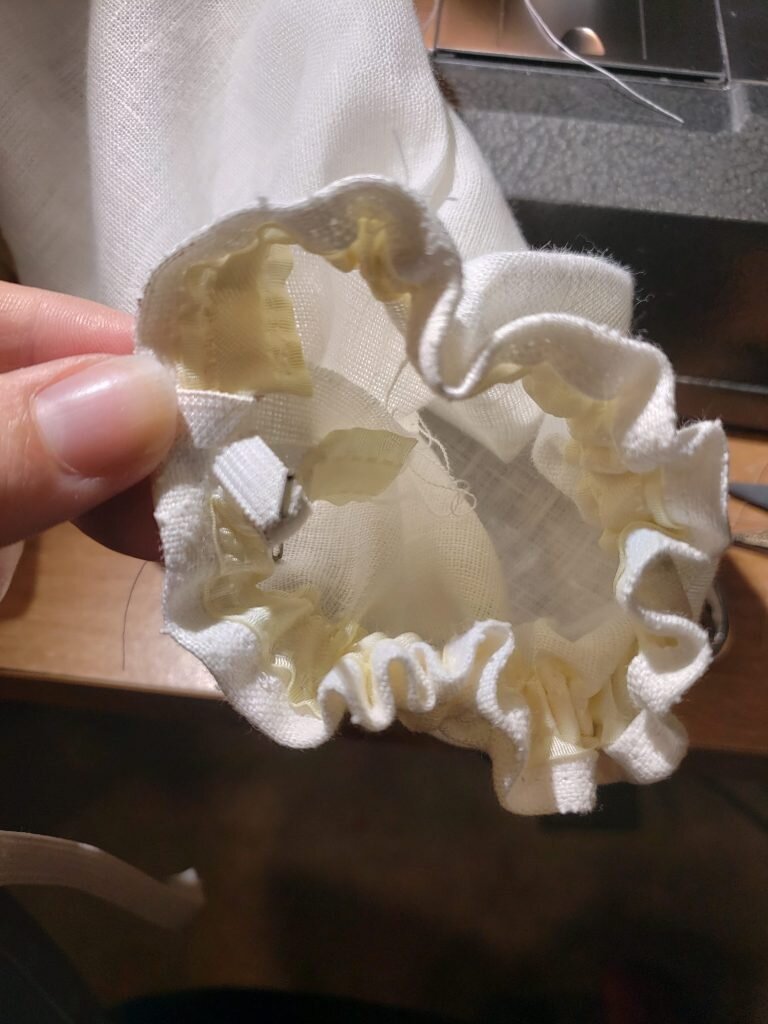
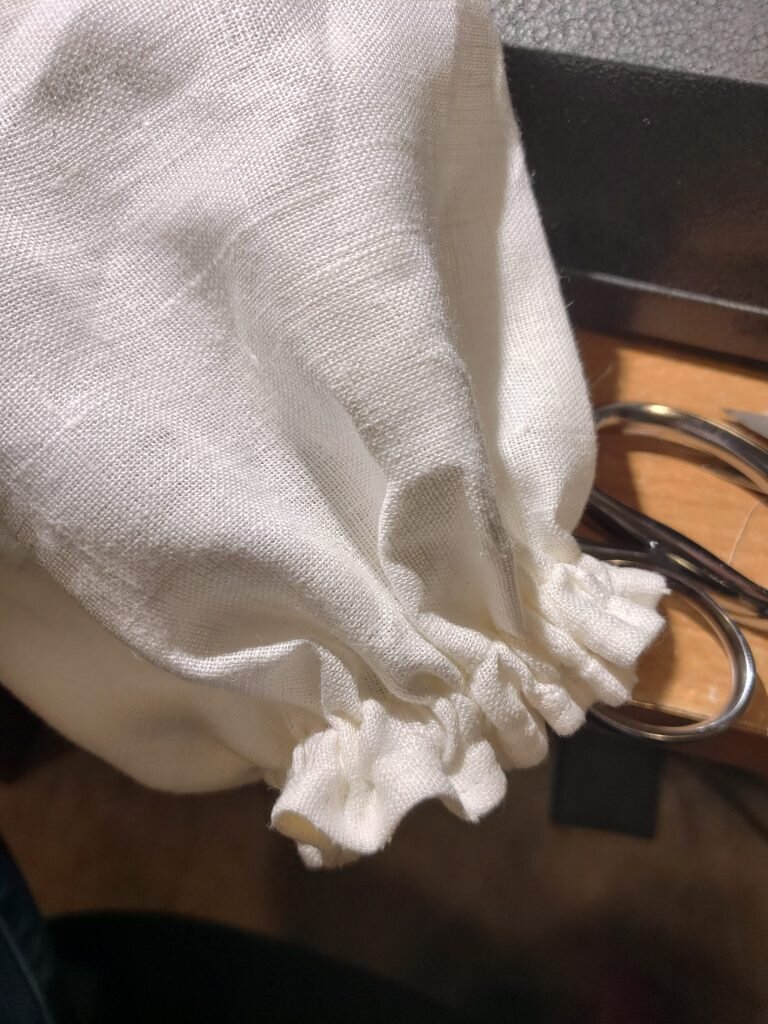
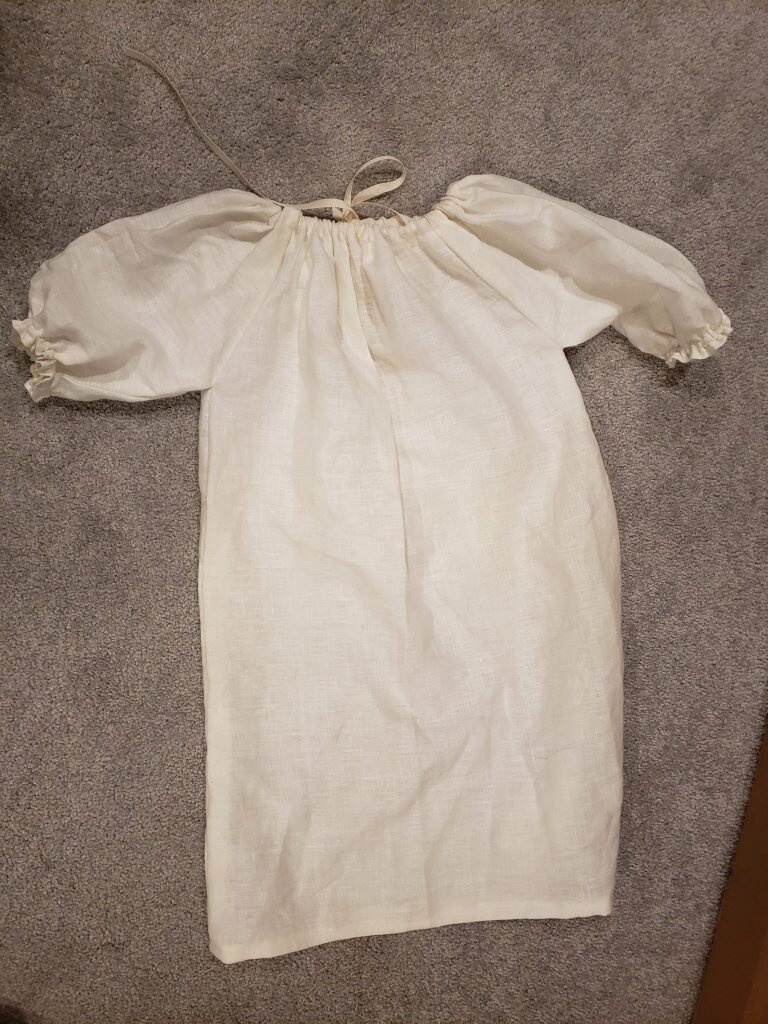
I’m Gonna Write You A Letter

I just want to say thank you to everyone who comments on my blog (regularly or only once) it really makes my day!  I’m a bit late tonight because I did a library craft tonight (a Korean lotus lantern).  Okay I lied, that finished before I even put Julius to bed.  The real reason I’m late is because I procrastinated for an hour and a half scrolling the internet.  And as a bonus though I found out my neighbor has a local flower business and I’ve got some great local flowers coming my way for Valentine’s day (and several pairs of yoga pants but I won’t talk about that).

Since we got covid we’ve been starting to get out of our shell more.  We even started inviting people to the house because Will is desperate to play games.  I keep telling myself I’m going to host another ladies’ night, but I haven’t yet pulled the trigger!  I don’t know why!  I think I’m just exhausting myself by thinking of all the prep work I’ll need to do. I’m out of practice with entertaining!  And it’s soooo much easier to be a hermit.  I don’t even need to wear pants!

When I was a literal hermit living in the basement for 4 days with covid, trying to avoid giving it to anyone (spoilers I’d either already infected everyone or whoever infected me infected everyone else too) I kept thinking to myself “this is the perfect time to get some crafts done”.  Except I had a fever of 103 and couldn’t sit upright for more than an hour without a nap in between.  I did though end up accomplishing one craft and I don’t think you can tell that I had covid when I made it.  Apologies though if the tutorial is muddled, because, well, covid and all that.

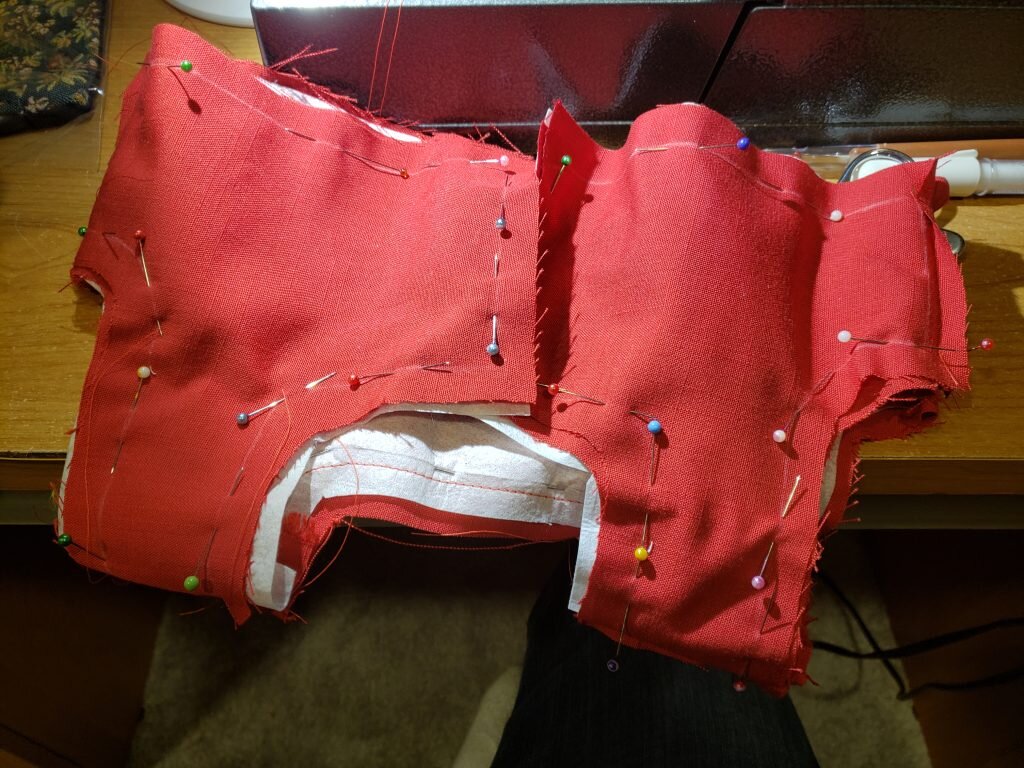
I could have watched TV I guess but instead I scrolled Pinterest for hours while sick.  During that time I decided that I really wanted to make one of these adorable pottery barn Valentine’s chair backer mailboxes.  They are so darn adorable.  They don’t sell them anymore though and the only pictures I could find of them is a slightly blurry 400 x 400pixel resolution image that someone screenshotted and put on Pinterest 5 years ago.

Pottery barn mailboxes, that only exist on pinterest now.

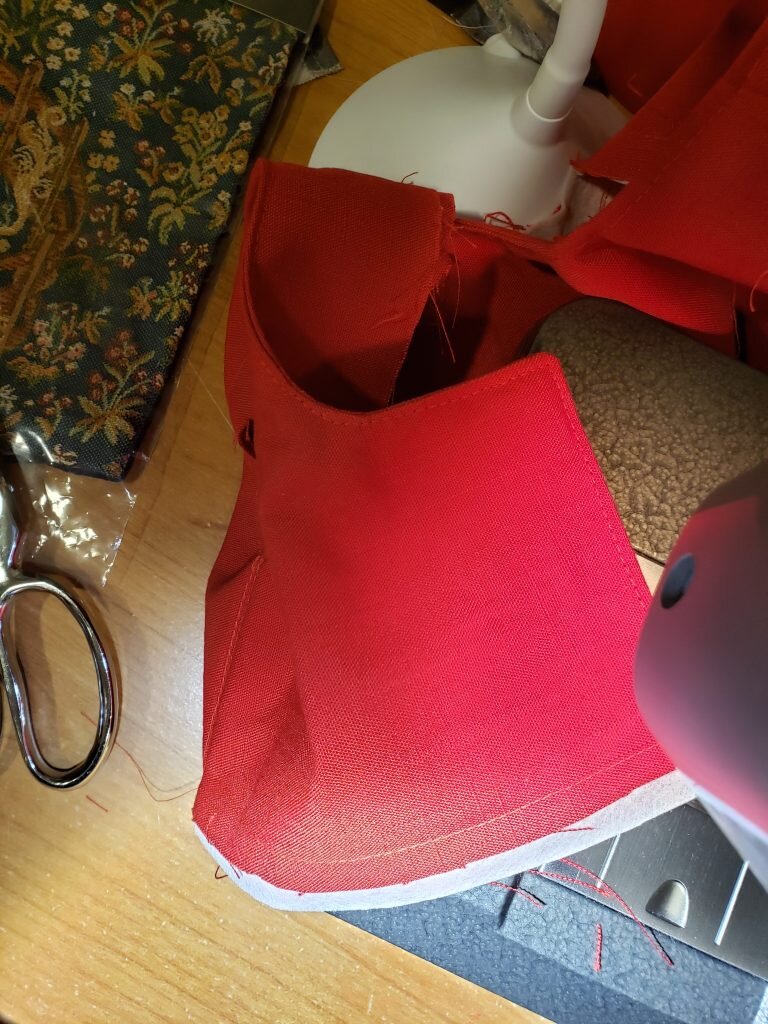
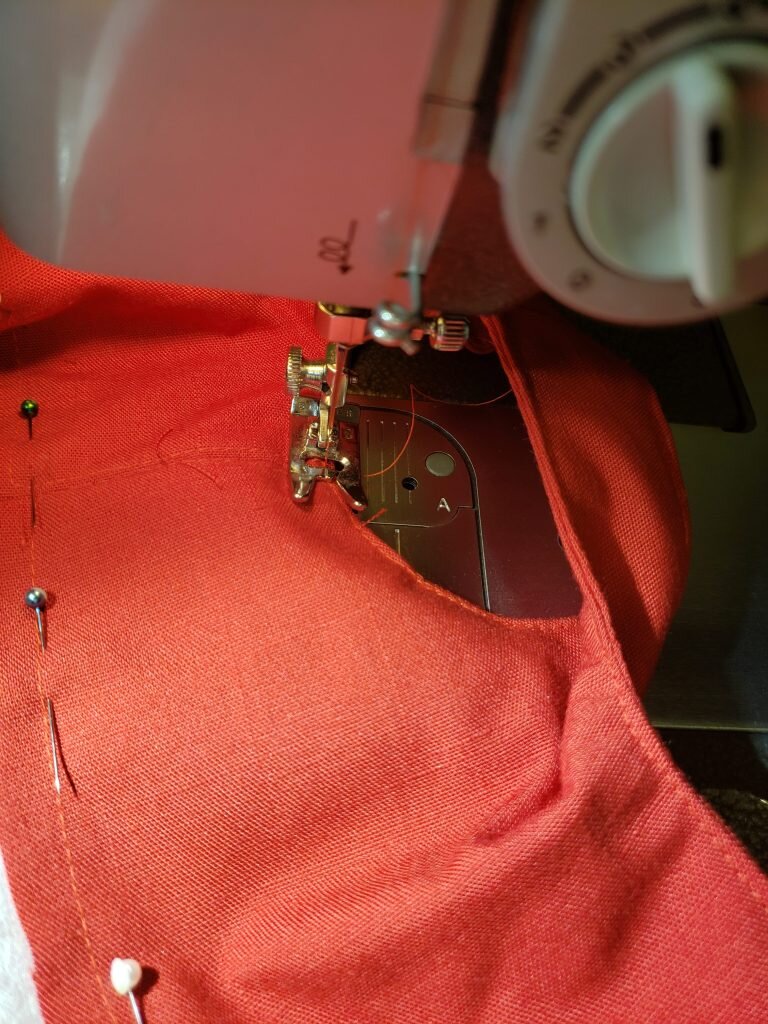
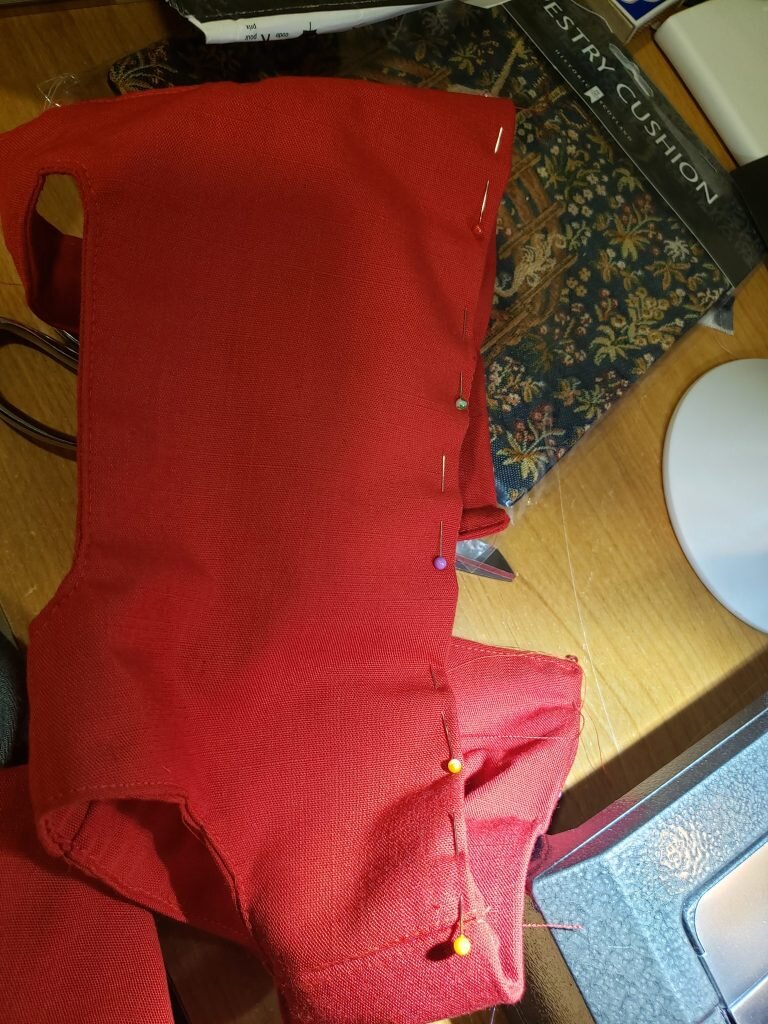
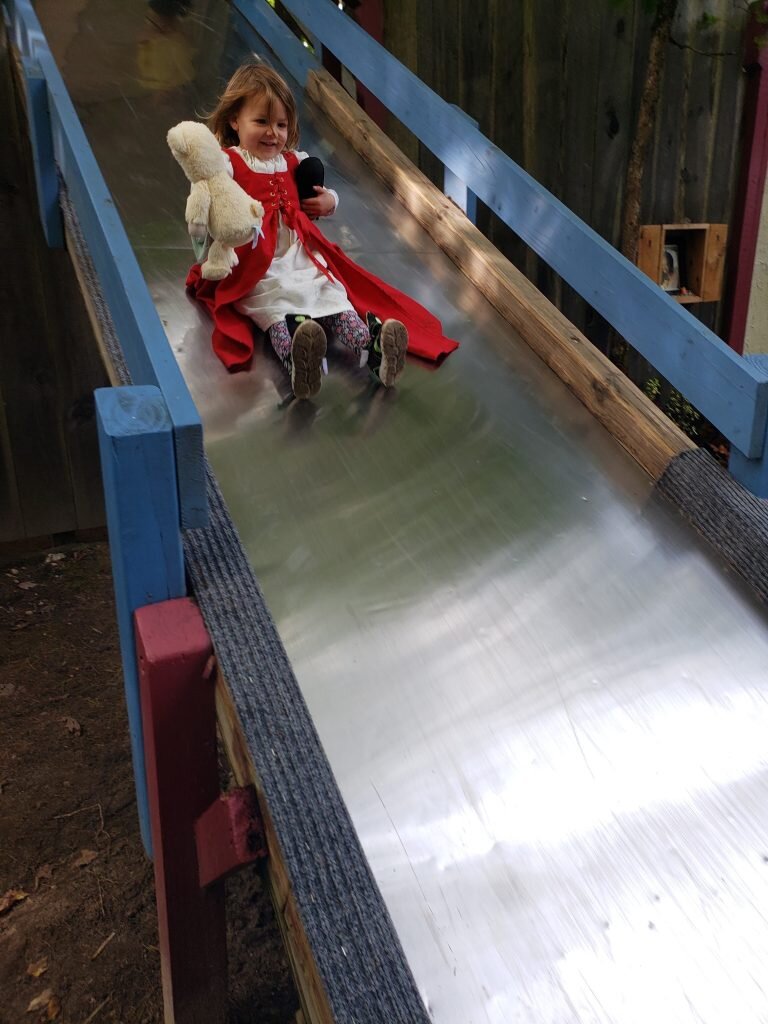
This is what I came up with, and I think it’s pretty cute.  Also I think I should tell you that the kids LOVE the backpack.  They have been checking it for notes every morning so I’ve been writing them little love notes (and once I made them little heart candies).  Shoot that reminds me I have to finish this up so I can do their next little love note!

Valentine’s Backpack/Chair backer

What you’ll need:

  • ~1 yard of exterior material (mine is some red curtain material I bought at savers)
  • ~1 yard of lining material (mine is hand me down from my grandmother – side note – how did I NOT have any hearts or valentine-y fabric in my stash?!  Strawberries was the best I could get)
  • ~1 yard of peltex 70 (some of it was scrap I sewed into a bigger sheet – you can do this it totally works!)
  • bias tape in contrasting color
  • Assorted felt for decorations, embroidery thread for details
  • 3 buttons
  • elastic cord
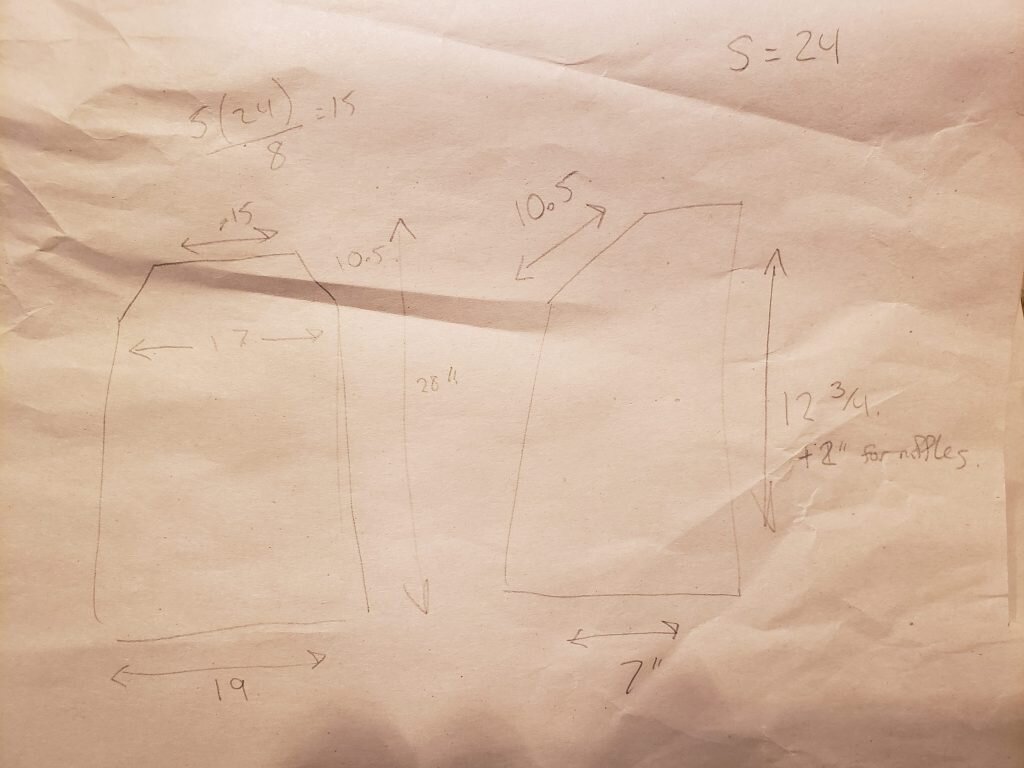
  1. Cut out 13.5″x26.5″ rectangles of outer material and lining material
  2. Cut out a 13.5″x25.5″ rectangle out of peltex.
  3. Fold the rectangles in half (right side in) to form pieces 13.5″x13.25″.  The fold will form the bottom of the bag, stitch along the two unfinished sides adjacent to the bottom.
  4. Measure out a 1.25″x1.25″ square inside the stitching on either side of the bottom of the bag.  Cut out square.
  5. With right side of fabric still facing in, pull one set of squares apart to form so the raw edges meet and the seams align. Stitch along the unfinished edge.   Repeat for other side of bag.
  6. Repeat steps 3,4 and 5 for lining piece of fabric.
  7. Repeat steps 3,4 and 5 for peltex piece of fabric (except in step 3 your folded fabric will form a rectangle of size 13.5″x12.75″.
  8. Leave lining fabric right side in.  Turn outer fabric right side out, and place inside lining fabric. Turn peltex right side out and place peltex inside outer fabric.
  9. Force all the layers into a box-y bag and put pins to mark two of the corners adjacent to one of the long sides.
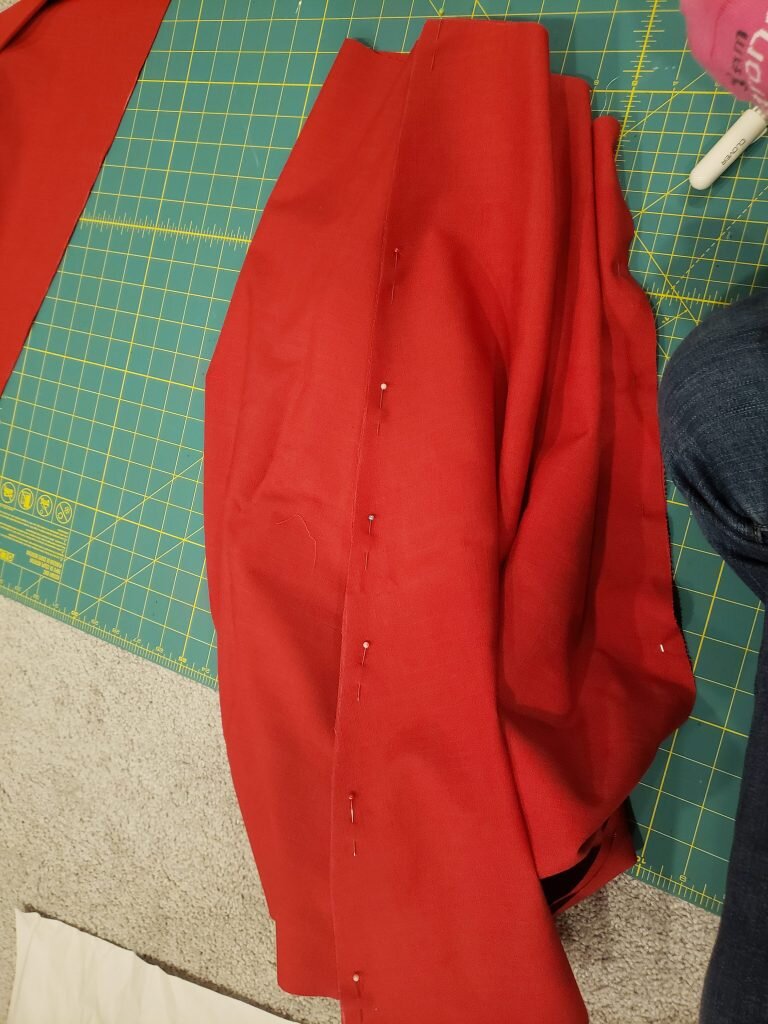
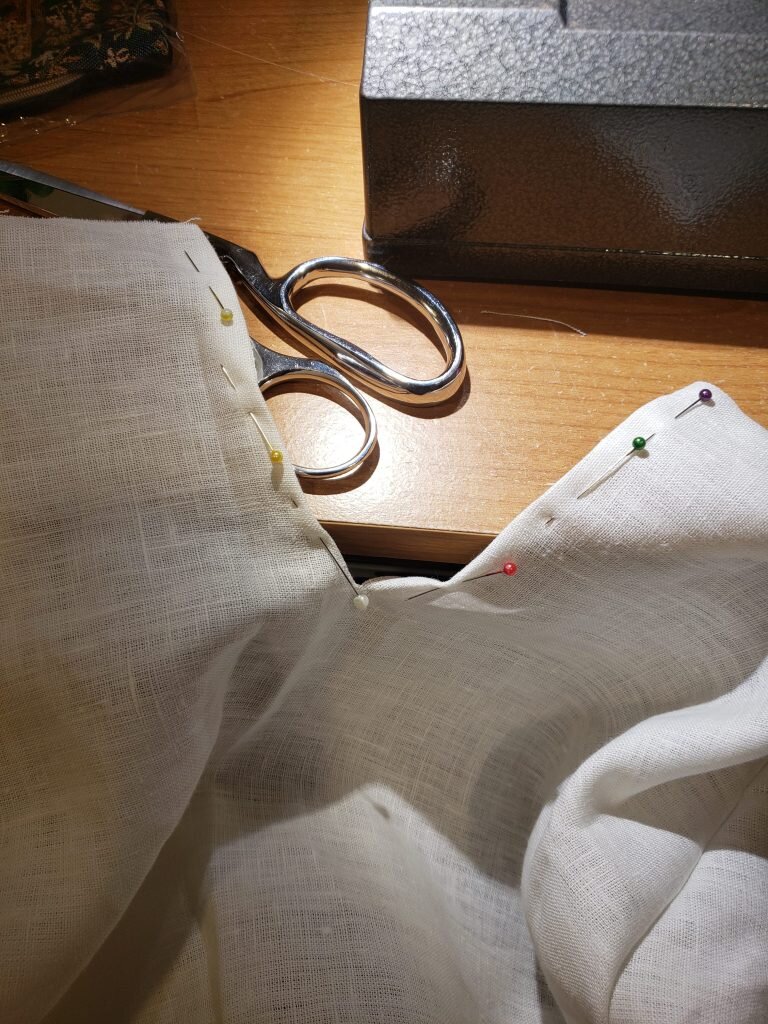
  10. Stitch from pin to pin along the short sides and remaining long side,  just above the peltex.
  11. Turn lining fabric around the rest of the bag and into the inside of the peltex.
  12. Cut a piece of peltex 9.5″x9″ Along one of the shorter ends round the corners gently.
  13. Trace peltex on top of 1 piece of exterior fabric, and 1 piece of lining fabric, right sides in.  Stitch around all corners except the side opposite the curved end.
  14. Trim edges to 1/2″ then turn right side out and insert peltex inside.
  15. Here is where I embroidered my kiddos names onto the flap.  I used my machine, but you could of course do this by hand.
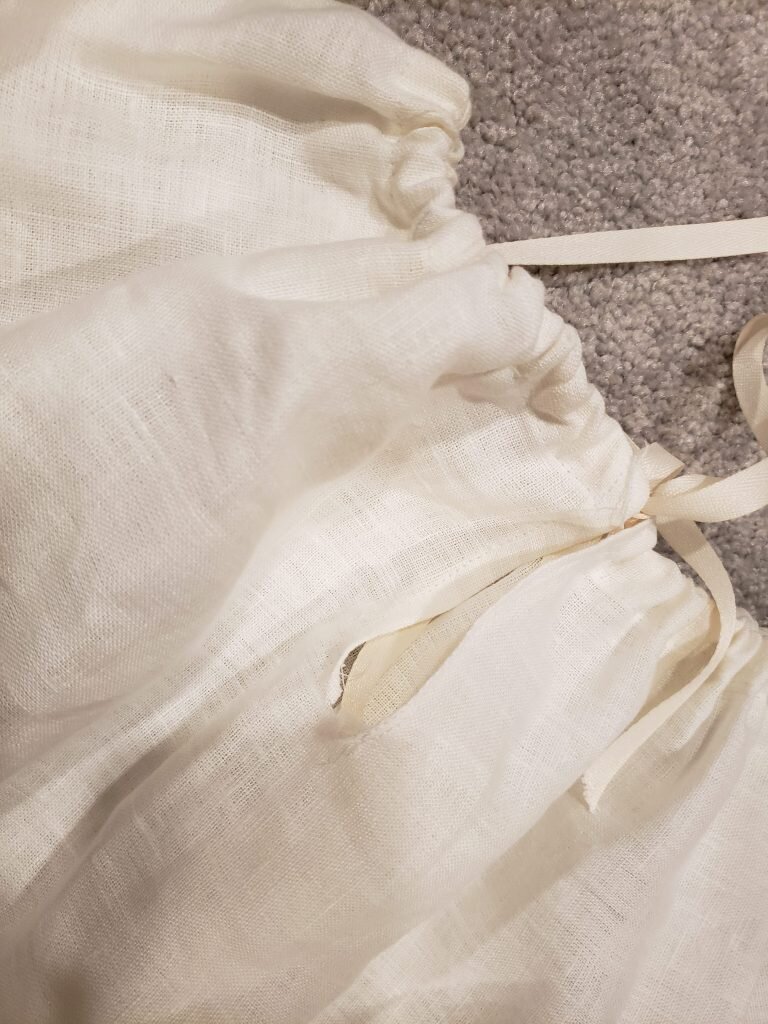
  16. Make straps (I will be honest, I stole some from the curtain fabric I reused for the exterior).  I recommend cutting a 4″x19″ rectangle, folding it lengthwise (right sides in), stitching along the long side and turning it right side out.  Fold one of the ends in, then stitch.  Repeat for second strap.
  17. Insert unfinished portion of flap into the unfinished portion of the bag, in between the peltex and the lining.   Fold the lining and exterior fabric edges in so the unfinished edges are tucked inside. Do not stitch yet.
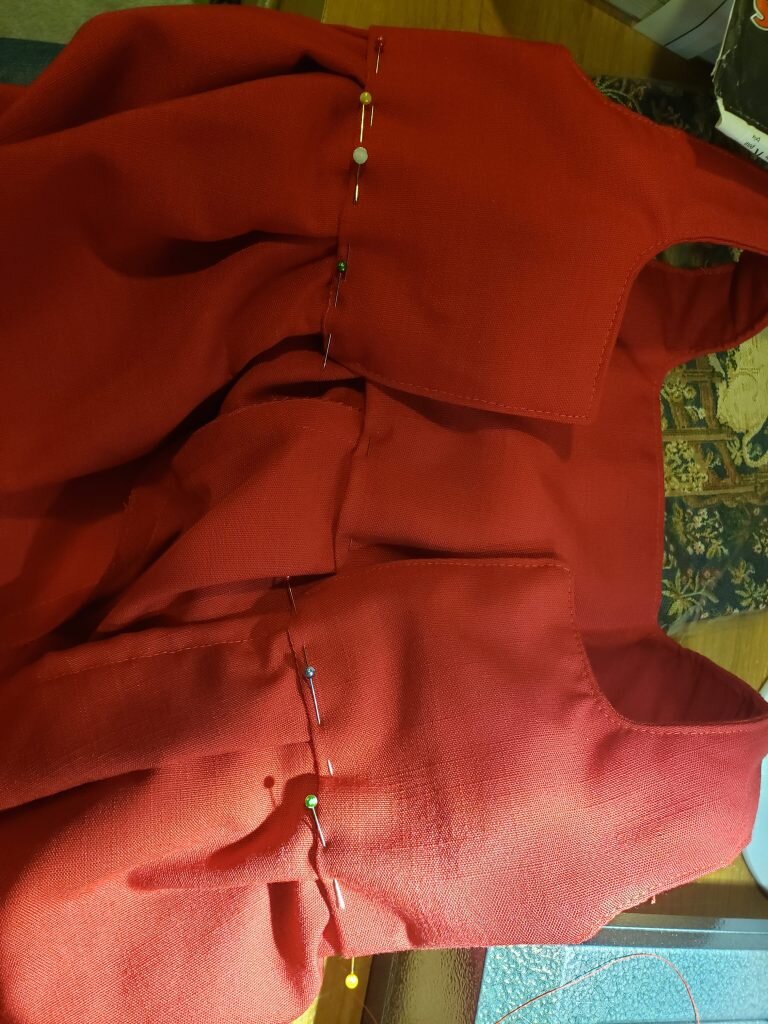
  18. Insert unfinished end of each strap between exterior material and flap at the outer ends of the flap.
  19. Stitch along the entire back of the bag through the lining, peltex, flap, straps and outside.
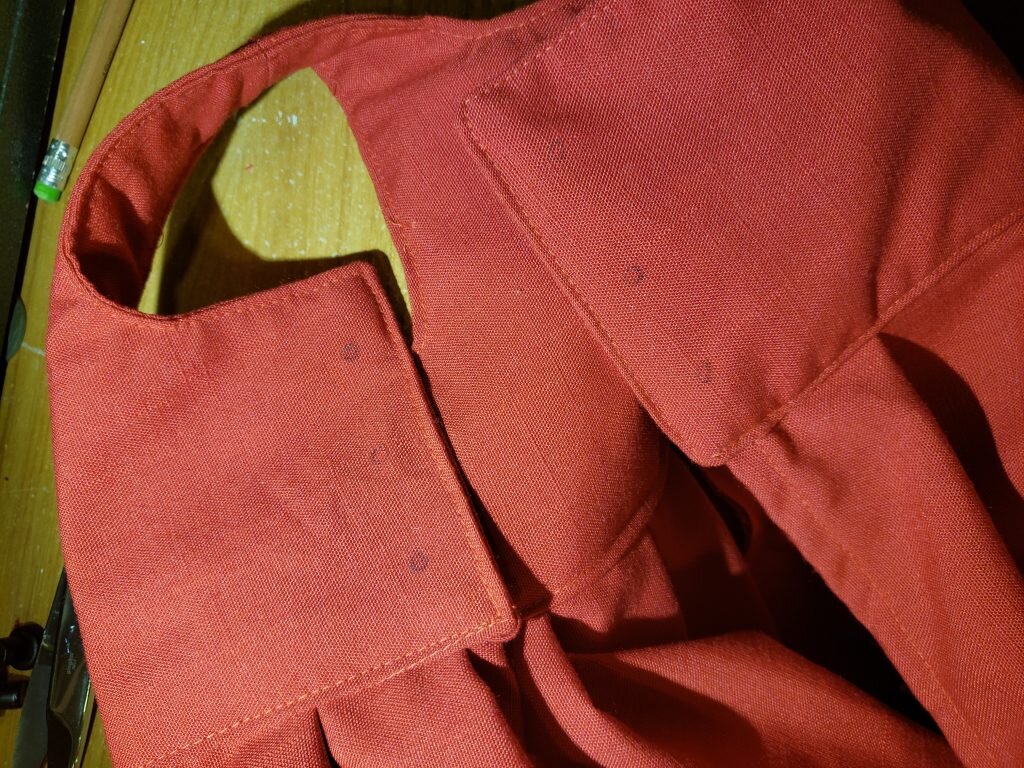
  20. Stitch buttons to just above the bottom back corners of the backpack.
  21. Make buttonholes 1″ above the bottom of the strap and 8″ above the bottom of the strap to accommodate your buttons. 
  22. Stitch a button to the center front of the backpack about an inch below where the flap lands when closed.
  23. Stitch a loop of elastic in the center of the flap just above where the button is.  to serve as a closure.
  24. Add embroidery if desired (I did a running stitch along the flap edges), and felt details (like the stamp).
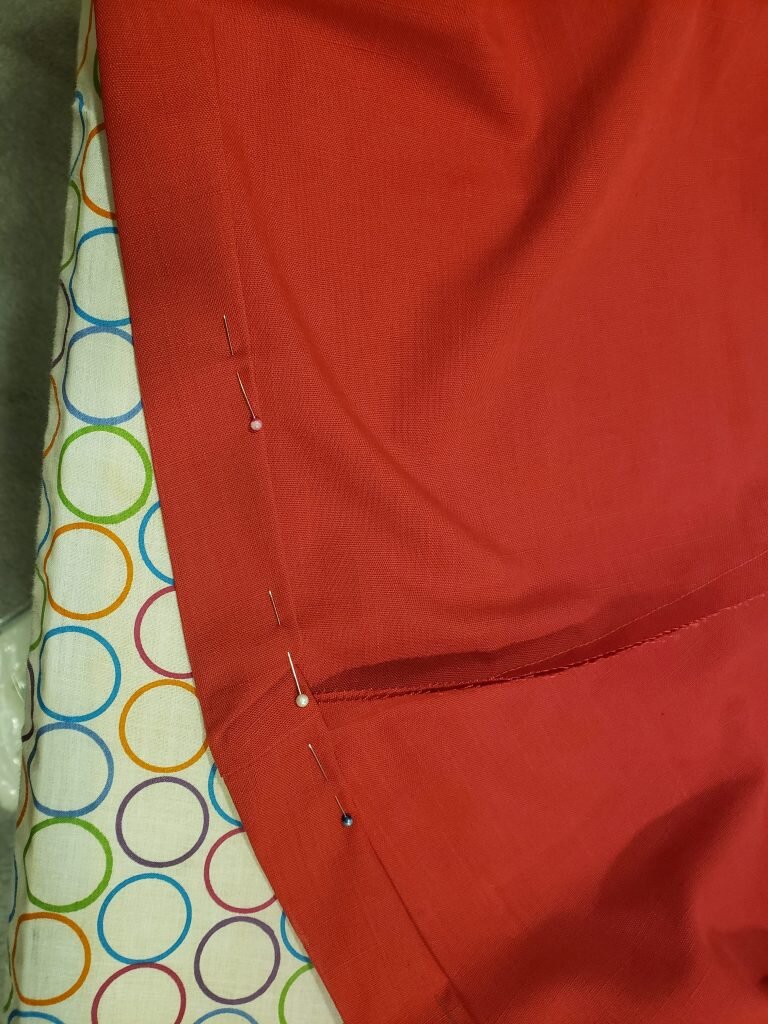
  25. Open the flap out and lay it flat on a cutting mat.  Using a ruler and a rotary cutter, cut a 7″ line through all layers of the flap, an inch from where you stitched the flap to the backpack.
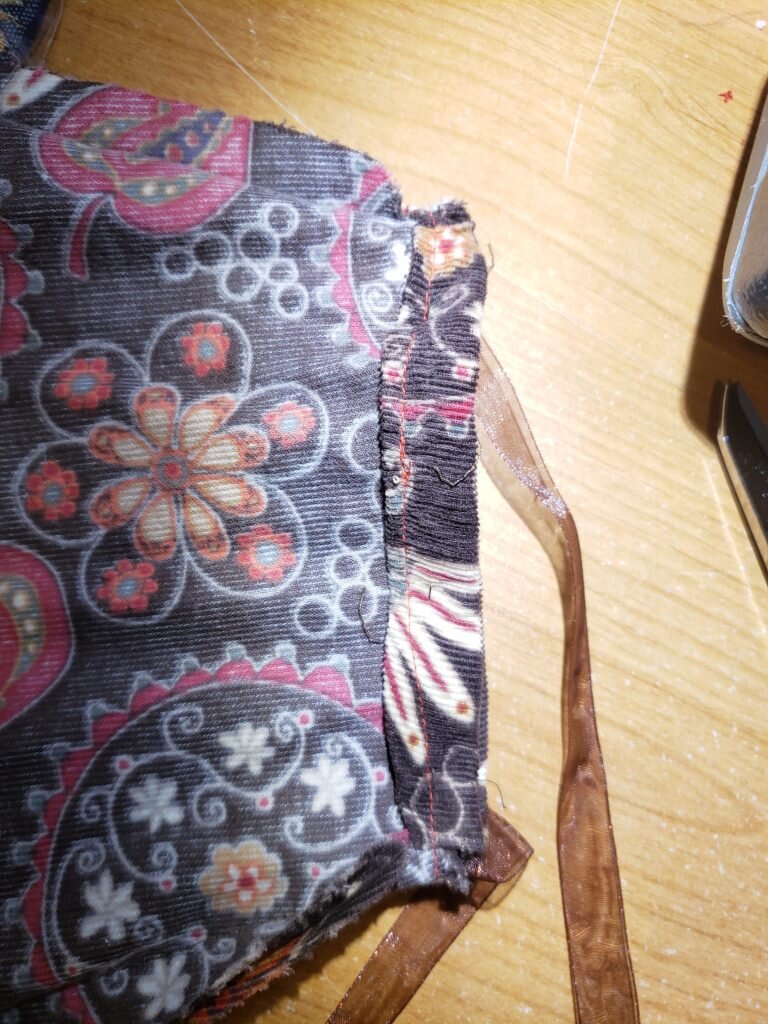
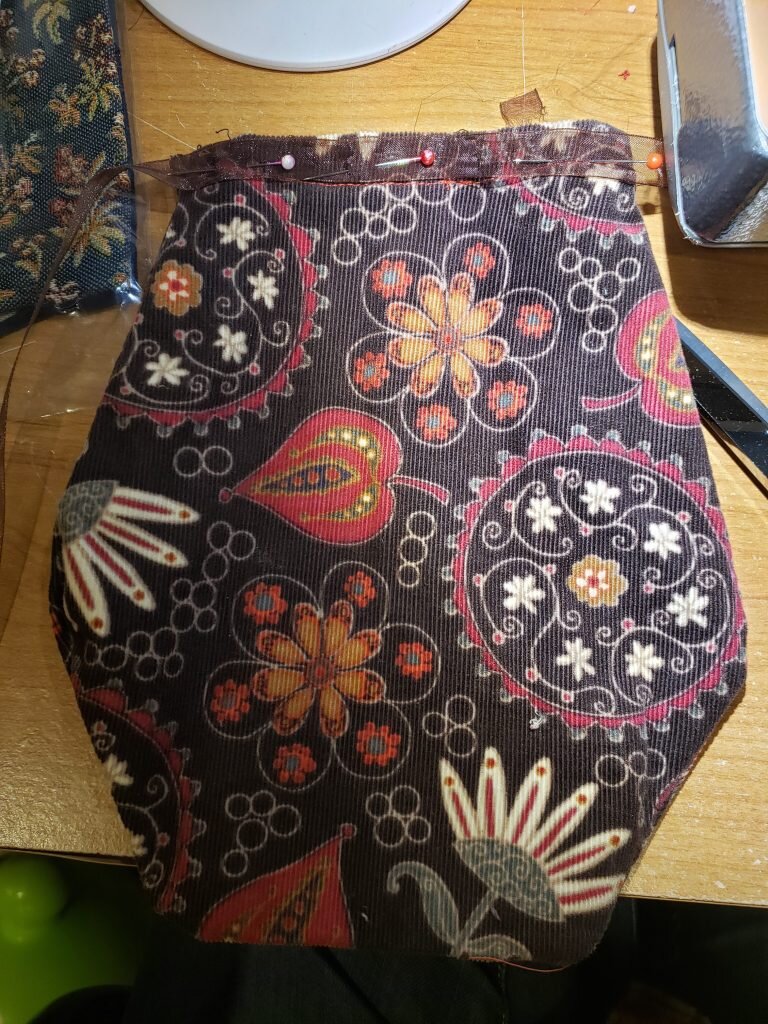
  26. Attach bias tape along unfinished ends of the flap on both sides.  Open out the bias tape and lined of the unfinished edges up with one of the unfinished edges of the slot.  Stitch along the fold.  Fold around the unfinished edge so all the unfinished edges are inside and then stitch close to the fold. (In the pictures I start attaching it to the inside, and finish by stitching on the outside of the flap, but I actually removed it and did it the opposite way.)
  27. Hang from a chair and put Valentine’s inside!

Front

Back (in chair mode)

Slot for Valentine’s (top view)

Julius and his backpack.

Patricia being a goose and her backpack.

My child model

She wore this thing all over the house.

Child model #2

He also wore his all over the house.


Posted in Crafts & Sewing, Thrift Finds | 6 Comments

Ollivander’s Edibles

What a week!  I’ve been exhausted so we’ve been watching White Lotus and going to bed early.  So that and filling straws full of paint has been pretty much my only activity this week.  More on that later, I promise.

The only other thing I’ve been doing is writing secret love notes to put in Julius and Patricia’s Valentine mailboxes (next week, I promise).  The other day I wrote ones that just contained all sorts of silly pet names I use for the kids.  Patricia always corrects me when I call her pet names.  For example, “I not Pumpkin Muffin, I Patricia!”  The other day though she got me.  After a round of correcting my pet names for her I called her Patricia and she told me “I not Patricia, I Patty Cakes!”  She then giggled maniacally.

I still have so many tutorials to talk about from Patricia’s birthday party.  Today I want to show you how I made the edible wands.  Before I tell you about this fun dessert though I have another silly Patricia story.  For Christmas Patricia and Julius got a bunch of costumes from Sugar and Daddy-O to put in their costume box.  One of the items for Patricia was a fairy star wand and cape.  Patricia brought the star wand over to me to help get it out of the packaging.  She was very excited to open it.  Once I handed it back to her she grinned and immediately bit into it.  Like tried to take a big chomp out of the star.  I told her, “no Patricia! Don’t bite that!”  She looked legitimately taken aback.  She seemed to be wondering why couldn’t she bite this star wand.  And how she was supposed to eat it without biting it.  That’s when I realized that the only wands she has ever seen were indeed star shaped and edible.

So I mentioned in the fairy party post that my original plan here was to make some kind of elaborate sandwich cookie wand, but I was too lazy to make cookies AND cake for the party.  So instead I decided Rice Krispie treats were the way to go!  Will declared them delicious and ate two. (After decorating them himself.)

Wands ready to be decorated

(Edible) Rice Krispie Treat Star Wand

Ingredients

  • 3 Tb butter
  • 5 1/2 cups miniature marshmallows
  • 6 cups of Rice Krispies
  • Star cookie cutter (roughly 4″ across at the largest points)
  • 12 Giant Pretzel sticks
  • Frosting (I used a container of Pillsbury vanilla cake frosting)
  • Assorted sprinkles
  1. Prepare Rice Krispie treats as per the recipe at Kellogs: https://www.ricekrispies.com/en_US/recipes/the-original-treats-recipe.html.  Included here:  In large saucepan melt butter over low heat. Add marshmallows and stir until completely melted. Remove from heat.  Add KELLOGG’S RICE KRISPIES cereal. Stir until well coated.
  2. Using wax paper (or parchment paper) evenly press mixture down on a tray lined with waxed paper (or parchment paper).  Press until mass forms a sheet 1/2″ -3/4″ high.
  3. Let cool for a couple minutes, then use star cutter to cut out a star shape. 
  4. Place it on another tray covered in wax paper then gently press the tip of a pretzel down on top (tip should be in the center of the star and the rod should poke out between the points of the star).

    Just before I pushed the pretzel down on top.

  5. Cut another star out and align it with the first star and press it down gently on top of the pretzel rod so the two rice krispie treats merge and the pretzel rod is securely inside.

    Krispie-pretzel sandwich

  6. Repeat until you are out of Rice Krispie mix.  (Should make 10-12.)
  7. At this point I let them set completely overnight (in an airtight container).
  8. Place frosting in a microwave safe bowl.  Melt in 30 second increments, stirring in between until frosting is liquid.
  9. Drizzle frosting over star and then sprinkle with sprinkles.

    Julius shows off his creation

  10. Eat!

    Nom!  Now I know why she thinks wands are delicious!

Will’s wand (or maybe the second one I’m not sure).

(Complete side note – don’t you think Ollivander’s Edibles would be a great name for a Harry Potter themed weed shop?)

Posted in Culinary Delights | Leave a comment

Stollen Memories

Well this weekend was a snowy one!  We had 3 different snowstorms pass through!  And today was so snowy that Julius’ daycare was closed, and Patricia’s closed early.  I was just telling my friend last week (after all the rain we’ve been having) that “I’d rather have snow then rain.” I guess I got my wish…
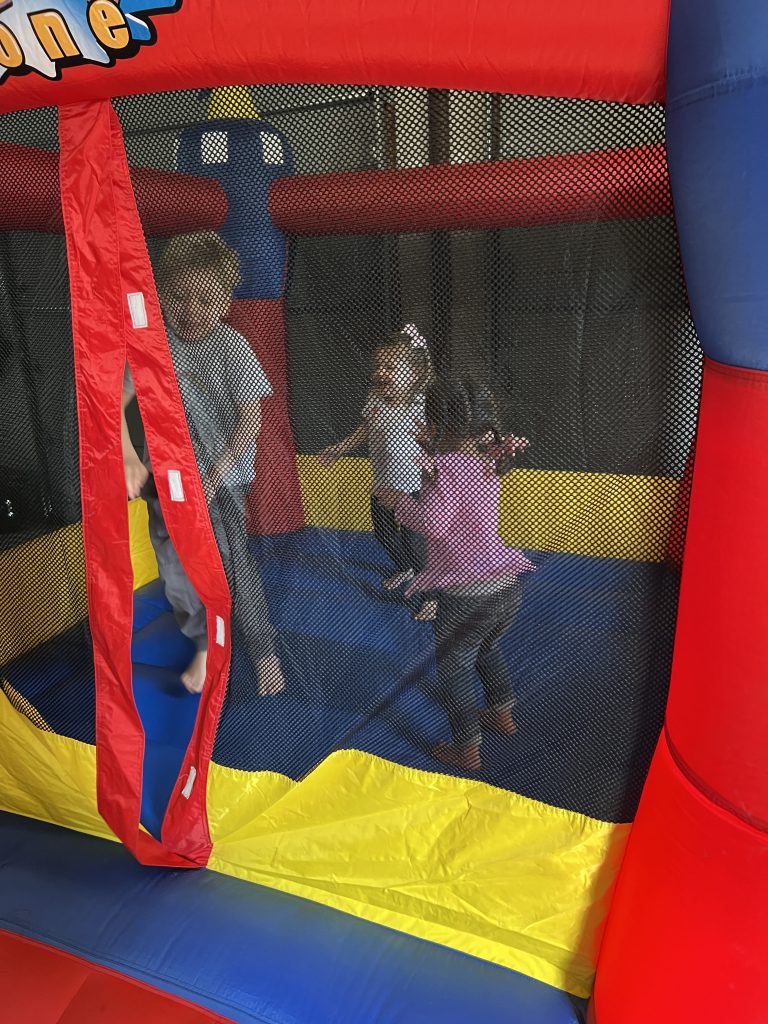
Patricia and Julius play so nicely together.  Today Patricia handed Julius a rumpled up napkin with something inside it (hopefully this is because I’m trying to move to reusable wrapping paper – more on this later), while Julius was busy building something out of magnatiles.  I was worried she’d knock over his creation, as she does at least once a day, so I tried to get her to move away from Julius.  Instead she stalwartly stood in front of him and said “no it’s for Julius”.  So Julius opened it up to reveal a little green bowl from the kitchen playset with a pretend cookie inside. He said in a completely sincere voice, “oh wow Patricia, thank you so much!”  Just the best.

Patricia is such a spit fire.  I was telling Will last night how we are so lucky we were able to have two because while they started off the same, they are so very different.  Julius is sweet thoughtful and extremely emo, and Patricia is wild and rambunctious also but kind and helpful. I just love watching the two of them play though.  I have so many Patricia quotes from the past month that are totally incohesive that I might just have to post them in no particular order so I can’t forget them.

“I have fluff!” (Fluff is referring to armhair while she desperately stars at her bare arms.)

(Sung): “Happy Birthday to doggies and any more!”  (Everytime she sees her sticker of a dog with a hat on.)

(Drops something by accident.) EEK! (in a pretend high pitched shriek.)  Chika chika boom BOOM!

Another one I don’t know how to fit into a blog post… Patricia calls Donald Duck, “McDonald’s duck”.  I’m not sure if it’s because of the fast food chain or “old McDonald had a farm”.  Hopefully the latter.

On Saint Nicholas Day Patricia climbs out of her booster seat and says “I’m going to get another orange and heads to the front hall.” I ask, “where are you going to get an orange?”  Her response, “ummmm… Dada’s shoe.”

Patricia, closely watching Julius work on play-doh creations looks up at me and says “I watch Julius make poke-dots?”  (Just to make sure I wasn’t going to tell her to leave Julius alone perhaps…)

“I want Patty cakes for dinner!”  I eventually figured out that patty cakes are Morningstar Chik’n Patties.

Patricia, leaving a room, any room, “Bye-byes, see you later!”

Likewise, Patricia, flushing the toilet, “Bye-bye poopies, see you later!” (Patricia thinks the word poopies is hilarious, but I’m not sure I want to see them later.)

Oh and one Julius one…
I hear this from the other room while on hold with National Grid…
Will – “Where’s mama?”
Julius – “On the phone with the government.”

So for Christmas this year I made tea towels of some recipes from my grandmother and Will’s grandmother.  I’ve been thinking of doing this with my grandma’s stollen** recipe for a couple years, but with two kiddos I just didn’t get around to it.  Will’s grandmother was a fabulous baker and since she passed away this fall, I thought it would be a nice tribute to do something similar for her as well.  So I made like 20 of these towels for my family and Will’s family.  I’m so happy with how they came out, but in all honesty it took me a very long time.  I ruined about 10 towels before I got the process right.  They key was first and foremost to make sure the towels had absolutely no moisture in them whatsoever.  The second critical step was to press them on a flat surface with very little give. I switched my cricut heat press pad out for a heat resistant table pad.  The good news is now that I’ve worked out the kinks it should take you no time at all!

Grandma’s stollen recipe on a towel.  I always loved my grandma’s handwriting. 

Keepsake Recipe Tea Towel

What you’ll need:

  • handwritten recipe from your loved one
  • sublimation printer/dye/etc
  • 100% polyester towel sublimation blanks (I used these great ones) – and yes you could just buy 100% polyester material and make your own towels.
  • heat resistant tape
  • heat press
  1. Scan your recipe as a jpg and open it in paint.net
  2. Using the eraser tool or the select tool remove any borders or trim (unless you want these on the towel) and leave just the handwriting portion.
  3. Crank the contrast up and the brightness down to turn from a color image to black and white.

    Right side is before, left side is after.

  4. Repeat this with other side of recipe (if required).
  5. Save as a jpeg and resize with your sublimation printer tool to a size of 5×8.  (So you can print two per page.)
  6. Follow your printer instructions to print design in reverse on sublimation paper.
  7. Preheat your heat press to 375F.
  8. Steam out the entire towel for 30 seconds, one heat press area at a time.
  9. Steam the area where you intend to press for another 30 sec.
  10. Lay down transfer dye side down, tape to the towel.
  11. Lay parchment paper on top, lay heat press gently on top.  Let sit for 60 min, then swiftly remove heat press by tipping the heatpress back.  Then remove the parchment paper and quickly and gingerly remove the transfer like pulling off a band-aid.
  12. Repeat for other side of towel.

Finished towel

All wrapped up and ready to go!

**A bit about Grandma’s stollen recipe

This recipe was handed down from her mother (and probably beyond).  When she was a girl (probably before World War II, because she lived in Germany and they had very little then) her mother and sisters would make up dozens of these stollens before Christmas and carry them in a wagon to the baker’s to be baked.  The baker would bake them in their giant oven after hours.  Crazy.  As a kid I didn’t really like the stollen.  It was honestly, the one thing my Grandma made that I wasn’t crazy about (except maybe her cheesecake).  (She was one of the best cooks of all time – I know everyone says this about their Grandma but I swear it’s true for mine.)  Nevertheless my Grandma made a dozen of these loaves before Christmas for family and friends.  Sometimes my cousins would help, and towards the end of her life my mom and I helped her do it.  Every year when we’d make the stollen she’d provide “executive guidance” offering “oh maybe a bit more of that” or “cut them a bit smaller” or “that looks pretty good”.  And always complimented my kneading of the dough, providing ample motivation, which is seriously tough when you are kneading 12 loaves of dough worth!  I don’t know how actual bakers do it.  Anyway, sometime between the last half dozen years of making stollen with Grandma, and my Grandma passing I decided I like her stollen.  It reminds me of Grandma and Christmas, and you can’t get better than that.

Posted in Crafts & Sewing, Culinary Delights | 2 Comments

Fairy Tales

Well that was a week from hell!  And of course, Julius had absolutely no symptoms until yesterday when he had a fever of 104!!!  Let’s just say he did not sleep well last night and we are trying to figure out when the kids can ever go back to daycare.  Sigh.  I guess we’re just lucky we have dodged this for so long!

We did manage to take down our Christmas decorations this weekend and put up some winter/Valentine’s decorations instead.  That was pretty liberating.  We also got rid of some baby toys and baby books that Patricia has outgrown.  Always great to de-clutter.  But did I tell you we already filled the costume chest?!  The good news is that it is working as intended!  The kids have been asking to go downstairs on put on costumes nearly every day!

One of the items I created for the costume chest are the sets of butterfly/fairy wings for Patricia’s birthday!  There are lots of beautiful wings with appliques online and I fully intended to create a version like that, but as always I started to run out of time and created a simplified version that just uses some beautiful shibori fabric.  I felt it would be a crime to cover up any of it, so I didn’t applique over it!  You can use the below pattern to make your own!

My little fairy!

Kids’ Fairy Wings

What you’ll need: 

  • Pellon 70
  • ~1/2 yard of cotton material of your choice
  • 1/4″ metallic elastic
  • pattern here
  1. Cut out 4 wing pieces of cotton fabric (adding 1/2″ seam allowance) and 2 pieces of pellon 70 (adding no seam allowance).
  2. Stitch 2 wing pieces together along the outside of the wings, leaving the flat side where they connect to the back opened.  Repeat for second wing.
  3. Turn right side out and insert pellon 70 wing into each wing, tuck the unfinished edges in, and stitch closed.
  4. Cut a 1″x6″ piece of pellon to form a placket.
  5. Cut a 3″x7″ piece of contrasting fabric to cover the placket.
  6. Fold placket fabric in half (right side in) and stitch along the bottom edge and side edge (with .5″ seam allowance).
  7. Turn right side out and insert the pellon.
  8. Tuck the extra seam allowance at the top into the placket and stitch closed.
  9. Pin the wings to the placket but don’t yet sew.
  10. Cut two 18.5″ pieces of elastic. Tuck one end of each piece under the top of the placket and other end of each piece under the bottom of the placket (between wings and placket).  Stitch all along the placket to attach wings and elastic to the placket, backstitching along the elastic for strength.

Here I am demoing the wings!

Back view of the wings.

Posted in Crafts & Sewing | Leave a comment

Castles and Dreams

Well I’m sitting in the basement in quarantine.  I somehow caught covid despite wearing a mask in public all the time and being one of the most cautious people I know.  Ironically I went into work the day before I got sick, something I only do every other month, so I also potentially exposed a bunch of friends and co-workers.  That seems incredibly unlucky.  Anyway, guess it was bound to happen sooner or later, I’m just glad it didn’t happen during the holidays!

For Christmas this year I fell in LOVE these adorable Maileg mice.  They each come clothed in a little outfit, with a little stuffed bed set up inside a pretend matchbox (or the like).  They are very well made.  For all these reasons they are a bit expensive.  I had convinced myself that I was going to sew my own version of these little mice for the kids, but a couple months before Christmas (right when I was cutting down on the crafts I had planned for Christmas) I convinced myself I should just buy the real deal.  So I gave up on making the little mice and bought Julius and Patricia each a mouse from Maileg.  Some day I’ll probably make them outfits…

And instead I decided to make a mouse house!  The cool thing about the Maileg designs is they are plastic free.  A bunch of their dollhouses are made of cardboard!  Having made many a cardboard dollhouse in my day, this seemed right up my alley.  What I decided to make is really close to the Maileg castle tower, which I love.  Is has an adorable modular design that you can add other components to.  Originally I had grand plans to make two towers, but it took me so long to make just the one that I halted construction of the second.  I will get to it someday though, I’ve already cut out all the doors which took me a considerable amount of time!

Oh and before I forget – Patricia LOVES her little Maileg mouse.  It was the first present she opened on Christmas, and she flat out refused to open any other presents for a solid hour afterwards.  She just sat there snuggling it.  Now she sleeps with the mouse in her bed, in it’s bed.  It’s very frustrating to find all the pieces whenever she loses them (which is all the time) but it’s so adorable watching her snuggle it that it makes up for the constant scavenger hunt.   And I asked Julius if he liked the castle and he said “who made that?”  His response when I told him I did was, “wow Mommy, good job it looks great”.

Well if you want the Maileg castle, you should definitely buy it yourself.  But if you’re like me and had lots of boxes lying around from that pirate ship you never made then have at it!

Cardboard Castle Dollhouse (inspired by Maileg)

What you’ll need:

  • 1 sturdy box about 2.5 feet tall and 1 foot deep and at least 1 foot wide (mine was a server box, so double layered and very sturdy)
  • Additional cardboard for turret and balcony
  • Hardboard for flooring
  • Assorted colored paper for wallpaper and flooring
  • ~6 feet of quarter round
  • brown craft paper
  • 1/2″ washi tape
  • colored pencils
  • wood glue
  • Glue gun
  • xacto knife
  • Pattern here
  1. Cut your box in half to form a box about 1’x1’x2.5′.
  2. Use wood glue to glue the box flaps shut.
  3. Measure and divide box into 3 equal height floors.  Using my template draw a door to a balcony on top floor of one side, and door to outside on bottom floor on opposite side. Cut.
  4. Using my template draw and cut out windows on sides opposite the doors, and the middle floor.  These should be an inch or so above the floor dividing lines.
  5. After the doors and windows are cut, wrap the entire box in kraft paper, leaving the inside open.  I folded the sides first, then cut a piece to fit on the top and inside top.

    Wrap outside of box in kraft paper.

    Cover top of box (inside and outside) with kraft paper.

  6. Cut an ‘x’ in the center of each door or window and fold down the kraft paper over the exposed pieces of cardboard as best you can to form the window ledges/frames and doorframe (note: I actually only did this for the doors, but wish I’d done it for doors and windows, so I’m telling you to do it this way for future reference :D )
  7. Measure the size of each segment of wall and cut down paper to this height.  Hot glue paper into inside of the box in each “floor” segment.

    Wallpaper glued in place.

  8. Glue washi tape into window openings, curling into the inside of the castle over the wallpaper.

    Gluing washi tape into windows.

    Inside view of washi tape.

  9. Measure the inside dimensions of the box for each “floor” and cut two pieces of hardboard for the upper floors.
  10. Cut piece of cardstock for bottom “floor”.  Glue in place.
  11. Cut quarter round into segments to fit within your box.  The flat side will need to be on the top to hold a piece of hardboard, and the two pieces of wood should be cut at 45 degree angles to meet in the corners. (See image below)

    Cut quarter-round.

    Example of how it should look when completed.

  12. Glue quarter round into place on middle floor

    Gluing quarter round into place. (you can see the bottom floor is also glued into place in this picture).

  13. Glue hardboard into place on middle floor.

    Hardboard in place.

  14. Repeat steps 12 & 13 for top floor.

    Top floor completed.

  15. Measure the outside perimeter around the castle.  Cut two pieces of cardboard that length and 5″ tall.
  16. Offset pieces slightly then glue on top of each other to form a thicker piece of cardboard. Fold to form a box that will fix over the top of the castle.

    Gluing to form a box.

  17. Glue offset portions together.
  18. Cut pattern into top of castle wall by cutting a 1/2″x1″ rectangle notch with every 1″ between along the castle.  (Note:  I had to fudge this slightly to get it to measure out evenly)

    Cut notches into top of castle.

  19. Cover top of castle wall with kraft paper by folding a piece of kraft paper in half so that it is slightly taller than the castle wall.  Glue inside portion in place first, then cut slits to match the cut out portion of the wall.
  20. Fold slits over down to the front of the castle wall, glue in place.
  21. Glue the outside of the wall in place, then cut a slit down the center of the cut out portion of the wall, and along the bottom of the cut of portion of the wall.  Fold onto the large sections of castle wall, and glue in place. (*note this picture doesn’t show step 20 being completed first, just ignore this, I didn’t have a better picture with the correct placement.)
  22. Fold the top of the wall down and glue in place.
  23. Create the balcony.
  24. Use my template to cut and fold the balcony as indicated.
  25. Glue bottom to sides at tabs.

    Glue bottom to sides using tabs

  26. Glue back sides to bottom at tabs.

    Glue back flaps to the bottom of balcony via tabs.

  27. Wrap in kraft paper.
  28. Create a smaller brick topper for balcony 5.5″ wide and 1″ tall.
  29. Cut out  1/2″x1/2″ notches with 1″ bricks in between.
  30. Cover top of castle wall with kraft paper by folding a piece of kraft paper in half so that it is slightly taller than the castle wall.  Glue inside portion in place first, then cut slits to match the cut out portion of the wall.
  31. Fold slits over and down to the front of the castle wall.  Glue in place.
  32. Glue the front (outside) of the wall in place, then cut a slit down the center of the cut out portion of the wall, and along the bottom of the cut portion of the wall.  Fold onto the large sections of castle wall, and glue in place.
  33. Fold the top of the wall down and glue in place.  Fold unfinished sides in to the back and glue in place.
  34. Using template for windows and doors draw windows and door on front of castle, and then draw an outline around windows and doors on side of castle and fill in with colored pencils.
  35. Use a ruler as a guide to draw 1.5″ bricks spaced 1″ apart on entire face of castle.  Repeat for top turret portion of castle as well as balcony.
  36. Glue the top of the castle with brickwork on top of castle.
  37. Glue the brickwork piece of balcony on top of balcony.
  38. Glue balcony on outside of top balcony door.

Posted in Crafts & Sewing | 2 Comments

You Can Dress Them Up

Today is Tuesday?!  I know what you’re thinking, “\s you’re starting off the year great Lexi /s”.  I know, I AM.  I FORGOT IT WAS MONDAY!  How zen must my vacation have been if I didn’t remember what day of the week it was?!

I did have a great vacation!  The kids got to play with their cousins, we got to hang out with my siblings and parents, we played lots of board games and I did lots of crafts (at the expense of lots of sleep).  Oh, and Santa came!  (As Patricia would say, “Santa!  Ho, ho, ho, Mewwy Cwistmas!”)  For the first time ever Santa delivered presents to our house!  It was awesome.  I loved opening presents in front of our fireplace and the kids were so excited for Christmas and Santa this year, especially Julius, but even Patricia!  (Patricia told Meepah before we left my parents house on Christmas Eve this year, “I’m gonna go see Santa!”)

Oh and Santa even brought Julius a jelly cake!!!!  I have no idea how Santa knew what a Jelly Cake was, but it appeared to be made of pumpkin bread, raspberry jelly and marshmallows for frosting!  Wild!  Perhaps all elves, Santa included, have a palate like that of Buddy the Elf.

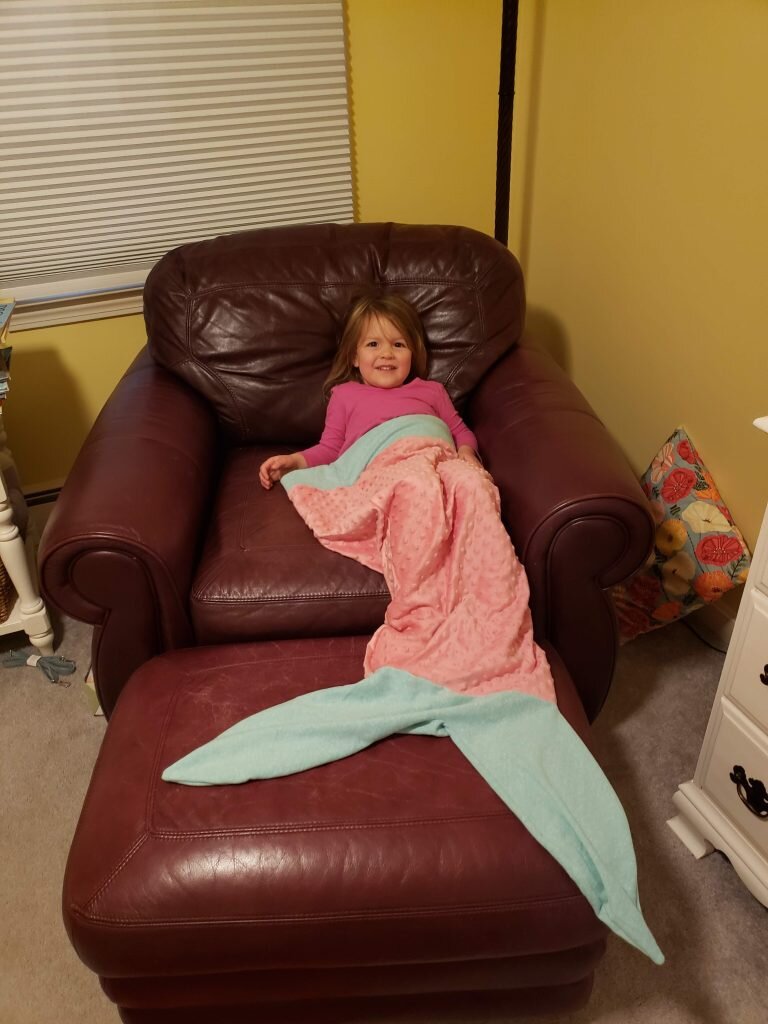
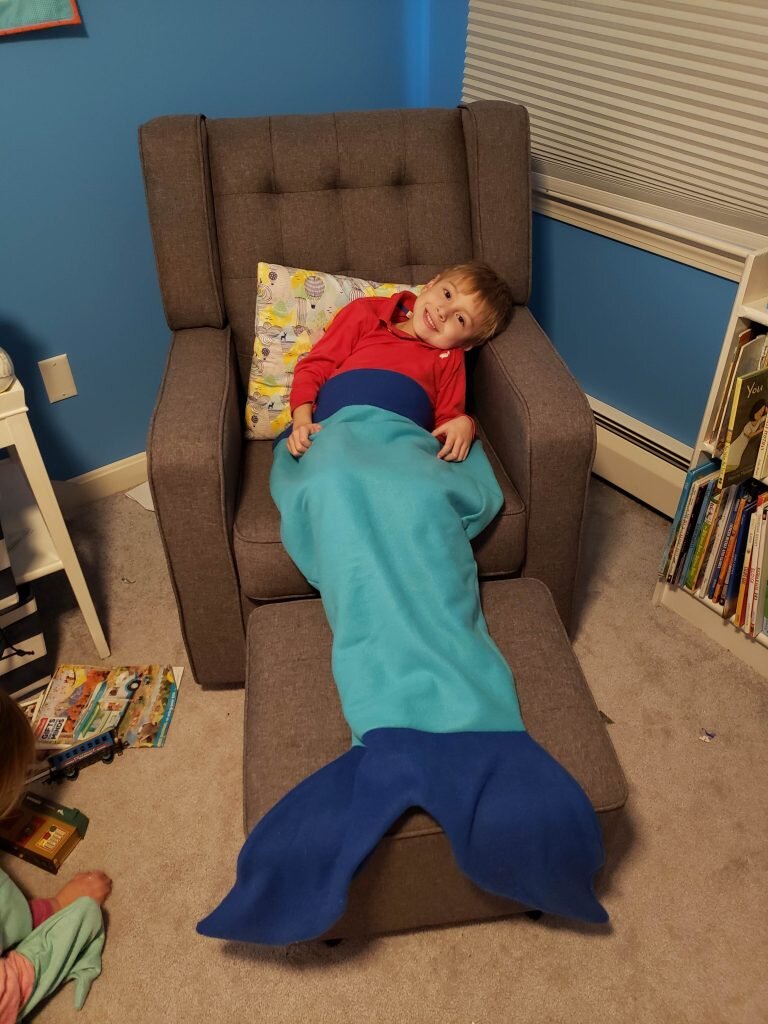
I wasn’t such a slouch myself this year.  As I mentioned, I once again had way too many plans to make for Christmas.  My favorite one I’ll have to talk about next week because it took me so long to make I know it is also going to take me comparably long  to post about… So instead I’ll tell you about the big gift I made for the kiddos!  The kids have lots of costumes… I’m an enabler, obviously, because I’ve made them mermaid tails, fairy costumes, so very, many Halloween costumes, renaissance costumes… and half those are just from this year.  So I wanted somewhere to store all the costumes so they could use them whenever they want.  Originally I was going to make a big trunk, but (you guessed it) I ran out of time.  So instead I found a secondhand one off craigslist/fb marketplace that I actually was quite fond of!  (Fun fact – I paid asking price for it, which was $30, and given the time, wood and labor it would have cost me to make I thought it was a good deal.When I got it home I noticed a garage sale price sticker on it for $15.  I really should work on my bargaining skills.)

I actually liked the dark wood color, but I was set on painting it with a whimsical motif and cherry stain didn’t scream whimsical to me.  Plus it doesn’t match the grey scheme I’ve got going in the basement.  So I decided to whitewash it using this technique, which worked pretty well!  It was a wee-bit finnicky though and I ended up doing the coat, wait and wipe twice before I got the look I wanted.  I will suggest that as the author said, you start off by lightly wiping until you get the hang of how much pressure to apply.  The good news is you can always add more paint if you take off too much.  I will warn you that I was convinced I ruined the box until after the second attempt.

Waiting for the first coat to set in.

I didn’t like the first try.

Second try, a bit lighter which is what I was going for.

After I painted the box, I used water based acrylic to paint on some designs.  I sketched them on my tablet, then I freehand sketched them with pencil onto the box (I find it is so much easier to do a couple sketches to work out the kinks first).

Then I painted, highlighted, and outlined until I was happy with my unicorn and dragon.

Sketching designs onto the box.

Coloring in the basics.

Mid-coloring

Outlining

For the names, I didn’t risk freehand sketching because the acrylic whitewash was a bit delicate and I would not be able to erase or cover it up with paint if I messed up.  Instead I drew both names on a piece of paper then I placed patternmaking tracing paper below the name sheets and traced over them to transfer the names.  This also meant I could ensure the names were perfectly straight first before doing the transfer.  Then I colored over them.

I wanted a little mirror in the box so the kids could look at themselves, so I was planning to make a frame for a dollar store mirror I bought 6 years ago for my hat shop.  Then I had a genius idea to buy a frame for my mirror.  Normally I’d go to a thrift shop, but we are talking two days before Christmas, so I ran to Michaels.  I had a 50% coupon so I think I paid about $10 for an 11×14″ frame.  I then sanded the entire inside front cover and then I applied wood glue to the ends of the frame, and nailed it into place on the cover.

Hammering on the mirror… bit dangerous.

I decided the little holes they made for the screws to hold the top together were ugly, so I pounded some wooden button caps into place.

Mirror with screw caps in place

Then I applied 2 coats of water based polyurethane over the entire box.  I should have probably done 3 but I was in a rush and I wanted it to completely dry between coats.

Then I tackled the hinges.  I’d removed these to paint the boxes, but I wanted to make them not-black. I guess spray painting was an option, but as you know, I’m into gilding lately so I decided to use some of my gilding supplies to gild them copper.  I used my steps here and folded them towards each other to apply adhesive, apply foil to gild them, then eventually apply varnish, making sure to move the joints a bit after applying foil and after applying varnish.  I also gilded the screw heads to match.  It worked GREAT.  They are works of art!  And they still move perfectly.  I think they came out better than they would with spray paint, but we will just have to see how long they last!

Gilding the hinges and screw heads.

The last step was to replace the handles.  The plastic rope handles for the box were ugly and a bit discolored, so I decided to just cut those off and replace them with clothesline I had from when I had a clothesline in my basement for the last 10 years (more on that someday I swear.)  I am ashamed to admit that I needed Will’s help for this part.  I know how to make many types of knots, having learned from my dad, who has owned many types of boats and being both crafty and a scout, but I could not figure out how to make a square knot with just one piece of rope.  Luckily Will showed me quickly and I was able to make some very secure knots for my handles!

My beautiful square knots

It was a fun project, and good thing too because I’ll have to make another one soon since with the excessive amount of costumes it’s already overflowing!

Posted in Crafts & Sewing, Thrift Finds | 2 Comments

Happy Winter Solstice Holidays 2022!

Well I’m a day late of posting my annual happy holidays post, and I was so swamped with last minute gift making last week that I’m behind on a craft.  So let me make up for it!  For anyone who still needs some last minute tags for some belated Hanukkah or Xmas presents, you’re in luck I’ve got a quick cricut template for you below! Though these would work for any occasion!  And feast your eyes on my I’ve-gone-off-the-deep-end cards!

Gift Tags

What you’ll need:

  • 12″x12″ paper (in color of your choice)
  • cricut cutting tool
  • cricut fine point pen (black)
  • cricut template here 

Mount 12″x12″ paper.  Follow instructions on your cricut to load cutting tool and fine point pen into specified slots and load mat.


Posted in Crafts & Sewing | Leave a comment

Cap’s off

I’m behind again!  Today Julius had a runny nose so we decided to test him for covid and the test showed the very barest ghost of a pink line!  So we kept him home and he watched a lot of tv today…  I’m of course behind on the mountain of projects I planned to do for Christmas and that is after Will helped me cut down the list to a reasonable number last week from an unreasonable number.  That said, I’m still on time for my promise to ship last month’s prize to the winners in time for the winter solstice holidays so Matt and Amy keep an eye out!
For those who didn’t win I’ll show you how to make your own hats!  They are very simple. Simple enough for me to make a dozen in a weeknight for Julius’ party!

But before I show you that, first a Patricia anecdote.  Patricia loves to ride around on the toddler ride on toys that we have.  We have not one, not two but three. Two were obtained second hand and one was gifted by Meemah.  Patricia prefers the two that don’t make noise when you push them.  That’s because she likes to make her own noises.  Yesterday I heard her scooting around the house saying “Beep, beep. Beep, beep.  Watch out!  Me’s coming!”

Showing off my hat!

A stack of hats!

DIY Pirate Hats for a Crowd

What you’ll need:

  • Black (or brown) felt (1/3 yard)
  • Assorted jewels
  • Glue dots, or hot glue
  • Assorted feathers (I used ostrich and peacock)
  • Sewing pattern here
  1. Cut pattern from black or brown felt as indicated.
  2. Place two pieces of fabric on top of each other and stitch front top from edge to edge.
  3. Flip inside out.
  4. Fold up the sides of the hat that are unsewn so the finished portion of the hat is inside.
  5. Stitch on the sides of the hat
  6. Adorn with jewels and pirate icons (see below)
  7. Wear me hearty!

    Please ignore the piles of WIP Christmas presents

Felt Pirate Cut Outs

What you’ll need:

  1. Mount felt onto lightweight mat.
  2. Select material -> felt
  3. Insert fabric blade into A.
  4. Press go.
  5. Remove from the mat.

    Stack of skulls

Posted in Crafts & Sewing | 2 Comments

Lovely Legumes

Well despite the growing list I have, I’m finding it difficult to motivate myself.  I only just finished creating my Christmas cards despite having the pictures and idea a month ago!  The good news is I can feel my motivation turning around… tonight I’m going to work on another project I’ve been procrastinating on.

Julius apparently wrote a list to Santa in preschool and he was really excited to tell me “there’s a magic mailbox!”  I asked him what he asked Santa for and he told me “a jelly cake”.  I asked what a jelly cake was, and he told me, “Santa will understand I drew him a picture.”  When pressed for more information none was forthcoming.  I might be doomed on that front unless I can convince him to write Santa a back up letter, you know, in case the magic mailbox doesn’t work.  I guess I’ll have to work on that.

Patricia is extremely good at speaking.  Almost completely understandable, even to strangers.  But there are certain words that she gets a bit wrong.  For instance, she always says “applesauce” in place of “octopus”.  And no matter how many times you correct her she says “shark” for “sharp”.  As in “That’s shark?”  This conversation is one of the best recently.

Patricia: (pointing at her hat) “My bugs are in the kitty hat”
Julius:  “It’s a bear hat Patricia, not a kitty hat”
Me: “Well if we’re working on accuracy they’re also called gloves, not bugs”

So I’ve been on a lentil kick lately.  Obviously the “turkey” lentils have been a hit in our house.  Wait.  I forgot to tell you the story about the Thanksgiving lentils.  The day before Thanksgiving I decided to make my thanksgiving lentil stuffed delicata recipe in preparation for Thanksgiving.  My sister in law was very sweet and sourced and purchased some delicata squash from Trader Joe’s, having never eaten them herself.  I was more than a little surprised when she brought home these football sized pudgy delicata squash.  They had their signature markings on them though, so I just figured it was a “things are bigger in the south” situation.

Well I made the lentil filling the night before turkey day, and on Thanksgiving morning I decided to cut a delicata squash in half to stuff.  It was HARD.  I have never had so much trouble cutting a delicata in half; this was like cutting a piece of wood in half.  I finally got one of them cut in half and scooped out.  I then heaped the filling in the two halves and put it directly in the stove.  After about an hour the squash did not feel even remotely done.  The skin and flesh was not getting soft.  I figured it was because the squash was so large.  So I returned it to the oven and cooked it for another entire hour until we had to leave for Thanksgiving and I’d given up.  The squash was brought to our host’s house and disappeared into the kitchen to I have no idea where.  So when it came time to eat, the squash was no where to be found (this was a blessing in disguise).  It didn’t matter because one of our friends had made a delicious lentil, butternut squash and goat cheese dish that was superb.

When we returned home later that evening I found someone had retrieved the squash from wherever it had been and returned it to my in laws’ fridge.  I decided to have myself a helping (in this case 1/4 of one of the enormous squash halves).  I noticed it was still incredibly hard to cut thru the skin, and when I went to eat a bite, the flesh came apart in strands… like spaghetti.  That’s when a everything clicked into place and I realized that these enormous squash were definitely spaghetti squash masquerading as delicata.  One bite confirmed it.  It also confirmed that spaghetti squash cannot be substituted for delicata squash in the lentil recipe!
Anyway I had a few lentil setbacks including burning a pot of lentils on the stove (did you know burned lentils smell like cannabis)?  Will came downstairs and said in all seriousness “one of our neighbors is smoking weed, who do you think it is?”  I would have laughed had I not been extremely grumpy since I’d only just the discovered the burned lentils after wandering back upstairs wondering where the smell of cannabis was coming from.  But these setback have not been enough to dissuade me from loving lentils (though I will never, ever eat burned lentils again).  They are an amazing meat substitute.  I love making Impossible shepherd’s pie, but usually I try to limit our intake of processed foods so I’ve been trying to do more with legumes instead.  Well this recipe is a great substitute for an impossible meat version, and it’s just as quick.  It’s also probably less than half the cost  I’ve made it several times and there have never been leftovers.  Also fun fact, I originally tried to make this with mashed squash as the topping – it was not as good as it sounded to me.

Vegetarian Lentil Shepherd’s Pie

Ingredients

  • 1 cup dry green/brown lentils
  • 2 cloves garlic, chopped
  • 1 onion, finely chopped
  • 3tbsp soy sauce
  • 1tsp of vegetable boullion/1 cup water OR 1 cup vegetable broth
  • 2.5 cups frozen peas
  • 2 packages instant mashed potatoes prepared according to package directions – I prefer to get the garlic version

Simmer lentils in a pot of water (about 4 or 5 cups) for 25 minutes until they soften, stirring frequently.  Add more water as necessary to prevent them from burning.  Drain.

In a large saute pan, saute onion in olive oil for 5 minutes or so until softened, add garlic and continue to cook for an additional 2 minutes until fragrant.  Add lentils to the pan and add the bouillion/water or broth and soy sauce and salt and pepper to taste.  Simmer for an additional 5 minutes.  Add peas, cover and cook an additional 5 minutes until peas are tender.

Move lentil mixture to a 9.5″ pyrex pie dish (lentils should have some liquid left but not an excessive amount) and cover with prepared mashed potatoes.  (I know the instant kind are a bit shameful, but to me they are a comfort food, like the Thursday canned turkey and instant mashed potatoes hot lunch from elementary school.  That slop was divine. If you are morally opposed to instant potatoes use your favorite fresh recipe).  Rough up the mashed potatoes a bit with a fork.   At this point you can store it in the fridge for the next day.

Bake at 400 for 20 minutes (or an hour from cold).

Posted in Culinary Delights | 2 Comments

Clap if you Believe

We had a fun time in Nashville visiting Will’s family.  Patricia and Julius entertained themselves (mostly) without getting into trouble.  This lead to many adorable conversations between the two of them.  Patricia is always delighted to follow Julius around and will mimic his every move (sometimes to Julius’ chagrin).  In the long front hall bathroom they have a slightly hidden shower in the back hidden behind a curtain.  Julius and Patricia discovered this and played in the shower for hours.  One day the front hall bathroom was closed all day long, and I kept thinking someone was in there, but when Patricia had to use the bathroom I finally knocked, got no response and went in.  In the back they had brought two little chairs into the shower and seated across from the chairs were giant monkey and cow stuffed animals who were seated as if having a conversation.  I remarked to Patricia, “What are those guys doing here?!” To which she responded, “ummm, taking a shower!”

We drove to Knoxville one day to see Will’s grandfather, and it was quite a long drive but Julius, Will and I entertained ourselves by telling “jokes” about ghosts. (Julius’ idea.)  Julius has not exactly mastered the art of joke telling, probably because he really doesn’t understand the concept of a joke.  His understanding is that a joke is when you ask a question, respond with an outlandish answer that is usually not on topic and then laugh hysterically.  Probably the best “joke” he told all day was “What is a ghost’s favorite food?”  The answer is obviously “ch-ooo-cken”.  At least he was starting to grasp the concept.

The day after Thanksgiving we celebrated Patricia’s birthday with Will’s family.  Patricia had asked a couple times “where’s Patricia’s party” since she got to celebrate Julius’s pirate party with his friends.  We decided to cut out the friend portion, but we did throw her quite a fun little party!  I don’t know what I’m going to do when they understand calendars and time a bit more, and I won’t be able to discretely hold Patricia’s party 3 weeks after her actual birthday. I guess I’ll worry about that next year.

Woodland Fairy Party

Theme

Obviously I’ve been very into fairies this year based on all the fantasy novels I’ve been reading.  Since Patricia and Julius are basically woodland sprites themselves I decided to just lean in on the fairy idea.  (Side note: did you know fairy core is a new style thing?!)  I had originally planned to make some kind of mushroom house for them to play in, but obviously that wouldn’t be portable for Nashville.  Instead we ended up bringing the princess playhouse that Sugar and Daddy O got Patricia for her birthday.   (It folds up small enough to easily fit in a suitcase.)

If these napkins don’t scream “fairy party” to you, then you can just stop reading now!
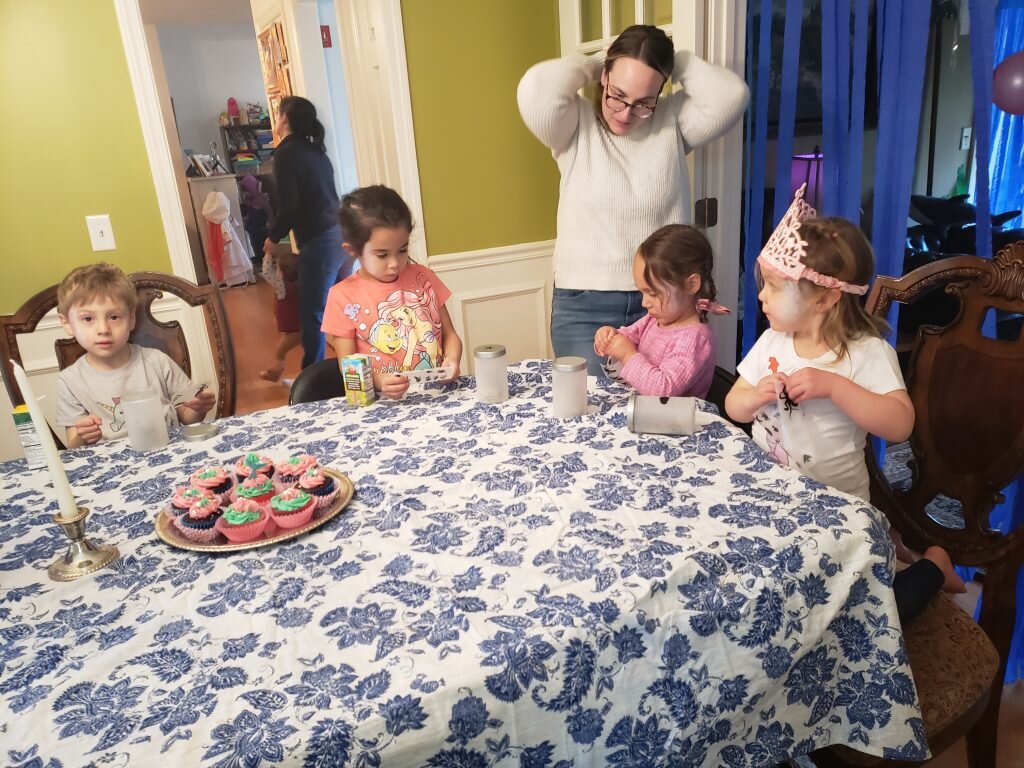
Ready to party

Note the fairy house in the distance

Food

Cake

Patricia is obsessed with sweets.  It’s kind of concerning, so we really try to limit her sugar intake.  That said I did make cupcakes for her party, dipped in red frosting with fondant dots to look like mushrooms.  I arranged them on a slice of wood stump that I got from my new neighbors (they cut down a bunch of trees in their yard while landscaping, they may have thought I was crazy when I asked them for a stump, but they hid it well).  Patricia liked the fondant dots more than the cupcakes. Admittedly the cupcakes were boxed cake mix and frosting was from a tub, whereas the fondant was homemade so maybe she just has good taste.

I’m obsessed with mushrooms, Patricia’s obsessed with sweets, win-win.

She ate the fondant off the cupcake, you’ll get a better view in a later shot.

Wand Making

I was originally going to have the kids decorate a felt wand or something of the sort, but at the last minute pivoted and decided it would be cute to do a cookie wand instead.  I eventually realized a cookie wand would be more effort to create than I desired so I had (what I thought was) a genius idea to make wands out of rice Krispie treats.  I’ll show you how I did it in a future post, and the entire thing is edible!  The kids (and Will) happily decorated theirs with a boatload of frosting and different sprinkles.

Wand decorating station

Wands ready to be decorated

Kids working on their wands

Patricia devouring her creation

Will also made and ate a wand.

Julius won the award for most artsy

Lunch

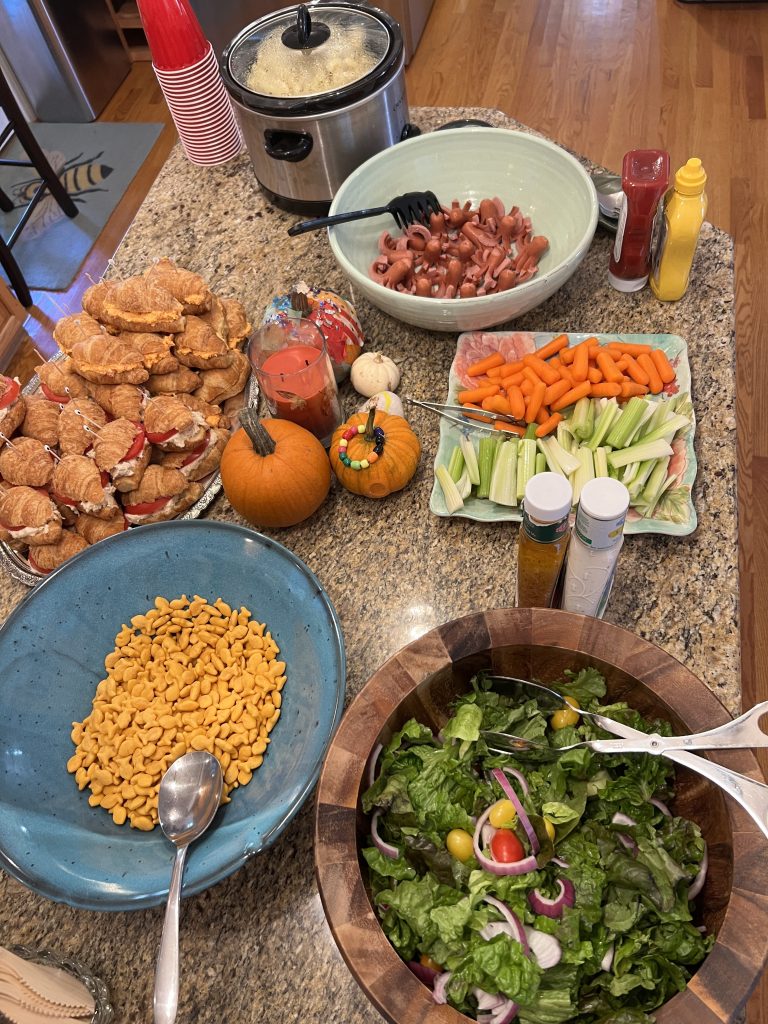
In addition to the cupcakes and fairy wands Will had the great idea to have Patricia’s favorite foods for lunch – appetizers!  Mary Elizabeth picked up some great apps from Trader Joe’s that were quickly devoured!

Nom! What a spread! (Credit to Mary Elizabeth for the organization.)

Activities

Crown Making

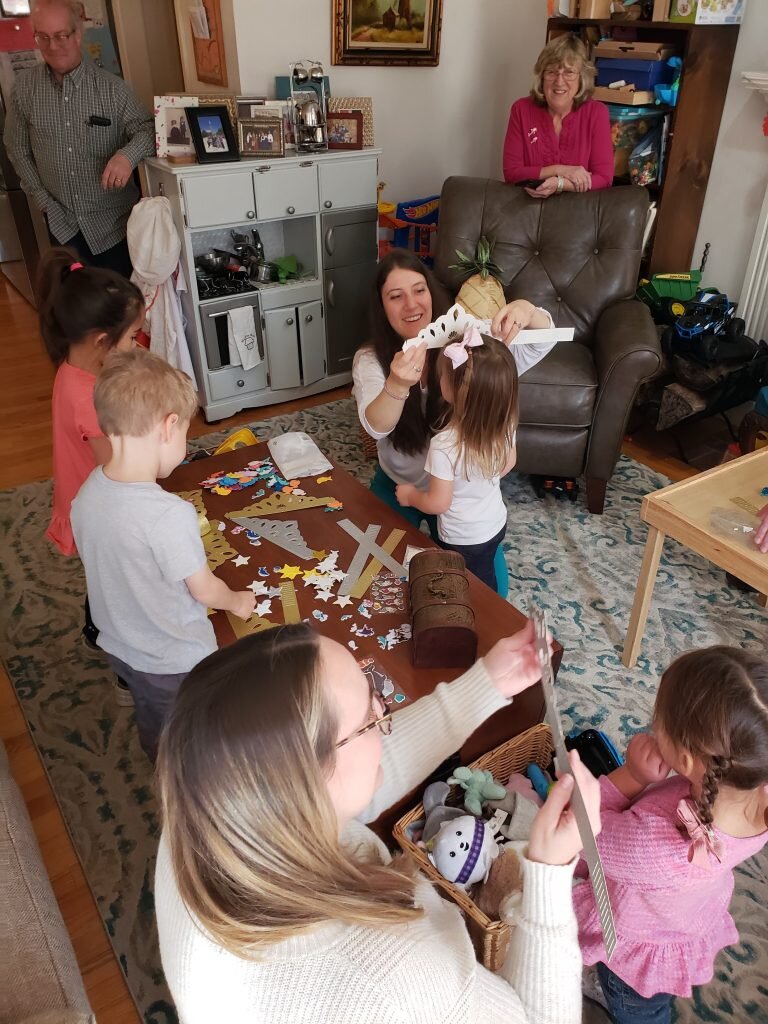
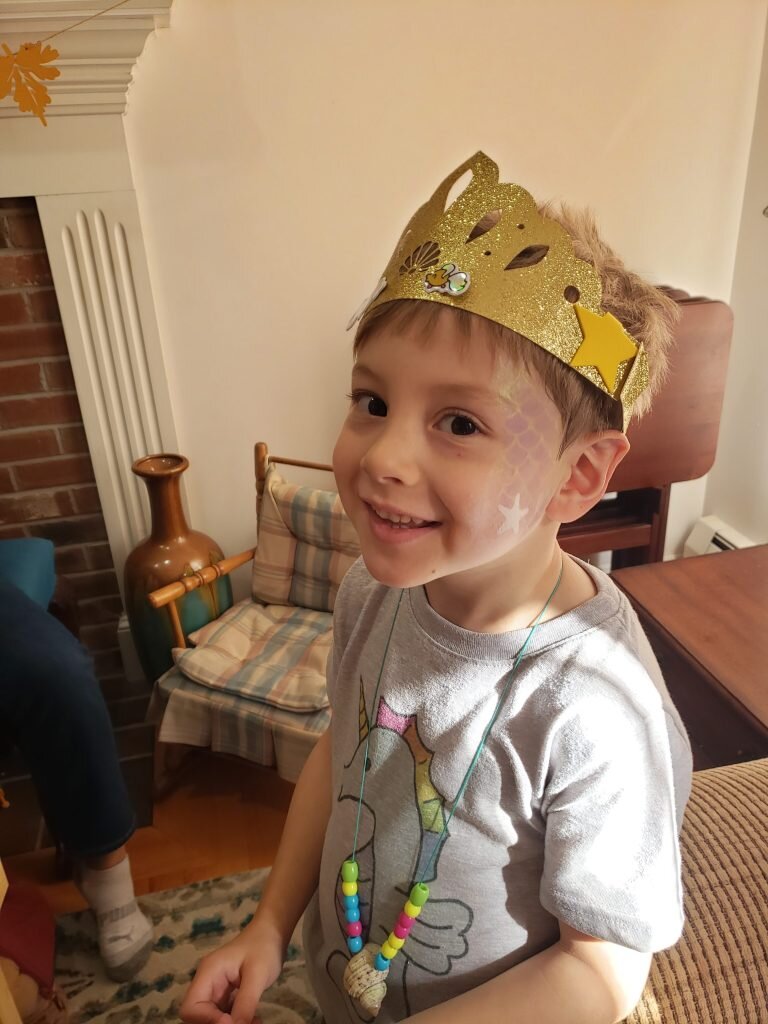
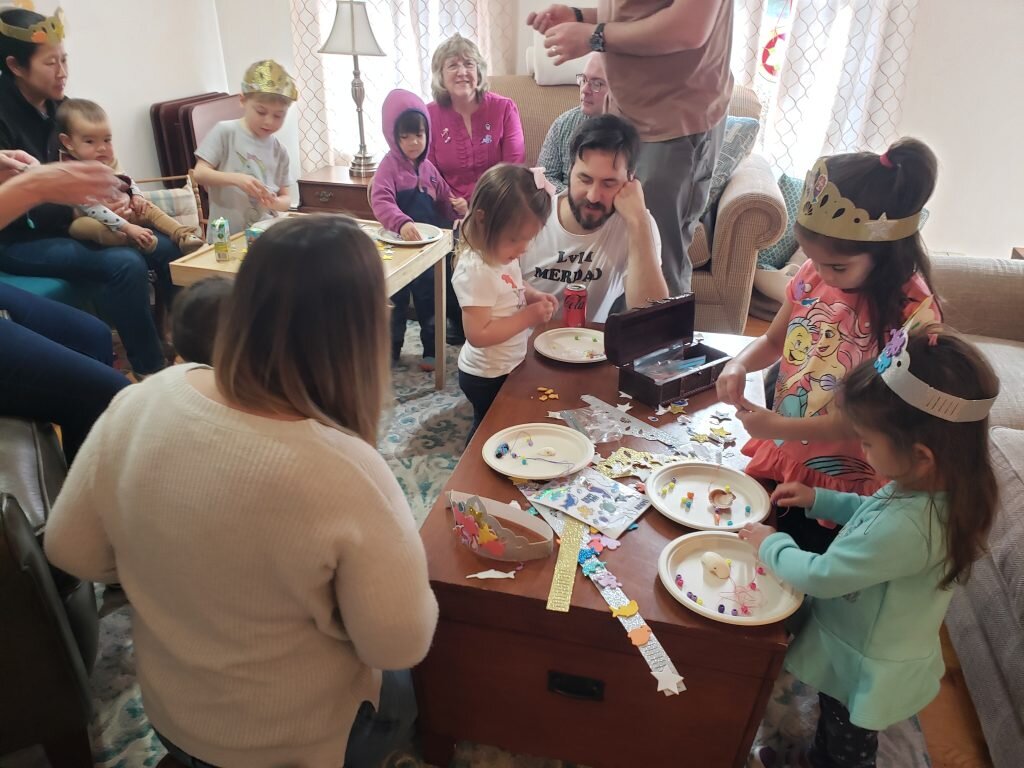
A month ago I picked up some discount Halloween crafts at Michael’s at like 75% off.  One of the “Halloween” crafts was a DIY paper crown covered in sticker jewels.  I grabbed some discount fall leaf stickers too and let the kids make their own crowns.  This activity would be super easy to make for a group using the cricut, so I’ll probably post my own version in the coming weeks.  Both kids seems to really enjoy the craft (stickers of any kind are a home run right now for Patricia).

Patricia and Julius decorate their crowns

Face Painting

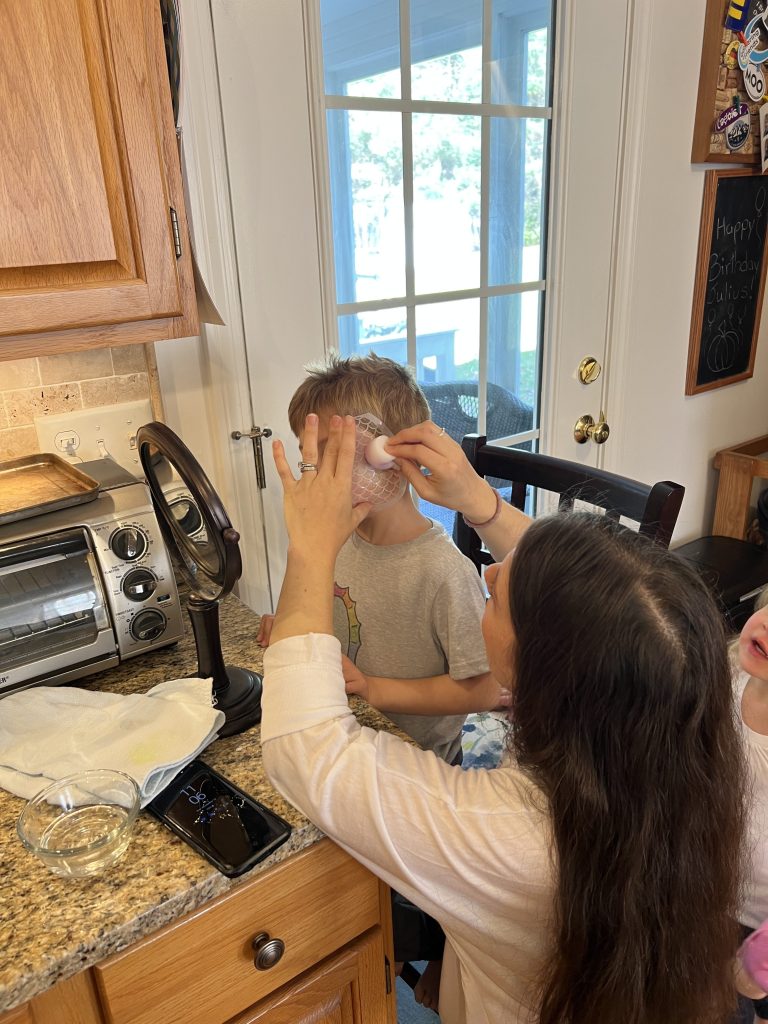
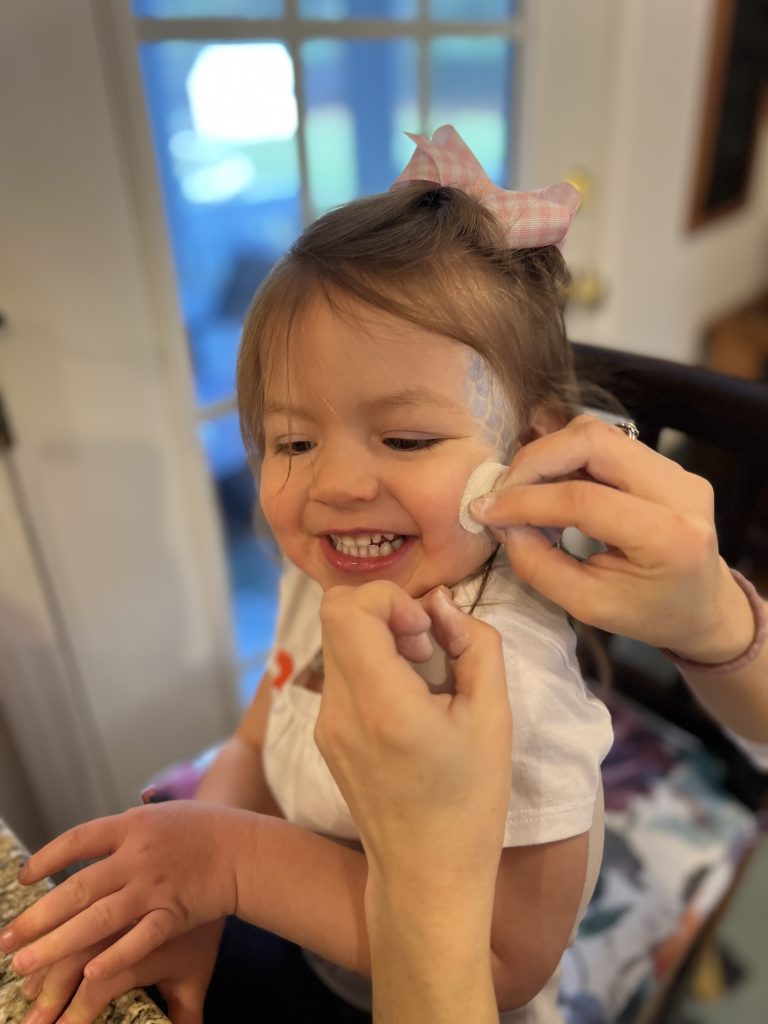
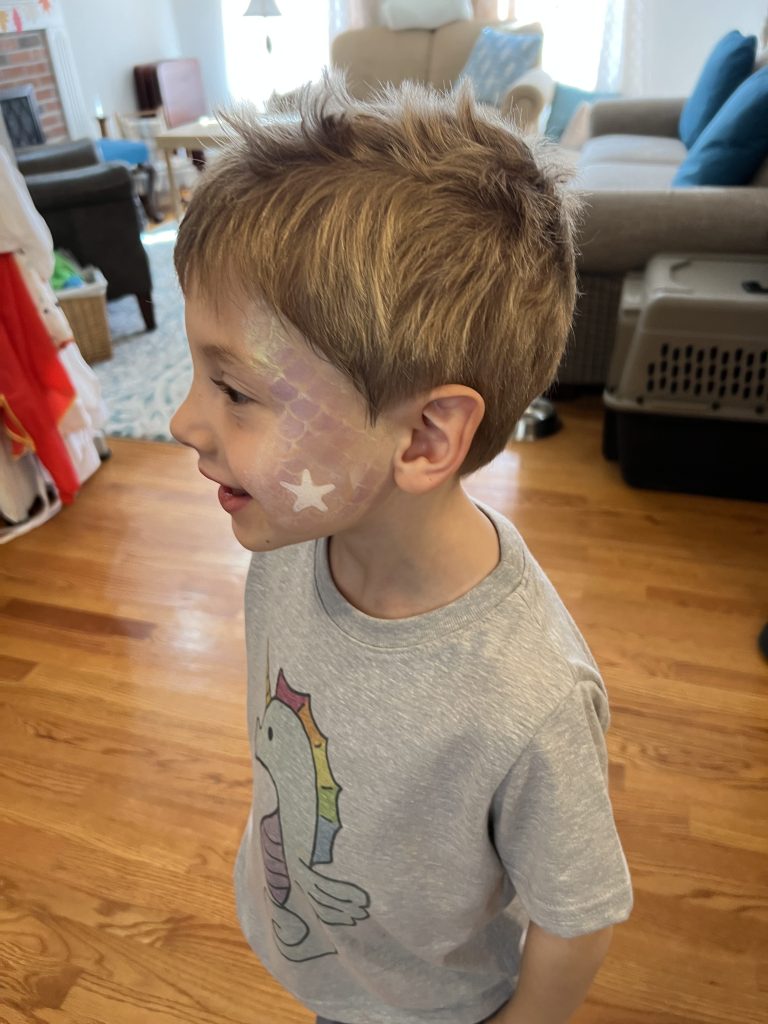
After Halloween I also nabbed some face paint at 75% off.  I bought the crayon kind, but now wish I’d bought the actual paint kind because the crayons were difficult to apply.  Everyone at the party had their face adorned with fairy-ish motifs by the end.

My first victim model

What ears? Those are 100% natural. (Yes I did wear those all day.)

Mushroom House and Peg Fairy Dolls

I am obsessed with the peg dolls.  You may remember that I made Winnie the Pooh character peg dolls for Julius’s 3rd birthday and Wallace and Gromit peg dolls for Julius’s 4th birthday.  This year I made fairy peg dolls for Patricia’s party!  Julius’ peg dolls frequently become passengers in his magna-tile creations, so hopefully these fairies get a ride in one of his rocket ships.  Patricia seemed delighted with them.  Her reaction when she saw them was “Peoples!” then “little peoples!” and then “little peoples have wings!”  These peg dolls also have their own mushroom house and little mushrooms that I made from cast off items I’ve been saving.

The little peoples with wings’ village. Yes that one fairy does have bat wings, and, now that you mention it, looks an awful lot like someone from a book I once read…

Playing with the fairies.

Fairy Free Play

As I mentioned we brought Patricia’s princess castle for some fairy free play (and our bubble maker) and fairy free play wouldn’t be complete without wings and fairy skirts!  Patricia and Julius wore their wings, skirts and crowns all day!  And Julius even wore his outfit the entire next day!

My little fairy.

My other, slightly bigger, little fairy

This is later that night after he’s changed into PJs.

Overall it was a great party and the kids had a lot of fun.  Just a reminder – don’t forget to enter the contest for a pirate hat package for your kiddos… or yourself (no judgement here)!  And now in the words of Patricia… “byebye, see you later!”

Bye bye, see you later!

Posted in Parties | 3 Comments