Sigh. Tax season. My least favorite time of the year. We forgot to do the taxes this weekend so I stayed up late last night doing them. I honestly don’t know why I spend so long filling everything out, I always end up taking the standard deduction. Anyway, I’m tired and grumpy!
The good news though is I finished part 1 of hanging a bed from the ceiling of my car in my micro camper. (I’ve heard that’s what the cool kids are calling it when they turn their regular old car into a camper.) Unfortunately I thought the kids would be just as thrilled as I was about it. So Amy and I booked a couple campsites nearby for this summer and I told the kids how excited I was about this project and Julius’ first response was “aww but can’t we camp in a tent?!”
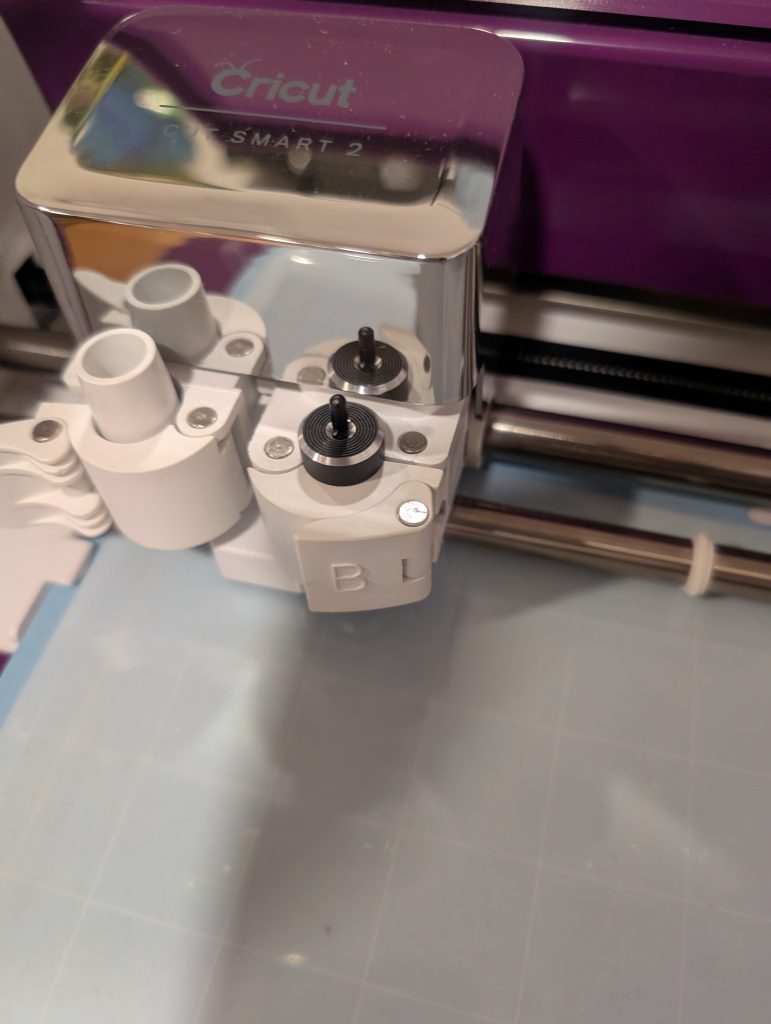
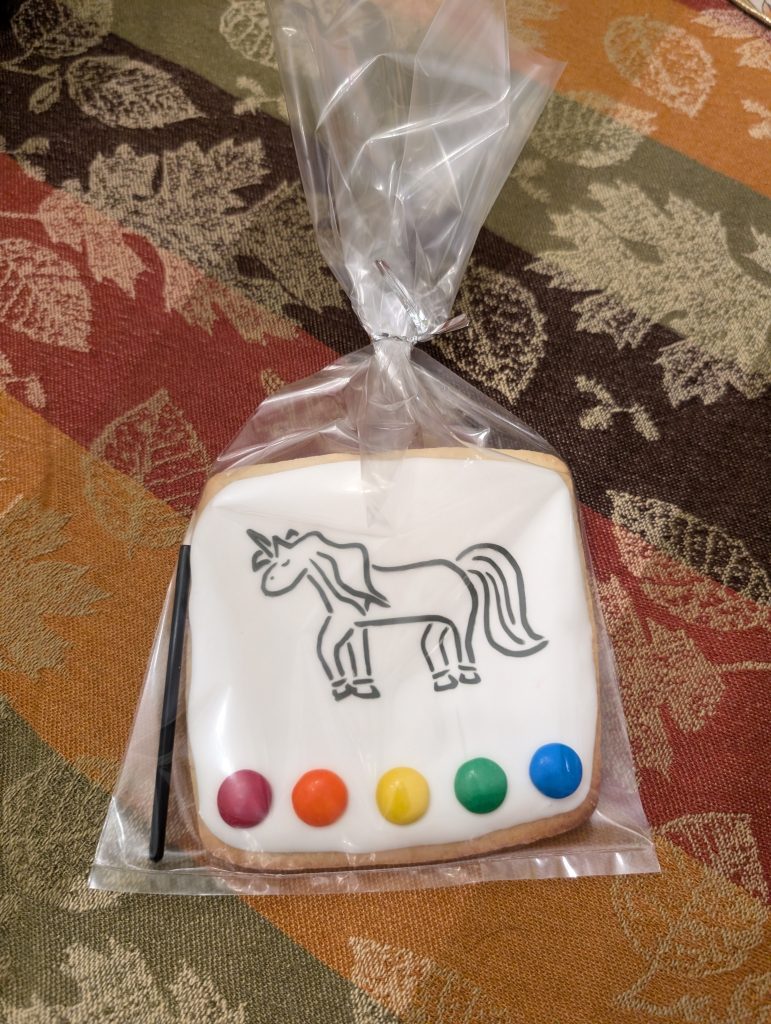
In other news, there is something the kids and I are BOTH thrilled about. You may remember that I showed these cute little paint it yourself cookies for Patricia’s birthday this year, and since then I’ve made another batch for my book club. I think the most difficult part is creating the stencil. The dragon stencil I made was a bit too intricate, plus my cricut mats are not sticky at all anymore, which means the second pass always causes things to shift around. I think I need to invest in some new mats or a way to make them sticky again (maybe I can just use the spray adhesive I have).
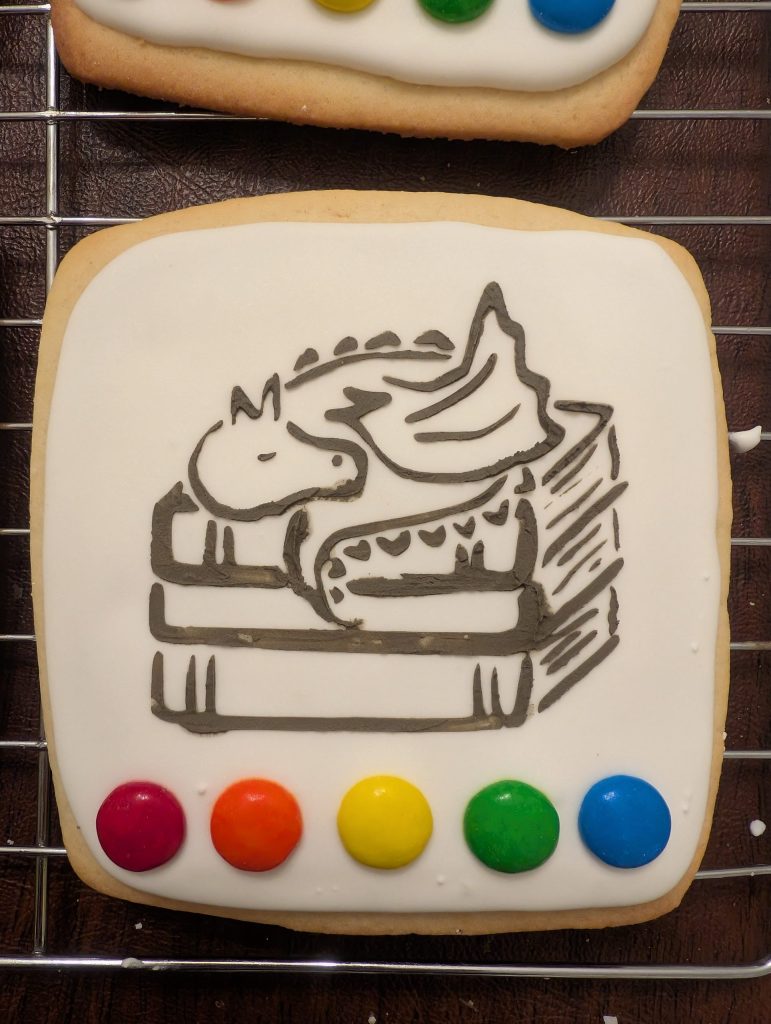
Watercolor Coloring Cookies
What You’ll Need:
- 7mil Food safe Mylar, cricut & pattern (or a pre-made stencil)
- 5″x5″ Square cookie cutter (I made mine)
- Batch of sturdy roll out sugar cookies (I use this recipe, it’s amazing)
- Royal Icing (I use Wilton merengue powder to make mine)
- black gel food coloring & cocoa powder
- M&Ms
- Small paintbrushes
1. If you’re using a premade stencil, skip ahead. If not, you’ll want to place your 7mil stencil paper on your cutting mat (make sure it is very secure) and then select mylar as your cutting material. You may need to experiment a bit to get it to cut all the way thru. sometimes I’ve had to run it thru twice (without unloading) to get it to completely cut thru. Weed your stencil and wash.
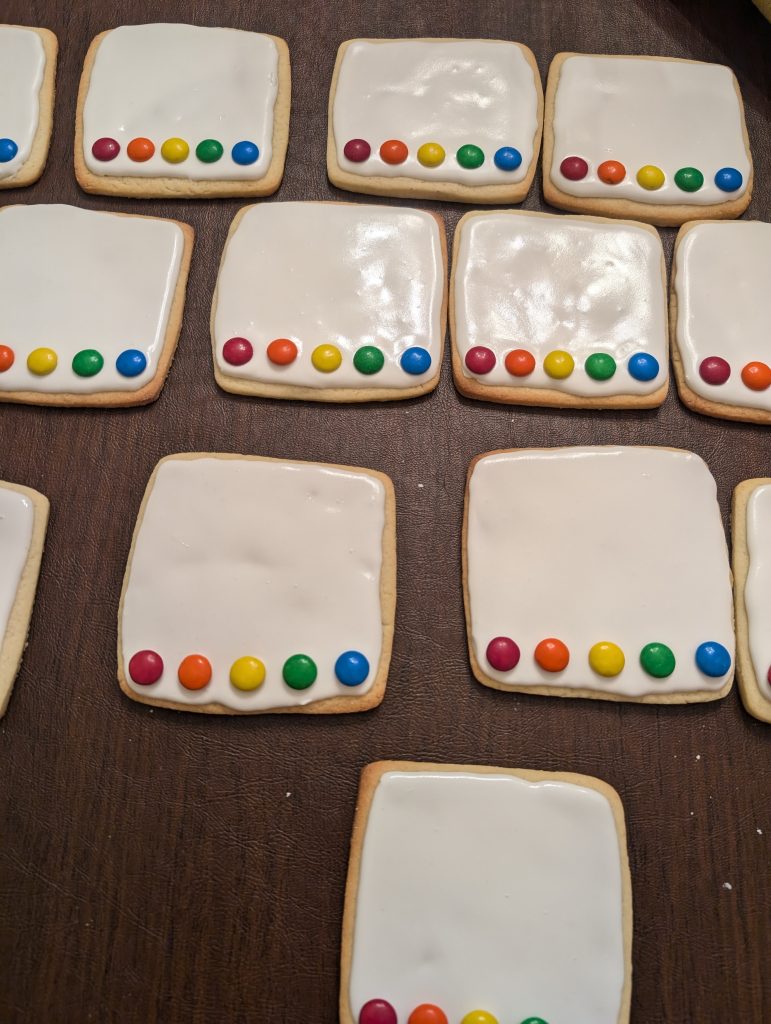
2. Flood your cookies with white icing & at the bottom insert desired colors of m&ms. Do this quickly before the icing starts to dry. You can fit about 5 “paints” on your cookie. Let dry completely. (Store your royal icing for later.)
3. Let cookies dry completely (this was overnight for me).
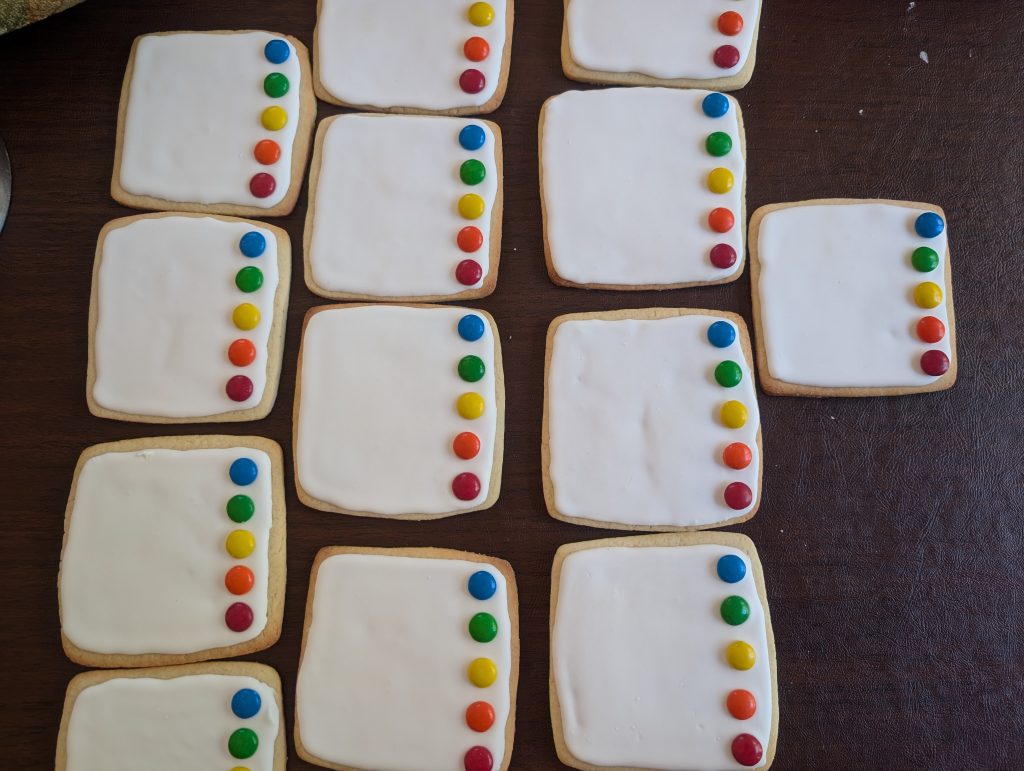
4. Add cocoa powder (I used 3 tbsp for 1 cup of icing) and black food coloring (a few drops) to the rest of your royal icing to form a dark colored icing. Adding the cocoa powder means you have to use less black food coloring to get a nice contrasting color.
5. Apply fully dry stencil on top of fully dry cookie. Pipe a blob of frosting to the top of the stencil and using the head of a rubber spatula, gently but firmly drag the icing down over the stencil, covering completely. Be careful not to move the stencil while doing this. (This is very similar to how you do screen printing). Remove the stencil gently. Let dry.
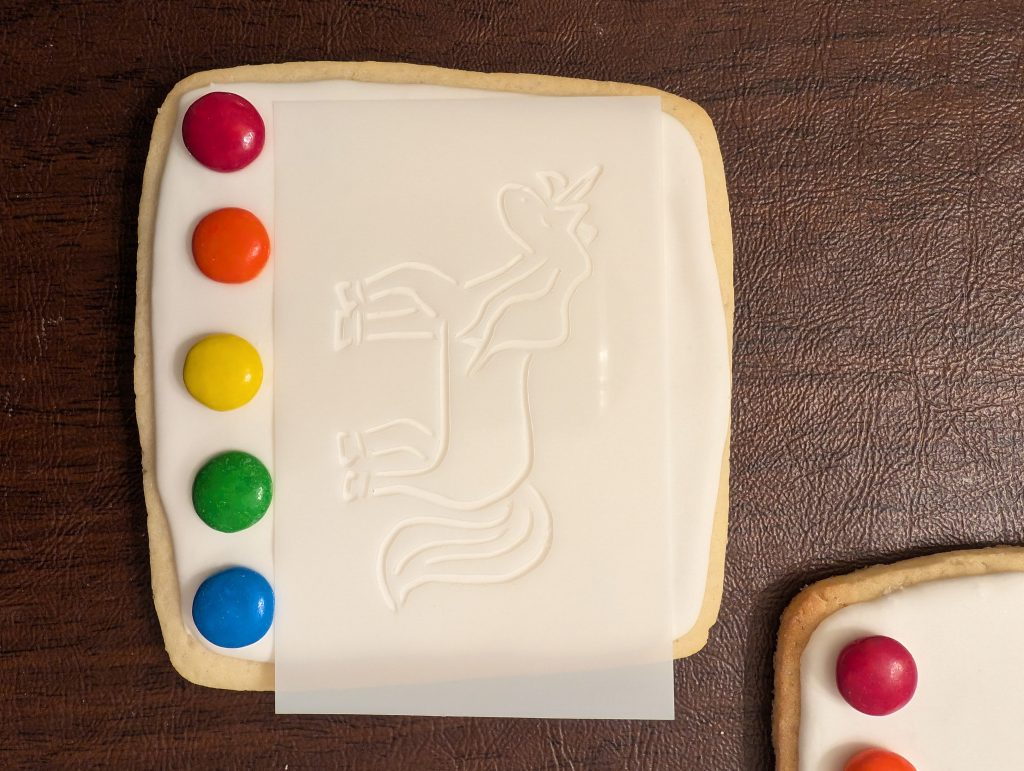
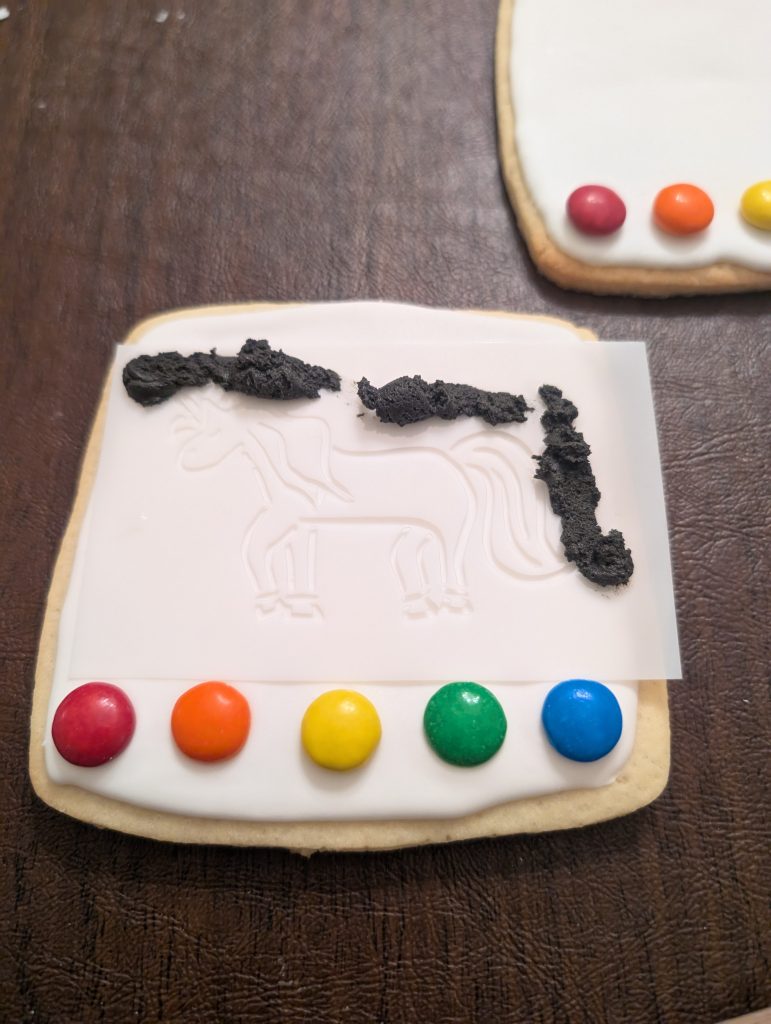
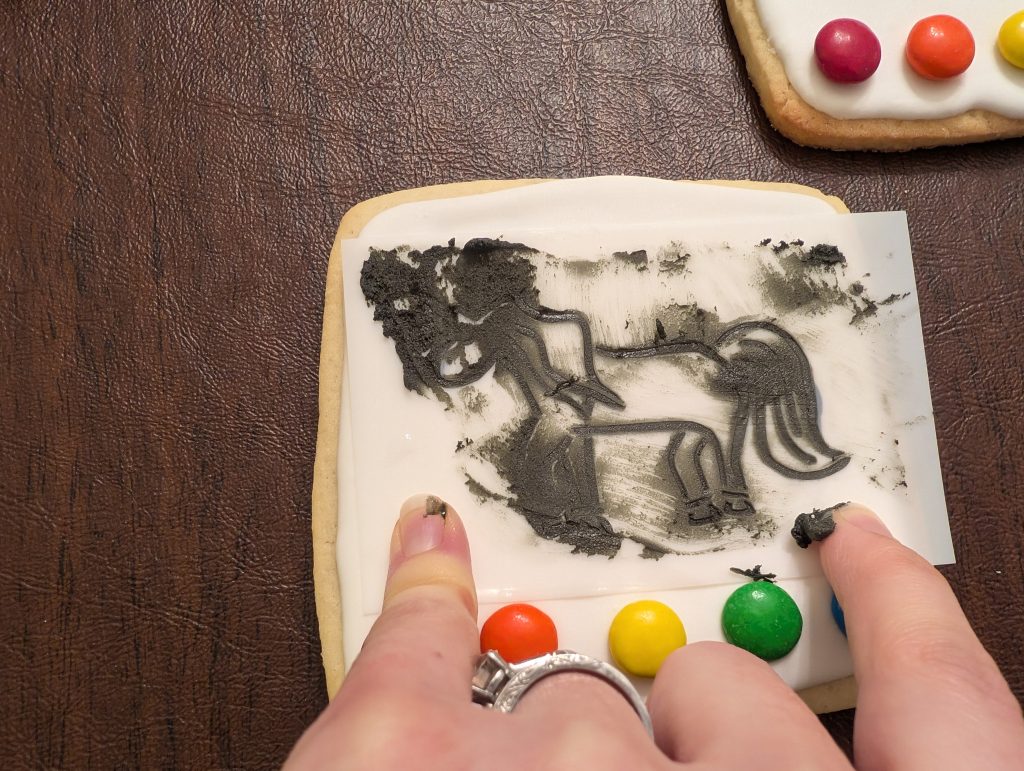
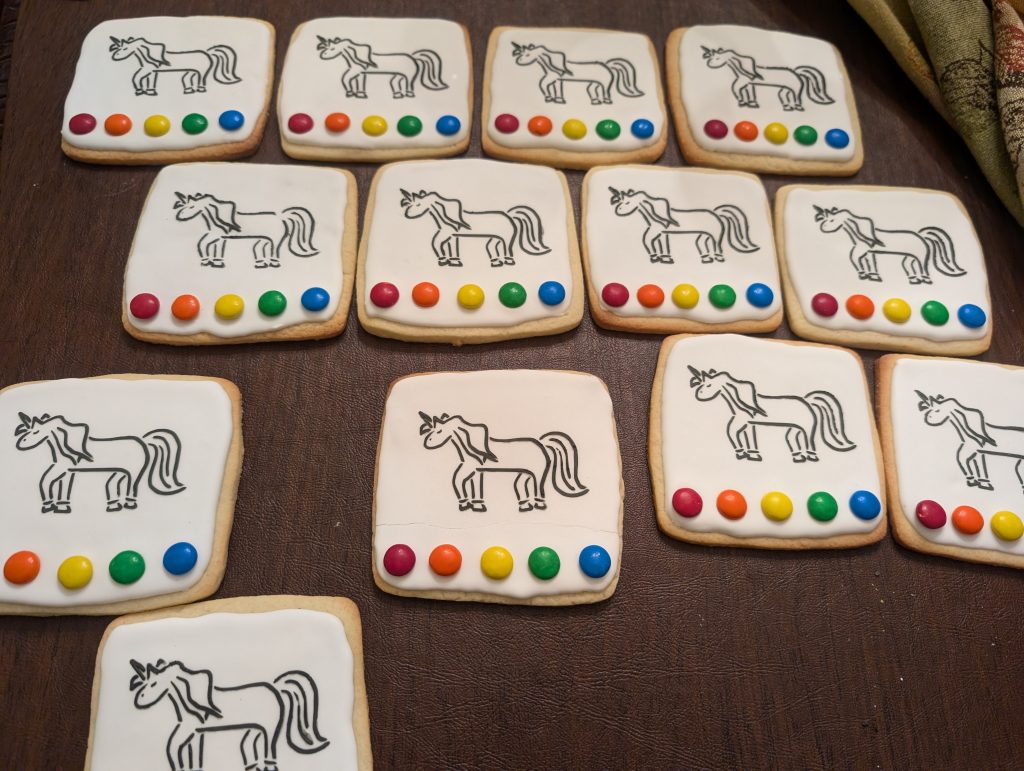
6. Once dry you can package in little bags with your paintbrush. I will admit I absolutely love these. It’s a craft AND a snack. I always have as much fun painting them as the kids do. Seriously this is like my favorite thing to make now. If there is a bake sale I know what I’m making next time.
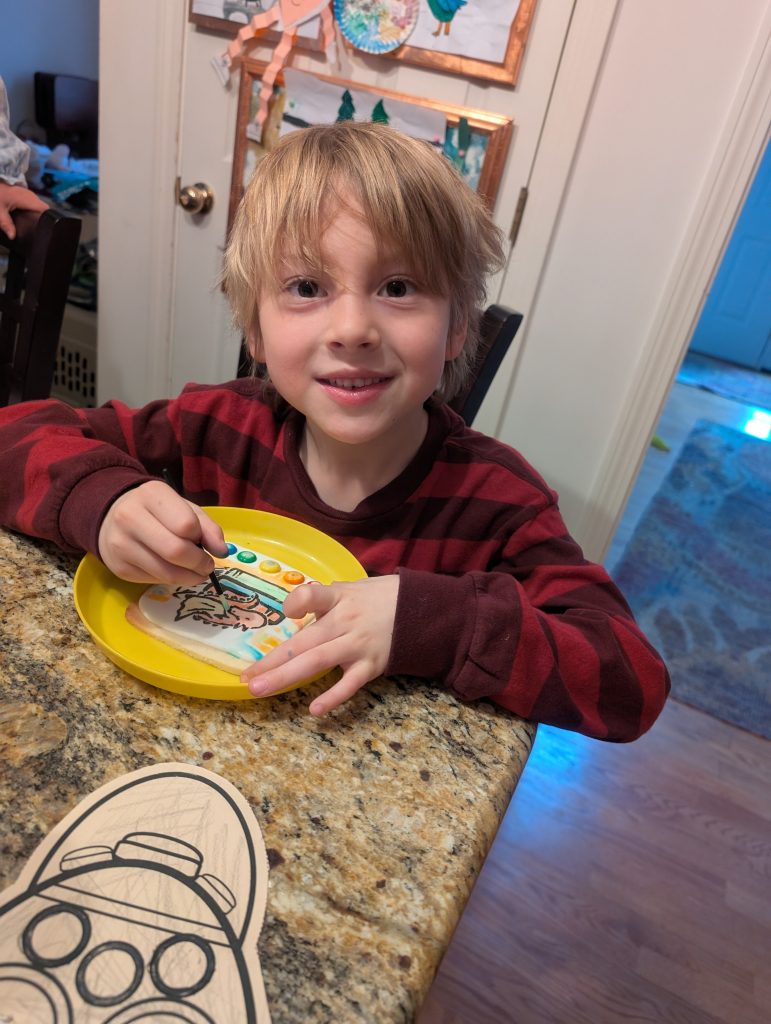
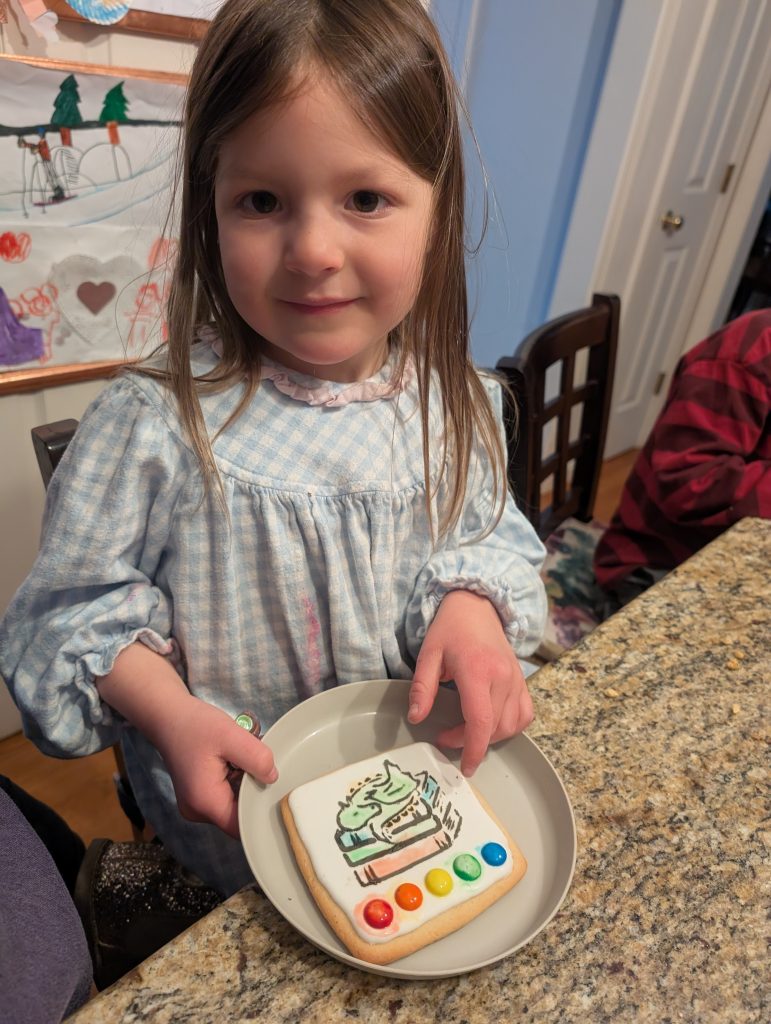
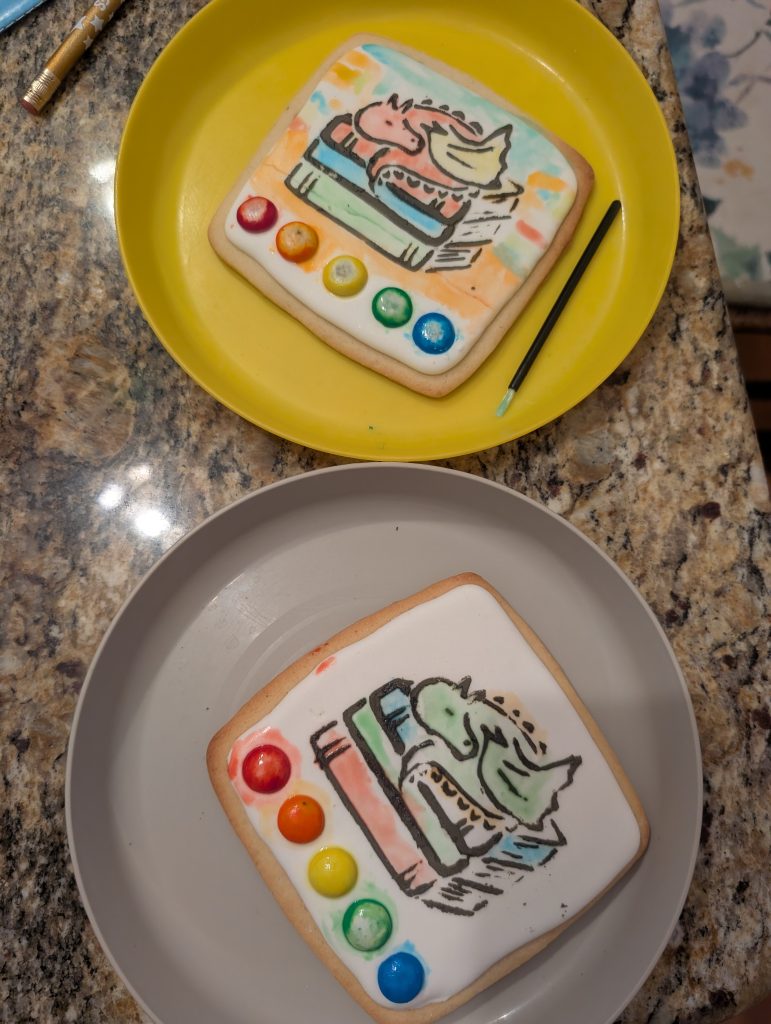
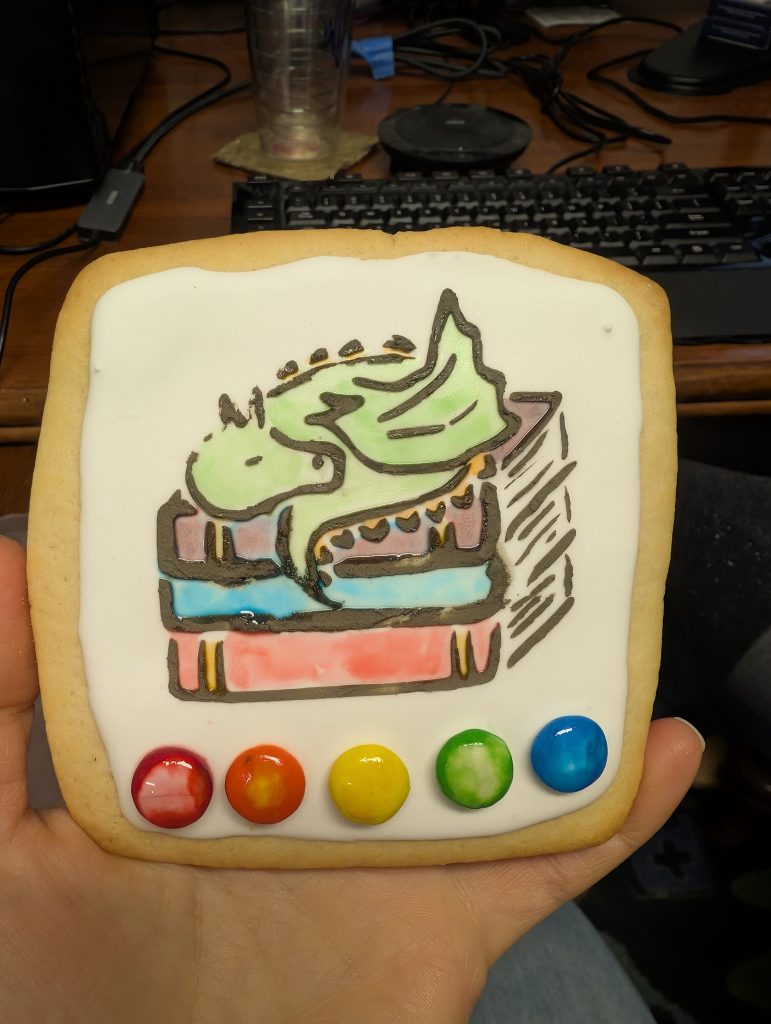


Edible art! Cool!
I’ll find an excuse to make you guys them next time!