On Saturday Will and I marched with over 100,000 people in the Boston Women’s March. What an amazing, empowering experience to have been a part of. Like many Americans I have felt belittled, insulted or targeted during this election for being different than the man who was just sworn in as president. (And I am a privileged, white, straight female so I can only imagine how the rest of the nation feels.) I marched to support anyone and everyone who was or is being targeted because of their differences. I don’t want the younger generation to grow up believing that racism, bigotry and hatred is the status quo. I never want a child (or adult) to be treated differently because of their gender, color, religion or sexual orientation. I marched as a lover of Mother Earth and an engineer who will not ignore science and global warming. Finally, I marched as a woman, who refuses to have her reproductive rights governed.
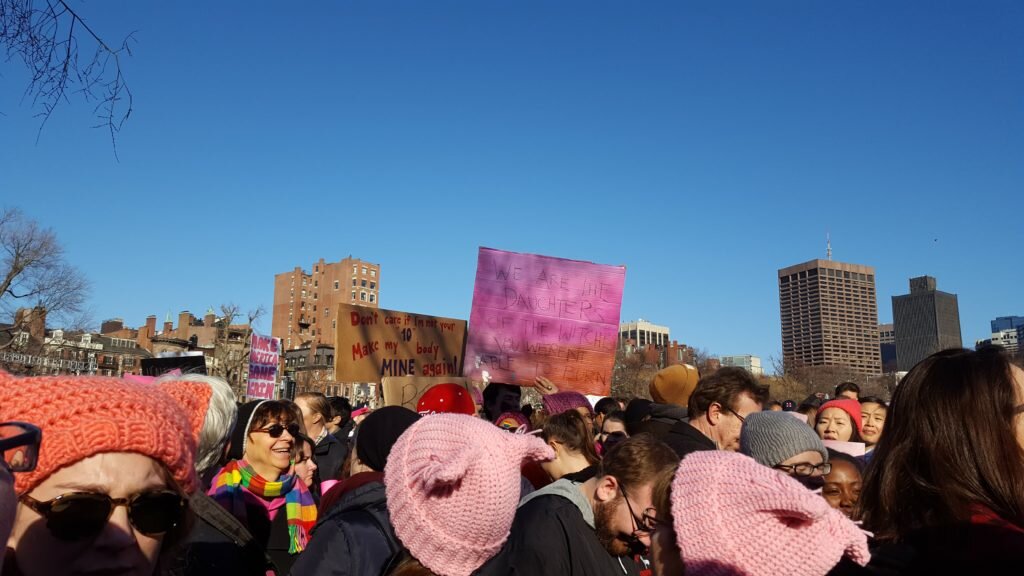
One of our favorite signs, “we are the daughters of the witches you weren’t able to burn”.
The night before the march I found out about the Pussy Hat Project. The idea was to fill the March on Washington with a sea of pink hats (with cat ears) and judging from the pictures it worked out pretty well. Since it was regretfully too late by Friday night to ship any hats to D.C., I decided to make a couple for the march in Boston out of some leftover polar fleece I had lying around. After talking with several women at the march it seems I was very lucky that I had pink polar fleece in my stash because stores across New England were completely sold out of pink fabric the week before the march! Awesome!

Emma, Danielle and I rockin’ our pussy hats at the march!
Even though the march is over, you can still make and wear a pussy hat with pride. Whatever your reason for wanting a hat, when you wear it think of all the women and allies who stand together with you and refuse to let their voices sink into the masses.
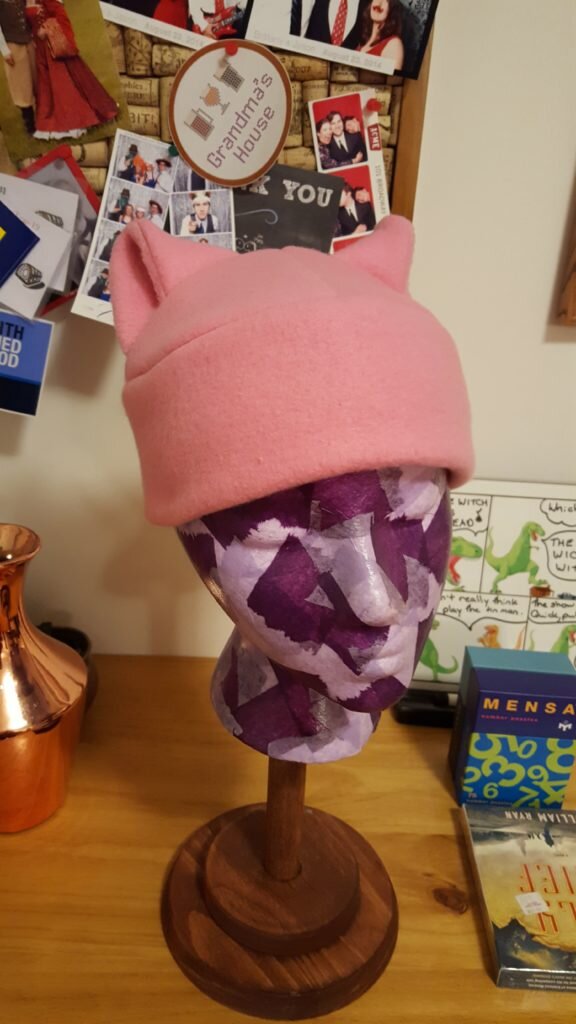
Is that a pussy hat? How stylish!
Fleece Pussy Hat
(This pattern is made for my 21.5″ head)
- 1 yard of pink polar fleece
- pink thread
- Pattern here
- Cut out 4 sets of the ear pattern from the fleece (2 on the right side, 2 on the wrong side).
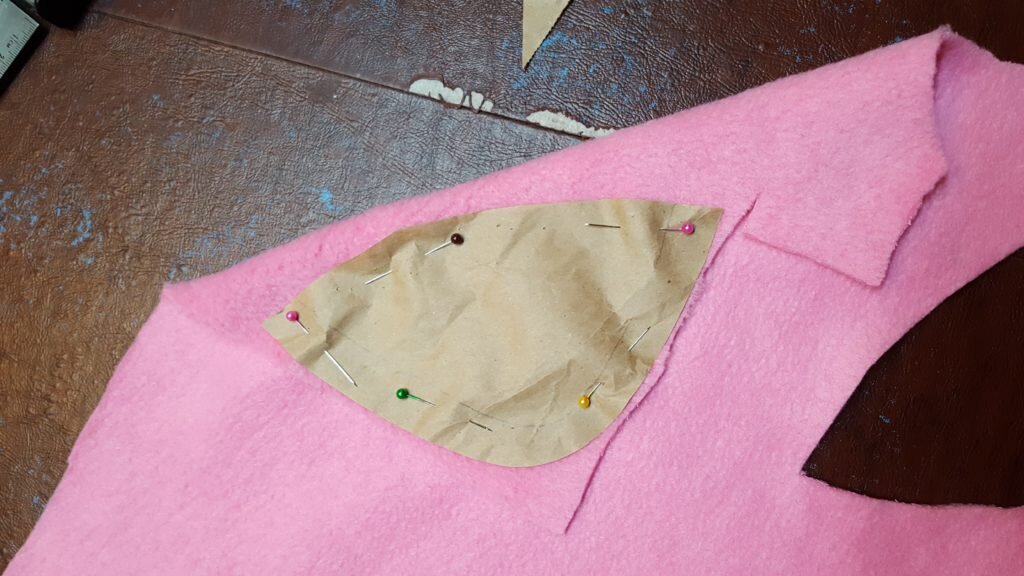
Cut out ears.
- Cut out 4 of the triangles (all on right side of fabric)
- Cut out a 22.5″x7″ rectangle for the brim.
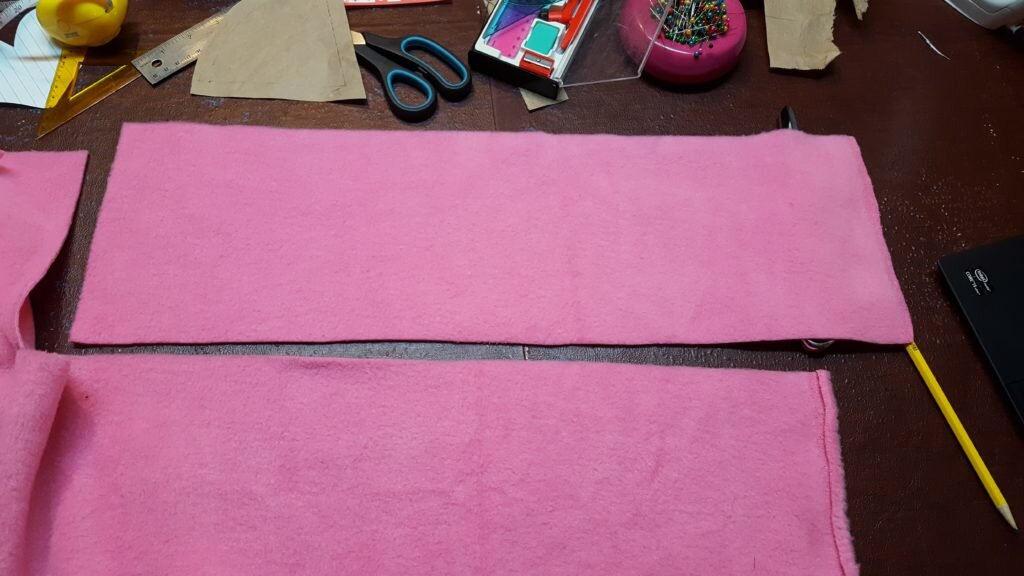
Cut hat band.
- Pin cat ears together, right side to wrong side.
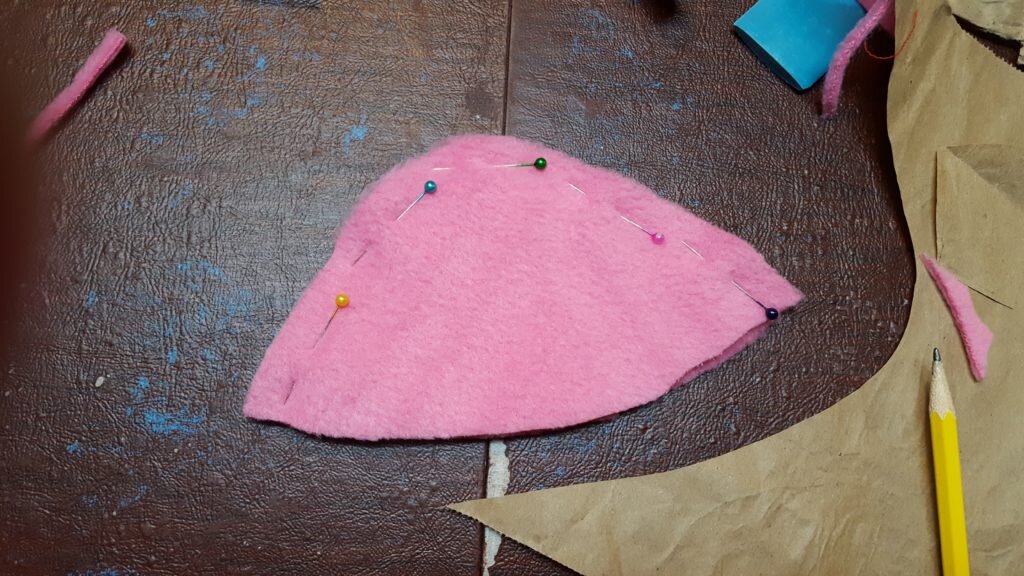
Pin ears together, right side to wrong side.
- Stitch around the curved edge, trim to 1/4″ and turn out.
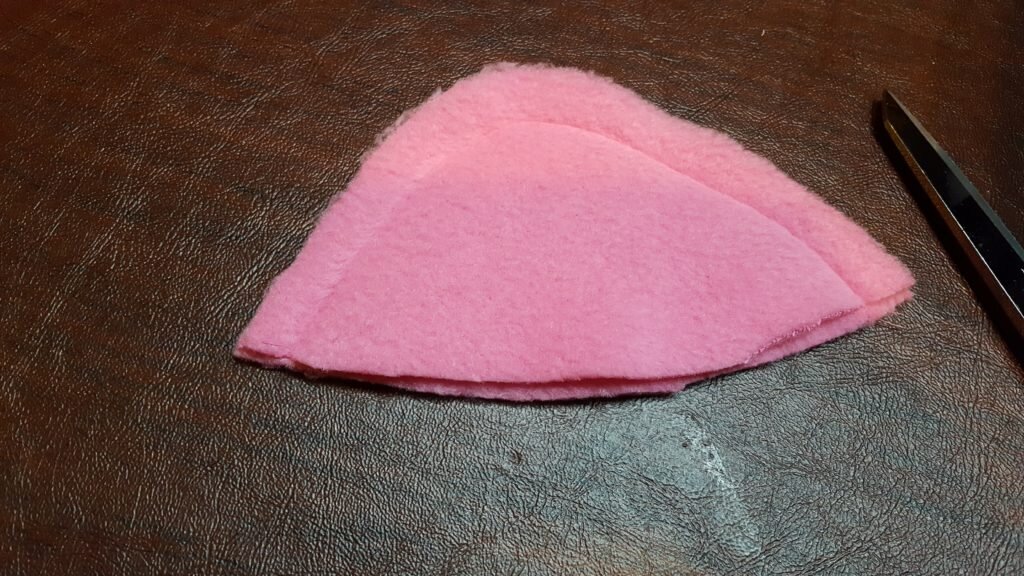
Stitch ear along edge and trim.
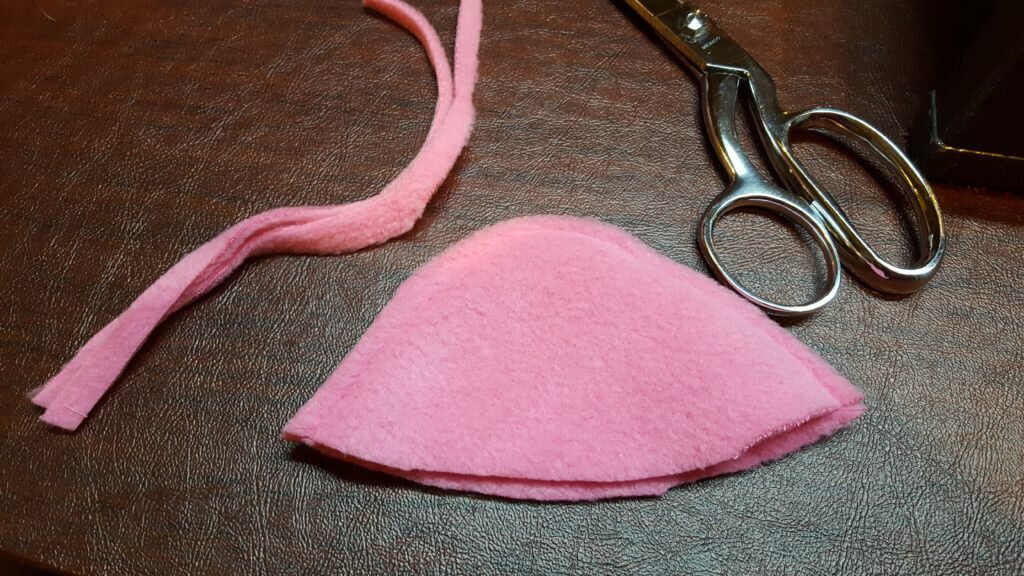
Turn inside out.
- Fold the ear along the line in the pattern, wrong side of fabric on the inside of the ear. Pin.
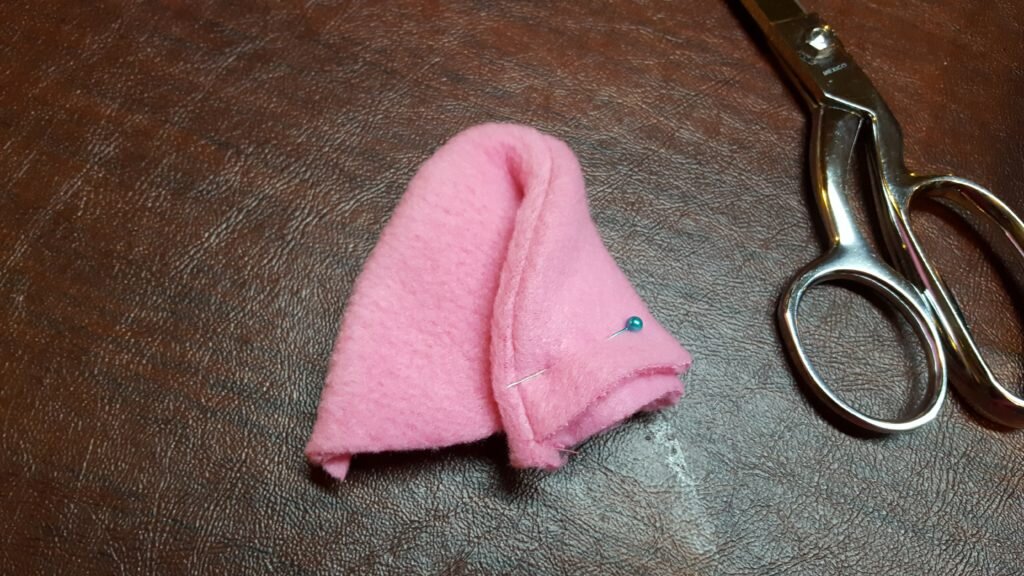
Fold ear in 1/3s
- Pin 2 of the triangle pieces together along one side, right sides together. Stitch. Repeat for second set of triangles.
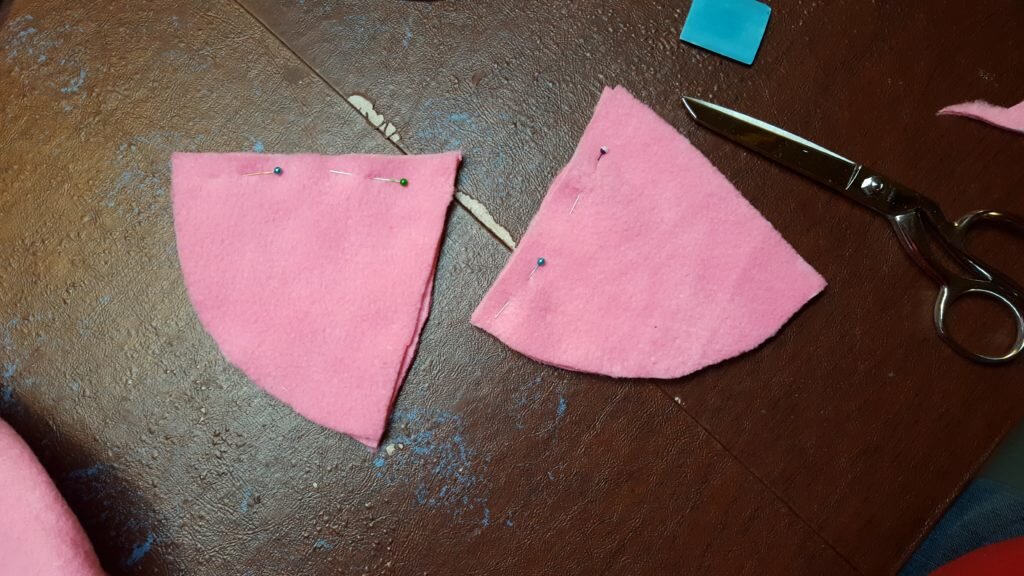
Pin two triangles together on one side.
- Place one set of triangles right side up on the table. Put ears on either side of the hat front, about an inch above the bottom of the hat on each side.
- Flip ears onto front of hat, right sides down.
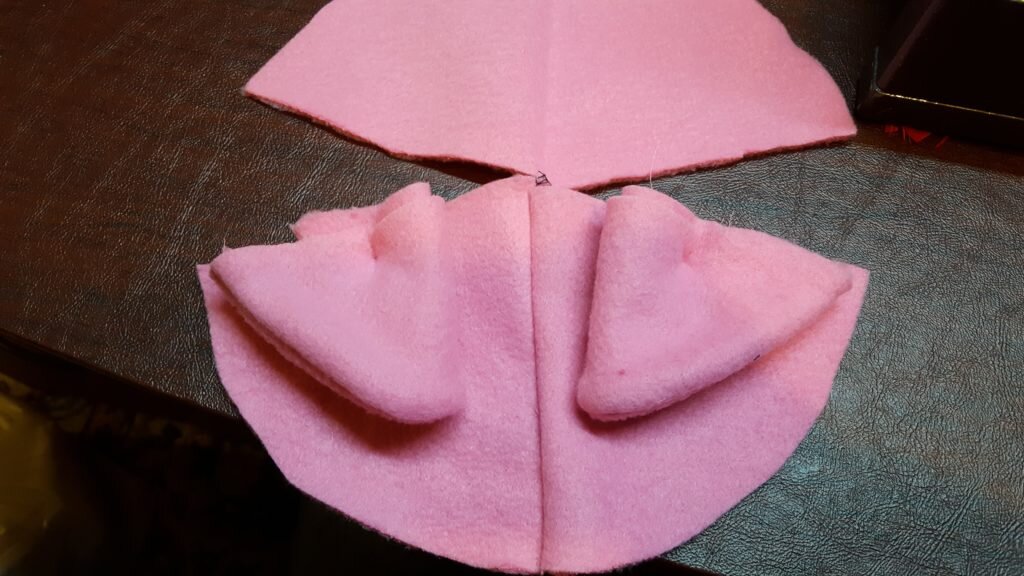
Turn ears into hat.
- Place hat bottom on top of ears and hat front, right side down.
- Pin along to top edge and sew. Open out.
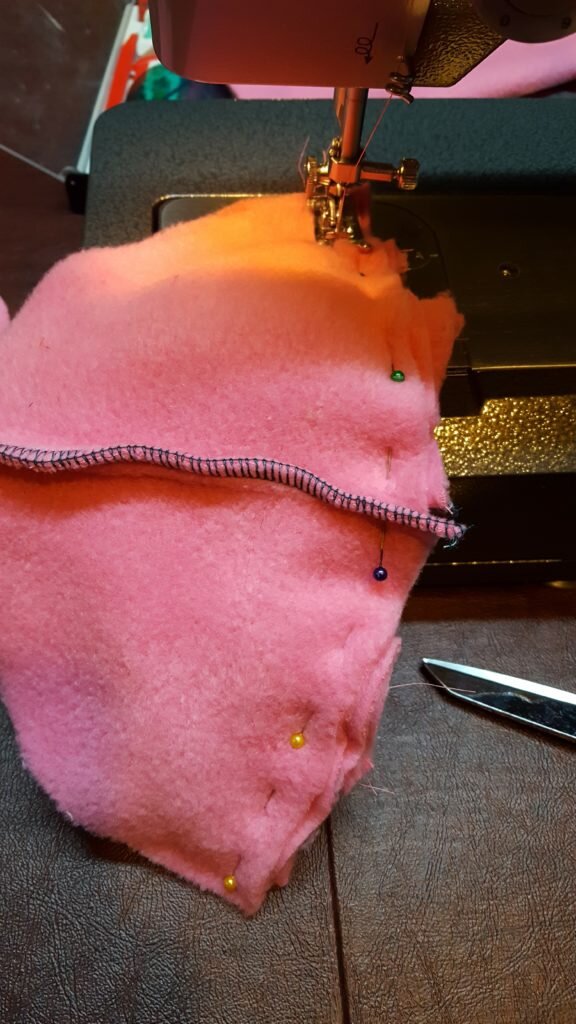
Pin and stitch top, bottom and ears of hat together.
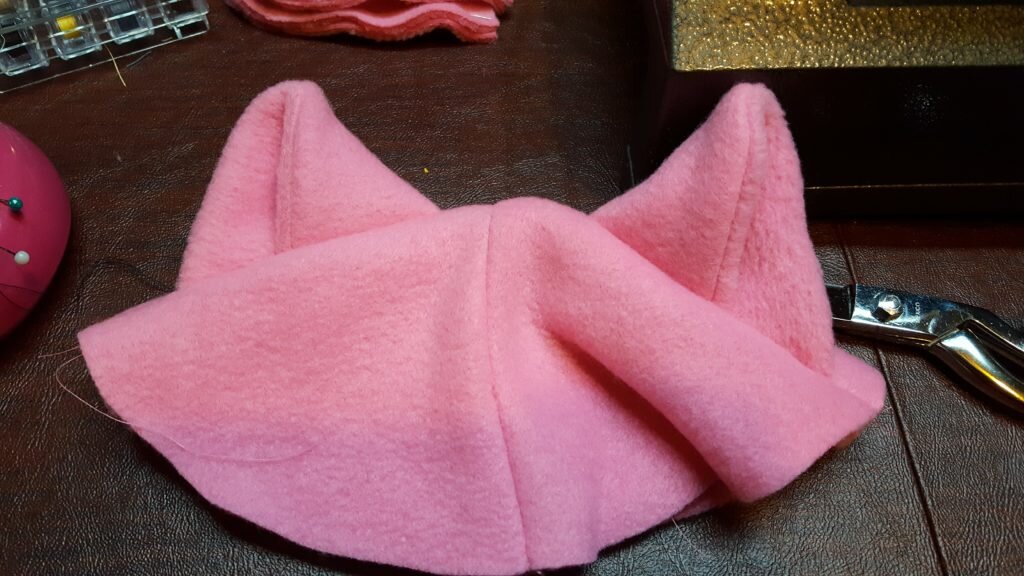
Finished top of hat!
- Fold band in half the long ways, wrong side in. Pin along the edge.
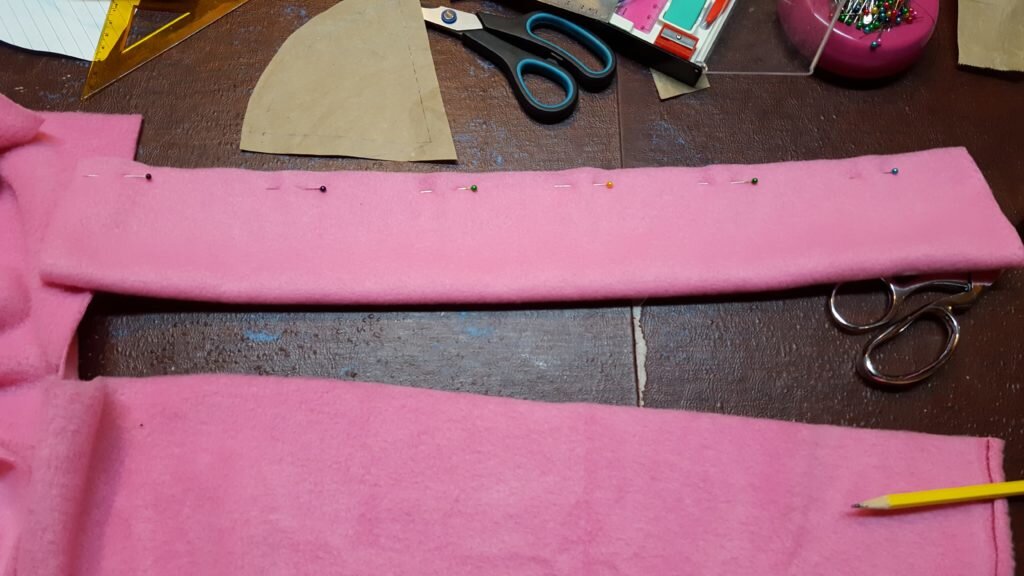
Fold band in half and pin.
- Pin short edges together and stitch.
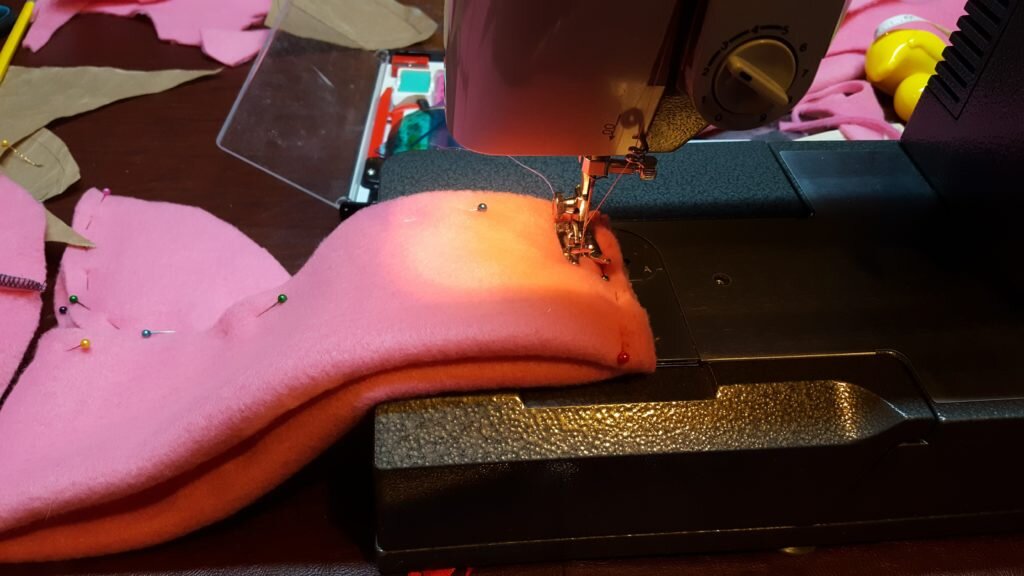
Stitch edges of brim together.
- Place hat band on top of hat top, unfinished edges together, matching seam on hat band and back of hat. Pin and stitch.
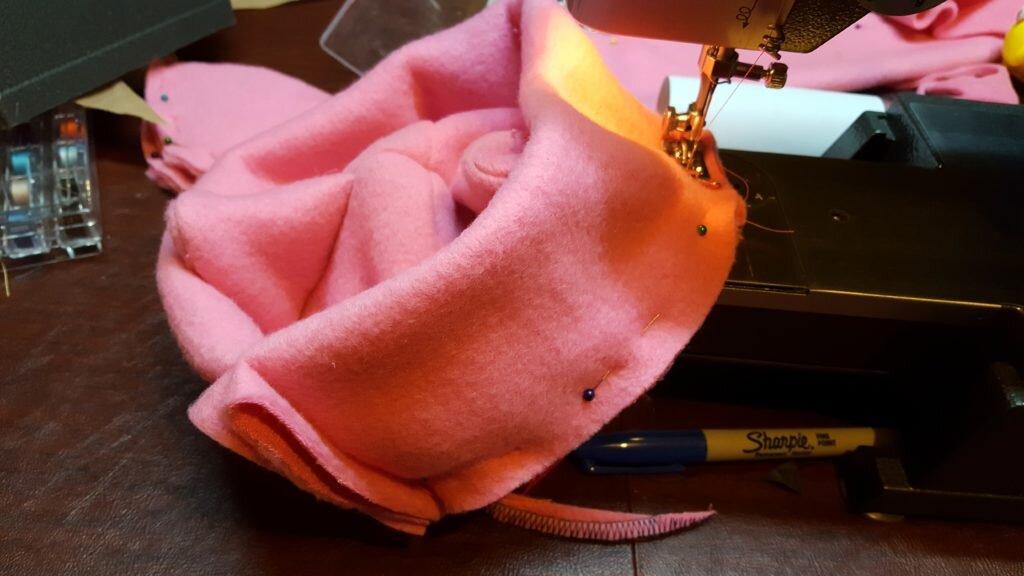
Stitch brim to top of hat.
- Wear with pride!
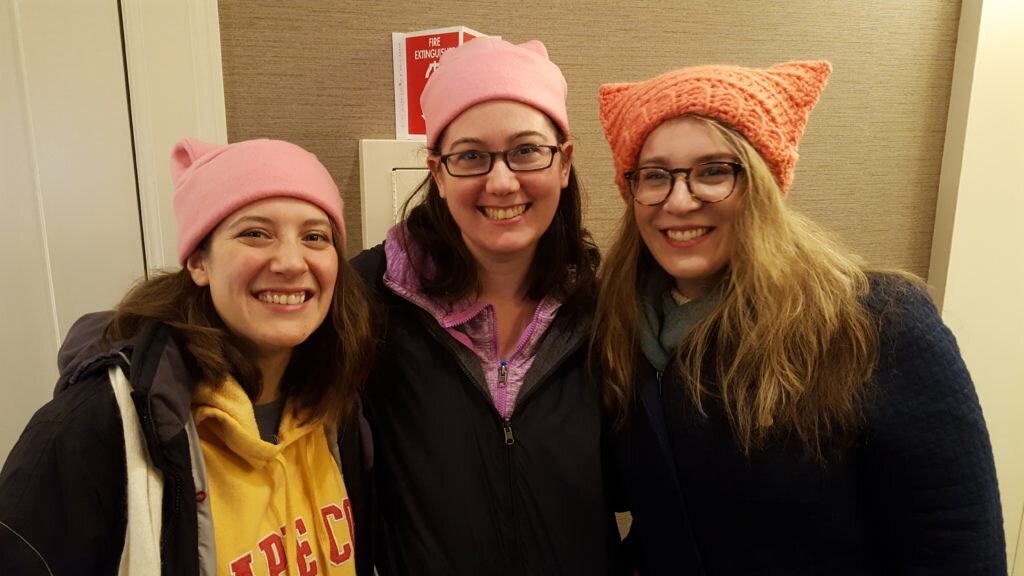
Check out those hats!

