So this past weekend we held a silly event we called “DanyCon”. Based on the DanyCast it was a weekend board game convention held at our house for both Will & my siblings & significant others. It was SO MUCH FUN! Over the next couple of weeks I’m going to show you some crafts I did to create welcome “swag bags” for the event and also the menu ideas and suggestions for an “effortless” board game party.
Well today let me tell you about the welcome bags themselves. You may have seen my post on the DIY Reusable Grocery Bag made from rip-stop nylon. That bag is AMAZING but it is fairly costly (the rip stop nylon is $8 per yard at JoAnn Fabrics). It also involves curved pattern pieces which doesn’t maximize usage of the material and is a bit wasteful. For the DanyCon welcome bags I wanted to create reusable grocery bags similar to the ones you see in grocery stores. Like this:
And of course I wanted to make them myself for cheaper than you see here, since I’m crazy. Yes it turns out you can make them for cheaper than $2 a piece (if you ignore cost for your labor) and you can sortof assure they weren’t made by some unethical sweat shop in China. I’ll get to the sortof part in a minute.
The key to the cheap production value is using the exact same material that they use for these bags commercially. After some research I discovered the “fabric” is a dirt cheap synthetic material that they call Olefin. Upon discovering this, I also discovered that Olefin is produced by Fairfield and sold to hobbyists under the brand name “Oly*Fun“. I purchased a 10 yard bolt of it from amazon for 12.74. At that price even if the bags required a yard of fabric (which they don’t) they only cost $1.27 a piece (and I only used half a yard – so these cost a whopping 63 cents each…)
So let me get to the “sortof” made in the USA part. After impulse buying the fabric on Amazon, I did some research on the production of Oly*Fun. Oly*Fun (like many synthetic fabrics) is manufactured in China. Having never visited the factory, I cannot vouch for the conditions of the textile workers who make the fabric, which leads me to the “sortof”. On top of the civil liberties concerns, I read some very negative blog commentary on the environmental impact of olefin production. These posts made it seem like using olefin fabric for reusable grocery bags was doing more harm than good. I got scared and did some research myself and I could not find any papers to back up their claims. The papers I read showed there was a range of more and less environmentally impactful ways to create the fiber. I have a friend who has her doctoral degree in polymers, so I will ask for her knowledge on the subject. For now I am not feeling guilty for saving bags from the landfill!
Though I like the shape of the reusable bags above, I really wanted something like my last bag that could fold and fit into a purse. Here is what I came up with that is very similar to my last bag but reduces fabric waste! I call it:
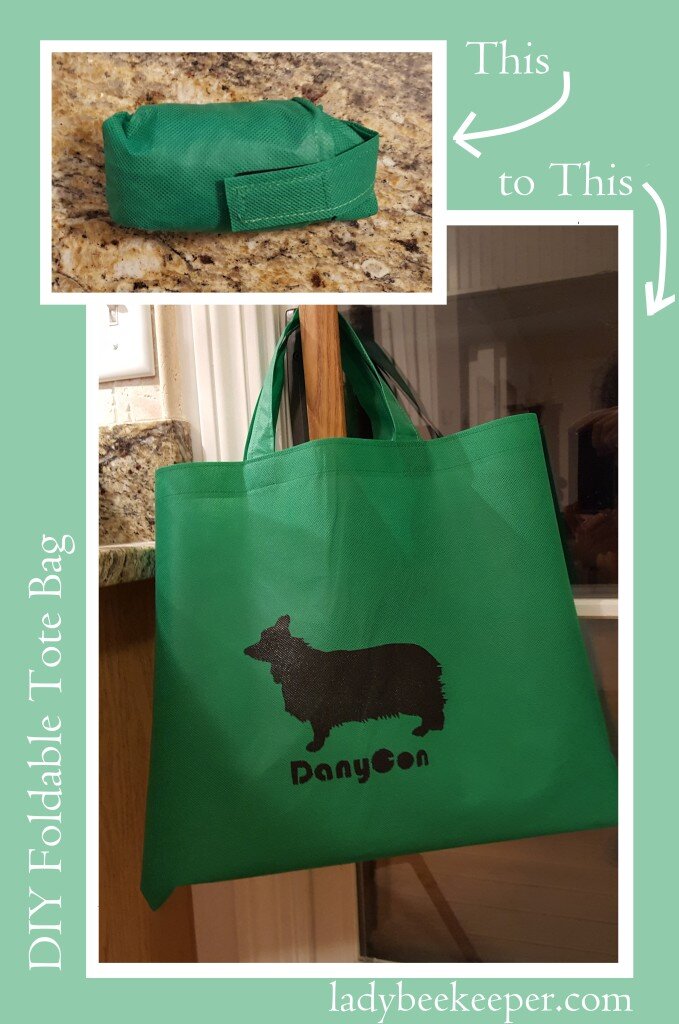 DIY Foldable Tote Bag (for 63 cents…)
Oly*Fun has no nap, no bias, and does not fray. For this reason it is an amazing beginner fabric. If you want to make this pattern even more beginner friendly you can omit the pocket and velcro pocket strap (Steps 5,6,10,11, 12, 13,15)!
For each tote you will need:
- 1/2 yard of 60″ wide Oly*Fun fabric
- Polyester thread
- 1 inch Velcro
- Cut your Oly*Fun fabric into the following rectangles:
- 1 – 30″x17″ body (Since Oly*Fun is 60″ wide you can conveniently make 2 from one cut!)
- 2 – 15″x3″ handles
- 1 – 5.5″x3″ velcro pocket strap
- 1 – 5.5″x 9″ pocket
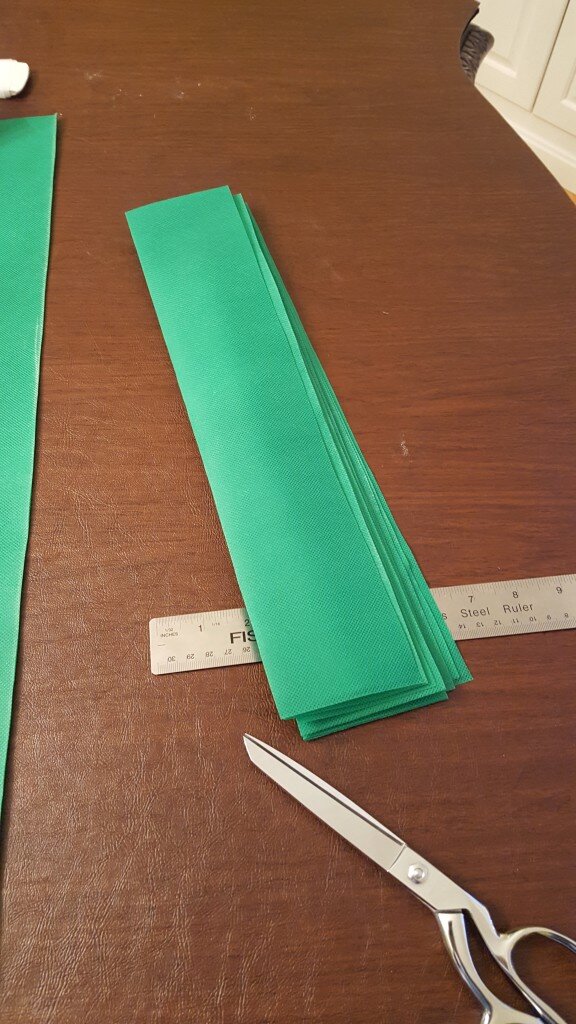
Cut pattern rectangles
2. Fold your 30″x17″ body rectangle in half to form a 15″x17″ rectangle. The fold will be the bottom of the bag. Fold under 1″ on the top of the bag.
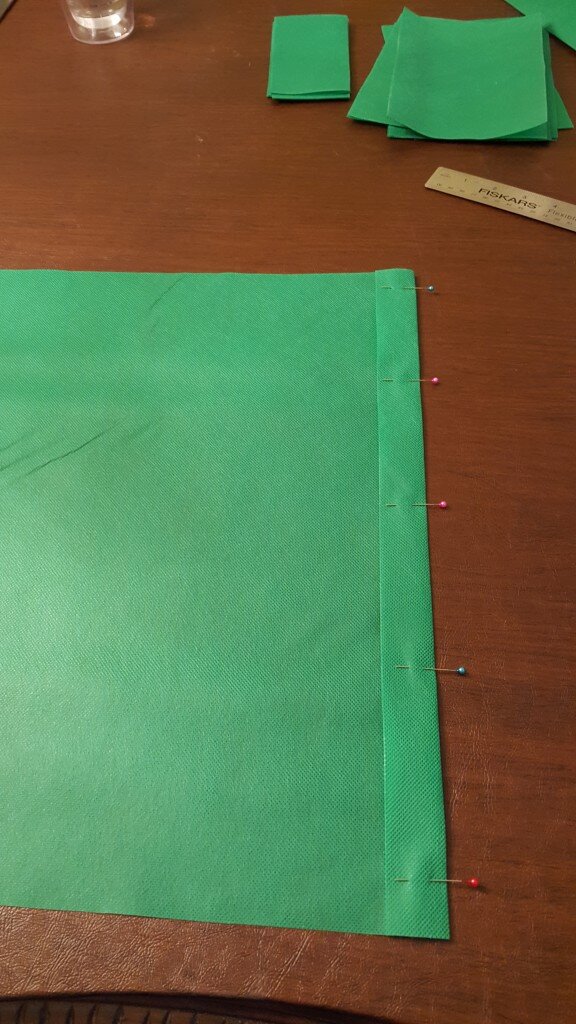
Pin under 1 inch on each side of the bag top for added strength.
3. Prepare your strap and handles by folding under 1/4″ on each long side of the piece. Then fold the entire piece in half.
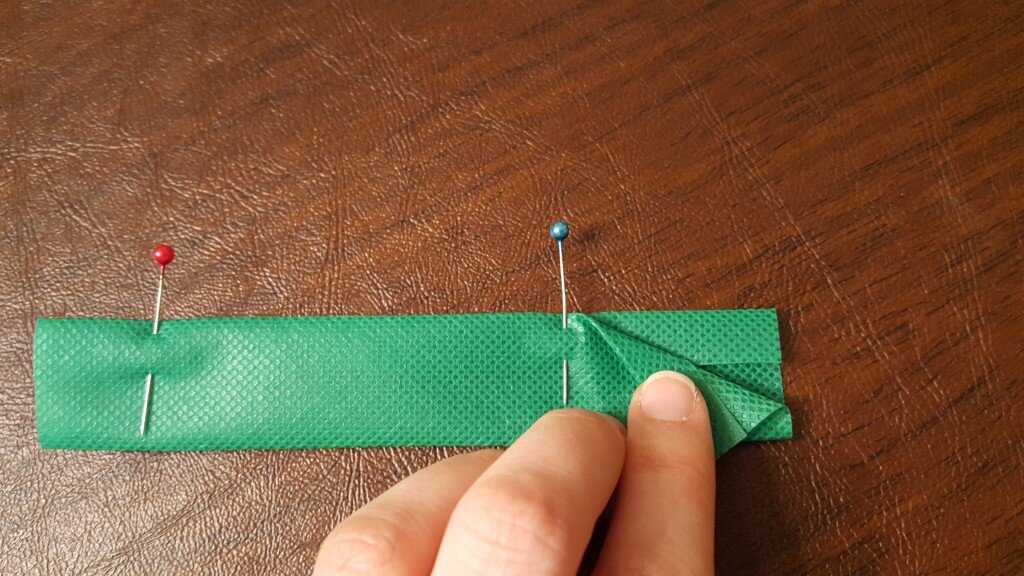
Pin under 1/4″ on each side of the strap and fold in half.
4. Stitch along both sides of the strap and handles, 1/8″ from the edge.
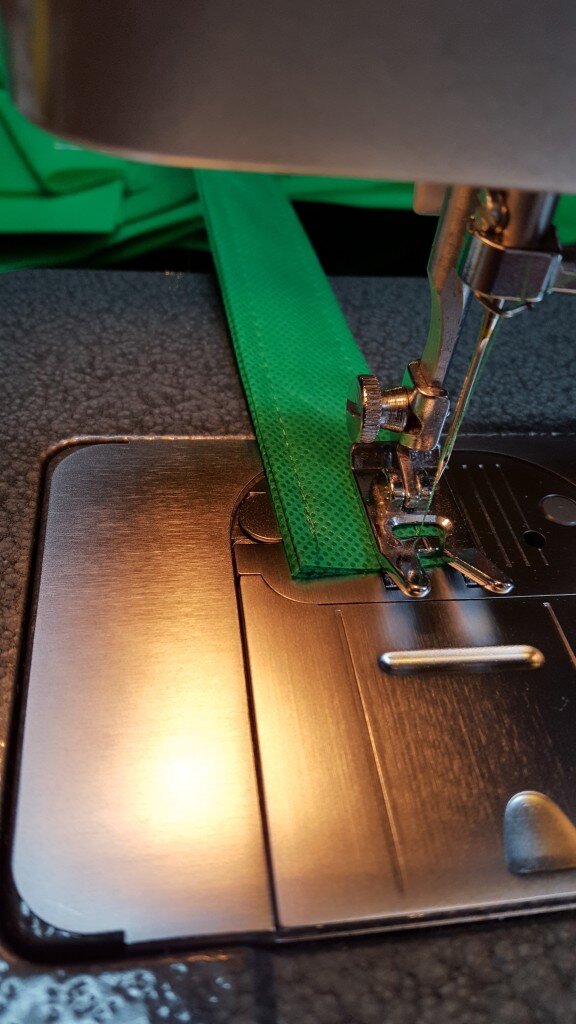
Stitch close to both edges of the handles and strap.
5. To prepare the pocket, fold under 1/2″ on the long side of the pocket.
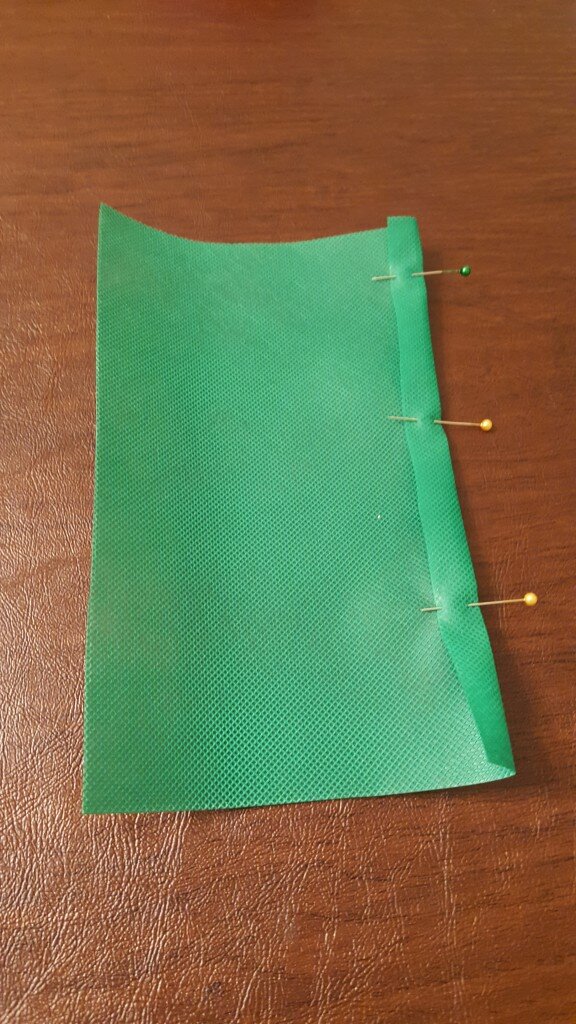
Pin under 1/2″ of the top of the pocket.
6. Stitch close to the edge.
7. Pin the handle to the bag on top of the folded under inch of the bag. Make sure each side of the handle is equidistant from the side of the bag.
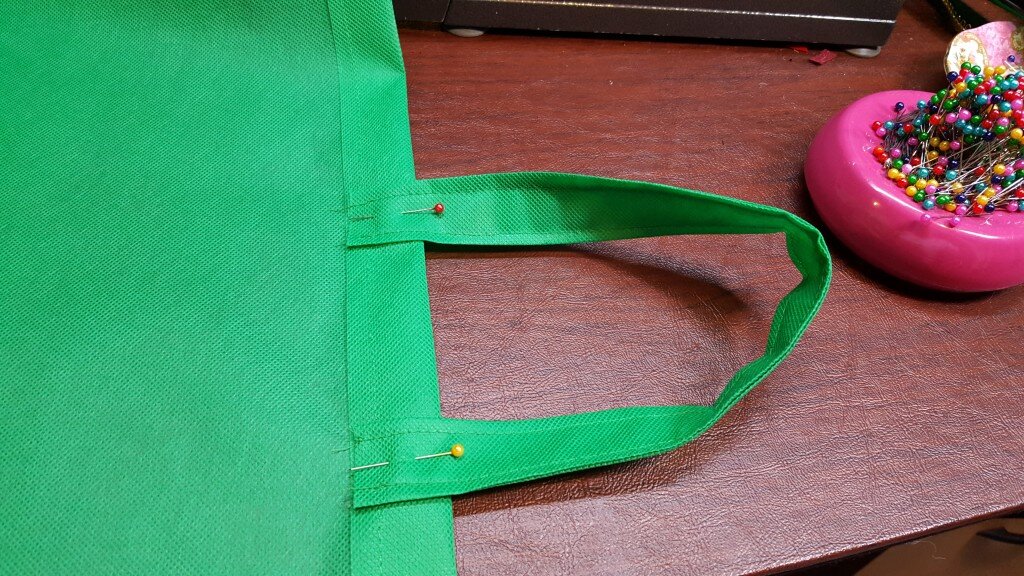
Pin handle to bag
8. Repeat for the second handle, be sure to line it up with the other handle.
9. Sew across the 1″ strip of fabric, 1/8″ from the top and bottom of the fold. Make sure sure the handle is attached to the reinforced top during this stitching. Repeat for other side of bag.
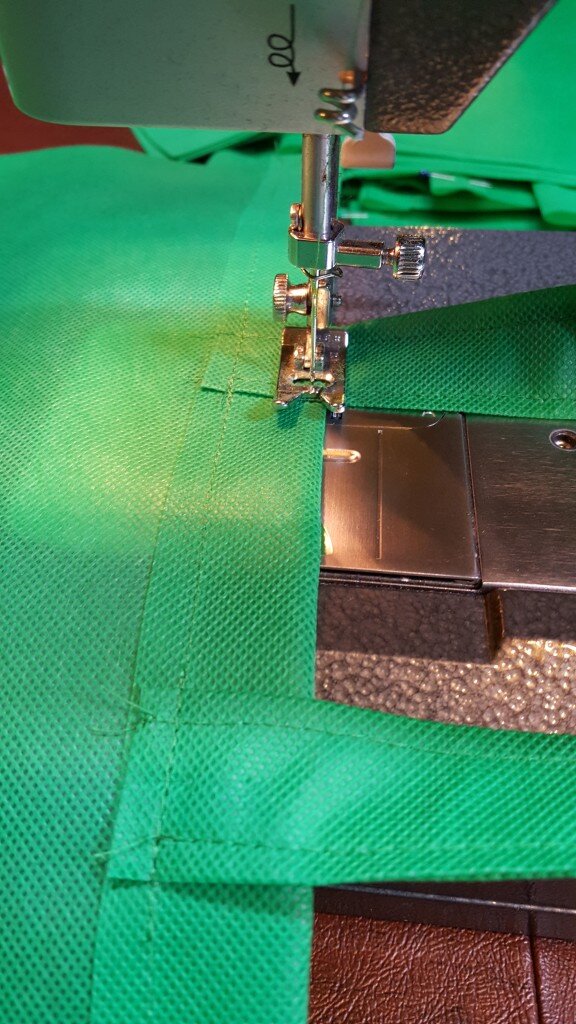
Stitch handles to the bag sewing close to the top and bottom of the reinforcement strip.
10. Sew one side of the velcro piece onto one side of the pocket strap.
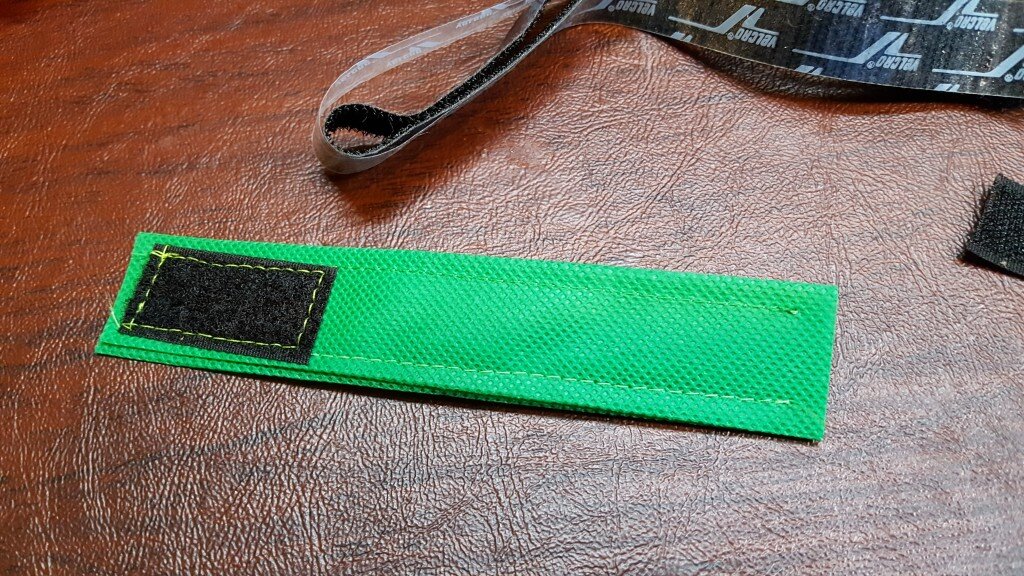
Attach velcro to one end of strap.
11. Fold the pocket in half with the right side out. Center the opposite side of the velcro piece onto the pocket (make sure to account for the half inch of seam). Stitch.
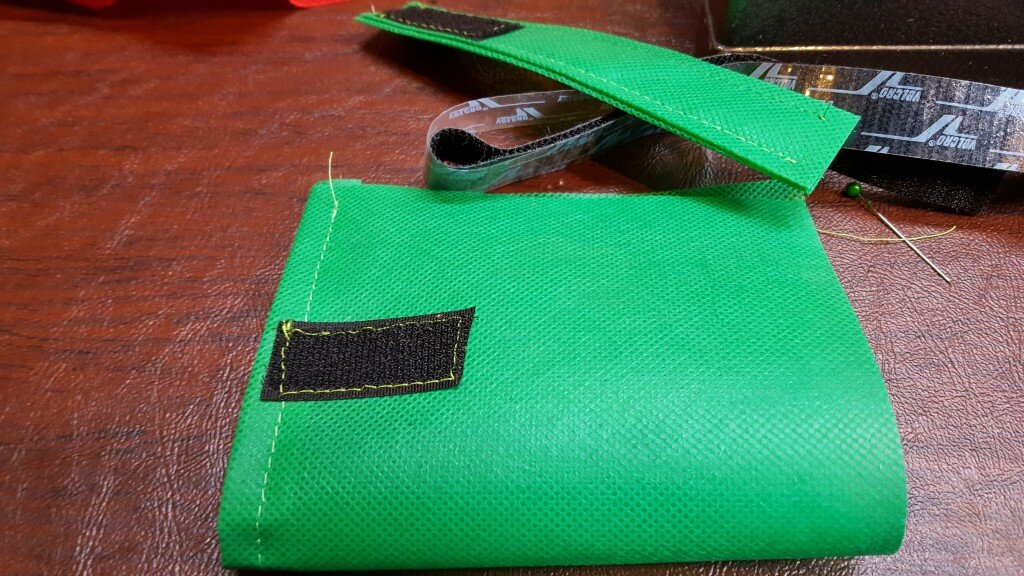
Attach velcro to pocket.
12. Turn the pocket inside out and pin the pocket strap to the other side, aligning with the position of the velcro on the pocket. Attach the strap by stitching close to the bottom and the top of the seam allowance.
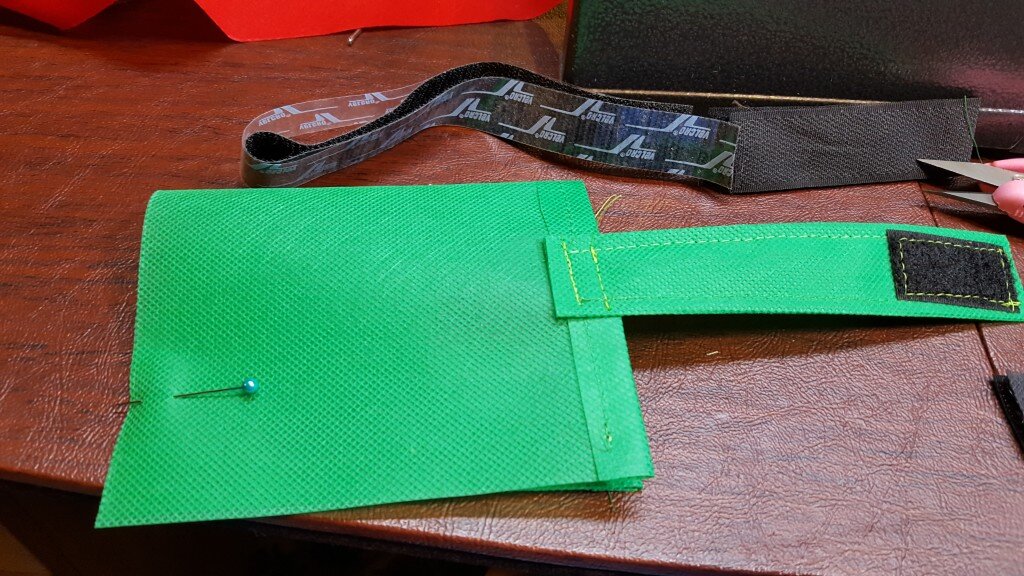
Attach strap to pocket.
13. With the pocket folded in half, stitch the lower edge of the pocket closed.
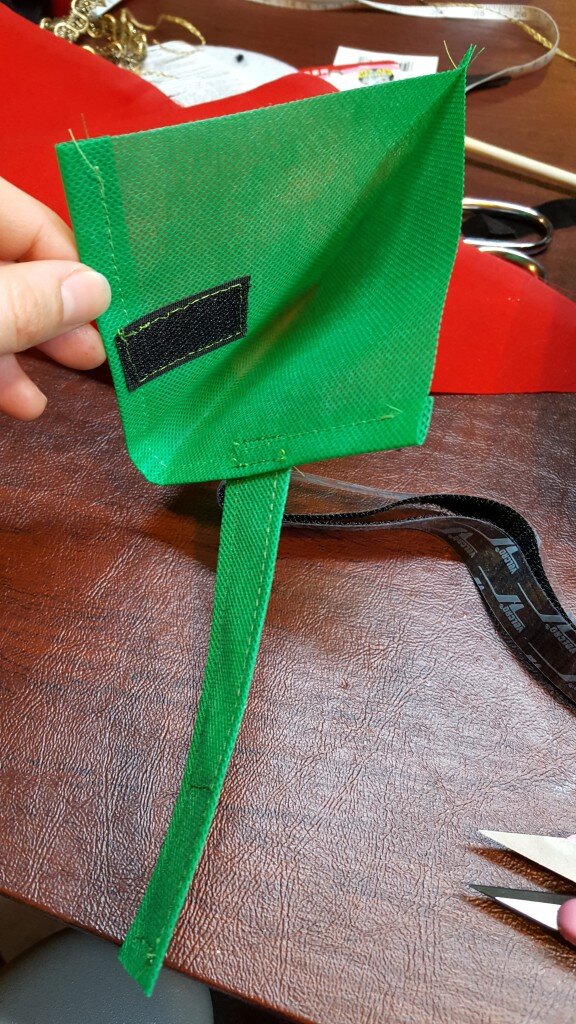
Stitch bottom of pocket closed.
** Here is where I did the screen printing on the bag. More on this next week!!
14. Turn the tote inside out. Pin both sides of the bag.
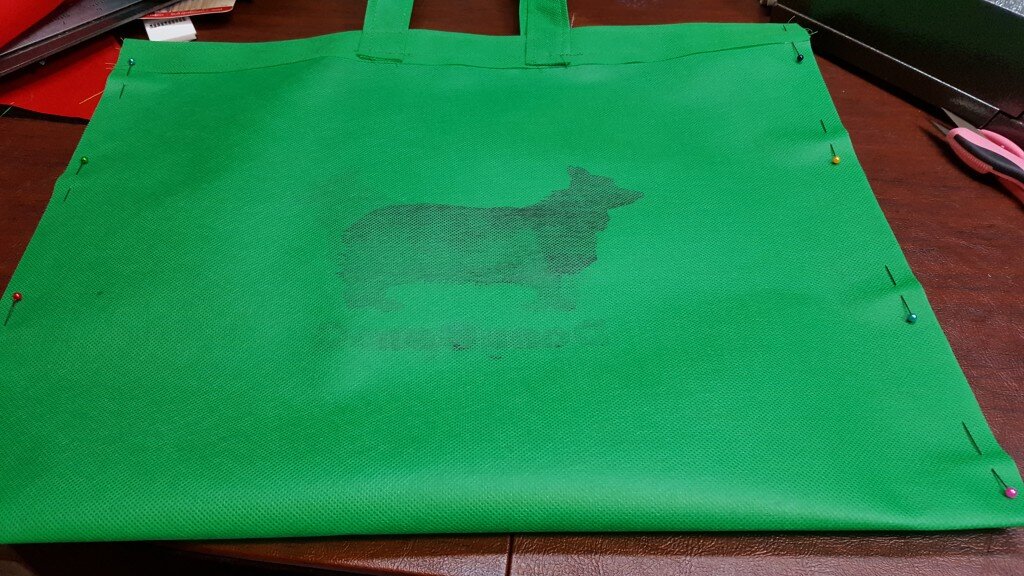
Pin side seams of bag.
15. Position the pocket in the center of one side of the bag seams. Adjust the pins to pin the pocket to the bag.
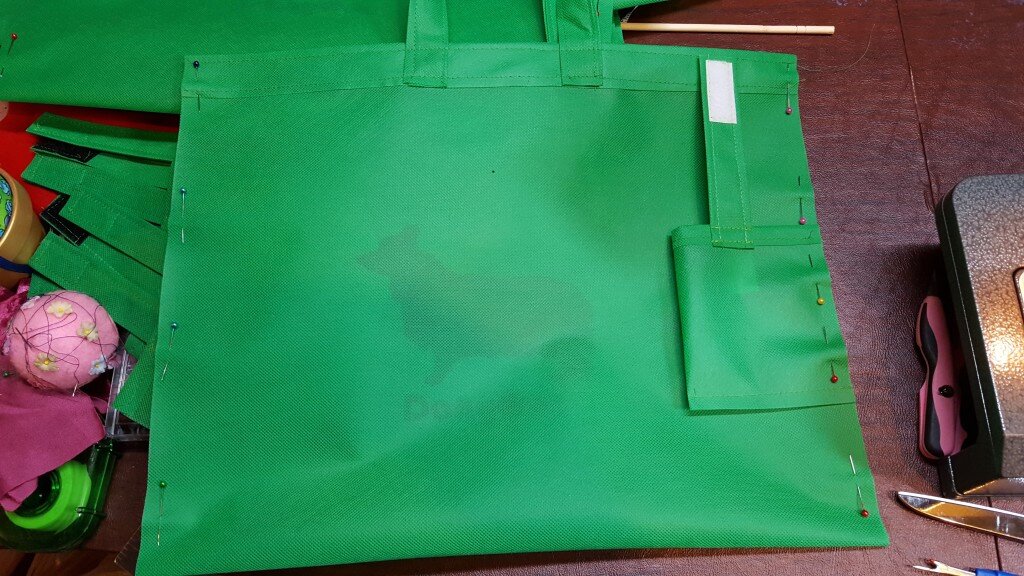
Pin pocket to side seam of bag
16. Stitch both side seams, taking care to sew the pocket to the bag.
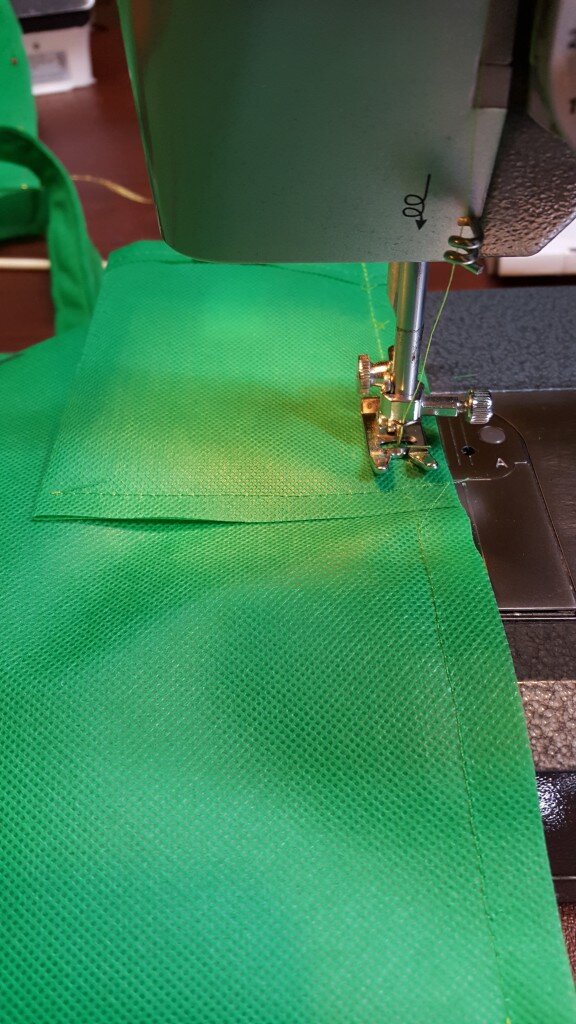
Stitch side seams of bag, including pocket.
17. Turn inside out and enjoy!
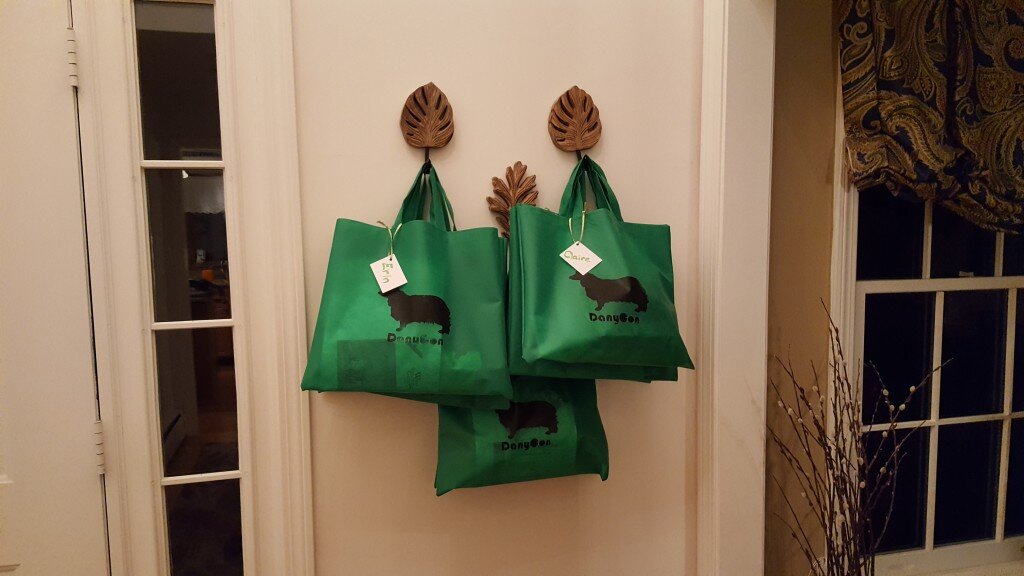
Finished Tote Bags


I am hoping to try this pattern using polyester taffeta but I would like some instructions on how to fold the bag so that it fits into the pocket.
thanks, Alexa.
Hi Alexa!
Thanks for stopping by! You may want to make the pocket slightly larger if your material is thicker than the oly-fun. As for how to fold the bag so it fits into the pocket… you don’t actually fold it. You just flip the pocket right side out and cram the rest of the bag into the pocket. Not terribly elegant, but that is how all my reusable bags work. Plus it is quick and easier than folding. Lightweight polyester taffeta might be a perfect material to make this out of since it will be a bit slippery and easy to cram into the bag.
Hope that helps. Happy sewing!
Thanks,
Lexi