
Well Julius is officially done with Kindergarten! I will admit I cried when I was taking things out of his backpack. How is the year already over? It’s gone by too quickly! I feel the need to do one of the before and after photos that everyone does with the chalkboard I made this summer!

First and last day of Kindergarten
Julius’ summer camps don’t start yet so he’s home this week doing Legos and vegging out. Hopefully tomorrow he’ll be cleaning his room. He also had his dance recital this weekend! It was the most adorable thing I’ve ever seen (well tied with watching Patricia do gymnastics). I’m sad he’s not interested for next year because that 30 seconds of performance was totally worth it (I’m not being sarcastic it was so darn adorable).
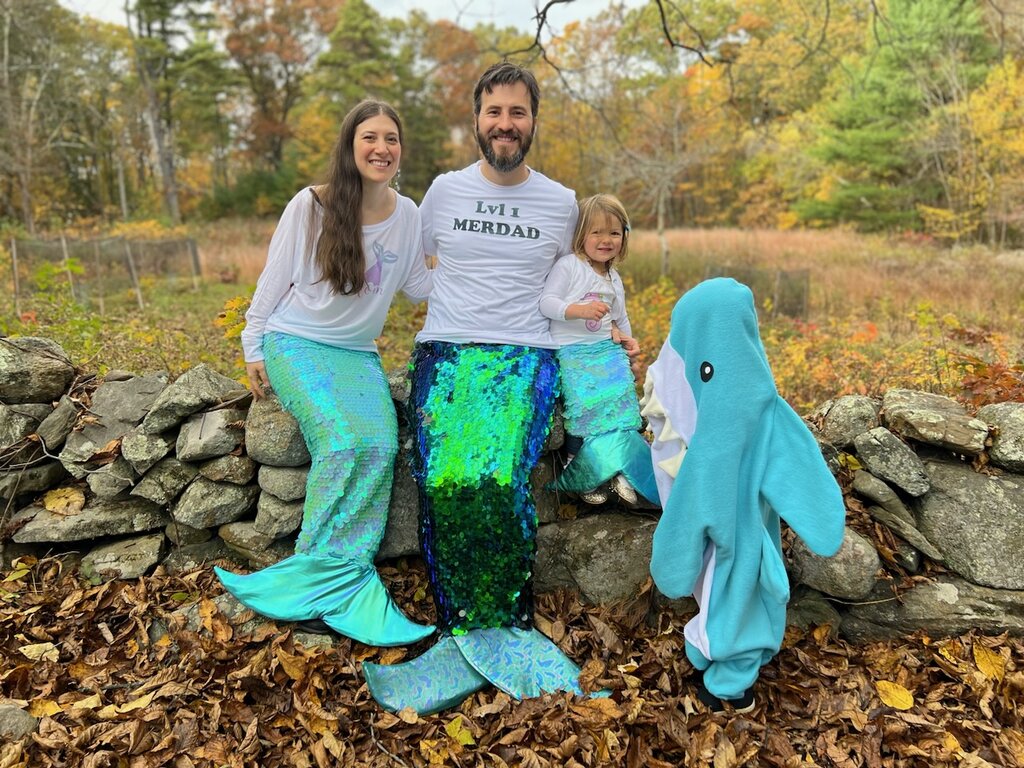
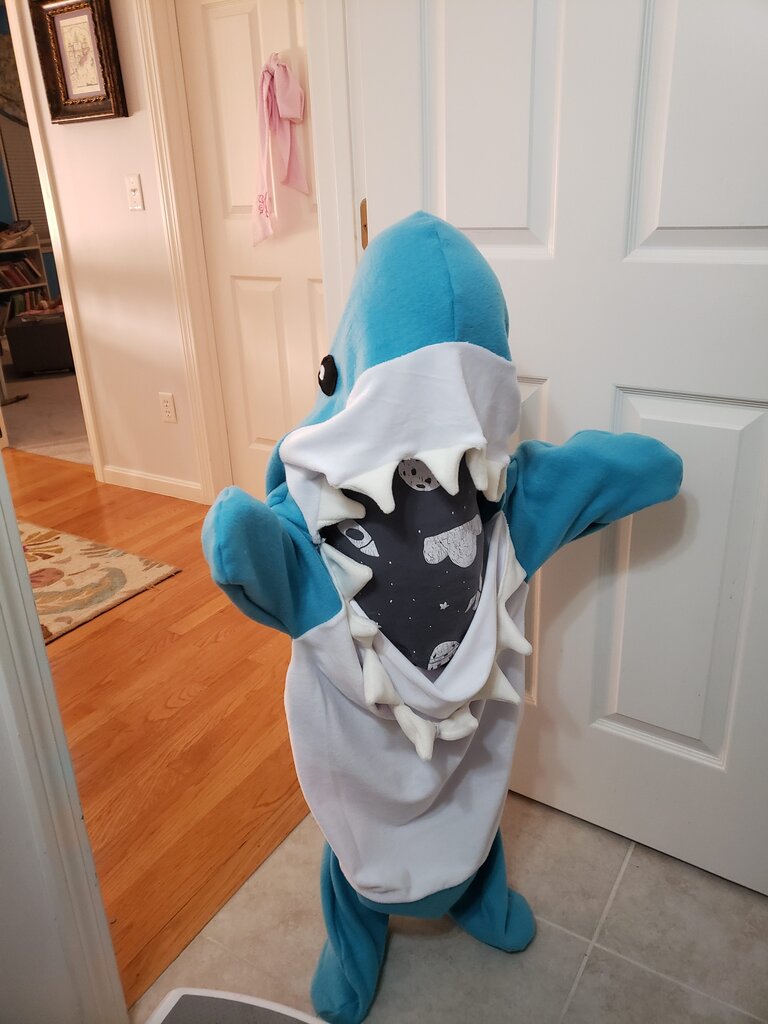
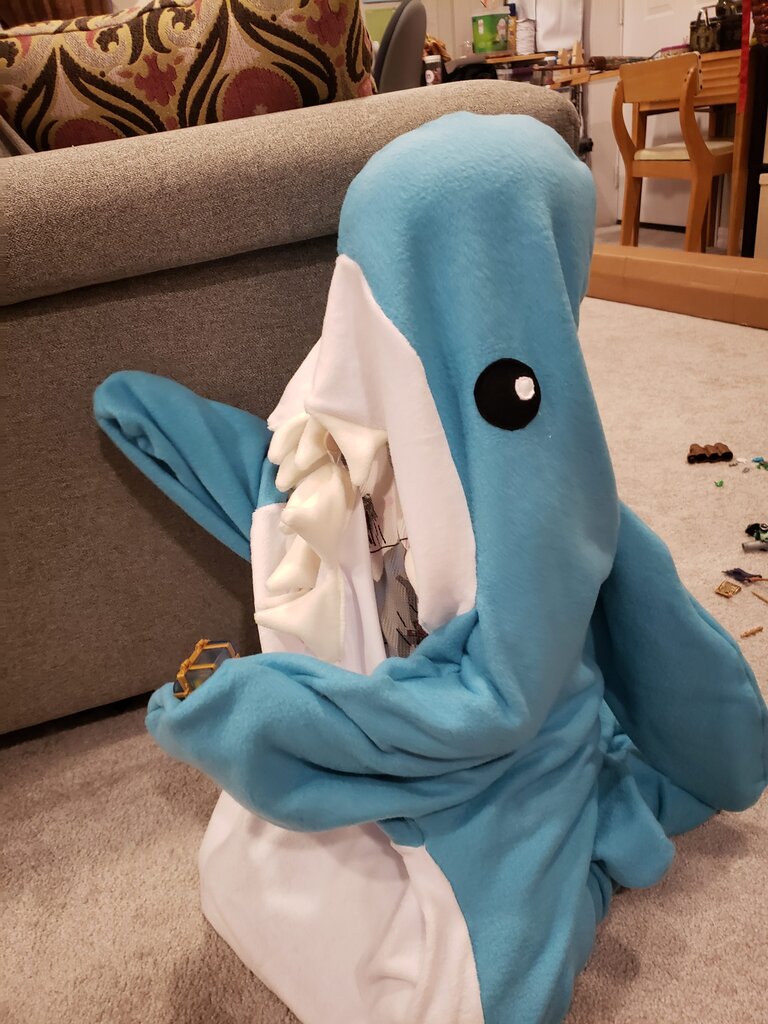
Speaking of darn adorable, I can’t believe I haven’t posted Julius’ shark costume tutorial. This is basically a shark snuggie. It’s a bit hard to see in while walking, but that didn’t stop Julius from wearing it as a Halloween costume. Fun fact, this is the picture we originally took for our Christmas cards, but our photographer told us it looked like we were missing a person from the photo! This pattern is a bit looser than some of the others I’ve done because I used Julius as a pattern. Use my photos as a guide, and let me know if you have questions.
Shark Snuggie
What you’ll need:
- about 2.5 yards of blue fleece material
- about 1.5 yards of white fleece material (I used just white sweatshirt material I had)
- about 1/4 yard or scrap of off white fleece material
- Scrap black and white felt fabric
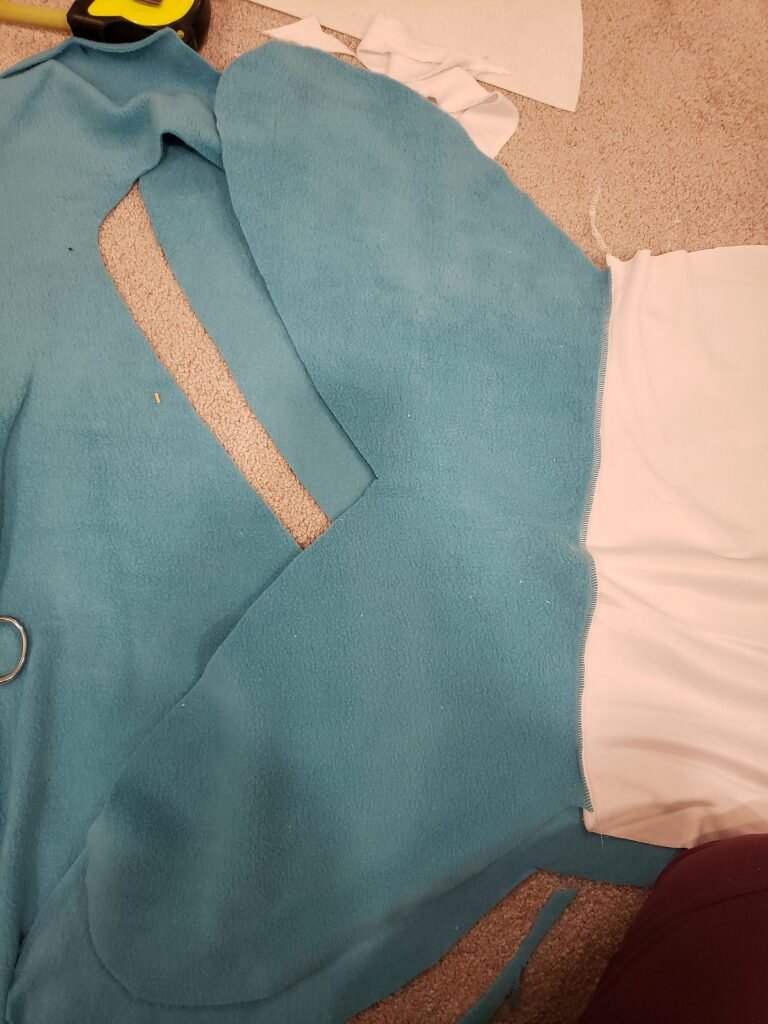
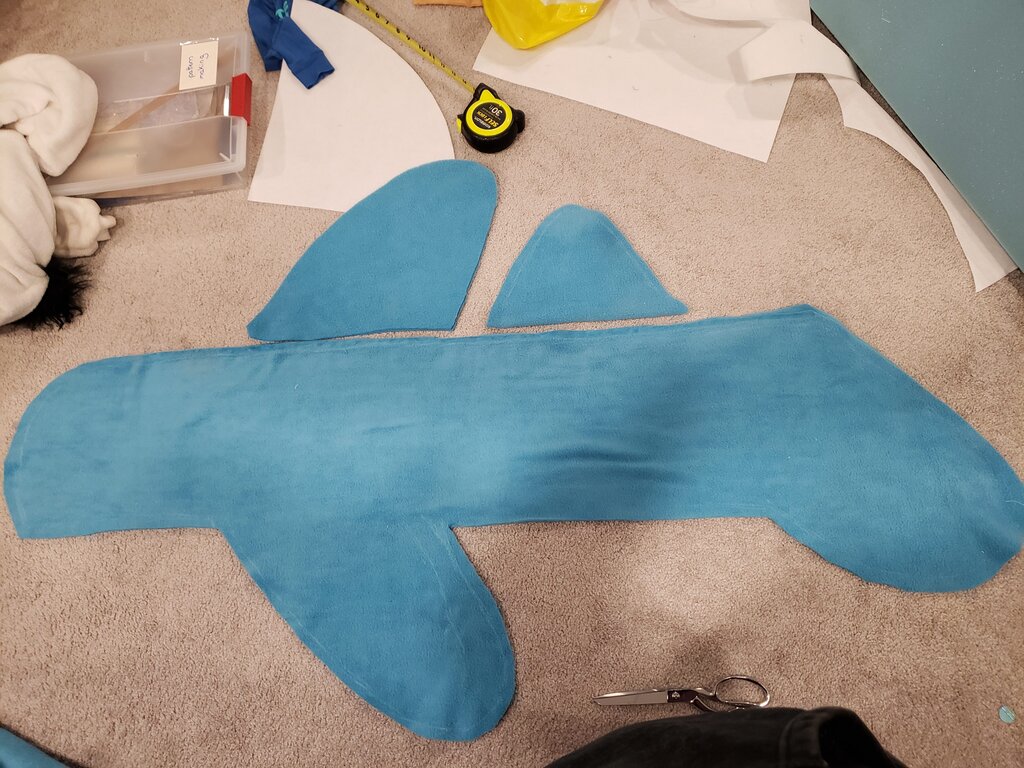
- Using your child(or an adult) as a model, cut two pieces of blue fleece in the shape of a shark (seen from the side) complete with fins with the arms fall, tail where the feet are and a hood at the top. Cut a large dorsal fin (x2) and smaller secondary dorsal fin (x2) proportional to the rest of the shark from blue fleece. Make everything quite a bit larger than your child to account for comfyness and seam allowance.
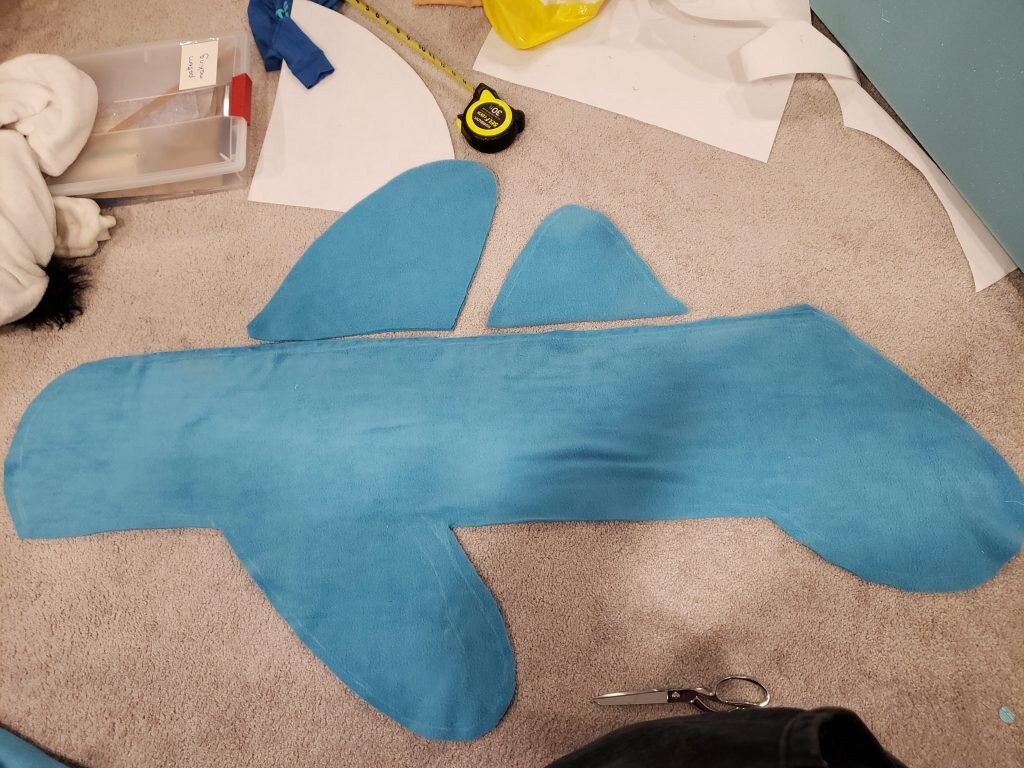
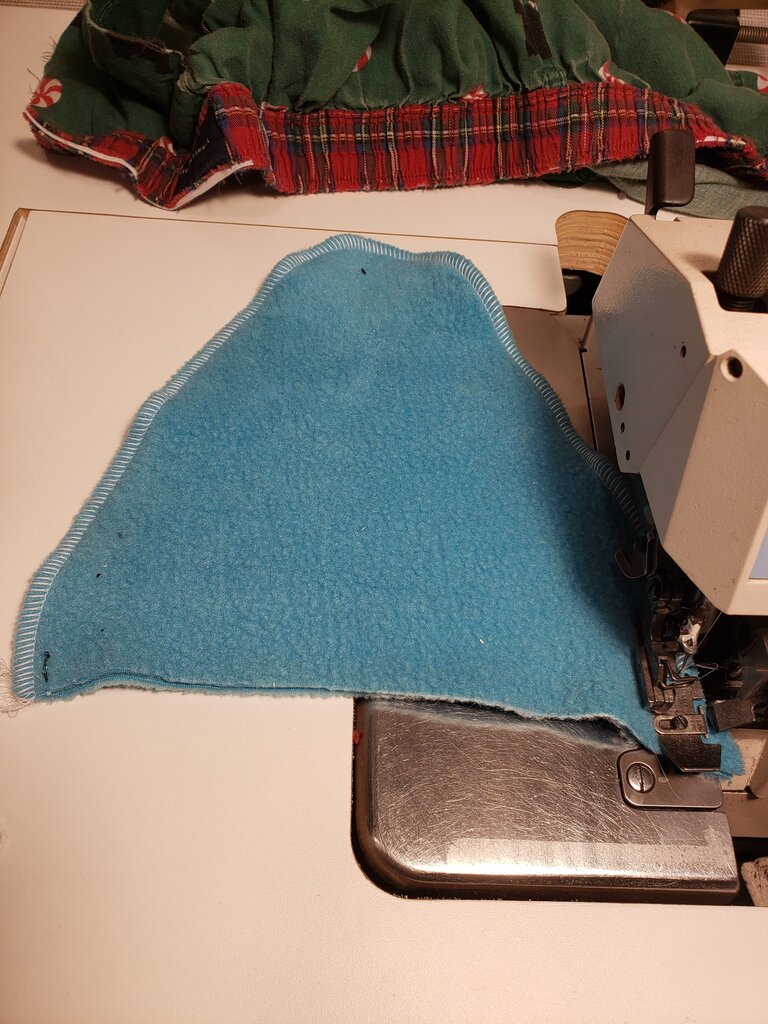
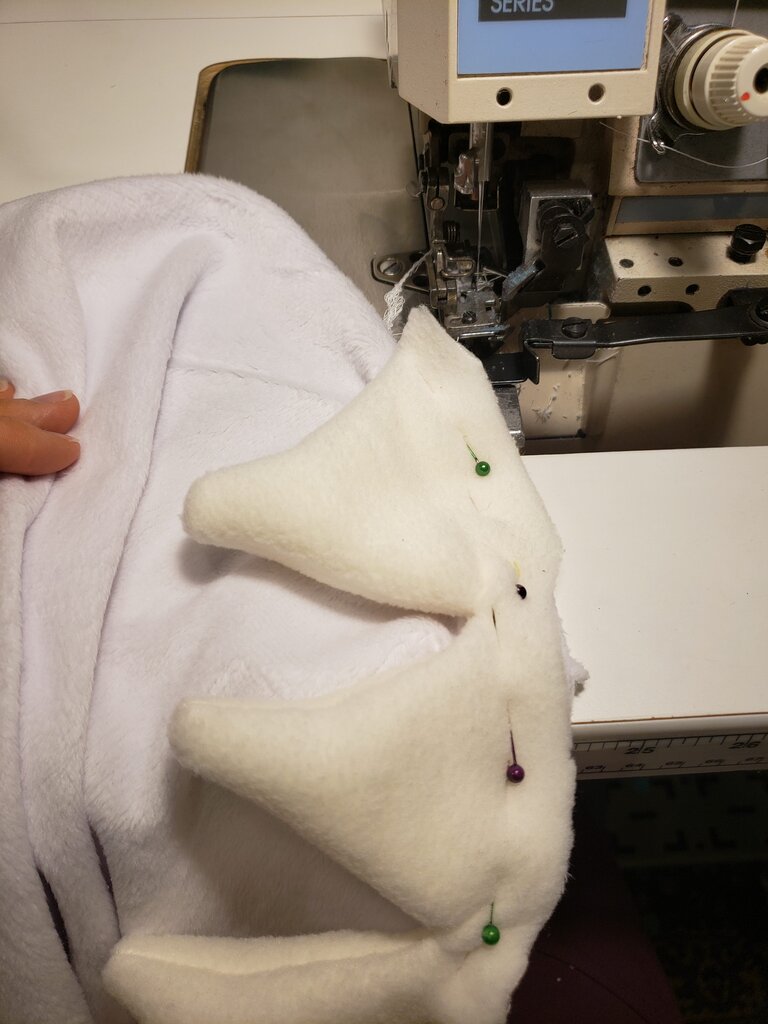
- Serge or stitch 2 large dorsal fin pieces together, leaving a gap at the bottom. Repeat for smaller dorsal fin.

- Turn dorsal fins right side out and place them inside the shark body with the unfinished edges along the back seam. Stitch from hood to bottom.
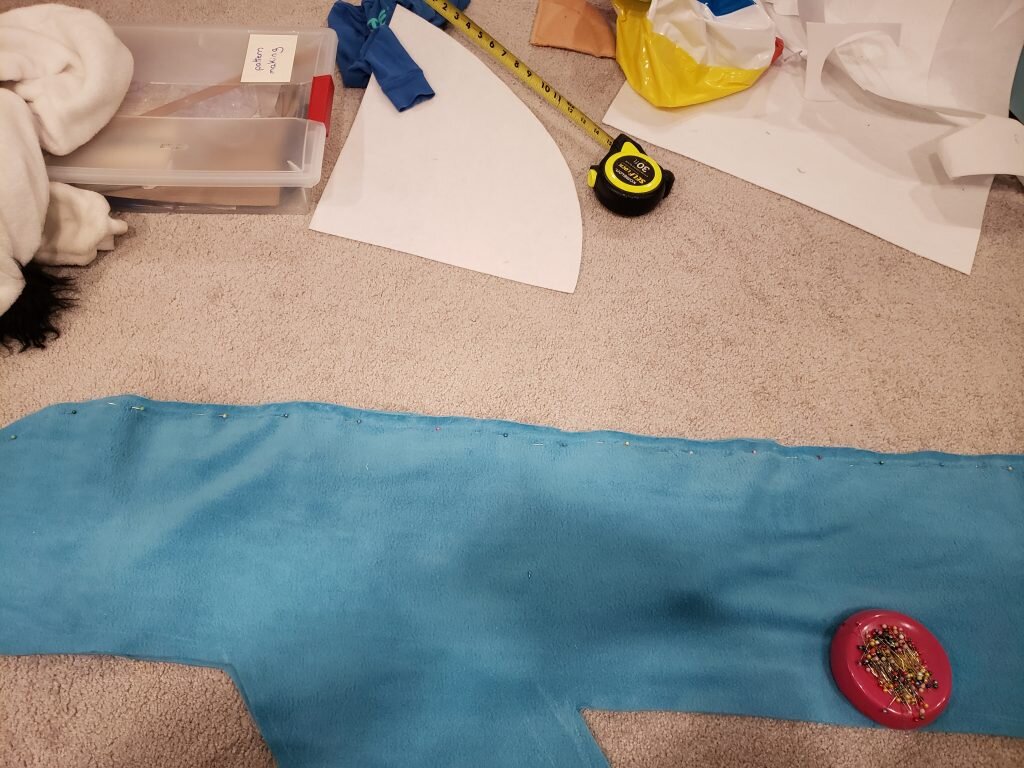
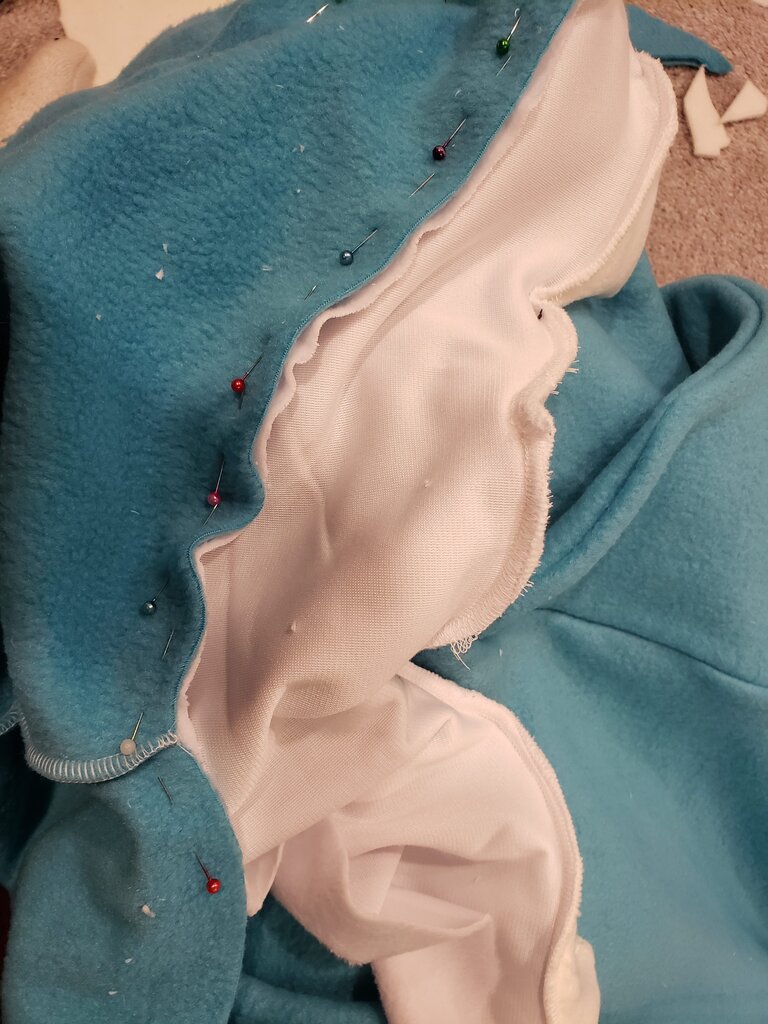
- Open the back piece up and cut front tail piece in 1 solid piece. Cut pieces for front of arms in blue fleece to where the arms stop protruding from the body.
- Cut white belly from where the bottom tail piece comes up to the base of the hood. Cut a halfmoon piece for the top of the hood from white for the upper mouth.
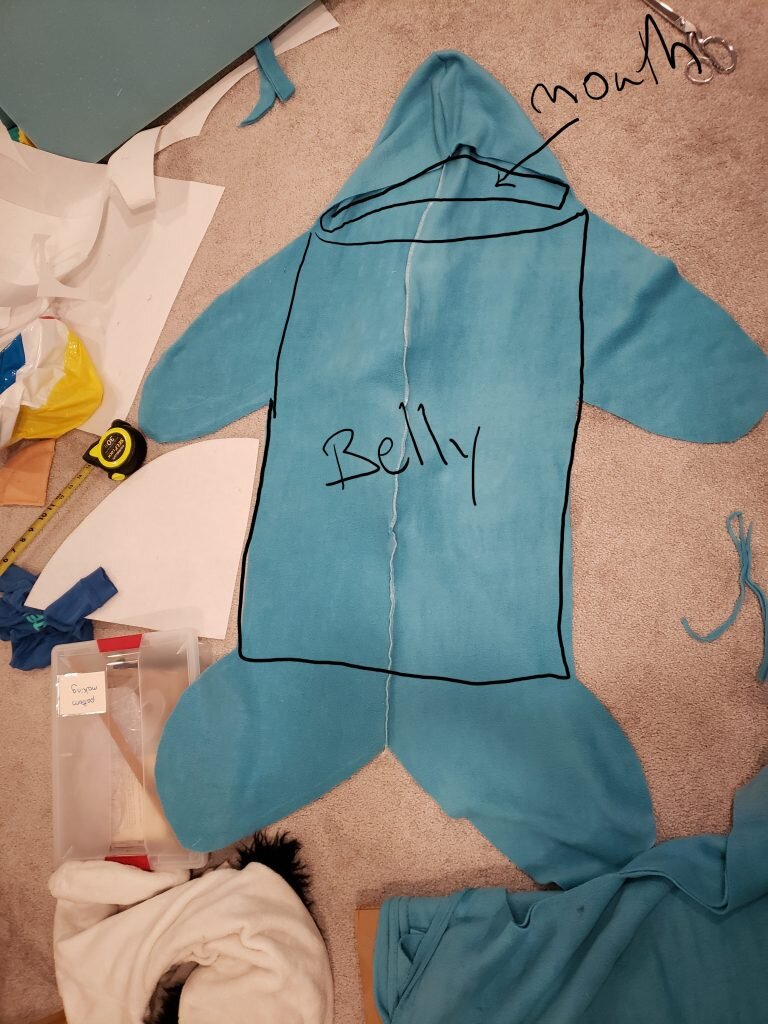
Sketched on where the belly should be and the mouth (the white parts. The fins and tail should all attach here.
- Serge/stitch the tail to the belly and the arms to the belly.
Where tail attaches to belly.
- Serge/stitch the upper mouth to the hood.

Inside view of where mouth attaches to hood.
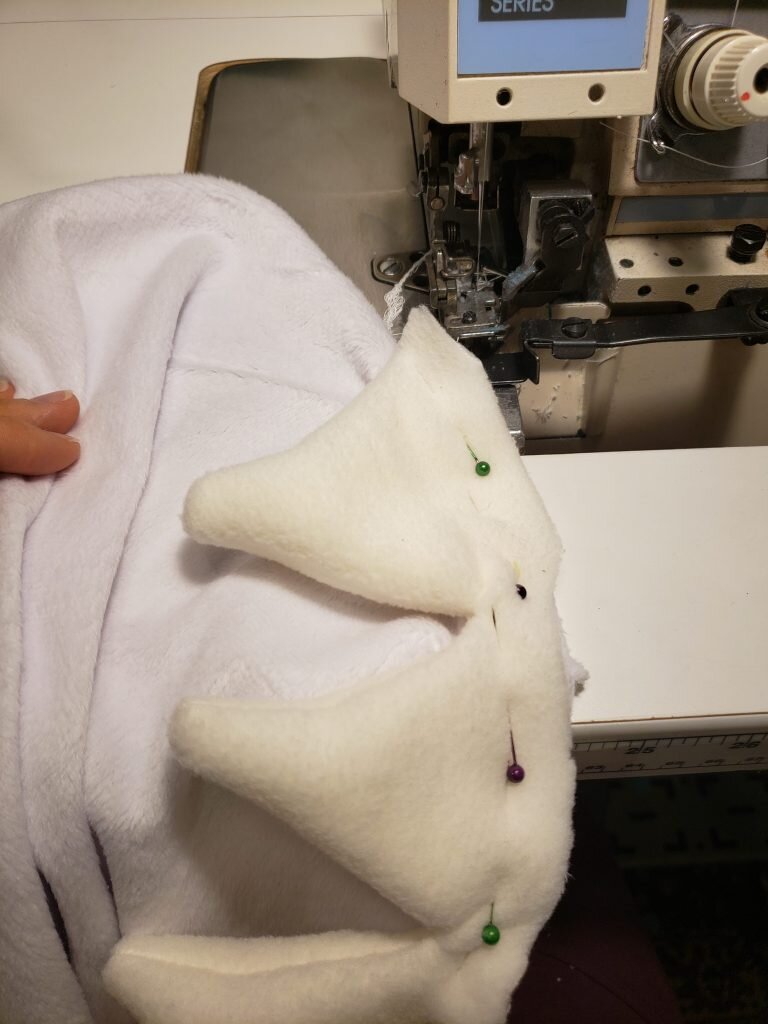
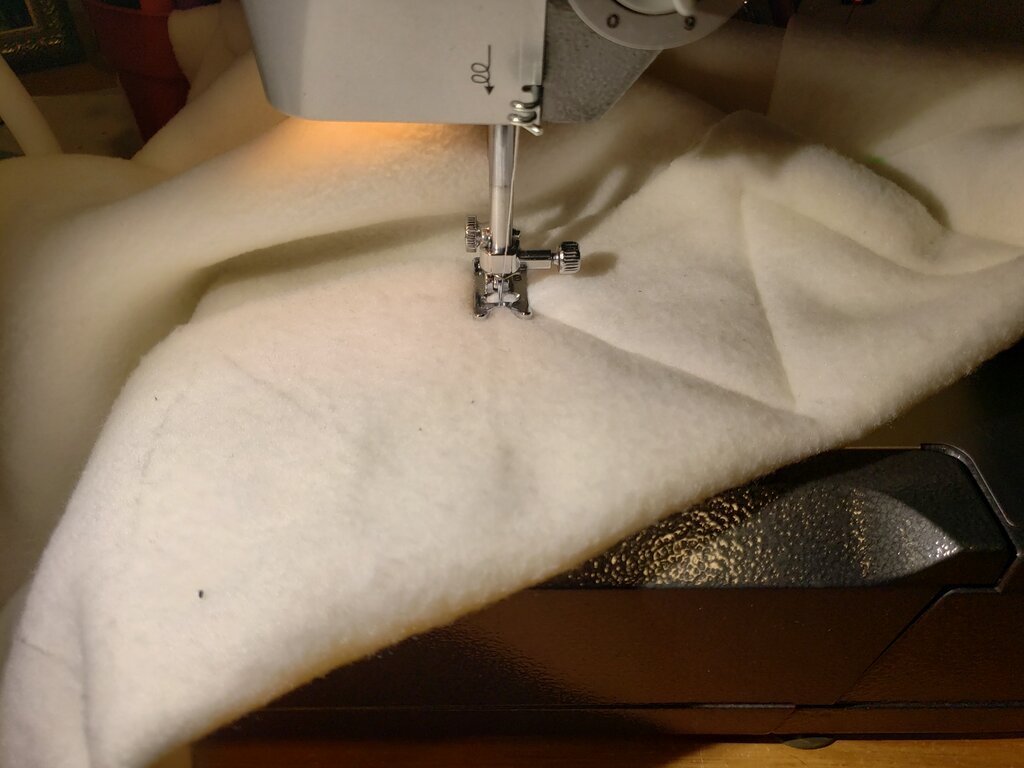
- Stitch a row of shark teeth the width of the hood by stitching a triangle pattern in the off white fleece.

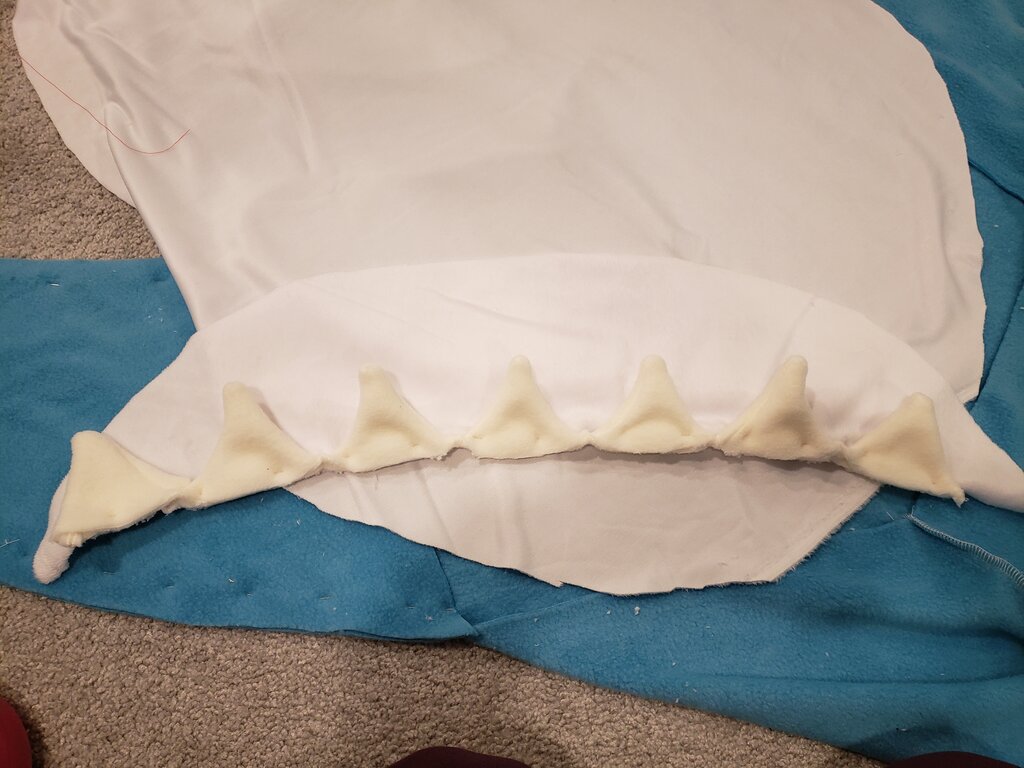
- Turn teeth right side out. Serge/stitch teeth white mouth on the hood, then serge rest of teeth onto the bottom of mouth (the white belly).
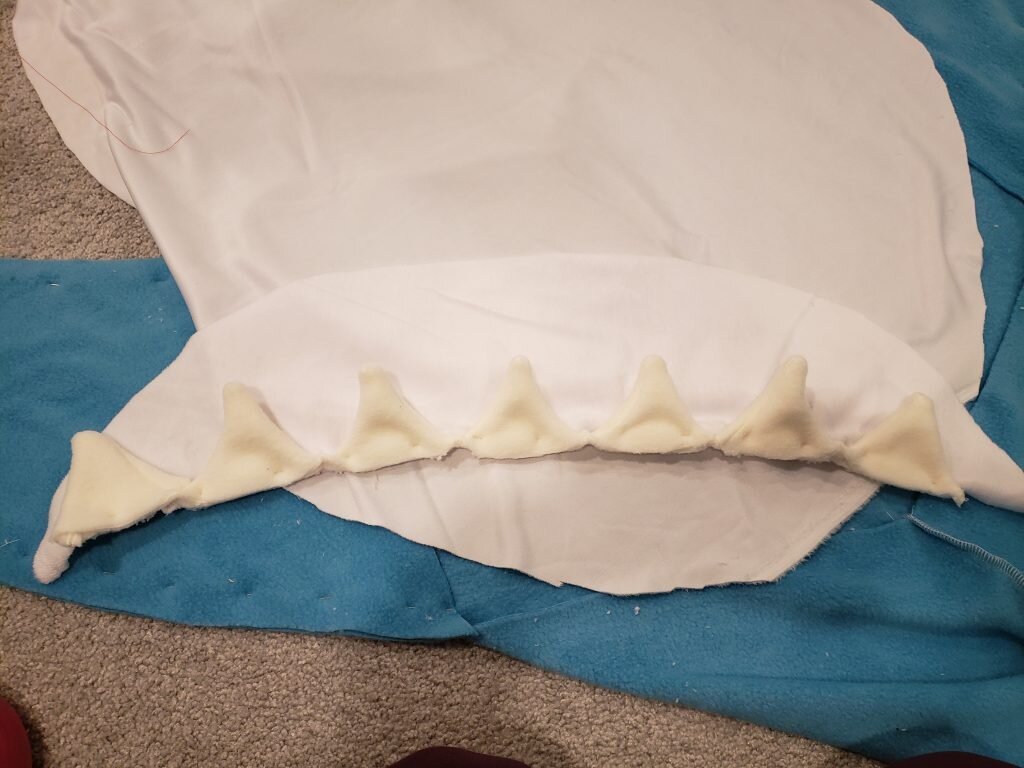
Stitch teeth onto mouth.
Stitching onto belly.
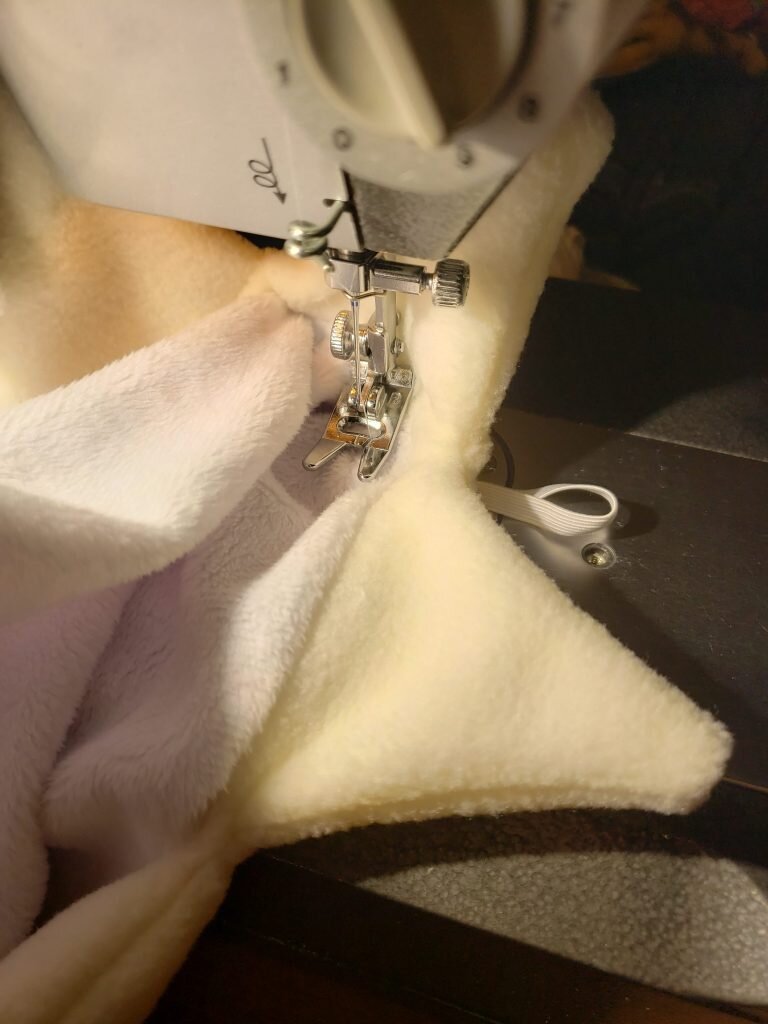
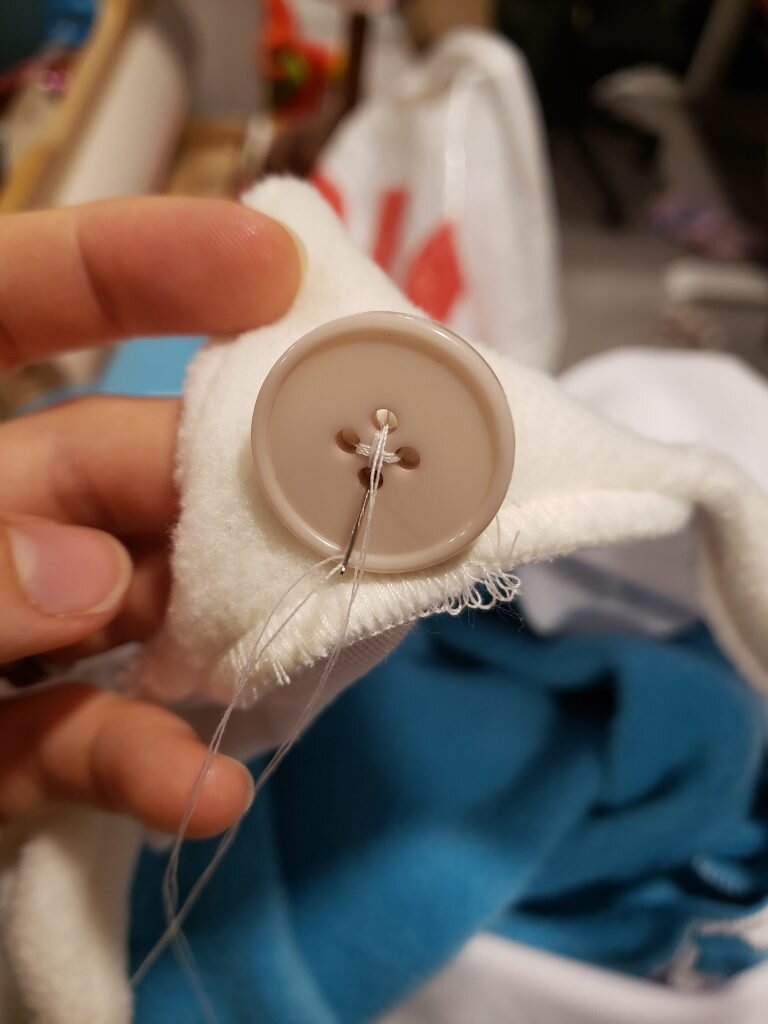
- Stitch a an elastic loop on the top mouth center behind the teeth.
- Stitch a button on the back of the middle center tooth.
- Finally cut out two black circles from felt. Cut two smaller circles from white felt. Stitch white circles to black eyes.
- Stitch eyes on either side of the hood.


2 Responses to Sharktastic