Julius is definitely going through a growth spurt. He has been eating like crazy for the last several days! Tonight he ate a ton for dinner, then when we got home he asked for more food! It was right before bedtime so we gave him some applesauce. Several minutes after going to bed he kept saying “I eat” over and over again. Luckily when we went in to check on him he only wanted a bedtime song. I honestly wasn’t sure if we should pull him out of bed and feed him second dinner. Is that a thing?
The other hilarious thing Julius has been doing lately is telling him how much he likes certain things. This past weekend we were in Maine and it was “I like boats!” every time we saw a boat. We also ordered wine at a restaurant and Julius kept telling us “I like wine!” every time someone ordered a glass. The waiter declared that he had to keep the bottle away from him, and we had to explain to Julius he had to wait 19 more years to order wine for himself.
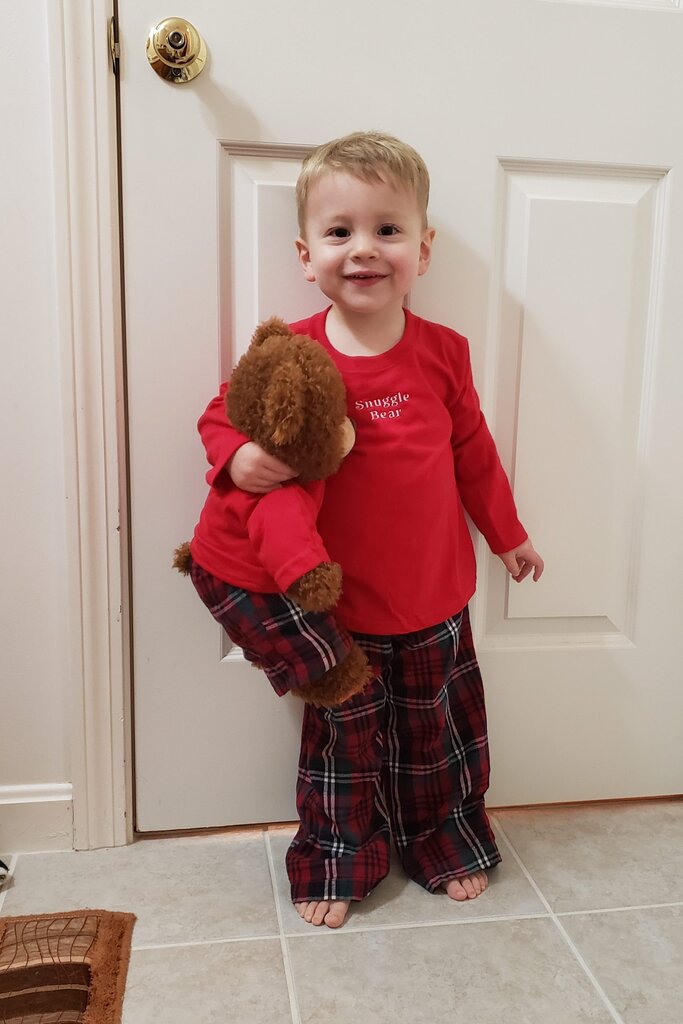
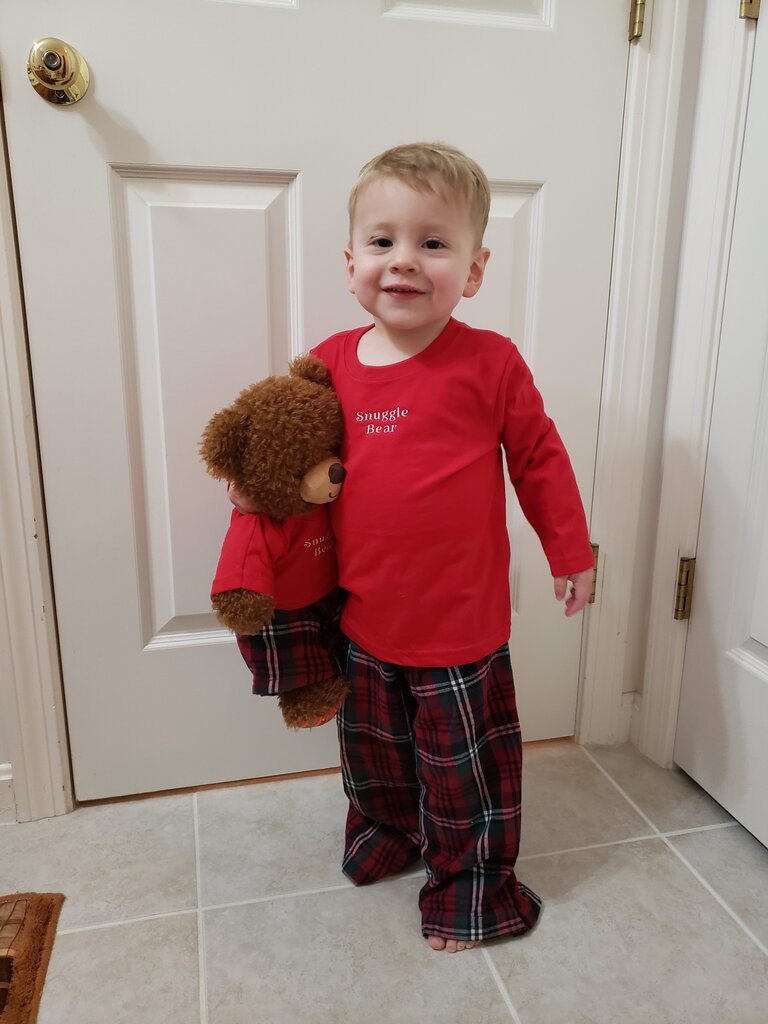
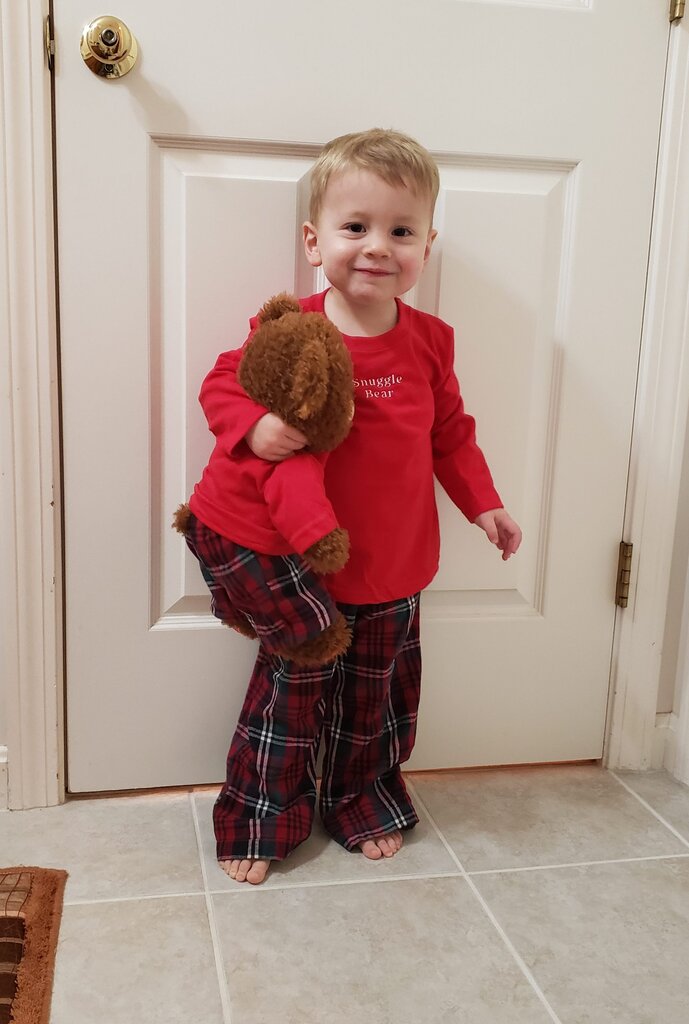
I’m super tired tonight, but I’ll show you one of the quick gifts I made for Mr. Man for Christmas. I made Julius and Stuffy Bear (his build-a-bear) matching PJs! I’ll post the tutorial for Stuffy’s outfit in a later post, but I made both pairs of pajama bottoms from a ripped pair of Will’s pajama bottoms, and the shirts were just 2T cotton long sleeve t-shirts from Walmart for $3 each. Julius is my snuggle bear, and Stuffy is Julius’ snuggle bear so it seemed appropriate to embroider the shirts with the text “Snuggle Bear”.
Toddler Pajama Pants (Size 2T)
What you’ll need:
- The pattern here
- 1/2 yard of flannel fabric (or an old pair of dad’s pajama bottoms)
- 1/2 yard of 1/2″ elastic
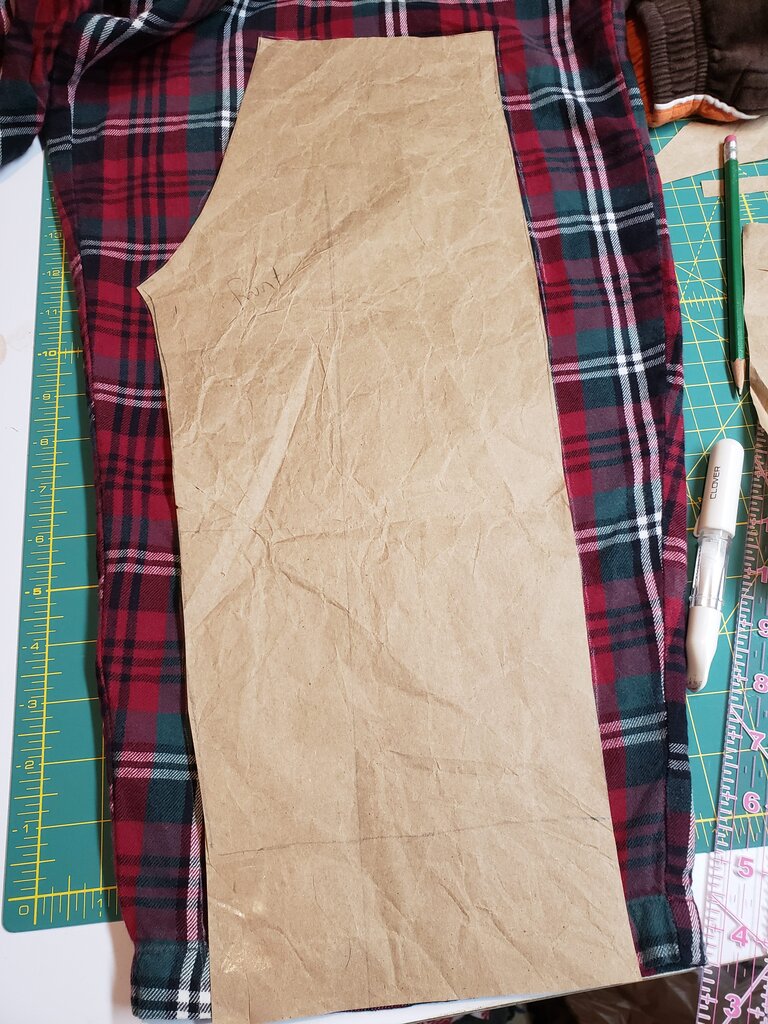
- Cut out pattern pieces according to instructions on the pattern. Note there is no seam allowance and you should add 1/2″ everywhere. If you are using an old pair of pajamas, omit the extra seam allowance and instead use the bottom hem of the pants as your bottom hem.
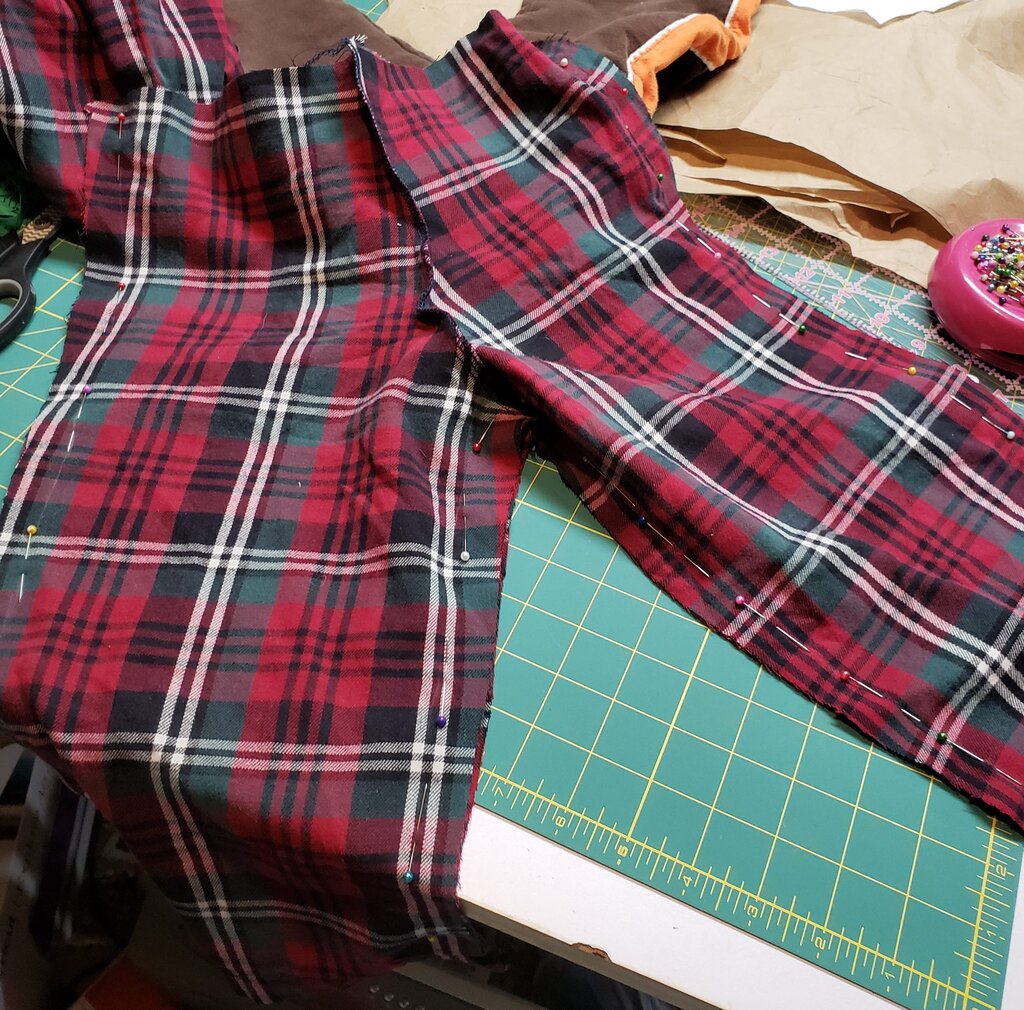
- Pin the pants fronts together at the upper front seam and pin the pants backs together at the upper back seam (right sides together)
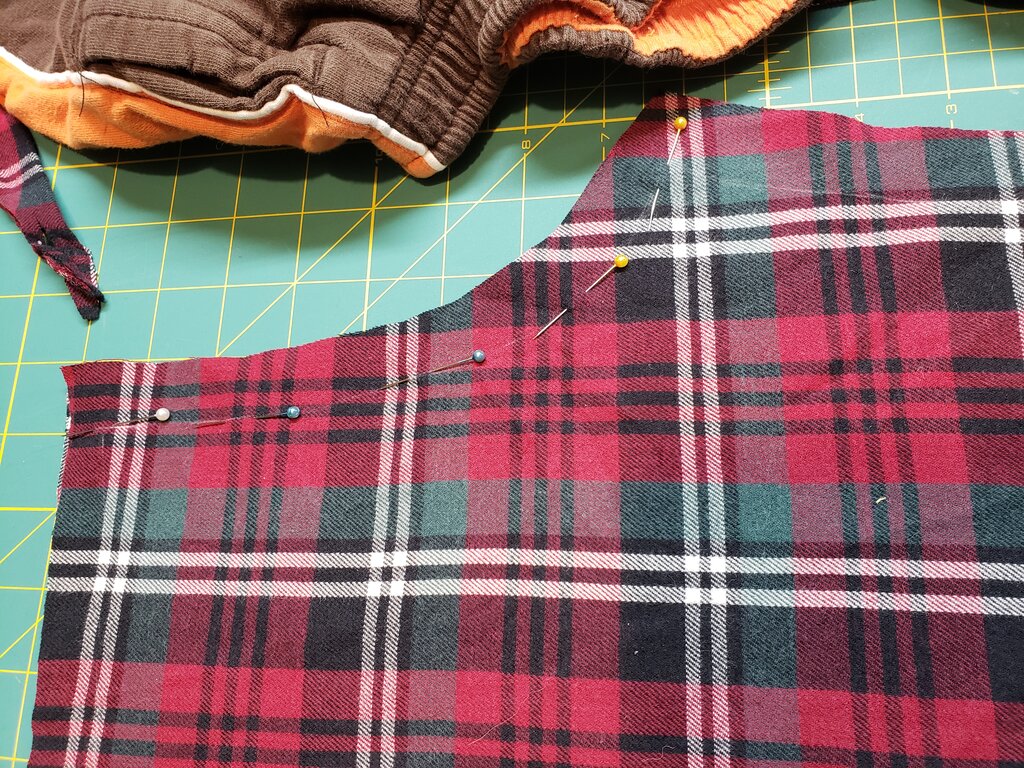
- Stitch, then serge.
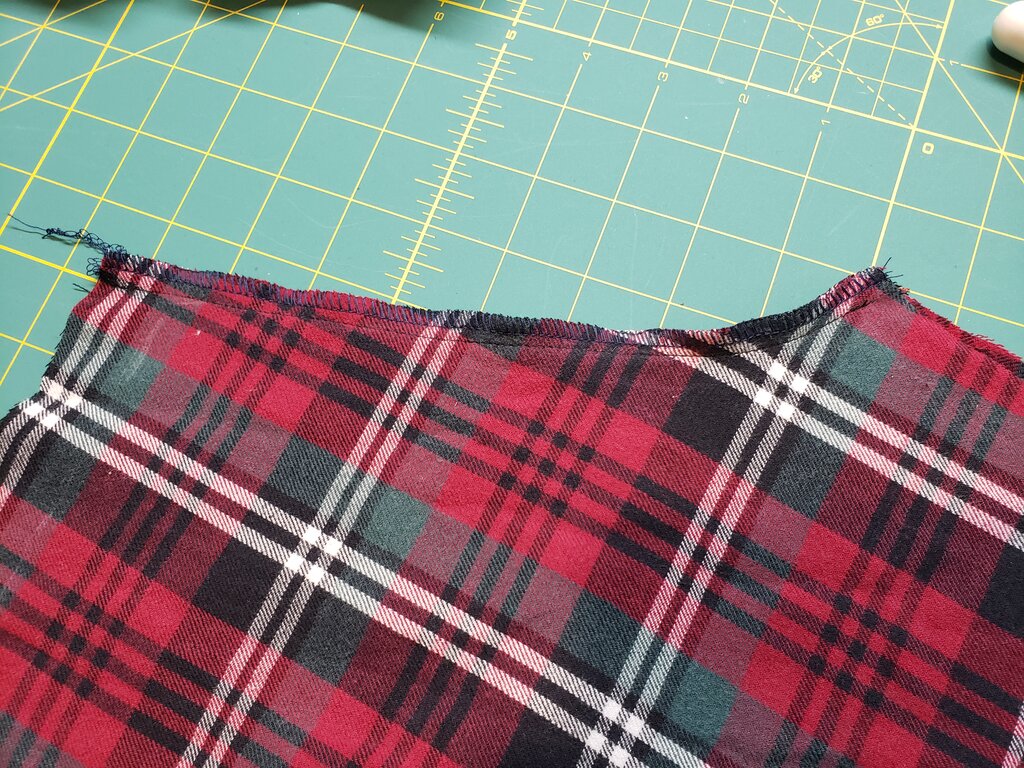
- Pin the pants front to the pants back at the inner leg seam (right sides together).
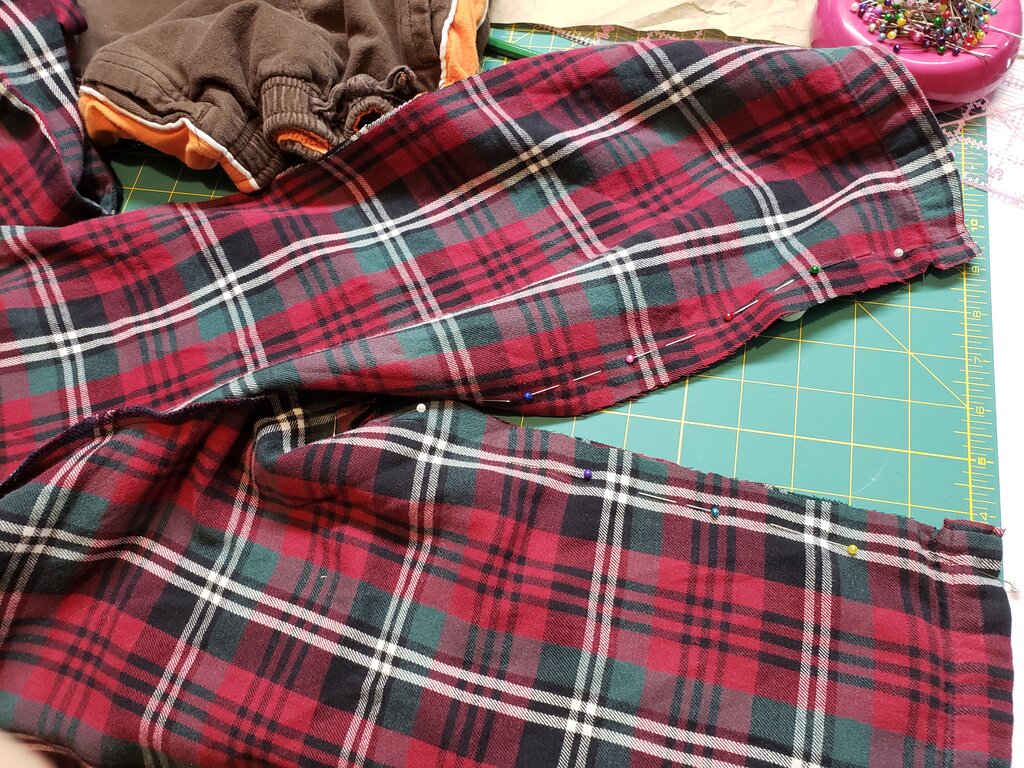
- Stitch continuously from the bottom of the pants, to the crotch, back down the other inner seam of the pants. Then serge.
- Pin the back and front pants together at the outside edges (right sides together). Stitch then serge.
- If you are using flannel (not an old pair of pajamas) hem the bottom of the pants. Turn right side out.
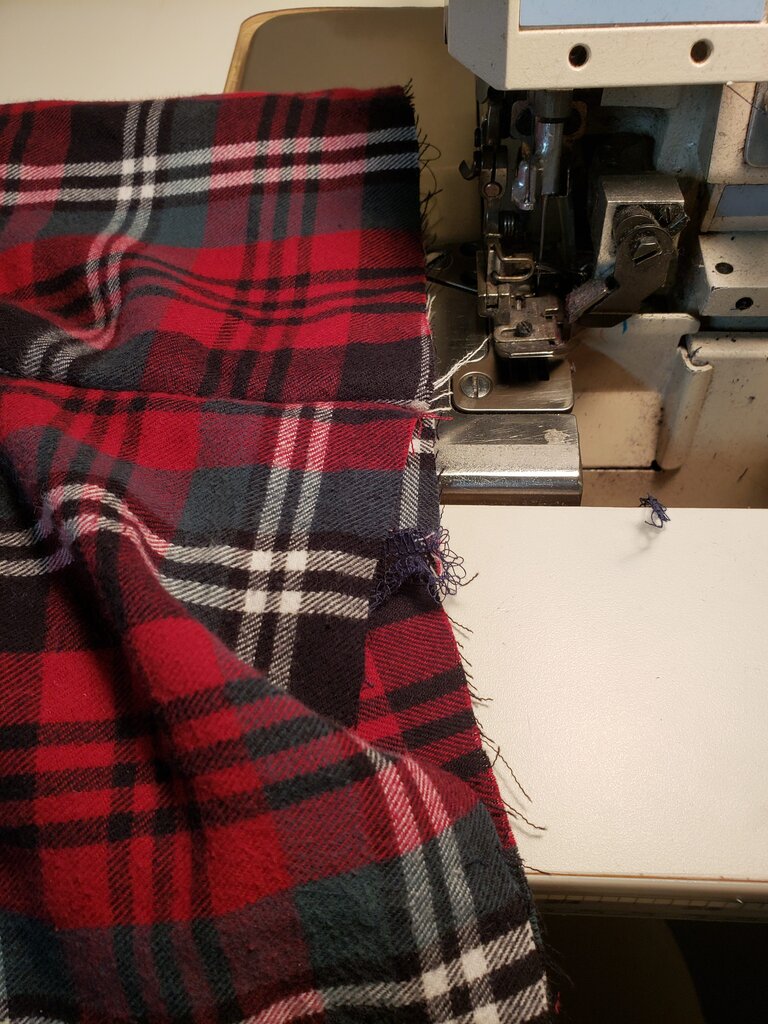
- Serge the top of the pants.
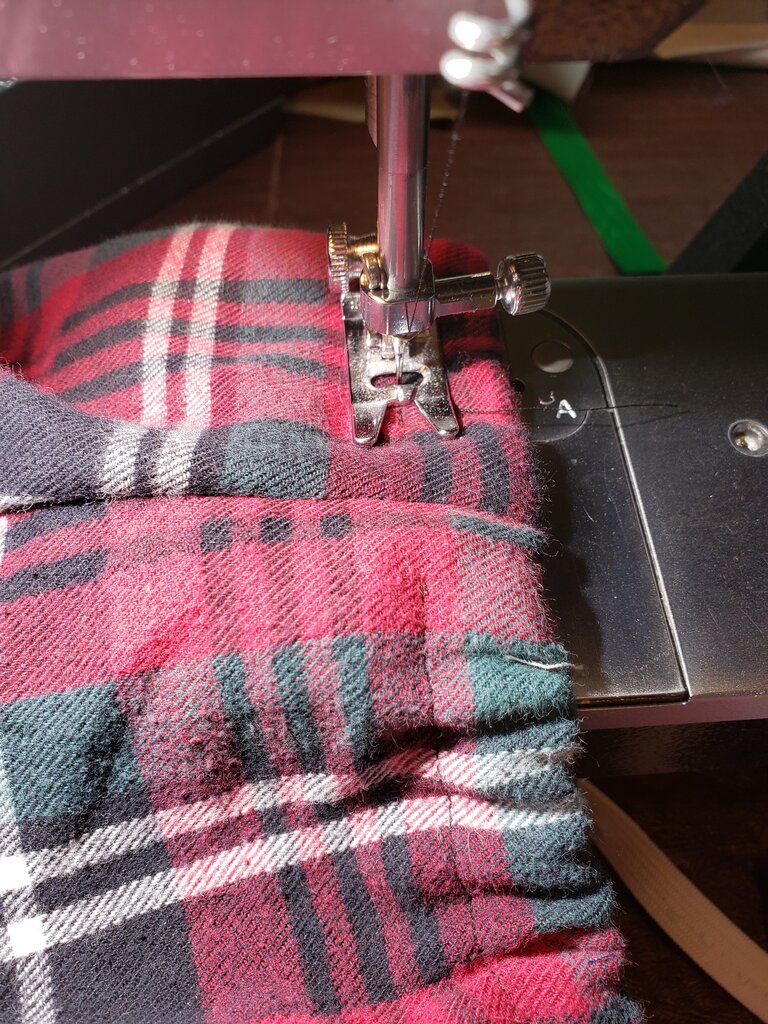
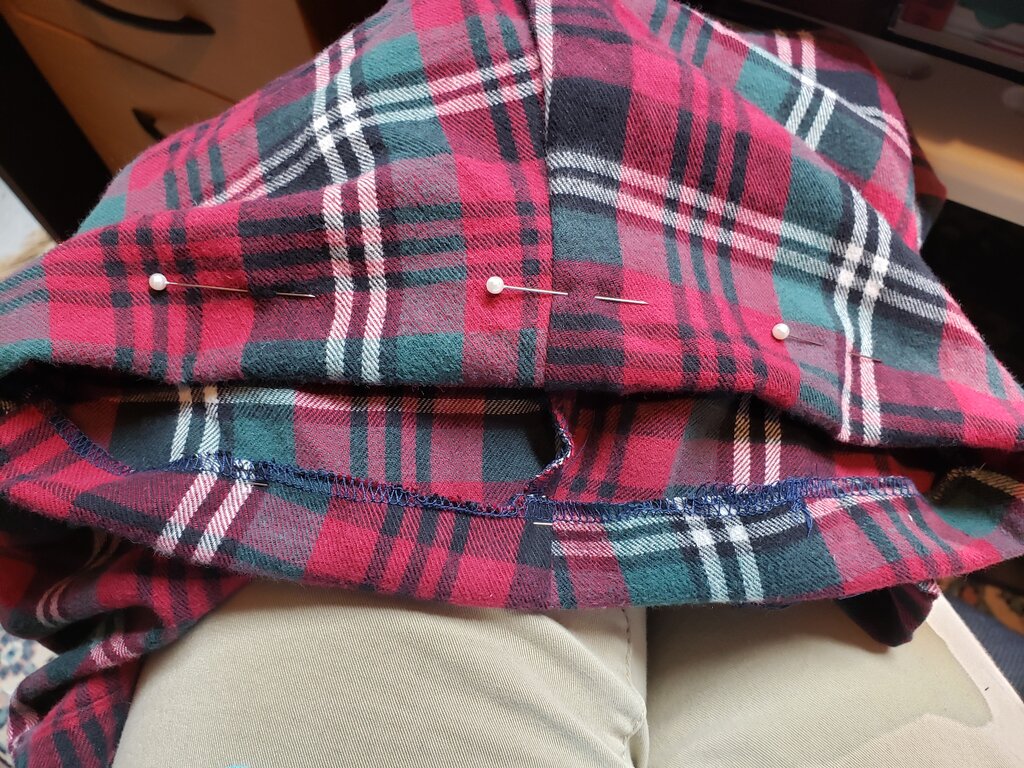
- Fold the serged edge into the inside of the pants an inch. Pin and stitch, leaving a 1″ gap unstitched in which to insert the elastic.
- Thread a 21″ piece of elastic onto a large eyed yarn needle and pass it through the waistband of the pants. Use care not to twist the elastic when inserting it, so it will lie flat against the body.
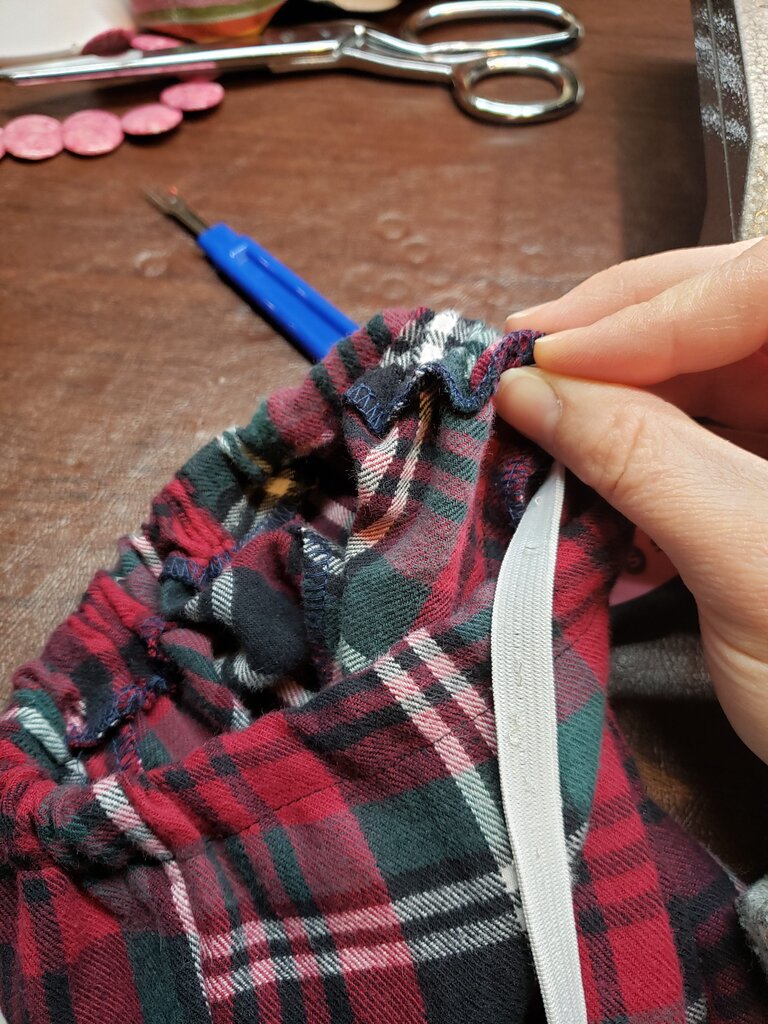
- When the elastic reaches the other end, overlap the two ends of the elastic by 1/2″ and stitch.
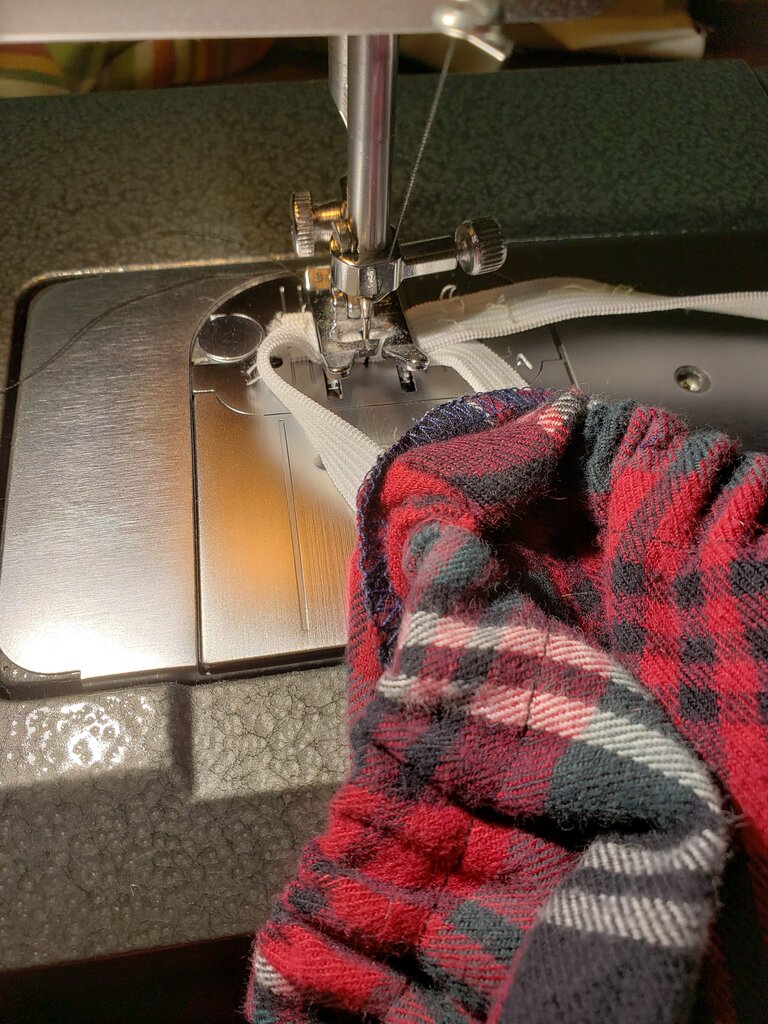
- Stitch over the unfinished gap of waistband hem, then vertically stitch up and down the waistband 1/2″ from either side of the back hem, to both keep the elastic in place and mark the back of the pants.
