Well we’re at the 1.5 week mark and I think it’s safe to say I’m tired. I am emotionally feeling a lot better this time around. But after raising a toddler it is so easy to forget the early days and how many times babies eat, how long feeding takes, and how little time you really have between feedings. Will has been trying to do everything in his power to make things less stressful for me. This means letting me sleep in while he does all the chores and toddler care. He has been really helpful, but I feel like poor Julius is not getting enough attention now because we are both so tired. And on top of all that, we have decided to shelter in place for Thanksgiving instead of going to my parents house in RI for a while and mooching some TLC.
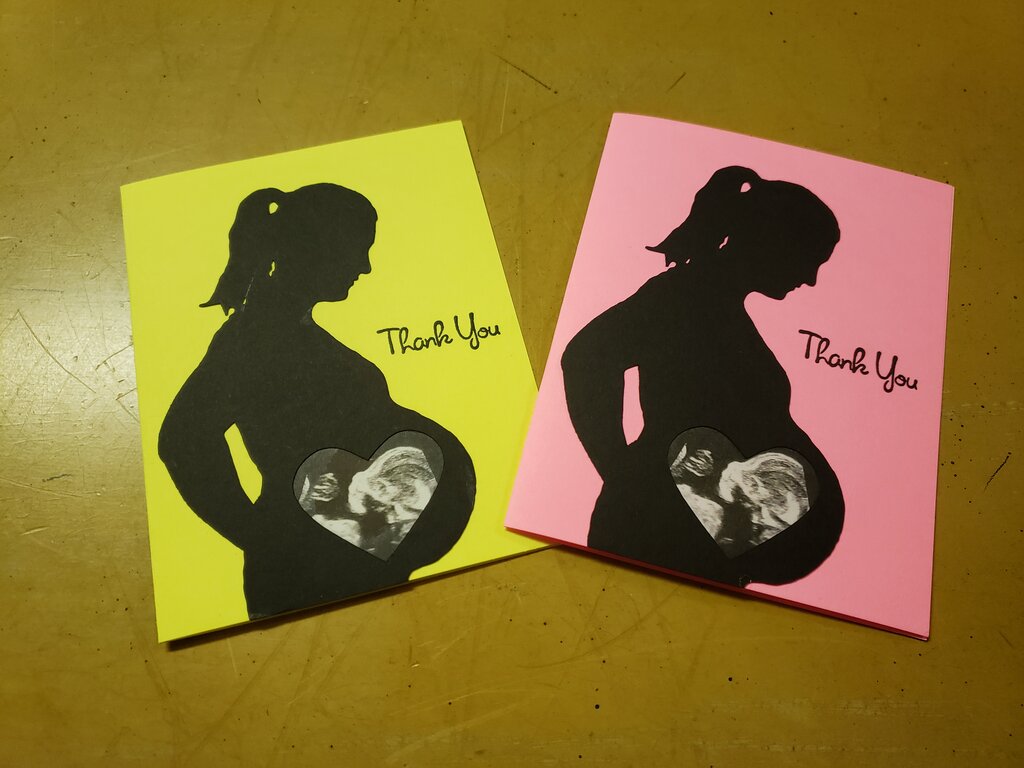
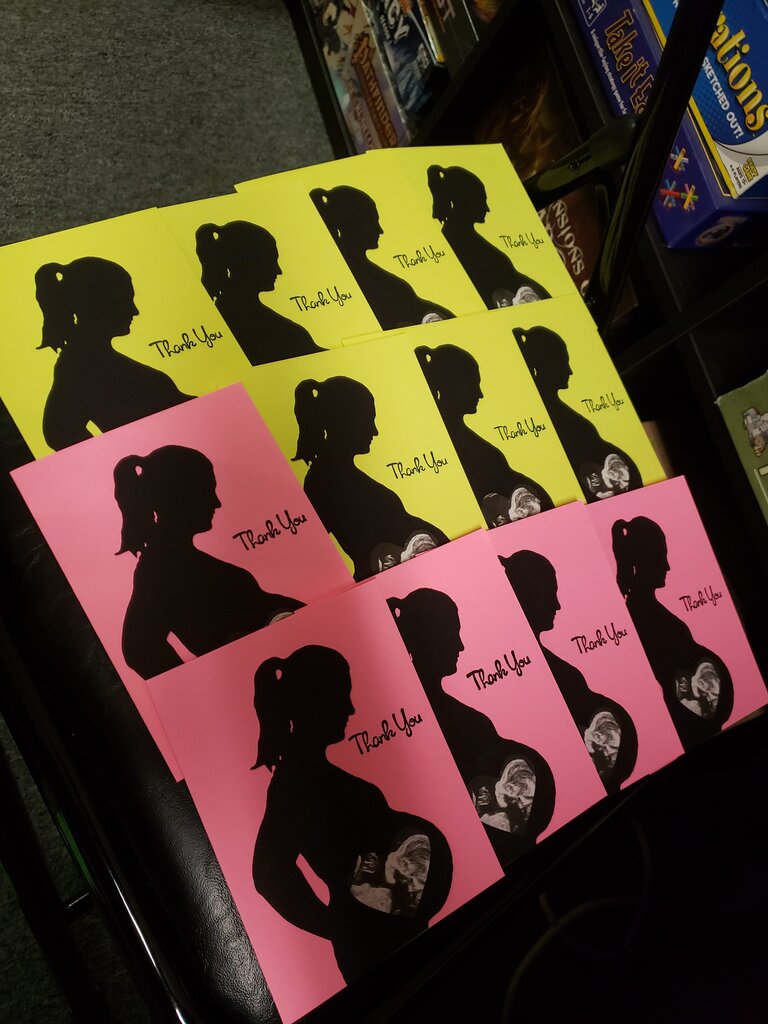
Tiredness aside, Will and I have such super sweet friends, family and co-workers that I had (and have) lots of thank you notes to write for gifts for Patricia! My sister-in-law asked me if I planned to do cute thank you cards again like I did for Julius, or if thank you notes for baby #2 were going to be written on store bought cards. I originally said store bought… but of course Erin’s comment got me thinking… My hair dresser (who I haven’t seen in over nine months thanks to covid) has this super cute frame on her desk of a pregnant woman’s silhouette with an ultrasound photo in the belly. (Kind of like this one.) I’ve been wanting to get one of those frames for a while, and since I acquired a Cricut since my last pregnancy it gave me an idea…
Baby Bump Ultrasound Silhouette Thank You Notes
What you’ll need:
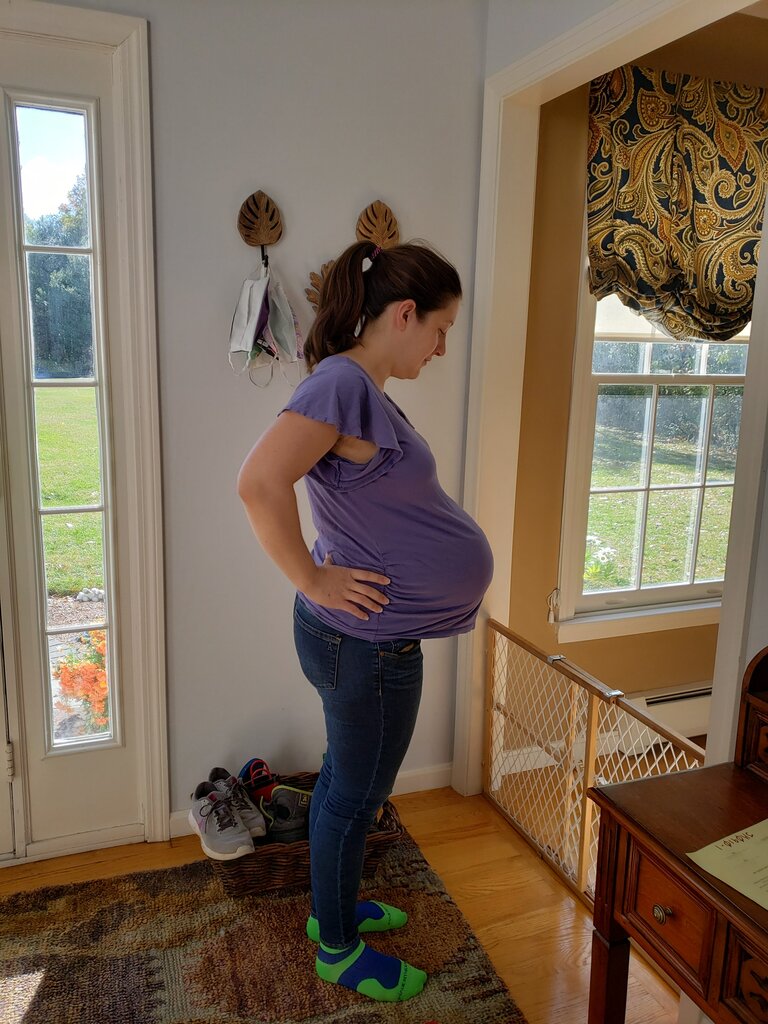
- A side photo of your pregnant profile against a solid colored background (I am 37 weeks in mine)
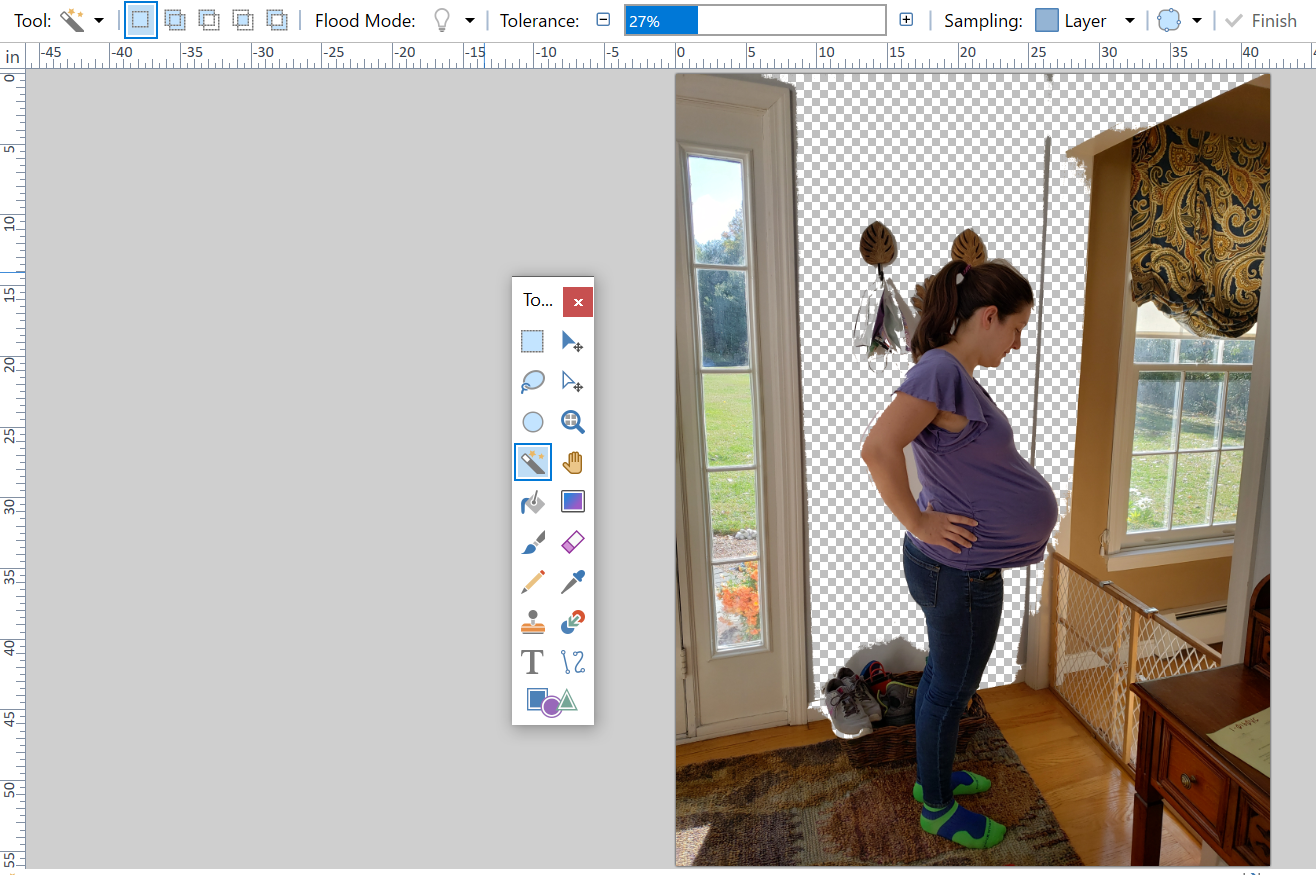
- Paint.net or other photo editing software
- Ultrasound photo scanned into computer
- 65 lb cardstock in color of your choice
- black cardstock
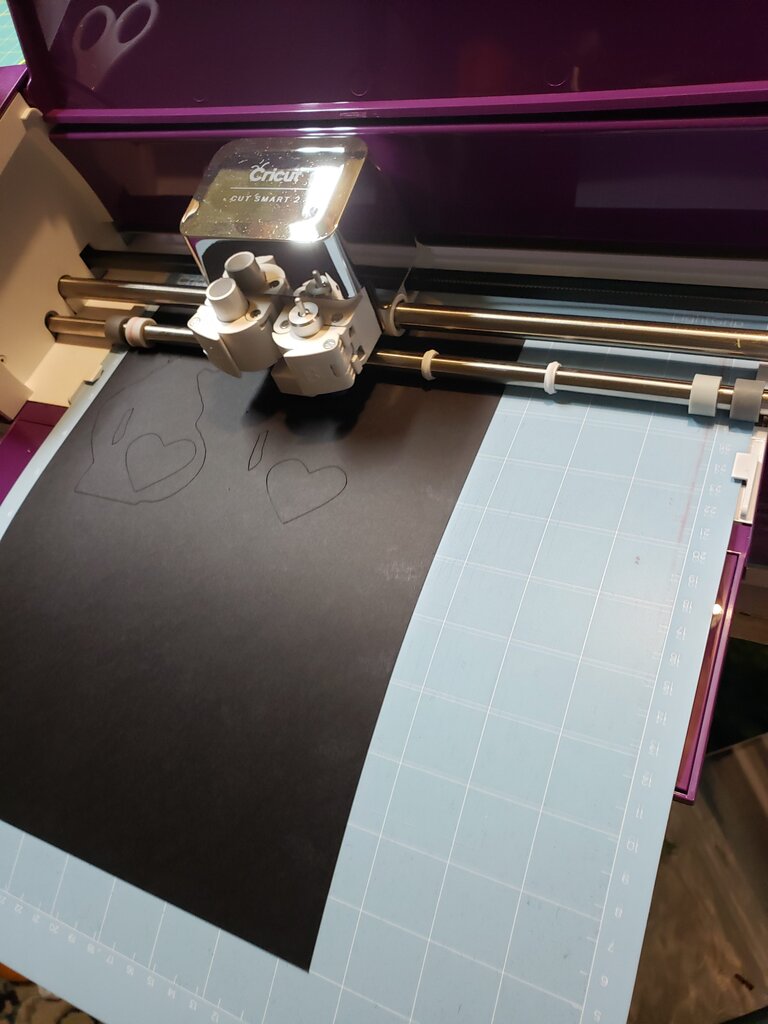
- cricut or silhouette with cutting tool for cardstock
- glue stick
- “Thank you” stamp and black ink
- Load side profile photo into paint.net.
- Use magic wand to select the background area in photo, tweaking tolerance up and down so only the wall portion is removed.
- Clean up other areas with an eraser on a zoomed in setting.
- Lower the brightness and increase the contrast until you have a black and white photo.
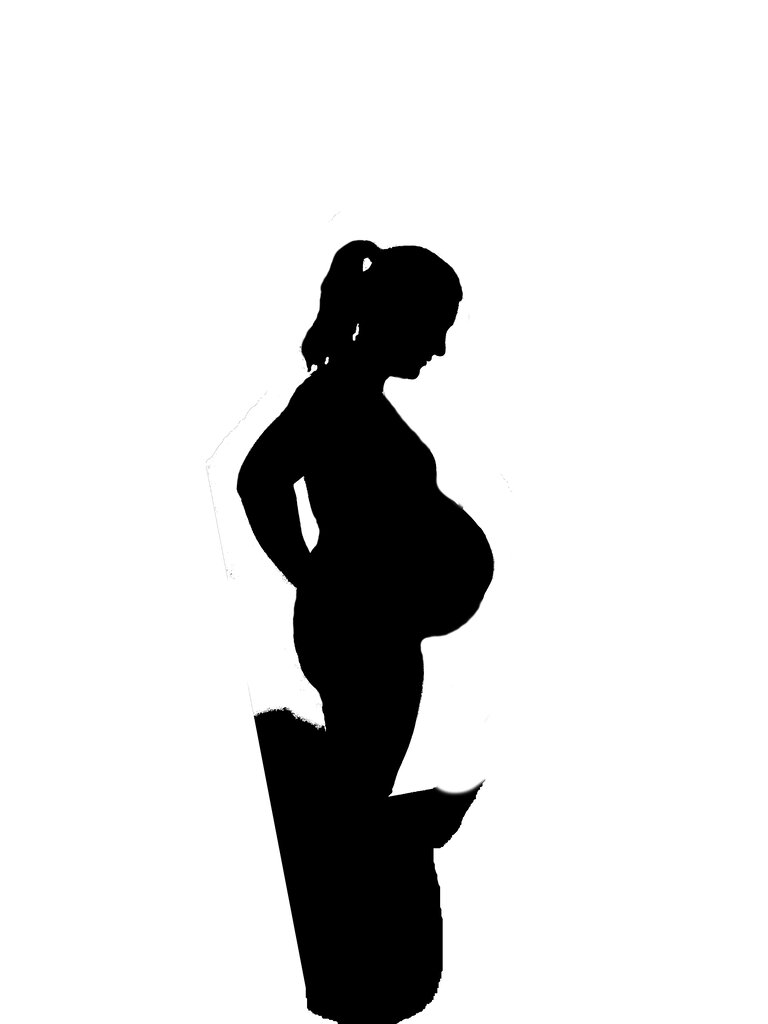
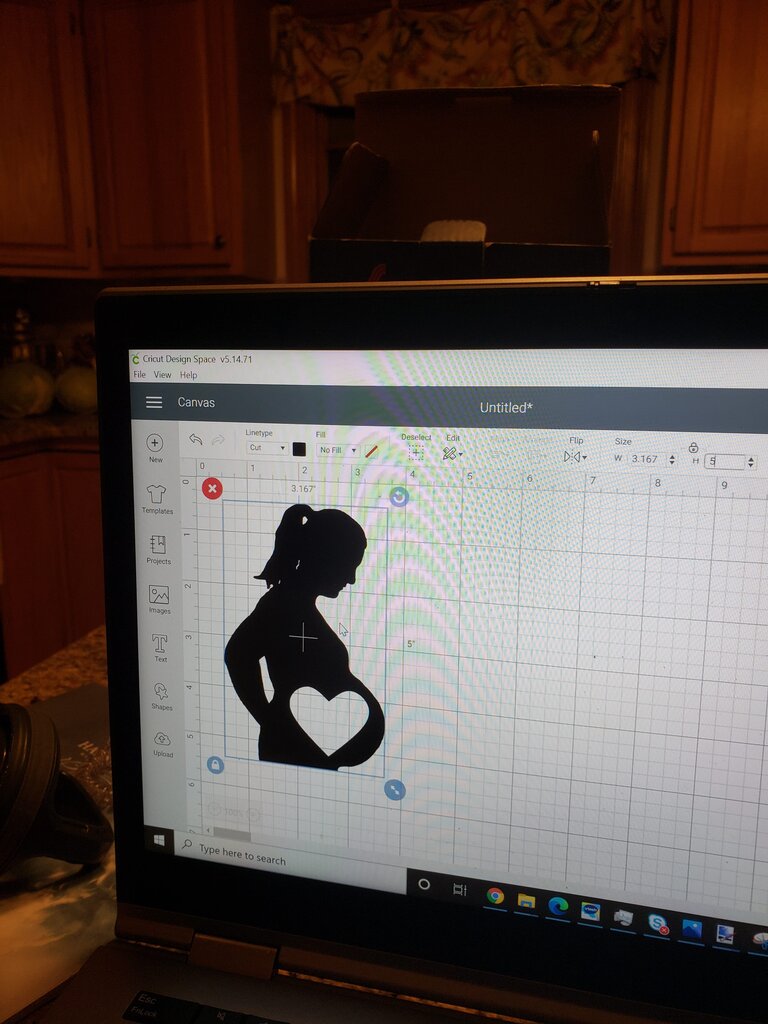
- Cut down silhouette to just bump upwards and then cut out a heart shape over the belly.
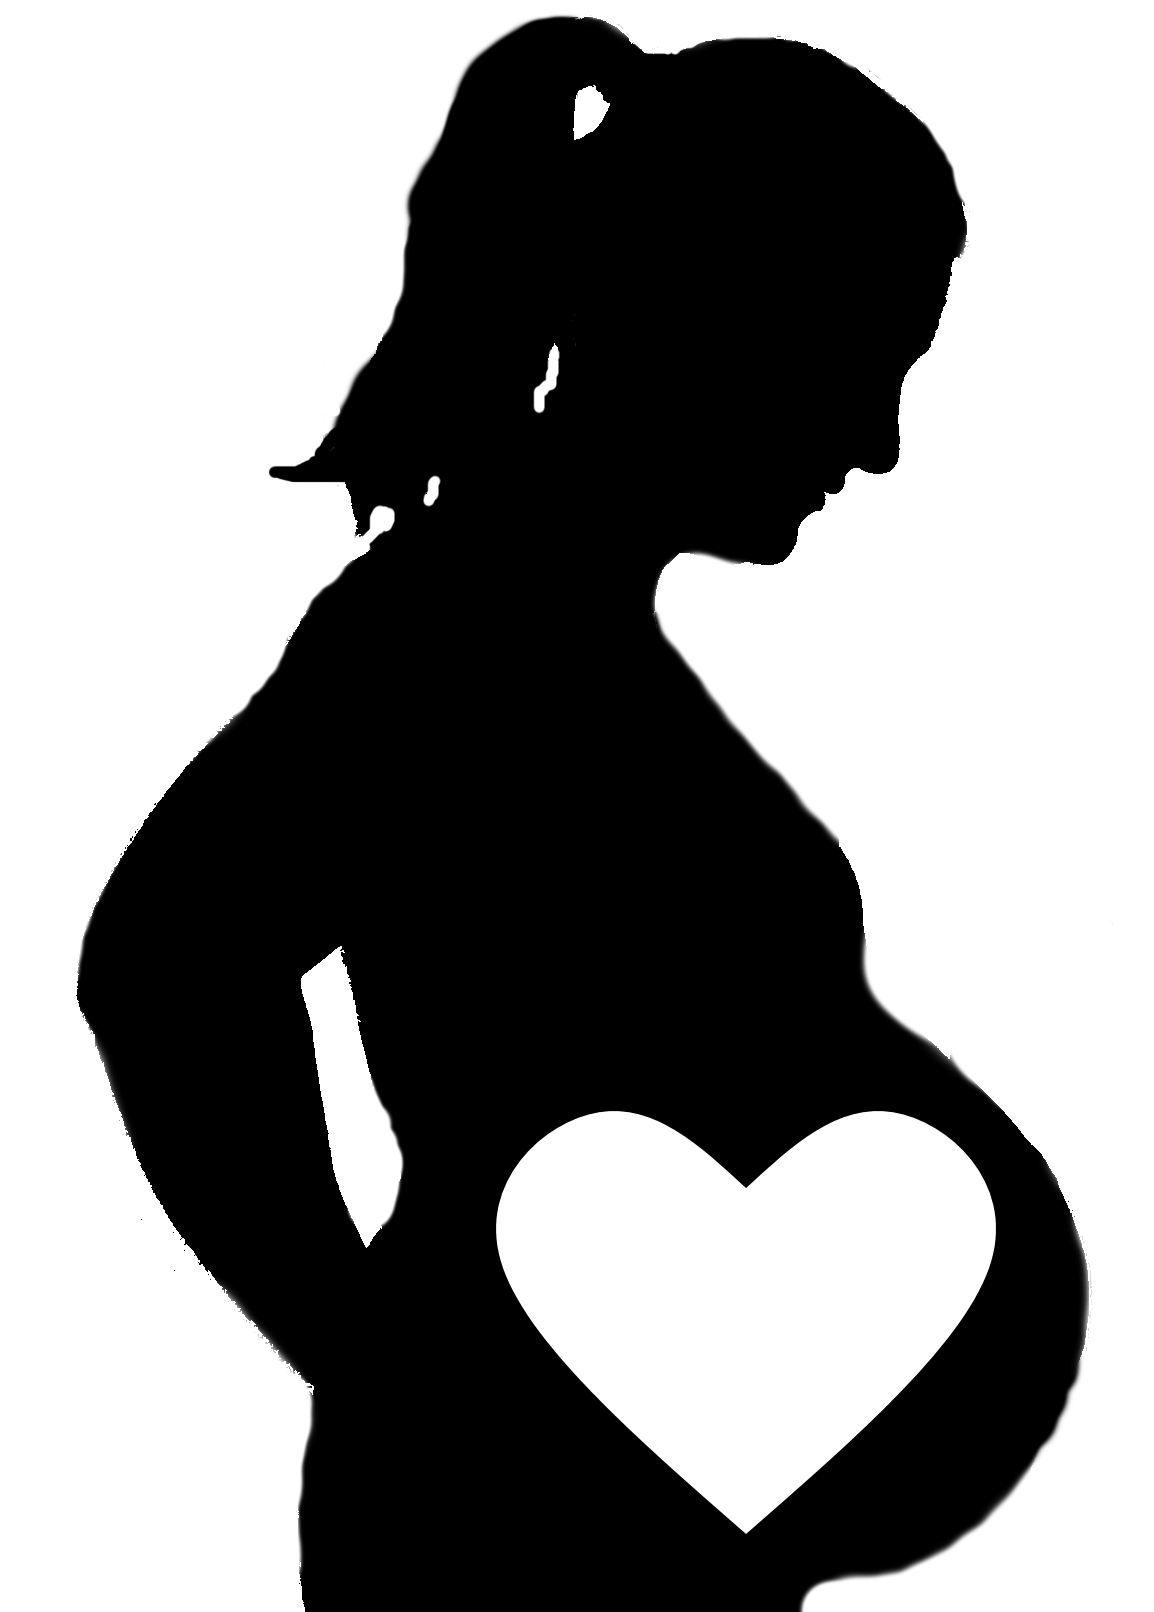
- Save the file and import it into Cricut as a cutting file. I resized the cutout so the silhouettes were 5″ tall, and approximately 3″ wide.
- Cut silhouettes on black paper.
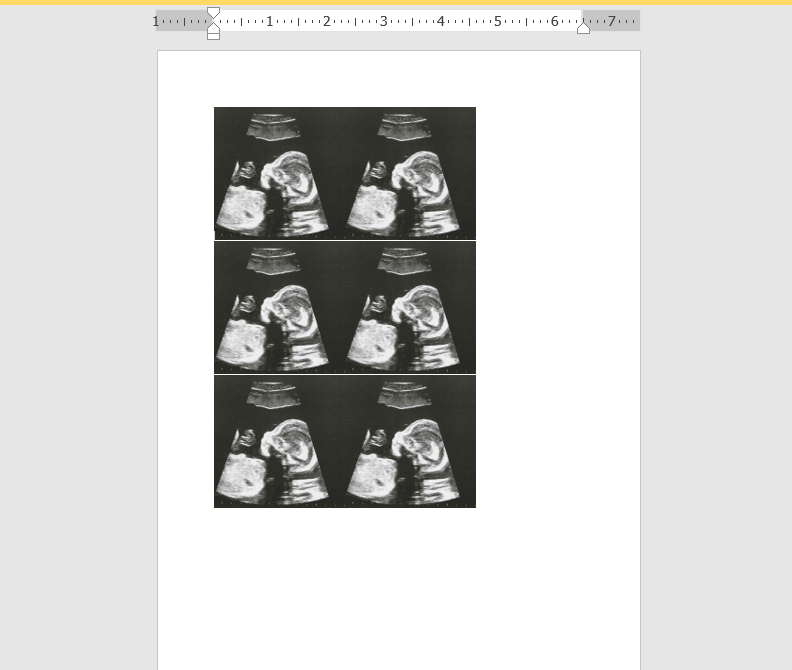
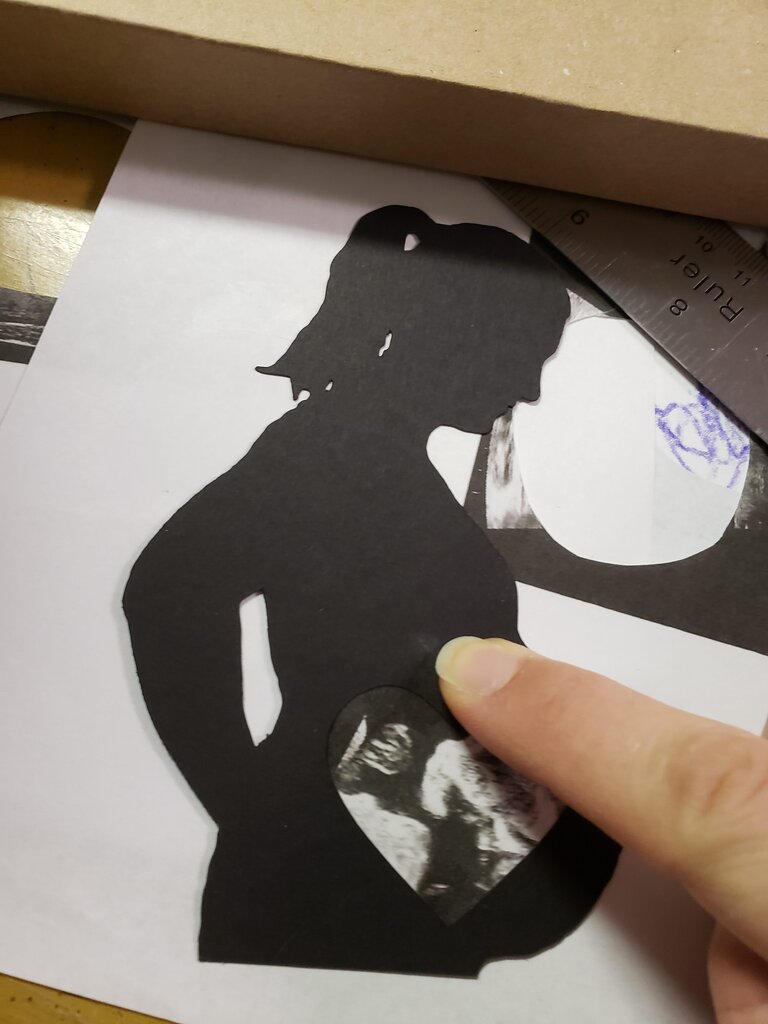
- Paste multiple copies of ultrasound into word or another program. This part is a bit tricky, you’ll need to resize them so the area you desire fits into the heart in the silhouette. For me this portion was just the baby’s head and face profile, and this meant my ultrasounds were around 2″ wide.
- Print ultrasound page.
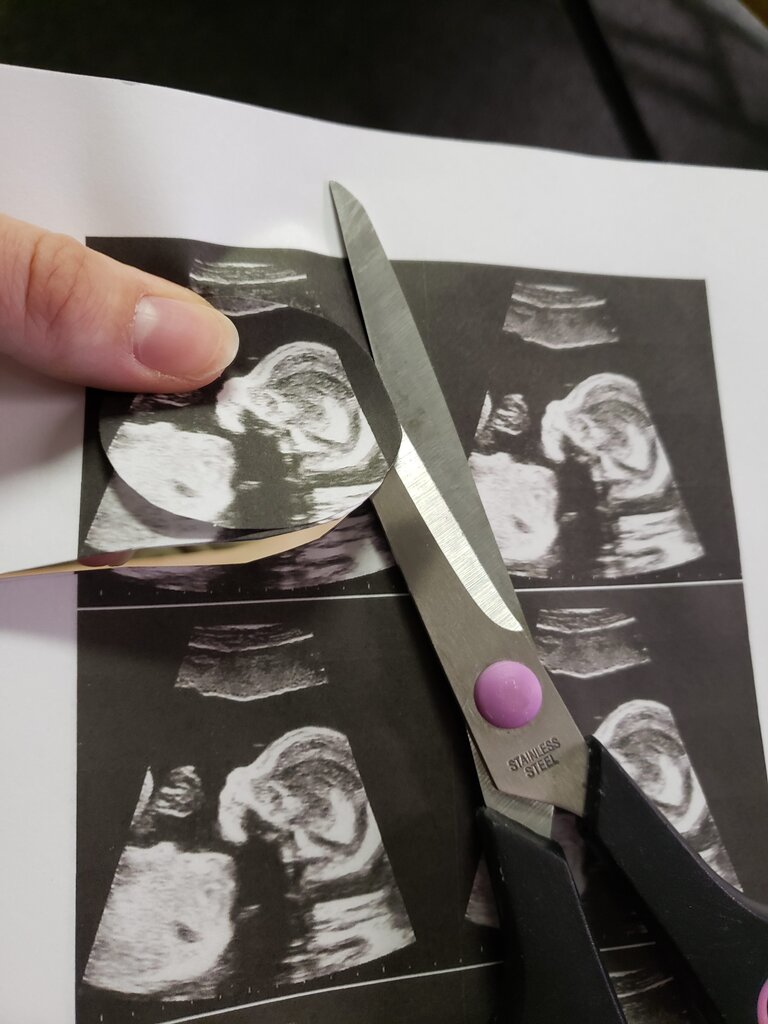
- Cut out the ultrasound photo so it fits in the belly as desired. No ultrasound portion should peak out from under the silhouette.
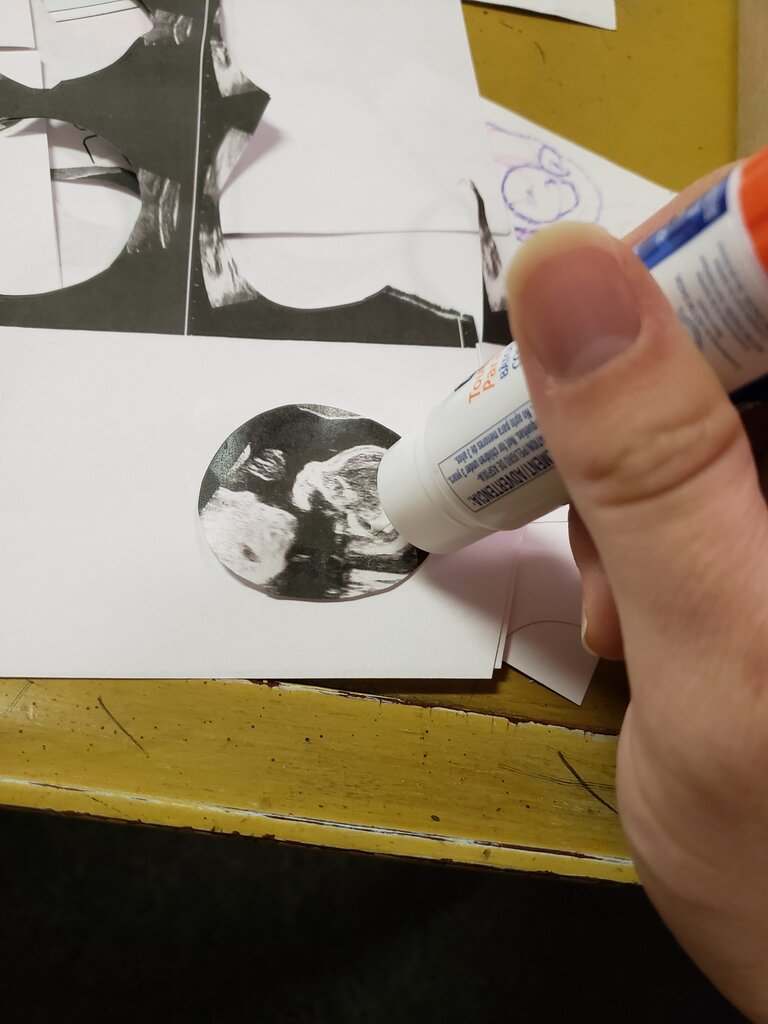
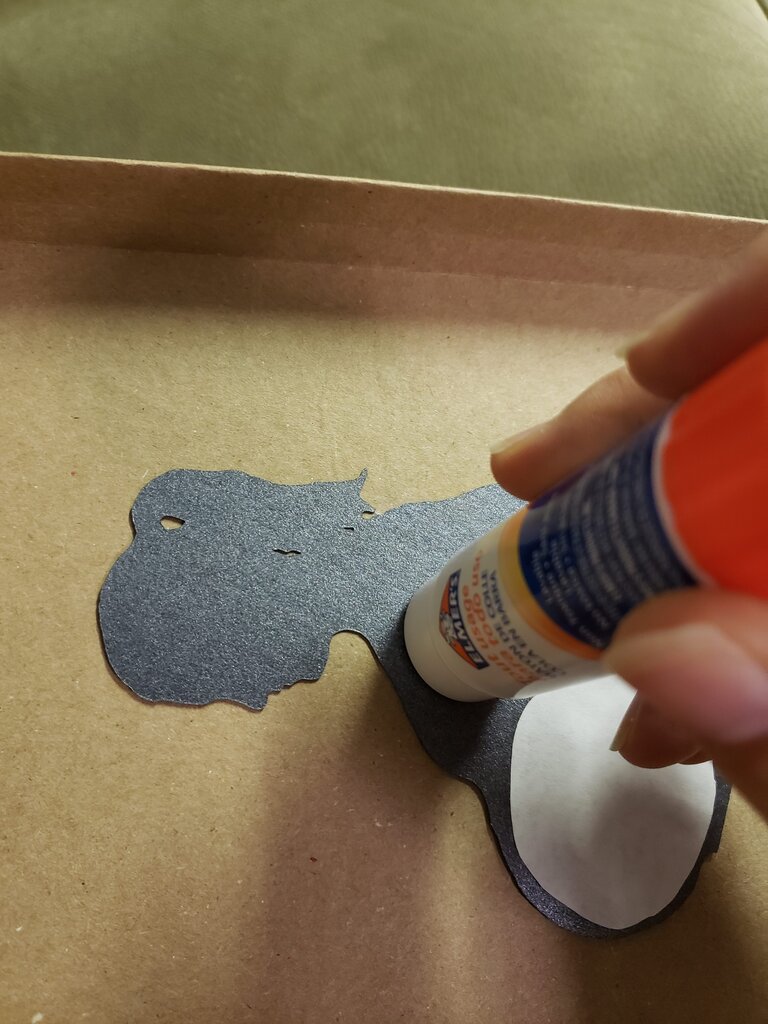
- Apply glue stick to front of ultrasound photo around edges. Don’t worry about extra glue getting everywhere on the photo.
- Place silhouette on top of ultrasound photo, so baby shows through the heart cut out. Press firmly to adhere.
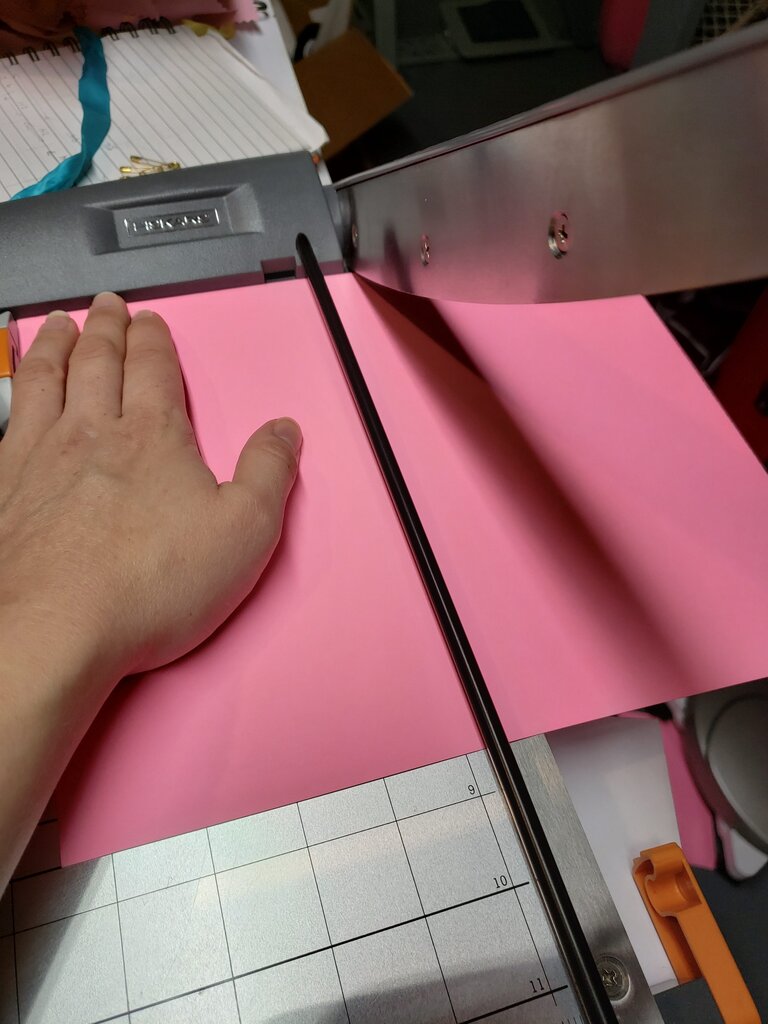
- Take colored cardstock of choice and cut in half to form two 8.5″x5.5″ sheets. Fold each in half to form 4.25″x5.5″ cards.
- Cover the back of the silhouette and ultrasound combo in glue stick and adhere to the bottom left of the colored card.
- Ink your thank you stamp and press near the right hand side of the photo between mother’s mouth and belly.

