I am so excited to share this project with you today! It is a project that I have been planning for a while now, and I’m really happy with how it came out. Of course, it all started with a habit of Julius’. Julius just LOVES to be part of the action (who doesn’t?). He wants to help me clean the house, put away dishes, wash the high chair, put on makeup (yes really, so next time my make up looks like a 2 year old did it, maybe don’t judge too harshly). Especially, he wants to help me cook and work in the kitchen. The biggest issue with this desire is that he is far too short to reach the countertops or frankly even see the countertops. This means he is constantly whining to be picked up and held while I am doing any task in the kitchen. Enter the tot tower.
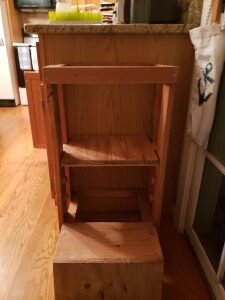
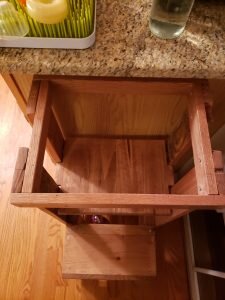
The “tot tower” or “learning tower” is basically a step stool with a railing surrounding the second step so your toddler doesn’t accidentally topple off it. Some of them are simply modified Ikea step stools. Others allow you to adjust the second step depending on the child’s height so it can be used for many years. While I’m not sure the step stool option is less stable since it should be resting against a cabinet anyway, I wanted the option of the adjustable second step. Except for the dowels and the screws, I did not purchase a single piece of wood for this project. I did attempt to put the whole thing on locking casters so it would be easier to move around the kitchen, but the casters were a pain to lock and made the whole thing feel less secure so I scrapped them.
Julius LOVES the tot tower. I demonstrated how to use it and he had no problem getting up and down from the tower. Most often we bring it in the bathroom for him to wash his hands and then I move it to the kitchen for him to help me make food or watch me cook. The funniest use of the tower I’ve seen yet is when Julius was eating some goldfish, a favorite snack of Dany. In the past Julius has had issues with Dany stealing snacks right from his hands while he is walking around. Last week, Julius climbed his tot tower and ate his goldfish from the tower, laughing at Dany. (Poor Dany.)
The tower took me 4 or 5 days after work to complete (including drawing up the plans), but I’m by no means an experienced woodworker. Someone with more skill would probably be able to complete the project in less time.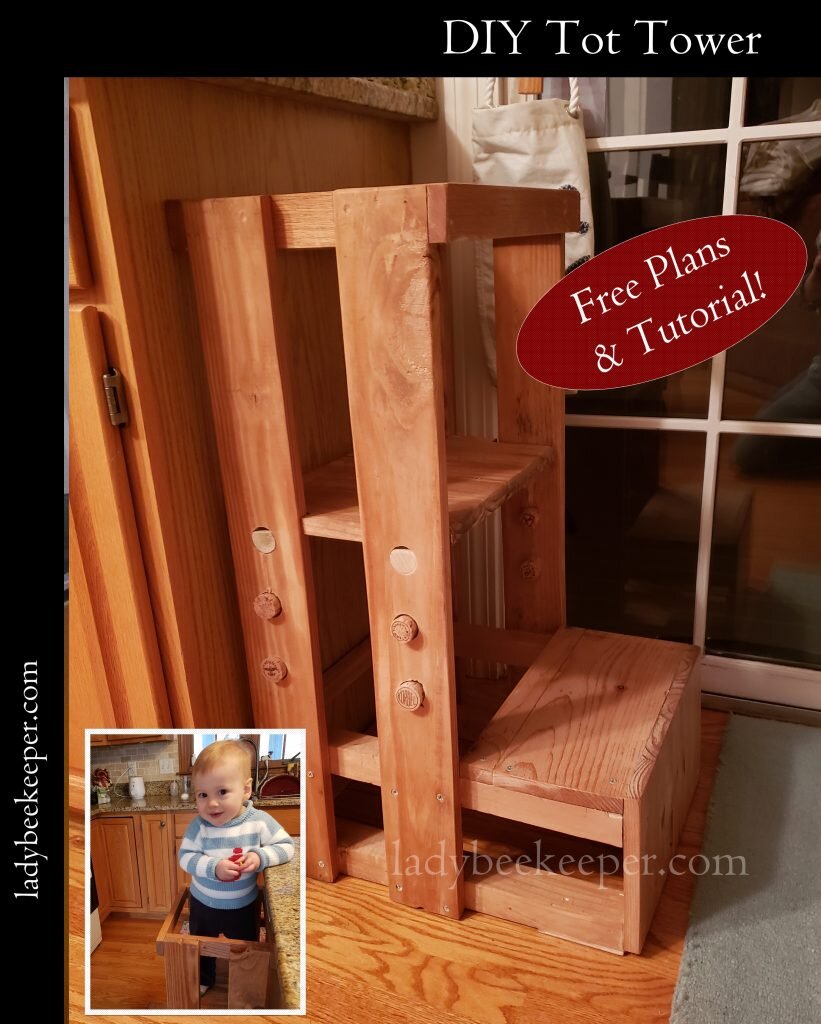
Tot Tower
What you’ll need:
- #8 1 1/2″ wood screws
- 4 – 30″ 1×4’s
- 4 – 15.5″ 1×3’s
- 2 – 10″ 1×3’s
- 4 – 17″ 2×2’s
- 1 – 7″x13.75″x3/4″
- 1 – 7.75″x13.75″x3/4″
- 1 – 10″x15.5″x3/4″
- 1 – 4′ x 1.125″ diameter dowel
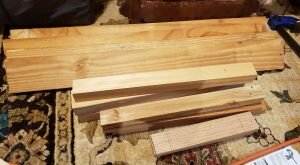
- Cut all pieces to size as mentioned above. If you were smart, you’d probably sand all pieces first and round edges. I was not smart, so I didn’t do this until much later.
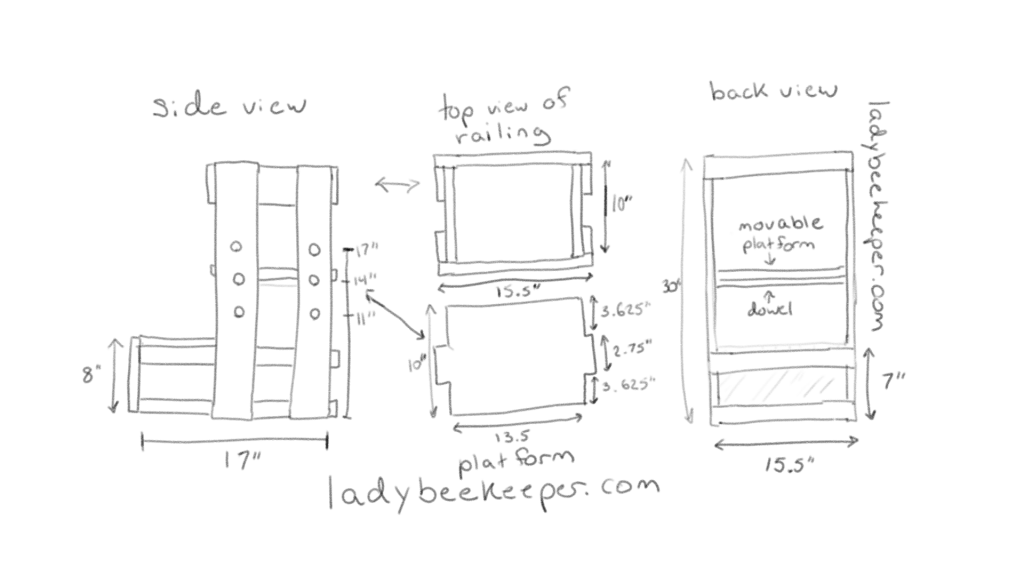
- Assemble each side of the tot tower following the diagram above. You’ll want to keep the two 1×4’s parallel while you screw on the 10″ 1×3 to the top, followed by the 17″ 2×2 at the bottom (make sure the 1×4’s only span 10″ on one end of the 17″ 2×2). Finally attach the second 2×2 in a similar manner but below the 7″ line.
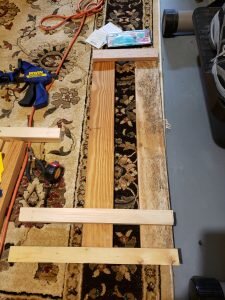
- Repeat for second side of tot tower, making sure to make it a mirror image of the first.
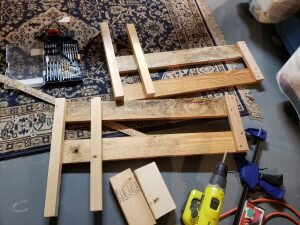
- Attach the two sides of the tot tower together using the 4 15.5″ 1×3’s. 3 will be attached to the back (see diagram portion marked back view) and the 4th will be attached to the top front to complete the railing (see diagram portion marked top view of railing).
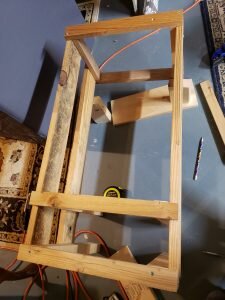
- (Note I did it in this order, but if I were to do this again, I might do this step before the next step because it was very difficult to screw the unattached tot tower pieces together). Attach the 7″x13.75″x3/4″ step to the 7″ extension of the 2×2’s.
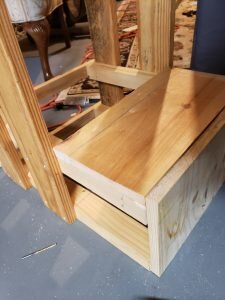
- Attach the 7.75″x13.75″x3/4″ riser to front of the 4 2×2’x.
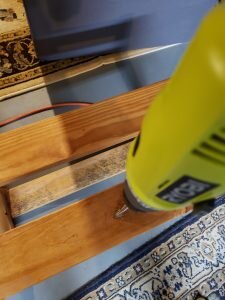
- Using a 1 1/8″ auger bit, drill 3 holes on each of the 4 30″ 1×4’s at 11″, 14″ and 17″ from the floor.
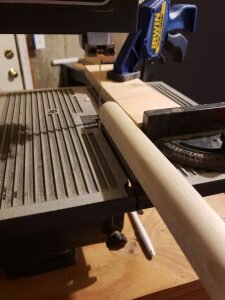
- Using a band saw, remove 3/16ths of wood from the dowel along it’s length to create a flat surface. Cut the dowel into 2 15.5″ segments.
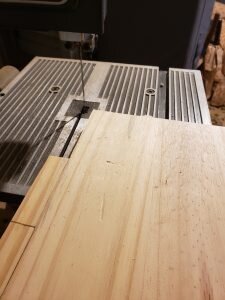
- Also using a band saw, cut corners out of the 10″x15.5″x3/4″ platform board to specifications marked in diagram labeled “platform”.
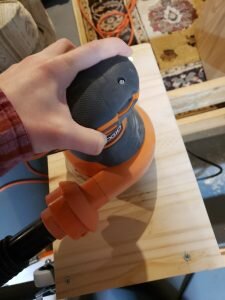
- Sand everything, making sure to round corners everywhere.
- If desired, stain and finish with wax/poly or paint.
- Insert dowels into holes at desired height, with flat portion up.
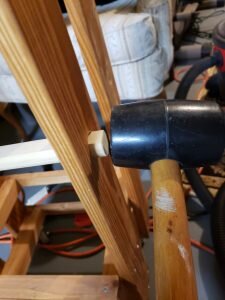
- Place platform board on top of dowels.
- Drill a pilot hole through the top of the platform board into the center of the dowel below. Use screw to secure. Repeat with second dowel.
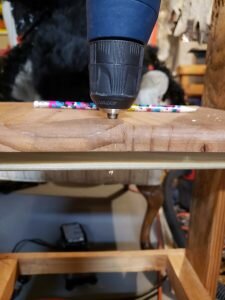
I filled the empty 1 1/8″ holes with champagne corks! My co-worker gave me a bunch of champagne corks and I finally found something to do with them! They fit perfect and don’t fall out, and I can move them once I move the dowels down.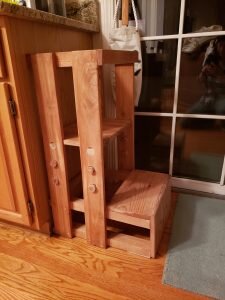


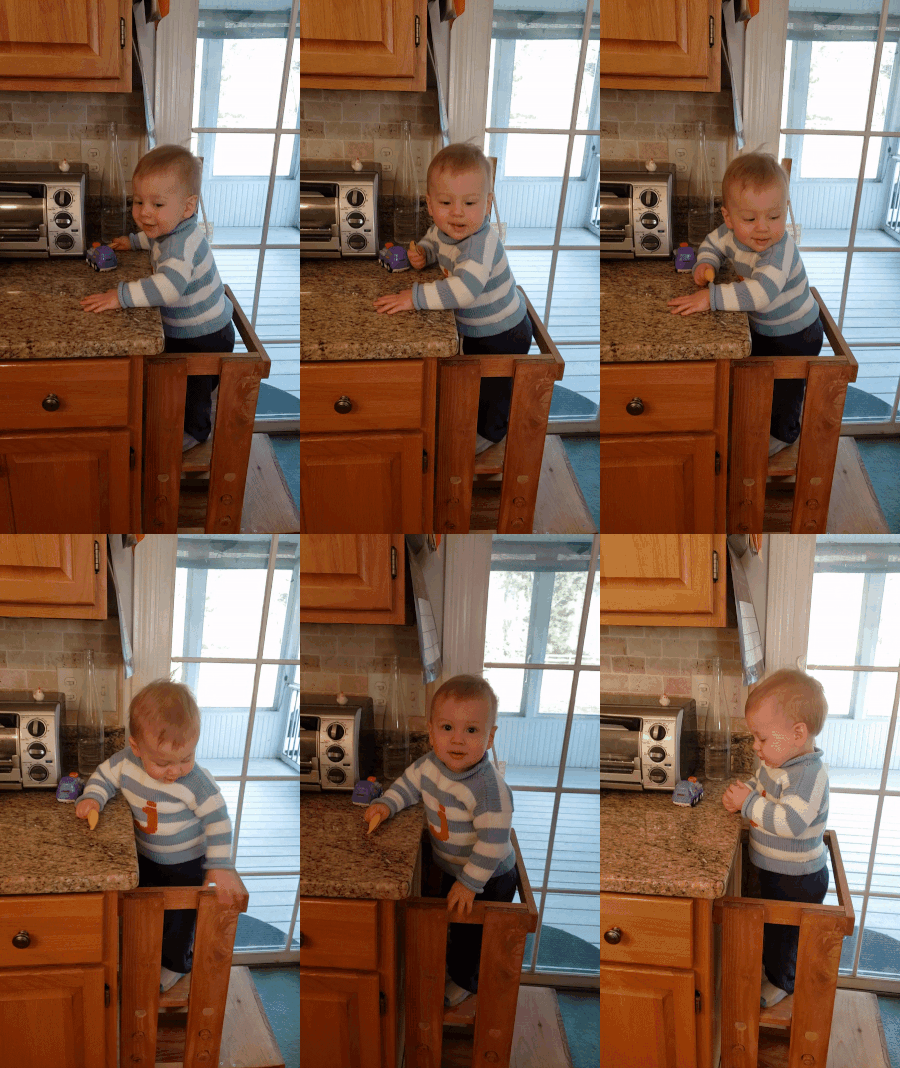
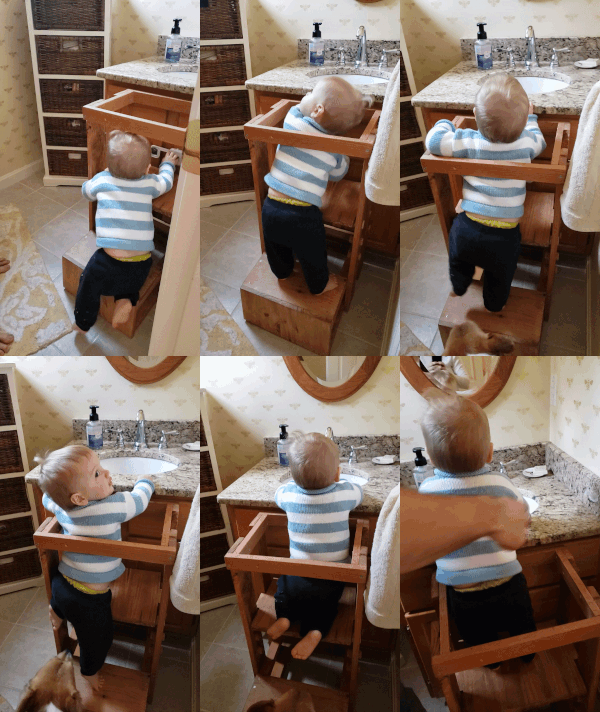

Omggg the tower! I’m planning on making this for V too!!
Yay!!! It is the best! This morning Julius entertained himself on the tower while I made breakfast and prepared his bag for daycare! I just posted the plans since I realized when you commented that I’d forgotten to include them.
Thank you for sharing your plans. It’s nice to know that someone else like to share without making a profit, I do as well. I love this idea and again, thank you :)
Thanks Patti! I’m so happy to hear you like the idea! I consider someone using my designs the greatest form of flattery. :D Happy making!
Thank you for sharing this, I’m planning on making two for my grandchildren. Question though, how do you move the platform down as they grow if it is screwed into the dowel rods? Thanks again!
Hi Susan!
Thank you so much for stopping by! Sounds like you are going to be grandparent of the year! My son is 3 now and quite a bit taller than the first picture, but we still use the tot tower daily! As he has grown, I simply unscrew the base board from the dowels, use the head of a hammer to tap the dowels out, and then reinstall the dowels in the lower holes. It only takes a few minutes, plus the time it takes to dig your tools out of hiding. You could probably omit the screws if your dowels fit rather snuggly into the holes. I added the screws for more peace of mind, so the platform didn’t wobble! (My son is quite the wiggler and known to dance on the platform!)
Happy Making! I hope your grandchildren love them!
Lexi
Hi…..
I emailed you also about the dowel diameter.
Another question. In your diagram it appears the 4 – 17″ 2 x 2’s stick out about a half inch on front side, but measurements do not allow for that???
Also why not place the step over the riser. You could possibly flip flop those two boards so you don’t see the raw edge of the riser. Also, better stability??
Thanks for sharing your plans.
Bruce
Hi Bruce!
Thanks for stopping by! First off thank you so much for your question about the dowel – I have updated the plans with the info. Let me see if I can answer the others below.
>>>In your diagram it appears the 4 – 17″ 2 x 2’s stick out about a half inch on front side, but measurements do not allow for that???
—Ah it does look like that, but as you said they do not! You want them to be flush with the side rails. What you see in the drawing is just the two bottom 15.5″ 1×3’s (see the back view drawing).
>>>Also why not place the step over the riser. You could possibly flip flop those two boards so you don’t see the raw edge of the riser. Also, better stability??
—I completely agree. I think that extending the top step over the riser would look much, much better. I wanted to do that, but I was working with scrap wood so the diagram above takes into account all the odds and ends I had sitting around. It might be hard to tell from the photos but my step is actually not one but two pieces of wood scrap (yeesh). Luckily it has not had any stability problems and 3+ year old Julius still uses it daily!
Let me know if you have other questions!
Thank you for your reply. Since my questions, I have purchased the lumber, cut to size, sanded and smoothed the edges and air cleaned the lumber.
Thanks again.
Awesome!! I hope you enjoy the tower as much as we have!
what did you use for the steps and platform? was it plywood? this is only my second project with wood working. Thank you in advance.
Hi Mac!
Good question! No – I actually used 3/4″ hardwood because I had some leftover as scrap from this project You certainly could use plywood! The step stool is not wide enough to cause much bending in the plywood so it should hold up! I guess the only concern would be that it might not be as pretty, especially the edges. That said, I am not a plywood expert! When I made the climbing wall for my son I struggled with what kind to buy and did tons of research. I ended up getting a higher grade version that had a very smooth veneer on the outside face. (I know you can buy hardwood veneer cabinet grade plywood as well that is very pretty. Finally – if you aren’t using anything you have lying around, you may want to just do a comparison. Plywood comes in huge sheets (usually 4×8) and will probably run you more than a smaller sized unfinished pine board from the local hardware store. Good luck! Hope it turns out great!
Lexi
Such a cute model! 😁
I have a few little ones that I baby sit. I’m going to make a few for them. Thank you for the FREE plans.
Haha thank you!! We have had ours for 4 years (almost 5) years now and it’s held up well! I hope yours serve your little ones just as well! And thanks so much for stopping by and commenting!