I had a curious realization yesterday. As I was chugging a glass of ice water and laying on my left side hoping the baby would start kicking, I pictured myself 8 weeks from now holding my baby in my arms, and feeling content that I could finally stop worrying about him. Then I panicked and realized that I would probably never stop worrying. You see, if you’re like me you worry a lot when you’re pregnant – that you’re eating the right food, that you’re gaining the right amount of weight, that your baby is kicking often enough, that <insert weird thing here> that just happened is normal during pregnancy. If you’re lucky, maybe you’ll manage to get through the work day without googling symptoms. The realization that I’d worry about this tiny being even after he was outside my body was something I had not considered.
Will weirdly came to the same conclusion as well. Late yesterday I was talking to him about something (probably the baby kicking) and remarked that I couldn’t wait until I could stop worrying. That was when he said wisely, ‘I doubt that will happen for a long time’. I’ll just have to start meditating more. Or hiking.
Much like meditation I find hiking particularly freeing. Will and I take Dany on hikes in the woods every weekend. On vacations we always find excuses to go hiking. I like remote hiking trails where if you’re lucky you won’t pass another traveler. One of my favorite hiking stories took place when Will and I were vacationing on Hawaii for our honeymoon. We drove to Volcano National Park and found ourselves on a moderate hike called something like “crater trail”. We didn’t pass another soul on the trail and we were amazed at the distinct changes in landscape around the volcano. Then suddenly the woods ended and we were standing inside the crater of the volcano staring up the steep hardened lava walls. We were nearly convinced we must have taken a wrong turn and weren’t supposed to be there until we saw a sign that said “danger, end of trail”. It was the coolest hike I think I’ve ever been on!
My favorite hiking accessory is my Camelbak backpack, especially now that I’m pregnant. I used to drink an above average amount of water before, but now that I’m pregnant I’m constantly thirsty. My first pack got me through ski season and the Grand Canyon! I finally got Will a hydration backpack for his birthday this year, which to my delight he loved! (He kept telling me he didn’t ‘need’ one, but apparently that really meant he ‘wanted’ one.) My one issue with the Camelbak packs is that after you empty the bladder bags they become flat and don’t dry properly. My sister told me her secret solution to this – she removes her roll of paper towels from the counter top holder and plops the bag on top. Genius! Since I actually use my paper towel holder for towels, I decided to make a quick contraption that I can store away in the closet when I’m done with it. Also it can hold two Camelbaks since I’m almost always hiking with Will.
Fold Up Camelbak Bag Rack
What You’ll Need:
- 6″x12″ piece of scrap wood
- 7/8″x48″ wooden dowel
- two 1″ narrow utility hinges
- two 1 1/2″ round wood knobs (in cabinet pull section)
- two 1/4″ x1 1/2″ dowel screws
- Cut two 14″ pieces of dowel
- Mark 2″ diagonally in from the corner at two diagonal corners. You’ll place one screw of your hinge on this mark.
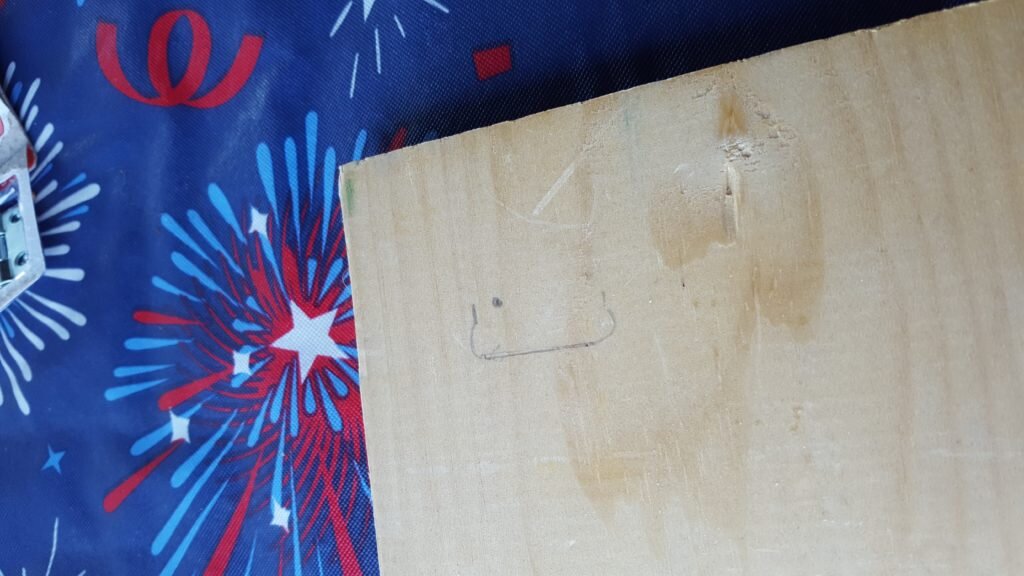
Mark screw hole for hinge, 2″ diagonally from the corner. The flat line in my pencil drawing is parallel to the short edge of the base.
- Screw one side of hinge into board at the point you marked. You want the hinge to open along the long side of the wood base.
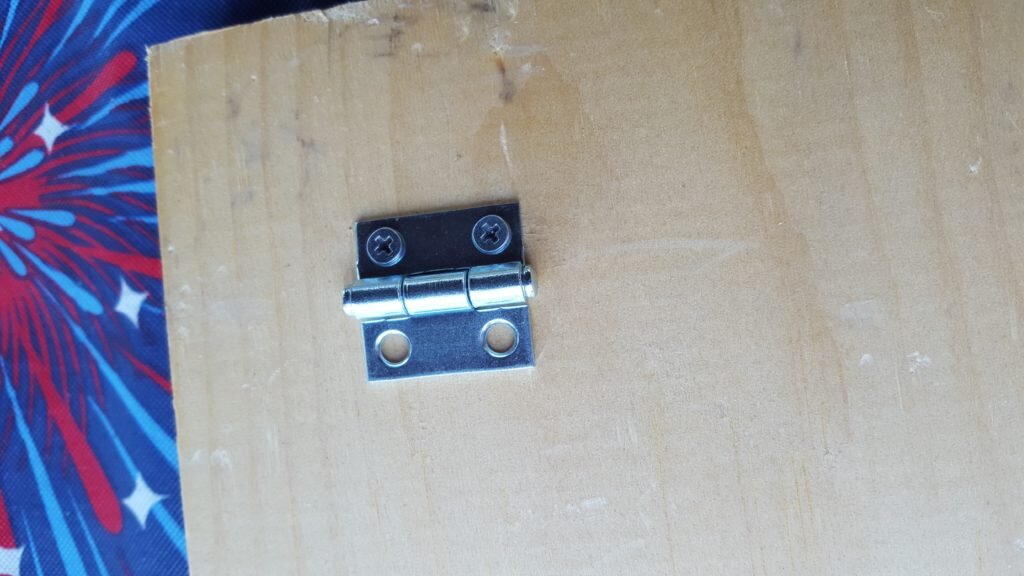
Screw hinge where you marked. Note it should open up into the base.
- Drill a 7/32″ pilot hole in the top of each piece of dowel on one side.
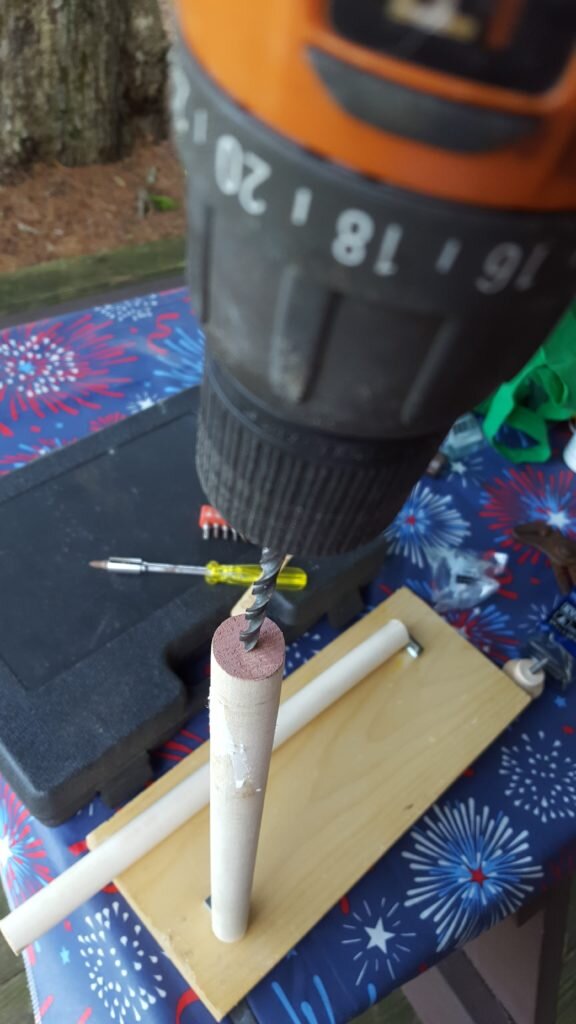
Drill pilot hole in dowel.
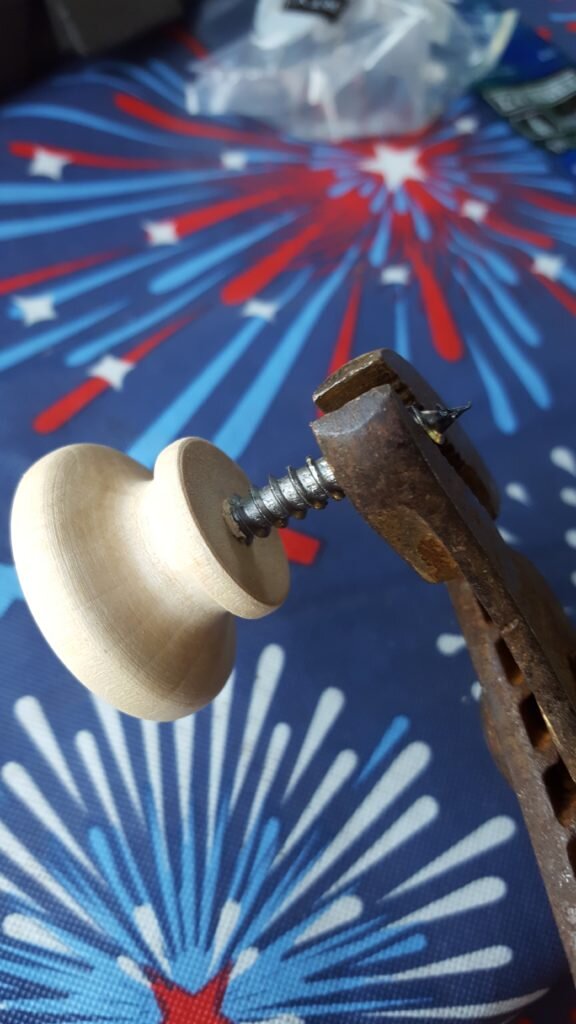
- Using pliers, clamp each dowel screw around the middle and screw into the base of each wood knob.
- When you’ve sunk the screw 1/2″ into the knob, then take the wood knob with the screw and twist into the pilot hole you made in the dowel, forming a cap on the end of each dowel.
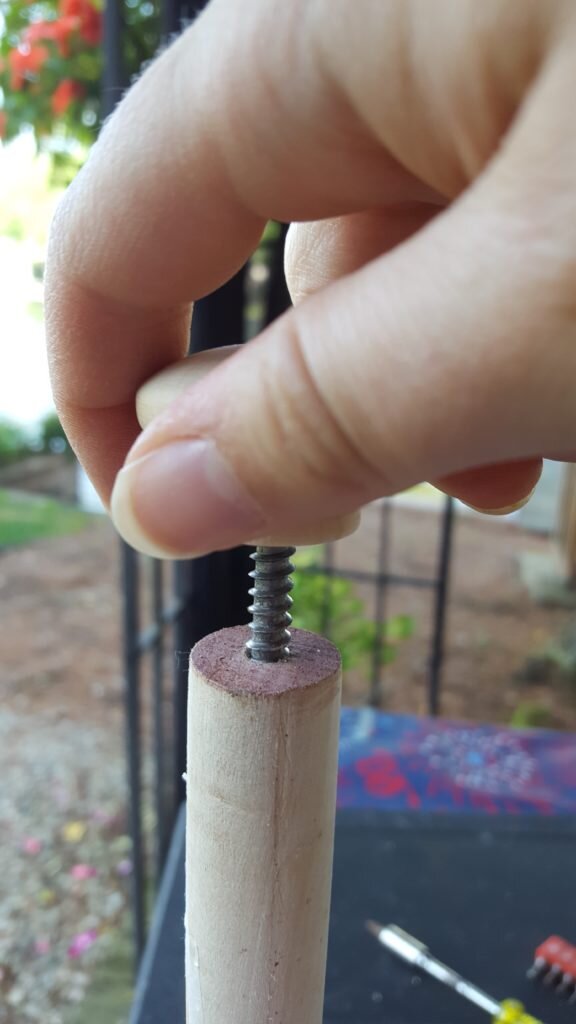
Twist knob and screw into pilot hole on dowel.
- Open your hinge at a 90 degree angle, lay the dowel horizontally on the base and place the unfinished end of the dowel flush against the hinge. Center the dowel over the screw hole closest to the edge of the base.
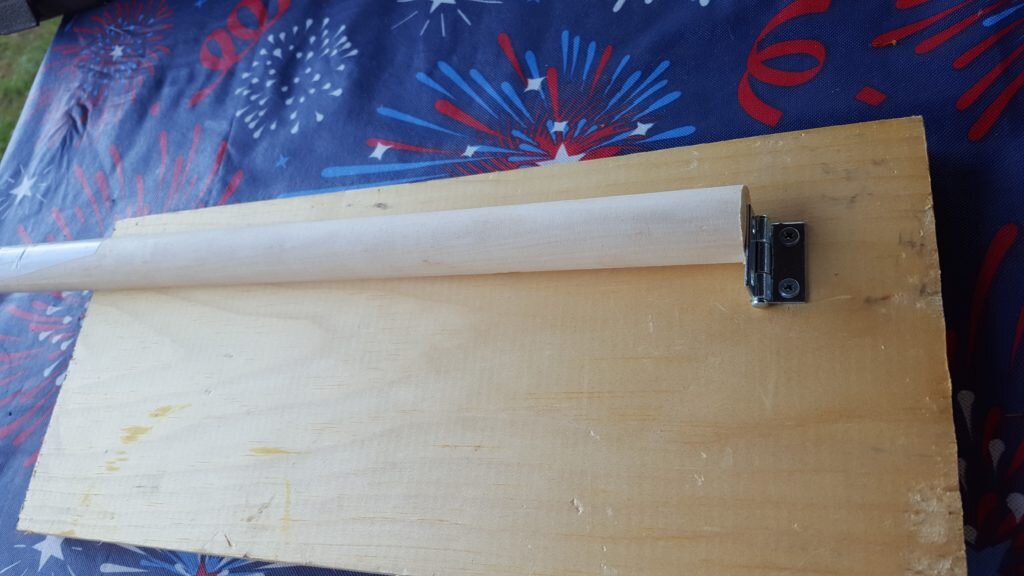
Lay dowel along base with end of dowel flush with hinge.
- Screw the dowel to the hinge. Repeat steps 7 and 8 for other dowel.
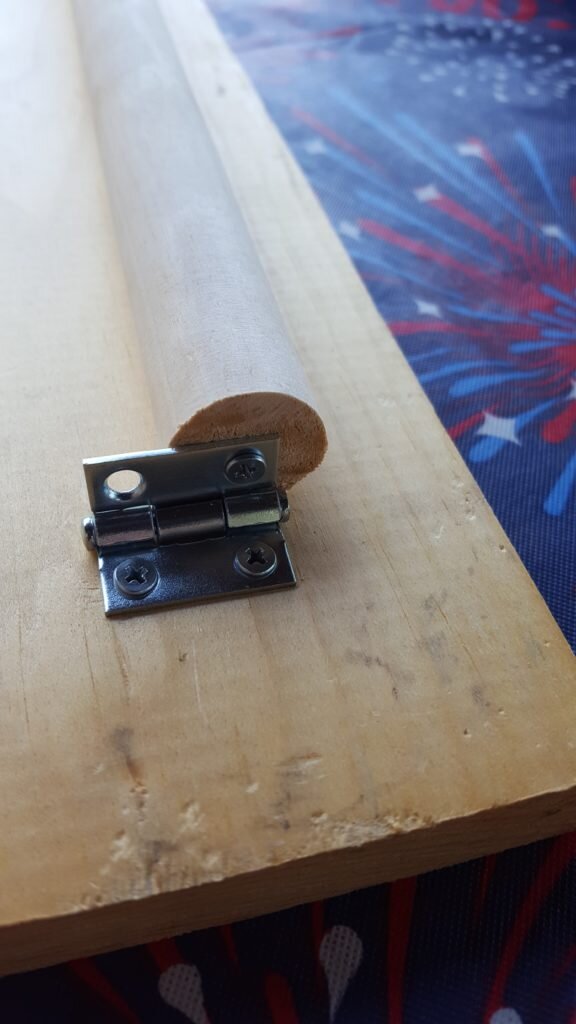
Screw hinge to dowel.
When you want to use the drying rack, simply close the hinges and stand up each dowel. Place your Camelbak over dowel. To store, open the hinges up, lowering the dowel to be flush with the base of the board.
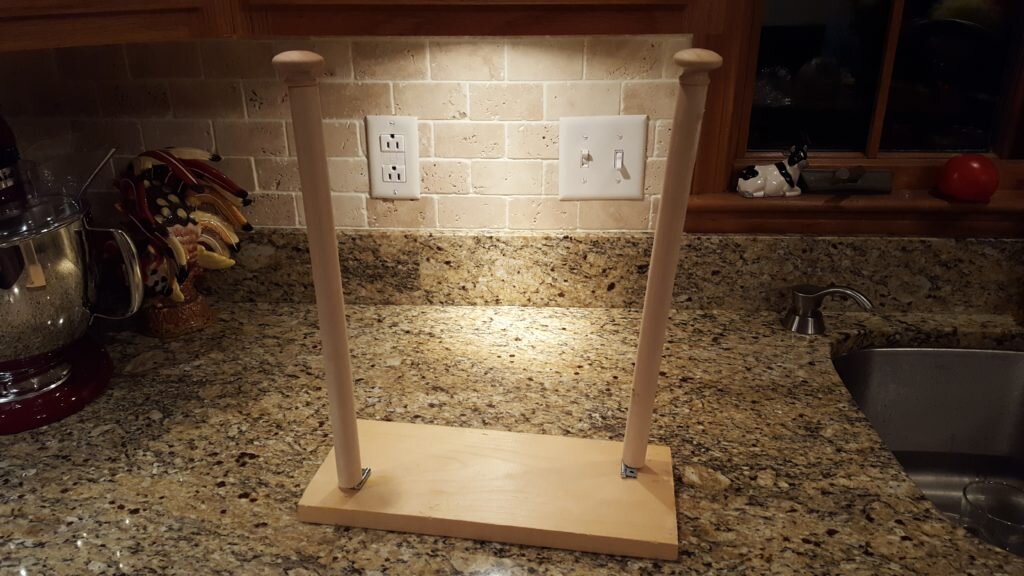
Finished rack for Camelbaks
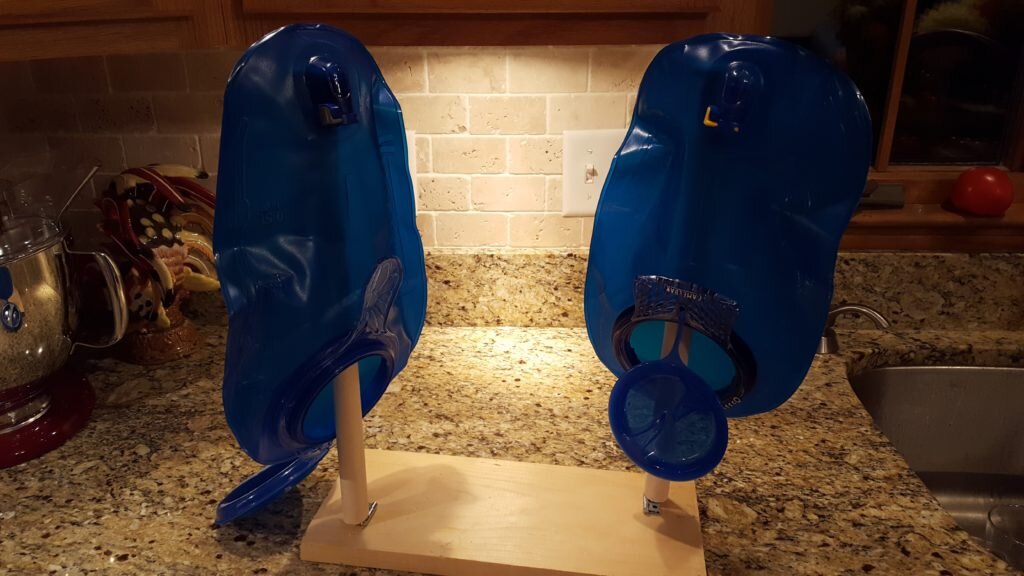
To use, stand up dowels and place Camelbak bladders over dowels.
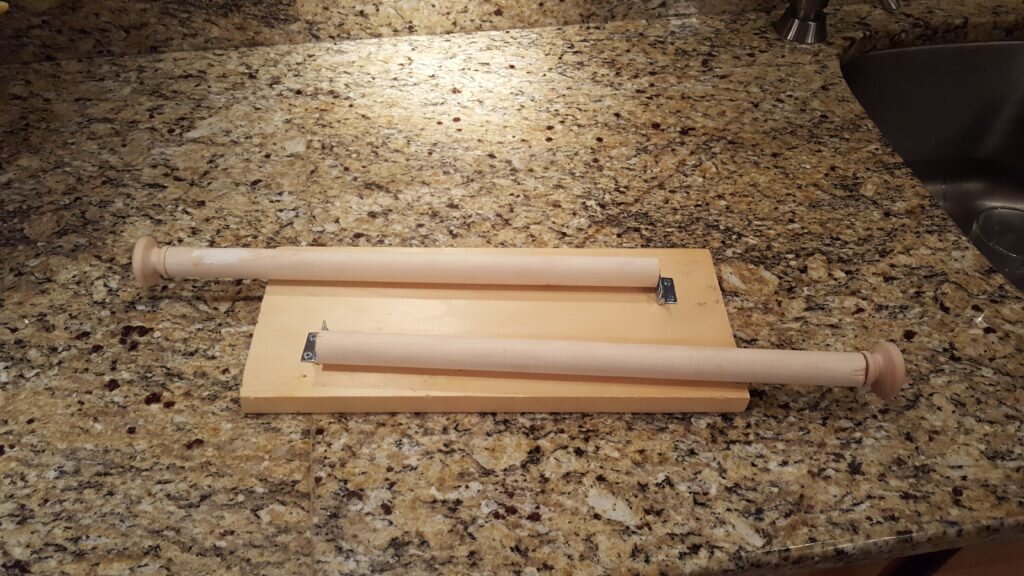
To store, lower dowels flat.


Omg this is such a great idea! We just hang dry ours on the bathroom sink then shove it into our closets :X
Hahaha! Thanks Ka! It was really easy to make! I’m glad you like it!!